Begin with Butter Presents: “I’ll Bring Dessert”!

0

Friends, today I am beyond excited to announce that I started a Begin with Butter video podcast! It’s called “I’ll Bring Dessert” and I am having an absolute ball with it. On this show, I make my friends’ recipes while we talk about food, family, and everything else. At the end of the meal/interview, I tell you which dessert I would pair it with! We film live on Saturdays at 2:30 p.m. ET on my YouTube channel (don’t forget to subscribe while you’re there!), and you can catch the replays on Thursdays in the same place!

This is a picture of a Very Vanilla Pound Cake from "I'll Bring Dessert".
One of my desserts from “I’ll Bring Dessert”.

The entire premise of the podcast is to bring attention to other foodies. Whether they have a blog, another food business, or they’re just dope individuals who can really cook, I want you all to know about these people so that you can love them as much as I truly do!

I told my Uncle Clint about the podcast shortly after it started. Of course, I was gushing about which friends were coming on, and the things we were going to talk about. As usual, I was being deeply unserious about it all.

“This isn’t just an opportunity to laugh with your friends,” he said. “It’s your generation’s opportunity to add to our oral food history. And that’s important.”

That hit me like a ton of bricks, Friends! To play a part in our oral food history is an awesome responsibility and I’m honored to be able to do it in this way.

Uncle Clint, you were so right.

Season 1, Episode 1 (Pilot): Hammed Alabi

On this episode, I had the pleasure of interviewing my friend Hammed Alabi from the blog The Prince Eats! We made his Beef Lo Mein, and when I say that it was GONE shortly after this episode?

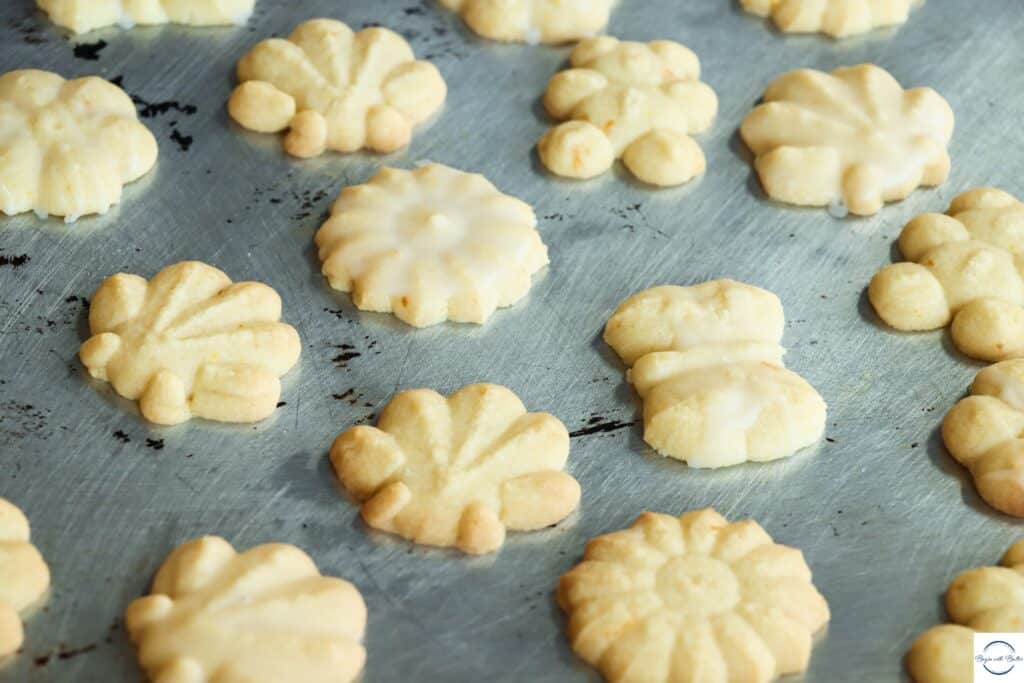
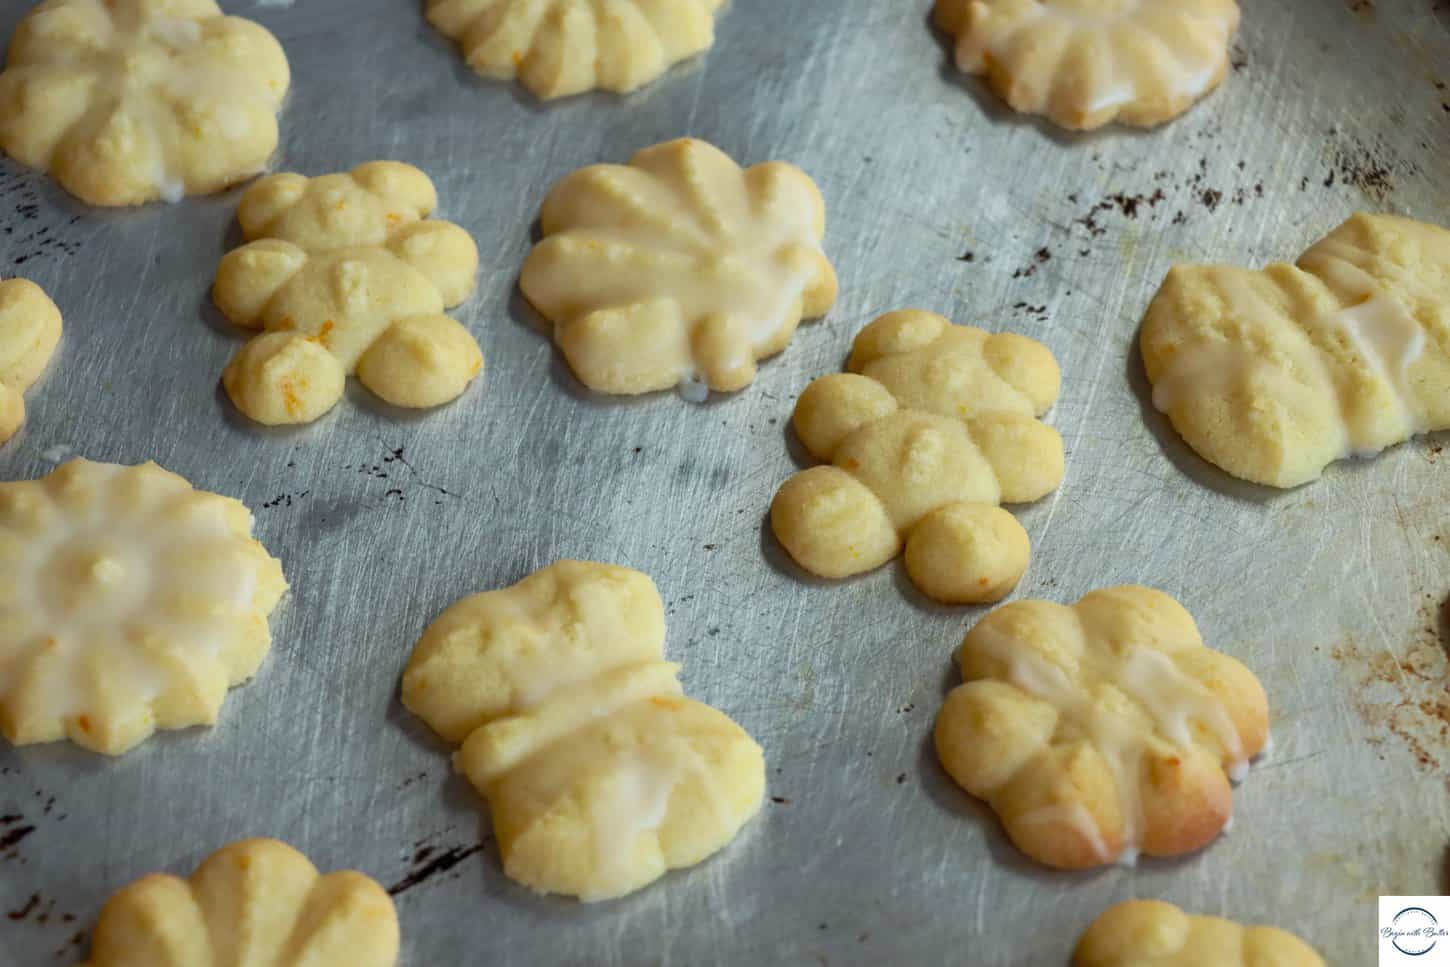
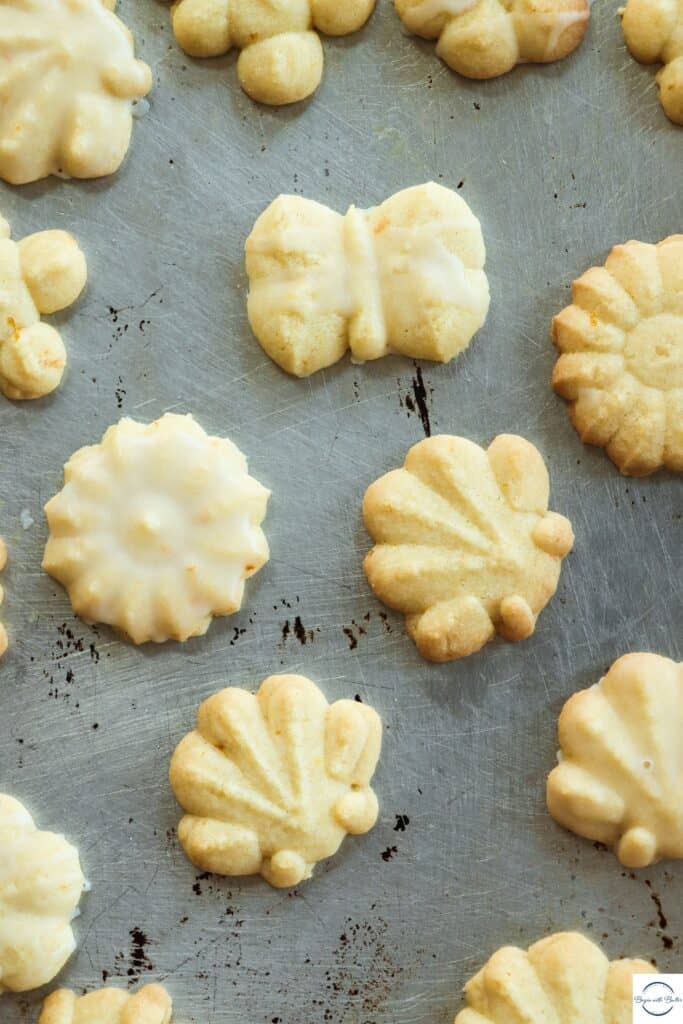
It was GONE. For his episode, I brought dessert, pairing this amazing Beef Lo Mein with my Orange Creamsicle Spritz Cookies. Such a perfect way to end the meal!

Hammed is a father of five and an amazing cook. Check out his interview here!

Season 1, Episode 2: Shanika Graham-White

One of my favorite blogs of all time is Shanika’s blog, Orchids and Sweet Tea. She fuses Southern and Jamaican cuisine, and she does it beautifully. She is truly a wizard of this cuisine and we are all better for it. And the TASTE of her recipes? OMG.

For her episode, we made her Creamy Garlic Chicken Gnocchi Soup. It was PERFECT for the weather (rainy, yucky) and perfect for my insides (ABSOLUTELY DELICIOUS). I paired it with crusty bread, because it’s literally the most perfect thing that you could ever pair with this soup!

Check out Shanika’s interview here!

Season 1, Episode 3: Britney Brown-Chamberlain

Episode 3 brought one of my best friends in the whole wide world, Britney Brown-Chamberlain from Britney Breaks Bread! Y’all, cooking with Britney is like cooking with your best friend in the kitchen. I’m so glad we were filming an episode because I swear nothing would have gotten done if we weren’t!

I love Britney so much and can’t wait to make her Pepper Steak recipe again! Thank you so much Britney for your friendship and your overall dopeness! I’ve so enjoyed being part of your community, Friend!

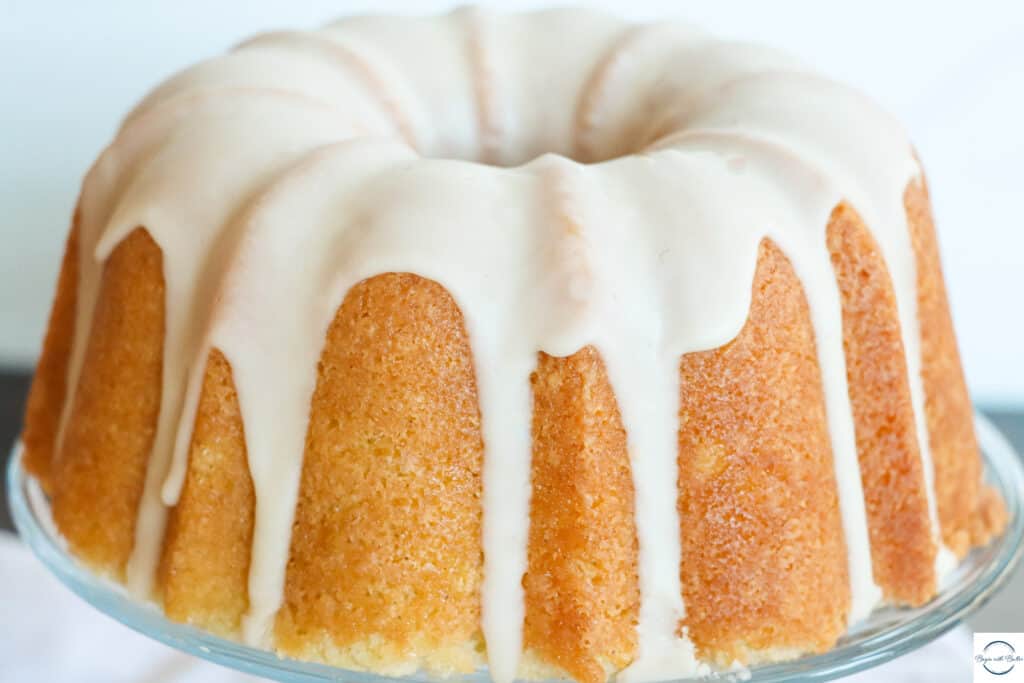
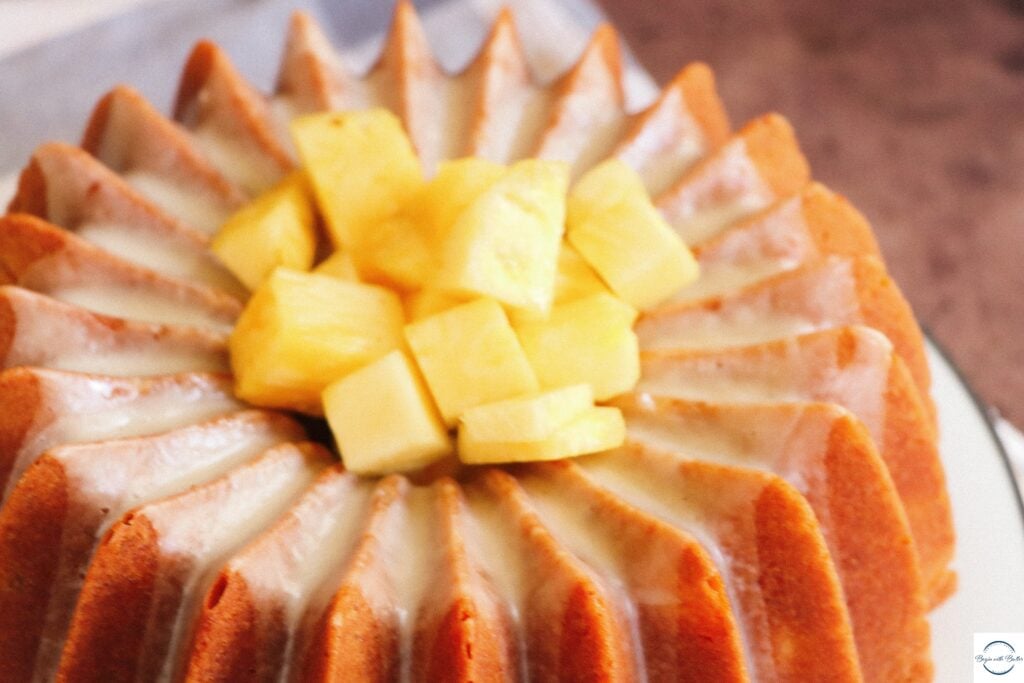
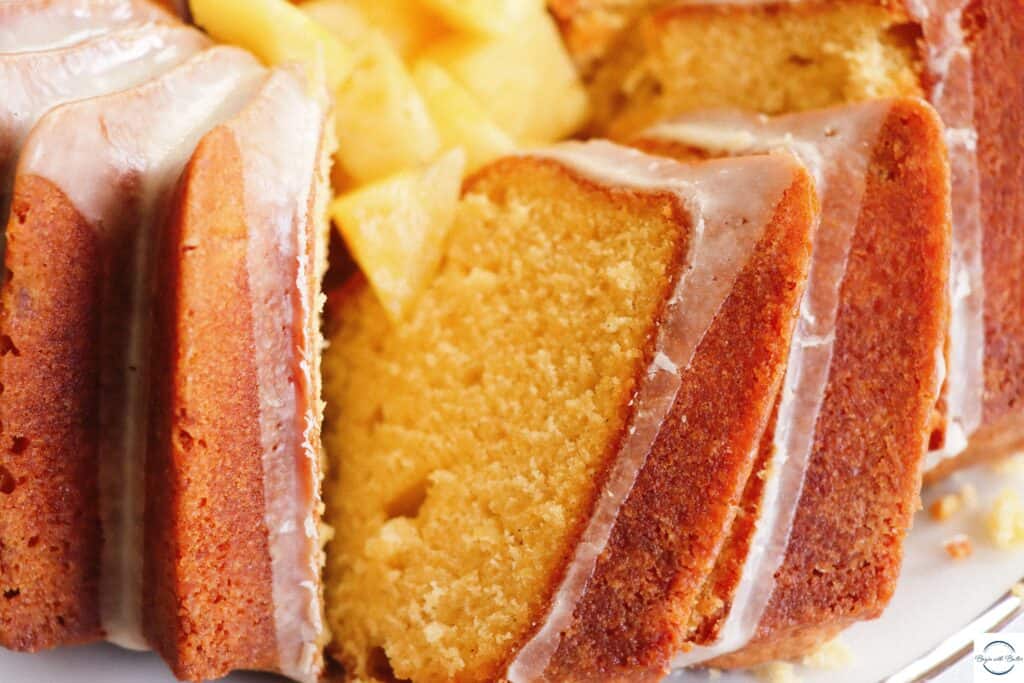
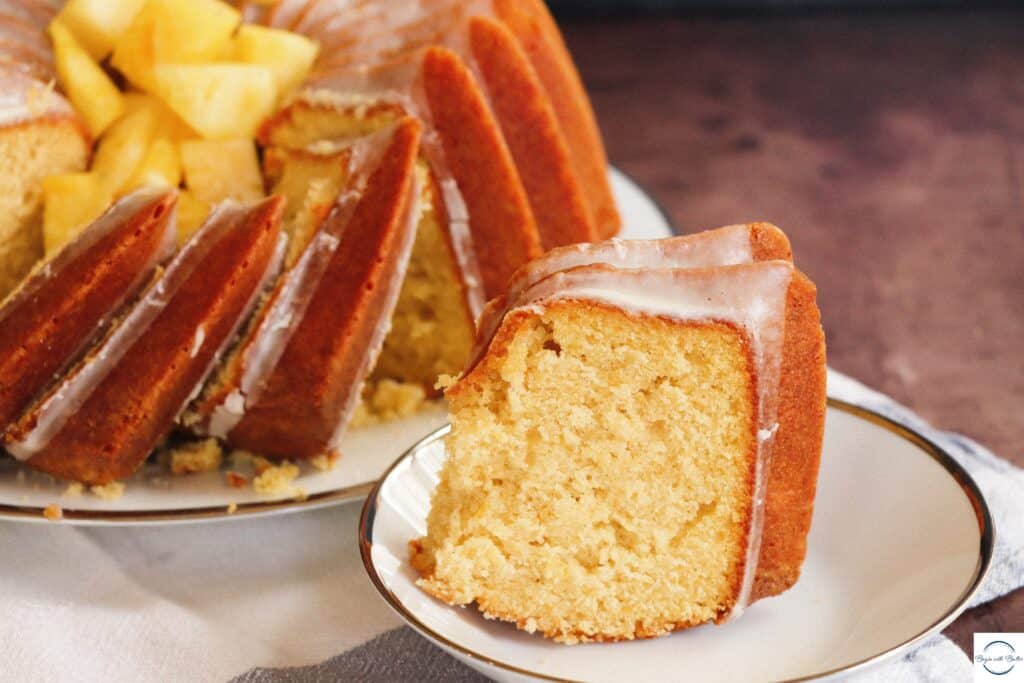
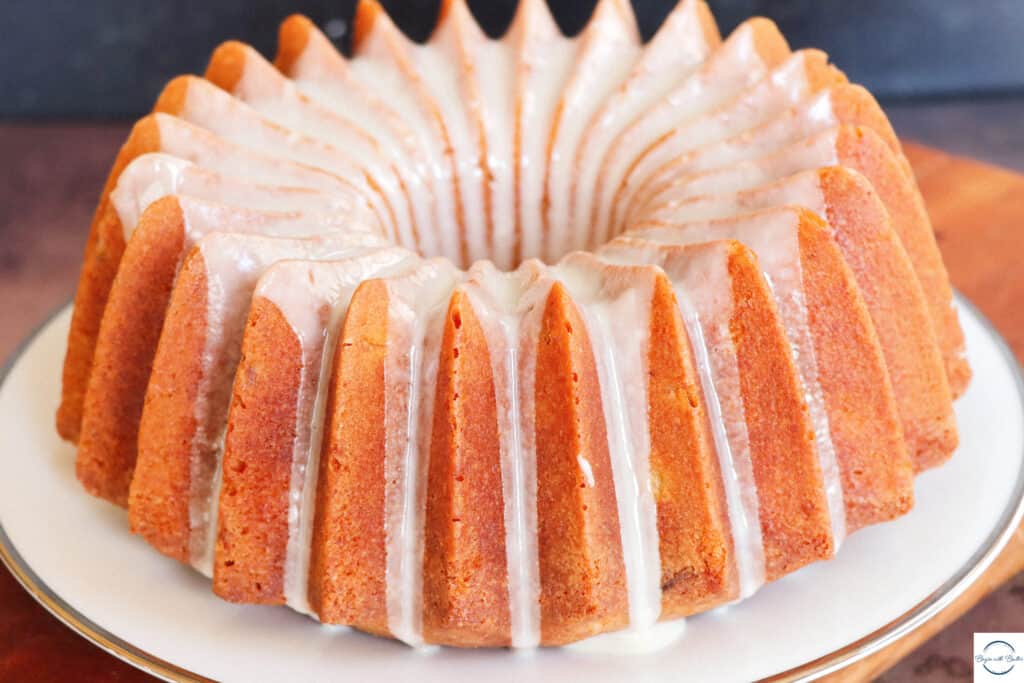
For her episode, I paired her delicious Pepper Steak with my Very Vanilla Pound Cake. This cake has become an instant classic on the Begin with Butter site and I hope you all love it too!

Check out Britney’s episode here!

Season 1, Episode 4: Rashad Jiles

Friends, my Friend Rashad from Rashad Eats the World is an absolute whiz when it comes to making foods from around the world. We laughed so much during this interview, and he tried to help me salvage my cookout invite every which way he could!

We made Rashad’s Nashville Hot Chicken Tenders, which are a flavor that you MUST TRY NOW. His recipe is super top secret, but if you’re nice, he might share it with you!

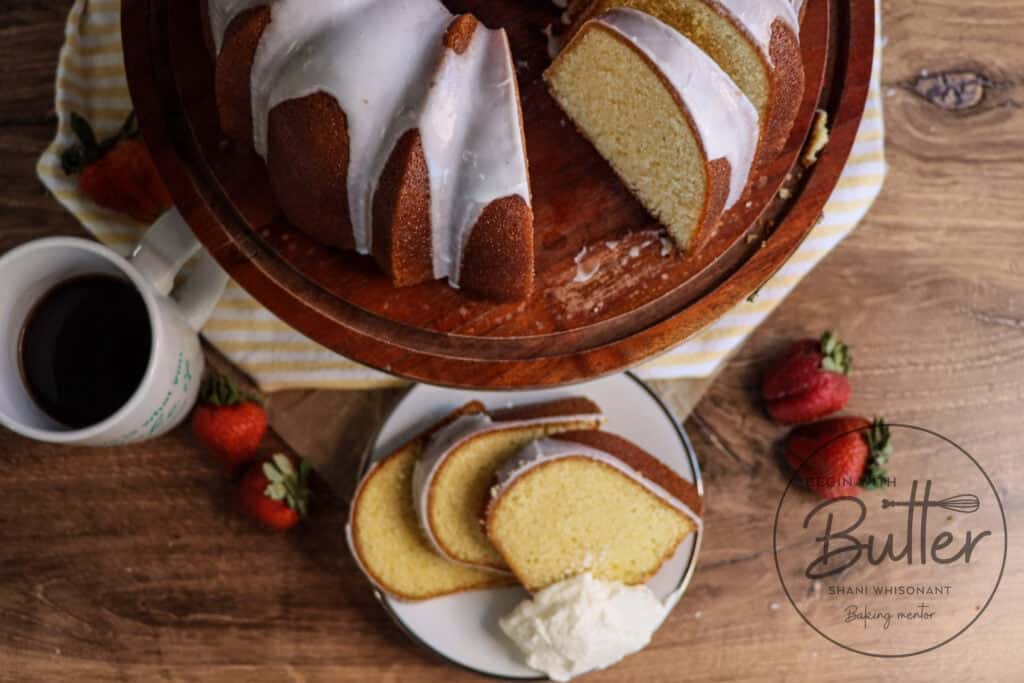
Because nothing goes better with fried chicken than pound cake, I paired my classic Sour Cream Pound Cake with this meal. And I was so happy that I did!

You can watch this absolute delight of a human being’s interview right here!

There are so many incredible guests lined up for the show over the next few months. Next up is LaKita Anderson from Simply LaKita! She’s such a super cool individual and we have so much in common. I can’t wait for you all to meet her!

Want to meet her live? Join us tomorrow, April 15, 2023 at 2:30 ET on my YouTube channel! We’ll be talking about her Roasted Chicken Thighs with Potatoes and Carrots, as well as her connections to Virginia and Alabama, two places that I love dearly.

I am so proud of this podcast and look forward to seeing it grow. I invite you to join me as we chat with these delightful culinary geniuses from week to week, and as usual, I’ll Bring Dessert!

See you soon, Friends!
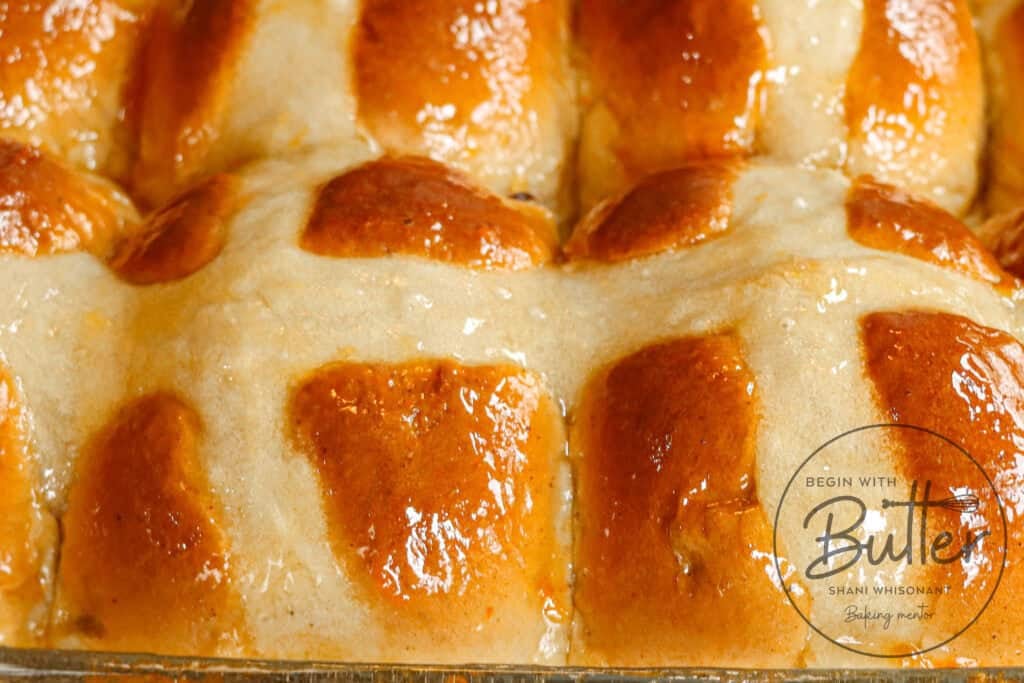
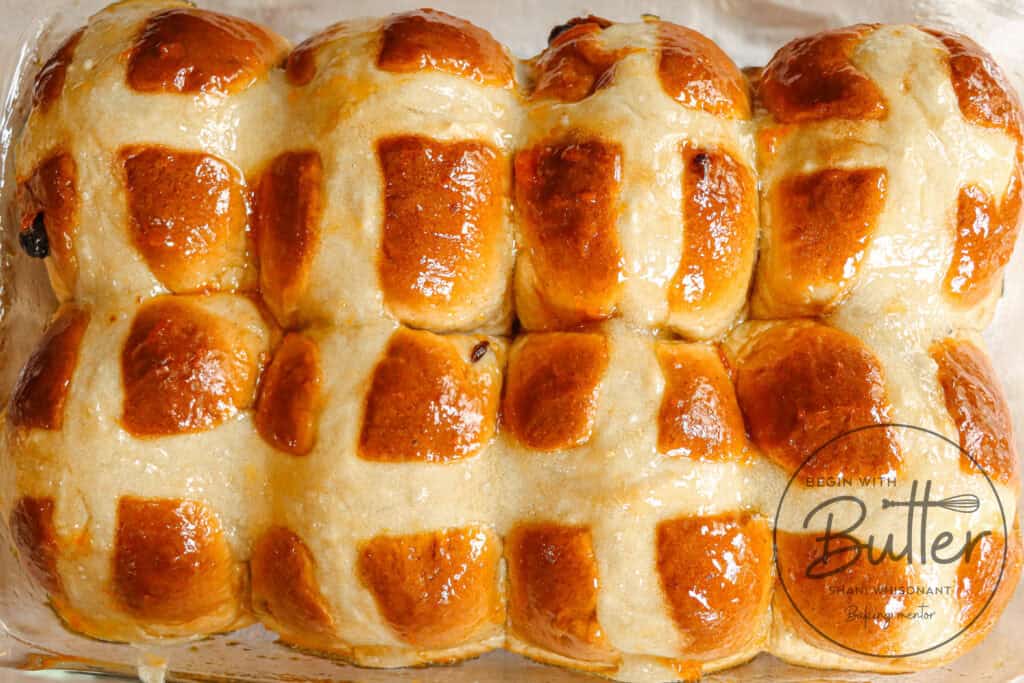
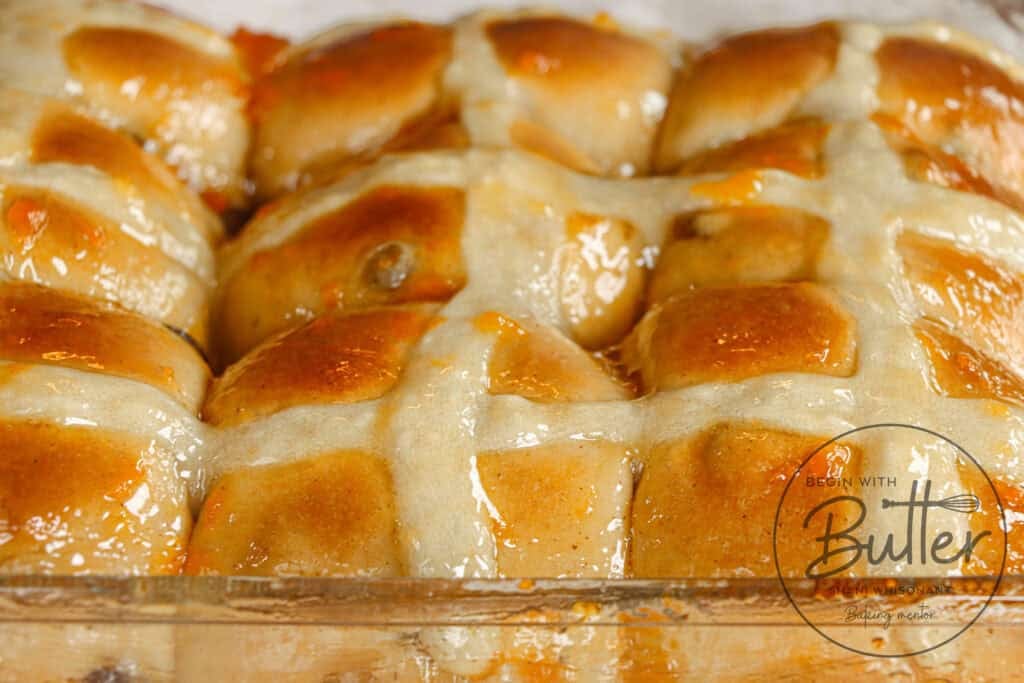
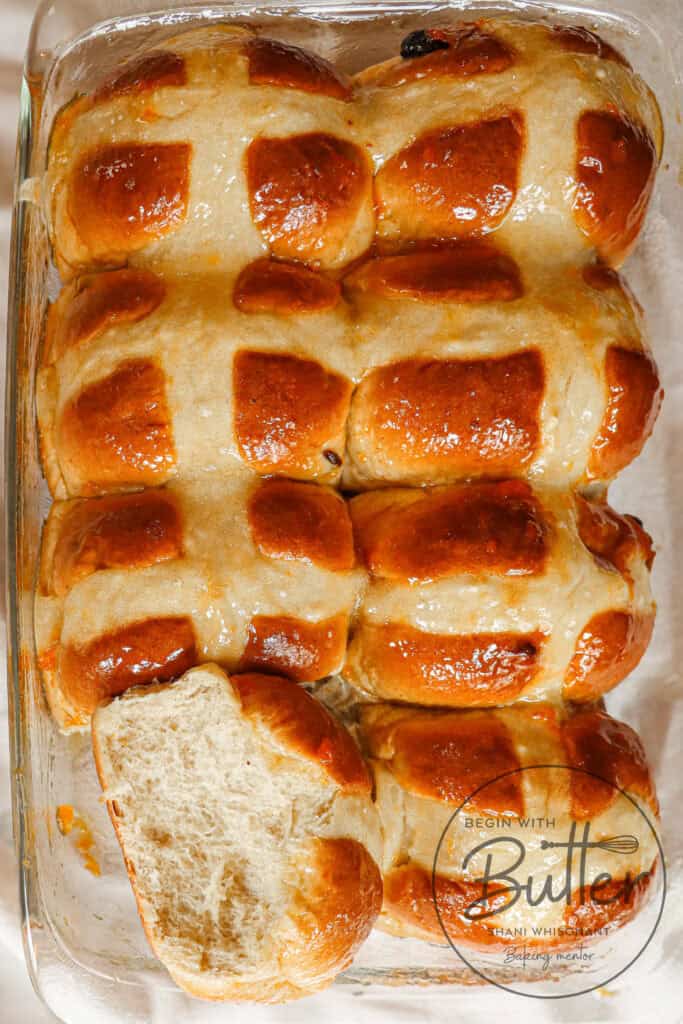
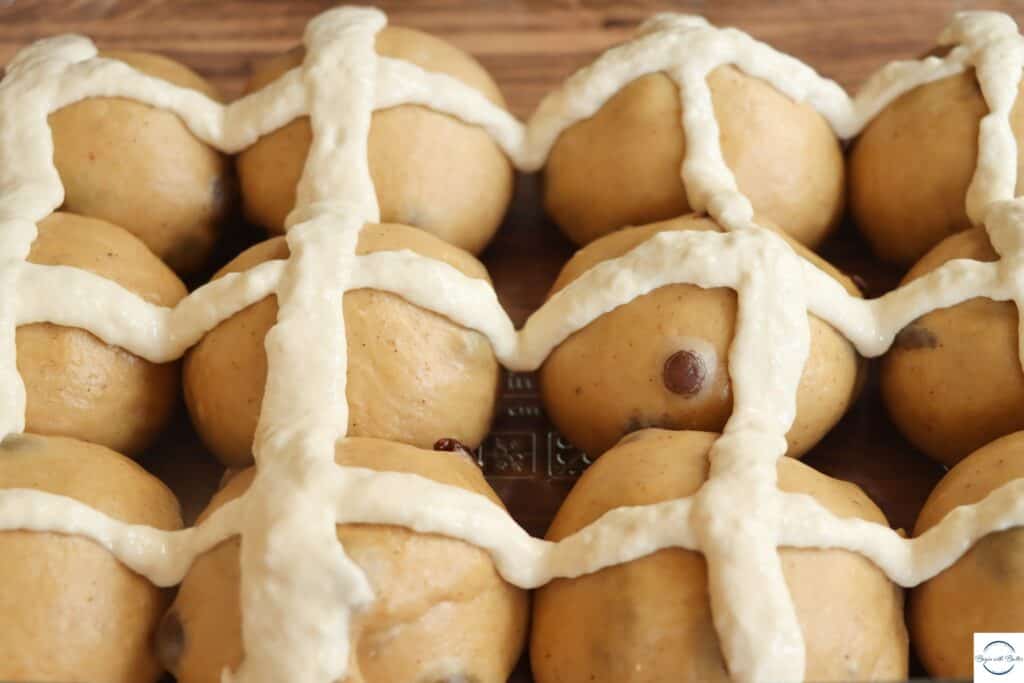
Sweet Potato Pineapple Pound Cake

18

I *very excitedly* told my children that this Sweet Potato Pineapple Pound Cake was coming to the blog this week while we drove to school one morning.

Daughter: Is this a late April Fool’s Day joke?

Son: Why would you do that?

Well, Friends, THE JOKE IS ON THEM because this is, quite literally, one of my favorite pound cakes of all time. I ate this and slow danced by myself in the kitchen. This cake was hugging me from the insides and, as my father-in-law likes to say, tasted like more.

Great Scott I loved this cake! And yes, Friends, I can confirm that sweet potato and pineapple definitely go together. Even my son liked it, admitting that “it was good”.

About this Sweet Potato Pineapple Pound Cake

This cake uses crushed pineapple and sweet potato puree. The two together create an unbelievable texture for this particular cake, one that is dense and moist and…utterly perfect.

It’s sweet and subtly tangy from the pineapple, and also subtly sweet from the sweet potato. The pineapple glaze? Forget about it. It’s over-the-top incredible, and the perfect sweet addition at the end of the prep time.

The hardest part about making this cake is waiting until it’s completely cooled to consume it. But you can do this!

Ingredients in this Sweet Potato Pineapple Pound Cake

Stick with me here, Friends. The ingredients list looks much more daunting than it truly is!

All-Purpose Flour: All-purpose flour helps create the specific, special texture to this cake. The higher protein content helps to create the thick, dense-but-moist deliciousness that is key for this cake.

Kosher Salt: Salt helps to balance the sweet in baked goods. The tiny amount of salt in this recipe perfectly counterbalances the granulated sugar, as well as the sweetness in the pineapple and the sweet potato.

Cinnamon: The tiny kiss of cinnamon in this cake gives it just a hint of spice. It’s enough to make you feel warm and giddy, but not enough to overpower the wonderful flavors from the pineapple and sweet potato.

Ginger: Ginger adds a beautiful, warm element to this special cake. It’s the perfect compliment to the pineapple and sweet potato, and it helps bring the two special ingredients to their full potential. The ginger might *seem* like it’s a lot, but it’s truly the perfect amount!

Baking Soda: Pineapple is an acidic ingredient, making baking soda the appropriate leavening for this cake. Please don’t substitute baking powder!

Unsalted Butter: Butter is a star in this cake! It adds special flavor, and also the creaming process creates air pockets that allow this cake to rise into the special Sweet Potato Pineapple Pound Cake of your dreams! Use good butter for this cake, and make sure that it’s room temperature before you begin.

Eggs: The fatty yolks add flavor to this amazing to this cake, while the protein-rich egg whites assist with the texture and rise.

Granulated Sugar: Granulated sugar adds sweetness to this cake, but it also helps with caramelization! That gorgeous crust on the outside of your cake is largely due to the sugar in this recipe!

Vanilla Bean Pod: The mighty vanilla bean pod does so much in this cake. It truly plays above its weight and adds beautiful warmth and vanilla flavor. If you’re substituting vanilla extract, use a teaspoon. You won’t get the full vanilla flavor that I intended with this recipe, it it will still be over-the-top amazing.

Sweet Potato Puree: The sweet potato adds just a bit of sweetness to this cake, but, even more notably, it helps create the absolutely unctuous, delicious texture of this cake. I prefer to use homemade sweet potato puree (think: mashed sweet potatoes), but you can absolutely use canned sweet potato puree. Just don’t use sweet potato pie filling!

Crushed Pineapple: Use the juice and the pineapple for this cake! The sweet-tart flavor is truly an excellent addition. Once you have what you need for the cake, reserve some of the juice for the pineapple glaze as well.

Beginners Start Here

If you’re new to baking, or if you want to learn how to do some of the more tricky baking techniques, here are a couple of super helpful articles from the BwB site (and a resource from the BwB Home Baking Academy!) that will help you get set up for success with this Sweet Potato Pineapple Pound Cake.

These resources are extremely helpful to help you build consistency (and confidence) in your baking. Need more help? Feel free to send me an email at hello@beginwithbutter.com!

Important Tools Used in this Sweet Potato Pineapple Pound Cake

Below, you’ll find some tools that I used for this incredible cake. These are tools that I use all the time in my own kitchen.

**I get paid a small commission if you purchase directly from these links, but they are truly amazing products that you’ll find in my kitchen.**

If you have them already, great! Think of this as a checklist to help you build the confidence that you’ll need to execute this recipe!

This cake is proof that unexpected flavors can sometimes work very well together! So well, in fact, that they can create new favorites. I have no idea why I wanted to put these flavors together so desperately, but Friends, I am so glad that I did. It’s my great hope that you’ll be glad as well!

Frequently Asked Questions About the Sweet Potato Pineapple Pound Cake

Why does the butter have to be room temperature before I start?

It’s exceptionally important for all of your cold ingredients to be room temperature before you begin. Room temperature ingredients create a smooth, cohesive batter that bakes evenly and creates the optimal texture in the finished cake. Cold ingredients (especially cold butter) can lead to chunky batter that’s…unpleasant.

What’s your favorite pan to use for these pound cakes?

I am a huge fan of Nordic Ware pans. They bake up beautifully every time. My Nordic Ware pans are all 10-cup pans, and they always fit all of the batter I put into them. I use them interchangeably for pound cakes and have never had a problem with overspill.

Why is this recipe written in metric?

The name of the game in baking is accuracy. Accuracy leads to consistency, which elevates your baking confidence to levels you never thought you could reach. How do I know? Because that’s exactly what happened to me!

Metric measurements are the smallest units of measurement, which means that they produce the most consistent and accurate results. So, I strongly recommend putting away the measuring cups (both liquid and dry!) and using a digital kitchen scale to measure most of your ingredients. This one recommendation alone will improve your baking exponentially!

Do I need to make my own sweet potato puree?

It’s my preference to make homemade sweet potato puree, but that does increase the amount of time that it takes to make the cake. To make my sweet potato puree, I peel, rinse and dice one large (or two medium) sweet potatoes. I add them to a pot with just enough water to cover the sweet potatoes, and then I boil them until they are soft (about 12 minutes after they start boiling). Once they are soft, I use a potato ricer to mash them to the perfect consistency.

Once the potatoes are the right consistency, set them aside and wait until they are cooled to room temperature to use them. If they are too warm, you will scramble the eggs in your cake batter and that is no good! You could also make the sweet potato puree a day ahead and place it in the refrigerator once it’s room temperature. To use, you would just take it out of the refrigerator at the same time as your other cold ingredients!

If you don’t want to do this process, trust me, I understand. You can absolutely use canned sweet potato puree and still make a fabulous cake. We just always have sweet potatoes in the house, so this hasn’t been a need for me.

Why a vanilla bean and not vanilla extract?

I tested this recipe with both vanilla extract and vanilla bean, and I found that the vanilla bean really shone through. The sweet potatoes and pineapples are heavy hitters in this case (both for taste and texture), and I was determined to have a vanilla addition that truly added the je ne sais quois that I was looking for with this cake. I found that special element when I added a vanilla bean.

You can achieve an element of vanilla with vanilla extract, but it won’t be nearly as special as it is with the vanilla bean. You can find an incredible price vanilla beans on Amazon!

Enjoy this recipe, my Friends! It is one for the record books and I cannot wait for you to try it!

Very Vanilla Pound Cake

BBs, I have a dear son who is positively ga-ga over vanilla cake. He doesn’t care for chocolate. He needs to be in the mood for spice cake. And a lot of the specialty pound cakes on this site don’t appeal to him one lil’ bit. 😂 So, one day, I decided to make the most vanilla pound cake his little self had ever seen.

I worked, and worked, and worked on that cake, and I just *knew* the fourth iteration of this Very Vanilla Pound Cake was going to knock his socks off, Friends.

NOPE. The response was disastrously underwhelming. “It’s not vanilla enough.”

My ear took that as a challenge to create the most vanilla cake my family has ever eaten. And we ended up here, with the most deliciously vanilla pound cake I’ve ever created. It’s rich, buttery, and FULL of absolutely delicious vanilla flavor.

The night I made this final cake, I went to bed with it mostly intact, and awoke this morning to more than half of it gone. I have not been able to ferret out the culprit, but my investigation continues.

Vanilla lovers, this one is an ode to you.

In this Post:

About this Very Vanilla Pound Cake

This Very Vanilla Pound Cake shines because of one simple ingredient: the humble vanilla bean. There is nothing that infuses vanilla quite like this source ingredient. It’s so simple, yet it gives such a complex vanilla flavor to this cake that it makes this cake perfect for special occasions.

And, if you’re taking this to a family gathering, the smell that emanates from the box when you open it will absolutely arrest everyone in the immediate vicinity. That’s a guarantee. It is unmistakably everything that is vanilla: the warm, sweetly luxurious scent captures you instantly. Even before the first cut of this cake, you’ll have the undivided attention of all the partygoers.

This pound cake also features my favorite pound cake texture; for me, that means a pound cake that I can put in a napkin and walk around with and not lose a crumb. It’s that dense-yet-moist texture that is quintessentially “pound cake” to me. I have eaten (and enjoyed) pound cakes with this texture since I was a little girl, so it’s hugely nostalgic for me to be able to now create such pound cakes from my own imagination.

Ingredients for the Very Vanilla Pound Cake

One of the absolute best things about this special pound cake is its short ingredient list. Be sure to source the best ingredients you can find; every single one will sparkle in this recipe.

All-Purpose Flour: All-purpose flour is the star of a pound cake, IMHO. The higher protein content helps create the incredible texture that reminds me so much of those pound cakes of my youth. Also, if you want a pound cake that conforms to these beautiful bundt pans and creates a stunning masterpiece, you’ll want all-purpose flour; cake flour doesn’t hold those gorgeous designs nearly as well.

Baking Soda: This cake uses sour cream as the liquid. For this reason, baking soda is the appropriate leavening. Don’t substitute baking powder in this recipe; it’s not the right tool for the job.

Kosher Salt: Every baked good needs salt to counteract the sugar. A little goes a long way, so be careful when you’re measuring!

Unsalted Butter: Room temperature, unsalted butter is perfect for this cake. The butter helps create the perfect texture in this cake; the creaming process creates beautiful little air pockets that help the leavening work even better!

Vegetable Oil: One tablespoon of oil helps this cake stay moist for a longer period of time. My favorite oil for baking is avocado oil, since I love its neutral flavor profile..

Granulated Sugar: Sugar adds sweetness to our cake, but it also aids in caramelization! And with pound cakes, that beautiful golden crust is largely due to the caramelization from the sugar!

Eggs: The egg whites in this cake add structure to the cake, while the fatty yolks add flavor. Make sure to take your time whilst adding the eggs! Too much liquid at one time will cause your batter to separate.

Whole Vanilla Bean: This cake uses the seeds from an entire vanilla bean pod. You need not ever worry whether this cake has enough vanilla in it. That, friends, is a lot of vanilla. If you prefer less of a vanilla flavor, you can substitute a tablespoon of pure vanilla extract.

Sour Cream: I loved the final texture that sour cream lent to this cake. In a pinch, you can also use 250 grams (1 cup) of buttermilk. The cake won’t be as rich if you do, since sour cream is about 18% fat, and full-fat buttermilk is only about 1.5-2% fat.

Beginners Start Here

If you’re new to baking, or if you want to learn how to do some of the more tricky baking techniques, here are a couple of super helpful articles from the BwB site (and a resource from the BwB Home Baking Academy!) that will help you get set up for success with this Very Vanilla Pound Cake.

These resources are super helpful to help you build consistency and confidence on your baking journey. Happy Reading!

Important Tools Used in this Very Vanilla Pound Cake

Below, you’ll find some tools that I used for this pound cake. These are the tools that I use all the time in my own kitchen.

**I get paid a small commission if you purchase directly from these links, but they are truly amazing products that you’ll find in my kitchen.**

If you have them already, great! Think of this as a checklist to help you build the confidence that you’ll need to execute this recipe!

This cake is extremely special to me. To see the smiles on my family’s faces as they absolutely crushed this cake (and then snuck additional pieces…I’m looking at you son) brought me so much joy. I love being able to provide something so wholesome for them, and I love making memories with them over food.

Enjoy the recipe, Friends!

The Recipe

Classic (and XL!) Hot Cross Buns

It is not right how quickly I just ate two Hot Cross Buns. Just back to back. They are sweet and slightly spicy and sticky and just…perfect.

But, as I’ve said before, quality control is one of the most important parts of my job. So, of course, that’s why I did it.

About These Hot Cross Buns

Hot Cross Buns are traditional for Easter, and these deliver on that classic tradition. They contain cinnamon, nutmeg, and cloves, which make them a beautifully spiced treat. They have brown sugar, which gives an additional level of decadence that cannot be matched. They are literally packed with plumped raisins, which delighted my adult and child testers alike.

In other words, these Hot Cross Buns are literally meant to disappear from sight in record time.

You’ll love adding these to your Easter table. I can’t wait for you to make them! Prepare yourself…the ingredients list is long, but I assure you that these Hot Cross Buns are beyond worth it.

Also, the recipe makes either 8 or 12 Hot Cross Buns. The technique is exactly the same, but expect the larger buns to take 3-5 minutes longer in the oven. Oh, and the XL version is SUPER impressive!

Hot Cross Bun Dough Ingredients

Raisins: You’ll plump up the raisins before using them to give them an extra delicious texture in these Hot Cross Buns.

Whole Milk: You’ll want to use whole milk in this recipe, to take advantage of the full fat content. You can use 2% in a pinch, but I wouldn’t use 1% or skim in this recipe.

Yeast: Yes! These are yeast rolls! But don’t worry. You can absolutely accomplish these incredible, impressive rolls. Feeling a little timid about yeast? You can check out Bread Bootcamp for 50% off right now with code SPRING! You’ll never feel insecure again about working with yeast!

All-Purpose Flour: I tried this recipe with both all-purpose and bread flour. I preferred the texture of the finished buns just a bit more with all-purpose flour. You could absolutely use bread flour for these incredible buns; just expect a bit more chew!

Kosher Salt: Salt is very important in any dessert or bread. It helps develop flavor and also counteracts the sugar in your recipe, to keep the finished product from being too sweet.

Cinnamon: These Hot Cross Buns benefit from a kiss of cinnamon. It adds such a special flavor to this recipe and it makes the finished product truly irresistible.

Nutmeg: The slight amount of nutmeg in this recipe adds a big hit of warmth to these buns, and makes them super homey.

Cloves: Cloves are a super hero in these hot cross buns! The tiniest amount of clove gives a big punch of spice. So use it sparingly!

Brown Sugar: The brown sugar adds some sweetness, but also a depth of flavor from the molasses!

Granulated Sugar: Granulated sugar adds sweetness and caramelization to these Hot Cross Buns! I tried this recipe without the granulated sugar, and found that the sweetness level was a bit lacking. Granulated sugar saved the day!

Orange Zest: Want that je ne sais quois in your recipe? The thing that nobody can place (but keeps them coming back for more and more Hot Cross Buns)? Use the orange zest. It’s worth the additional effort.

Egg: The protein in the egg adds structure, while the fatty yolk adds delicious flavor.

Pure Vanilla Extract: Make sure to use the good stuff, like Nielsen-Massey, for this incredible recipe! Whatever brand you use, make sure you use pure vanilla extract! “Vanilla flavoring” is NOT THE SAME THING.

Unsalted Butter: While I treat the dough like a brioche (from a technique standpoint), it’s not, in fact, a brioche dough. However, the butter in this recipe will really shine, so use your absolute favorite baking butter for this recipe.

Beginners Start Here

If this is your first time baking bread, or you’re intimidated by yeast, or if it’s been a while since you baked, here are some resources from the BwB website and the BwB Home Baking Academy that will help you be successful with these Hot Cross Buns!

While these aren’t mandatory reading, they are extremely helpful resources that will definitely help you execute this recipe to a T.

Important Tools Used in these Hot Cross Buns

Below, you’ll find some tools that I used for these Hot Cross Buns. These are the tools that I use all the time in my own kitchen.

**I get paid a small commission if you purchase directly from these links, but they are truly amazing products that you’ll find in my kitchen.**

If you have them already, great! Think of this as a checklist to help you build the confidence that you’ll need to execute this recipe!

I hope you enjoy these Hot Cross Buns this Easter! Happy baking, Friends!

Orange Creamsicle Spritz Cookies

2

Friends, I have made many, many batches of these Orange Creamsicle Spritz Cookies.

Not because the recipe wasn’t great (it surely was!), but because it’s Spring Break here and my children wouldn’t stop eating the cookies from the cooling rack. It went something like this:

Make a batch, put them on a cooling rack, and go to a meeting. Return to half of them gone.

Make a batch, put them on a cooling rack, and go take a shower. Return to most of them gone.

Make a batch, put them on a cooling rack, and go outside to play with the dogs. Return to half of them gone. Again.

My children are equally responsible for their demise and my daughter doesn’t even like the taste of oranges. But I was able to guard this last batch with my life so that I could at least write this post.

About These Spritz Cookies

Spritz cookies are the absolute most adorable little confections ever. And they’re incredibly simple to make. So simple, in fact, that they’re a perfect accompaniment for a weeknight dinner! They look much more complex than they actually are, because you get to use a cookie press (note: this is an affiliate link) to make perfectly shaped cookies!

I recently started my new podcast, “I’ll Bring Dessert”. During the first episode of that podcast, I had the absolute honor of hosting my friend Hammed from The Prince Eats, and making his incredible Beef Lo Mein. We had a ball on the pilot episode, and you can watch it right here! The next live episode will be March 25th!

After looking at the ingredients for Hammed’s Beef Lo Mein, I knew I’d want a dessert recipe that was simple enough for one person to execute while another person was making the meal. And, while I originally thought that orange shortbread cookies would be perfection, in actuality these Orange Creamsicle Spritz Cookies fit the bill perfectly! They are the best combination of a sugar cookie and a butter cookie, and you can do the optional glaze for even more flavor.

Orange Creamsicle Spritz Cookie Ingredients

All-Purpose Flour: These wonderful cookies are so buttery and soft and perfect. All-purpose flour gives these one-bite cookies (don’t judge) a perfectly soft, chewy texture.

Baking Soda: This recipe uses my favorite citrus zest/sugar technique. Because citrus is an acidic ingredient, baking soda was the proper leavening for these cookies.

Kosher Salt: Salt is very important in any dessert; it balances the sugar and keeps the dessert from becoming cloyingly sweet. A little goes a long way in this dessert; resist the urge to use a “large pinch” of salt here, or it will overpower the delicate orange flavor.

Orange Zest: Friends. Do yourselves a favor and zest the orange for this particular recipe. Orange extract won’t give you the wonderfully delicate flavor that I was going for, but you can always sub 1/2 tsp of orange extract and add it at the same time as the vanilla extract. Don’t to both though!

Unsalted Butter: These cookies are very butter forward, in such a delightful way. The process of creaming butter and sugar ensures that these incredible cookies plump up beautifully, that they taste perfectly buttery, and that they’re a perfect 1-bite dessert. ?

Granulated Sugar: Granulated sugar adds sweetness to these cute cookies. Not too much, though!

Egg: The protein in the egg adds structure to these cookies, while the fatty yolk adds delicious flavor. All that from one egg!

Pure Vanilla Extract: Make sure to use the good stuff, like Nielsen-Massey, for this incredible recipe! Whatever brand you use, make sure you use pure vanilla extract.

I truly, truly hope you all love these Orange Creamsicle Spritz Cookies! My kiddos could not keep their hands off of them (even before they were glazed!), so I’m thinking that’s a good indication that they are truly as good as I hoped they would be!

Enjoy, Friends!