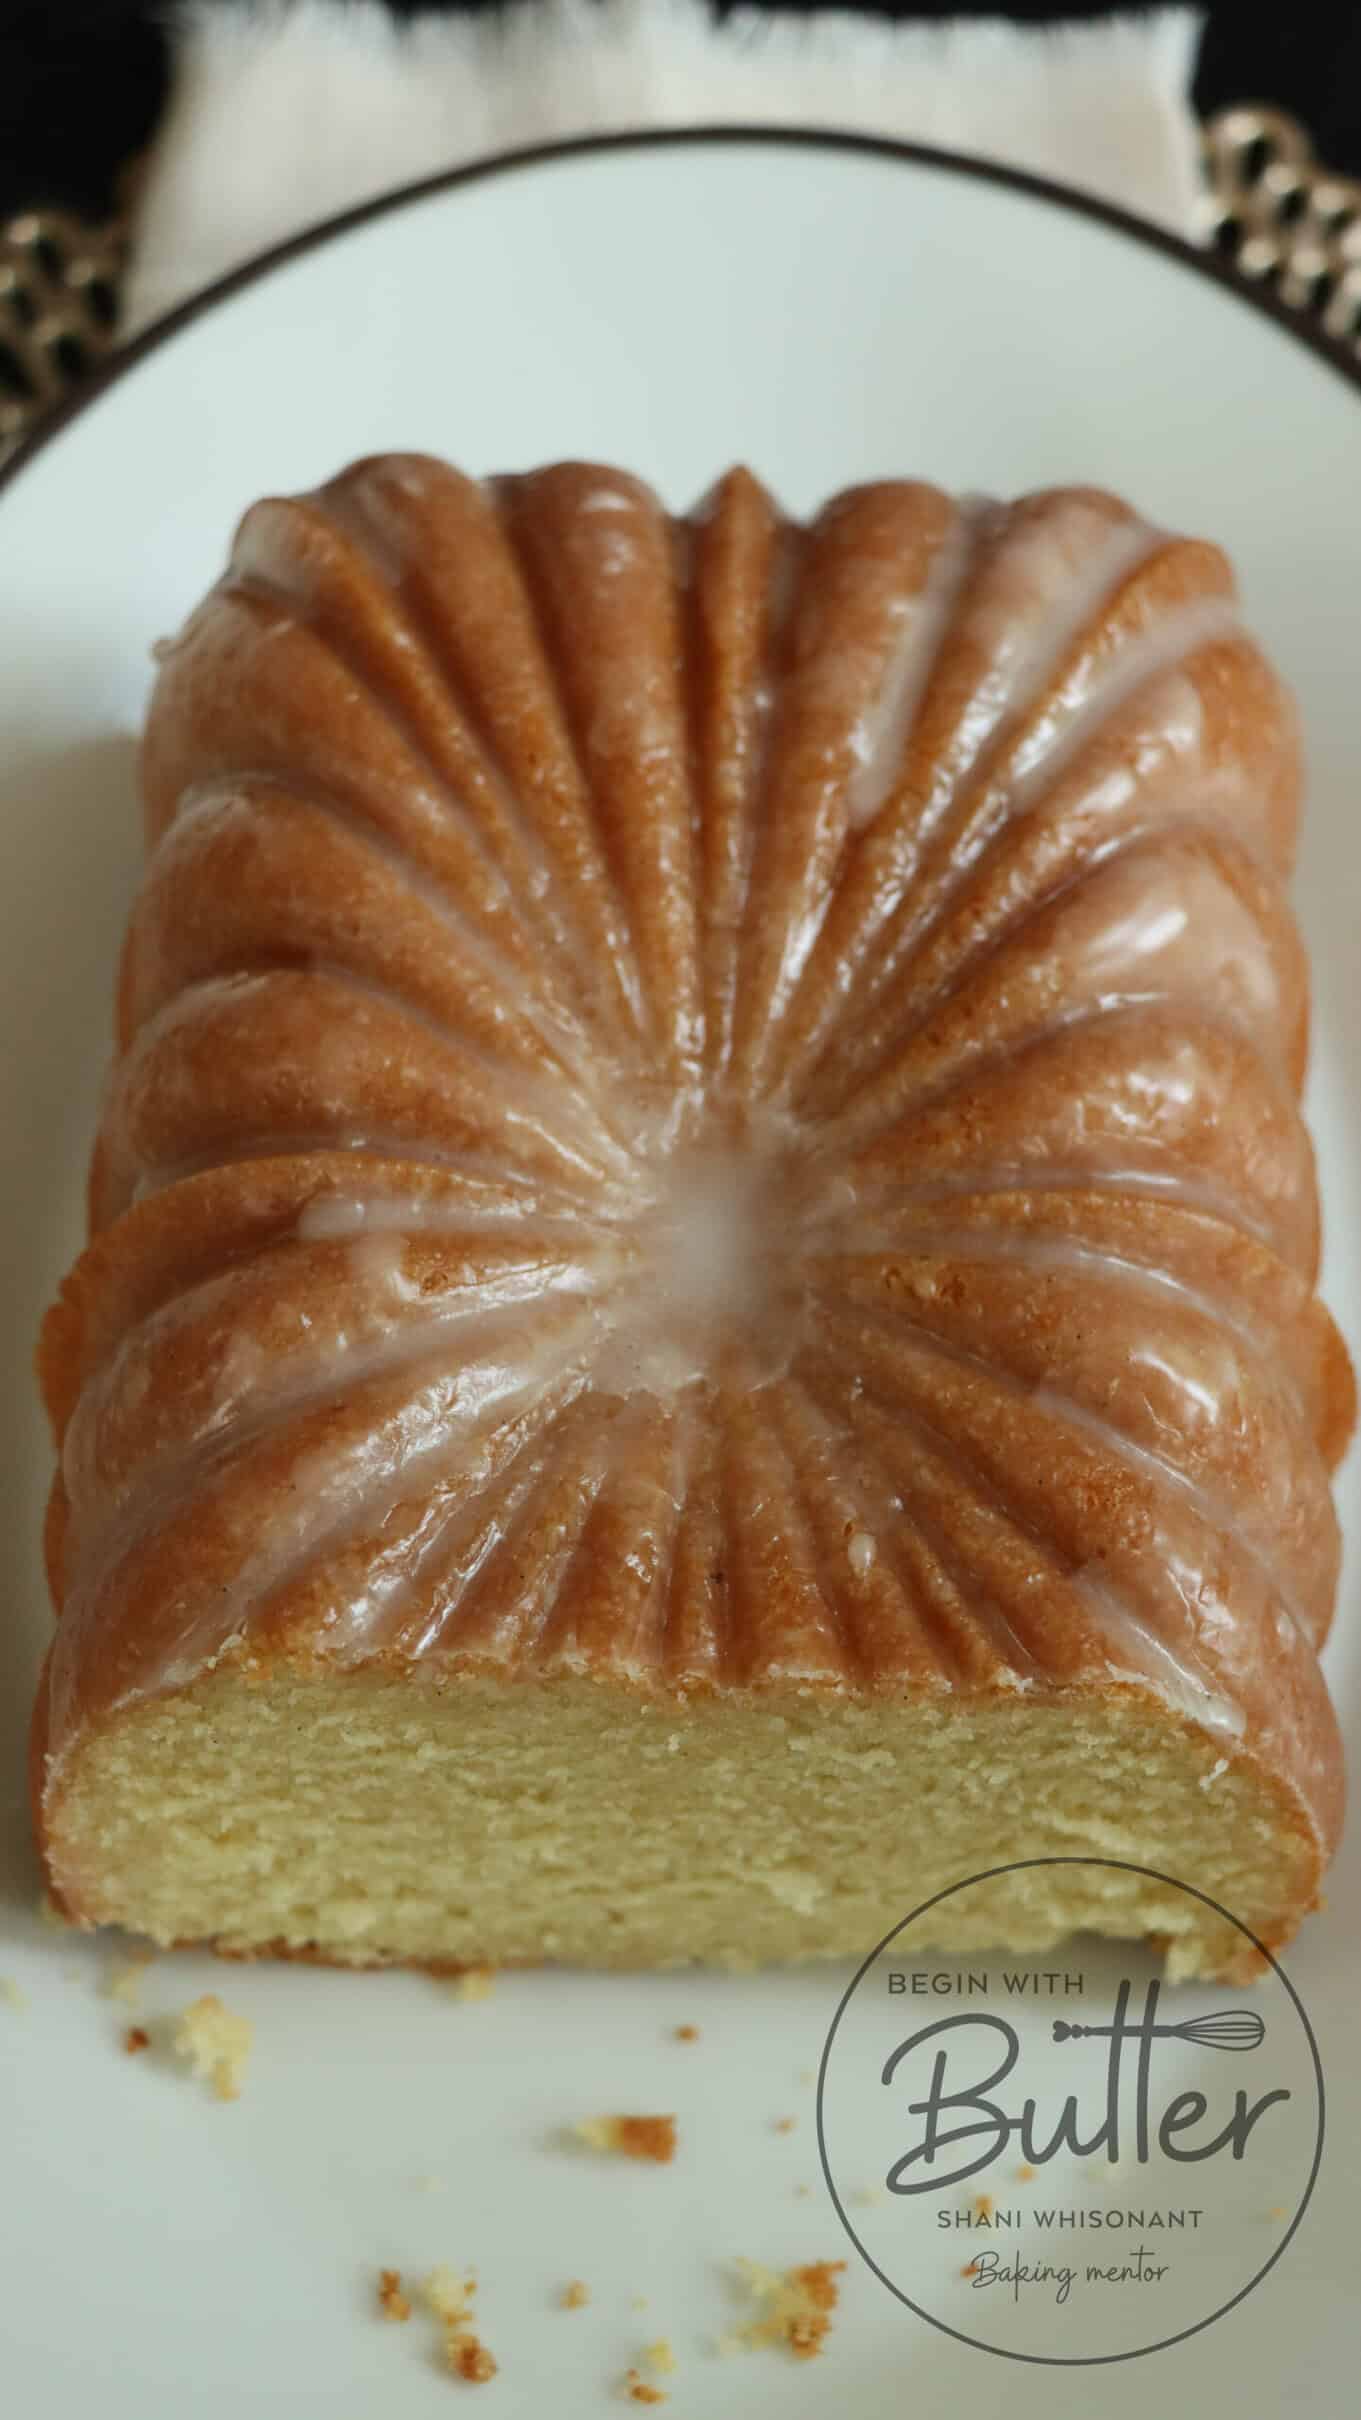
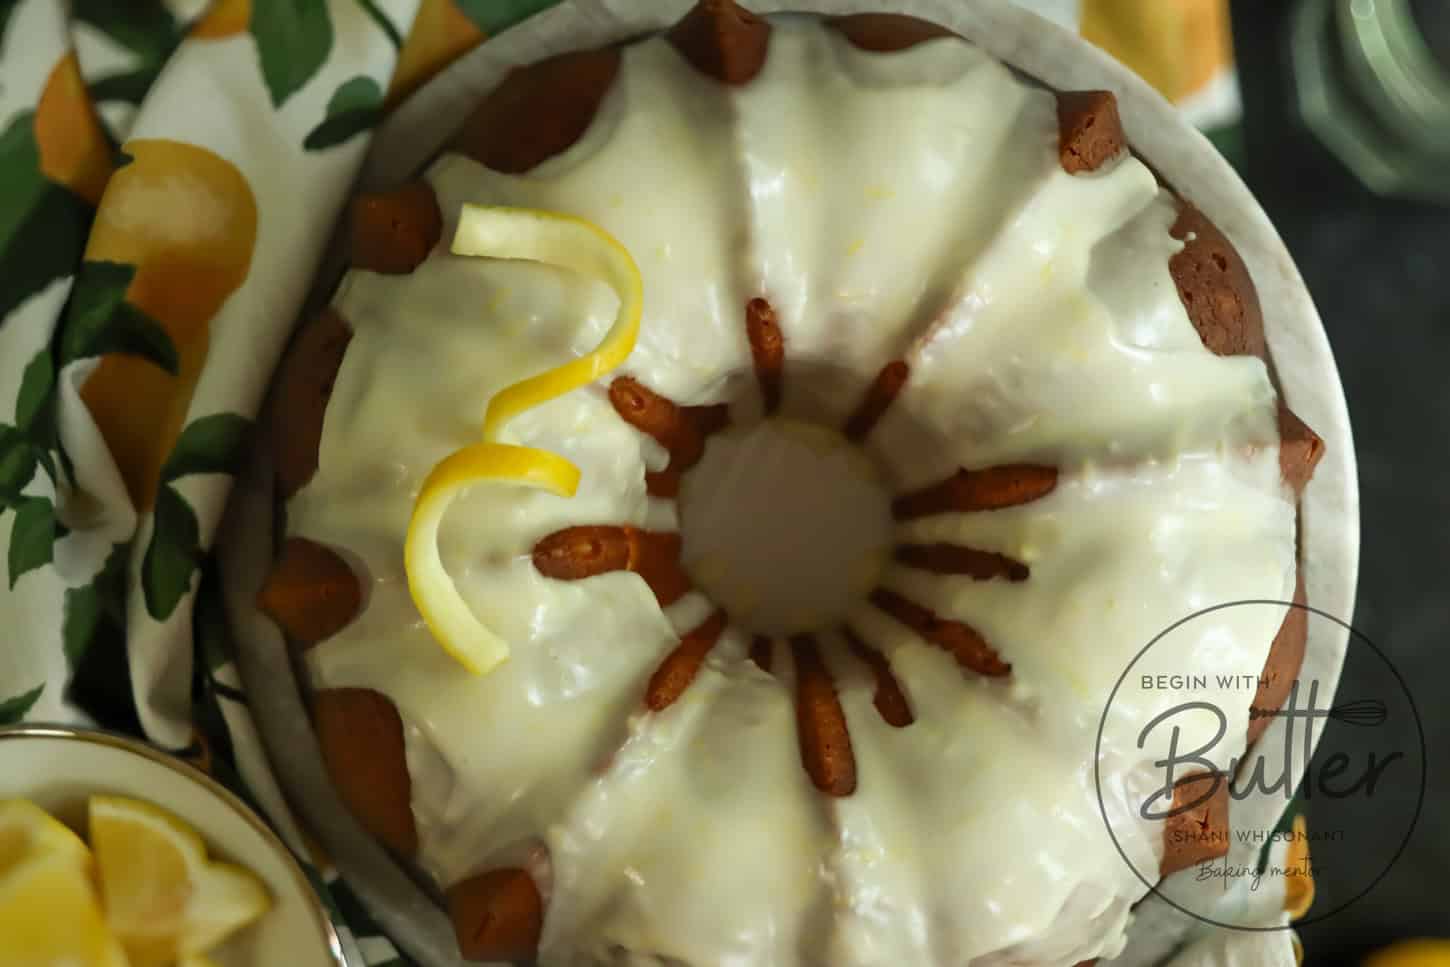
It’s the kind of lemon pound cake that whispers home before you even slice it: a fragrant cloud of real lemon and rich, buttery warmth filling the kitchen.
No neon-yellow flavorings here. Just honest ingredients — fresh lemon juice, good butter, and a method that rewards your care with a cake that stays tender for days.
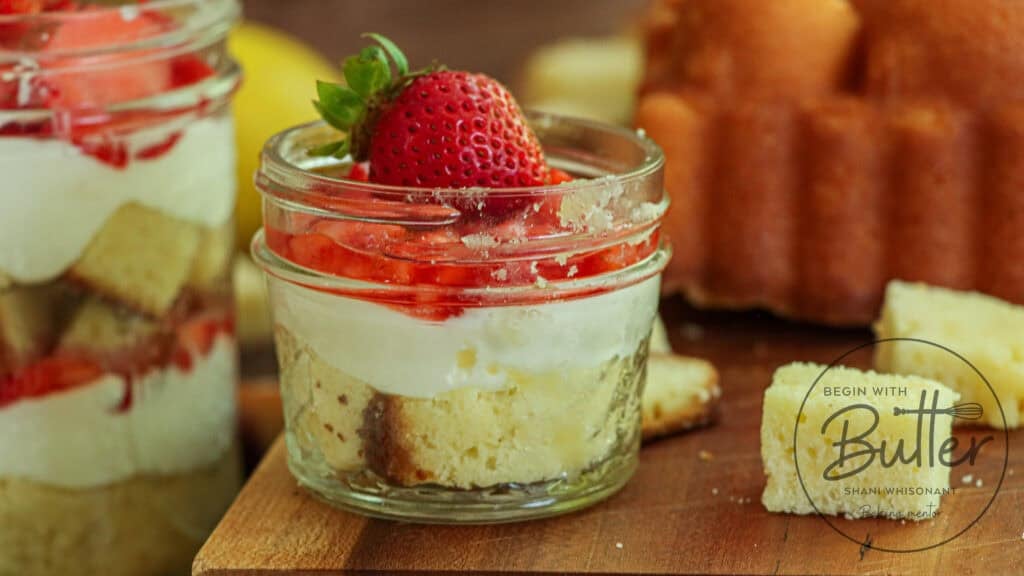
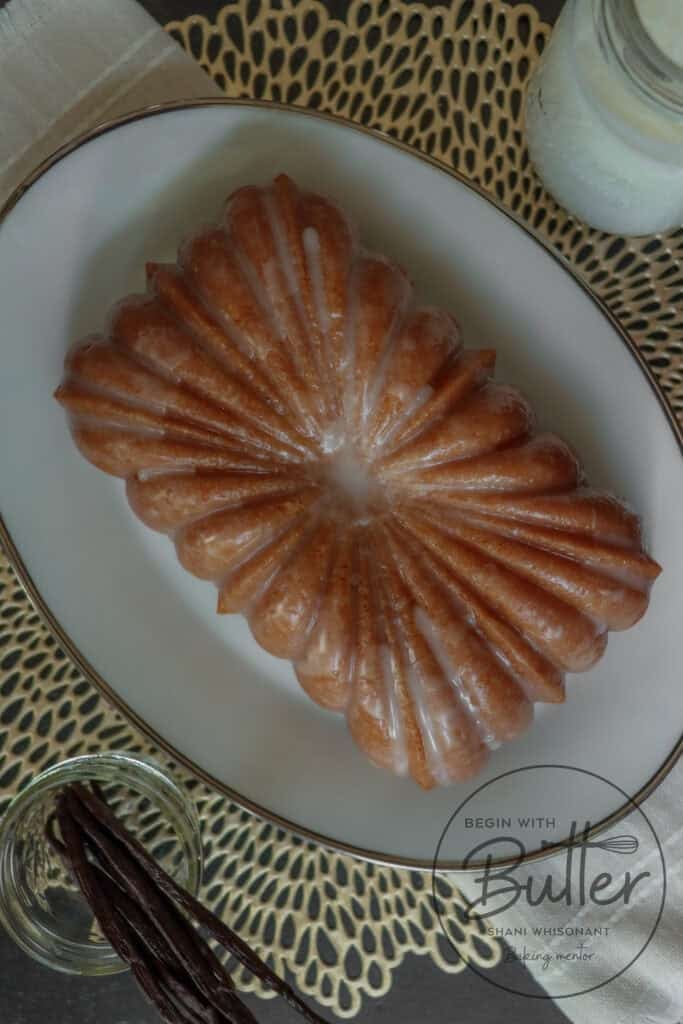
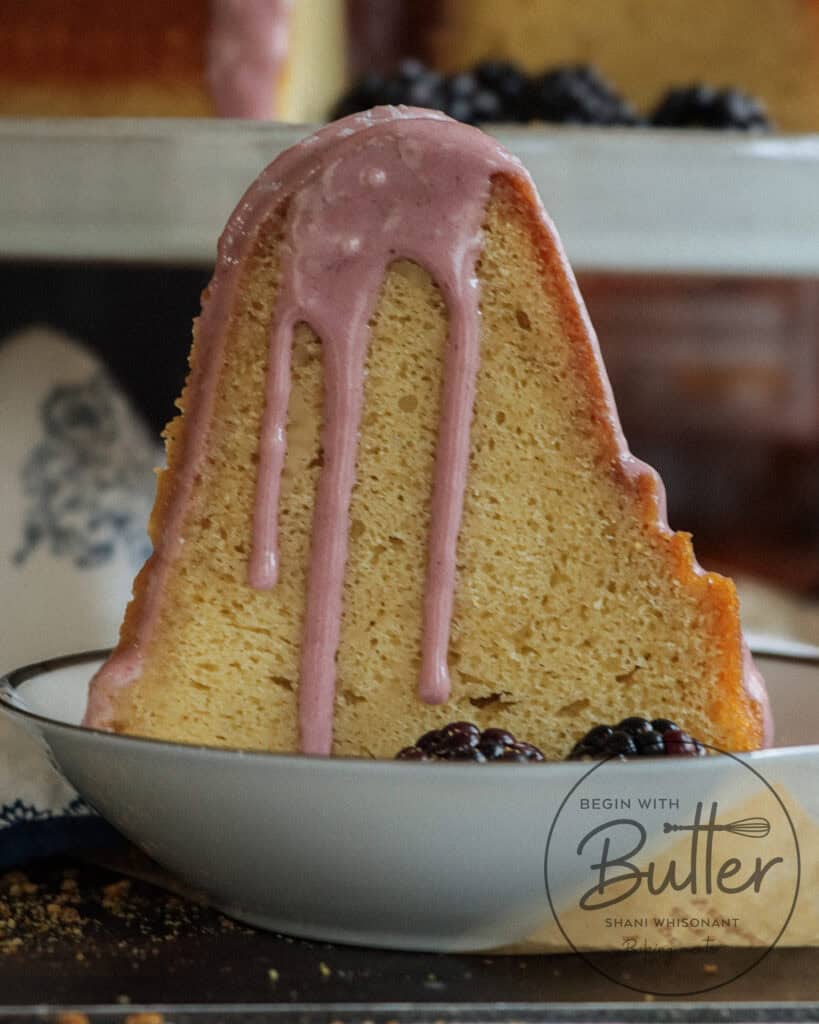
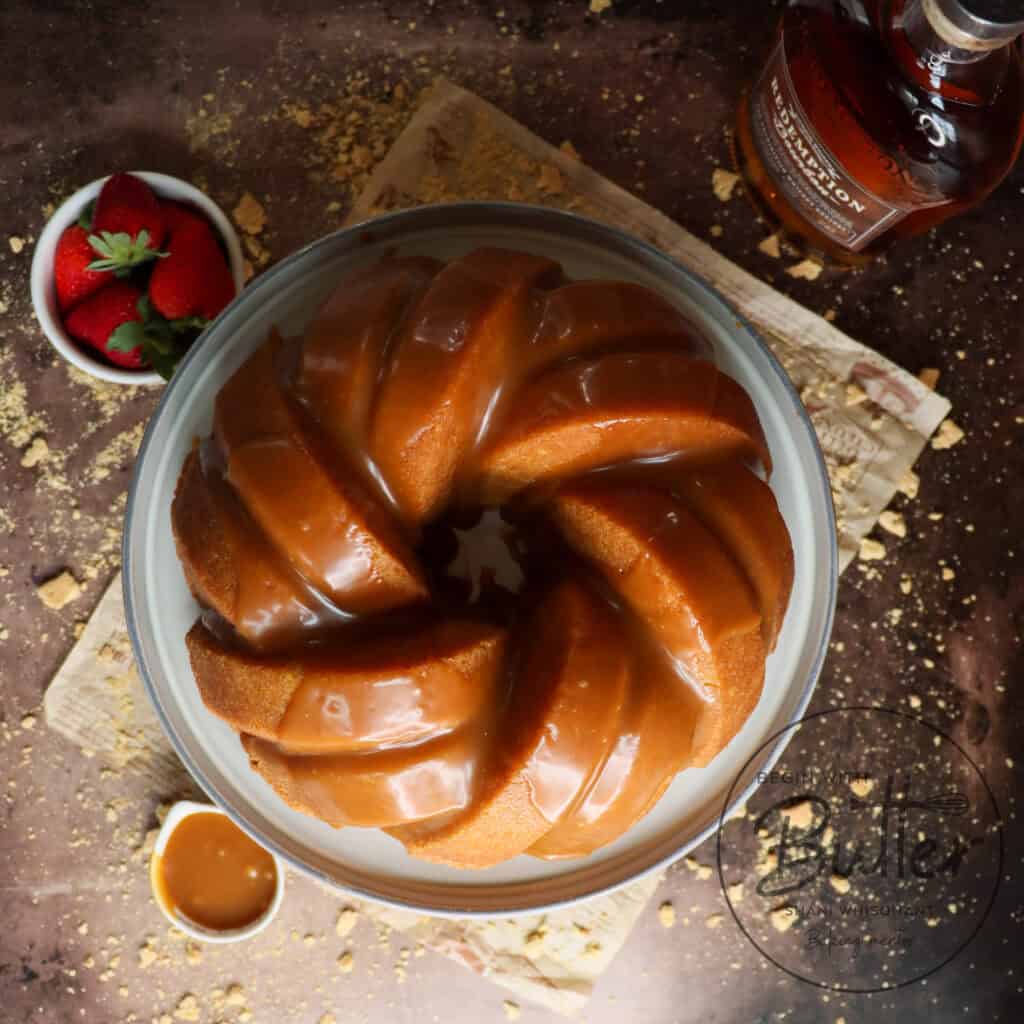
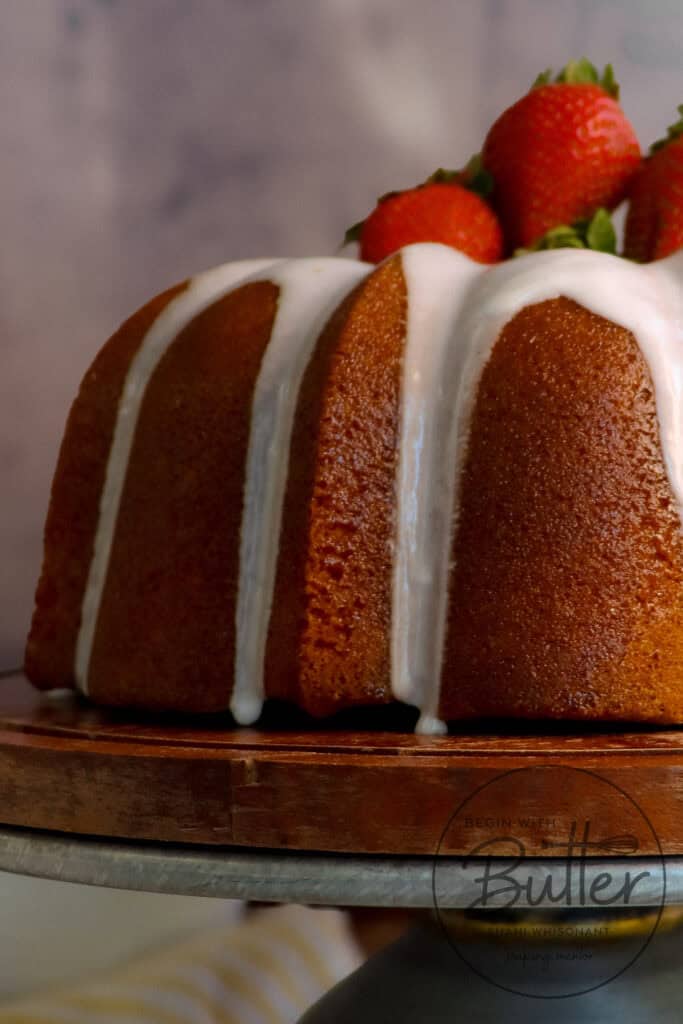
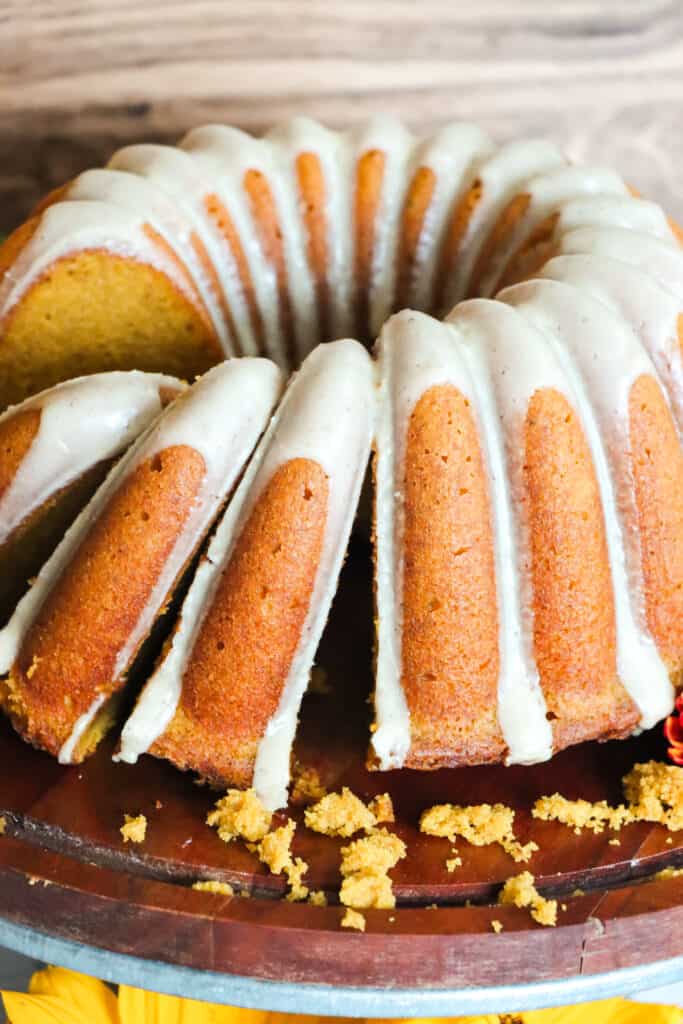
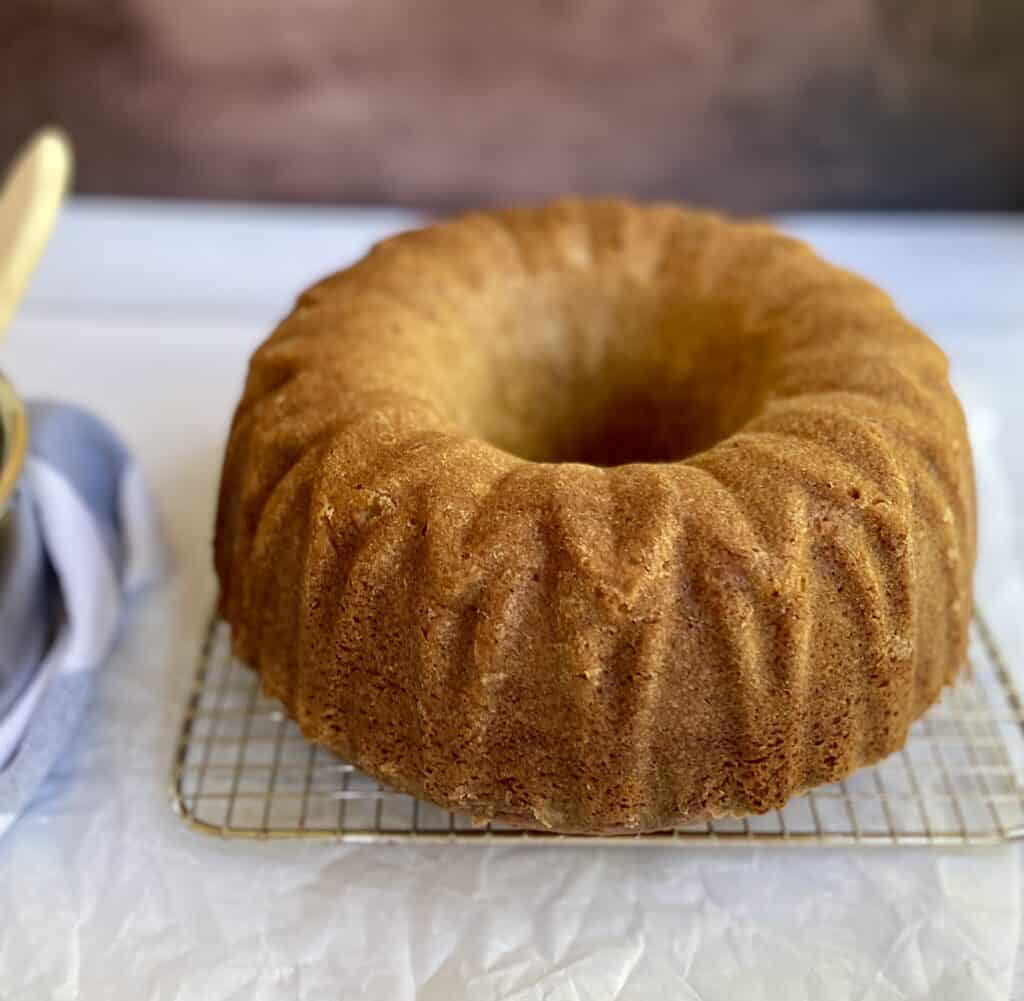
This is the kind of pound cake that feels like a celebration whether you serve it plain, dusted with powdered sugar, or crowned with a tangy glaze.
The kind of recipe that settles into your recipe box and stays there, worn at the corners from happy use.
Let’s bake.

Recipe-At-A-Glance
| Prep Time: | 1 hour (total) |
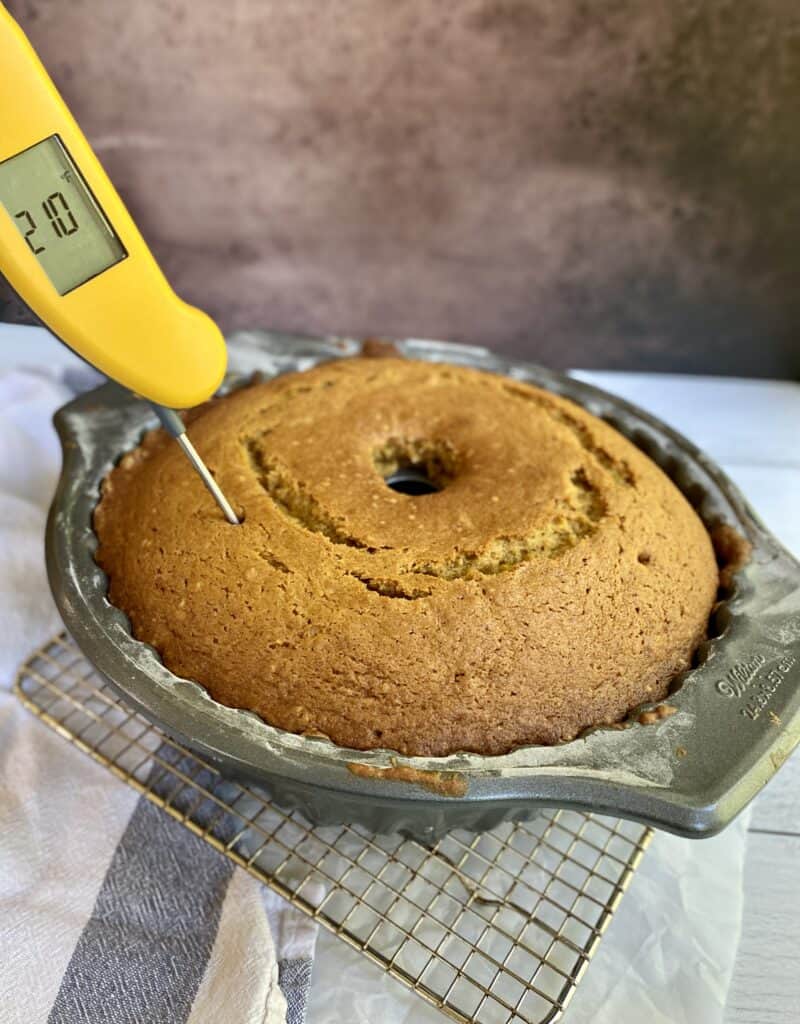
| Bake Time: | 55–65 minutes |
| Total Time: | ~5–7 hours (includes cooling) |
| Yield: | 12–14 slices |
| Key Flavors: | Bright lemon, buttery crumb, tender texture |
| Skill Level: | Beginner to Intermediate |
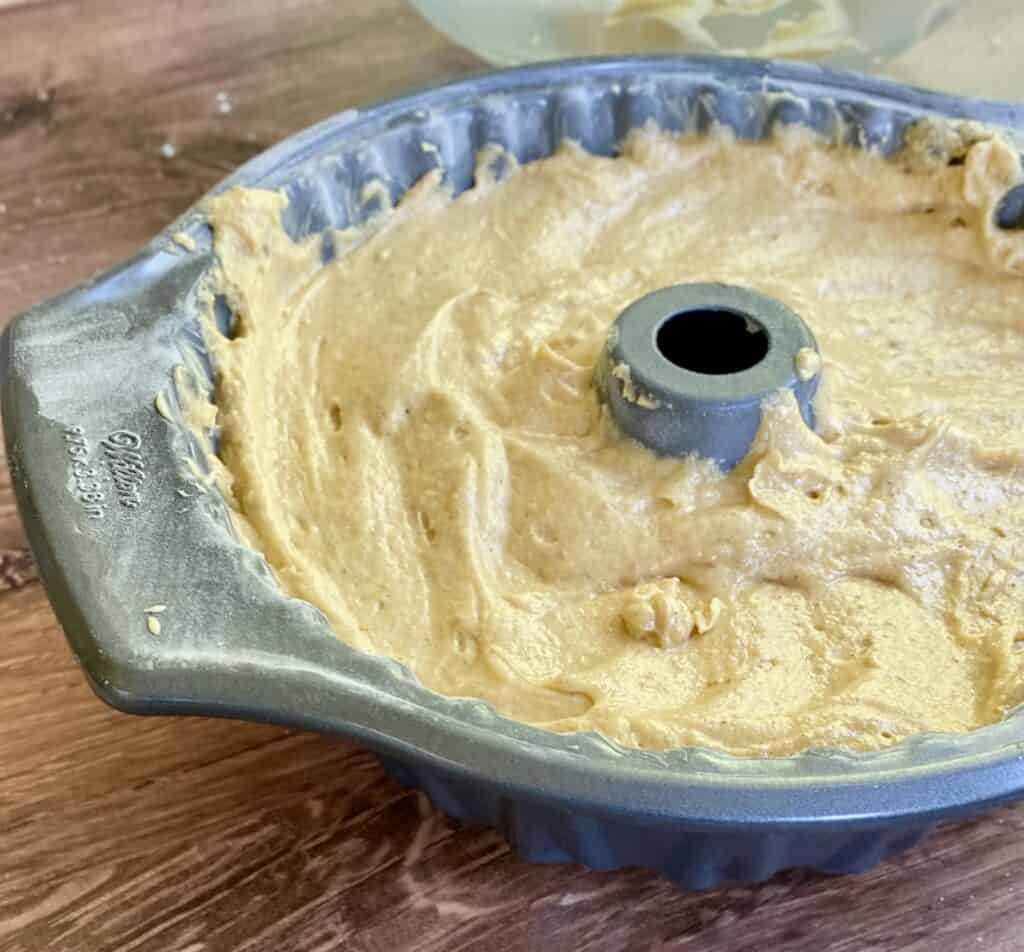
| Special Equipment: | Bundt pan (or tube pan) |
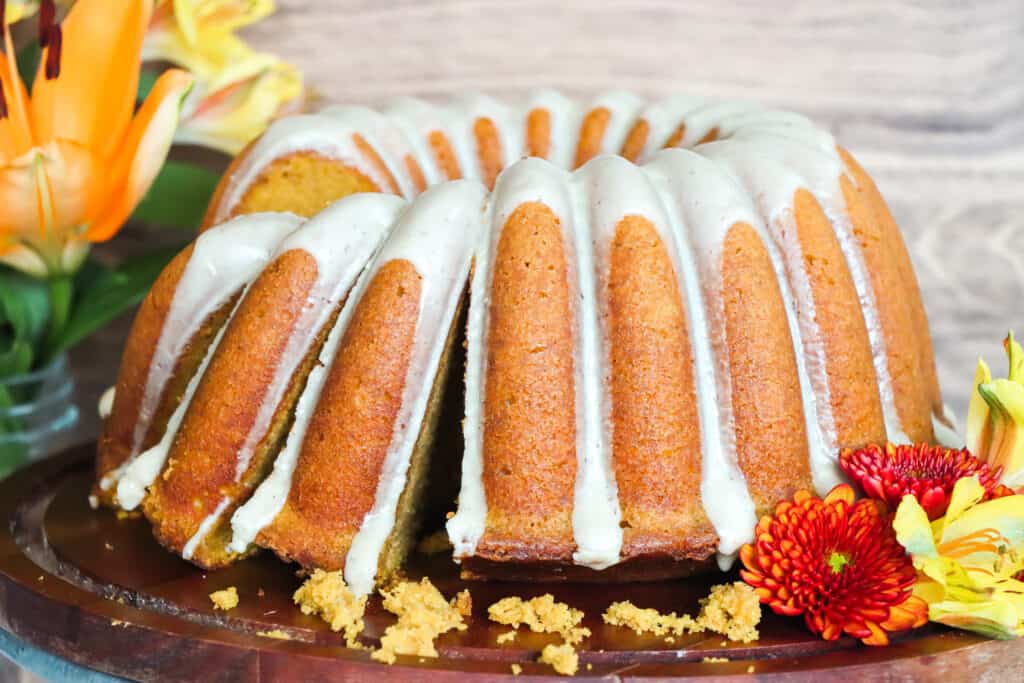
This Classic Lemon Pound Cake is pure sunshine in every slice — tender, richly buttery, and kissed with fresh lemon. Whether you’re baking for a special occasion or simply savoring a sweet moment, this cake brings joy with every bite.
About this Lemon Pound Cake
This Lemon Pound Cake is specifically for those who love love love lemon. It is not for the faint of lemon heart. If you’re sometime-y with lemon, then I assure you that this cake is not for you.
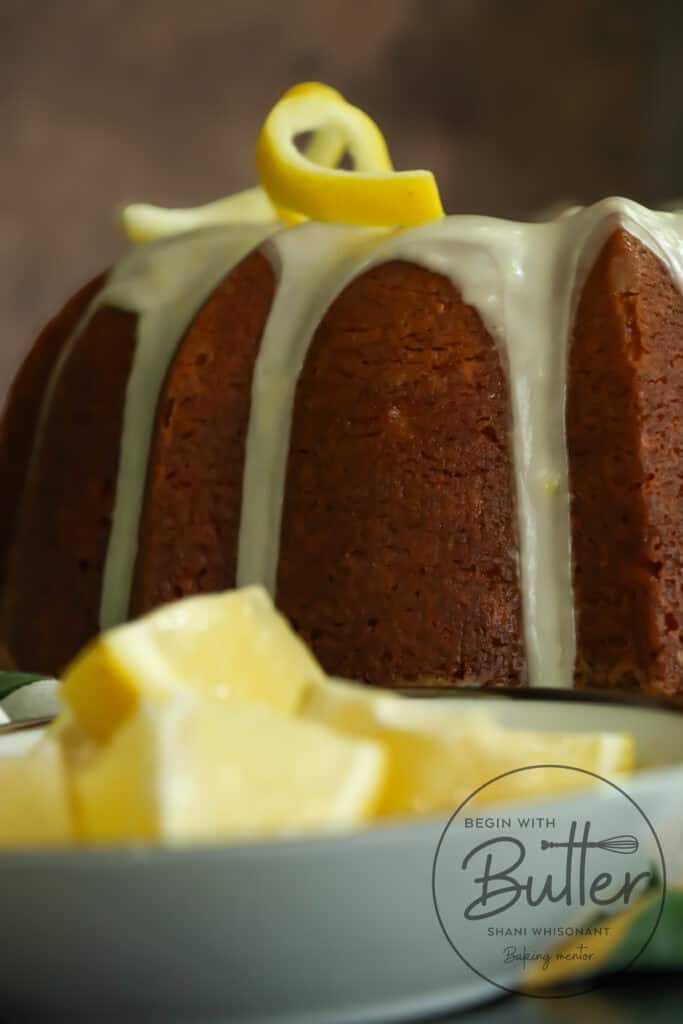
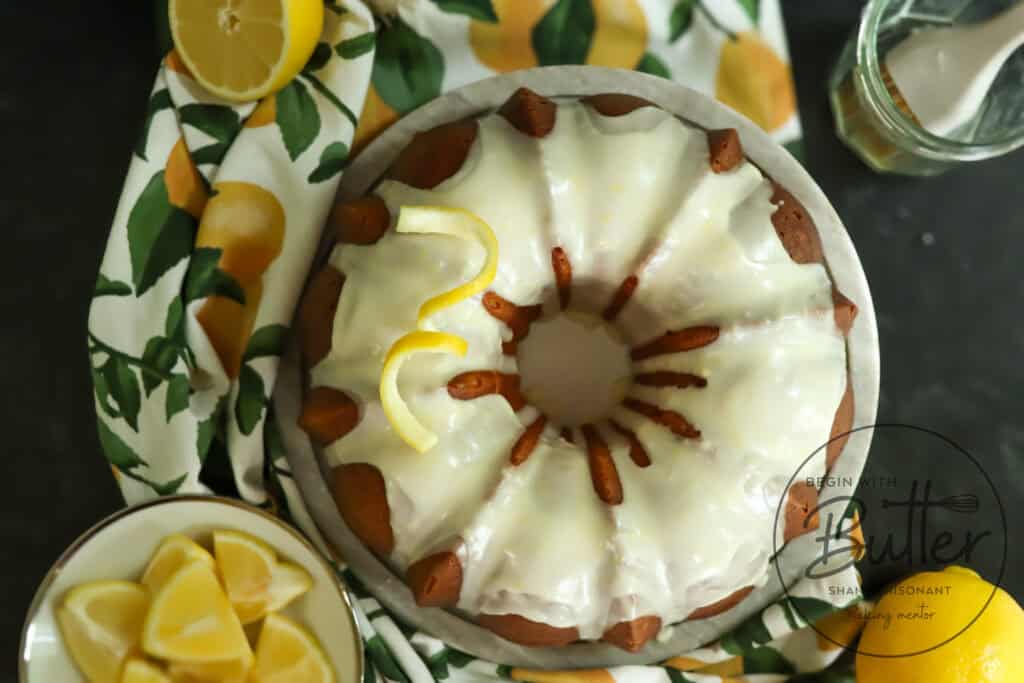
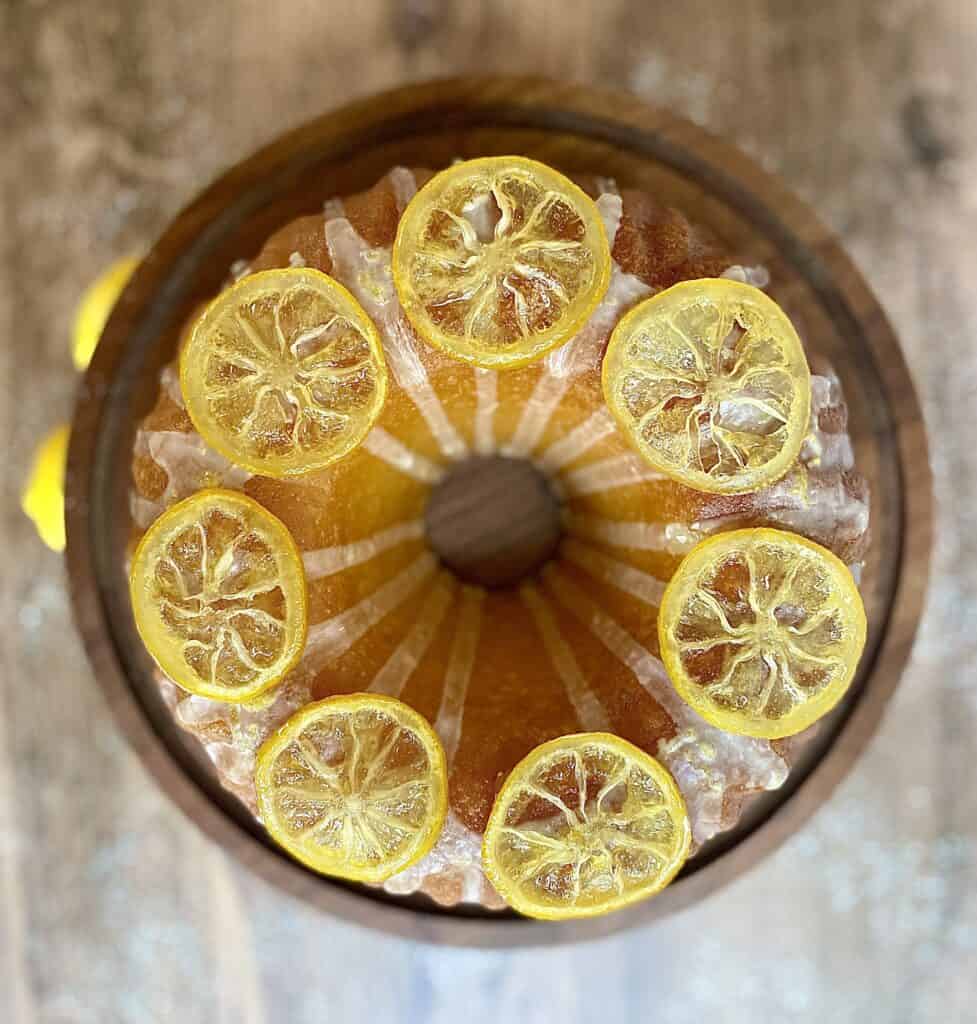
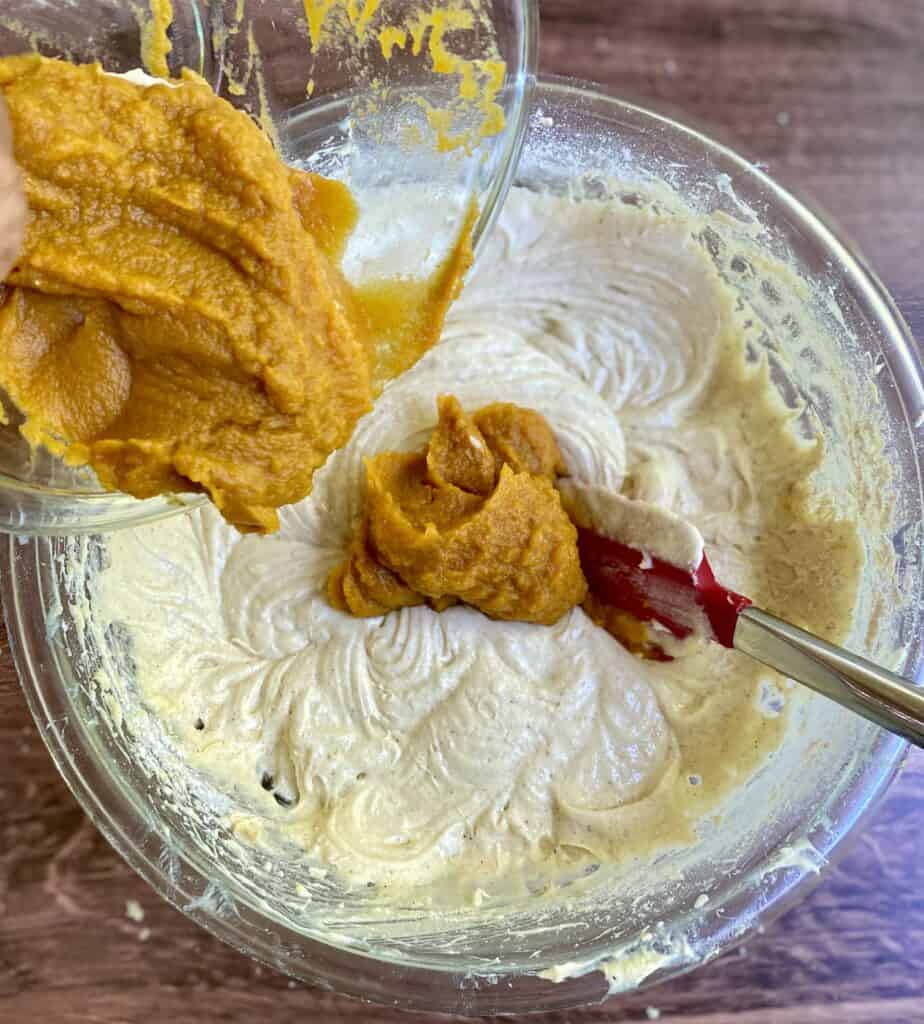
But those who love lemon? Who crave lemon? Whose one true pound cake love is lemon pound cake? I’ve got you. This cake has lemon at every level. In the cake. In the simple syrup. And in the glaze. And it’s not half-hearted lemon either. You will use every part of the lemon, from the zest to the juice (and the pulp if you’re really feeling frisky). You will achieve peak lemon-sugar-vanilla balance without opening your lemon extract.
This cake is that girl. When you open that cake box at your Christmas gathering this year, be prepared for a waft of lemon scent that arrests the entire room.
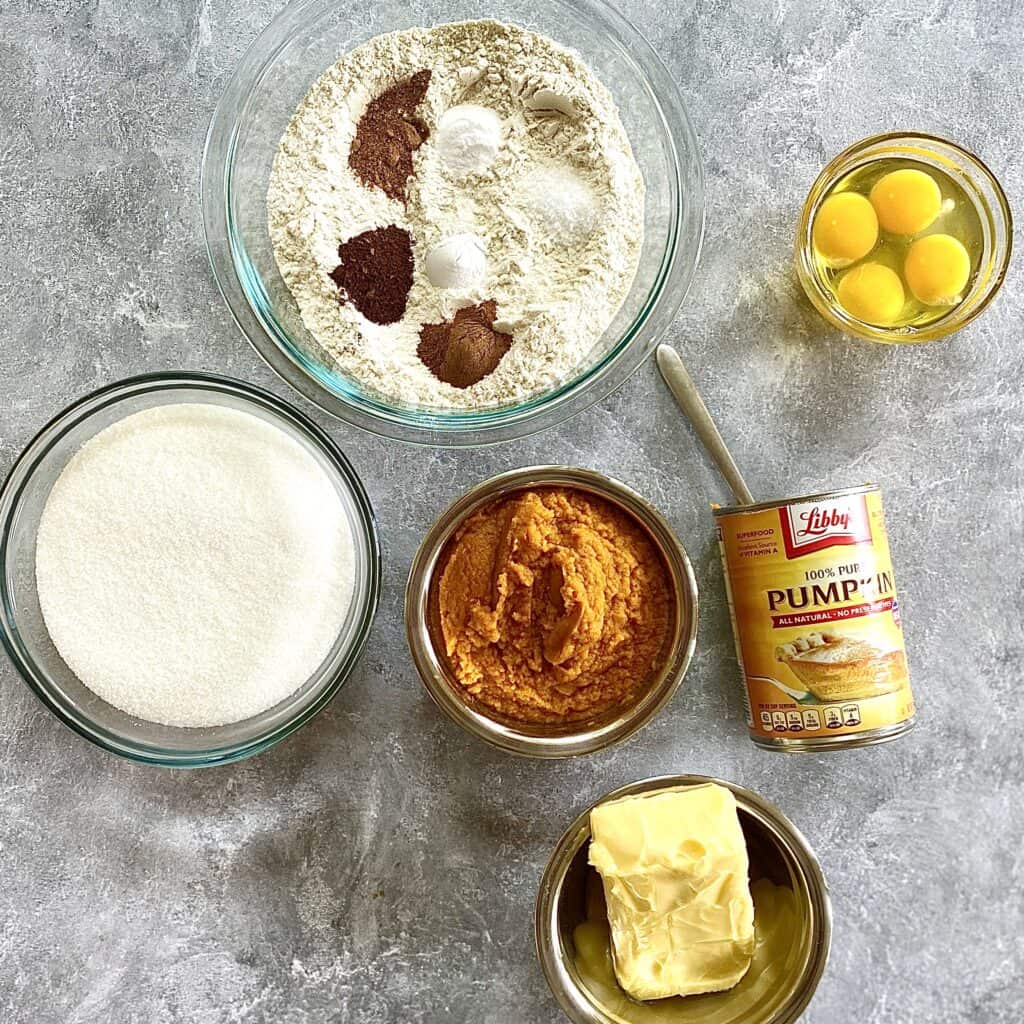
Lemon Pound Cake Ingredients
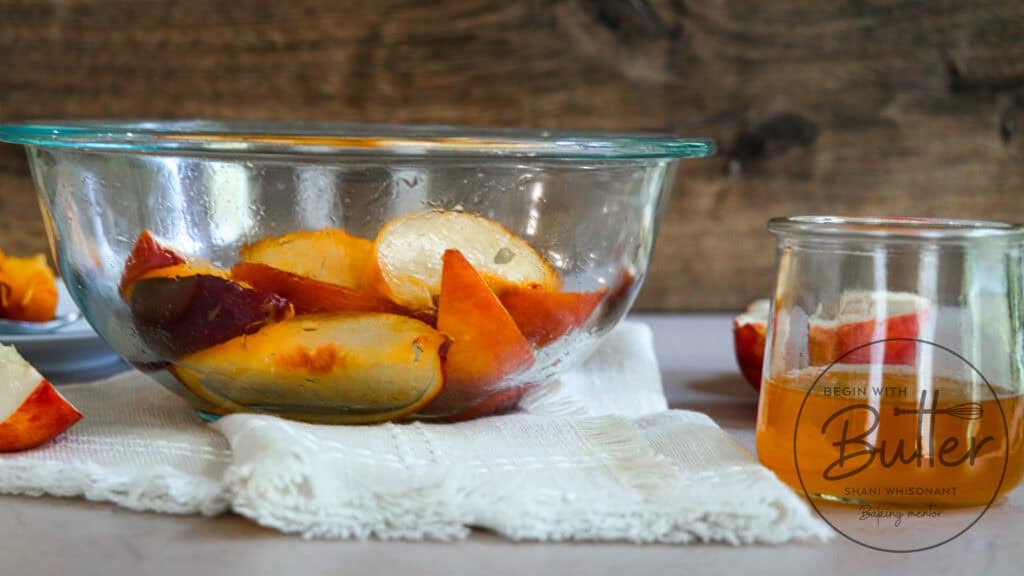
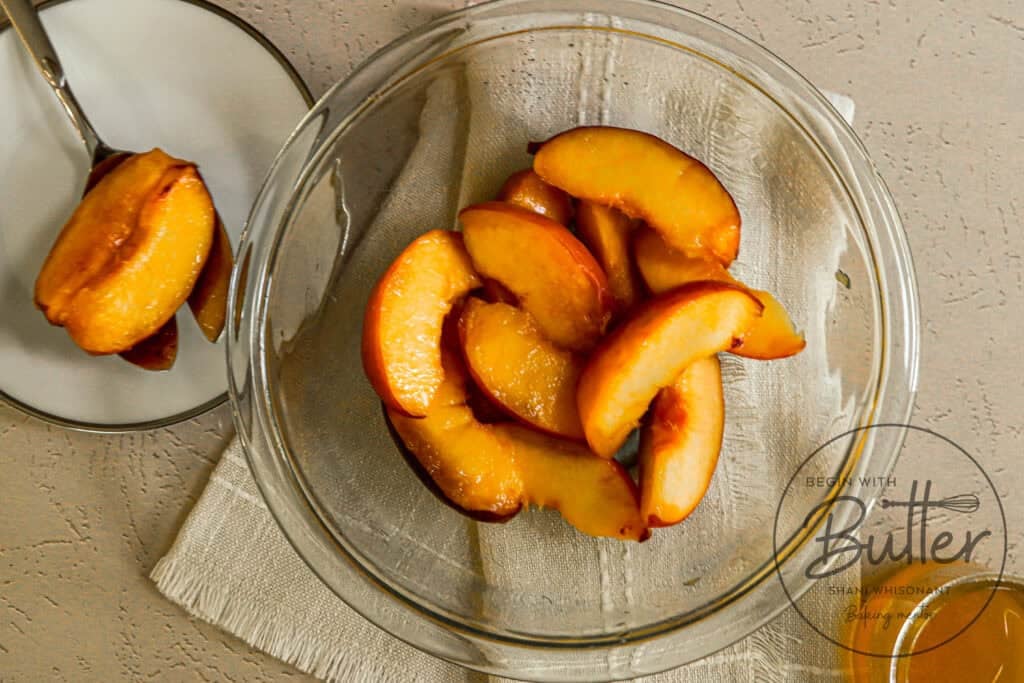
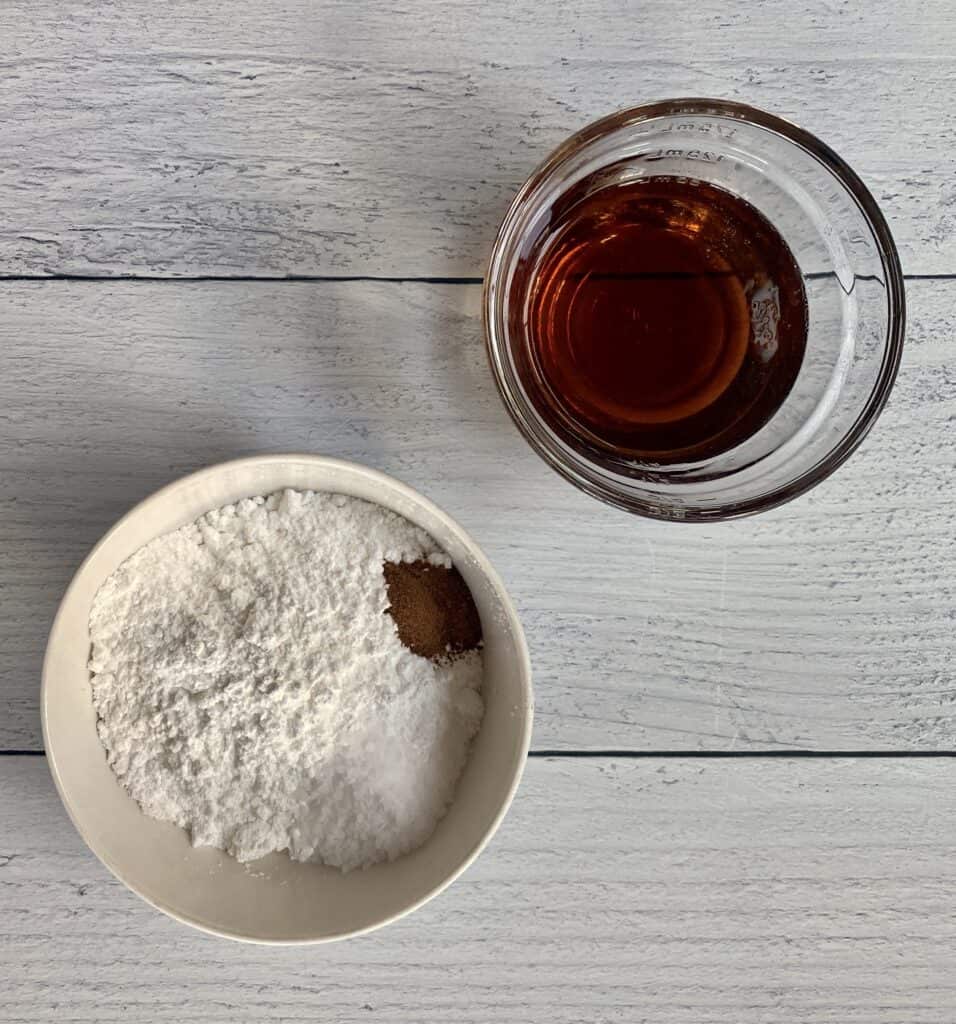
Lemon Juice: The cake calls for 63 grams (1/4 c) of freshly squeezed lemon juice. The simple syrup calls for 2 tbsp. The glaze? Another 2 tbsp. The lemon juice and lemon zest combo means that you will never need to use lemon extract in this cake. Please don’t use the lemon juice in a bottle. Call those kids into the kitchen. They love using a juicer and their little arms don’t get tired. 😂
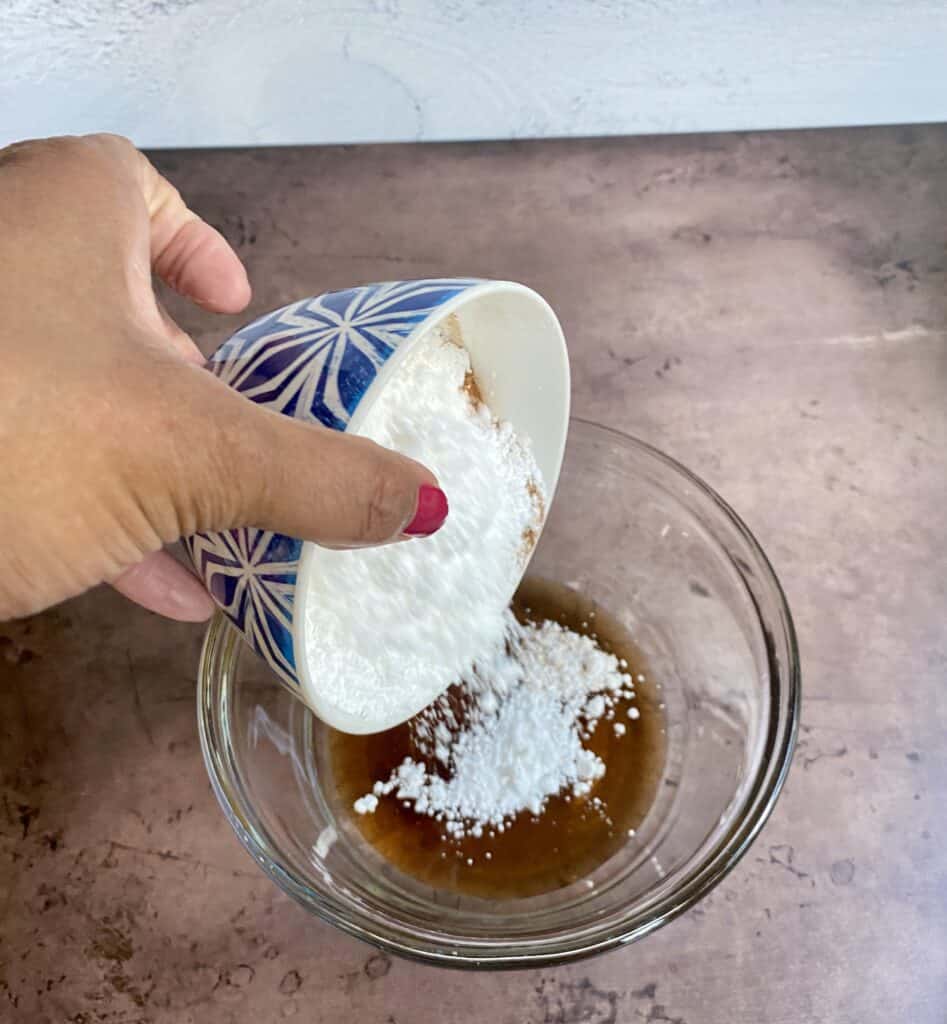
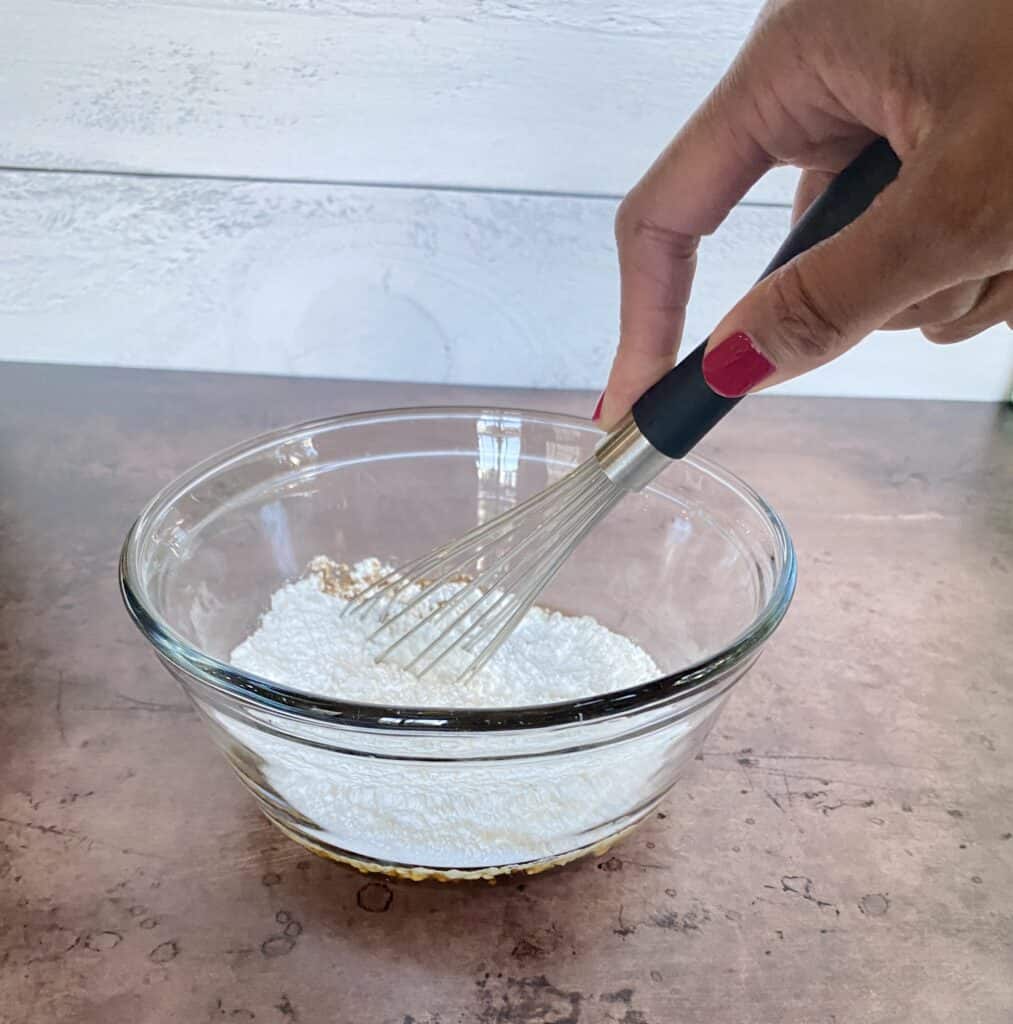
Lemon Zest: You’ll use the lemon zest to make lemon sugar for your cake. The technique of rubbing the lemon zest into the sugar releases the oils from the zest even better, which gives a big boost of lemon flavor. You’ll also use the zest in the lemon glaze atop your cake.
Granulated Sugar: It goes without saying that the tartness of that lemon needs something sweet to create the perfect lemony balance. However, did you know that granulated sugar is also responsible for caramelization? That beautiful crust on the outside of your pound cake? It is largely because of the sugar in your recipe!
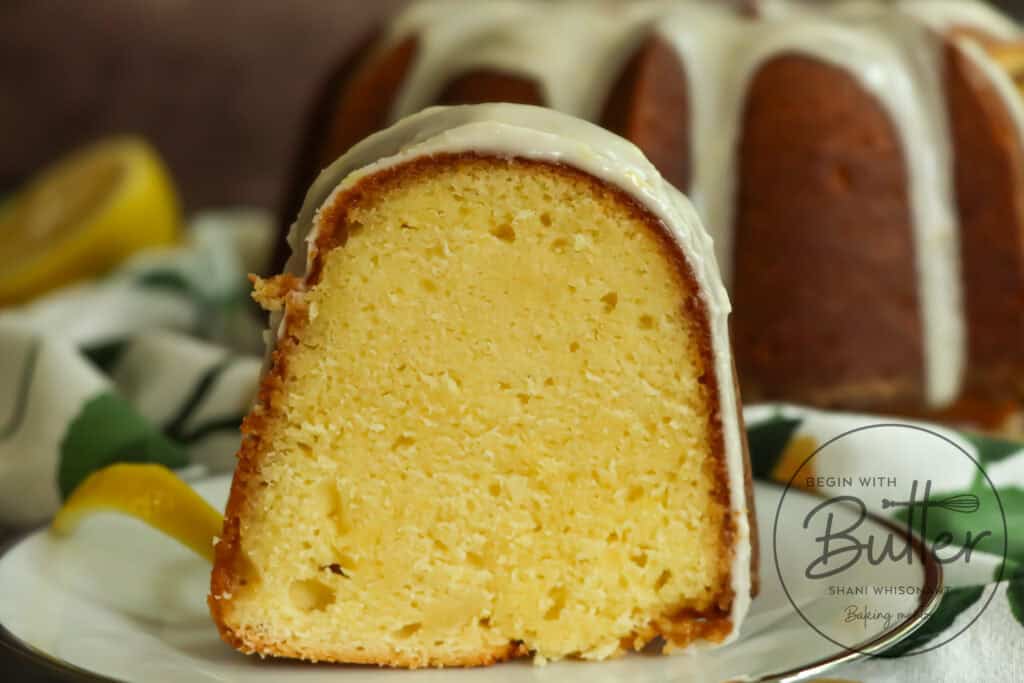
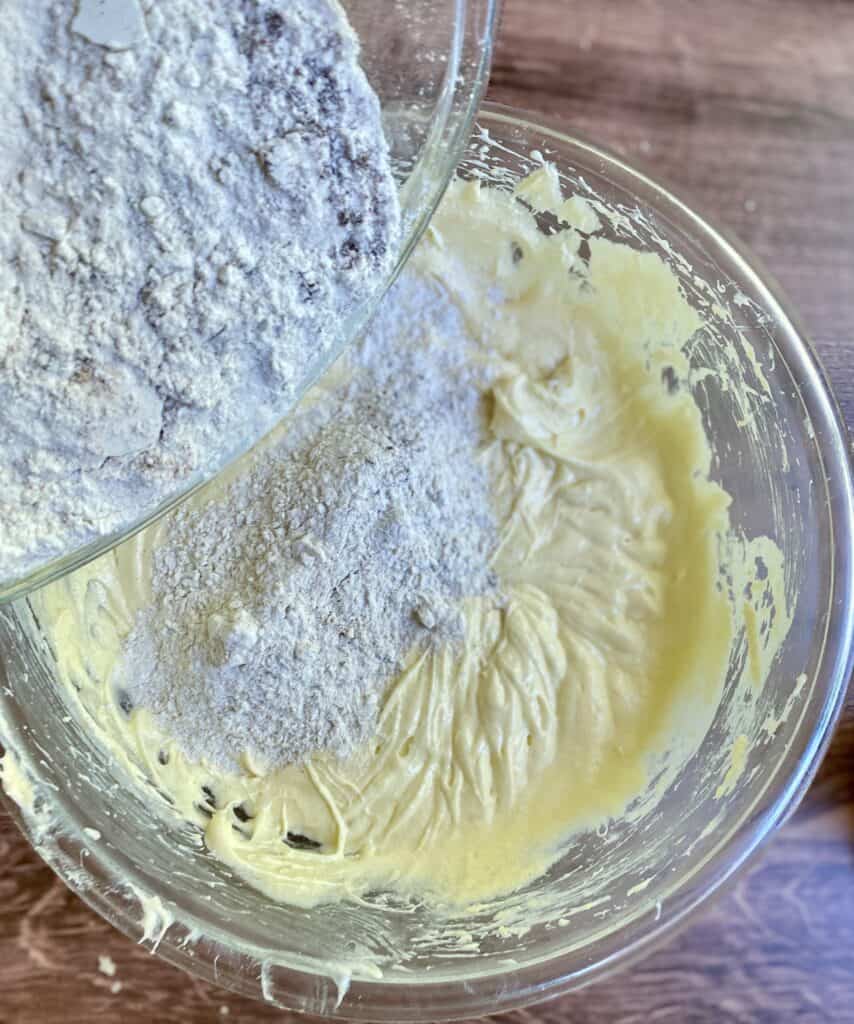
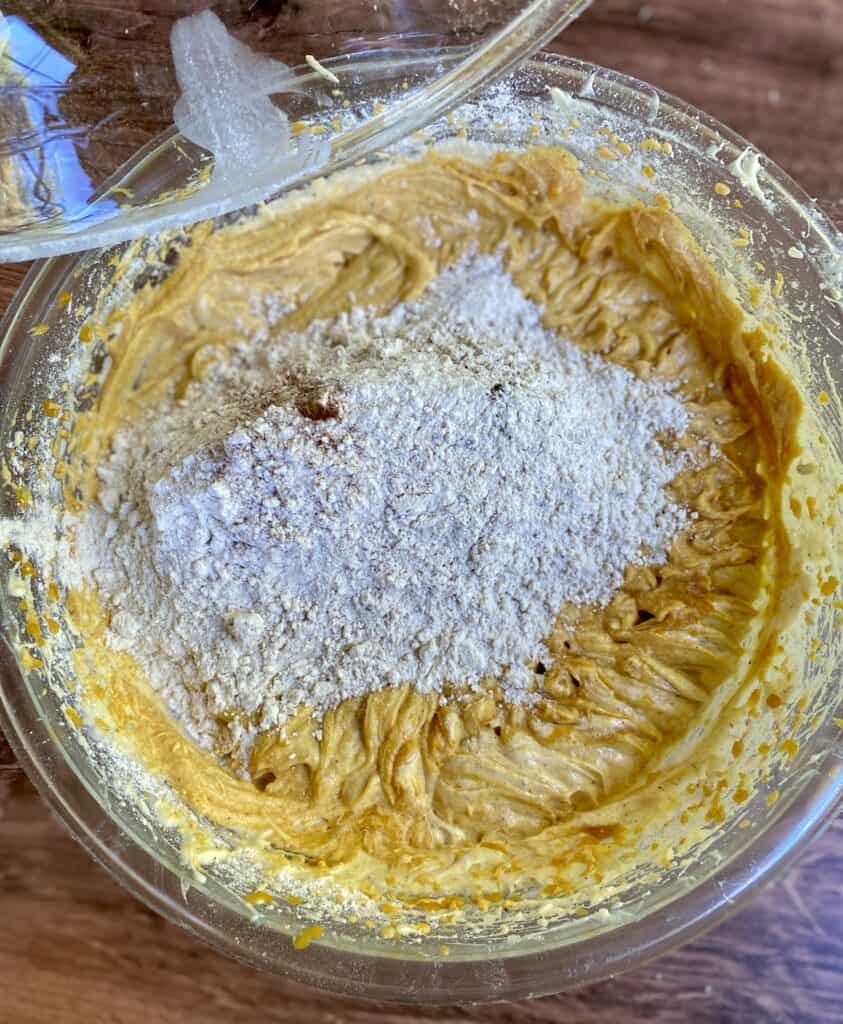
All-Purpose Flour: I’ve said it before and I’ll say it again: I love the pleasantly plump texture of a good pound cake, and the lemon pound cake is the reason for that. In my experience (and with my cakes), that beautiful texture comes from all-purpose flour. That particular flour is absolutely perfect for this cake.
Baking Soda: Lemons are an extremely acidic ingredient. Because of that, baking soda was the proper leavening for this pound cake.
Kosher Salt: Salt is very important in any dessert; it balances the sugar and keeps the dessert from becoming cloyingly sweet. If using table salt for this recipe, cut the amount in half. In this dessert, the sugar/lemon/salt balance teeters on a sword’s edge, but it works!
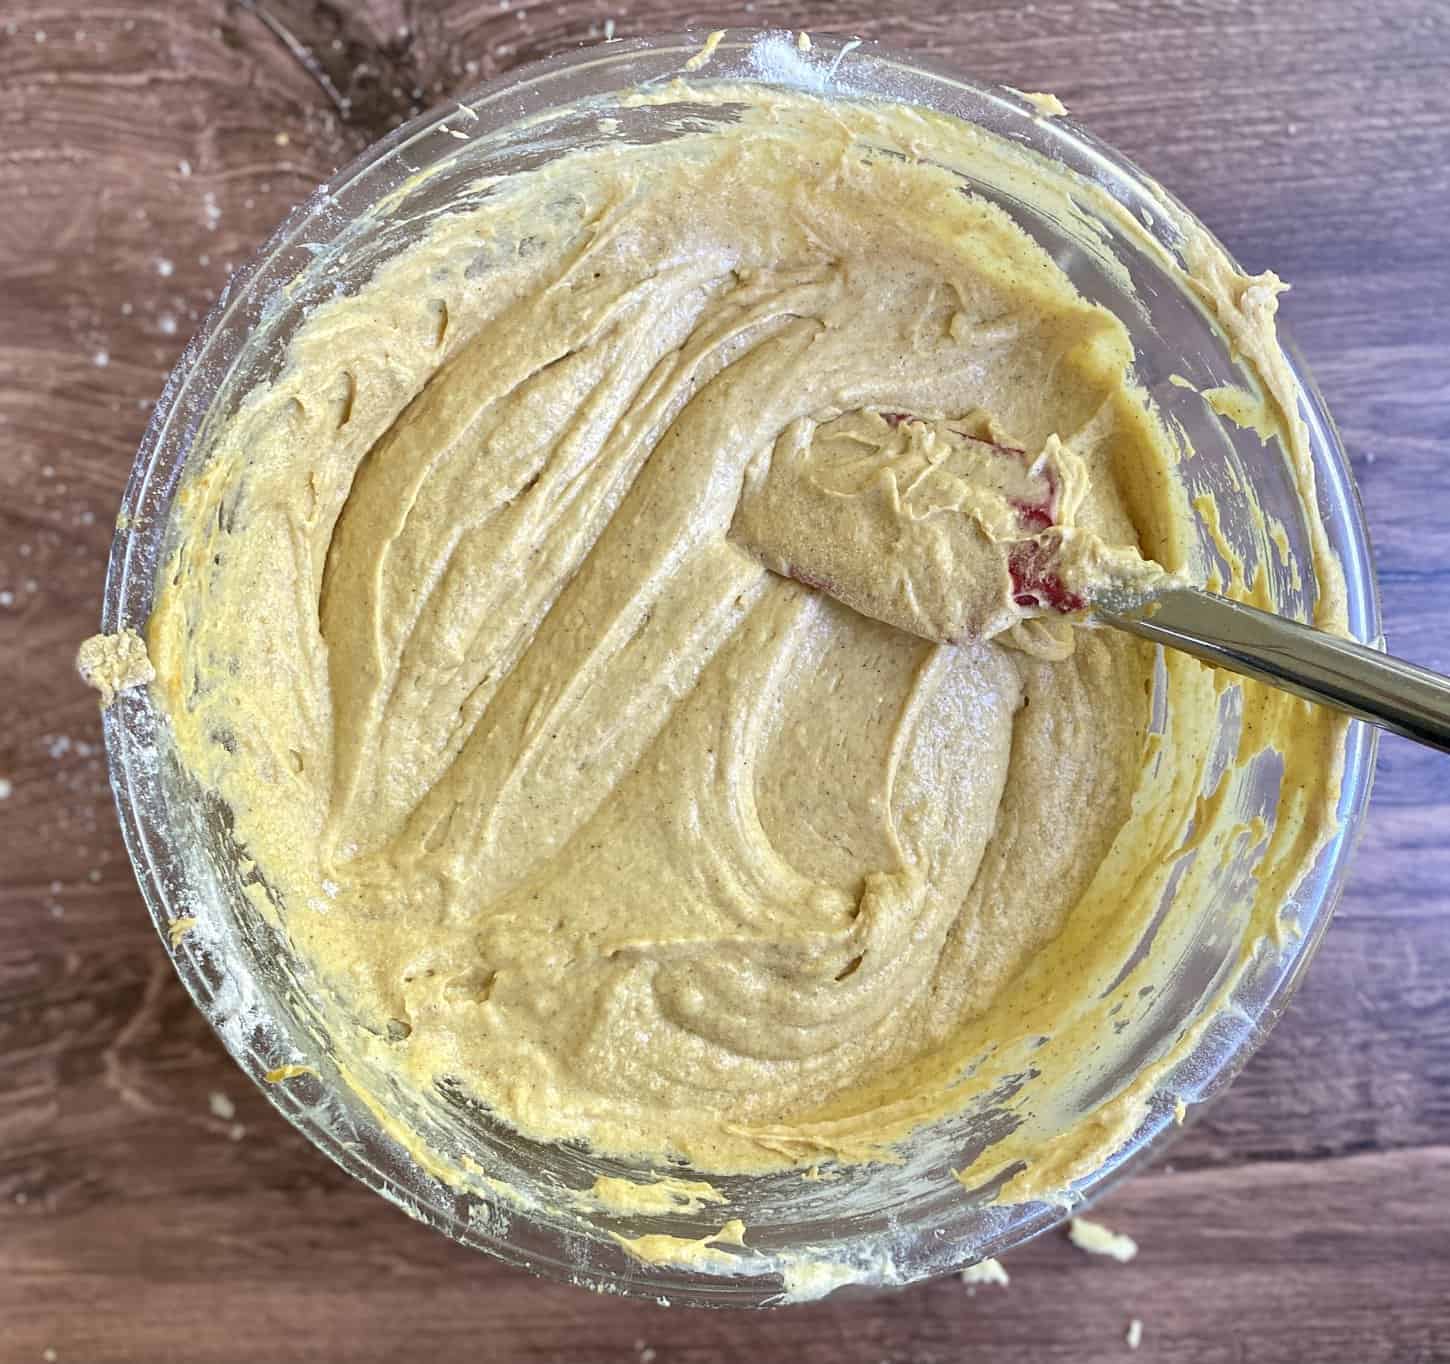
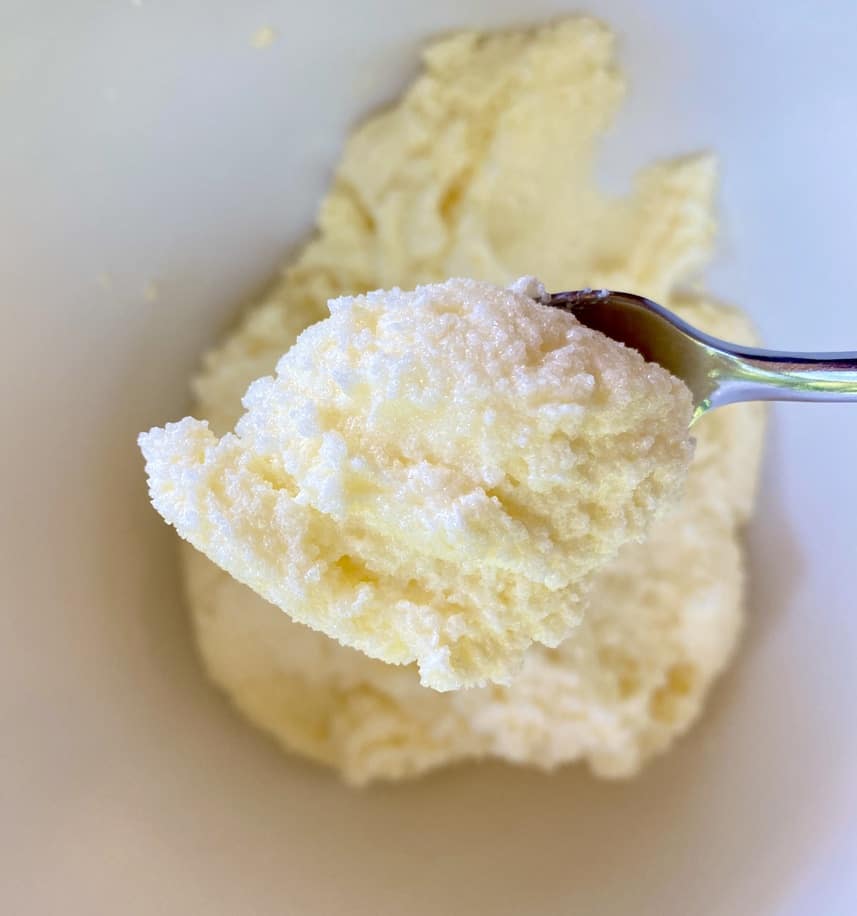
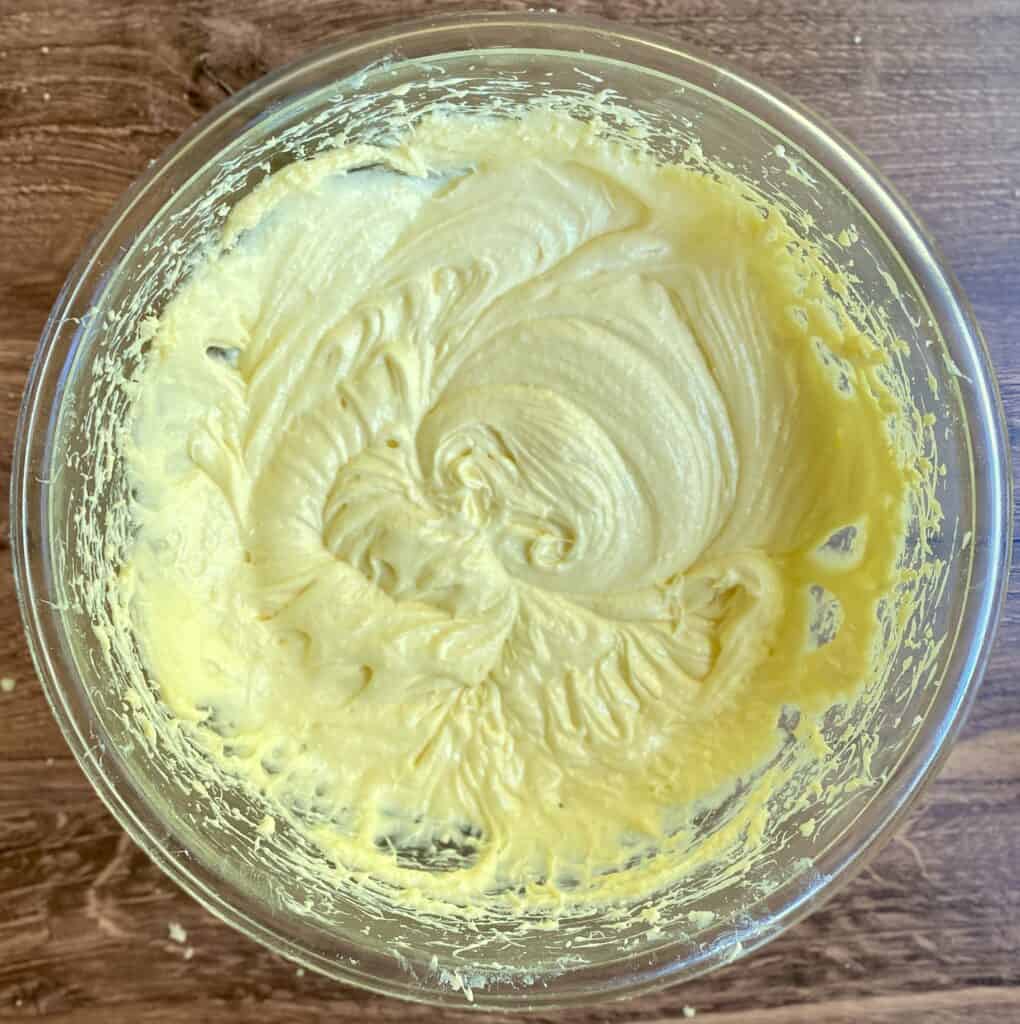
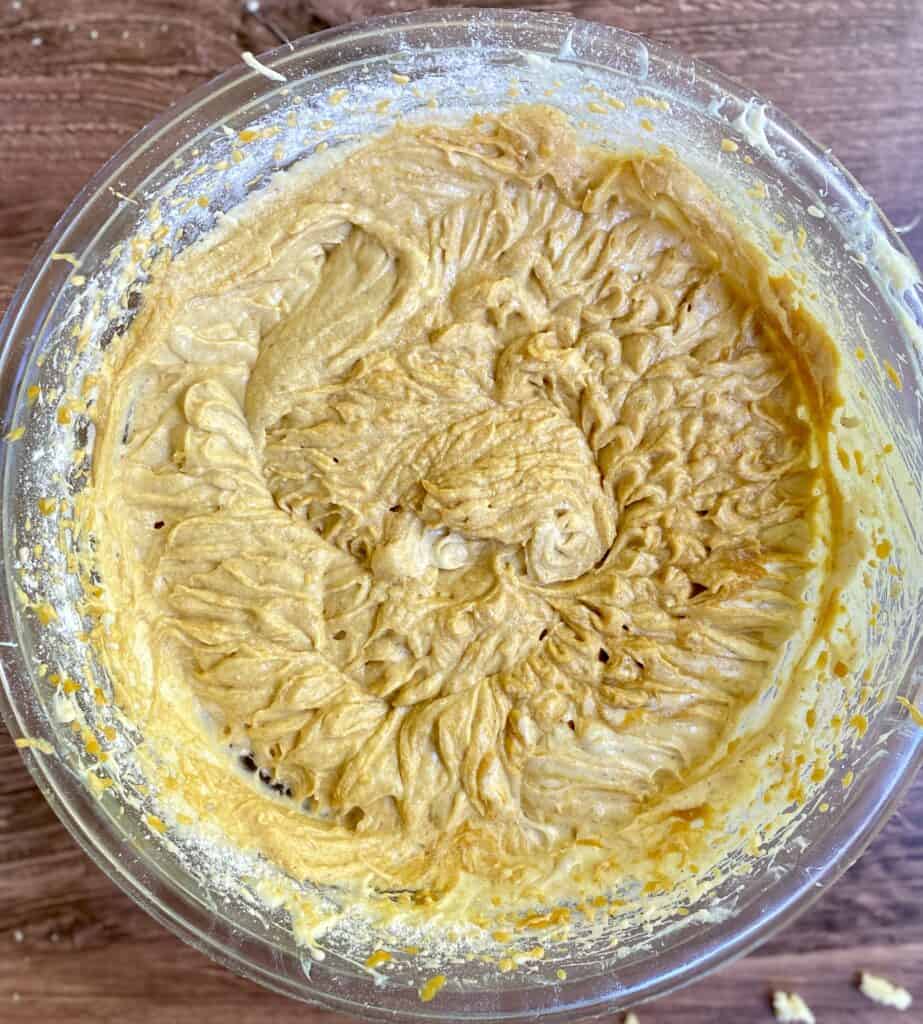
Unsalted Butter: This particular cake has an amazing balance of sweet and tart, and it really needs salt to balance the whole thing. That being said, it’s important to really control the amount of salt in this recipe, so I’m recommending unsalted butter for this recipe. Also, butter helps this cake become lighter! Specifically, the process of creaming butter and sugar creates air pockets that assist with cake rise.
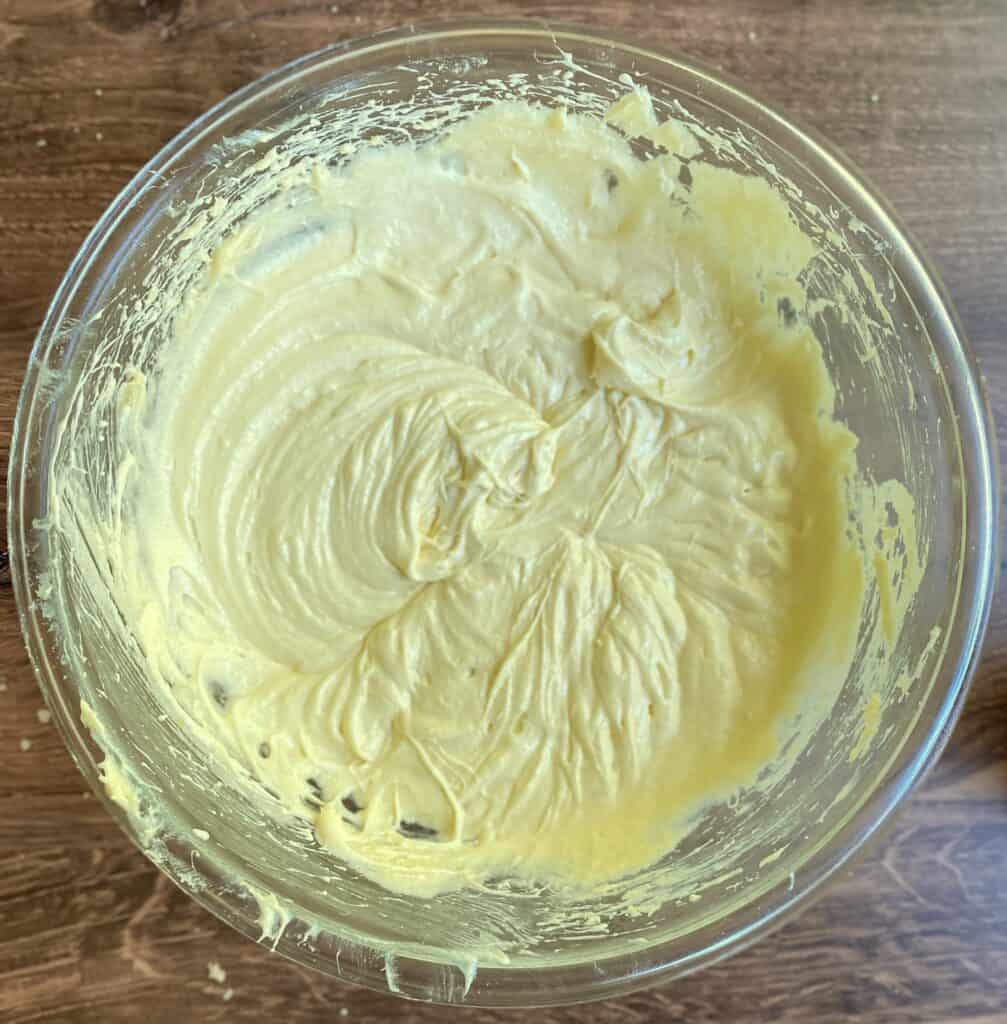
Cream Cheese: There’s a very luxurious quality to this cake that makes it different from typical lemon pound cake. It’s because of the cream cheese! That additional fat element helps give your taste that melt-in-your-mouth quality without sacrificing wonderful flavor.
Eggs: The protein in the eggs adds structure to the cake, while the fatty yolk adds delicious flavor. This recipe calls for six eggs, which might seem like a lot. Trust me, it’s perfection.
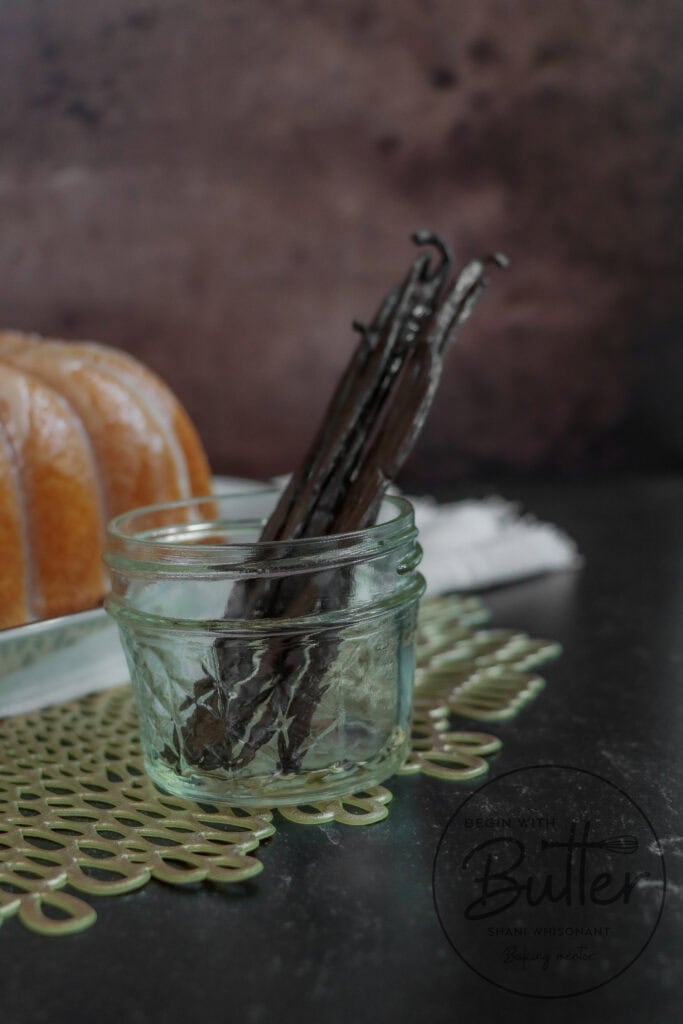
Vanilla Bean or Vanilla Extract: You can use either; this is a matter of personal preference. If you want to “tame” the lemon flavor a bit more and give a touch more complexity to your cake, feel free to use 1/2 of a vanilla bean. If you’d prefer to have the lemon flavor come through more boldly, use the vanilla extract.
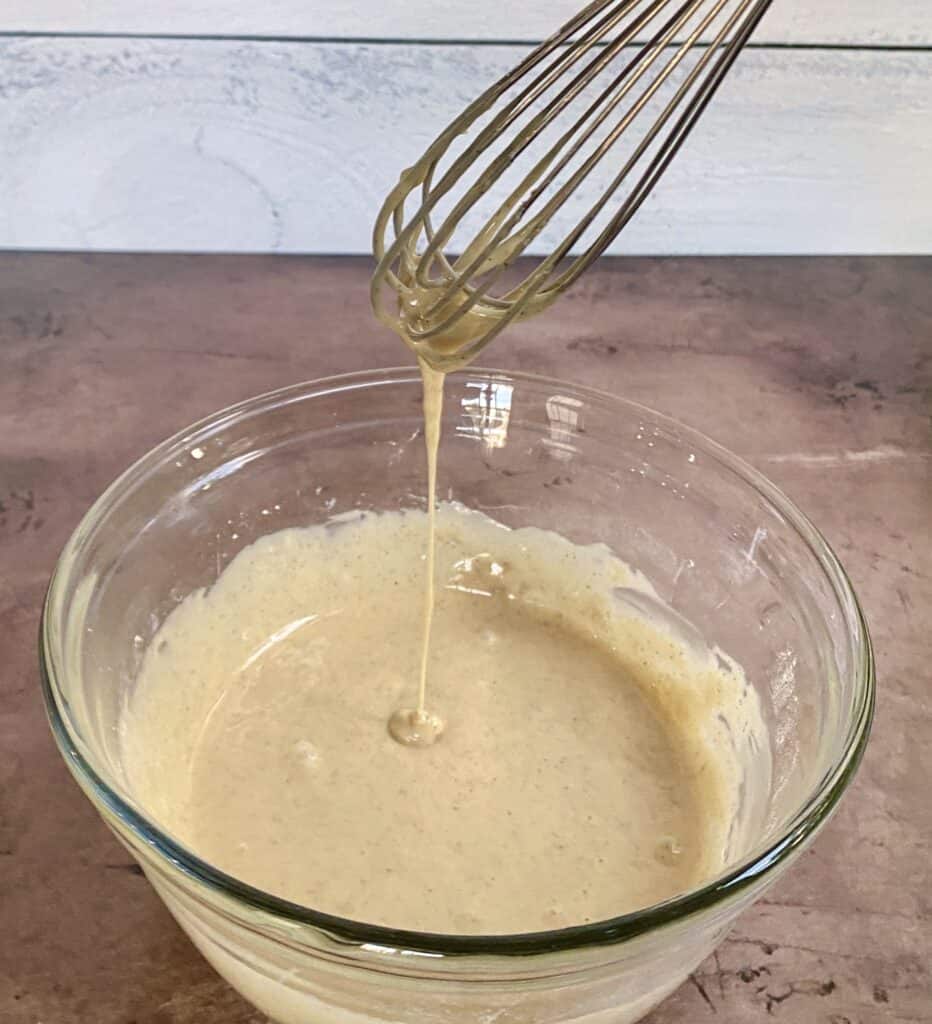
Whole Milk: Yes, whole milk. NOT buttermilk. You’ll add the lemon juice to the milk, which will cause it to curdle and give it a great buttermilk tang.
Beginners Start Here
If you’re new to baking, or if you want to learn how to do some of the more tricky baking techniques, here are a couple of super helpful articles from the BwB site that will help you get set up for success with this Classic Lemon Pound Cake.
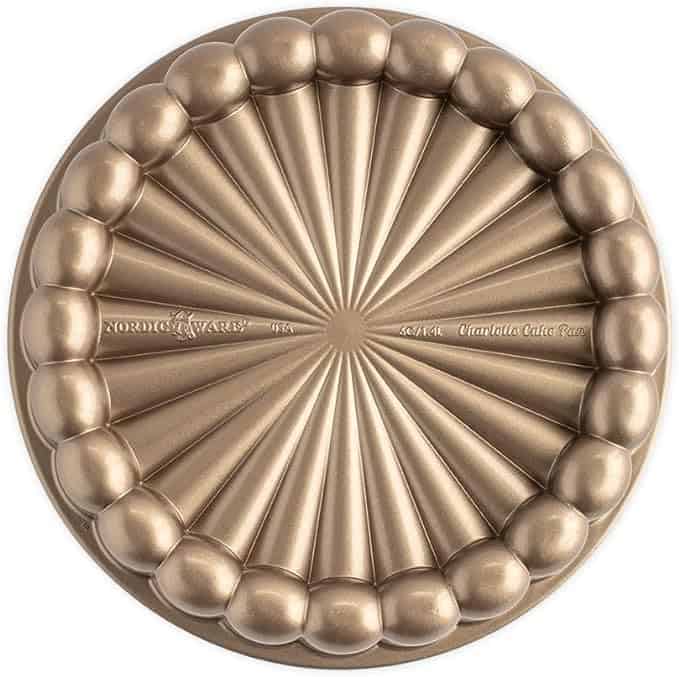
- My Favorite Bundt Pans — A roundup of my tried-and-true Bundt pans that give beautiful results every time.
- Meet Your Kitchen BFF–Your Digital Kitchen Scale! — Why weighing your ingredients (instead of scooping) can transform your baking.
- Baking by Weight: A Home Baker’s Metric Conversion Chart for Consistent, Confident Bakes — A simple, printable guide to help you bake with precision and consistency.
- Technique Tips for the Best Pound Cakes (& Big News!) — My best secrets for tender, buttery pound cakes!
- How to Cream Butter and Sugar (With New Video!) — Master this foundational technique for perfect cake texture.
- Baking 101: How to Measure Ingredients — Essential measuring tips to set you up for success from the very first step.
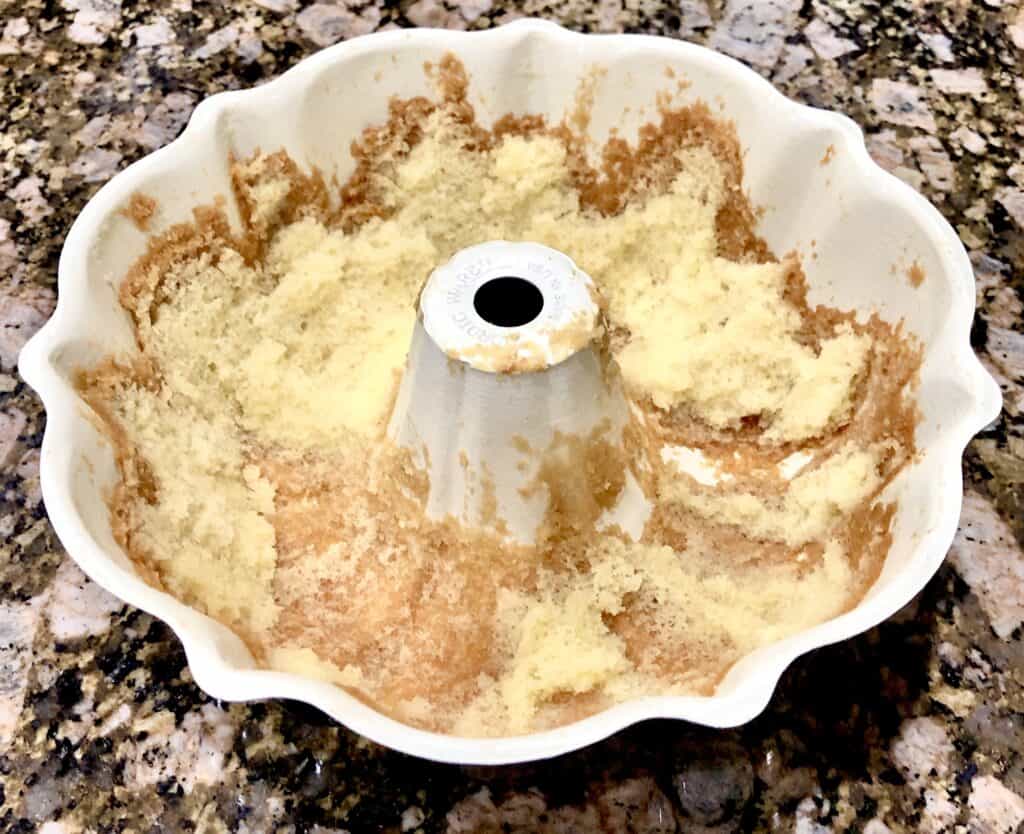
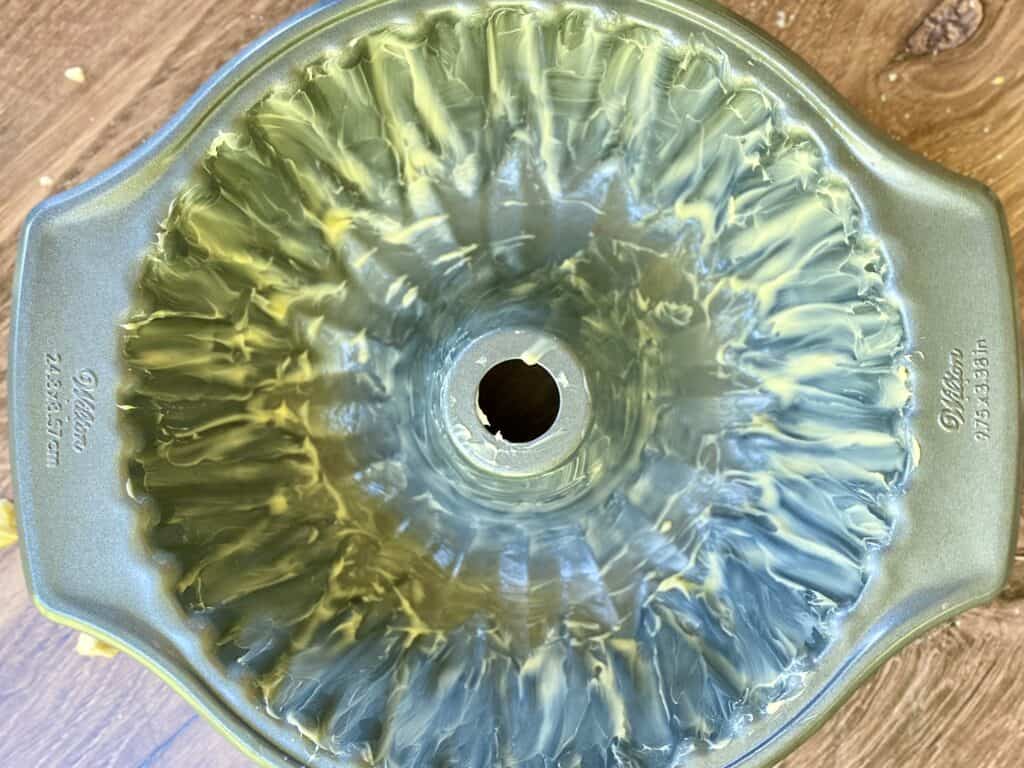
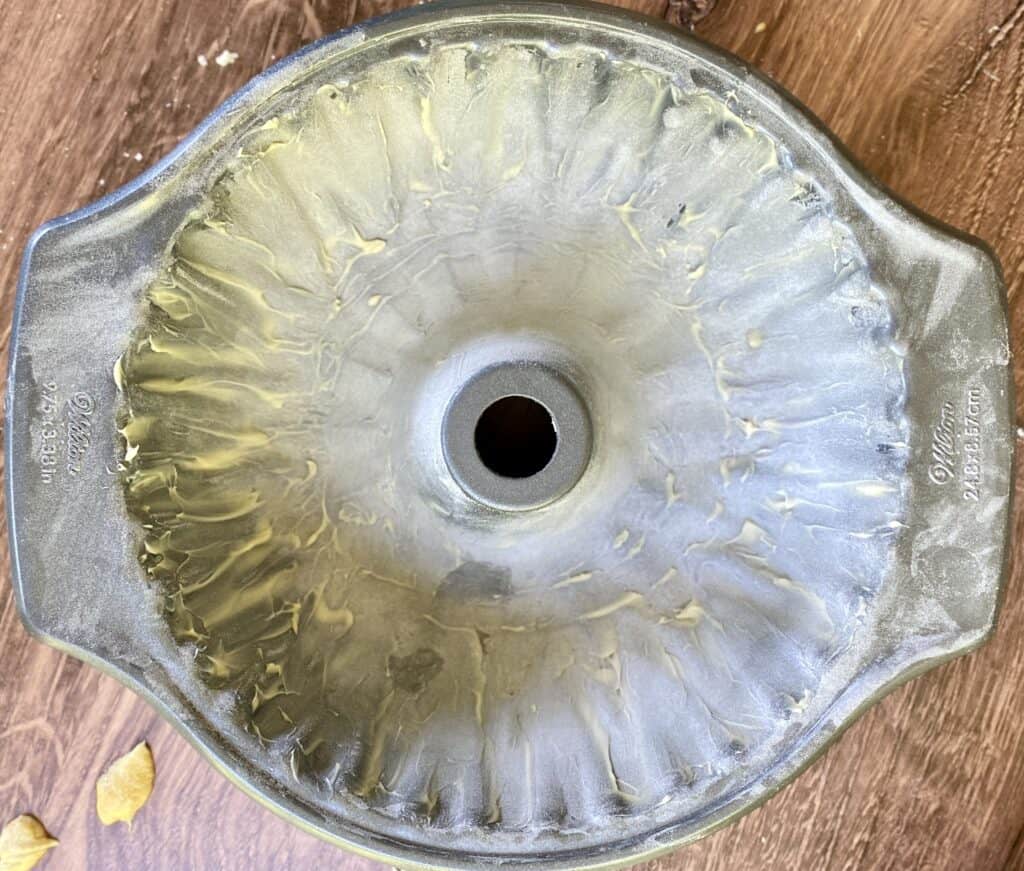
- How to Grease a Bundt Pan — Prevent sticking disasters with my foolproof greasing method.
- The Best Tools for Perfect Pound Cakes — A peek into my essential baking toolkit for success with every bake.
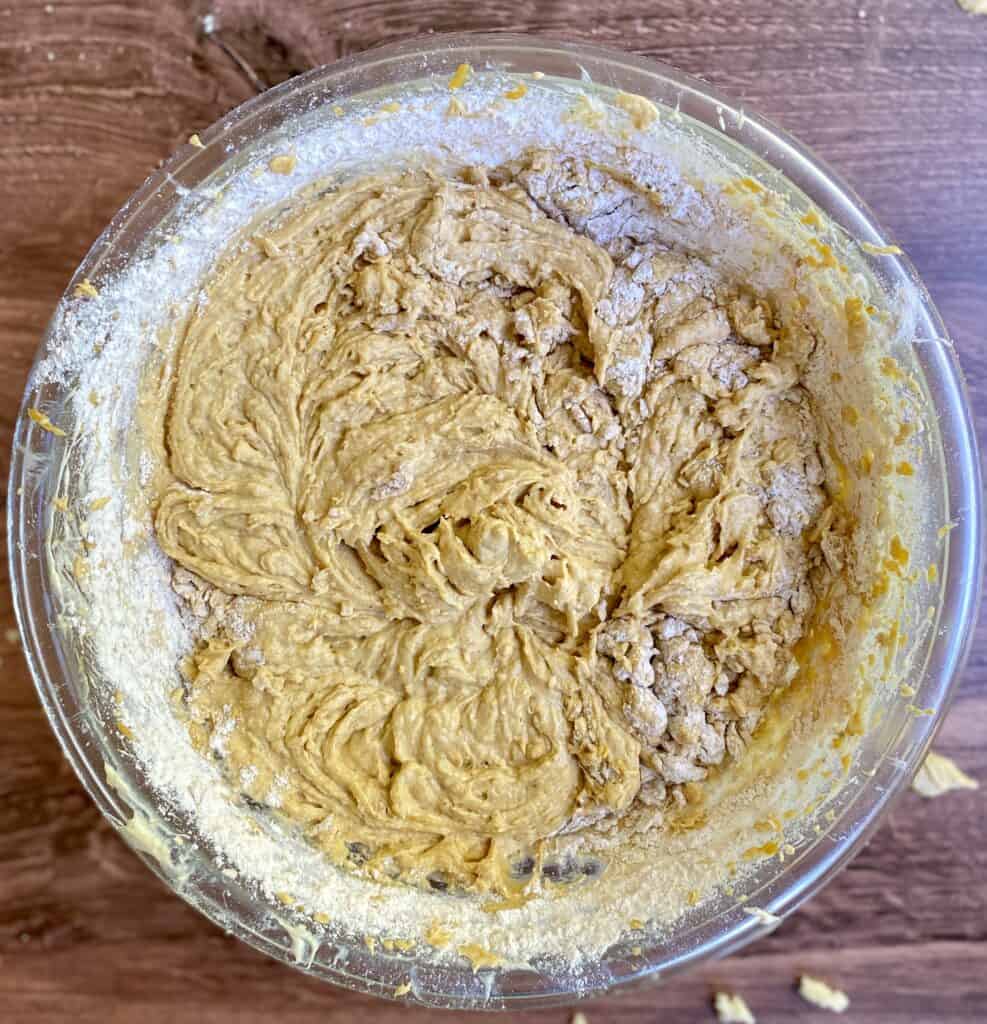
- Knowing When to Stop a Technique — How to avoid over-mixing and over-working your batter — critical for soft, tender cakes.
- Begin with Butter Home Baking Academy | Perfect Pound Cakes Class! — Join me in the kitchen for a deep dive into creating perfect pound cakes, every time.
These resources are super helpful to help you build consistency and confidence on your baking journey. Happy Reading!
Important Tools Used in this Classic Lemon Pound Cake
So happy to announce that Begin with Butter has its own Amazon Storefront, where you can find all of the amazing equipment that I used in this special cake! Want even more specific links? Check out the links, below.
I do get paid a commission when you purchase, but these are the tools that I use all the time in my own kitchen.
If you have these tools already, great! Think of this as a checklist to help you build the confidence that you’ll need to execute this recipe!
- Oven Thermometer — Ensure your oven is baking at the right temperature for consistent, perfect results.
- Digital Food Scale — Precision matters! Weighing your ingredients gives you bakery-level consistency every time.
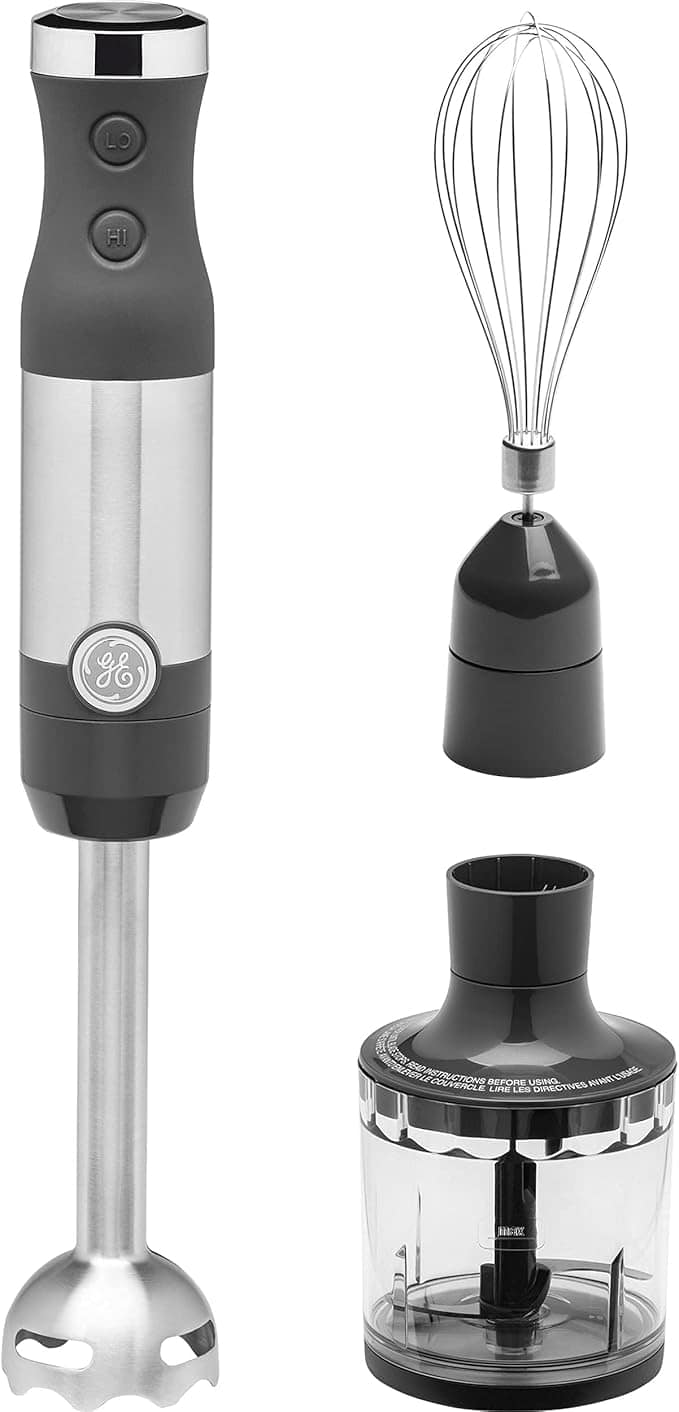
- KitchenAid Hand Mixer — Powerful enough for batters, gentle enough for delicate mixes.
- KitchenAid Stand Mixer — My go-to for creaming butter and sugar to silky perfection.
Stainless Steel Mixing Bowl Set — Durable, versatile, and ideal for everything from batter to glaze prep. - OXO Spatula Set — Flexible and sturdy — essential for folding and scraping every last bit of batter.
- Sifter — Aerate your flour for a lighter, more tender crumb.
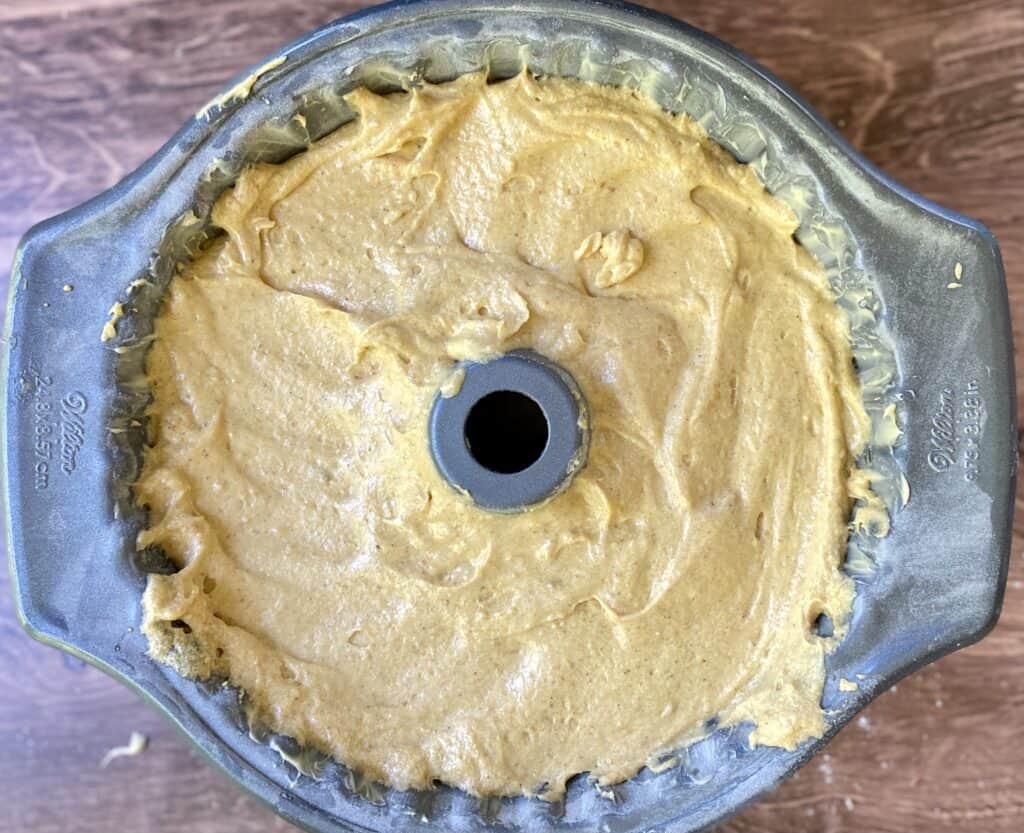
- Bundt Pans — My favorite pans for flawless pound cake shapes and gorgeous caramelization.
Enjoy the recipe BBs! Happy baking, and may all of your pound cakes have perfect caramelization and beautiful lift!
Frequently Asked Questions
Can I freeze this lemon pound cake?
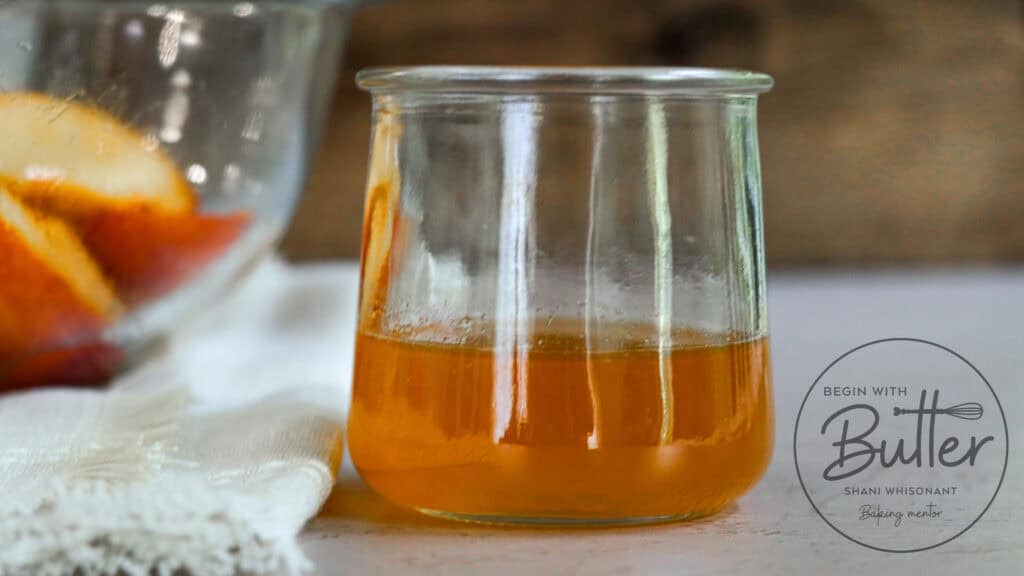
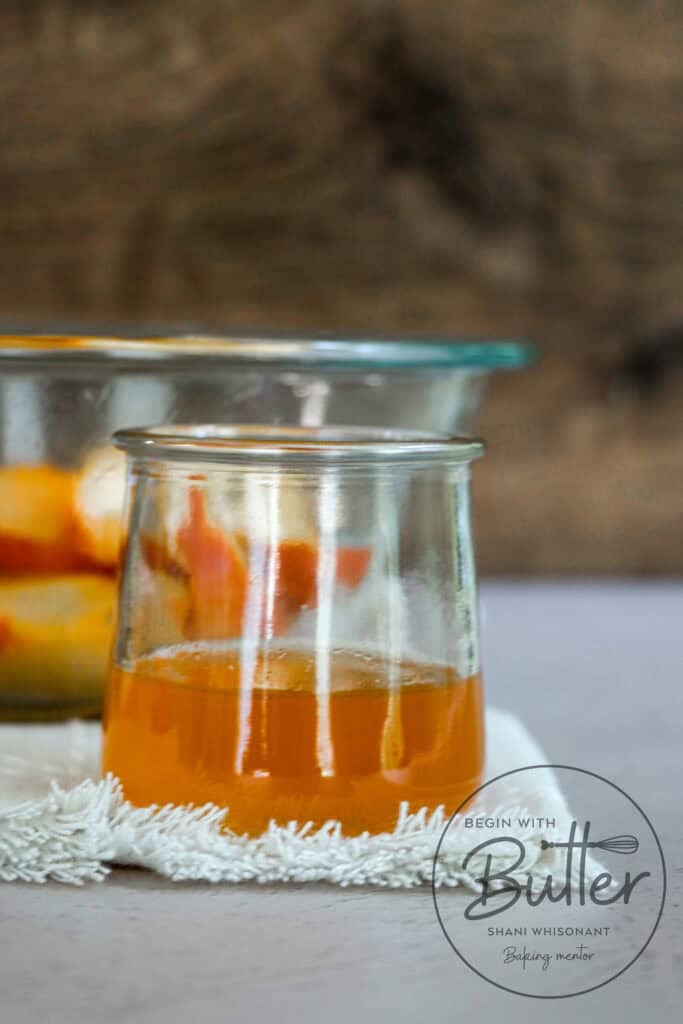
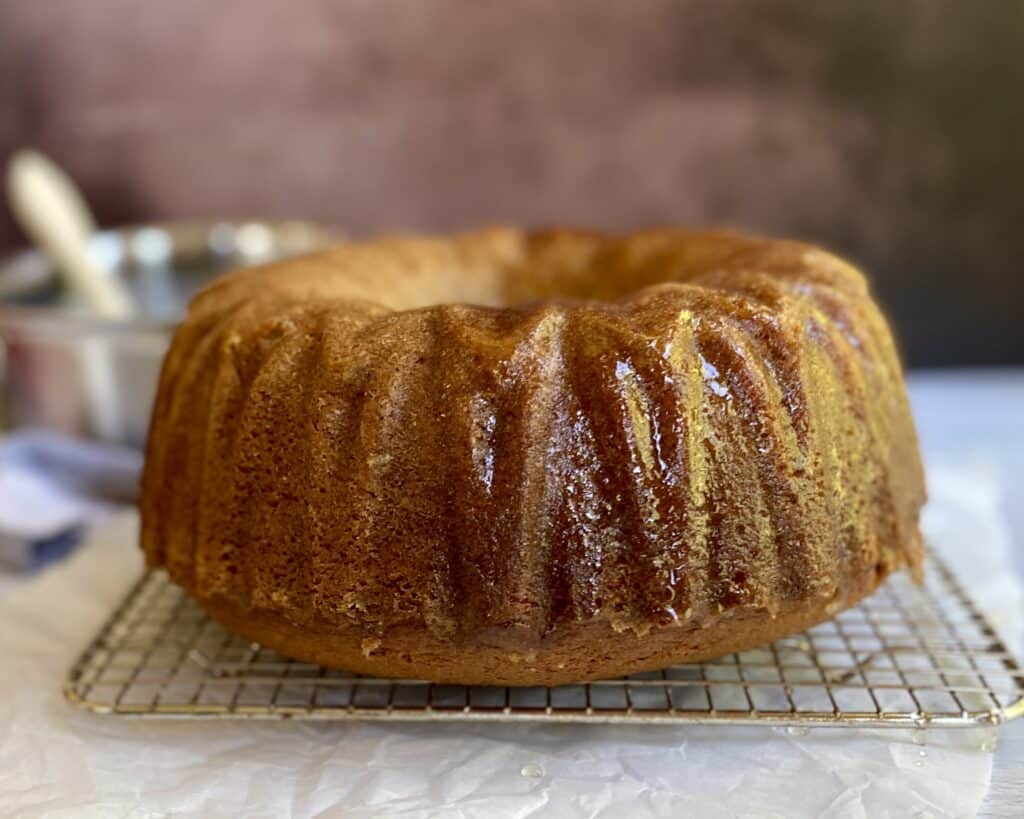
You can absolutely freeze this pound cake; I do it all the time. Once the cake is fully baked and cooled, brush with the cooled simple syrup. Once the simple syrup is brushed on the cake, place on a cake round, wrap the cake in plastic wrap (and freezer paper if it’s going to be frozen for more than a couple of days), and store upright in a freezer for up to three months.
You can find specific instructions for this process in my blog post, Storage Tips for Make Ahead Desserts.
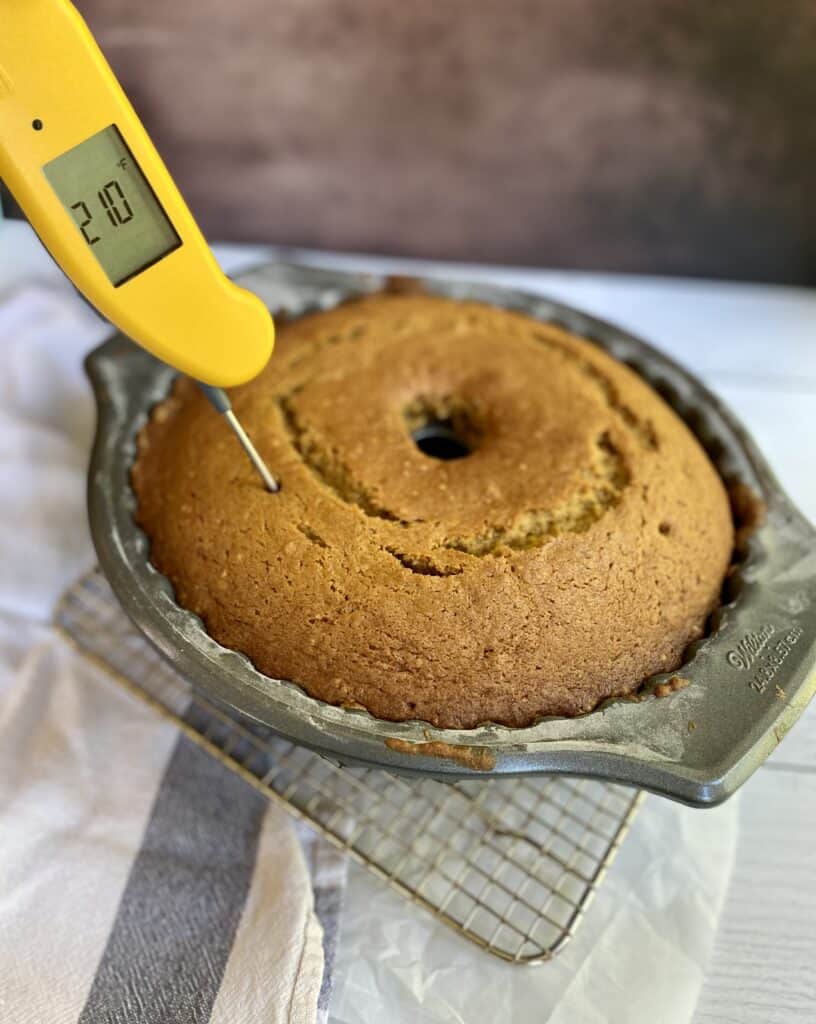
Why did my pound cake crack on top?
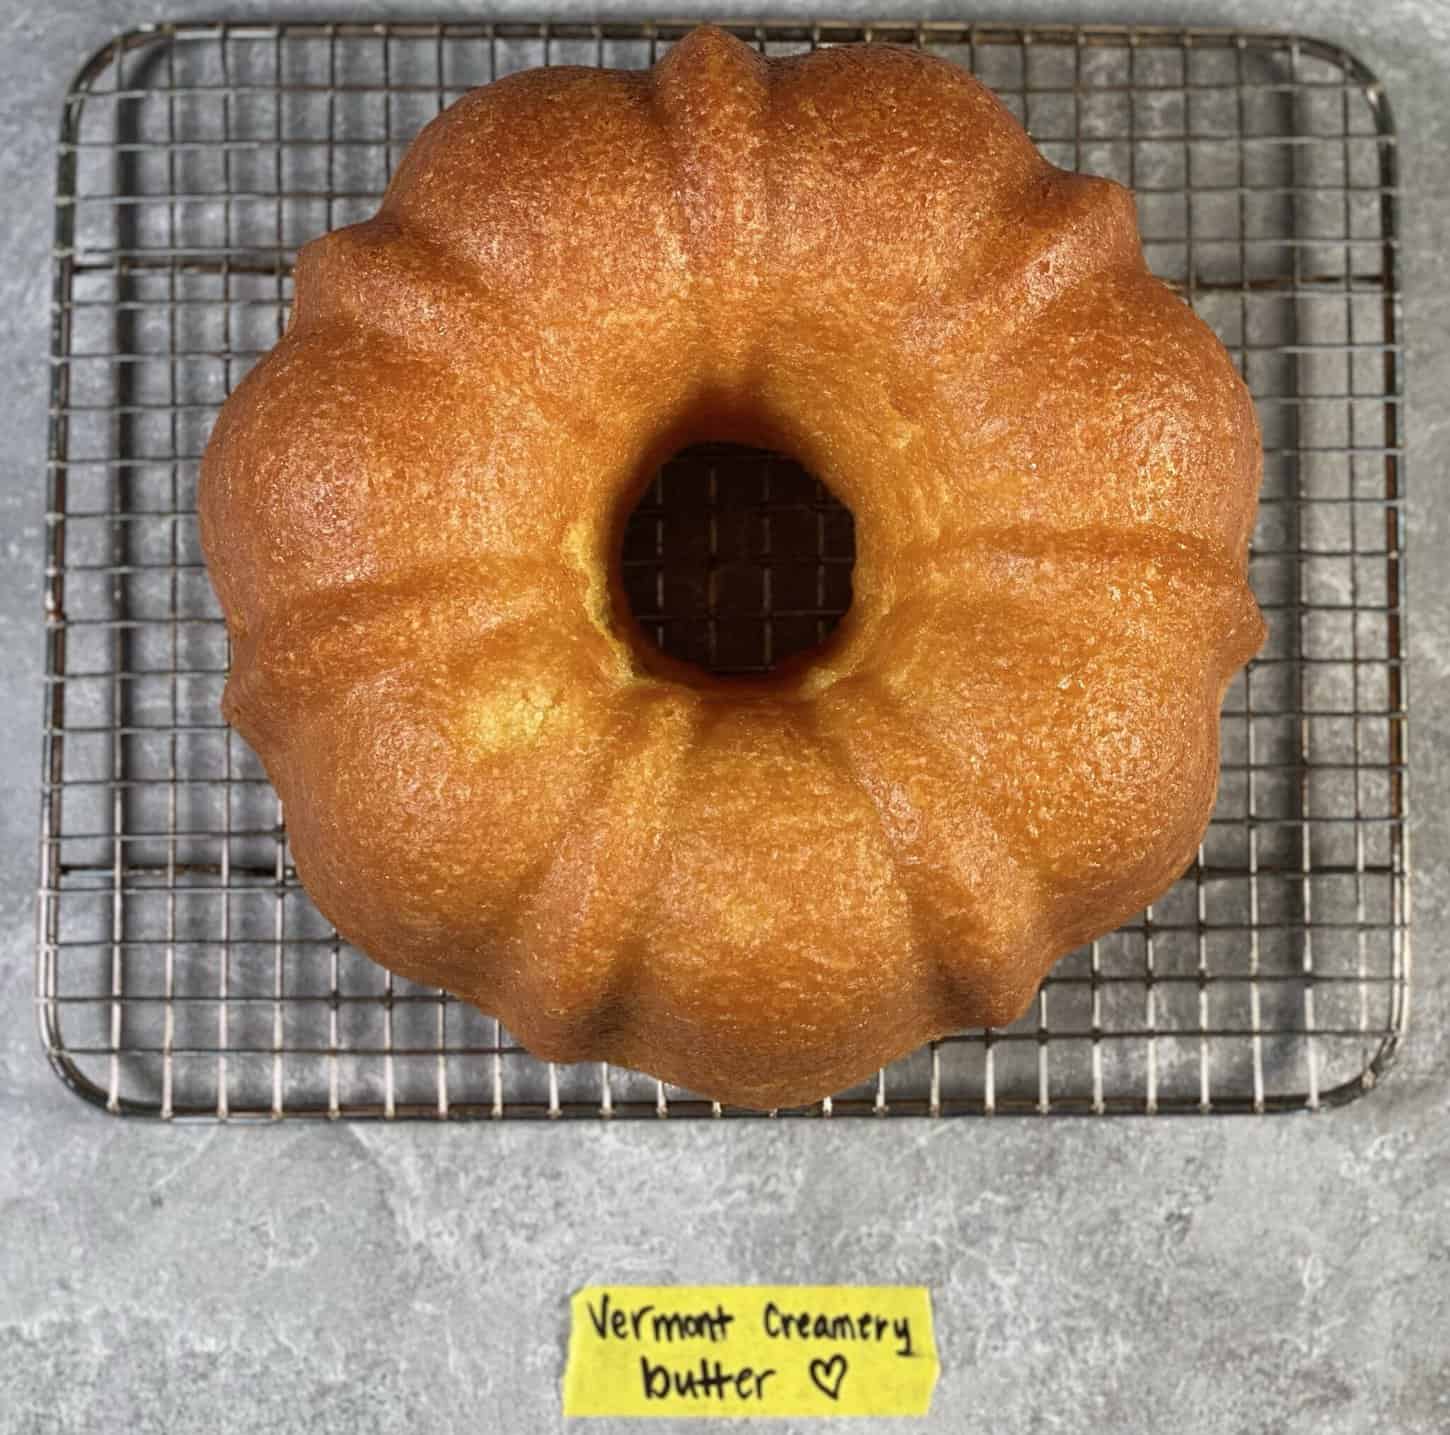
That beautiful crack is a signature of pound cakes! As the batter rises, the top sets first — and the rest of the cake pushes through as it continues to bake. It’s a sign you’ve nailed the technique.
Why did my cake turn out dense?
A dense pound cake usually comes from too much flour or over-mixing the batter.
To prevent adding too much flour, I always recommend baking by weight instead of volume — it’s the most consistent and confident way to bake. You can find my easy metric conversion chart here.
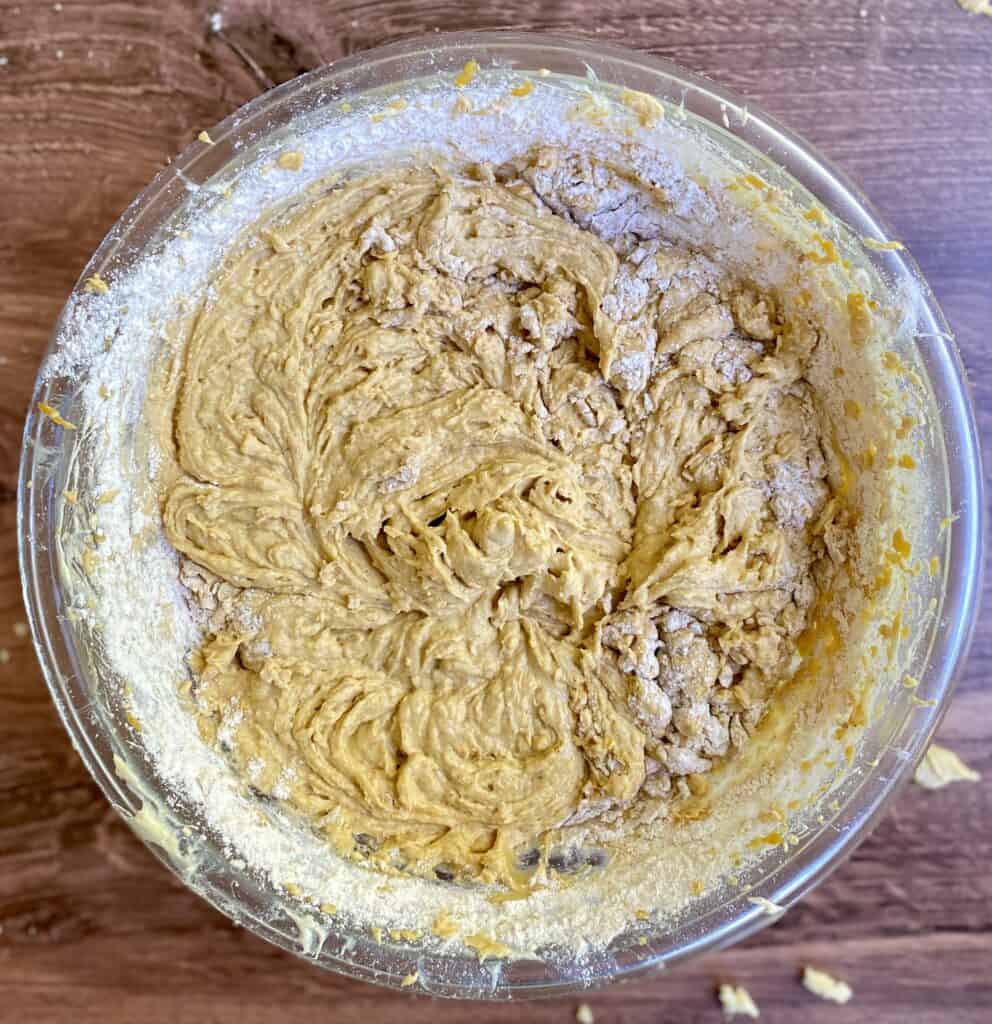
Over-mixing can also create a tight, rubbery texture. Once you add the flour, finish mixing by hand just until combined — the goal is a tender, delicate crumb, not a tough cake!
Can I use bottled lemon juice instead of fresh?
For the best flavor, I strongly recommend using fresh lemon juice. Bottled lemon juice often tastes flat or slightly bitter, and it just doesn’t bring the same vibrant flavor to the cake.
Also, you’ll miss out on the fresh lemon zest, which adds huge, bright citrus flavor throughout the batter. The zest is what really makes this Classic Lemon Pound Cake sing — it’s not just the juice, but the aromatic oils from the peel that give it its irresistible depth.
If you bake this Classic Lemon Pound Cake, I’d love to hear about it! Leave a comment below, or tag @beginwithbutter on Instagram so I can see your bright, beautiful lemon pound cakes!
Happy baking, friends. May your kitchen smell like sunshine.
Hi! I’m Shani!
I’m the baker, teacher, and recipe developer behind Begin with Butter — and the founder of the Begin with Butter Home Baking Academy.
Here, I help home bakers build real skills — the kind that create cakes worth remembering, stories worth sharing, and traditions worth passing down.
At Begin with Butter, you’ll find cozy, tested recipes, soulful baking tutorials, and the encouragement to bake with both precision and heart.
Whether you’re just starting out or deepening your craft, there’s always room for you at this counter.


")