
Hey Family!
Thank you again for your unwavering support of Begin with Butter, and for the overwhelming response to the Twelve Days of Pound Cakes Holiday Event. It is so encouraging to see all of the pictures from BwB community members who are making these recipes!
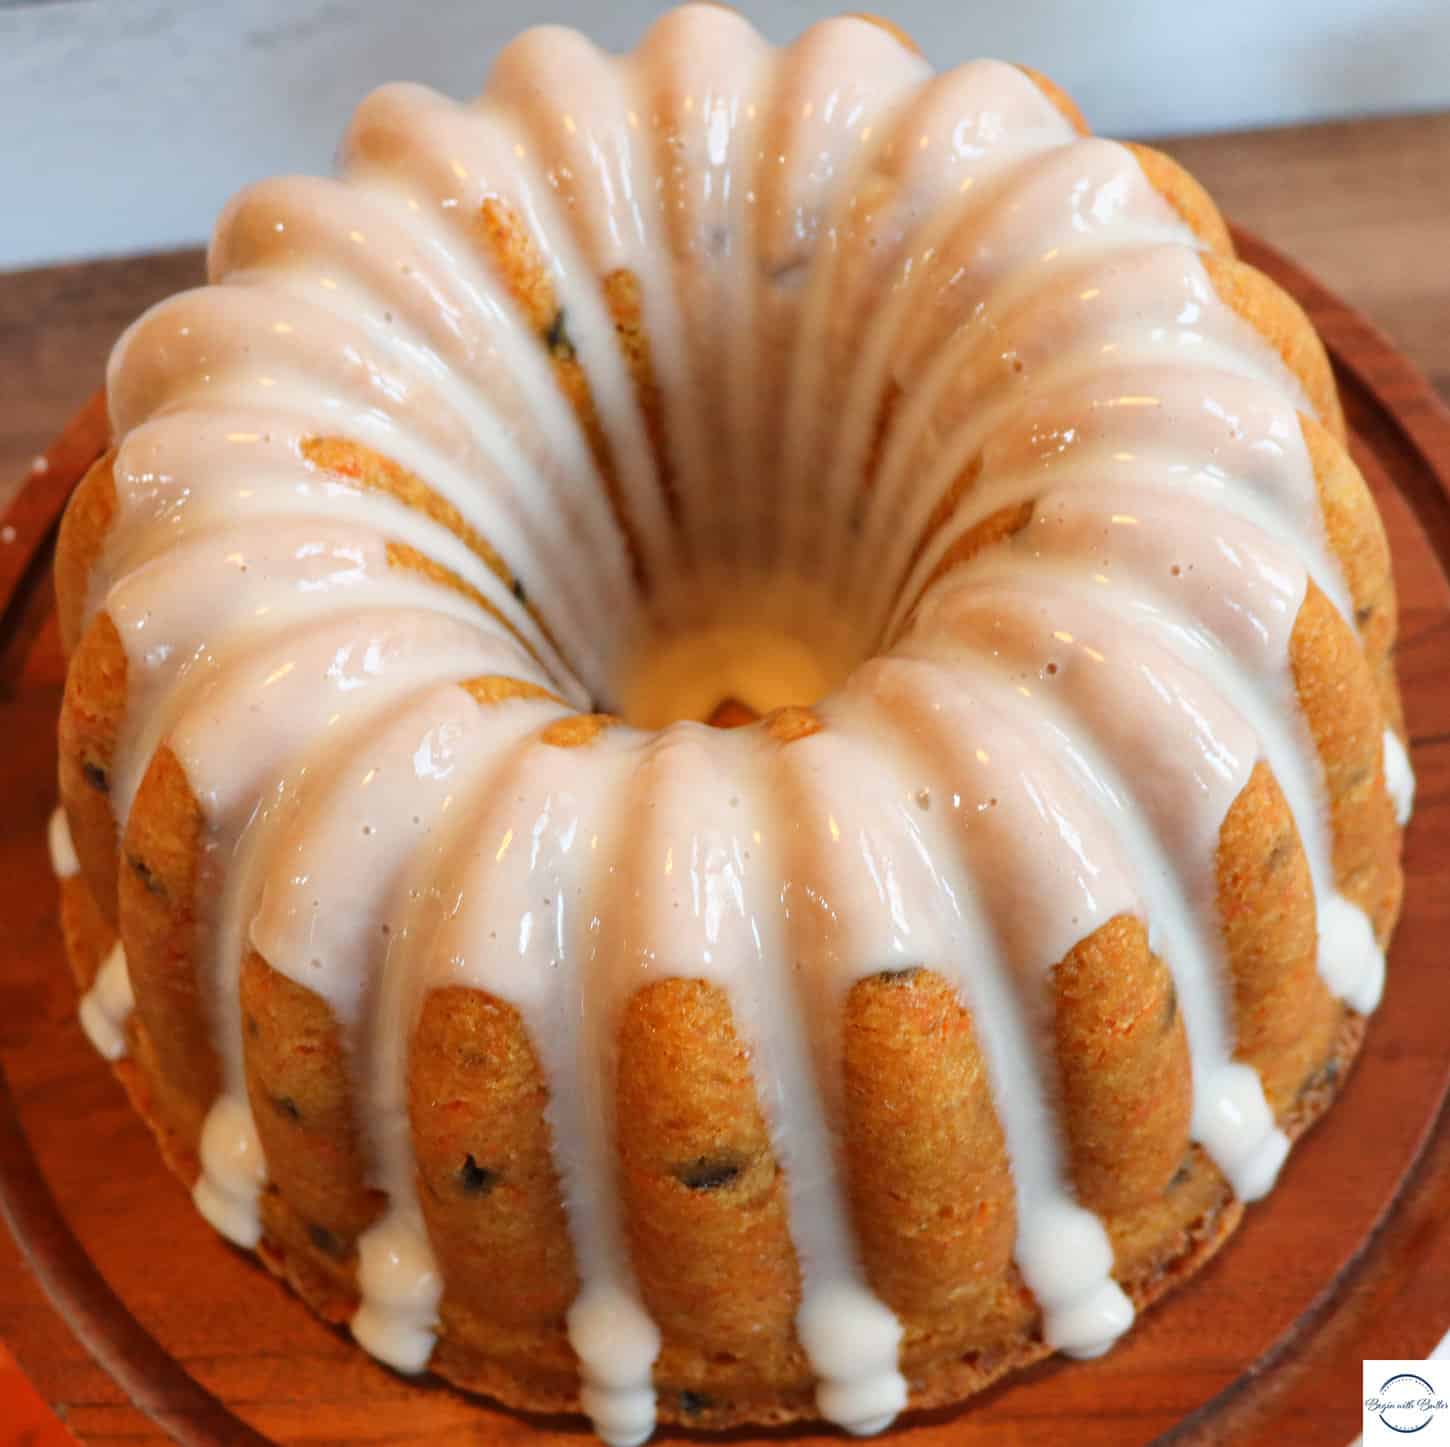
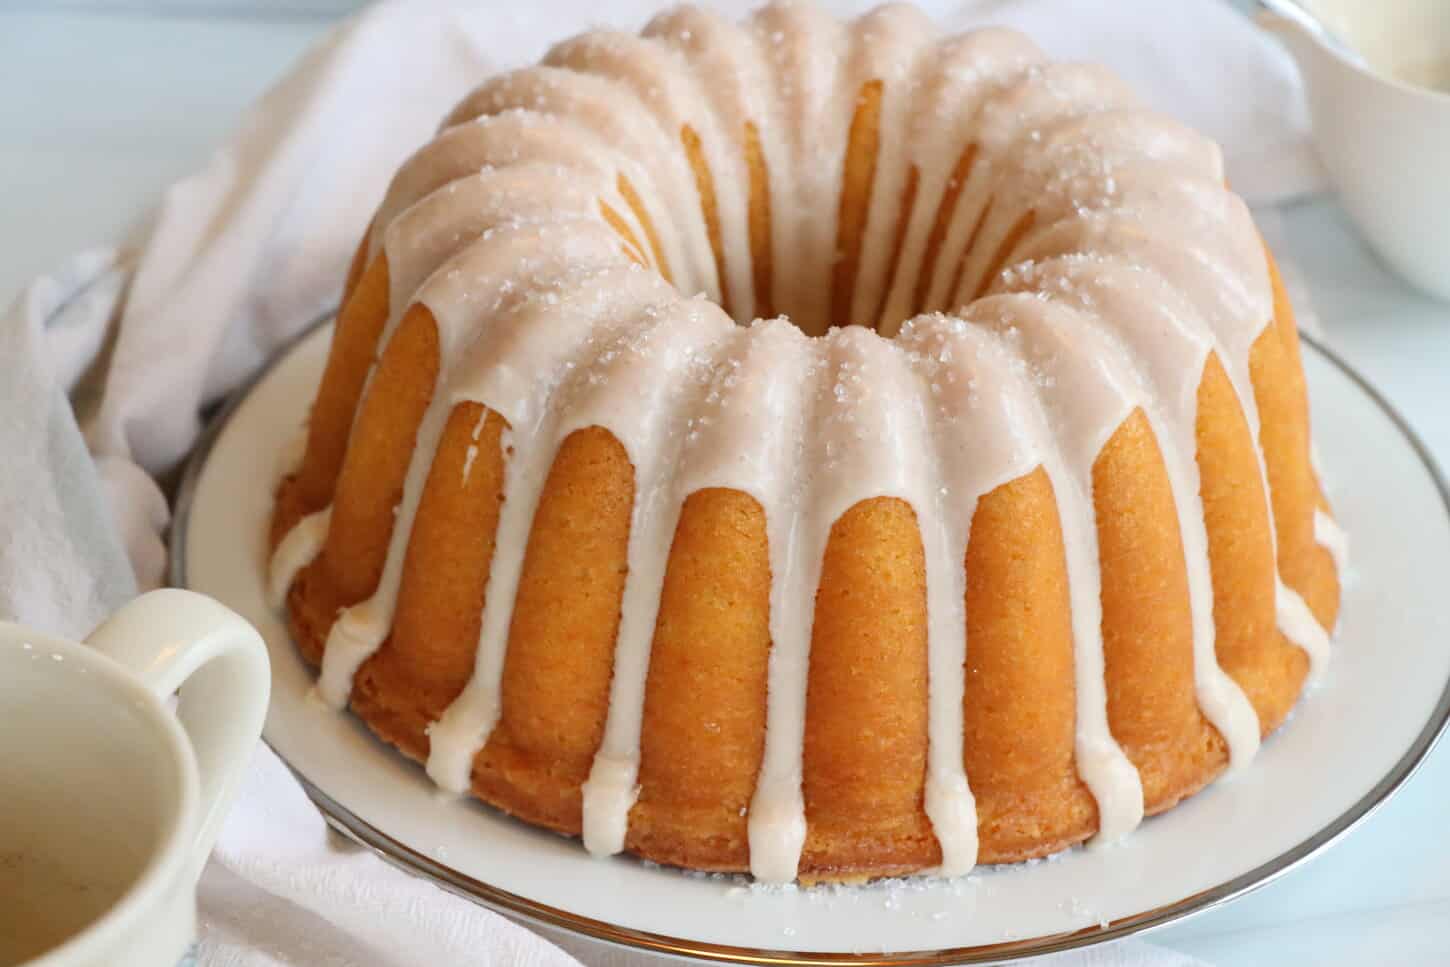
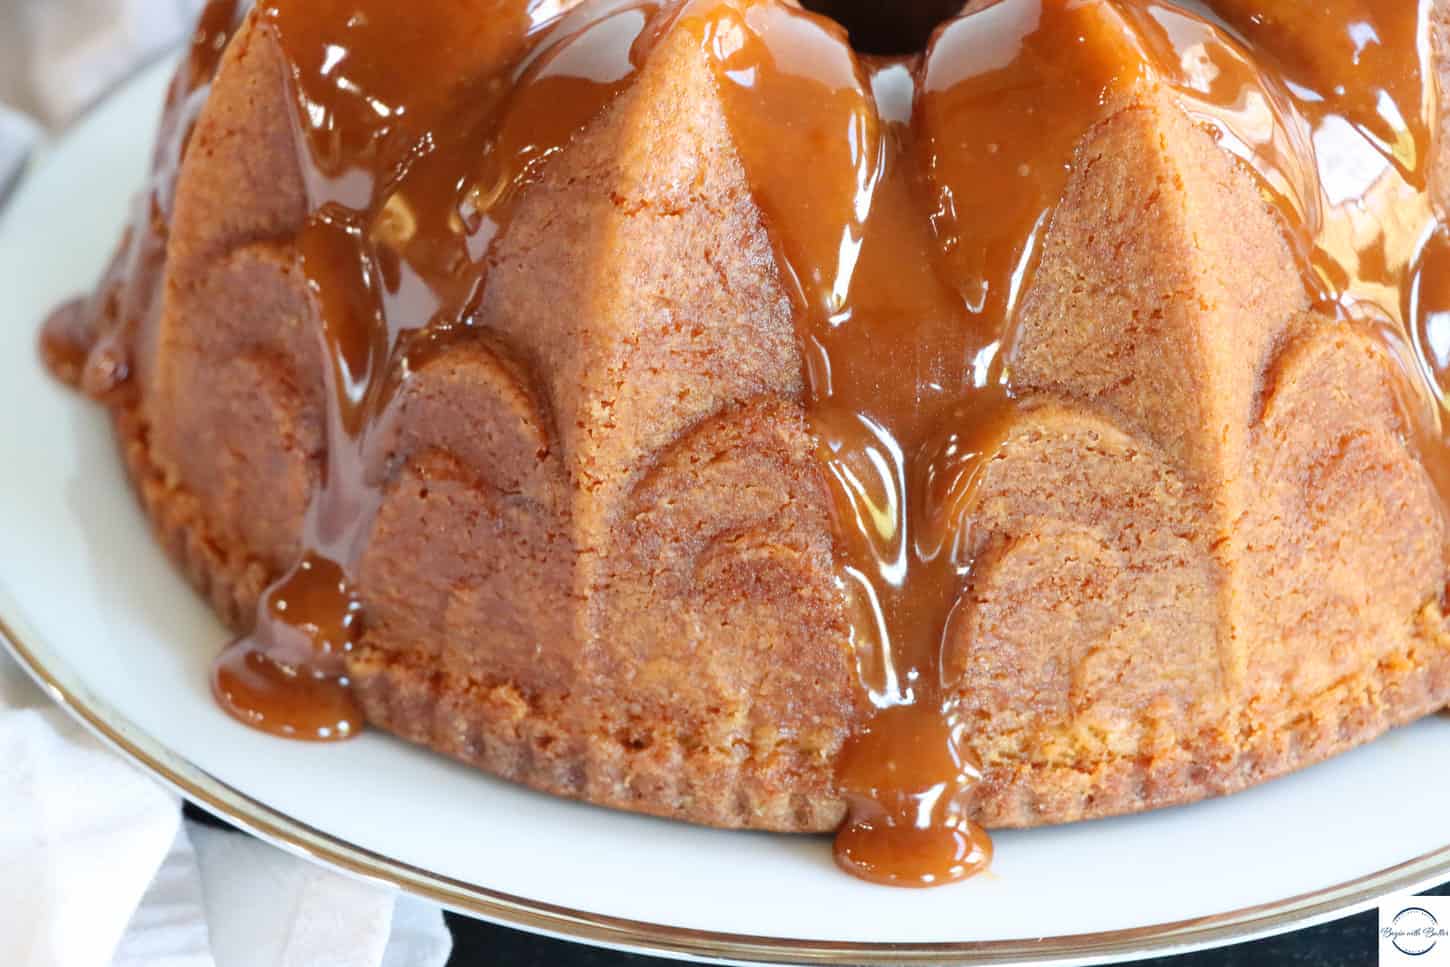
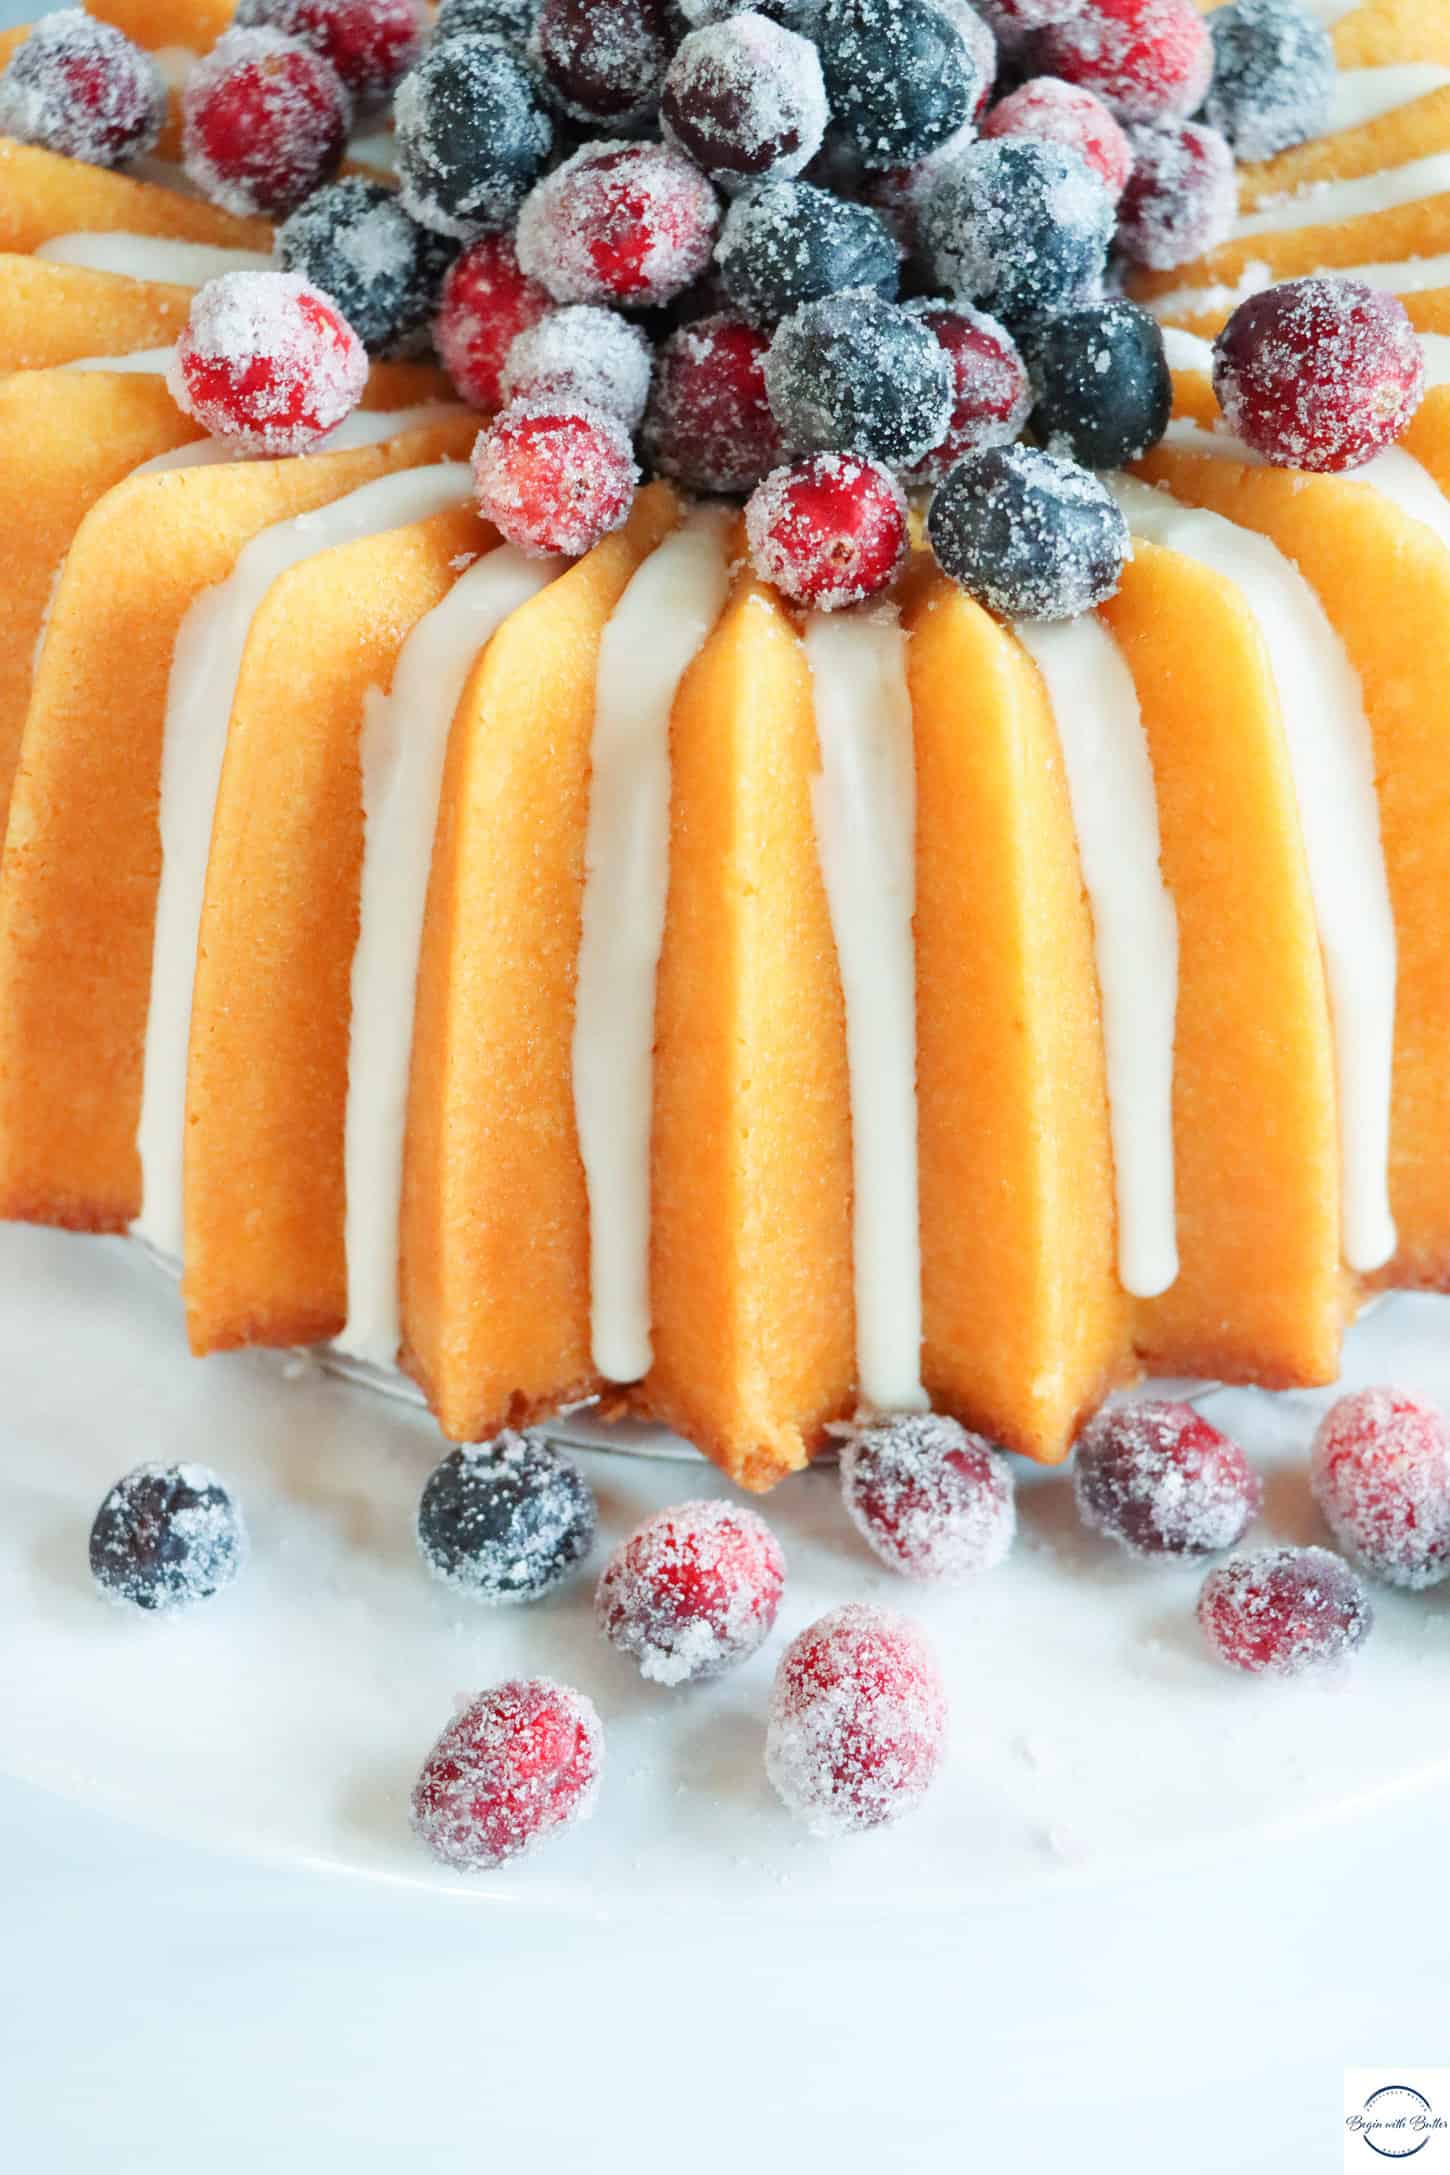
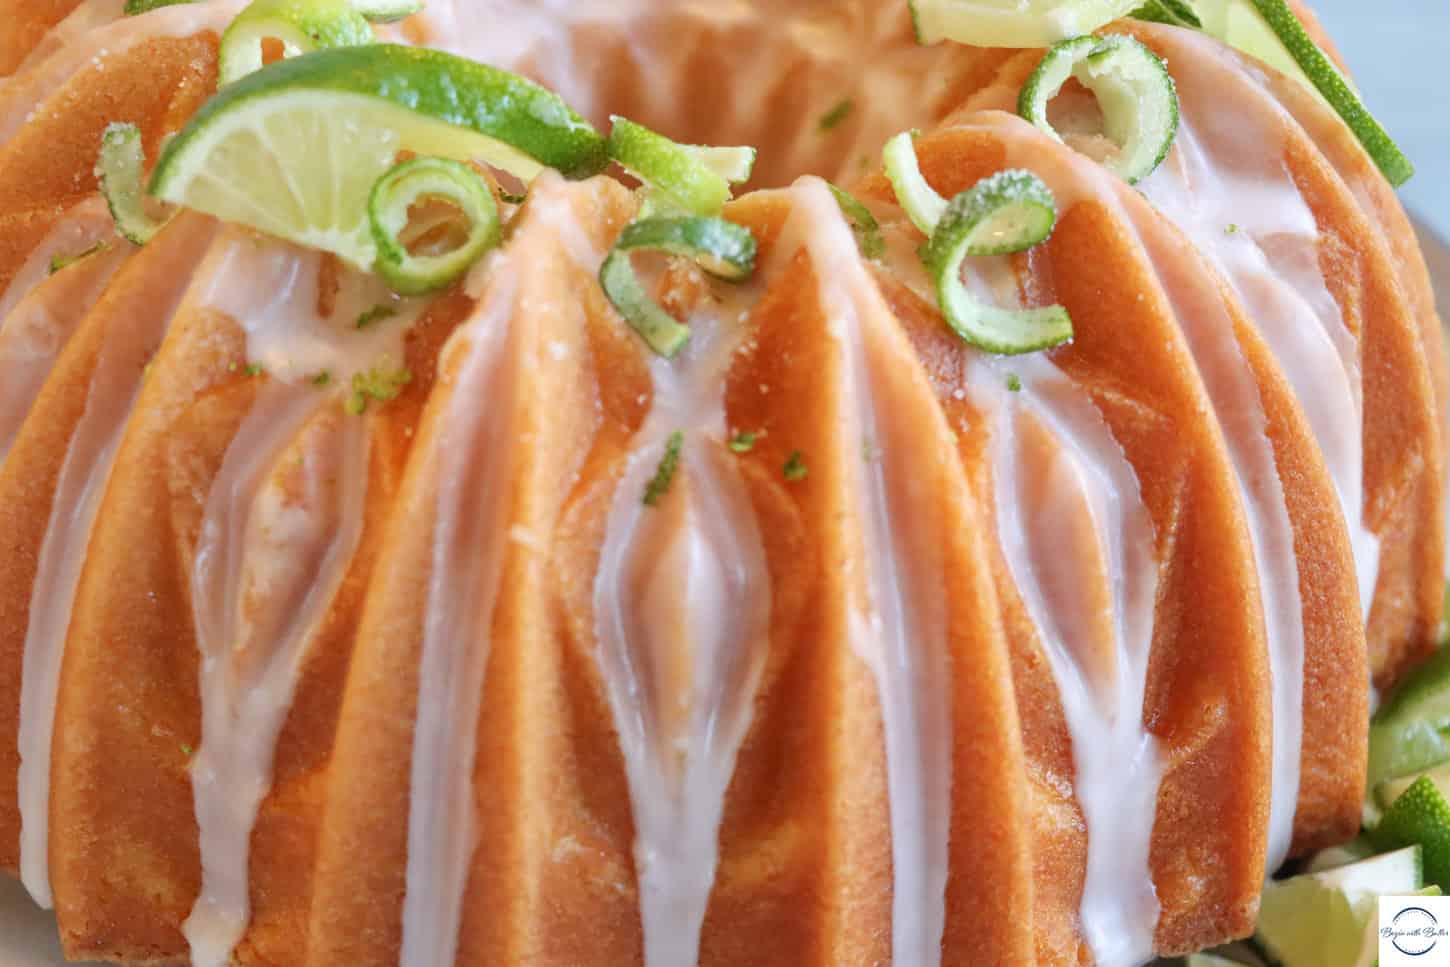
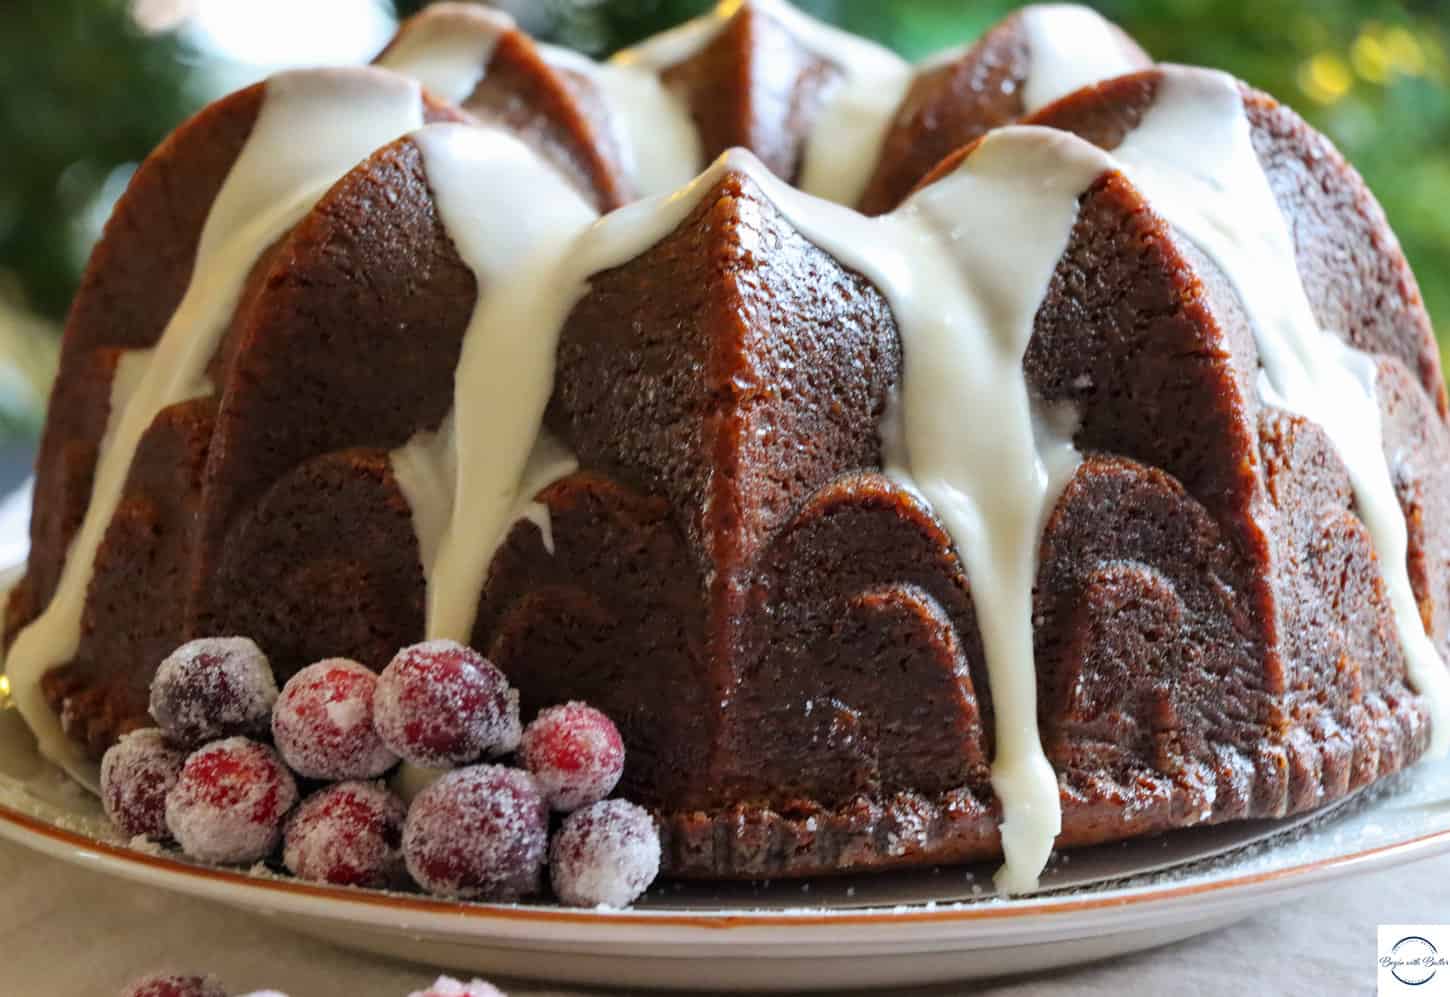
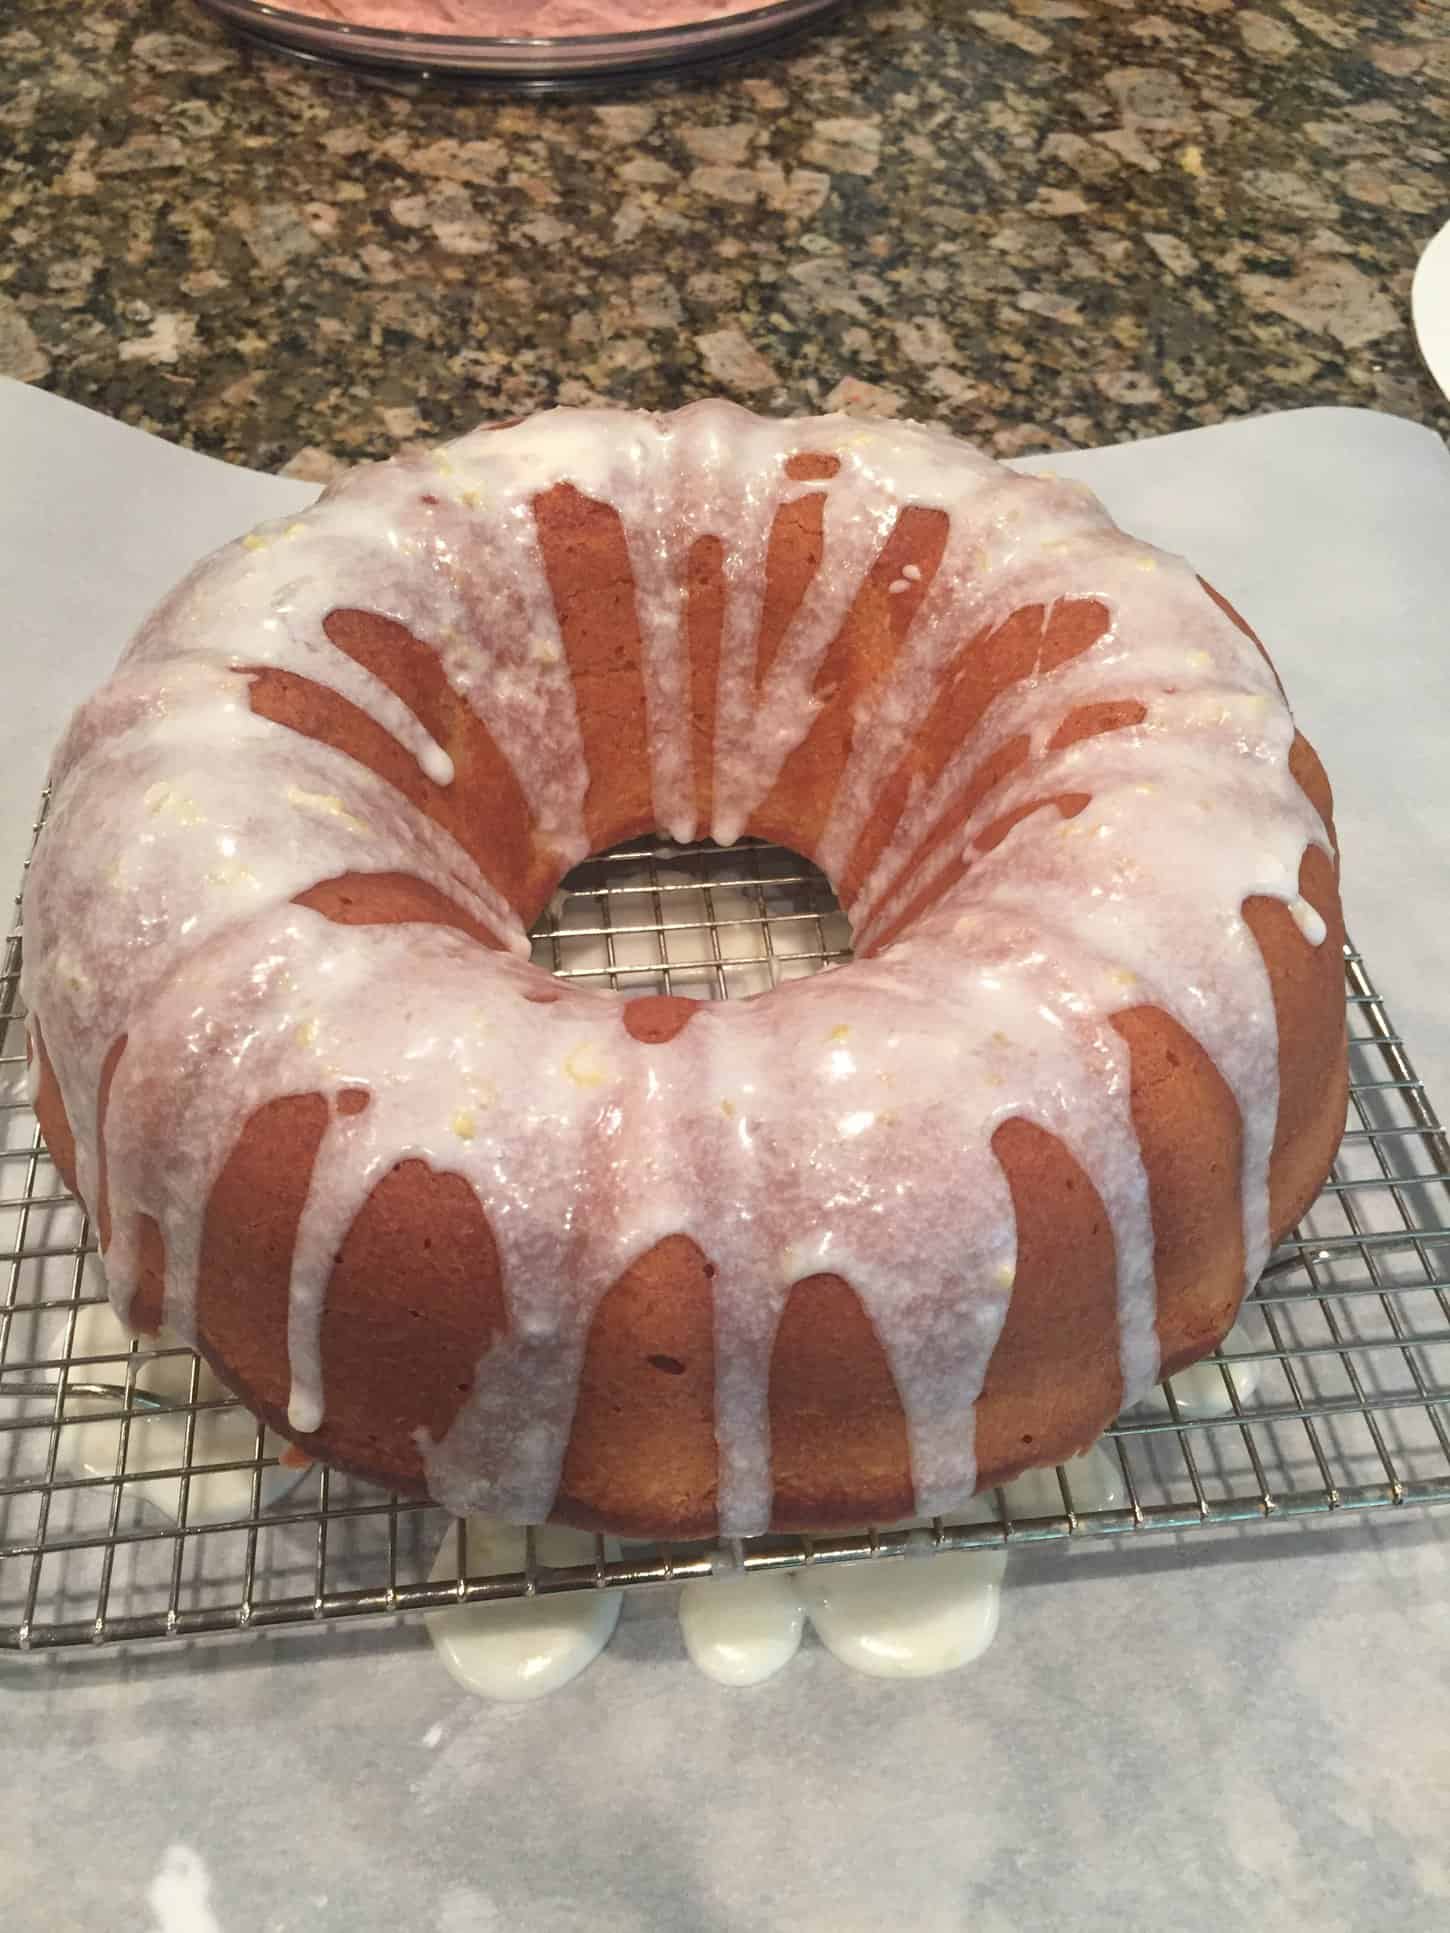
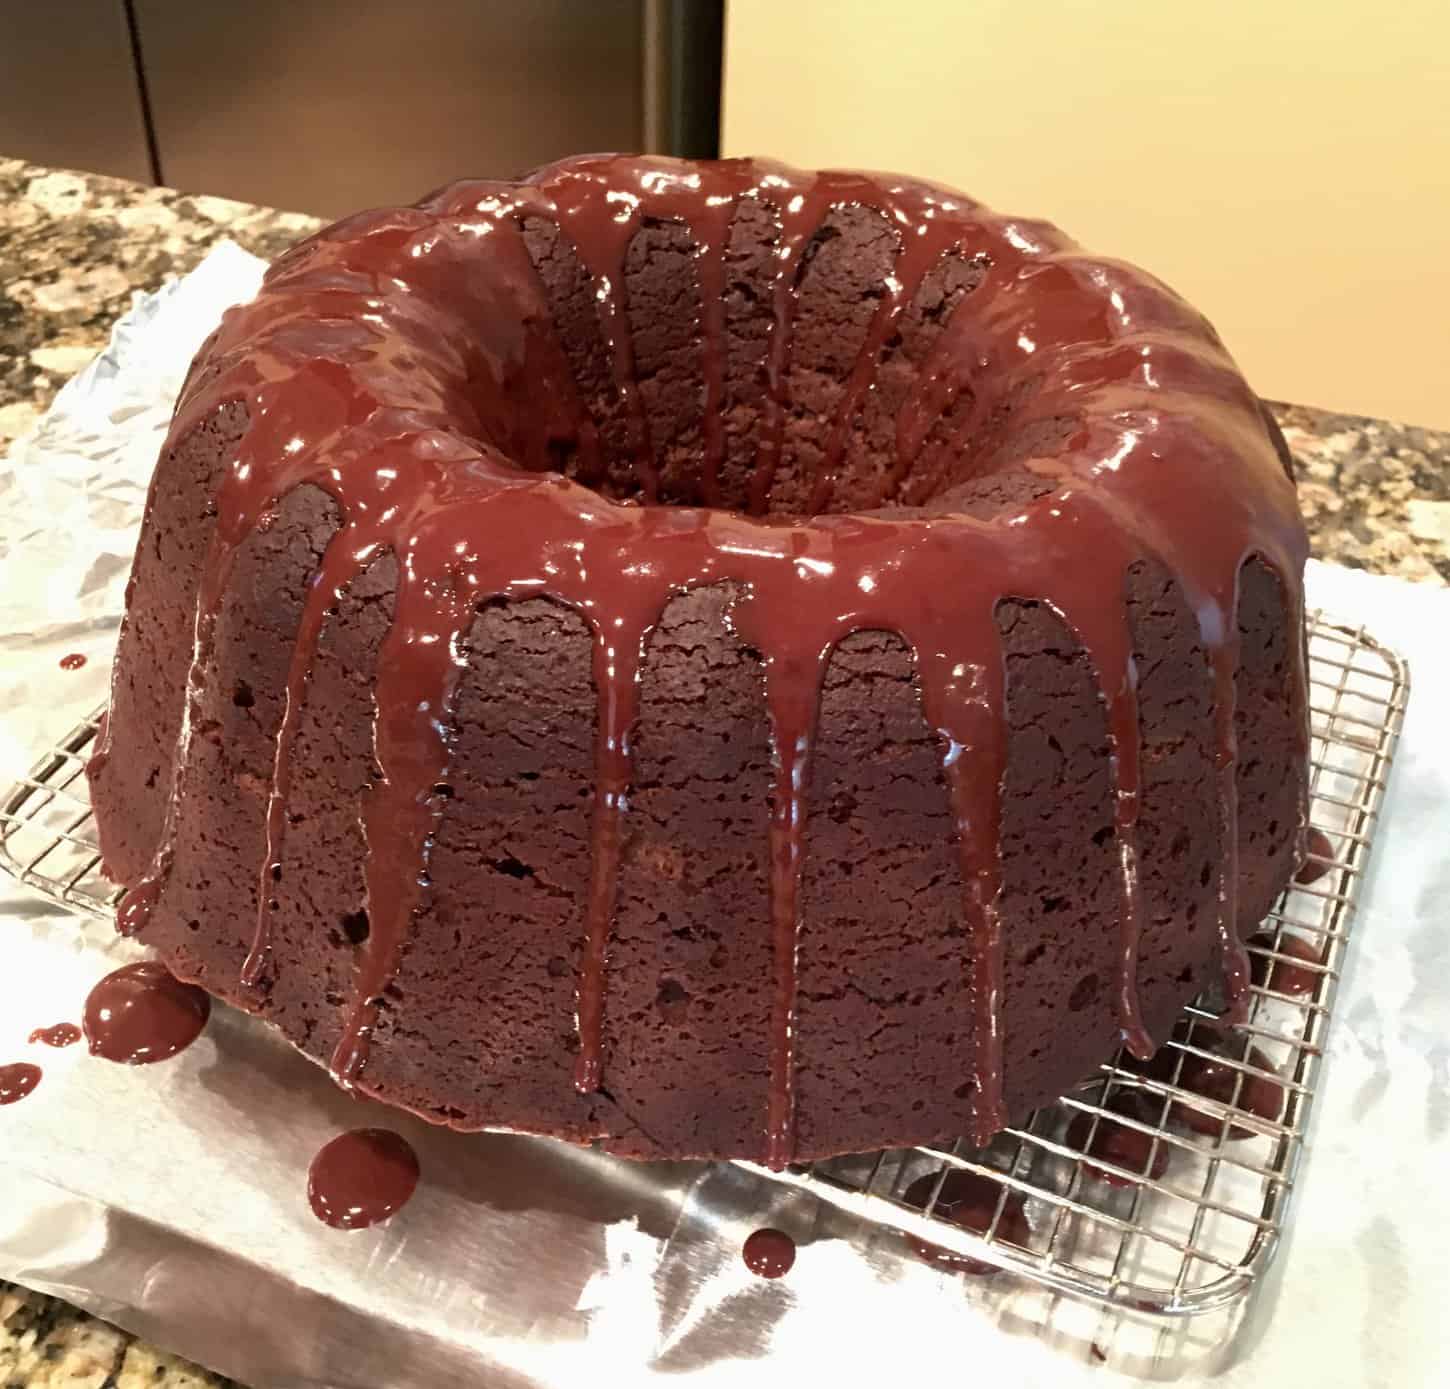
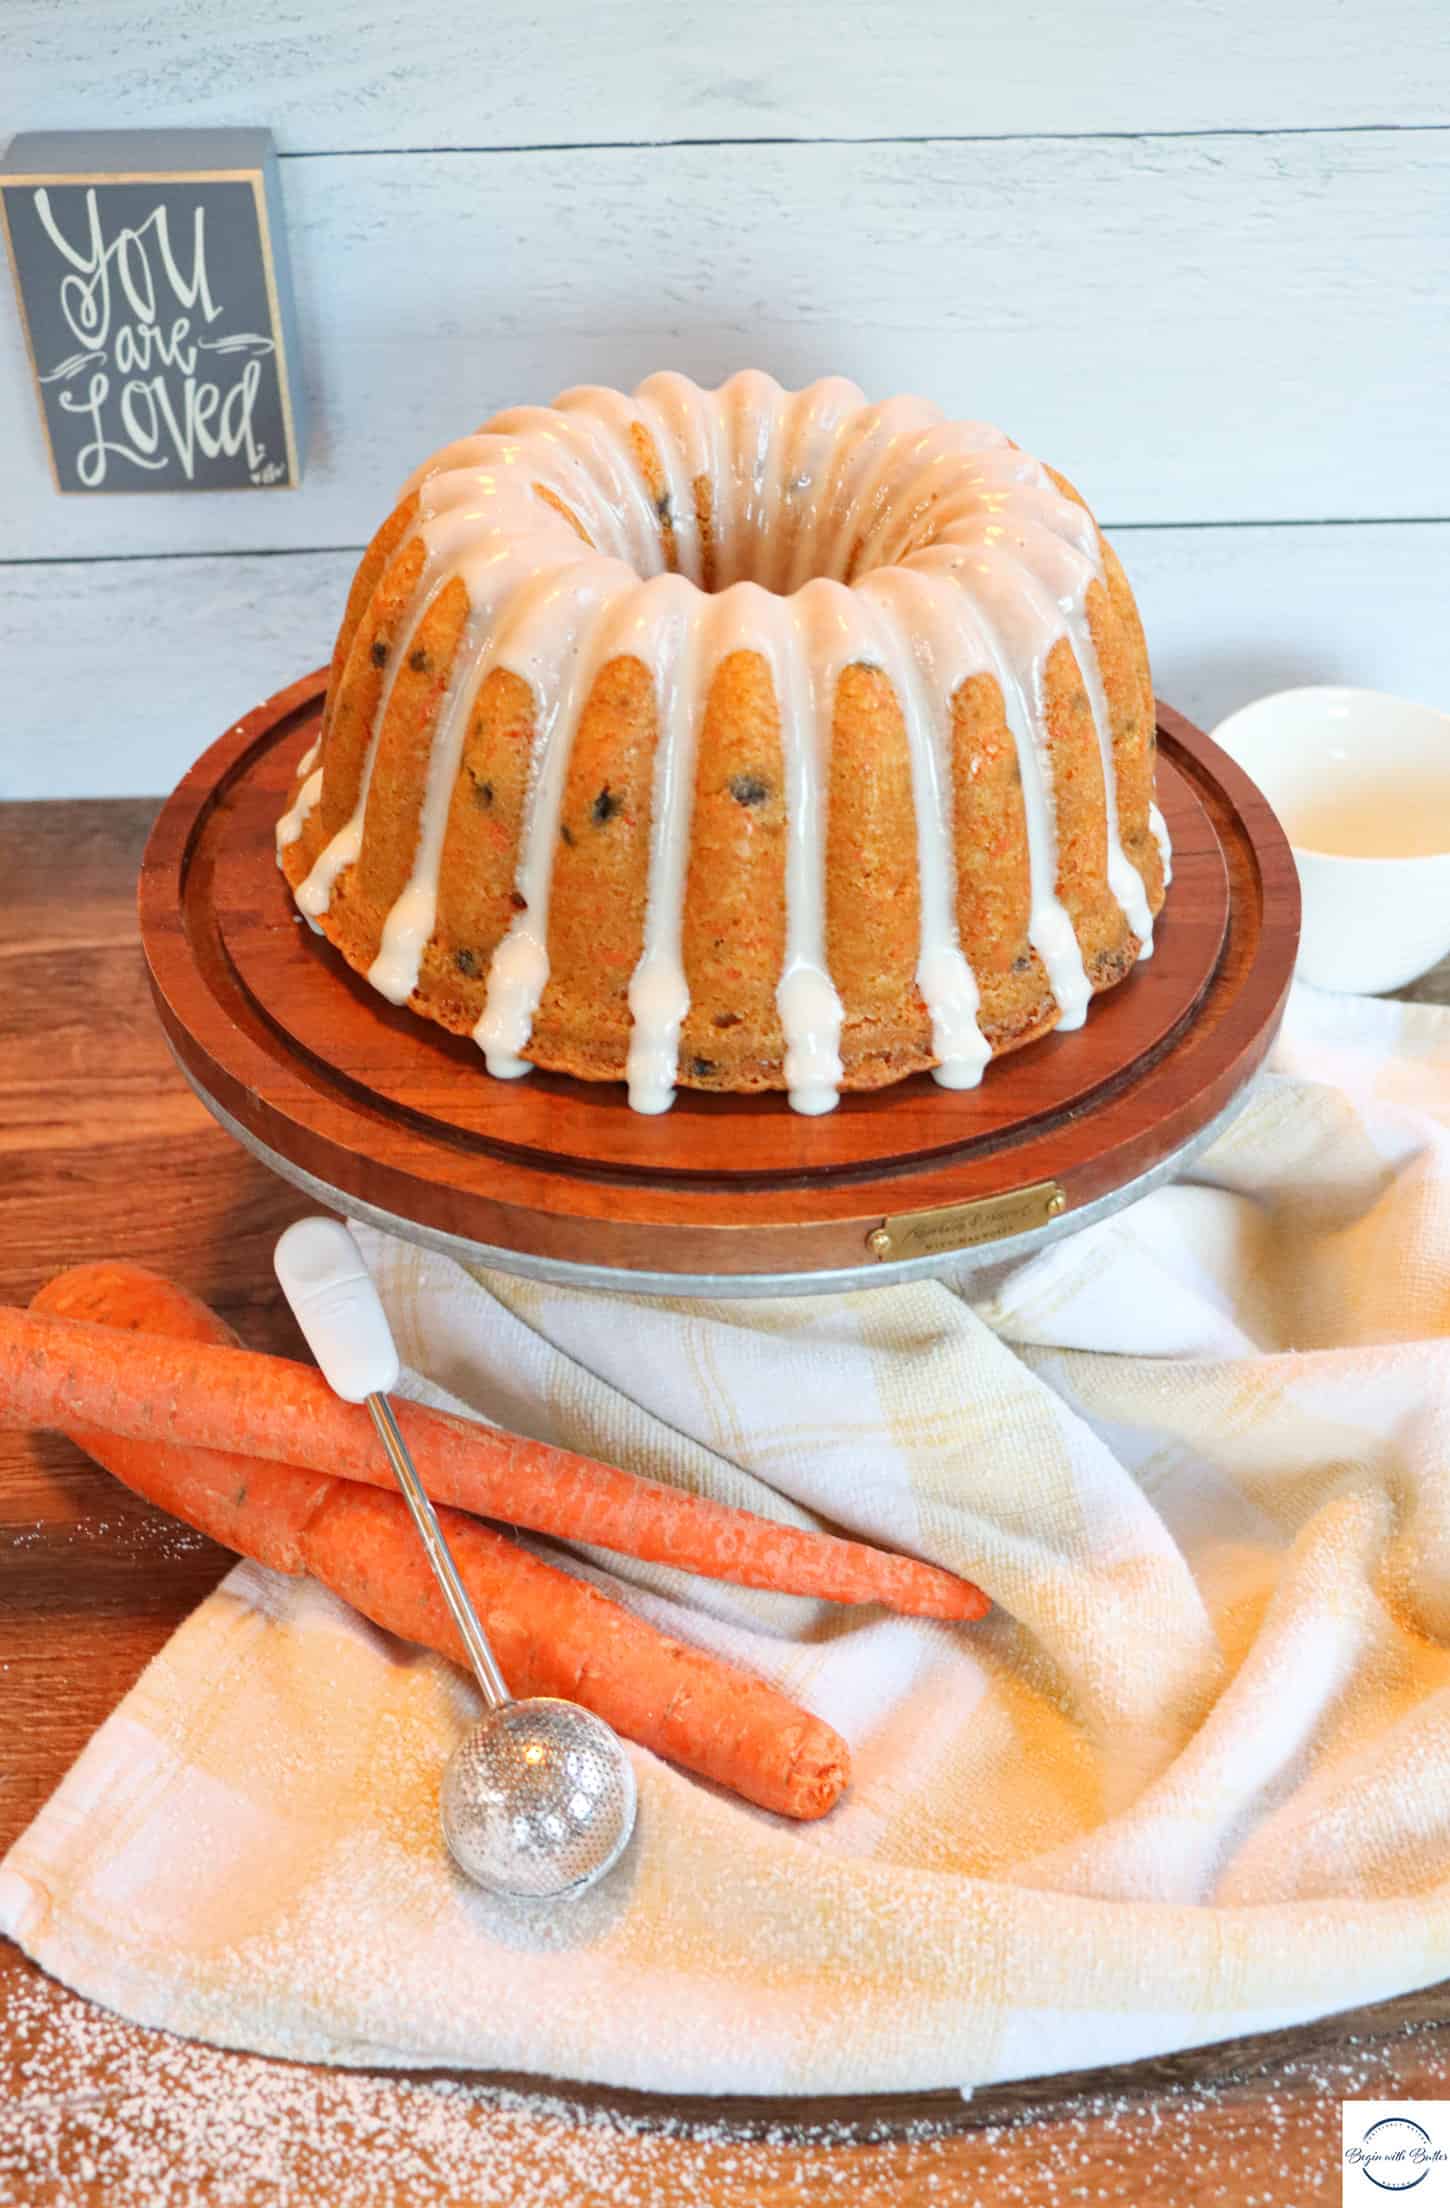
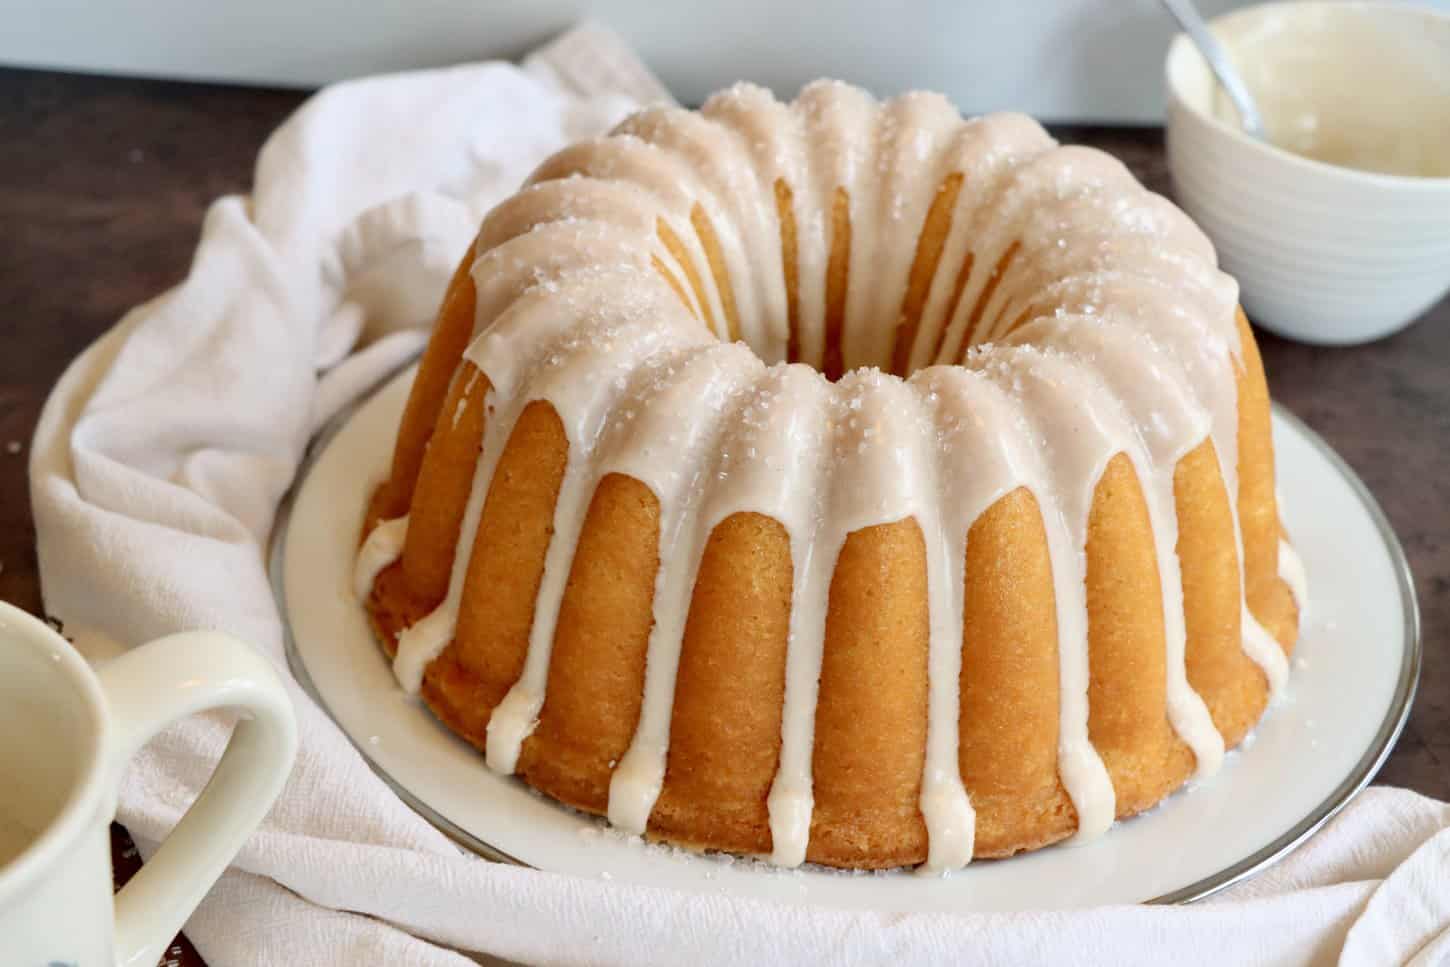
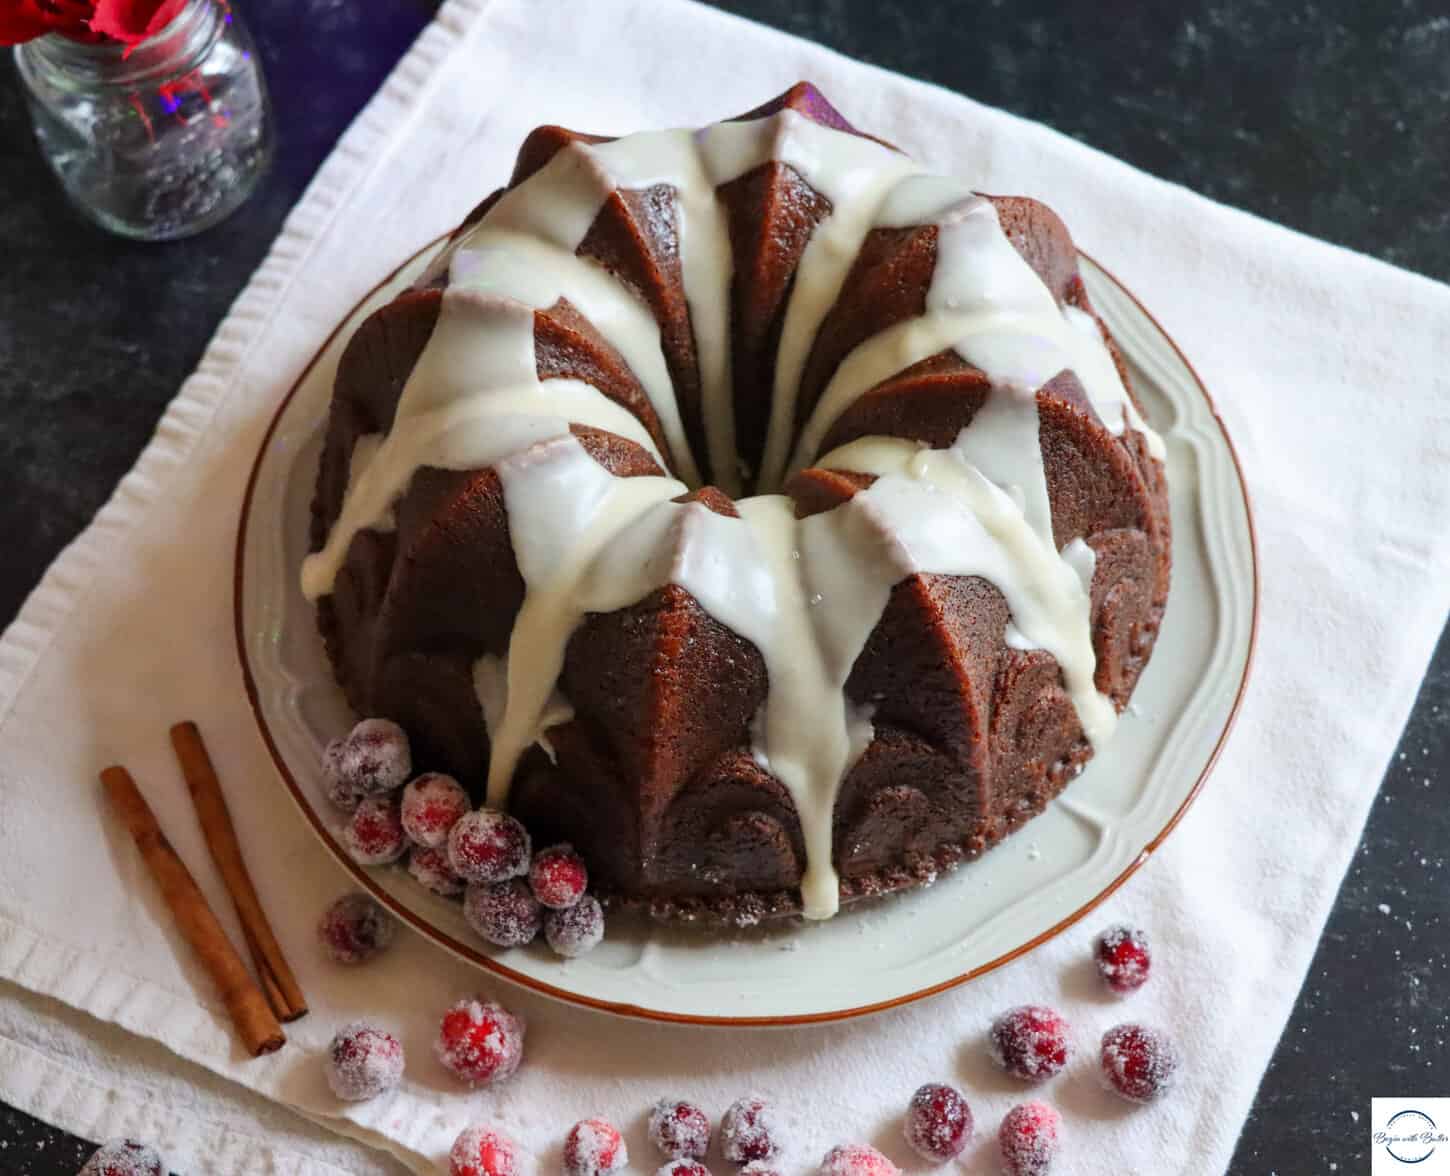
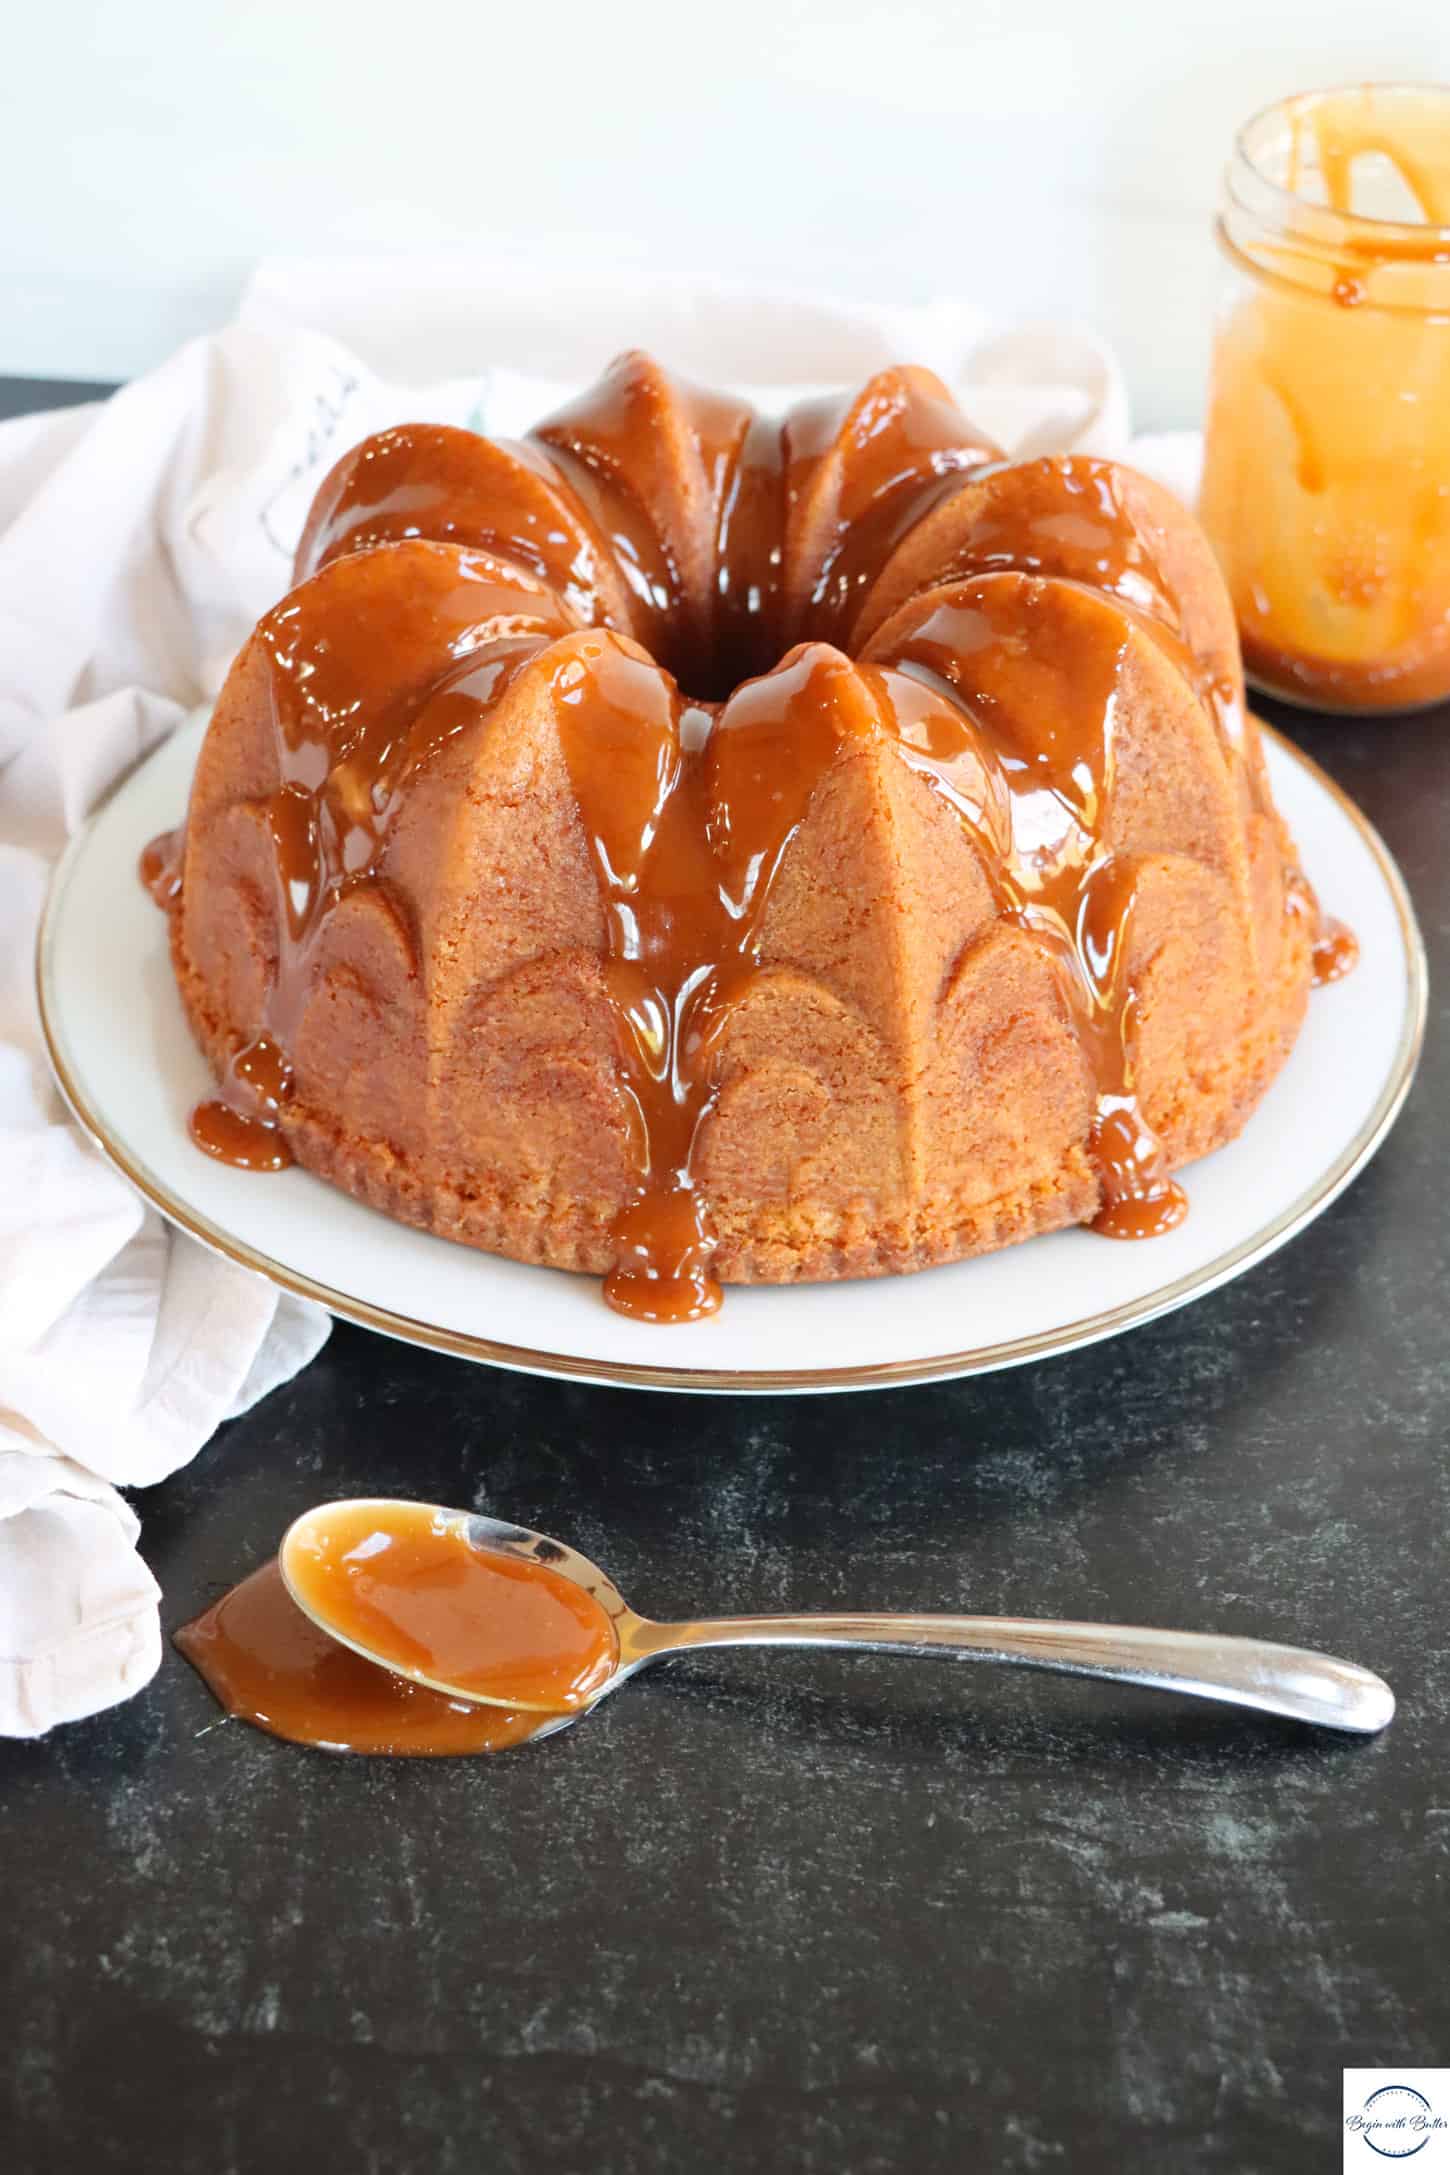
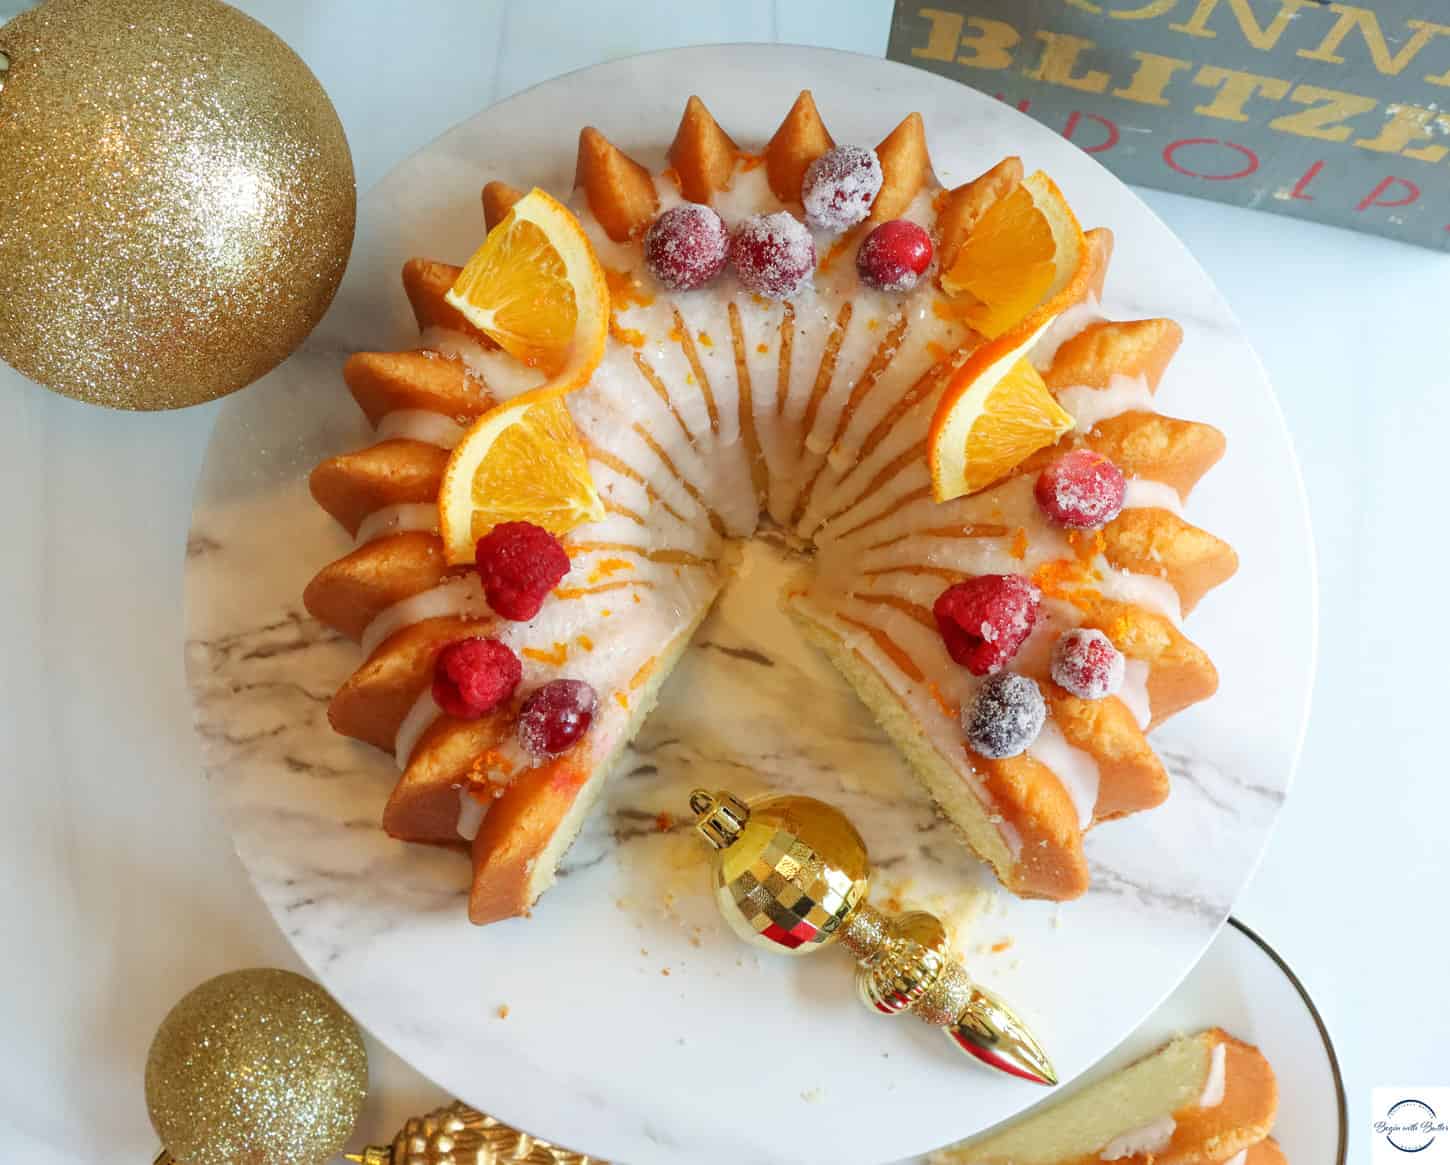
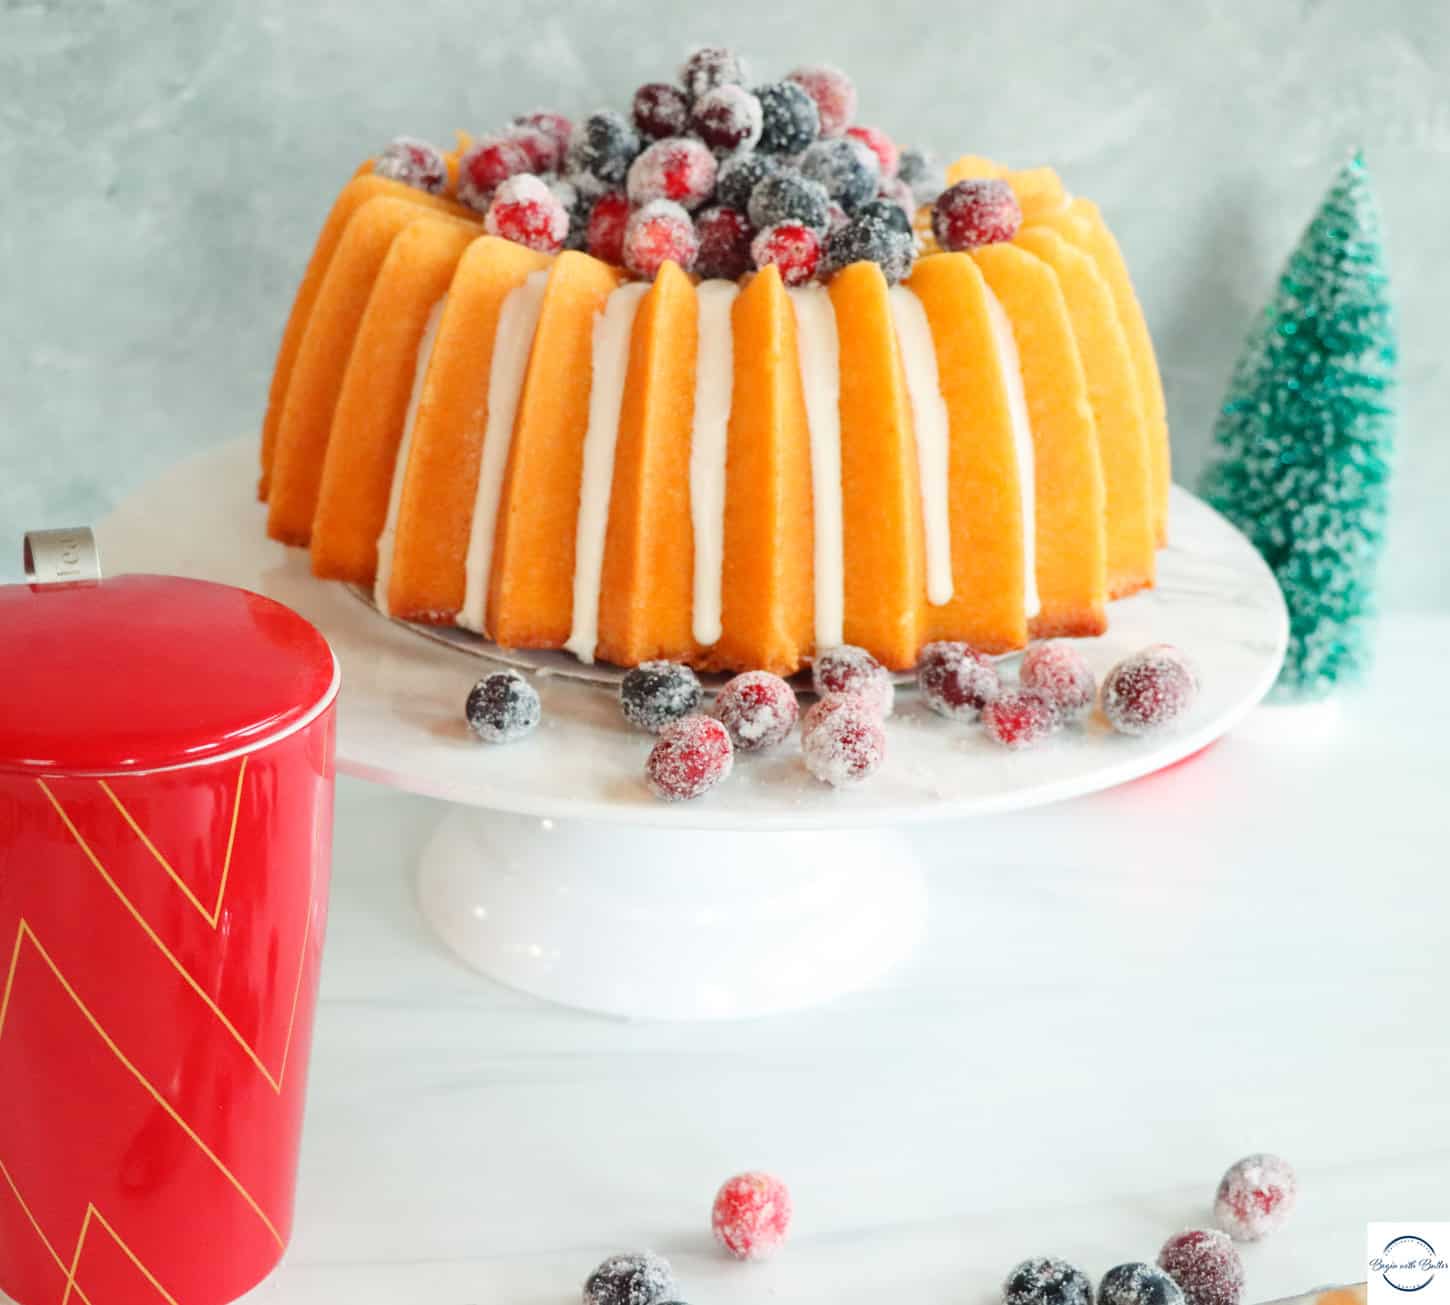
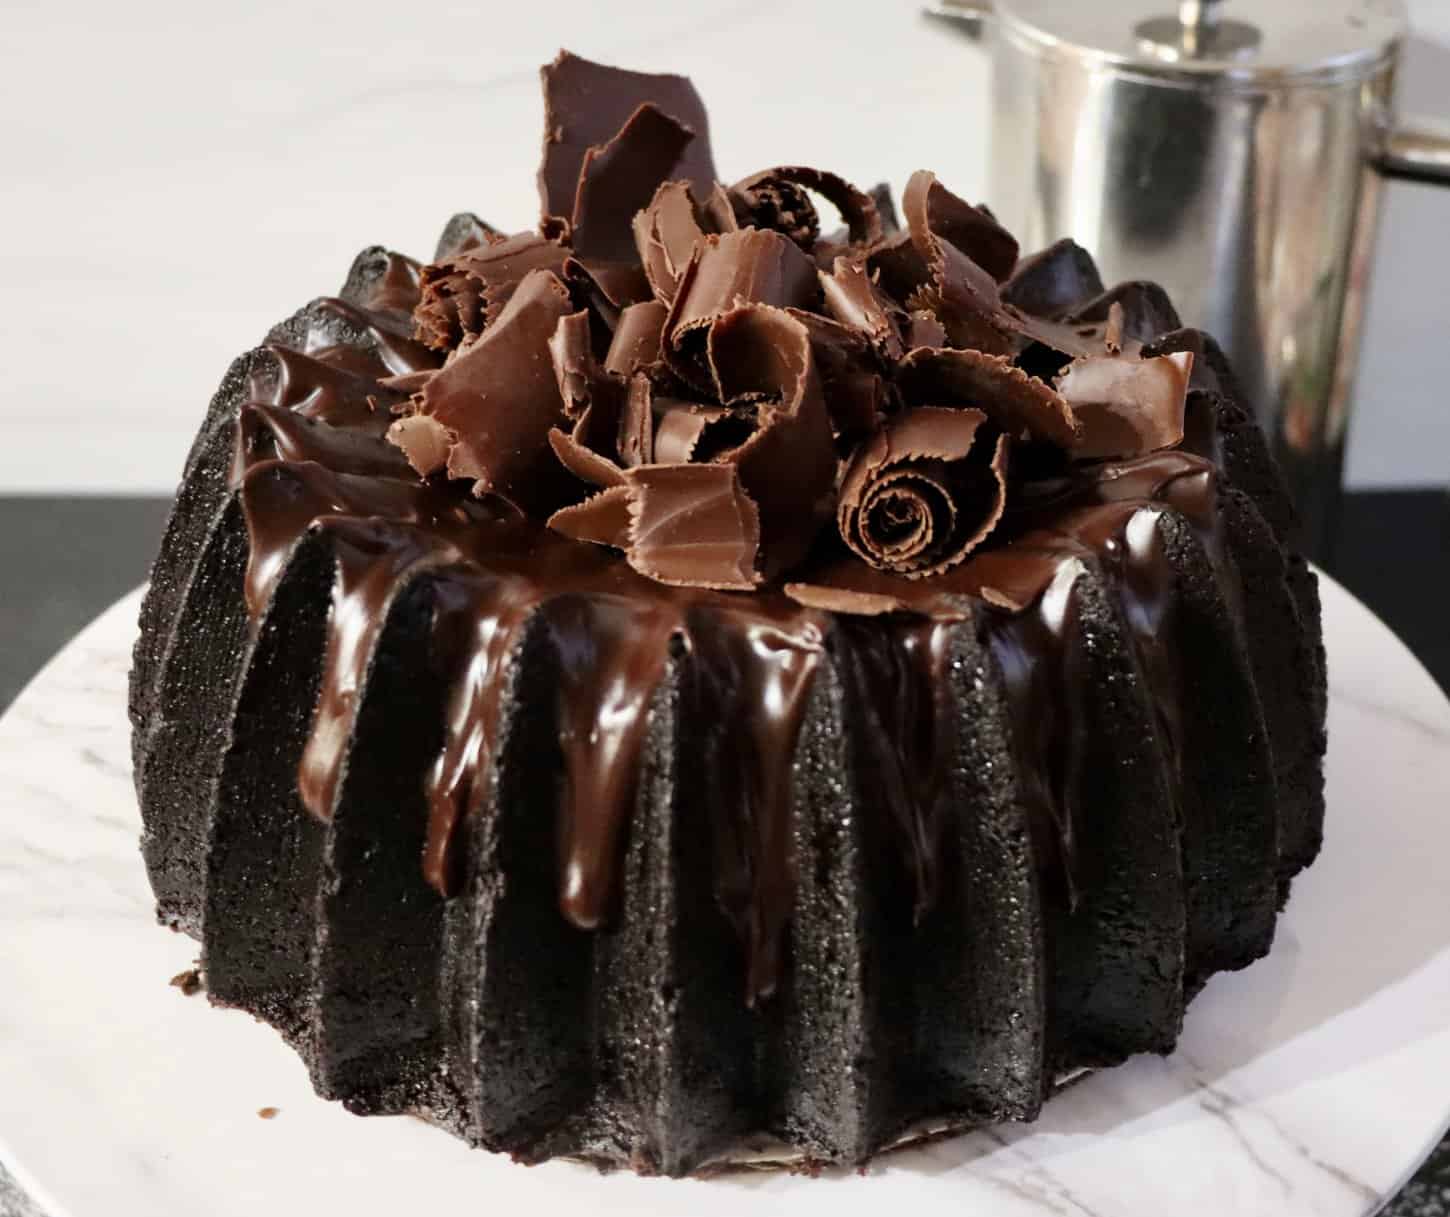
These beautiful bundt cakes all came from my kitchen, the recipes came from my heart, and you can hyperlink to the recipes by clicking the pictures above!
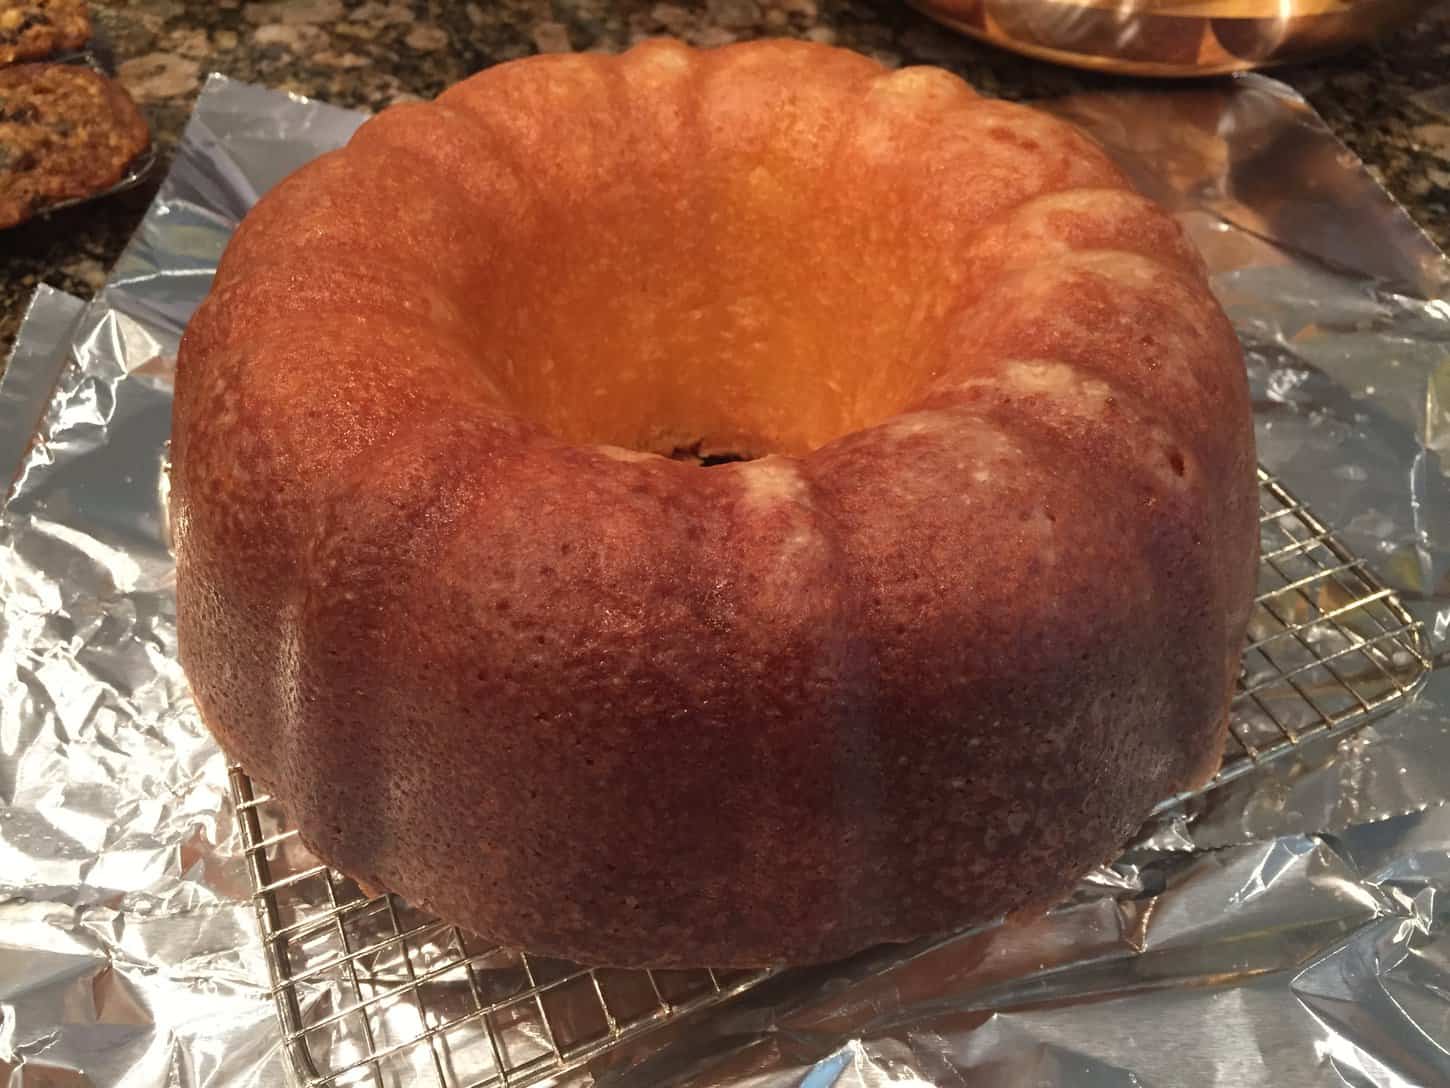
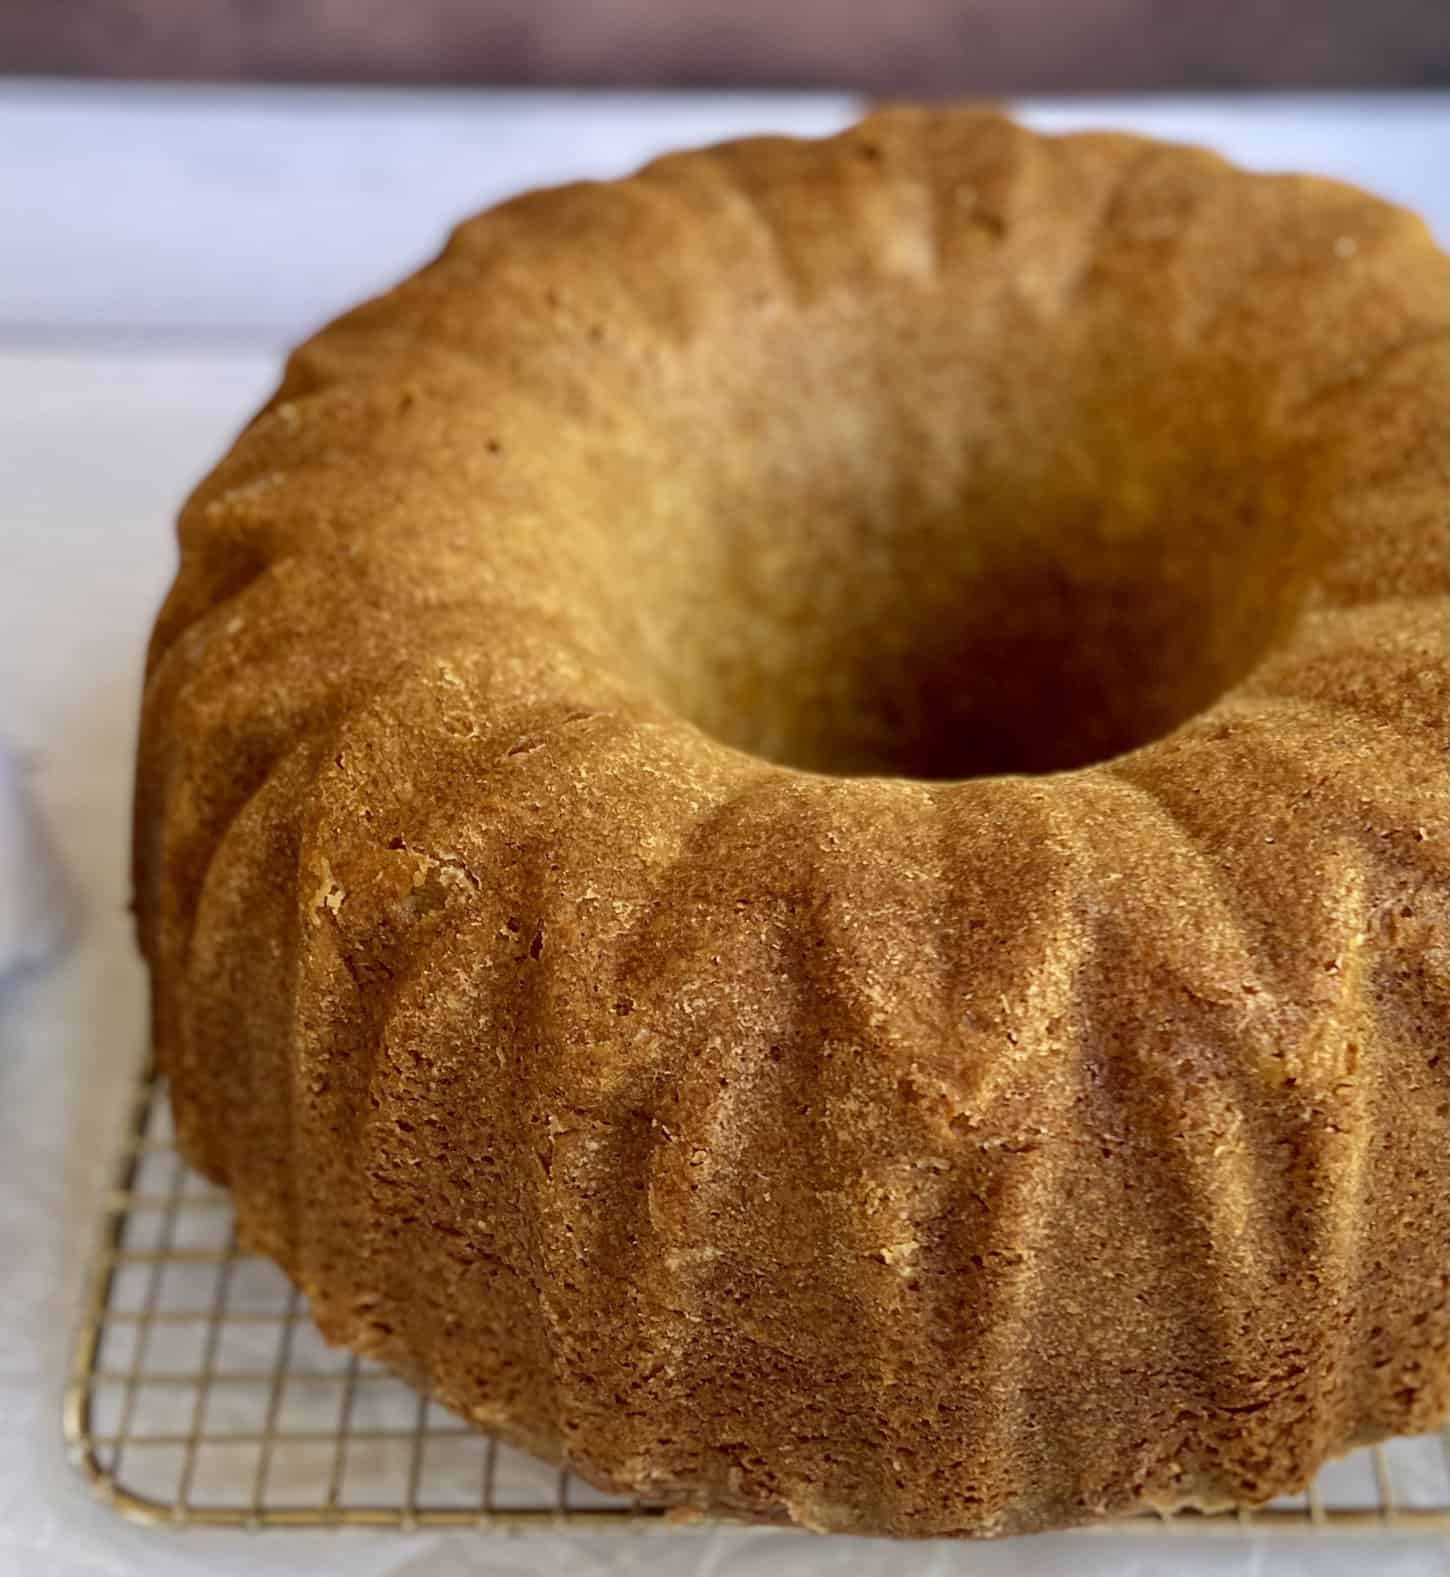
After the event, the most pressing question on BwB Members’ minds has been: how do you consistently get your pound cakes out of their pans and into these intricate designs?
I’ve got you all. Because this?
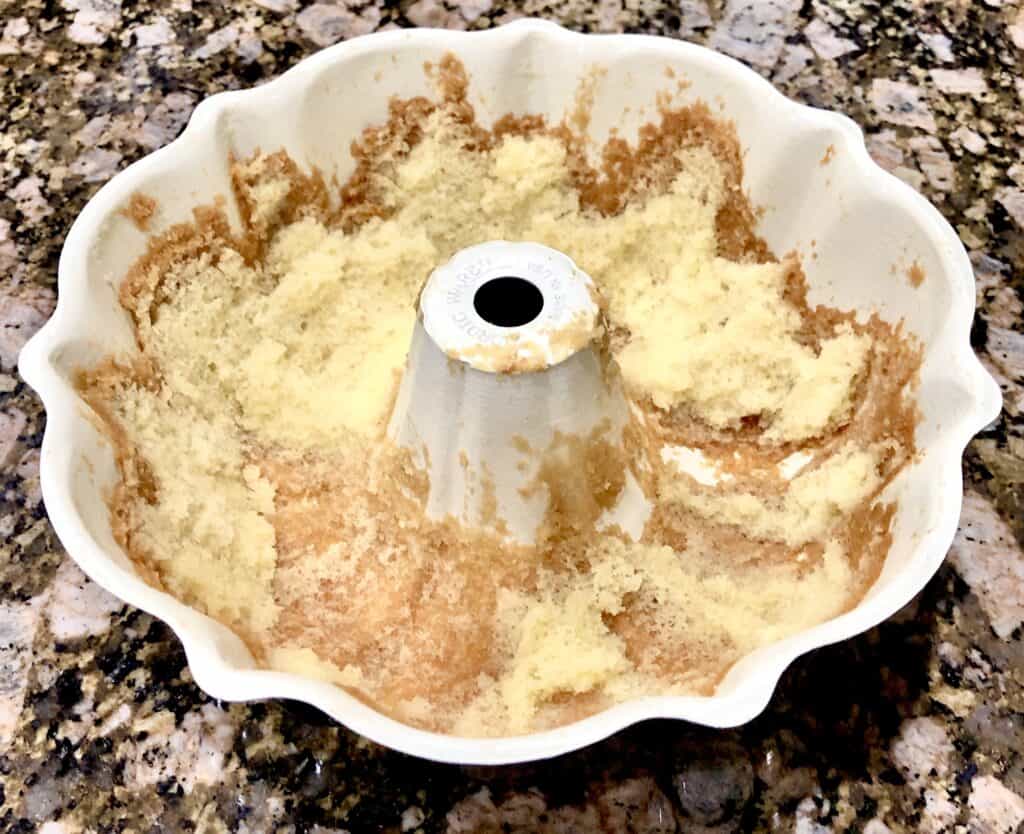
This isn’t cake. It’s trifle. And I don’t ever want you to experience this trauma ever again.
In this Article
Tools and Ingredients Used
There are a few ways to grease bundt pans for baking. I didn’t learn much about baking as a kid, but I did learn that butter and flour were my mother’s preferred way of greasing a bundt pan.
So I use butter and flour.
There are myriad ways to grease a bundt pan, though, and sometimes it takes trial and error before you find your go-to. Some people prefer non-stick sprays specifically that are specifically designed for baking (they contain flour; regular non-stick won’t work well); others prefer shortening and flour; still others like a homemade cake release, like this one found on the Grandbaby Cakes site.
My preferred way is to use butter and flour, and that is what I’ll demonstrate for you today. But I encourage you to try more than one and see what works for you!
My Favorite Bundt Pans
I’ve used several kinds of bundt pans since I started baking in 2014. To show you what the cakes from each pan look like, I thought I’d use cake photos to take you on a trip down memory lane.
Wilton Perfect Results Premium Non-Stick Tube Pan
I started with this Wilton bundt pan, and found that it was very forgiving for me as a new baker. Even during my earliest days, when I was experimenting with lemon pound cake recipes and cake release techniques, this pan released cleanly on a regular basis.
Wilton Bake it Better Non-Stick Flower Tube Pan
This Wilton bundt pan is also very forgiving and also releases very nicely, and has a bit of a pattern for those of you who want to jazz up your cakes a bit.
Evolution
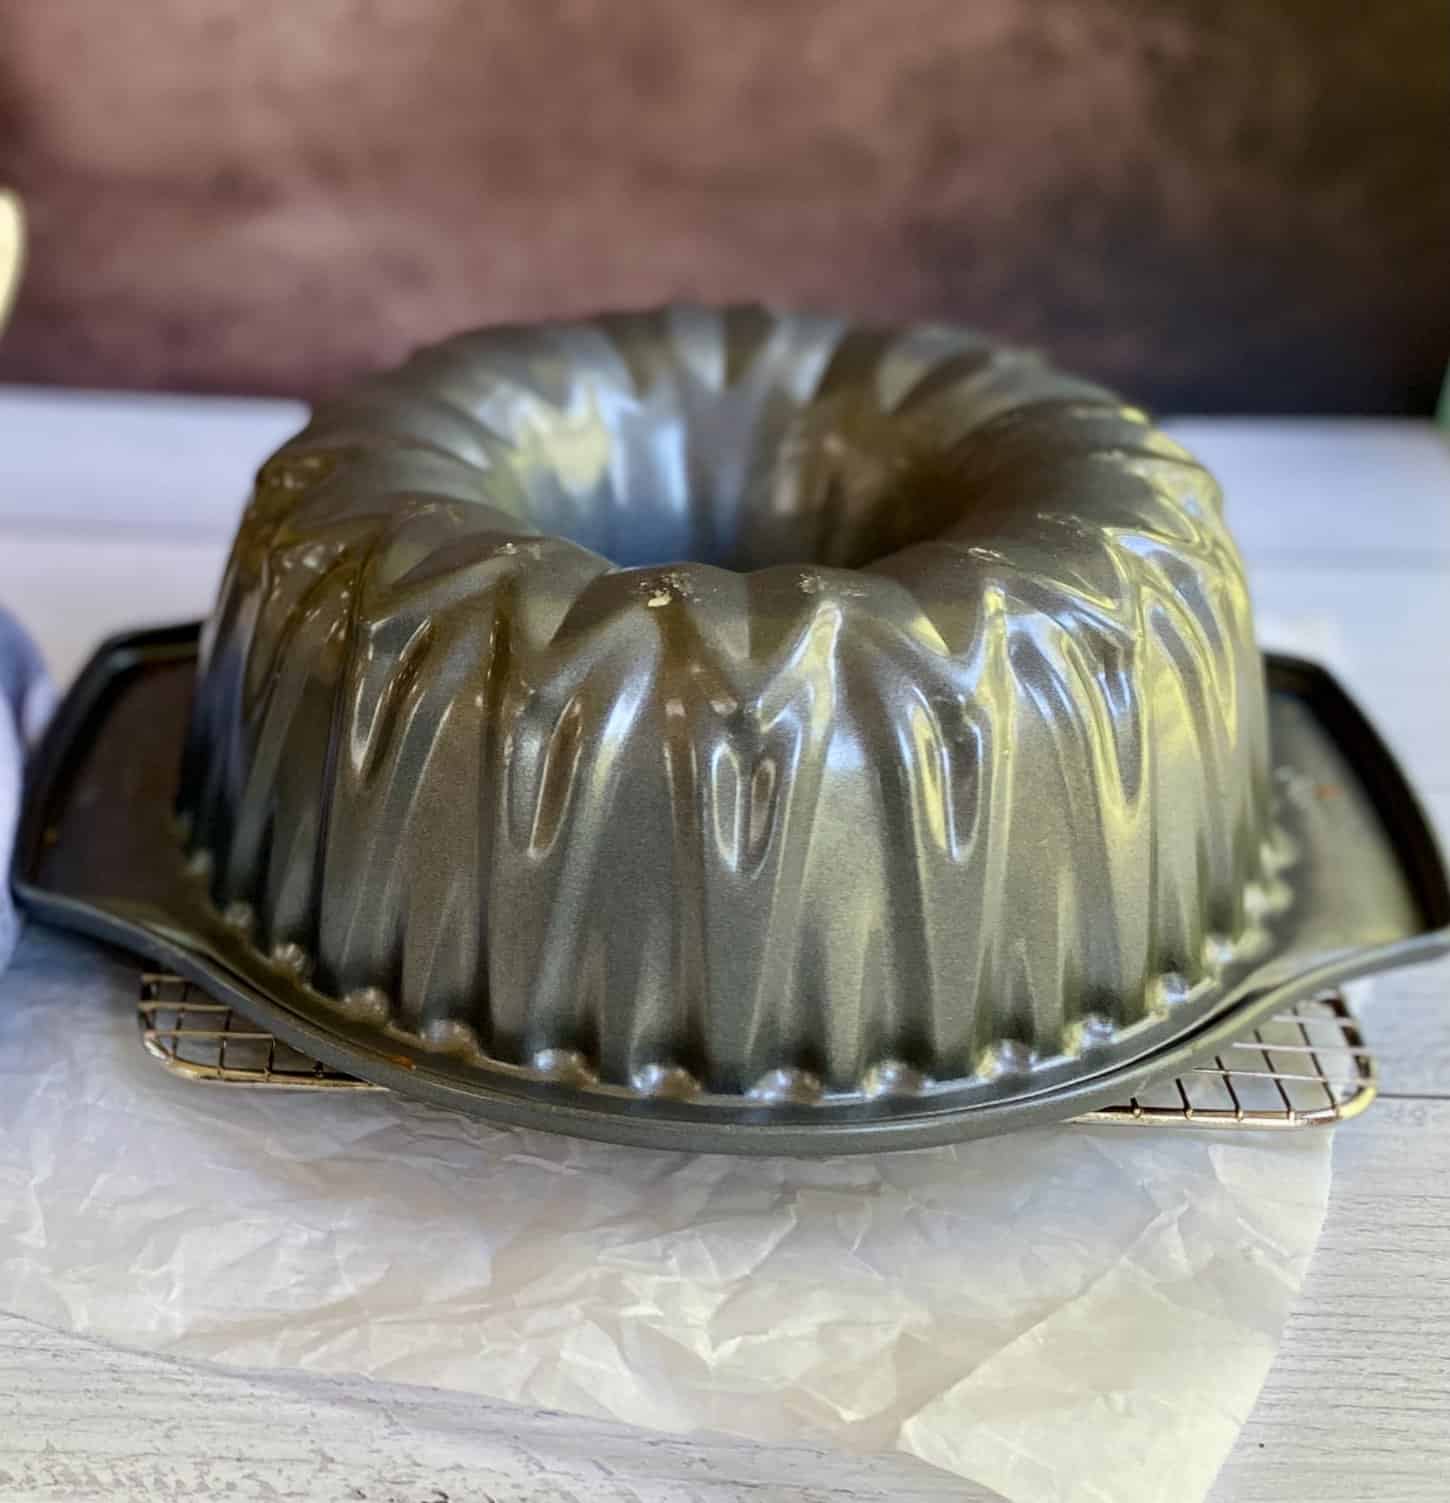
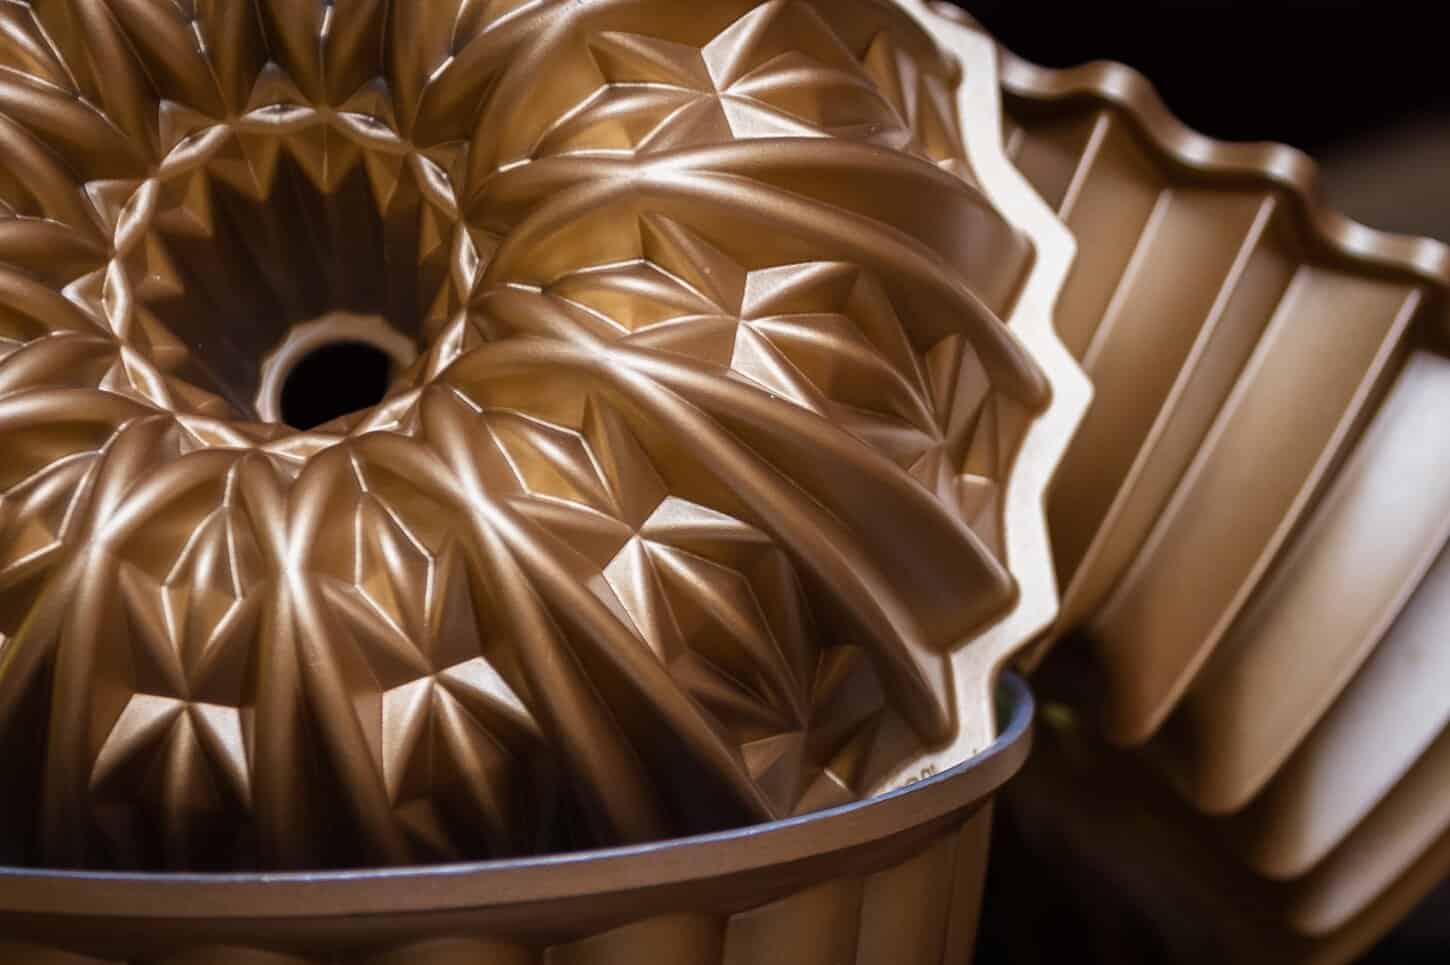
After a couple of years, I started to see mind-blowingly stunning bundt cakes, and I had to know the details for those bundt pans. And that, Friends, is when I was introduced to Nordic Ware bundt pans.
Nordic Ware pans have no time and no chill when it comes to proper greasing, and they have no qualms about grabbing a chunk of your cake. While they do have a non-stick coating, the designs are just so so intricate that they create plenty of potential sticking points. And, Friends, it only takes one good sticking point to get back here:
Even though the risks run high, I’m hooked on Nordic Ware pans. I currently have four of them in heavy rotation, and I’m angling for just one or two more (????). Here are my pans!
**I am an Amazon Affiliate and am paid a small commission if you purchase from any of these links.**
Nordic Ware Elegant Party Bundt Pan
I love the beautiful, classic design of the Elegant Party Bundt Pan:
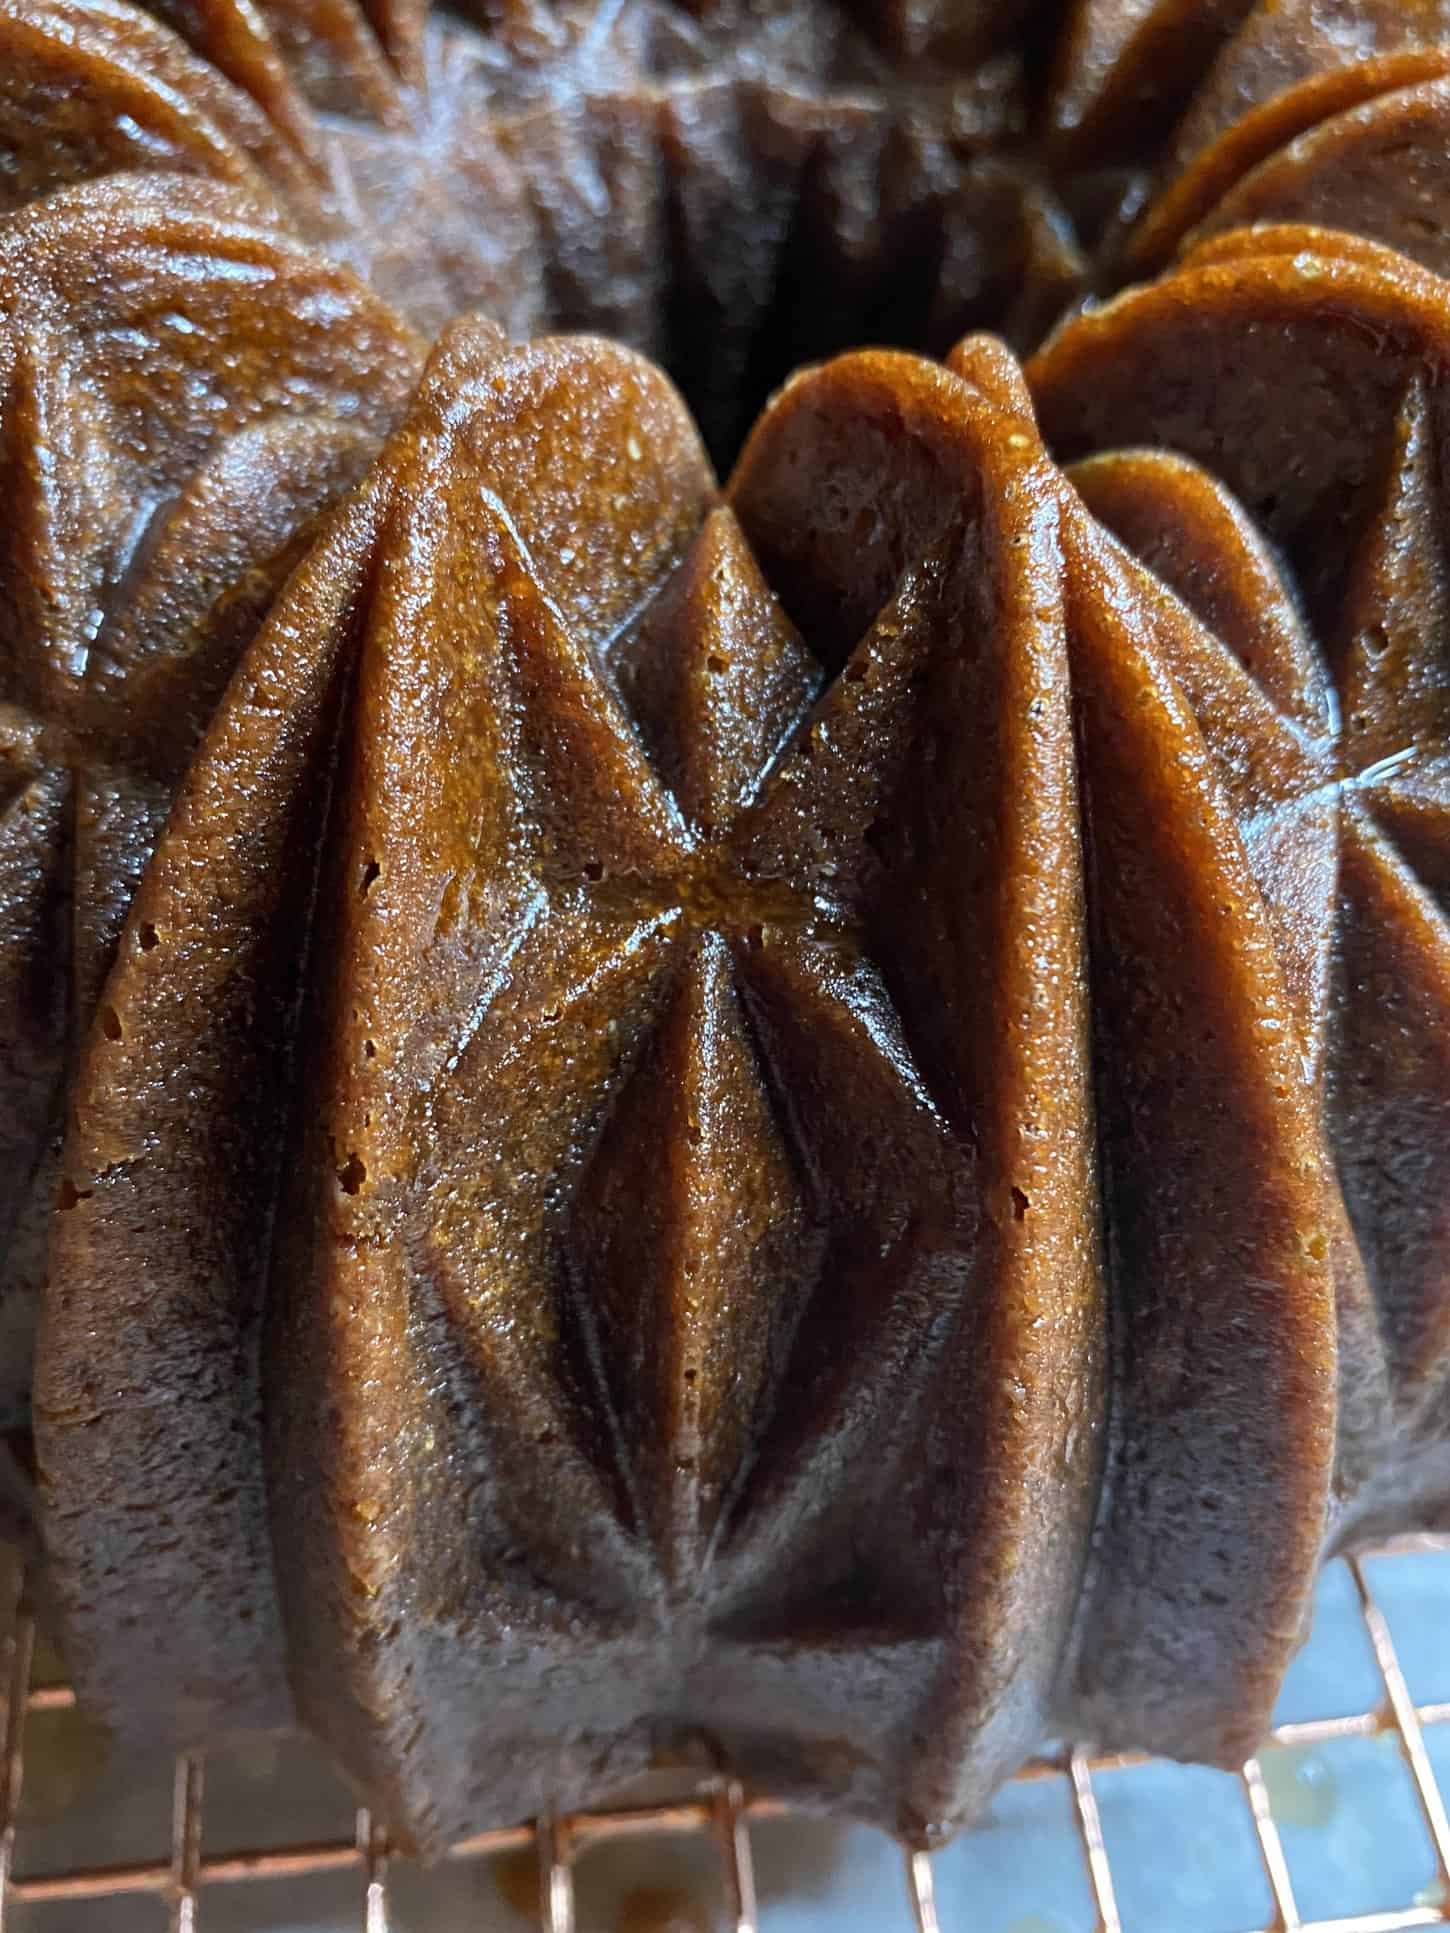
Nordic Ware Cut Crystal Bundt Pan
The intricate design on the Cut Crystal Bundt Pan commands attention on every table.

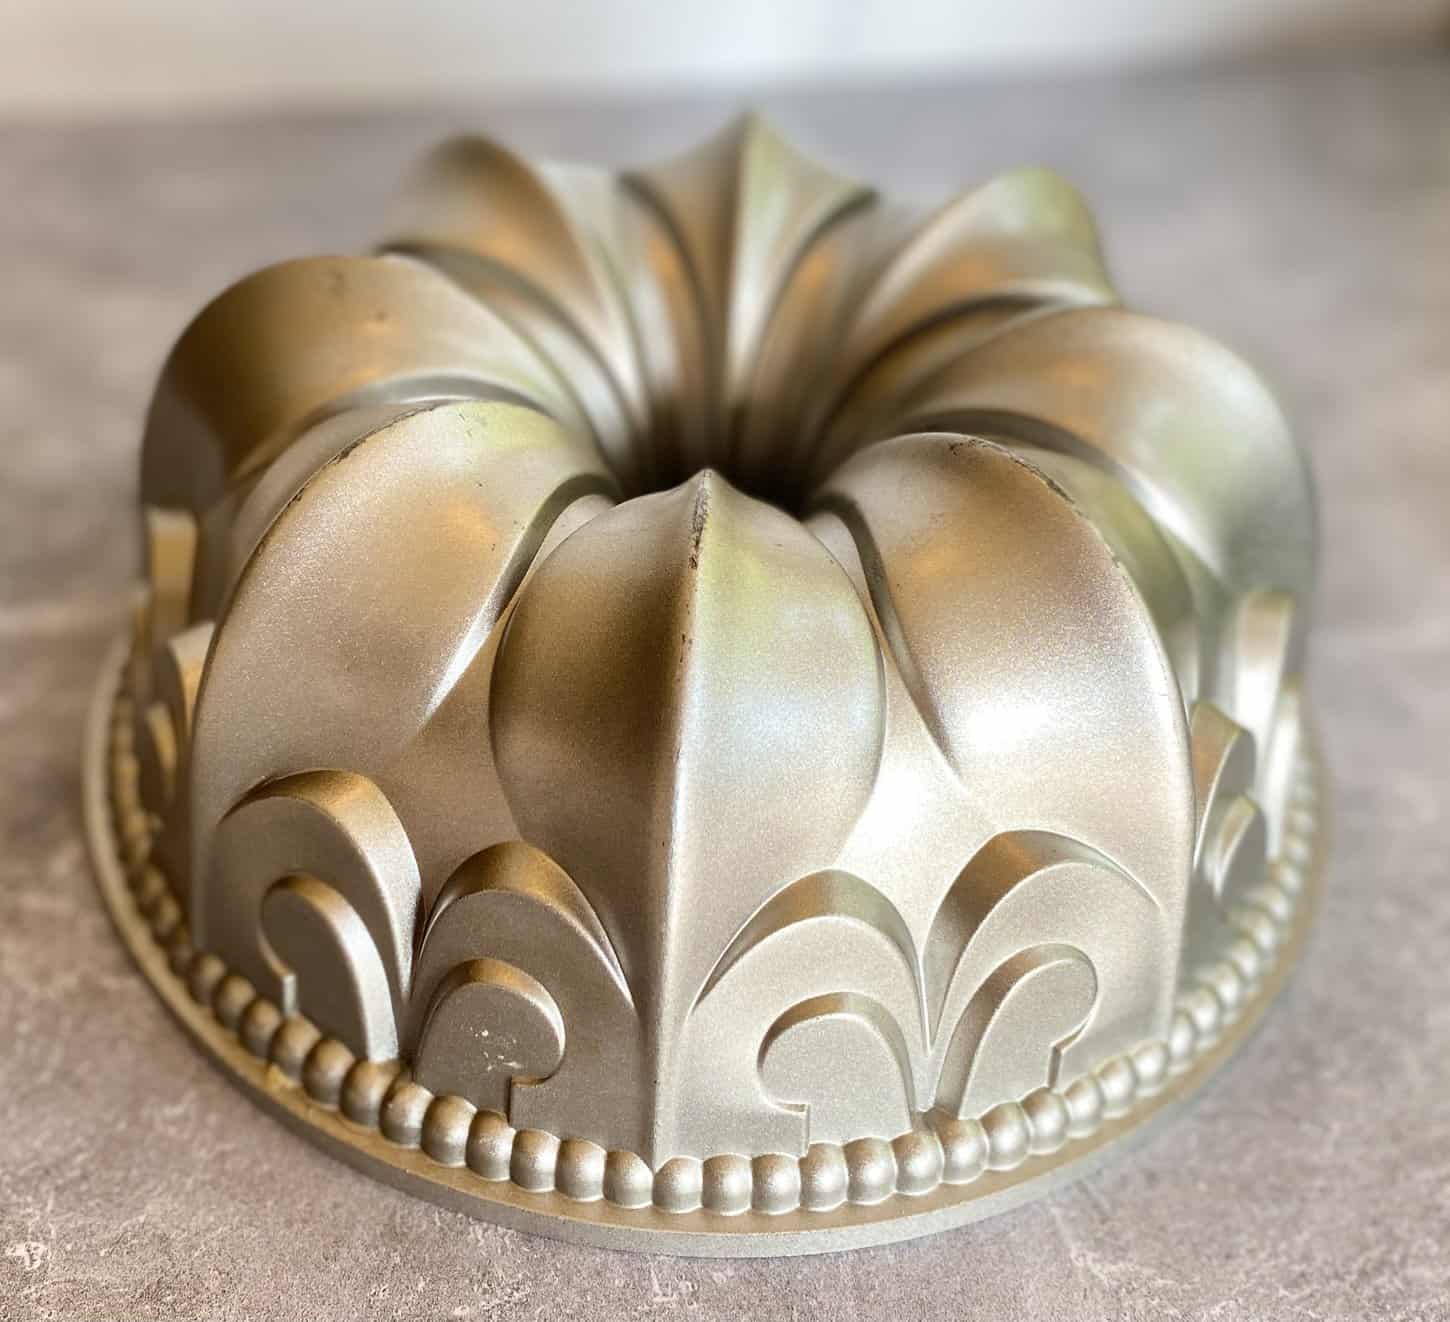
Nordic Ware Fleur De Lis Bundt Pan
The Fleur De Lis Bundt Pan is a timeless pan that creates an elegant and show-stopping design.
Nordic Ware Brilliance Bundt Pan
The precision cakes that come out of the Brilliance Bundt Pan are a literal sight to behold.
No matter which bundt pan you choose, Friends, you’ll need to properly prep it before baking. So let’s get into It!
Technique for Greasing Bundt Pans
Typically, in cake recipes, you’ll see a direction to prepare your bundt pan before you make your batter.
I don’t do that. You can absolutely do that if it makes you more comfortable, but I’ve found over the years that butter and flour sitting in a cake pan for too long can create an unpleasant crust on the outside of my cakes. Since bundt cakes prominently feature the actual cakes themselves, and aren’t typically covered by buttercream, I wanted to do away with that unsightly crust.
That’s why I started prepping my pans after the batter was done. While you do have to work quickly (especially with baking soda cakes), I’ve found that putting prepared batter into a freshly prepped bundt pan cuts down dramatically on that ugly crust.
Here’s the technique:
- The very first thing I do when I’m baking is take out the cold ingredients (including the butter) for my recipe so that they can come to room temperature. At this time, I also take out the bundt pan, and put about two tablespoons of butter in it. This is the key for being able to prep your pan quickly.
- Allow the butter to soften right in the bundt pan while you prepare your cake batter.
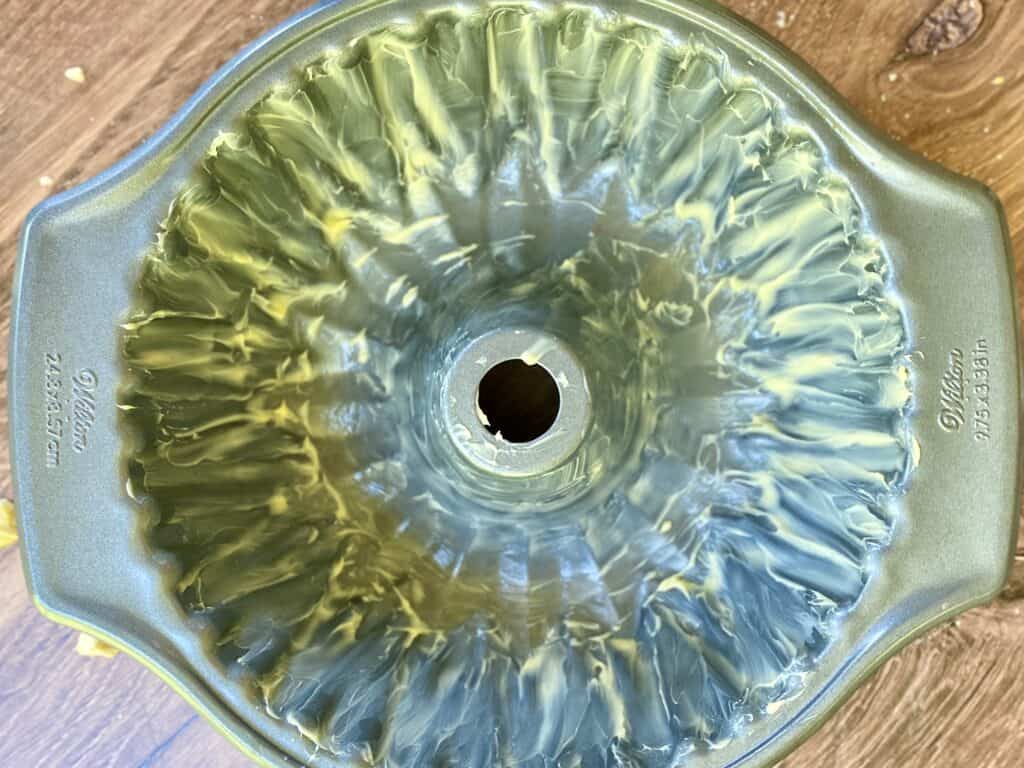
- Once the batter is done, use a pastry brush to distribute the butter over the entire pan. Don’t forget the center of the pan! This is the most time consuming step, so take your time.
- When you’re done brushing the butter, your pan should look like this:
- After your pan is completely buttered, add about two tablespoons of flour (or, if you’re making chocolate or red velvet cake, about 2.5 tablespoons of cocoa powder). Gently distribute the flour/cocoa powder over all of the butter in the pan. I use a “tap tap turn” method that I describe in detail in this video!
- Use the buttered pastry brush to quickly brush any spots that you missed the first time around. You’ll know that you missed the spot because the flour won’t adhere to it.
- Once you’re done covering the entire pan with flour, remove the excess from the pan because you don’t want the extra flour in your cake batter. I did this on the countertop in the video for demonstration purposes, but you can absolutely do this over a clean sink as well.
- You’re ready to go when your pan looks like this!

And that’s it! You’re ready for batter, and you can bake confidently, knowing that your cakes will come out of your bundt pan.
I hope you found this tip helpful! Happy bundt baking!