
If you’ve read my recent post about whether you need a stand mixer to start baking (spoiler alert: you don’t), you know that I almost sent a mixer to an early end because I just let it run and run. And run. Then run some more.
Besides the fact that I ended up breaking the motor of my mixer, I realized, too late, that I wasn’t learning anything about baking by just throwing everything into my mixer and letting it run. I wasn’t learning when to stop. ????

Friends, knowing when to stop is an important part of learning any baking technique.
Without getting too “foo-foo” about baking, let me just say this: there is always a point where you need to stop doing a technique. While you can definitely learn about the breaking point for creaming butter and sugar by simply creaming your butter and sugar mixture until it’s a greasy mess, I’ve found that that’s a frustrating way to learn.
So today I’ve done it for you! ???????????
Today, we’ll talk about three different techniques, and I’ll give you a picture tutorial of where each one should stop.
Proofing Yeast
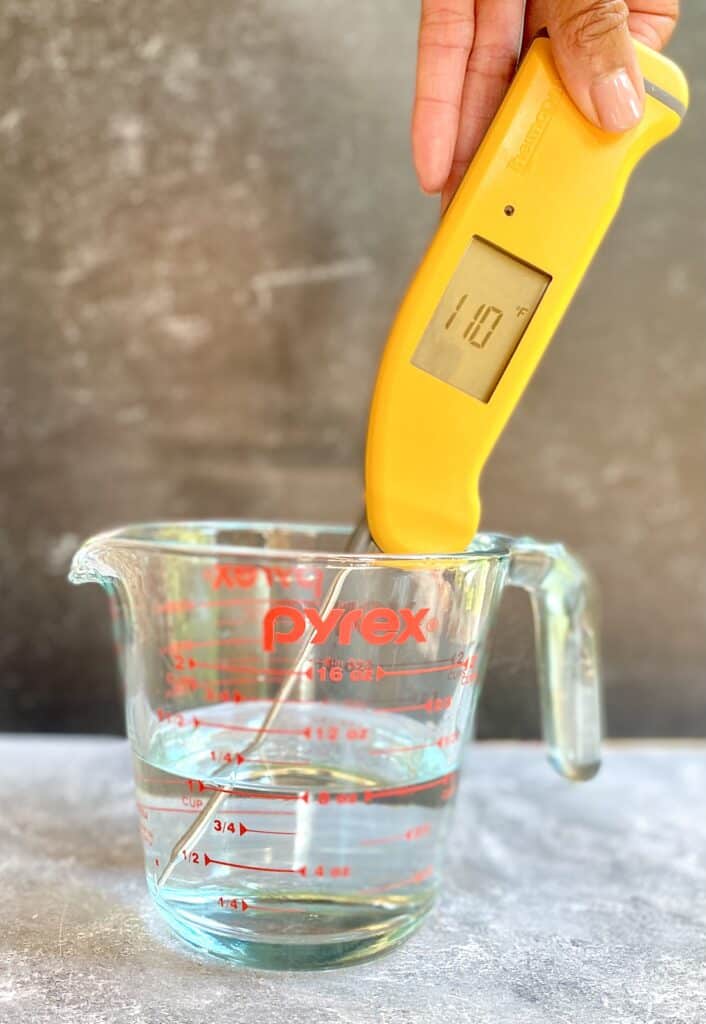
Proofing yeast simply means adding fresh or dry yeast to warm water (110°F-115°F), giving it a pinch of sugar, and letting it rise for 8-10 minutes. If you’ve done it correctly, your yeast should bubble and dome. Like this!
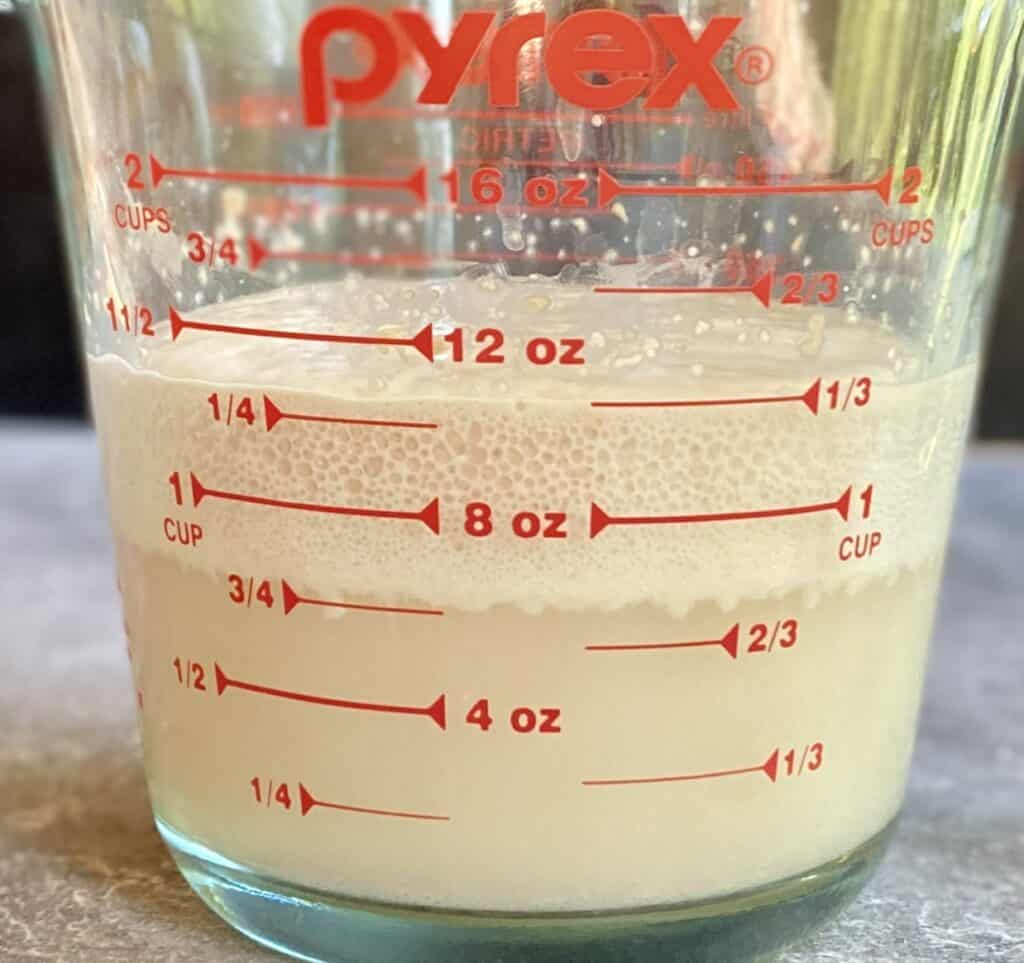
This is ready to use right now. You can see a foamy bubbles the top on the water, which means that fermentation has taken place in a big way. The bubbles are solid and uniform. This yeast is itching to get into the game.
This yeast is not ready yet. While the water is tan-colored (which means that the yeast is mixed in well), there is no fermentation activity whatsoever. No bubbles. No foam at the top. If your yeast looks like this at the 8-10 minute mark, it is probably dead:
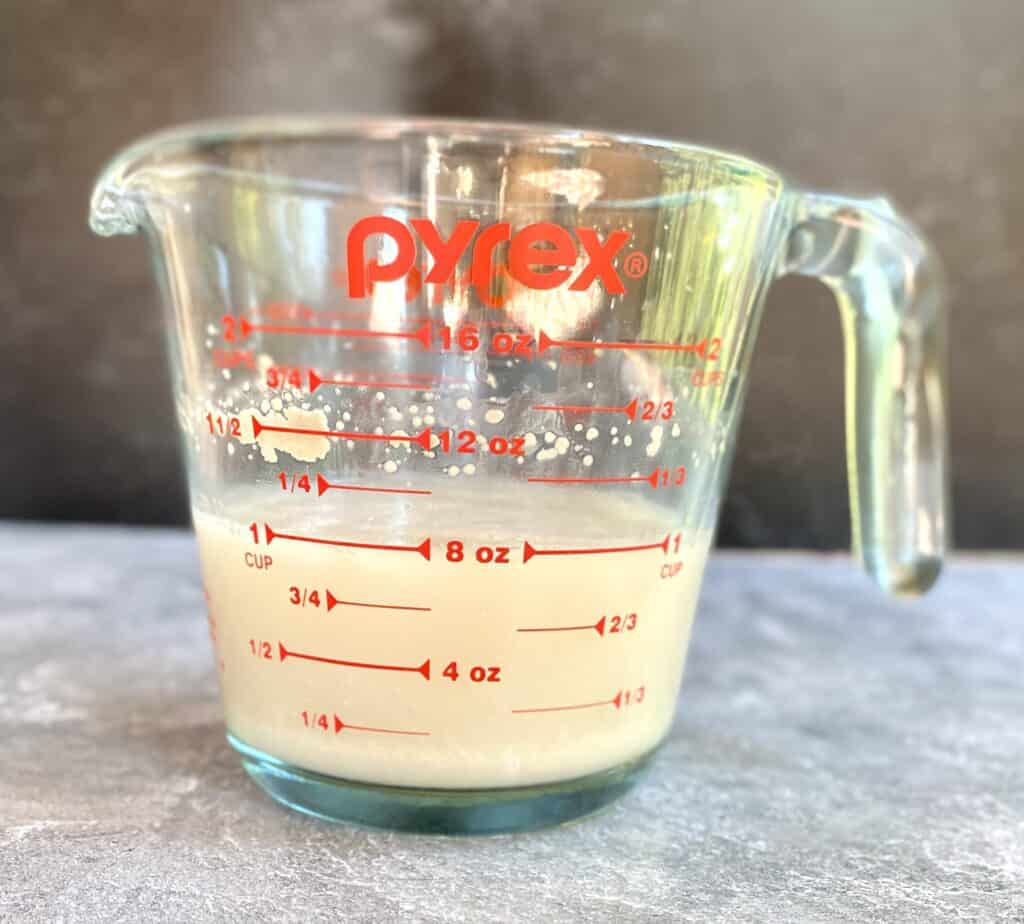
If your yeast looks like this after 8-10 minutes, you don’t want to use it. If it won’t rise in warm sugar water, it’s not going to do a single solitary thing in your cinnamon roll dough.
And, finally, this yeast is over-proofed.
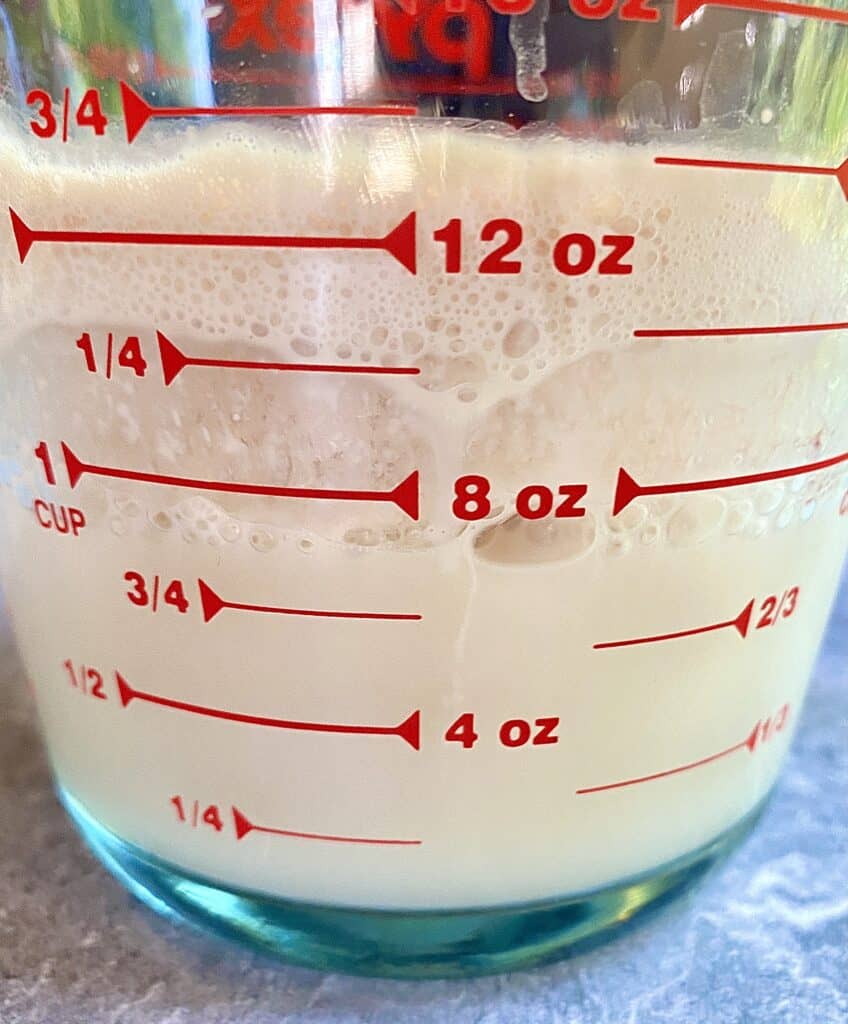
There’s literally…nothing between the 1 cup mark and the 1 1/4 cup mark. Nothing! You can tell that it’s over because the bubbles have started popping and combining, what’s left of the bubbles looks non-uniform, and it’s reverting back to a liquid state. There’s no saving this. Again, you’re going to want to start over.
But yay! At least your yeast isn’t dead!
Here’s the before and after that you’re looking for in this process:


This process usually takes anywhere from 8-10 minutes in 110°F-115°F water. This is pretty standard for home baking recipes. There are a number of ways to proof yeast, but, as a home baker, this is the most common way you’ll see in most of your online and cookbook recipes. Now that you know what not to do, you’re ready!
Creaming Butter and Sugar
It hurt my heart to do this, Family. It really did. But I love my BwB Family, so…I ruined perfectly good butter and sugar to show you what over-creamed butter and sugar look like.
First, though, let’s take a look at what properly creamed butter and sugar should look like.
So fluffy. So cloud-like. So beautiful. So ready for eggs and vanilla and all that good stuff. This process takes anywhere from 5-15 minutes, depending on your equipment (stand mixer, hand mixer, wooden spoon), the butterfat content of your butter, the ratio of sugar to fat, and how soft your fat might be.
Want more specifics about how to achieve this? Click here!
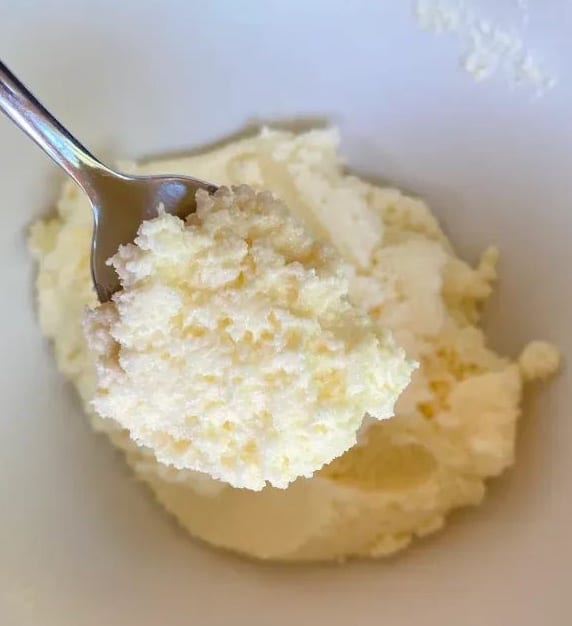
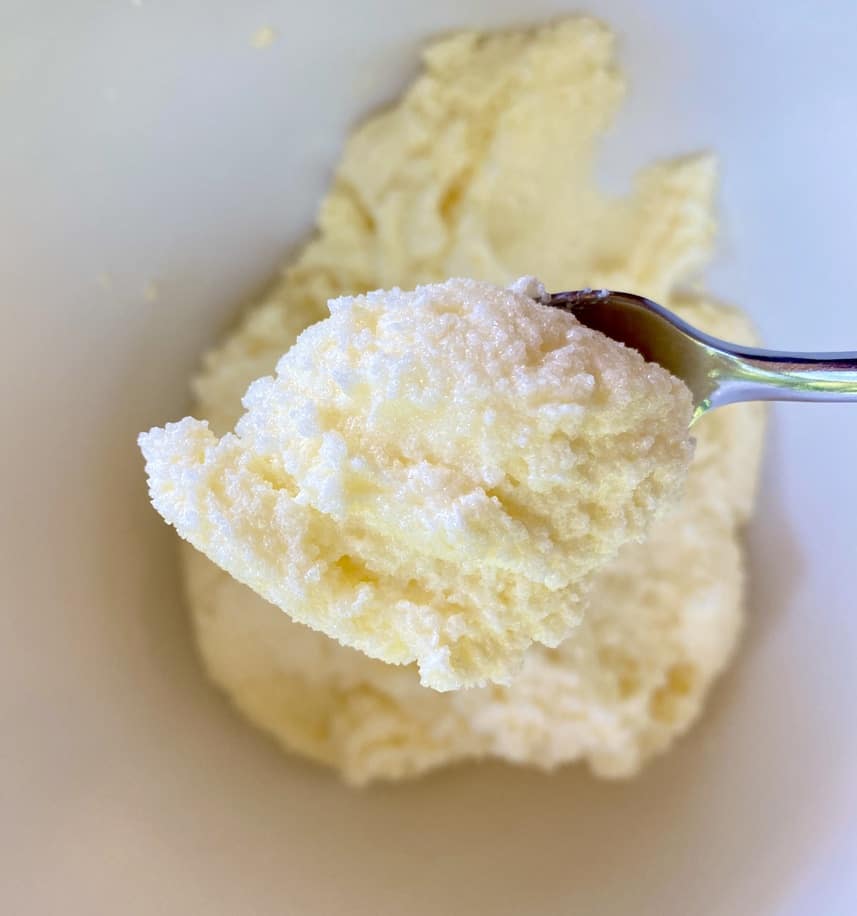
What makes this perfect, you ask? As you can see in the photo, the creamed butter and sugar is very fluffy in texture. There are small bursts of puffiness throughout and there’s a huge volume of it on top of the spoon. What you can’t tell from the picture is that the grains of sugar are actually a teeny bit dissolved from the mixing process, and so the mixture is a tad smoother than when we started. We love this. This is IT.
Family, we don’t love this because it’s not done:
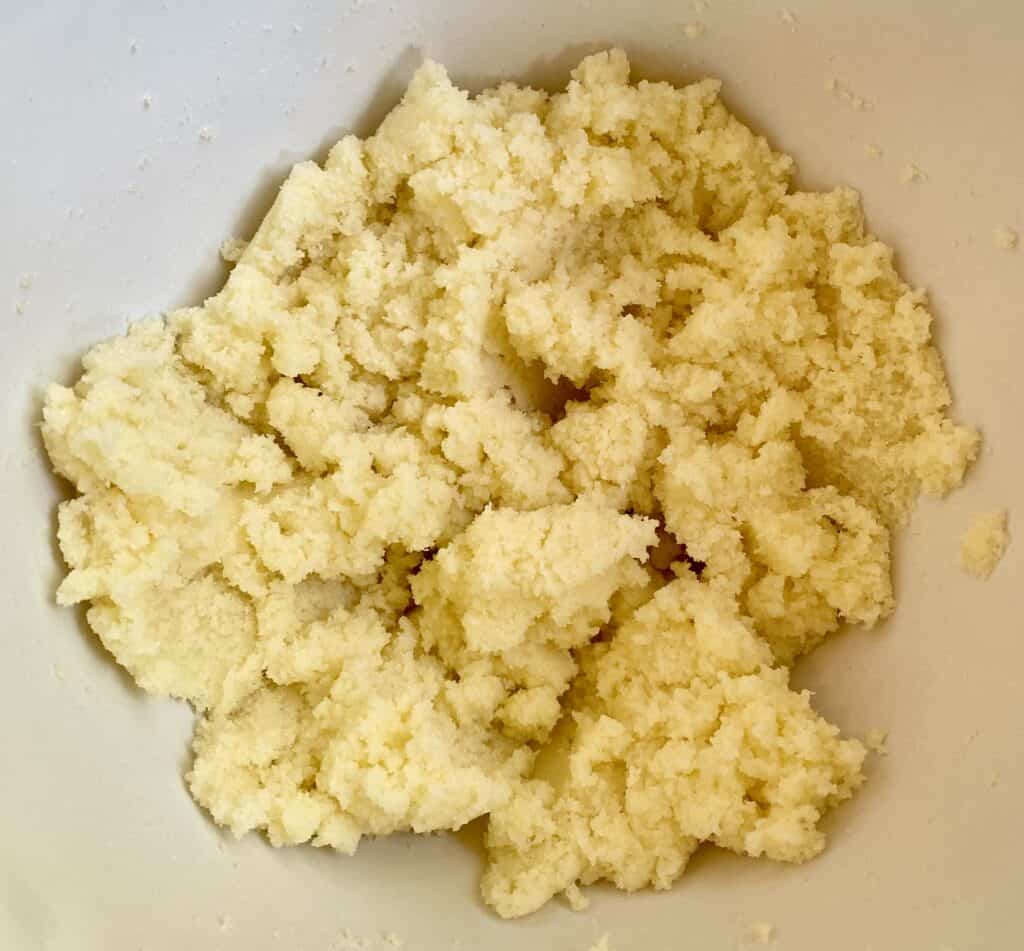
This is the same butter and sugar from the pictures above! But it’s what that butter and sugar looked like when it was first combined together. As you can see from this picture, it’s a much darker yellow, very compacted in the bowl, and it’s visibly lacking the puffy, cloud-like texture of the finished product. It also looks crunchy because it is crunchy.
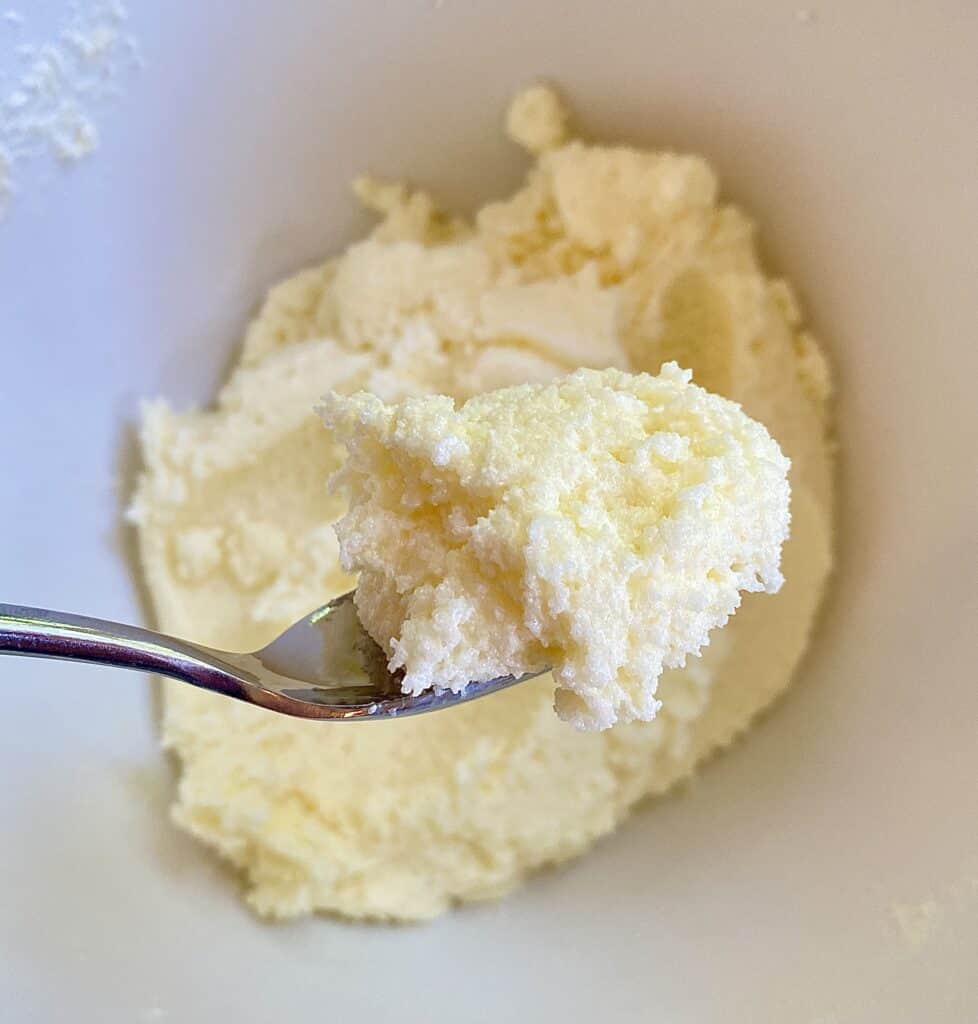
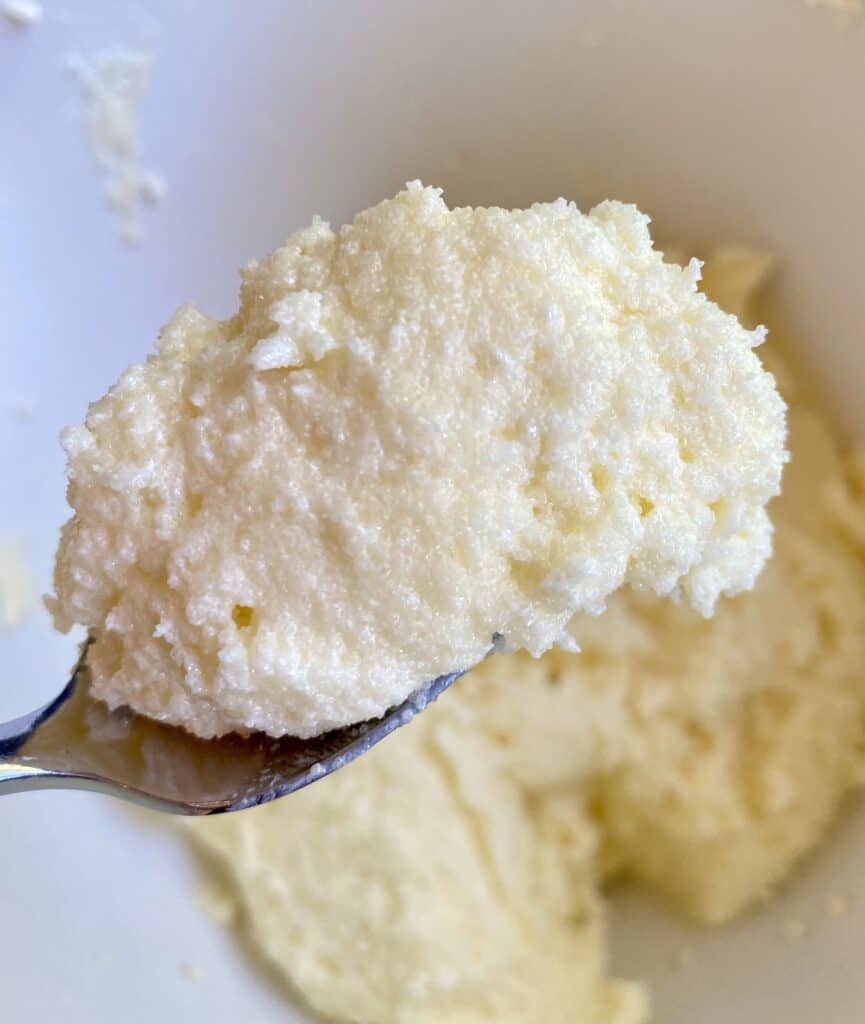
Friends, this is where the butter and sugar was slightly overbeaten but still usable:
In this picture, you can see that, while the mixture still has some fluffiness, it’s not 360° of fluffiness like it was before. This is still usable, but it’s not optimal.
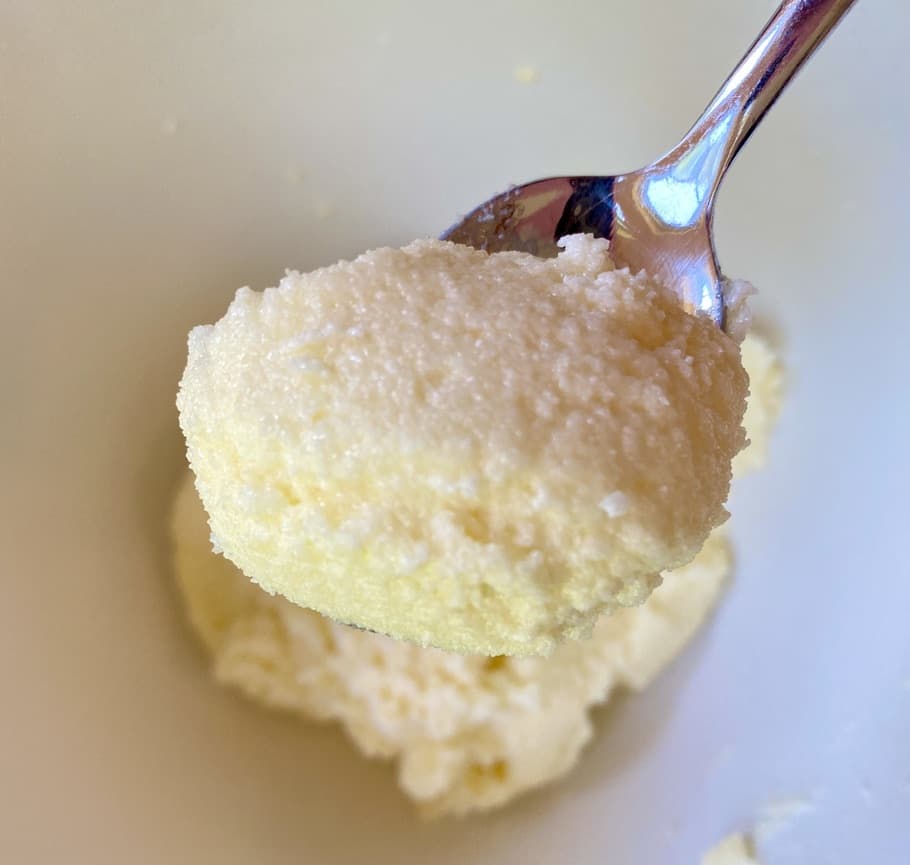
And here, Family, is where the butter got ruined:
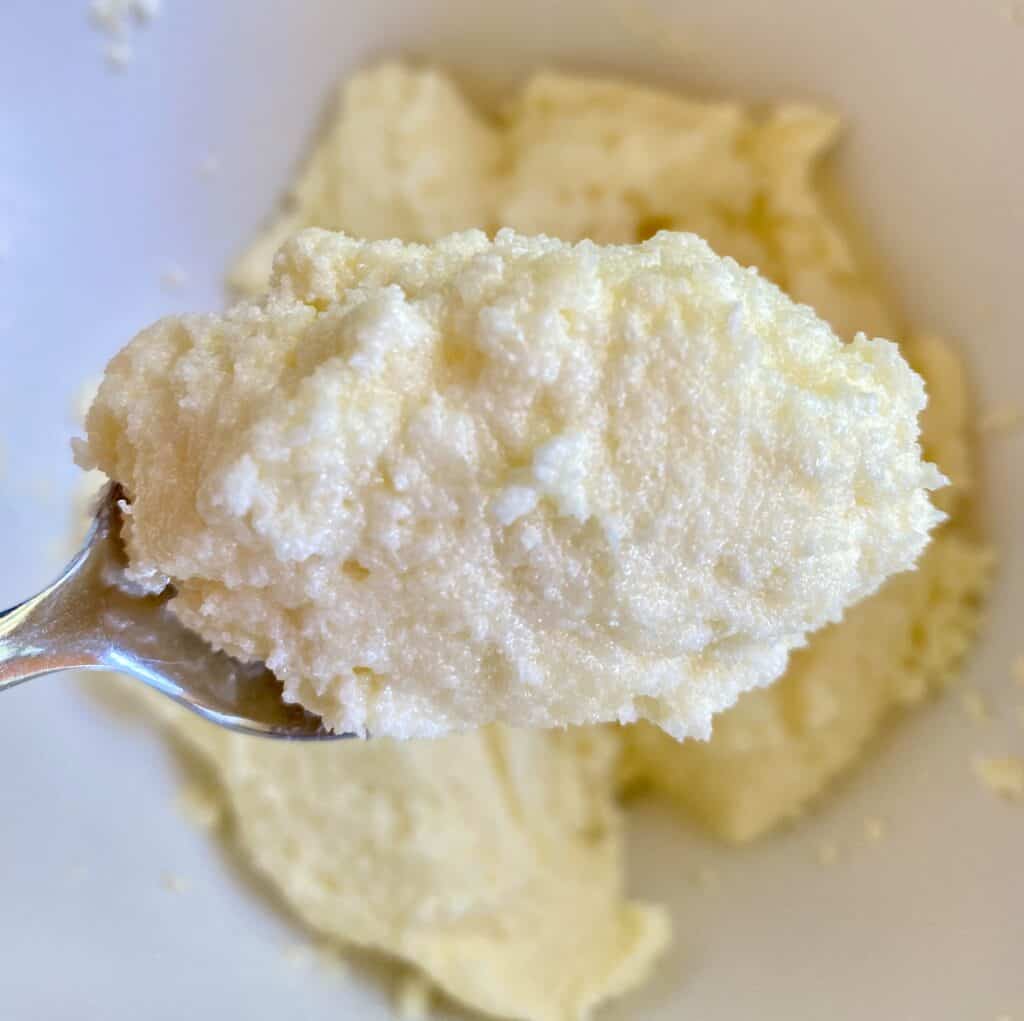
You can see from this picture that the butter and sugar mixture is much smoother. That is because it’s been over-beaten and the air pockets that you worked to form have started to collapse. What you don’t see in this picture is how this mixture slid on the spoon because it had become much more greasy. And that, Friends, is what happens when butter and sugar are over-beaten. The mixture becomes a greasy, flat mess. It’s fine for spreading on toast or bagels, but ill-advised for cakes.
Here’s the before and after:


This is perfection.
Cake and Muffin Batters
I’m not exaggerating when I say that finishing batters and cookie doughs with a silicone spatula is poetic to me. There’s something about doing those last few turns with your hands that is just…::sigh::
Stopping your mixer when there’s just a touch of unmixed flour, and then finishing your batter or dough with your hands is a great way to avoid over-mixing. But let me start at the beginning.
For batters and doughs that use the creaming method, you can mix much more aggressively before you add flour. That would typically include your butter and sugar, your eggs, and your extracts. Once that flour (or the “flour mixture”, as many recipes call it) is added to the batter, you’re on borrowed time with that mixer.
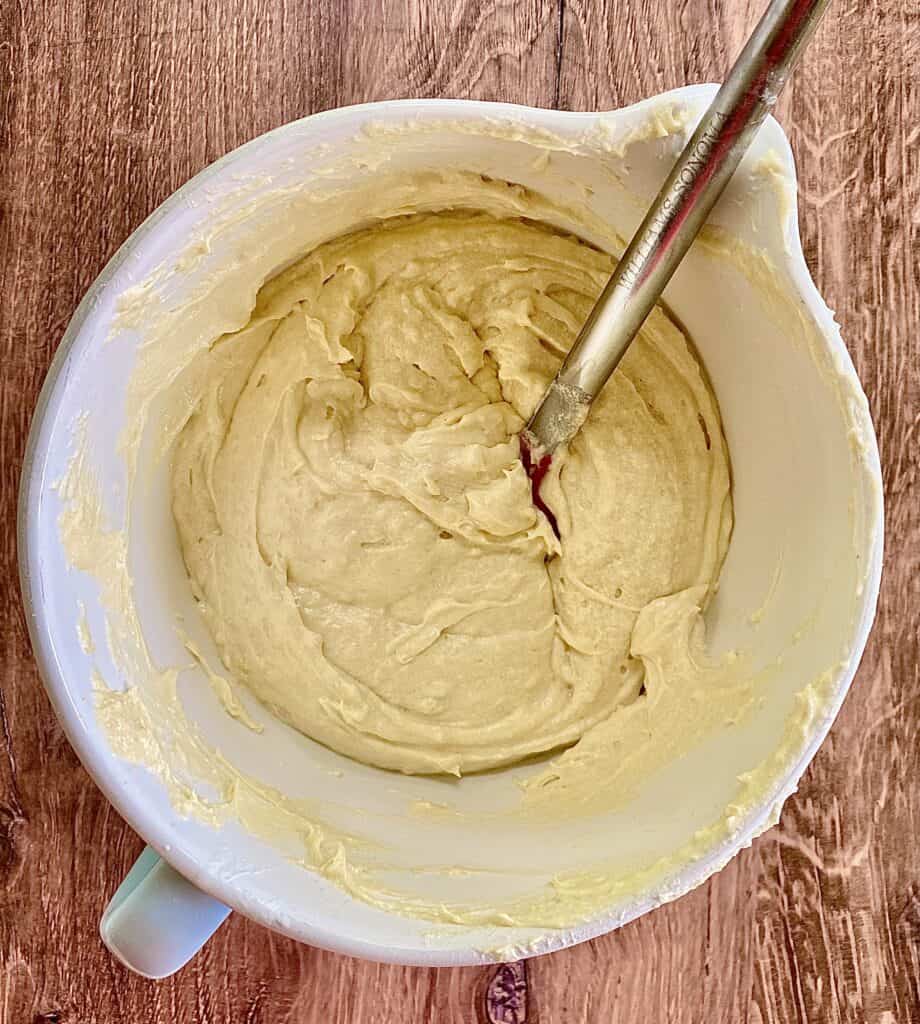
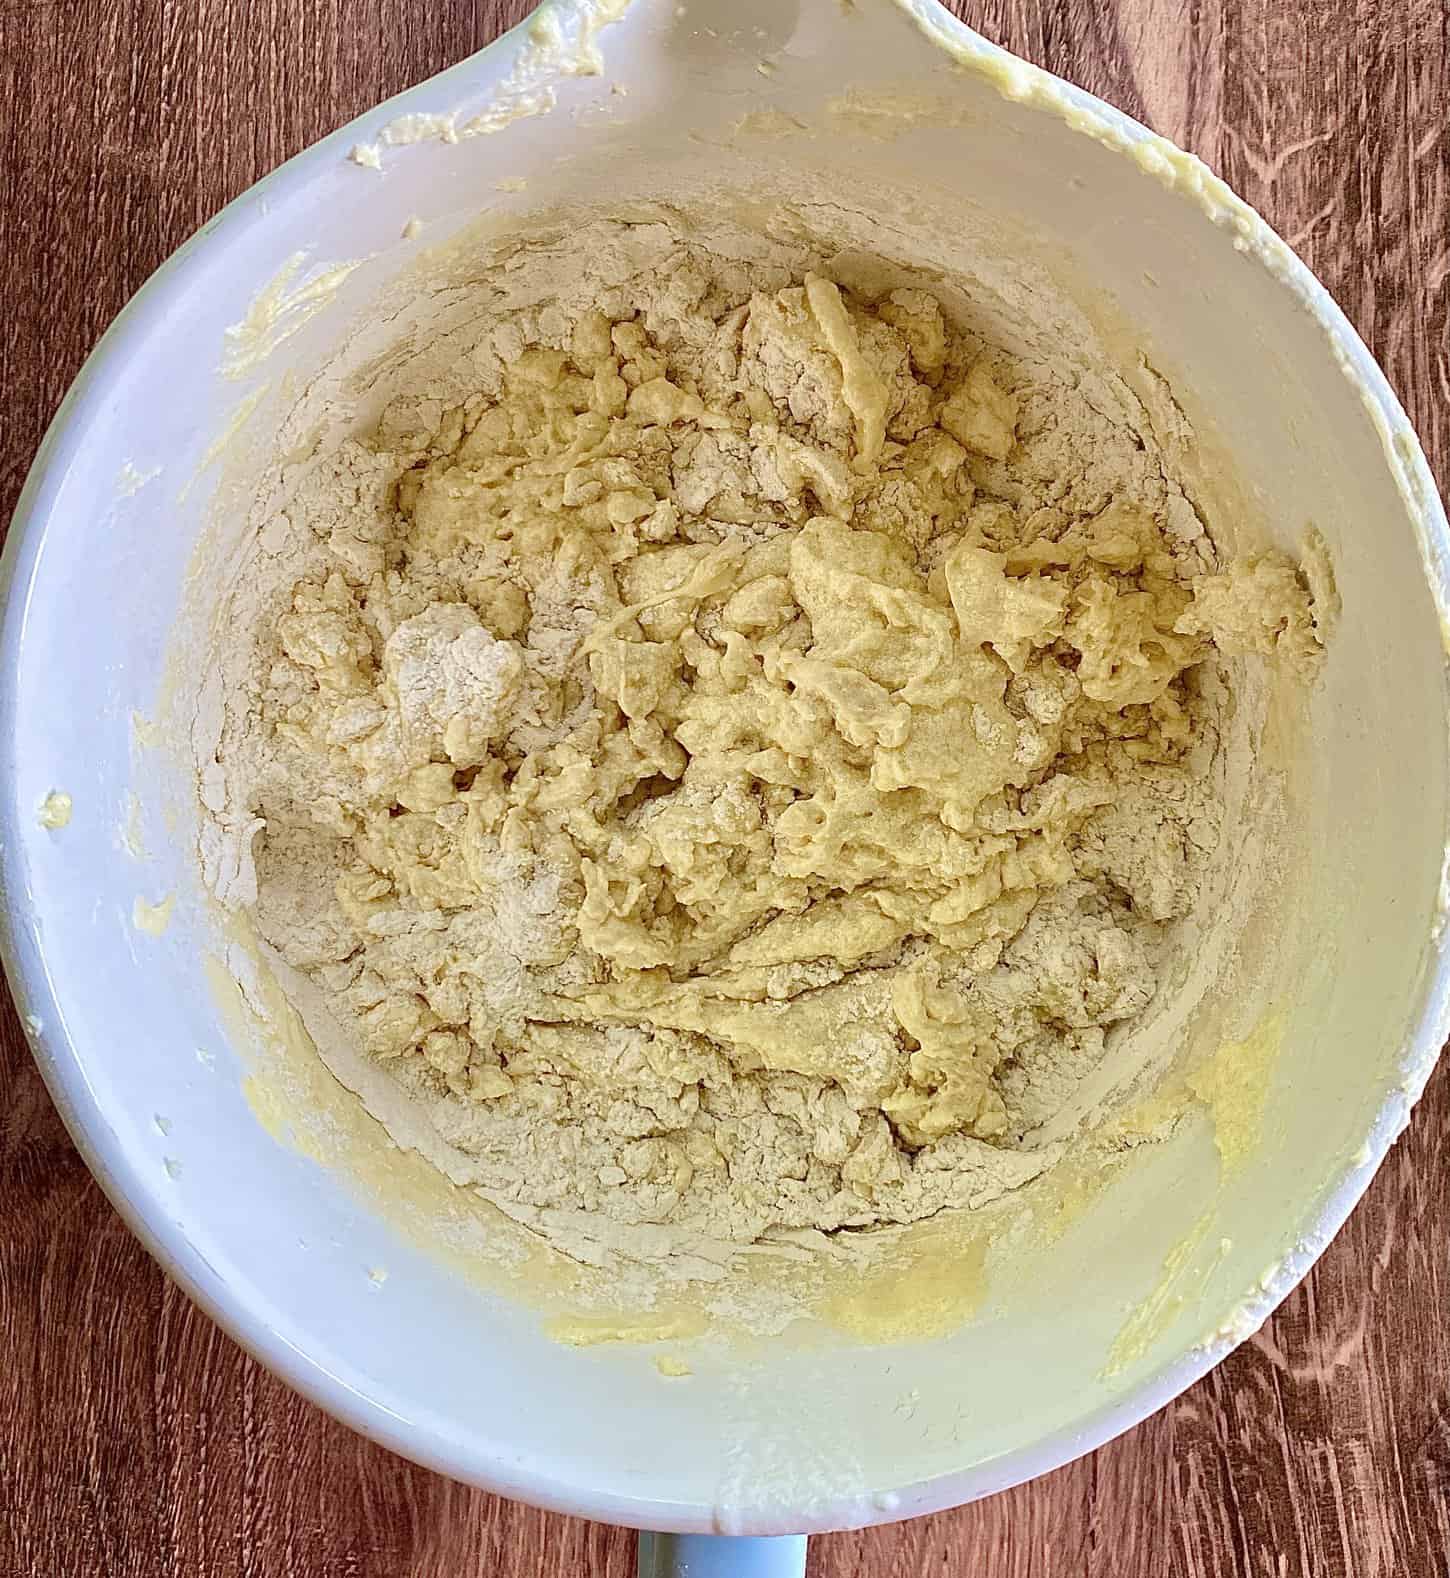
And that, Dear Friend, is why I will turn off my mixer and gently fold a batter once it reaches this point:
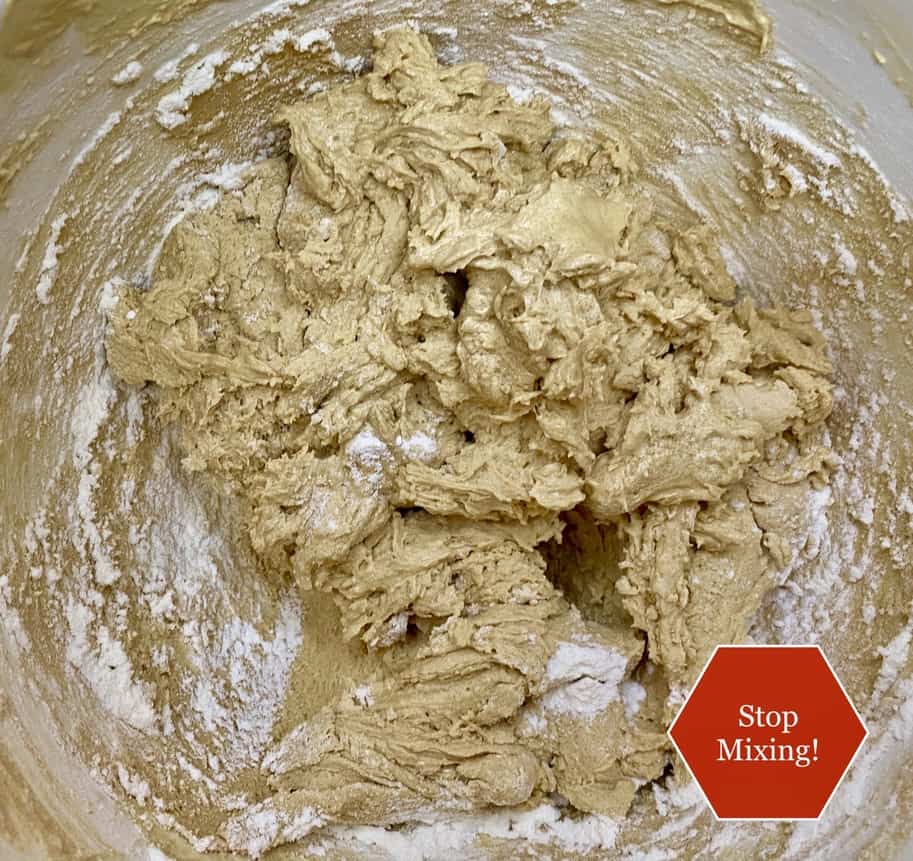
On the left, you’ll see a lemon pound cake batter. On the right, a chocolate chip cookie dough. You’ll also see all kinds of lumps in the cake batter and a noticeable lack of chocolate chips in the cookie dough. This is typically the point where I like to stop mixing with a mixer, whether it’s a stand mixer or a hand mixer.
I use one of these beauties to finish.
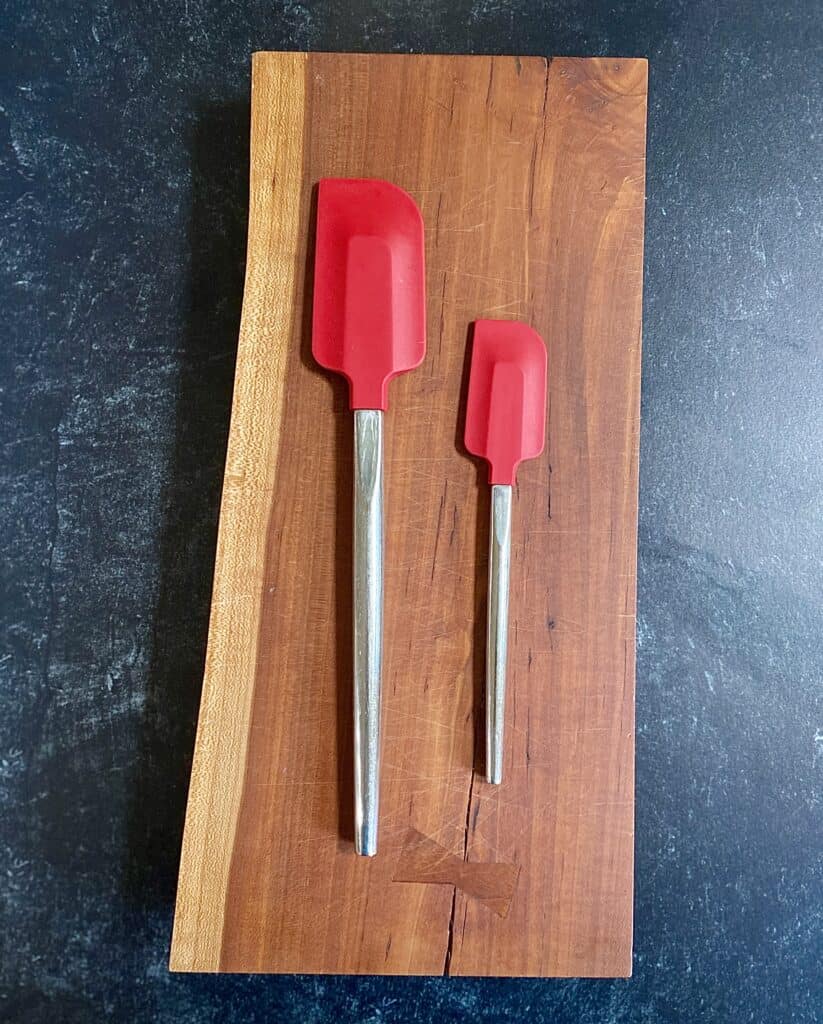
With my silicone spatula, I can finish the batter or dough without the threat of over-mixing. If I’m working with a very stiff dough, and the last couple of turns involve an addition (like fruit or chocolate chips), I might allow myself 3-4 turns with my mixer and then I continue folding in my additions in as gently as possible with my spatula. I try to avoid that, though.
Here are the finished better and dough once I’ve run the spatula through them:
You can see with the chocolate chip cookie dough that the chocolate chips got mixed into the cookie dough evenly, and that I was able to incorporate all of the raw flour with the spatula. Working with a spatula to finish ensures that I don’t accidentally go overboard with mixing, which ensures that the flour is incorporated without being overdone.
Here are the before and afters!
Lemon pound cake:

Chocolate Chip Cookies:


For more on why over-mixing your batter or dough is a bad thing, take a look at this post!
Conclusion
This was fun! Although it was totally against my better judgment to ruin ingredients, I thought the visuals would be helpful for those of you who are asking yourself if you’ve gone too far with a technique.
Until next time! And feel free to subscribe so that you don’t miss any of the exciting updates for this fall!