In this Post
About this Cake
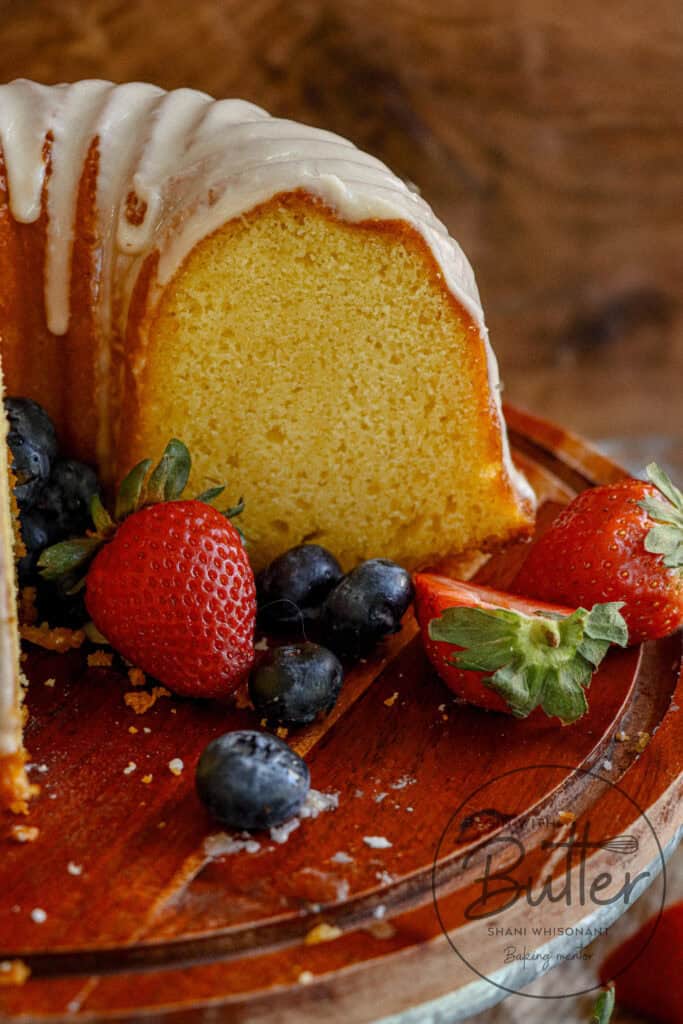
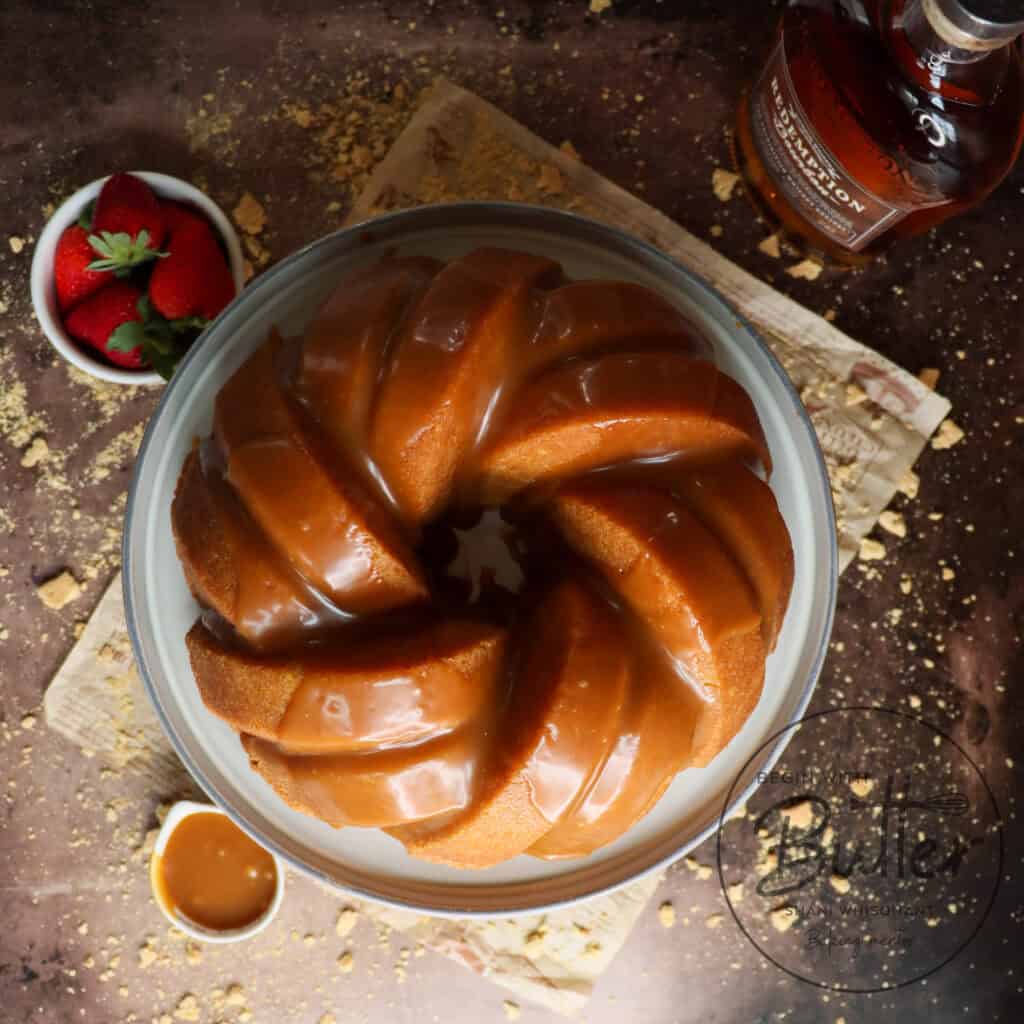
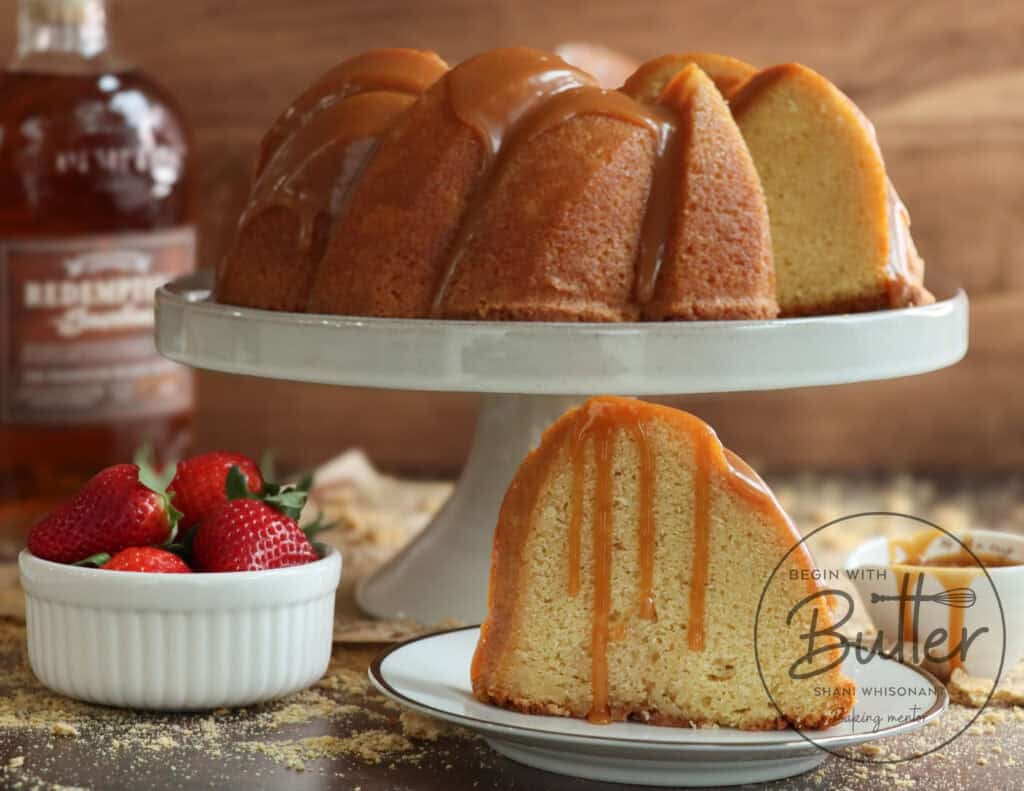
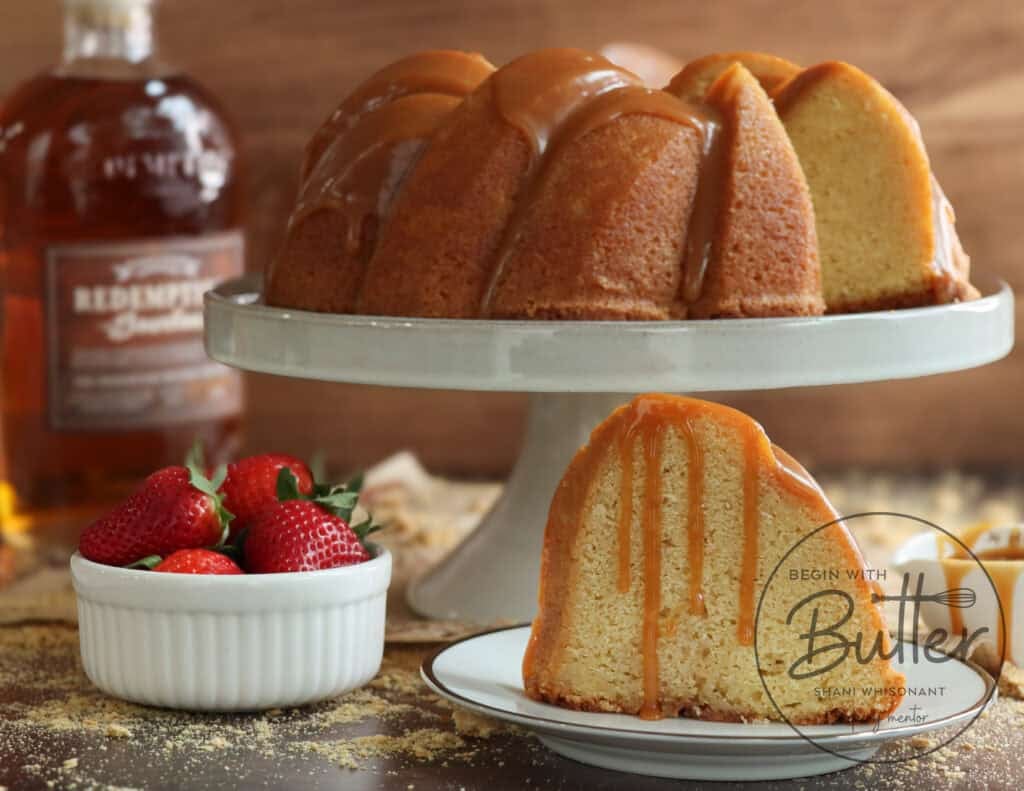
Kentucky Bourbon Cake (sometimes called Kentucky Bourbon Butter Cake) is a traditional dessert that celebrates one of the state’s most important exports.

The export is bourbon, not butter. 😊And you can learn even more about what it is and what makes it so very special at the Kentucky Distillers’ Association website, or this exceptionally beautifully-written Bourbon for Beginners article from the Cocktail Contessa Website. Those websites are an incredible and comprehensive resource for bourbon beginners and enthusiasts, and y’all already know how I feel about deep diving into your ingredients to understand how they impact your outcomes.
While each bourbon has distinctive notes that make it stand alone from the others, this cake really highlights the caramel and vanilla flavor notes that are common to many different types of bourbon. And boy does it feature them prominently! In the cake batter, there’s 63 grams (¼ cup) of bourbon infused in the brown butter (and thus, in the cake batter), aerated through the creaming process so that it more prominently features the nuanced caramel and vanilla notes in this special spirit. (And, depending on the specific bourbon, you could also enliven the dried fruit or spice notes as well!)
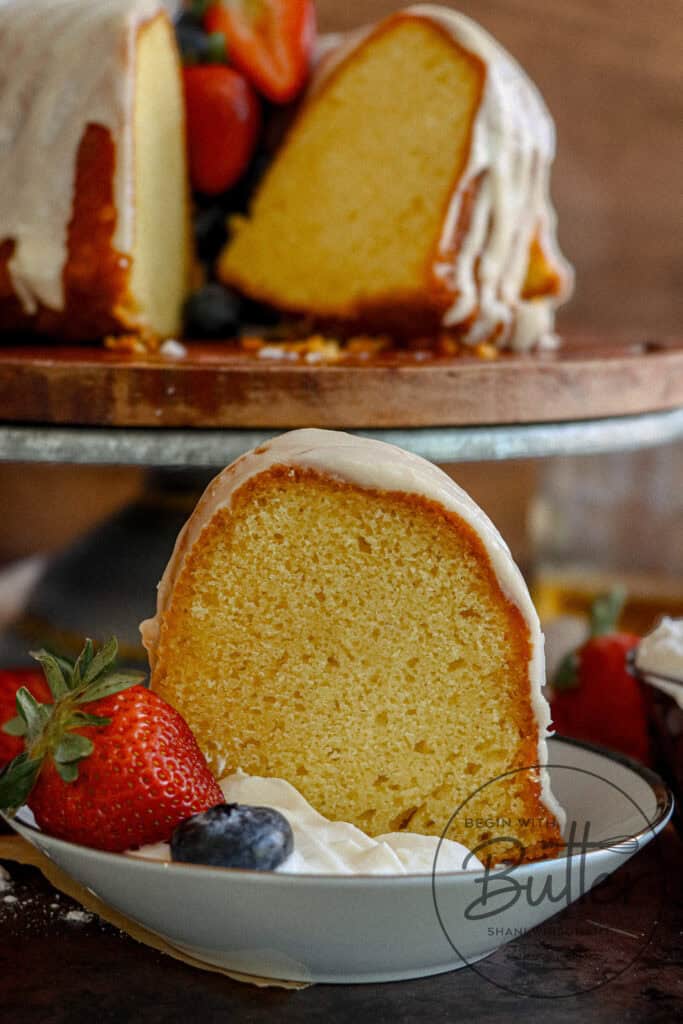
In the Bourbon Butter Sauce, we go for a full half cup (125 grams) of bourbon. And here’s where it gets really cool. You can either add that bourbon right at the end of the cook time if you want the strongest bourbon flavor, or, you can add the bourbon at the beginning of the cook time if you want to feature the more mellow bourbon notes without the alcohol bite. I prefer the latter, but I’ve tried the former and it is some kinda good. ❤️
All in all, this cake is an exceptional representation of the beautiful flavor striations found in bourbon. And I’m excited to hear your experiences with this uniquely traditional cake.
Brown Butter Kentucky Bourbon Cake: The Key Ingredients
Making delicious cakes is equal parts art and science. Here are some bite-sized bits about the key ingredients in this amazing cake!
Brown Butter isn’t just melted butter—it’s butter that’s been transformed through heat into a nutty, deep caramelized flavor. The milk solids undergo the glorious Maillard reaction (that’s food science for “delicious browning”), creating those golden specks that distribute throughout your cake. When you add bourbon to cooled brown butter, you’re creating a flavor foundation that will make your taste buds dance!
Bourbon brings so much more than an alcoholic bite to this cake—it contributes complex vanilla and caramel notes that marry perfectly with the brown butter. During baking, most of the alcohol evaporates, removing that famous first-sip Kentucky Chew and leaving behind those gorgeous vanilla and caramel flavors that make Kentucky bourbon famous worldwide.
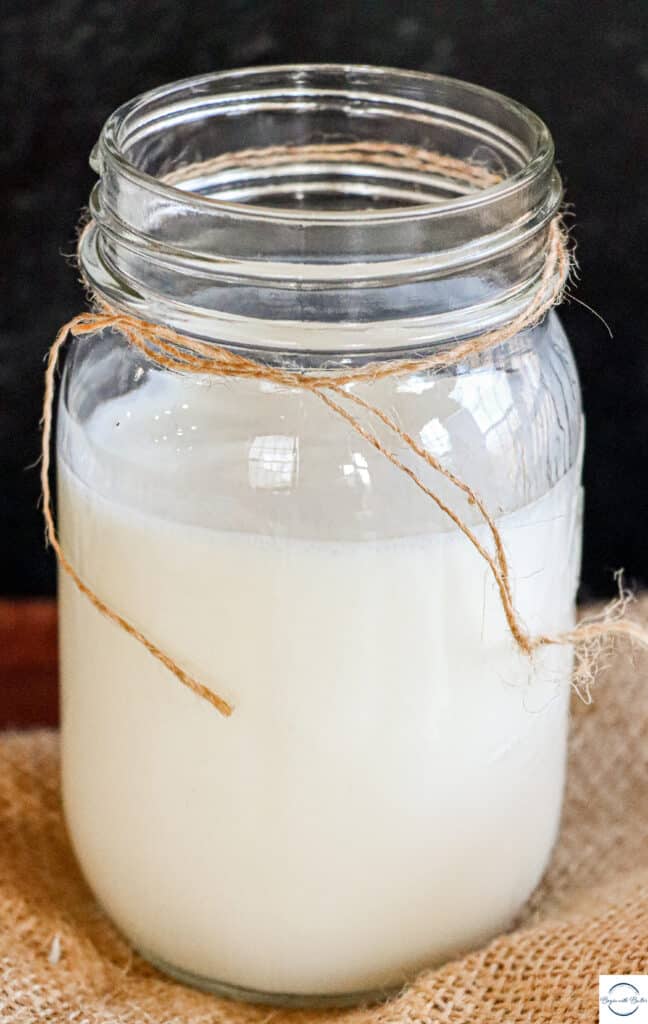
Buttermilk provides the perfect tangy counterpoint to the richness of this cake, while its proteins help create that moist crumb we want in this cake. The acidity works together with the baking soda to ensure that your cake rises beautifully into the impressive beauty that she is meant to be.
Kosher Salt is the unsung hero that makes every other flavor in this cake pop. It balances the sweetness and enhances the caramel and vanilla notes, creating a sophisticated depth that keeps everyone coming back for “just one more slice.” (spoiler alert: they never, ever take just one more slice.)
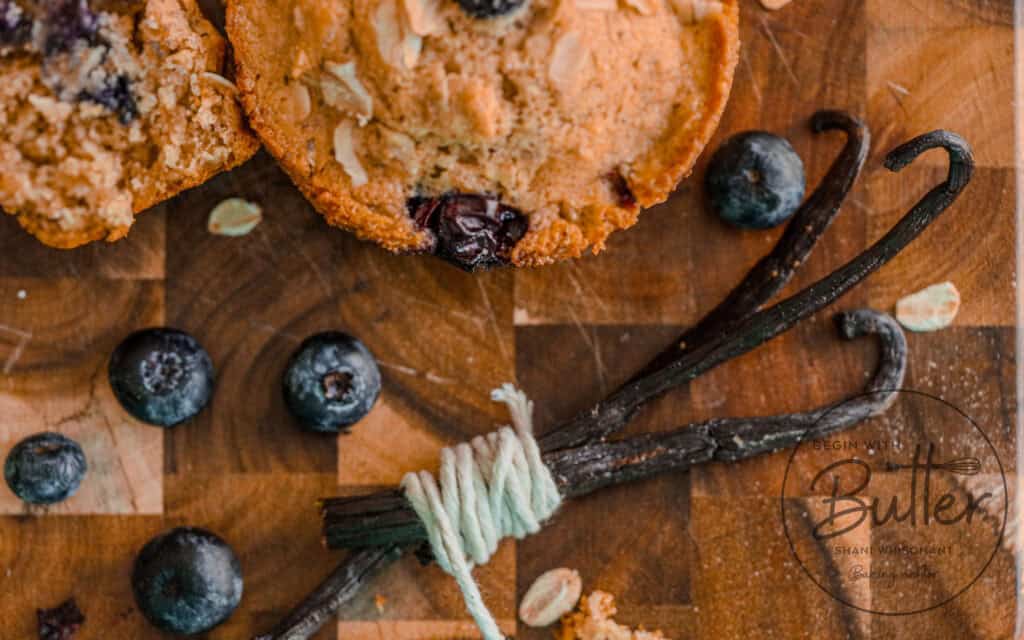
Vanilla brings its own extraordinary dimension, especially if you use real vanilla beans. Those distinctive flecks aren’t just pretty—they’re concentrated flavor bombs that elevate this cake from delicious to unforgettable.
For additional information about the other, foundational ingredients in this cake, there are TONS of Baking 101 resources available on the Begin with Butter site!
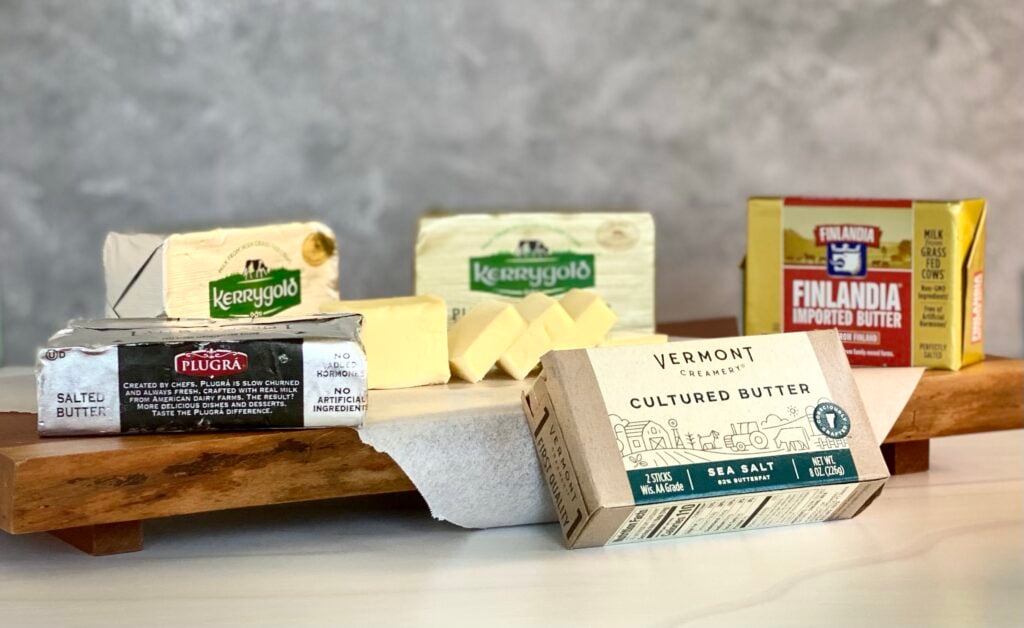
- To get the skinny on butter: The Basics of Butter
- To learn about the marvel that is sugar: The Science of Sugar
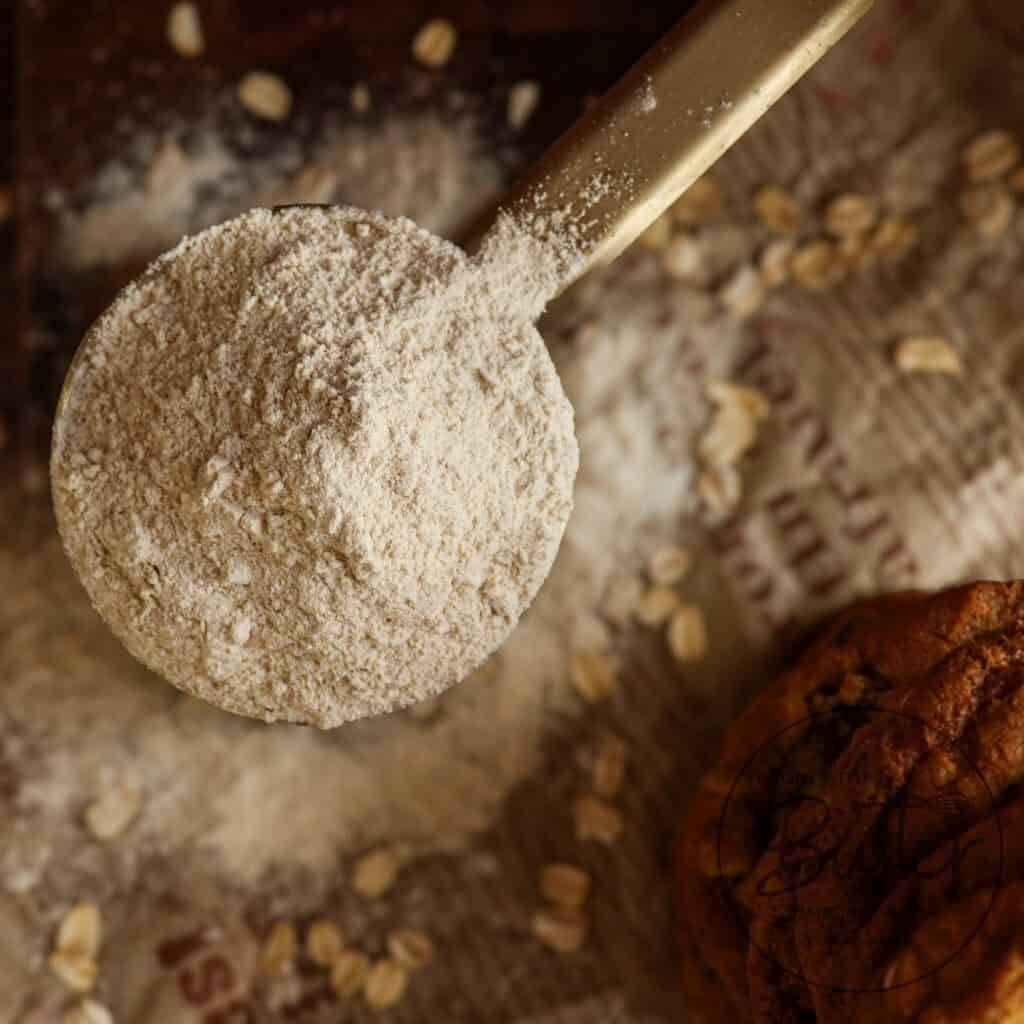
- To do a deep dive into flour: The Five Flours I Keep Handy in My Kitchen
- To learn about the incredible, multi-tasking egg: The Role of Eggs in Your Baked Goods
- To finally figure out the leavening conundrum: Do I Need Baking Soda or Baking Powder
- For a quick chat about buttermilk: Four Common Types of Liquid for Cakes
Understanding these ingredients and their interactions is the key to becoming a more intuitive baker. With this knowledge, you’ll be better equipped to create your own variations and troubleshoot any challenges that arise.
The Techniques That Make This Cake So Special
How to Get Perfect Brown Butter for this Recipe
Browning butter isn’t just a technique—it truly changes butter by separating the milk solids from the fats, toasting those milk solids, and adding extremely delicious depth to your final baked goods.
The trickiest part about brown butter is knowing when to stop! Too little time and you’ll miss out on those deep, nutty flavors. Too much time and you’ll have too-dark butter solids that add an acrid, burnt taste to your baked goods (I’ve tried this and do NOT recommend).
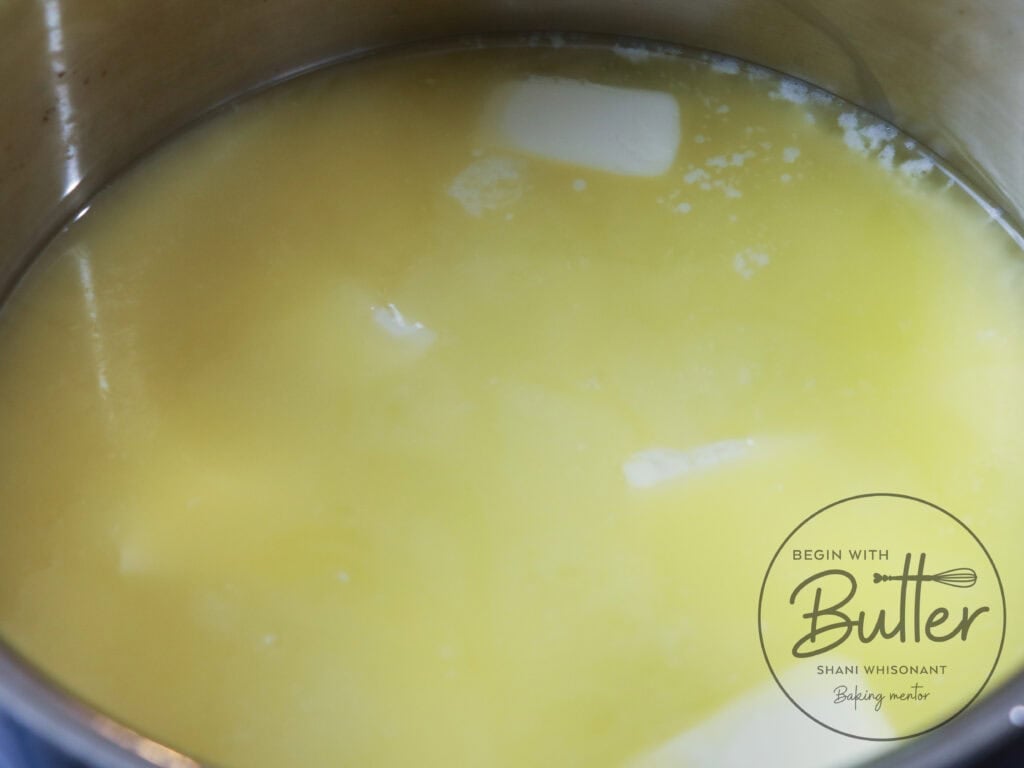
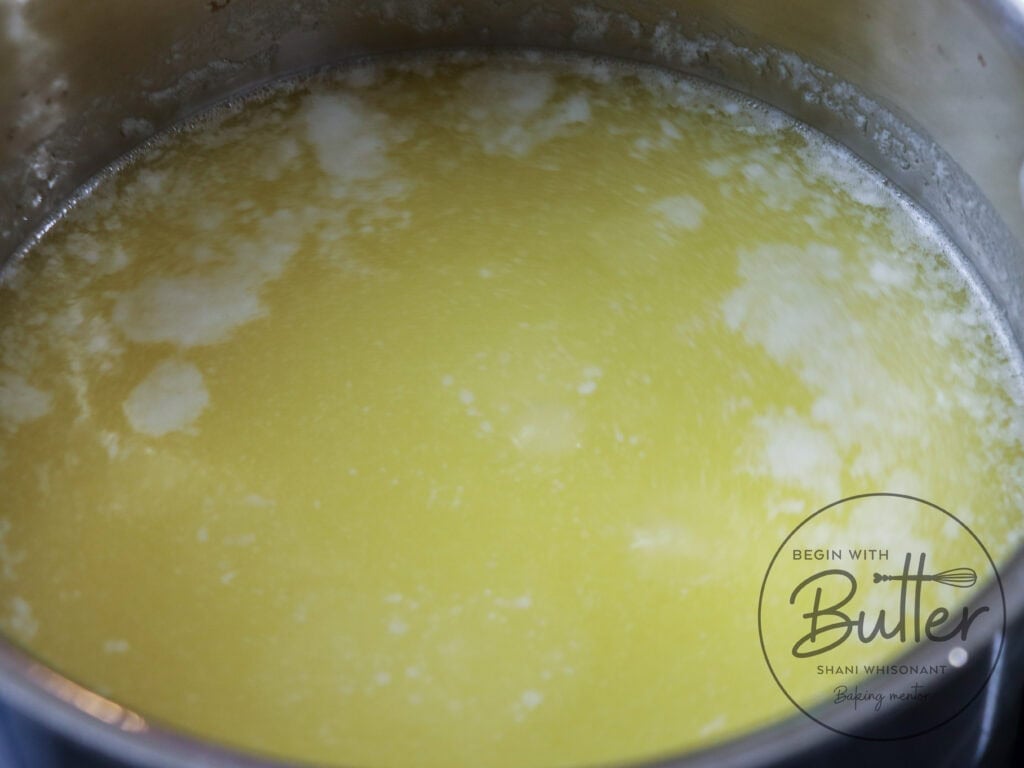
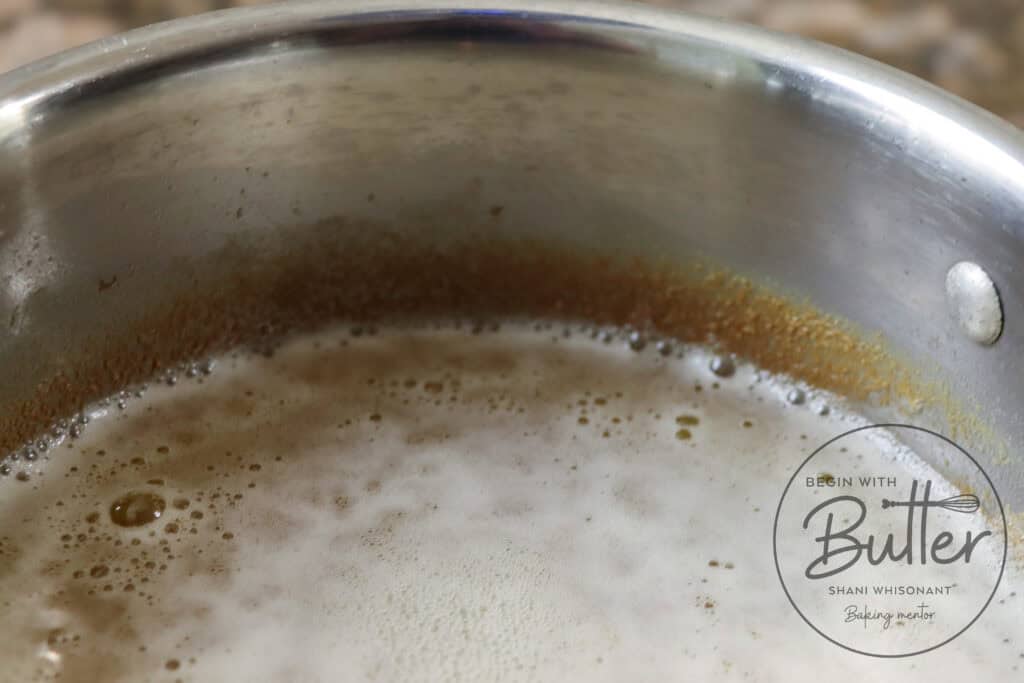
Brown butter will go from yellow, to melted, to very golden, and then foamy. Don’t let the foam fool you! Those brown bits might be lurking just below the surface.


My Butter-Browning Tips:
- Use a light-colored or stainless steel pan if possible—it makes those golden milk solids easier to spot. Instead of a pot, I actually use a stainless steel sauté pan for perfect results!
- The process seems slow until suddenly it’s not! That foam stage can last several minutes, but once you see those milk solids turning amber, you’re seconds away from perfect or burnt.
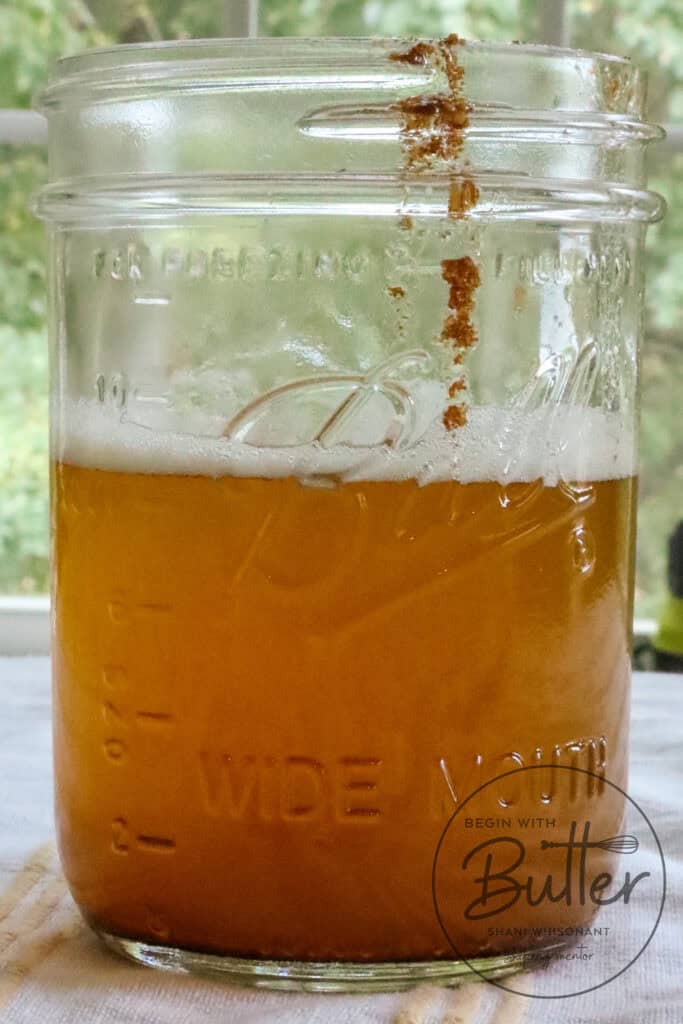
- Have your heat-proof container ready to go before you start—when it’s time to stop, you need to move quickly!
Here is a photo tutorial for those who are more visual! And you can check out my How to Make Brown Butter post for an even more detailed explanation!
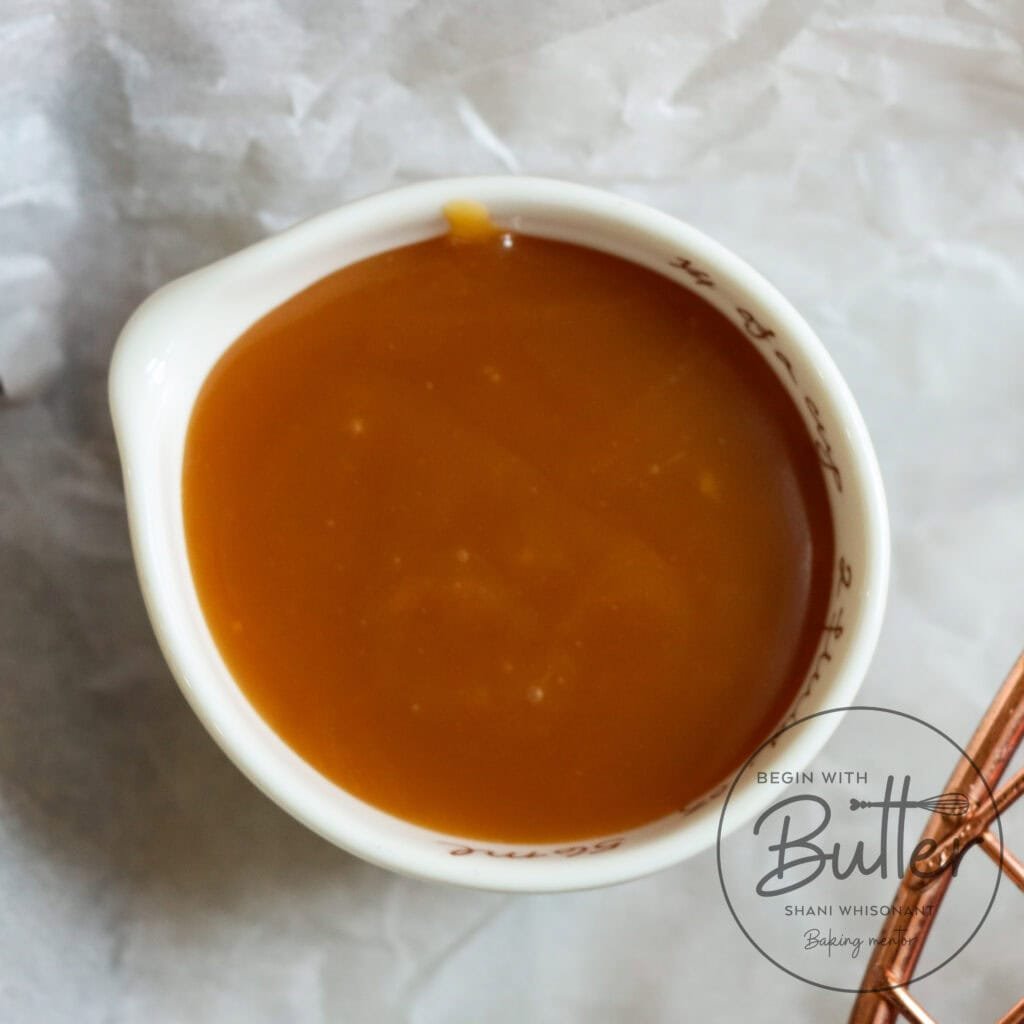
The Bourbon Butter Sauce: Finding Your Flavor Sweet Spot
This sauce is where you get to customize your bourbon experience! I’ve made this cake several times, and I’ve learned that how you add the bourbon makes a tremendous difference in your outcome. As always, it’s a matter of taste!
Adding bourbon early in the cooking process mellows its character, while adding it at the end preserves more of that distinctive bourbon kick in the final cake. Neither is wrong—it’s about your preference!
Sauce Success Secrets:
- Keep the heat gentle—rapid boiling can cause crystallization.
- When reducing the sauce, patience is key; rush this step and you might end up with something closer to thick bourbon caramel than sauce (though that doesn’t sound half bad).
- Adding the bourbon early creates a more balanced flavor if you don’t want a liquor-soaked cake.
Salted Caramel: The Decadently Dramatic Final Touch
Let’s be honest—with all of the scary warnings in caramel recipes, caramel can seem like a dangerously daunting kitchen task! But once you’ve mastered this technique, you’ll find yourself wanting to add caramel to everything. It’s an amazingly simple technique that helps add rich flavor to whatever you’re making, and with caution, you can achieve the most delicious results.
The melting sugar stage is where most beginners get nervous. Those clumps that form are totally normal! Just keep gently whisking, and they’ll smooth out as the caramelization continues.
Caramel Confidential:
- Use a larger pot than you think you need—the mixture bubbles dramatically when adding butter and cream.
- That balloon whisk I recommend? It’s not just a suggestion. Metal handles conduct heat and can leave you with toasty fingers!
- The color of your caramel determines its flavor—lighter amber gives you sweet notes while deeper amber introduces those complex, almost coffee-like undertones.
Want to read a step-by-step tutorial? I have one for you! Check out my Classic Salted Caramel Sauce recipe for all of the tips that will help you feel like a caramel superstar!
Want to watch a step-by-step video tutorial? This salted caramel tutorial Instagram post from the Begin with Butter IG page will show you how to safely and deliciously execute this kitchen staple!
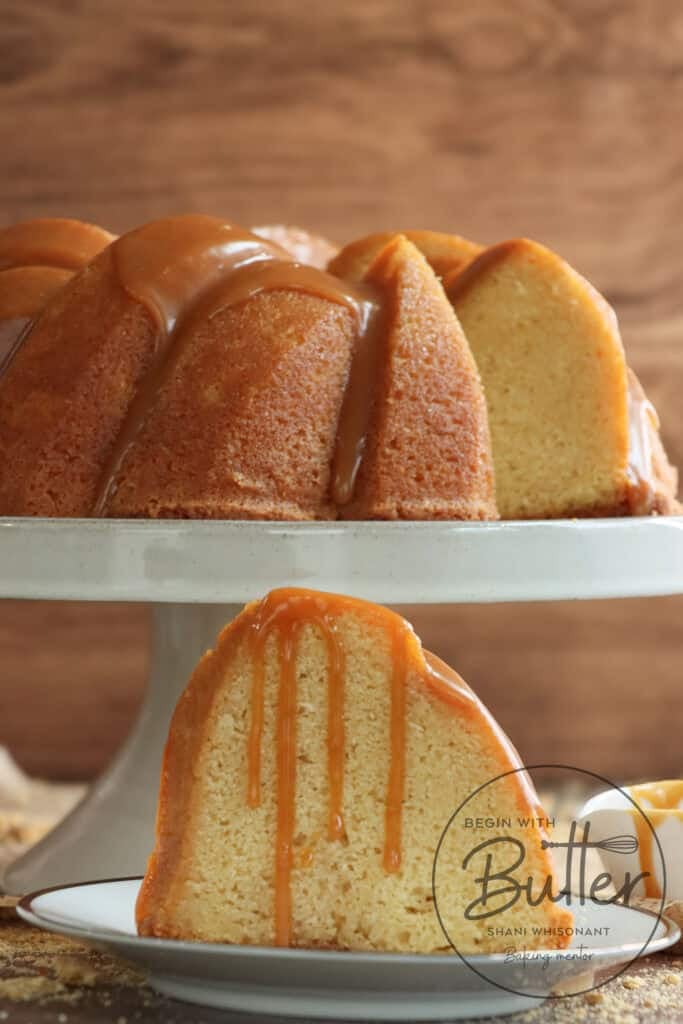
Remember, these techniques might feel challenging at first, but they’re absolutely worth mastering. Each one builds skills that will serve you across countless recipes beyond this cake. And, BB? When you get to the end – when you are pouring that thick salted caramel over that bourbon-infused cake – you will feel like you’ve achieved something phenomenal (because you have).
Let’s get onto this absolutely incredible recipe, shall we?
The Recipe
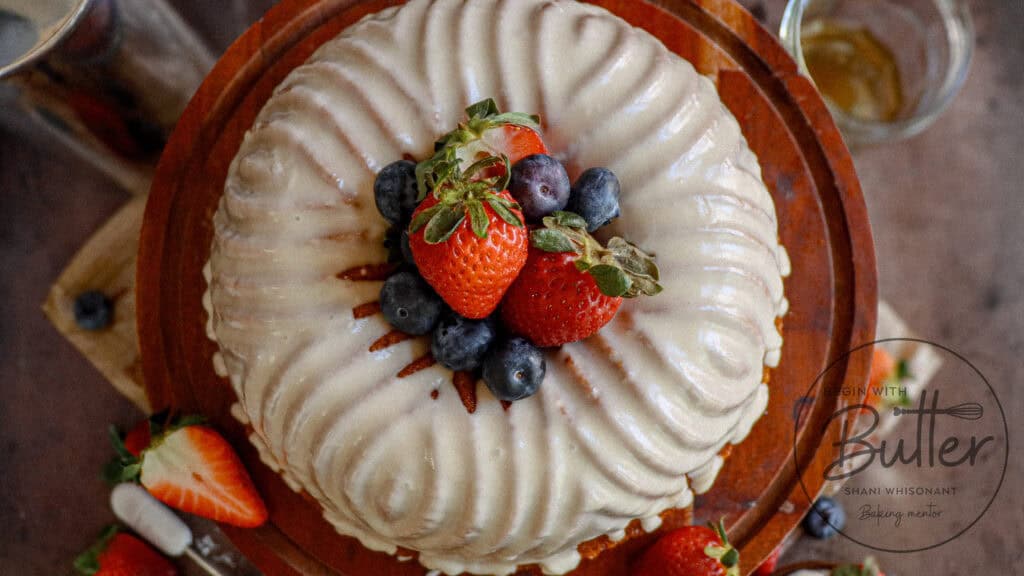
Conclusion: This is One of the Most Special Cakes You’ll Ever Make
BB, this cake took its sweet time to come together. While I was lamenting that time before, I am absolutely thrilled that I didn’t rush this one. This cake is one of my favorite cakes of all time, and to earn that accolade, the cake needs to be savored, like a bourbon, neat.
I hope you love this cake, Friend! If you have questions, don’t forget to email me at bakingbestie@beginwithbutter.com to get answers! And don’t forget to share your incredible bakes with us at Instagram!