The good old days…
My mother’s pound cakes were a moment because they were both architecturally gorgeous and stunningly delicious. She never felt it appropriate to sacrifice beauty for taste; she always managed both. And she is the reason why I take such pride in my pound cake presentation today.

Soon enough, some of the other bakers stopped contributing desserts. Once they saw her pound cake glide in with its perfect crust and plate-licking glaze, they’d suddenly claim they were “over making fussy desserts”, and they’d start show up with trays of store-bought appetizers instead.
Parties aren’t the only place where pound cakes truly shine. In southern kitchens, women bake showstoppers every single Sunday—not for fanfare, but because it’s part of the fabric of southern life. Kitchen saints across the country are still turning out cakes so flawless, their looks hush the fellowship hall (and their aromas make it very hard to concentrate on the weekly Word).
In this Post
What You’ll Learn
In this post, you’ll finally, finally learn how to make show-stopping, beautifully defined pound cakes using even the most intricate pans that Nordic Ware—or anyone else—has to offer. No more stuck crusts or glaze mishaps. Just stunning bakes, every time, whether you’re trying to vanquish a dessert rival or just make something quick for Sunday dinner.
After reading this, you’ll go from “bundt-broke-my-heart” to “people-wept-at-the-glaze” and you’ll never look back. Those pound cakes you’ve been loving from the BwB site? You’ll have picture perfect results every single time. You’ll be the reason that your friends start bringing pigs in a blanket instead.
Tip #1: Prepare the Pan Like It Matters (Because It Does)
The most common reason a Bundt cake goes from beautifully detailed to brutally broken is improper pan prep. And while folks might brush it off (pun intended), this step is everything. Bundt and decorative loaf pans are not simple rectangles with flat sides—they’re architectural. All those curves, crevices, and details that make them stunning also make them very vulnerable to sticking.
The solution? Meticulous, deliberate prep.
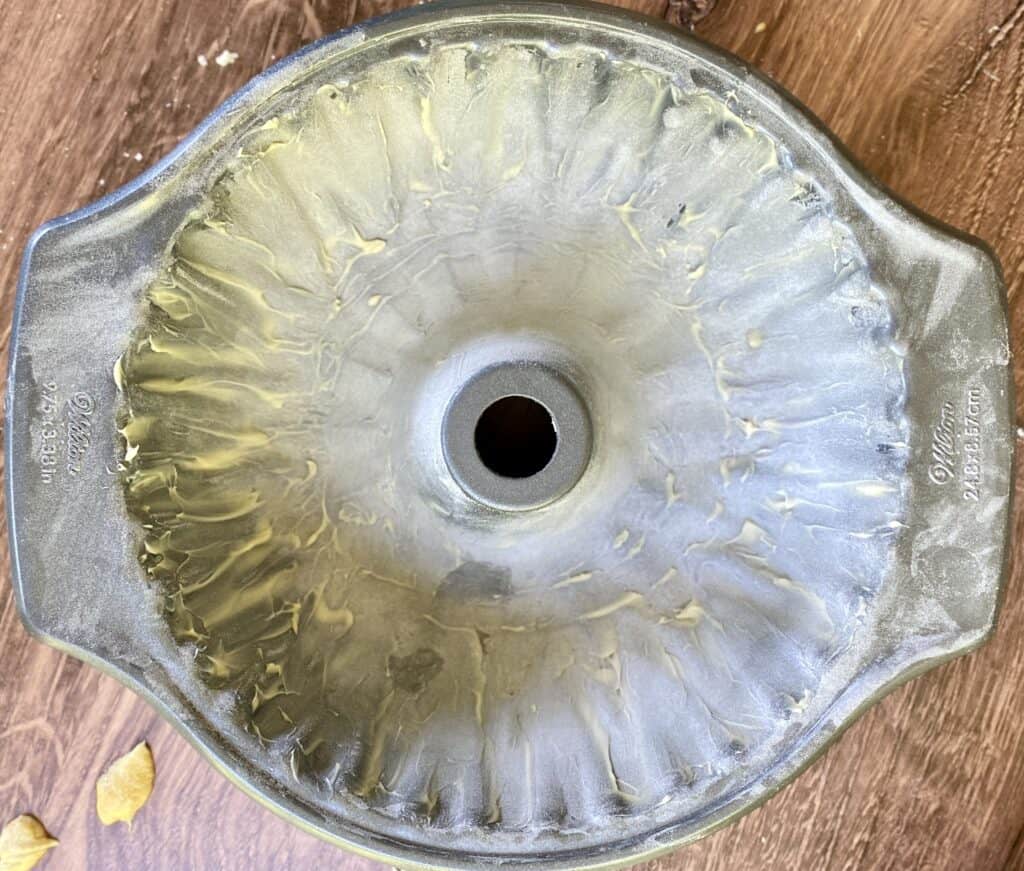
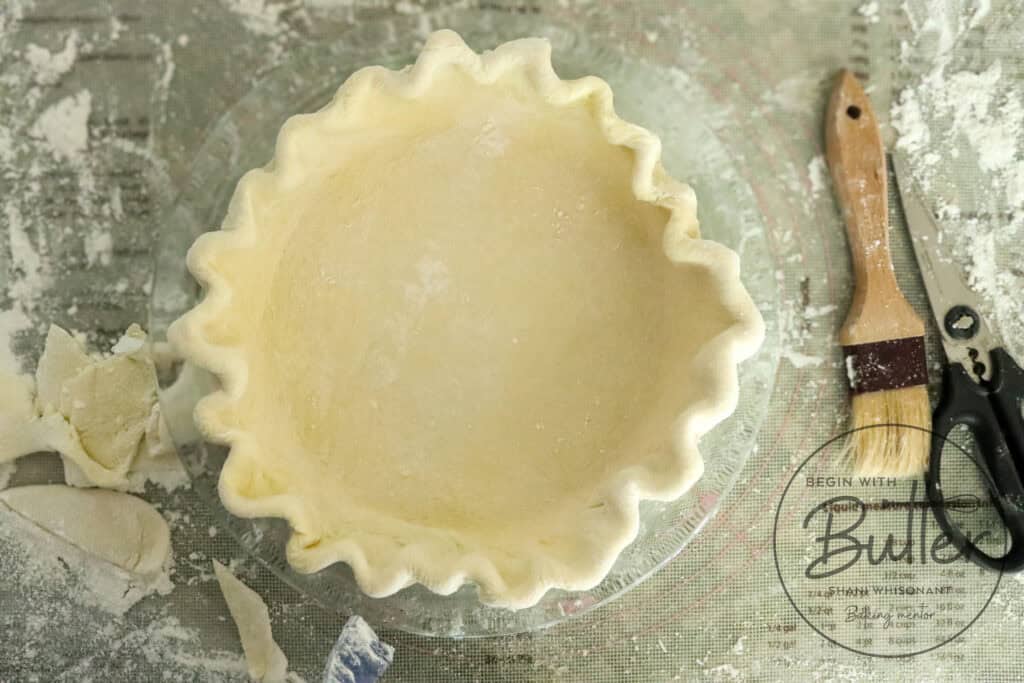
Start by choosing your method: softened (not melted!) butter + flour, or a baking spray with flour (not oil-only). I personally prefer brushing softened butter into every nook with a pastry brush, then dusting with flour (or cocoa powder for chocolate cakes) and tapping out the excess. This is absolutely the most fool-proof way to get perfect release from a bundt pan, and it’s the only way I will prep the more intricate bundt pans in my collection.
If you’re a spray devotee, make sure it’s a flour-added spray like Pam for Baking or Baker’s Joy, cover evenly (not heavily), and brush the excess until you have a thin but full-coverage layer. Too much spray = gummy residue and a pock-marked cake. Too little = dry spots that cling to cake. And it doesn’t take much surface area for stuck cake to start coming off in chunks.
To improve your chances for clean release, make sure your pan is clean, with no crumb, butter or spray residue from previous cakes. Old residue will positively sabotage any of your prep efforts. To prevent residue, especially with pans prepped with baking spray, clean the ban as soon as you’re able to safely handle it, after you’ve turned out your cake.
Pro Tip from the BwB Kitchen: The combination of a bottle brush and Dawn Powerwash is absolute gold when it comes to getting bundt pans perfectly clean for years of use.
This isn’t fussy. It’s foundational. Like putting on good shapewear under a satin dress that’s cut on the bias—if the foundation isn’t smooth, everything you layer on top is going to show the lumps. (Ask me how I know this. 😂)
Prep it right and you’re already halfway to glory.
Don’t skip my photo tutorial: How to Grease a Bundt Pan. It’s the foundation. Without it, you may end up with a pound cake that tastes amazing but looks…less than amazing.
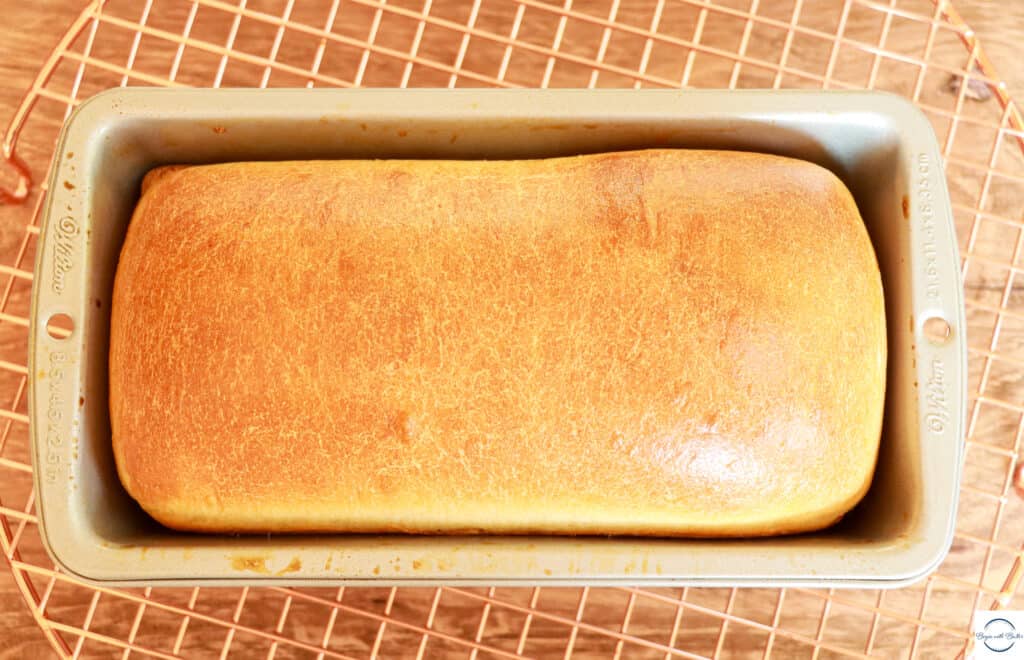
Tip #2: Let the Cake Cool All the Way Down
Think of cooling as bake completion, not just pause time. The moment your cake comes out of the oven, it’s still baking inside. Residual heat continues setting structure, firming the crumb, and redistributing moisture. Interrupting that process—by manipulating it too soon, or worse, by brushing simple syrup or adding the final glaze while still warm—invites collapse, cracking, broken detail, or a soggy base. In fact, adding simple syrup too early can cause the cake to swell unevenly, blurring those beautiful edges you worked so hard to preserve.
Even after you turn it out onto a cooling rack, your cake will continue to cool and settle for hours. That residual warmth is still doing the work of setting the crumb and developing structure—and rushing it can undo all that effort. Be patient, BB. And I say this lovingly: find something else to do.
You’ll notice that I talk about a cooling rack to do this important work, because that important piece of equipment isn’t optional. It’s essential. The rack lifts the cake, allowing air to circulate underneath. This lets the bottom of the cake develop consistent texture with the rest of the cake. Cooling directly on a plate or cake board board traps heat and steam, softening the bottom crust, keeping the internal crumb unpleasantly moist, and fully undermining the structure your beautiful bake.
Give it time on a cooling rack. For most of my cakes, I recommend waiting at least 3-5 hours after the bake time is done before you do the simple syrup and final glaze. Yes, you will likely have to shoo family members away. Yes, you will have to tell spouses and children alike that “the cake isn’t done yet.” Yes, you will have to deal with persistent, impatient groans from dissatisfied friends.
But you’ll have the last laugh, as you glaze a structurally perfect, delicious cake.

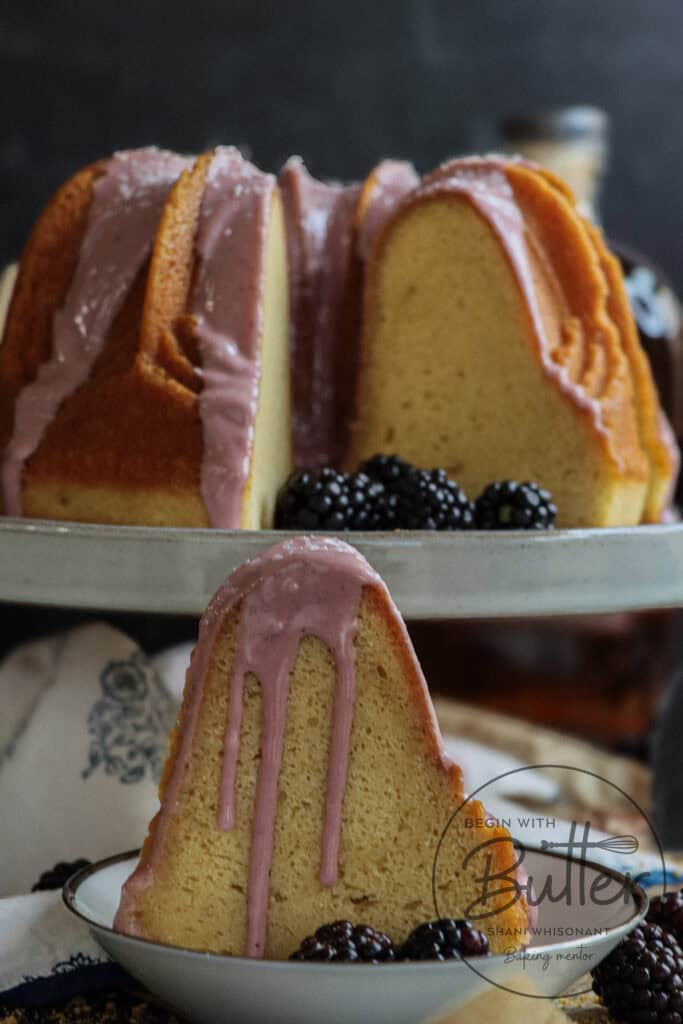
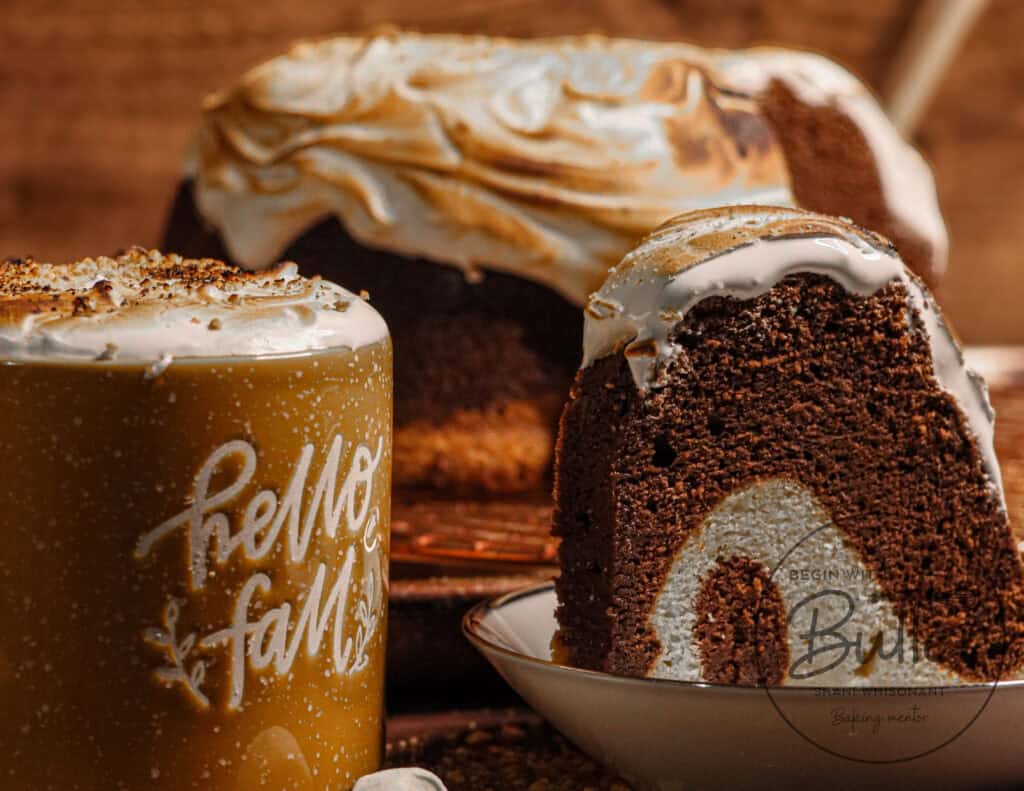
Tip #3: Glaze with Intention (and Technique)
A glaze is not a cover-up job—it’s the crown. And good technique will make this coronation special every single time.
My Circle Glaze Method is the go-to strategy for even, elegant, not overdone coverage that highlights a pan’s design instead of hiding it. Here’s how:
- Start with the outer ring. Let it run gently down the outer curves.
- Next, a second pour over the center ridge.
- Then, a third pour along the inner ring.
- And in some cases—like in the video below—I’ll even add a fourth ring for extra drama and coverage.
Don’t expect the rings to connect perfectly. That’s where finesse comes in. Use a spoon to fill the gaps—carefully guiding, not flooding. Once all areas are covered, give the cooling rack a few soft taps. Gravity will then help the glaze fall gracefully down the side of the cake.
Viscosity matters. Your glaze should be thick enough to hold a slow drip, but thin enough to move without resistance. Think: warm honey, not cold molasses. And definitely not sweet tea.
Glazing while the cake is fully cooled is non-negotiable. Otherwise, the heat will thin your glaze too quickly, and what should’ve been a satin robe becomes a sugar slip-n-slide.
Watch the Glaze Technique in Action
Here’s a quick video of my Circle Glaze Method in real time. Watch how I build those concentric rings and finish with a spoon for even coverage.
Once you’ve got the technique down, the real fun begins: choosing the cakes that show it off. I’ve pulled together a few of my most stunning recipes—each one a canvas for everything you just learned.
Cakes That Shine Like Stars
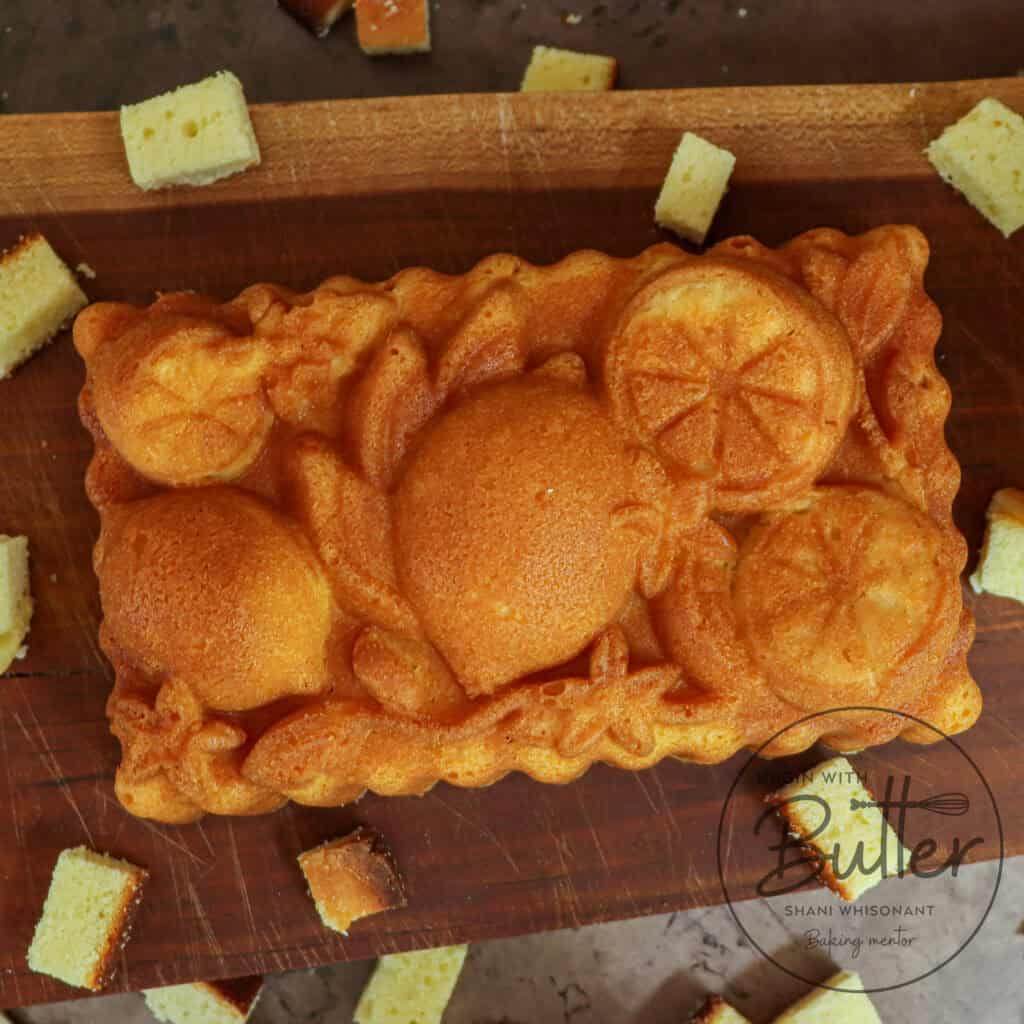
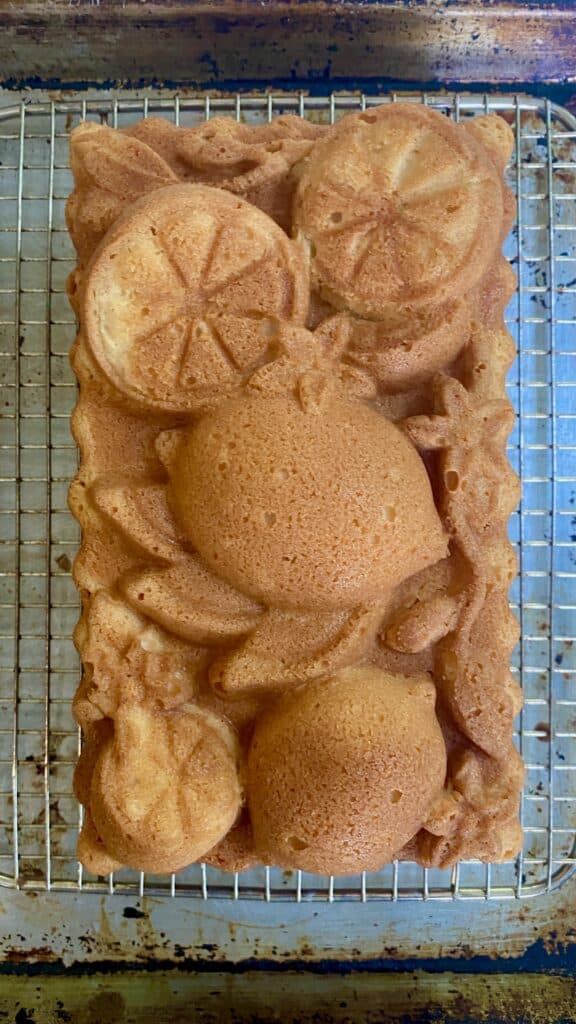
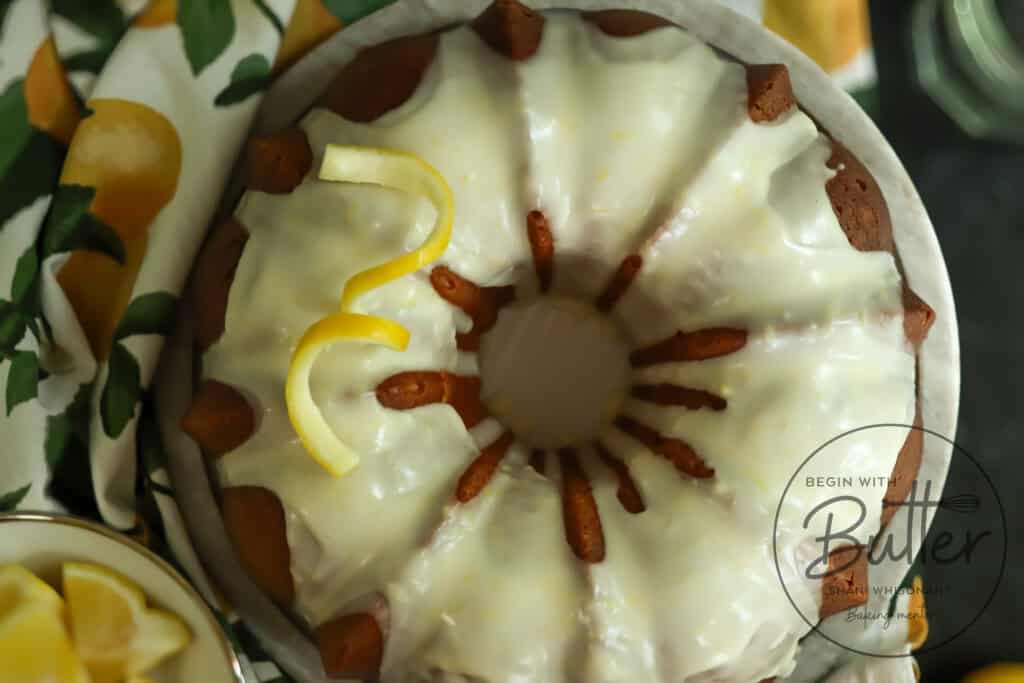
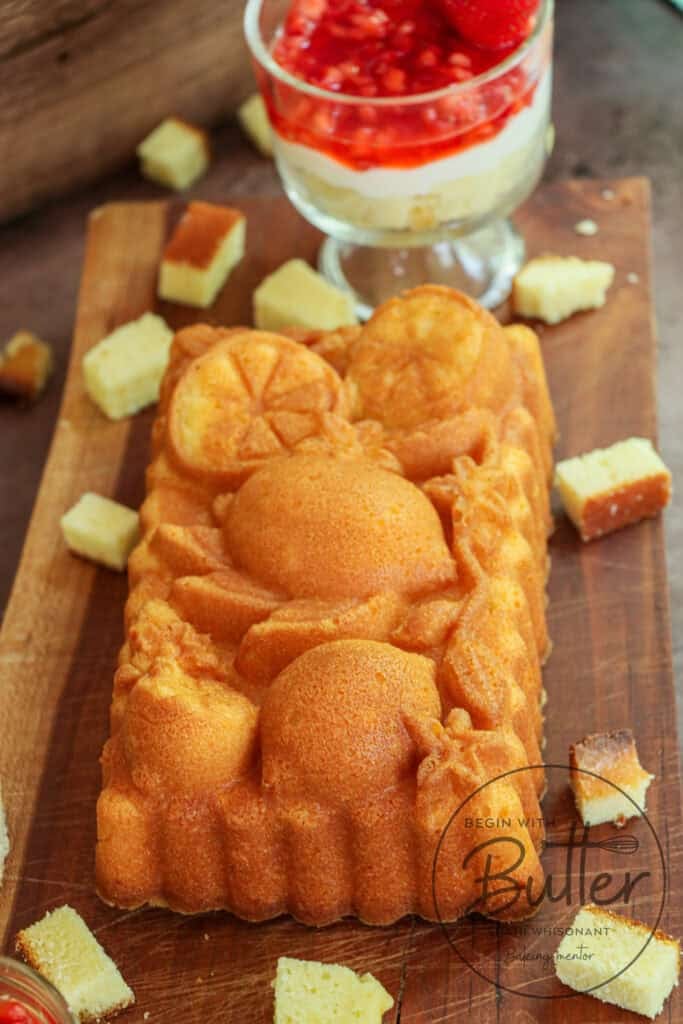
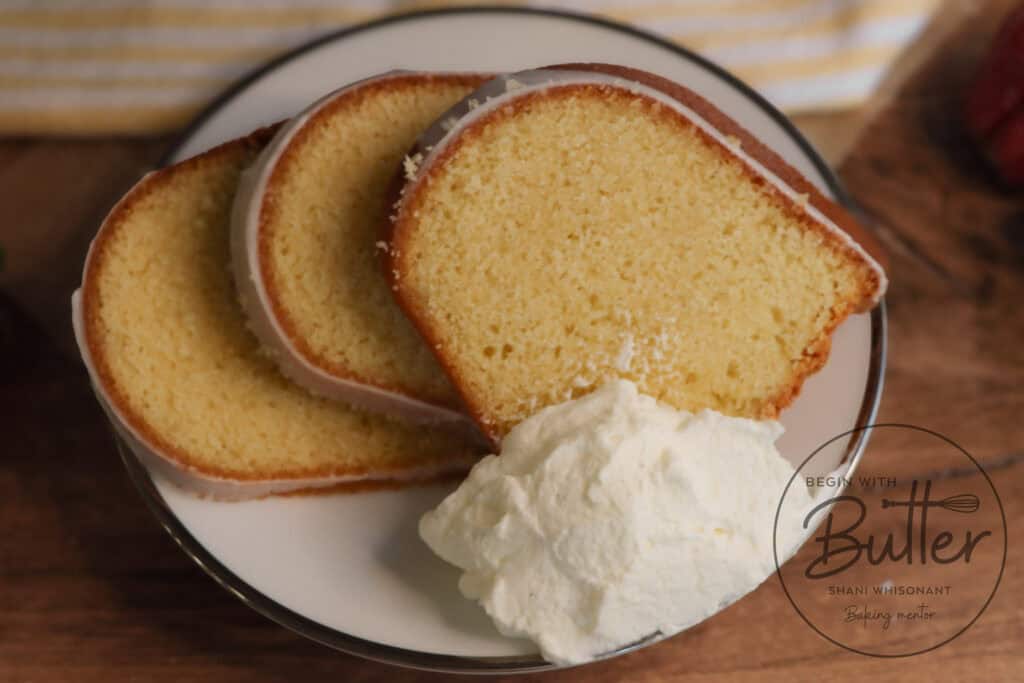
Limoncello Loaf Cake
This beautiful cake (shown here in the Nordic Ware Citrus Blossom Loaf Pan) is sunshine in cake form with a delicious limoncello soak.
Gingersnap Pound Cake
This cake features deep spice and dreamy detail (this is the featured cake in the glazing video!). This specific cake is in the Nordic Ware Braided Bundt Pan.


Cherry Cheesecake Pound Cake
This incredibly beautiful cake features a positively velvety crumb and a swoon-worthy finish. And it took every. single. detail. from the Nordic Ware Fleur de Lis Bundt Pan.
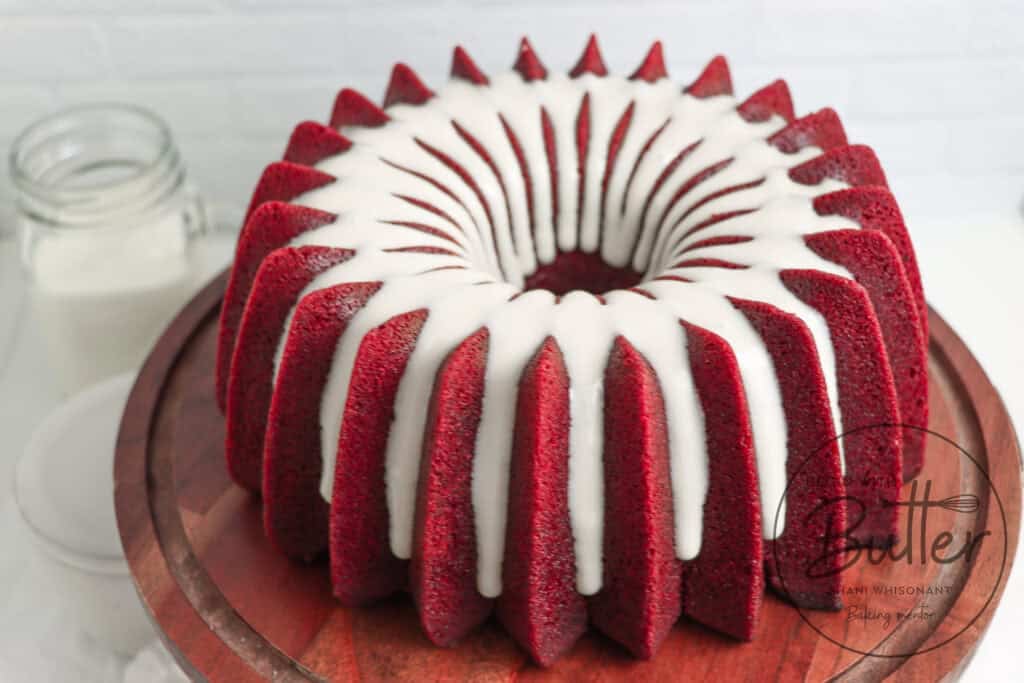
Ruby Red Velvet Pound Cake
This Begin with Butter classic pound cake features color contrast and drama for daysssssssss. And she is positively perfect in the Nordic Ware Brilliance Bundt Pan.
Final Crumbs: You Can Absolutely Do This. And it’s Worth it!
If you’re feeling intimidated by all this technique, just breathe. Just like any new technique, it gets easier with practice. But your willingness to keep at it will pay off with both delicious and spectacular cake.
Because when you’re able to achieve results are as gorgeous as these? Your baking confidence will soar. Give yourself time to learn this skill and you’ll enjoy a lifetime of incredibly beautiful cakes.


")