*This post may contain affiliate links.*
Hello friends! Today, I’m bringing you a classic salted caramel sauce that is so easy to make, it will actually knock your socks off.
To know me is to know that I have a serious penchant for the finishing touches that make desserts extra special. Why eat a plain piece of cake when you can fill it with a decadent Blueberry Cardamom Sauce? Why skip an opportunity to add a layer of flavor with a wonderfully floral simple syrup (like the one featured in my Lavender Vanilla Pound Cake)?
Done correctly, these finishing touches take your desserts from “nice” to WOW. Want to become known for your baking? Start using special finishing touches and you’ll be the first one asked to contribute to the dessert table.
Who Can Make Salted Caramel Sauce?
Anyone! This recipe takes literally ten minutes to make once you’ve prepped your mise en place. And it’s a good thing it only takes ten minutes, since you pretty much have to babysit it the entire time.
What is Salted Caramel Sauce?
Salted Caramel Sauce is, in fact, caramel! However, it’s thinner than the caramel candies that you see in the store.
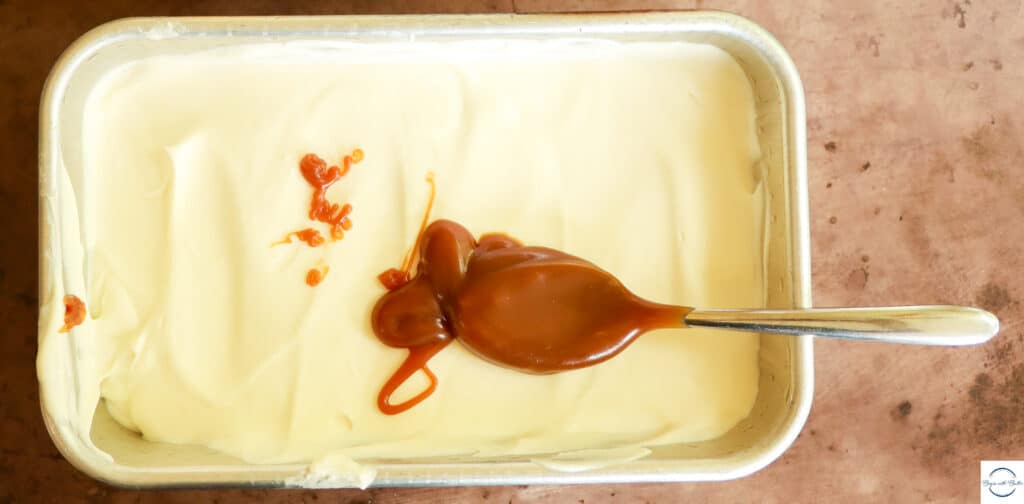
Caramel sauce can be used to top incredible desserts, like my Decadent Caramel Pound Cake. You can use it to make caramel buttercream, or to top ice cream…
Really, there’s no limit to its uses. It is, however, extremely rich, so I wouldn’t pair it with other extremely rich ingredients unless the intended result is heartburn.
And, while you want people to remember your food, you don’t really want them to remember it for that.
There are lots of questions out there about the best way to make salted caramel sauce. Let’s answer some of them, shall we?
Is This A Wet Caramel or a Dry Caramel Sauce?
This recipe is for a dry caramel sauce. By “Dry Caramel Sauce”, I mean that you don’t add any water to this caramel. A wet caramel sauce uses water and sugar to create the base for the caramel. A dry caramel omits the water completely.
There are actually big differences between wet caramel sauce and dry caramel sauce. Wet caramel sauce takes longer to develop, which in turn leads to a deeper caramel flavor. But it can crystalize and ruin more easily than a dry caramel. Though delicious, I recommend wet caramel for more experienced caramel makers.
Dry caramel (the one we’re making here, today!) takes much less time to develop, and, with practice, you can get it to develop an intense caramel flavor! However, to get that depth of flavor, you have to take this caramel to the point of nearly burning during the initial phase.
And oh can it burn quickly.
How Do You Make Salted Caramel Sauce?
Want a quick tutorial on how to make Salted Caramel Sauce? Check out this very quick video!
Before you take out your first ingredient or tool, I need to caution you to please respect the caramel. Hot sugar can cause serious burns if you’re only halfway paying attention. So, during the ten minutes that it will take to make this caramel sauce, make sure it has your full attention.
Salted caramel sauce is so incredibly easy to make! Here are a couple of important takeaways from the video:
To start, place your sugar in the bottom of a heavy saucepan. Use a bigger saucepan than you think you need. I always, always, always use my 2.5-quart saucepan for caramel. Swirl the sugar to make sure that it’s in an even layer before you turn on the heat.
Turn the heat on your stove to a high medium or a low medium high. If you’re just starting with caramel, high medium is the place to go!
Next, watch the pot. No, seriously. Don’t touch it. Just watch it until you see that the sugar start to caramelize underneath. This will take anywhere from 2-5 minutes.
They will feel like the longest minutes of your life. They are not.
This is the point where you start working. Or, more specifically, start stirring with a balloon whisk. Constantly. Do Not Stop Stirring. Use a balloon whisk with a silicone handle to avoid burns, like this one!
At first, the mixture will be mostly sugar with some caramelized lumps. It will slowly transform into caramel with a few bits of sugar. Keep stirring!
You need to keep stirring until all of that lumpy sugar is completely transformed into a caramel brown liquid. This first process is what will determine the depth of flavor in your caramel, so don’t move on prematurely!
Use Your Nose
Most of the time, the telltale sign that your caramel is ready for the next step is that all of your sugar is melted and liquified. Sometimes, though, you might have a straggler sugar lump that does not want to melt before it’s time.
How do you know whether to move on? Use your nose! When the caramel is deep, deep amber and smells like roasted nuts, it’s GO TIME!
You only have seconds here so I’ll be brief.
If you have a straggler lump of sugar after you’ve reached that deep amber color and you’re smelling roasted nuttiness, you have to move on. You might end up with a small lump of sugar in your final caramel, but you can always remove it later.
If you wait for that obstinate lump, you’ll do so to your peril. Because waiting for that lump to dissolve after you’ve reached peak nutty flavor will ruin your caramel sauce. Once you smell that roasted nutty flavor, you are at the perfect point. Waiting more than 10-15 seconds after this perfect point means that you’ll go from perfect caramel to burnt caramel.
Yes. It does happen that quickly.
And you’ll definitely know burnt caramel. Because it smells very acrid and there’s a lot of smoke.
The good news is that this happens to the best of us! The bad news is that you’ll have to start over. But the other good news is that you now know exactly how far you can go with caramel before it’s a burnt mess, so that’s actually a win!
Add Your Butter
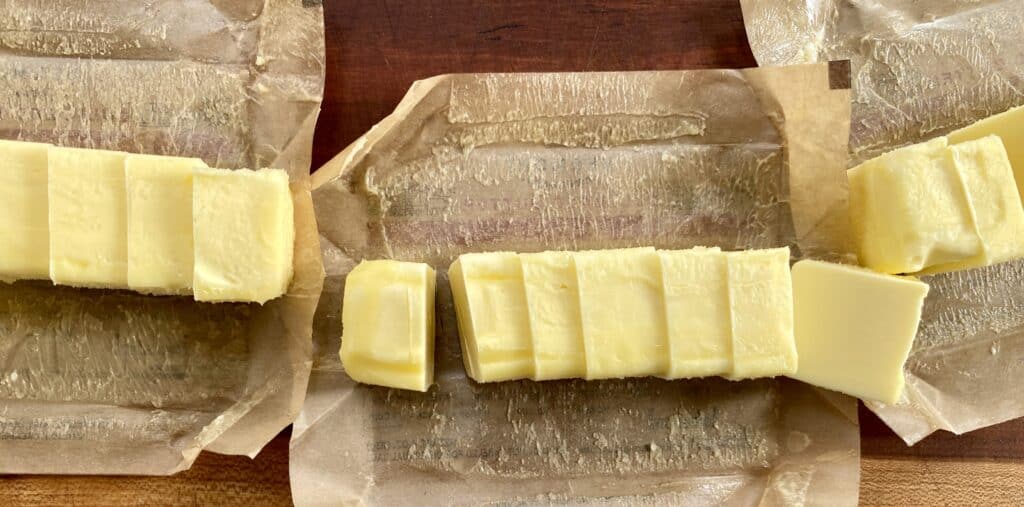
Once you’ve reached that roasted nut smell, it’s time to add all of your butter. The caramel will bubble pretty ferociously at this point, so be very careful stirring the caramel! You need to keep stirring until the butter is completely incorporated. Then, you can turn off the heat!
Time for Heavy Cream and Finishing Salt!
Once all of the butter is incorporated, remove the caramel sauce from the heat and add all of your heavy cream. The caramel will again bubble up pretty ferociously, so be very careful but keep stirring! You’re done when there’s no leftover evidence of the heavy cream in the caramel.
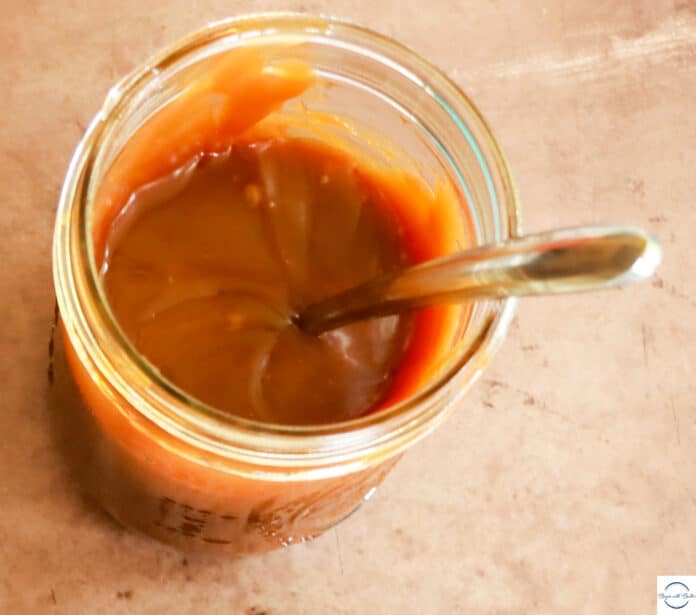
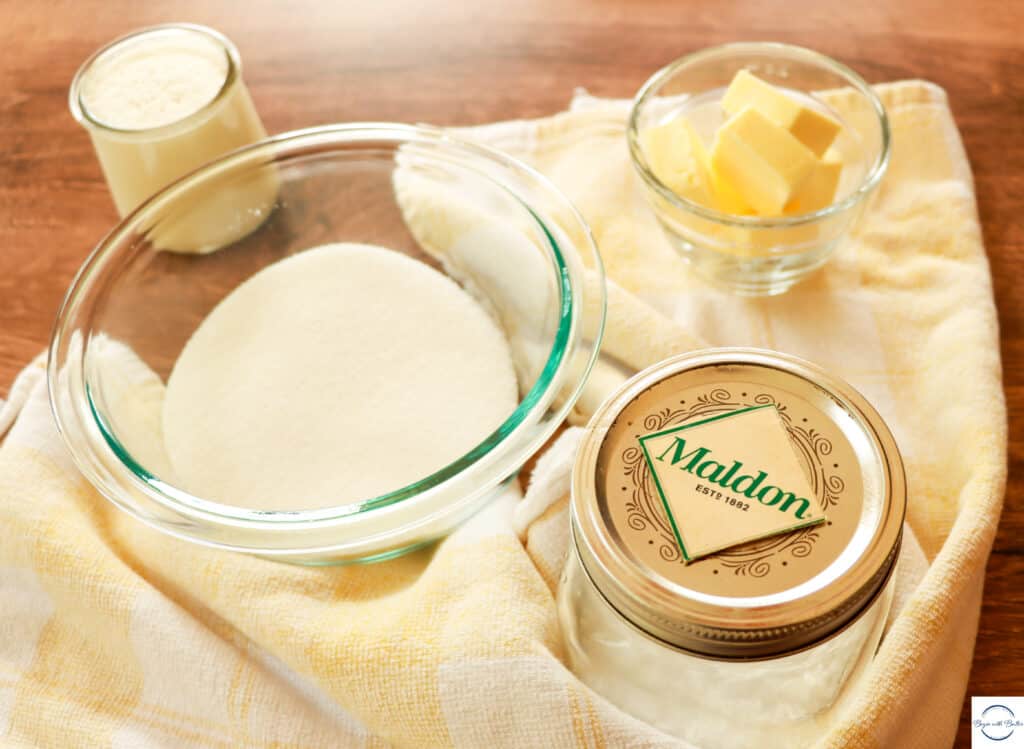
After the heavy cream is fully incorporated, add your flaky sea salt (I love, love, love Maldon Sea Salt for this purpose) and move to a heatproof jar to cool completely. The sauce will be quite liquid when you pour it, but it will thicken a lot upon standing.
It’s also molten hot when it’s at the liquid stage, so wait to taste test until it’s cooled a bit!
Where Do You Store Salted Caramel Sauce?
Once it’s cooled completely, cover your salted caramel sauce and refrigerate. You can keep it for 7-10 days in the fridge. To use, gently warm the salted caramel sauce in 5-10-second intervals in the microwave.
Enjoy this recipe! If you make it, tag me on Instagram @beginwithbutter so I can give you a shoutout!
Speaking of recipes, here you go! Enjoy!
Print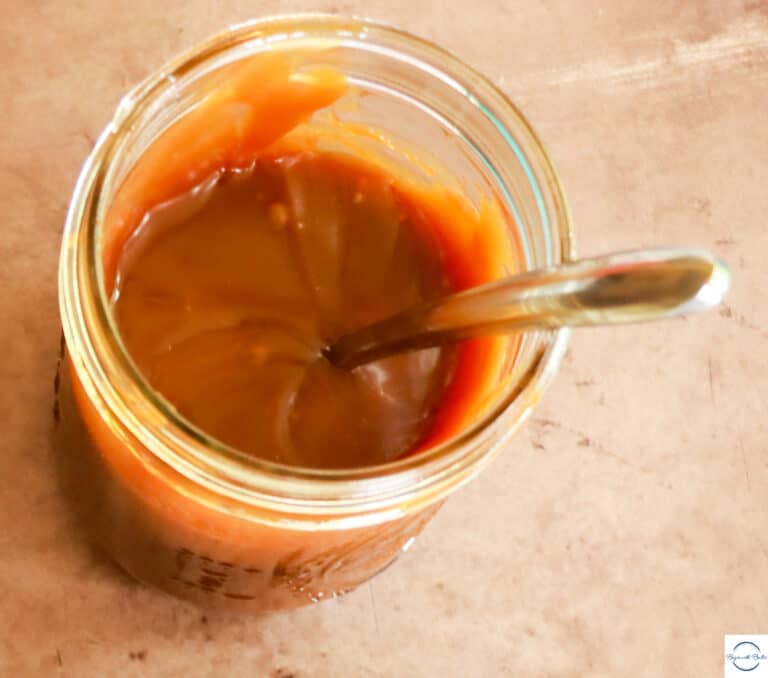
Salted Caramel Sauce
This decadent salted caramel sauce is an amazing topper for ice cream, cakes, and so much more!
- Total Time: 10 minutes
- Yield: About 1 cup of caramel 1x
Ingredients
- 200 g granulated sugar
- 85 g butter
- 125 g heavy cream
- 1/2 tbsp good, flaky salt (I use Maldon Sea Salt)
Instructions
- Start with caution. Caramel is hot sugar and the steam it produces can cause burns, so please do this step when you’re fully engaged. I don’t want you to get burned!
- Place granulated sugar in the bottom of a large (at least 2.5-qt), heavy-bottomed saucepan. Turn heat to high medium and watch sugar carefully as it begins to melt. (2-5 minutes)
- Once the sugar begins to melt, stir constantly with a balloon whisk like this one. It’s important that the whisk not have a metal handle, since a metal handle will conduct heat from the pan.
- Keep stirring constantly until all of the lumps of sugar melt and the sugar has a slightly nutty smell. (1-3 minutes)
- Add all of the butter and continue whisking. The mixture will bubble A LOT when you add the butter and there will be a lot of steam, so be careful with this step.
- Stir butter into the mixture gently until it’s fully incorporated, then remove the mixture from the heat. (1-2 minutes)
- Add all of the heavy cream at one time while the mixture is off the heat. Again, the mixture will bubble so be careful! Stir the mixture until everything is fully combined. (1-2 minutes)
- Add the salt and stir to combine. Caramel will be very loose at this point and that is normal!
- Pour caramel into a heat-safe container and allow to cool completely at room temperature.
- Caramel can be stored in a refrigerator, covered tightly, for 7-10 days. To reheat for use, remove the amount you’d like to use and heat for 5-10 second bursts in the microwave, or until the caramel pours slowly.
- Prep Time: 5 minutes
- Cook Time: 5 minutes
- Category: sauces

