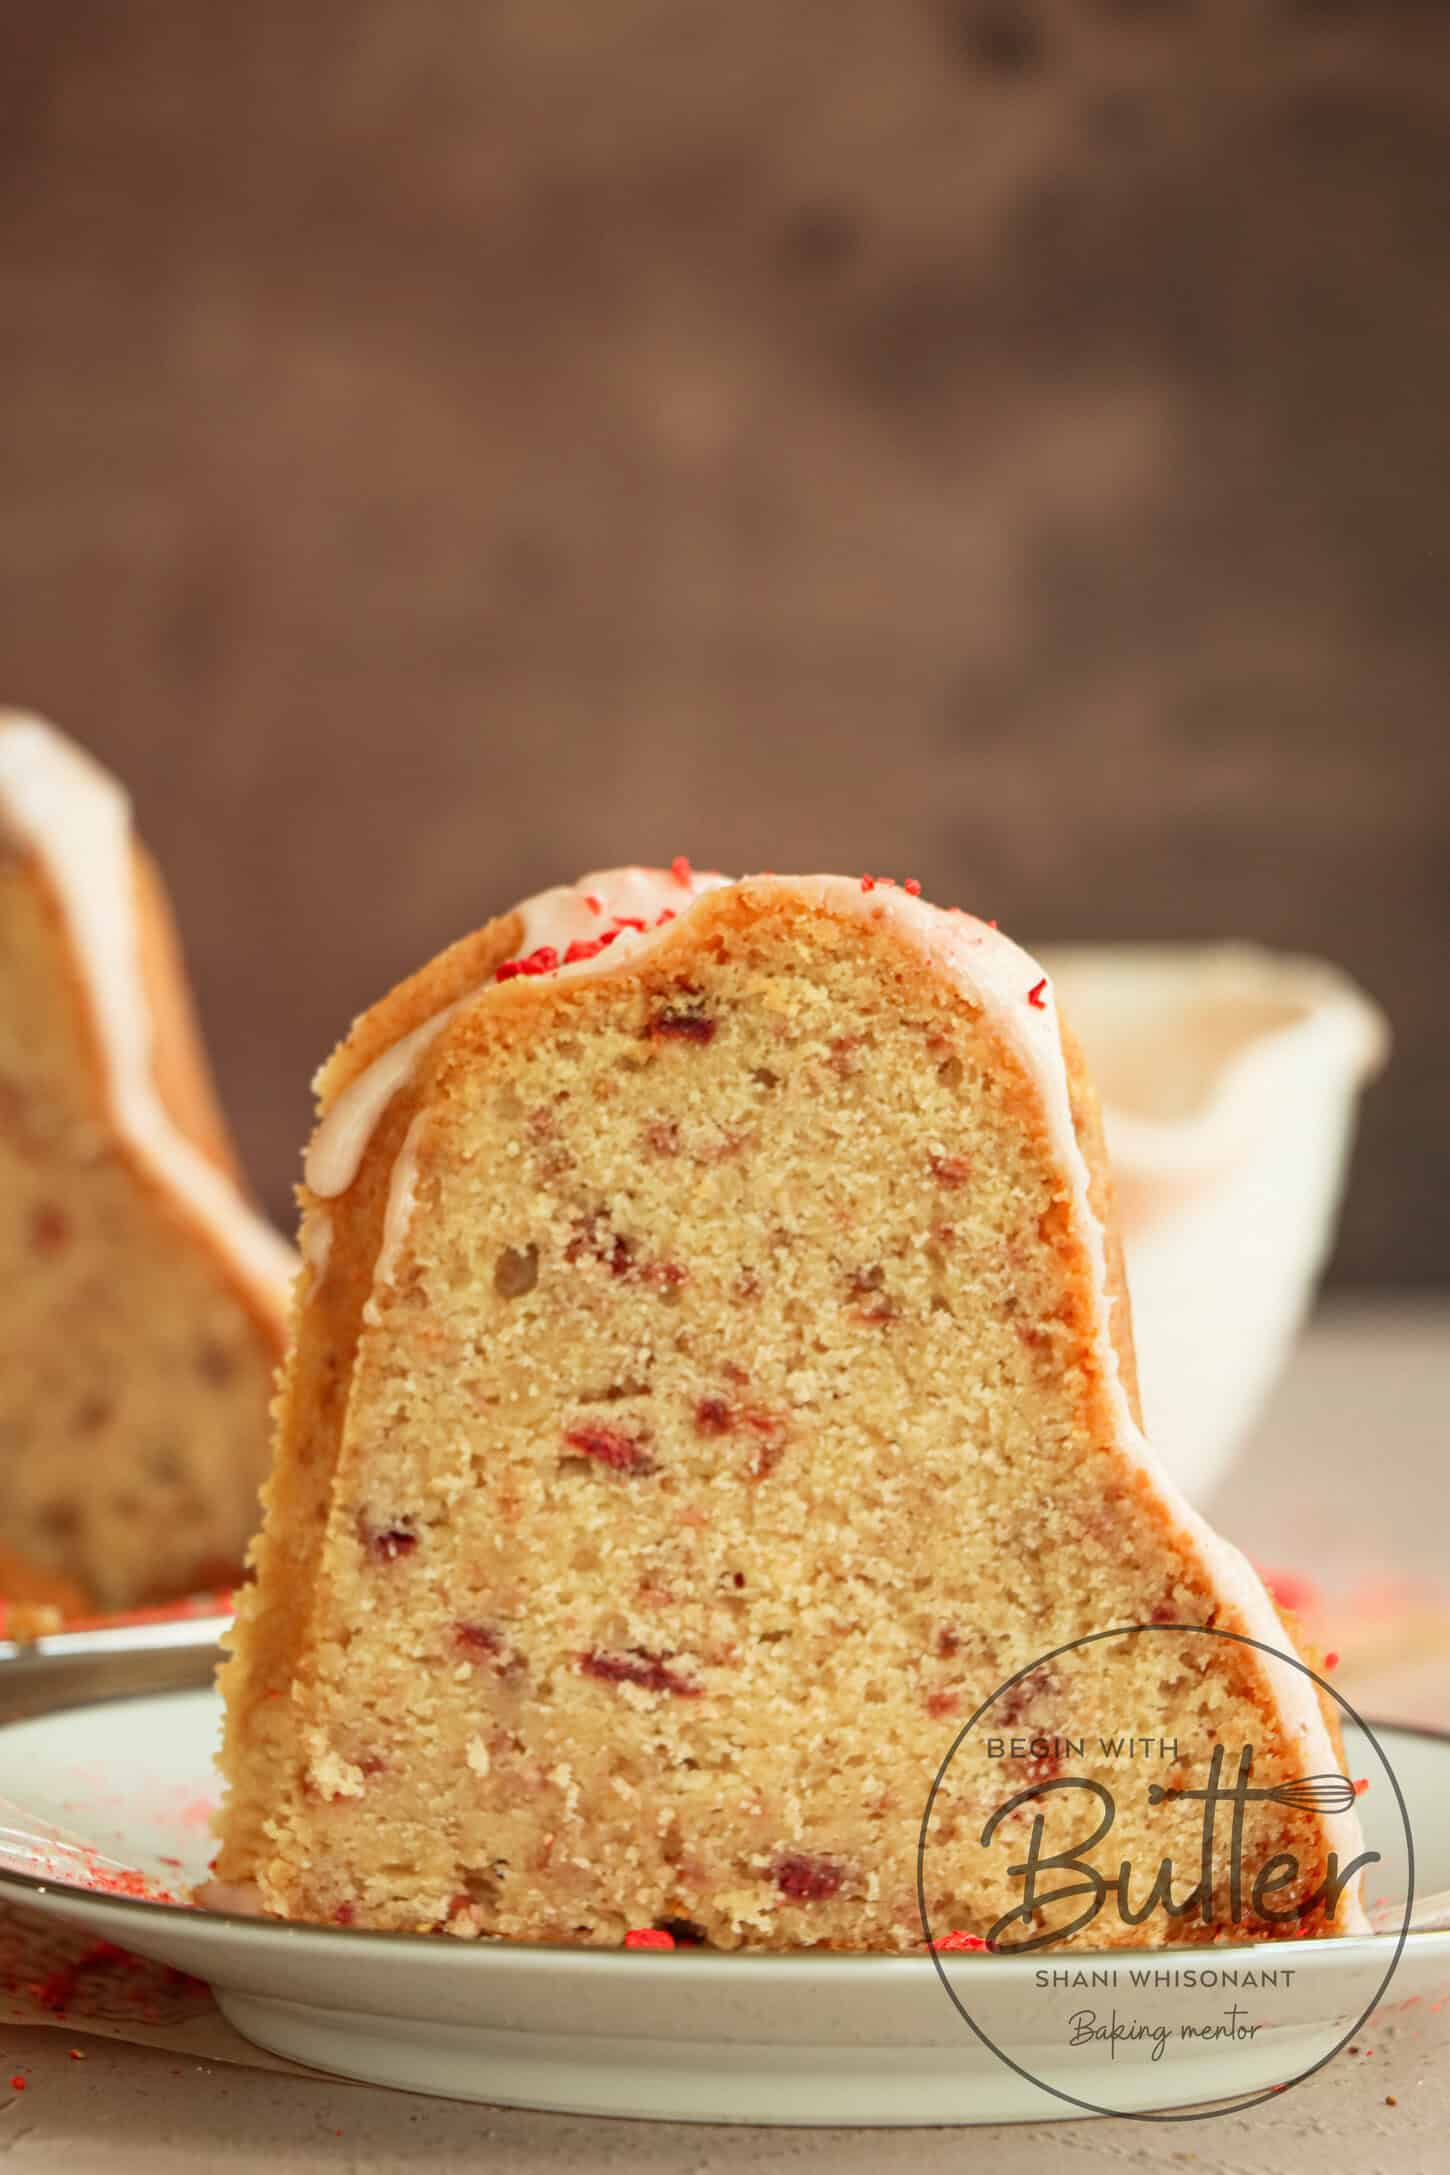
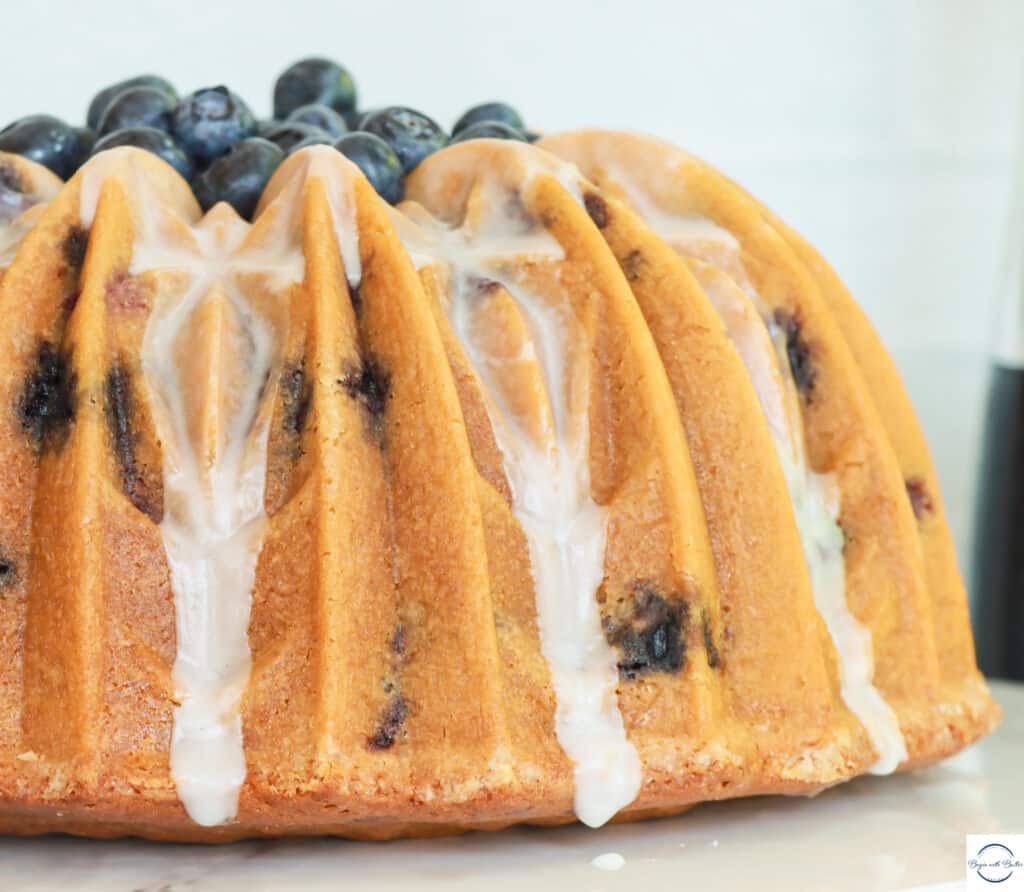
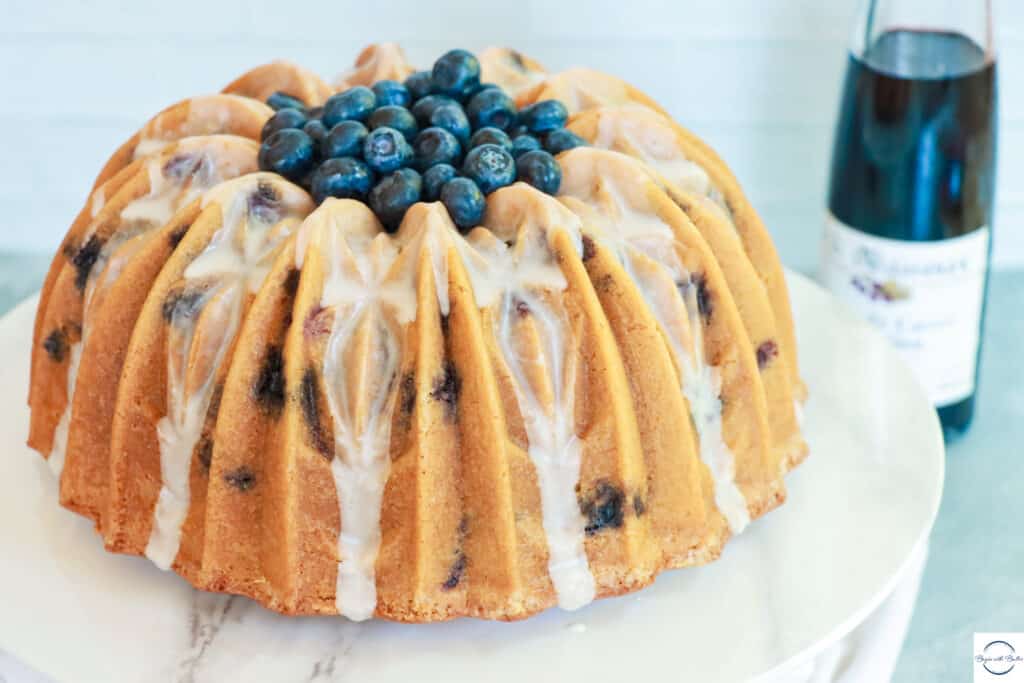
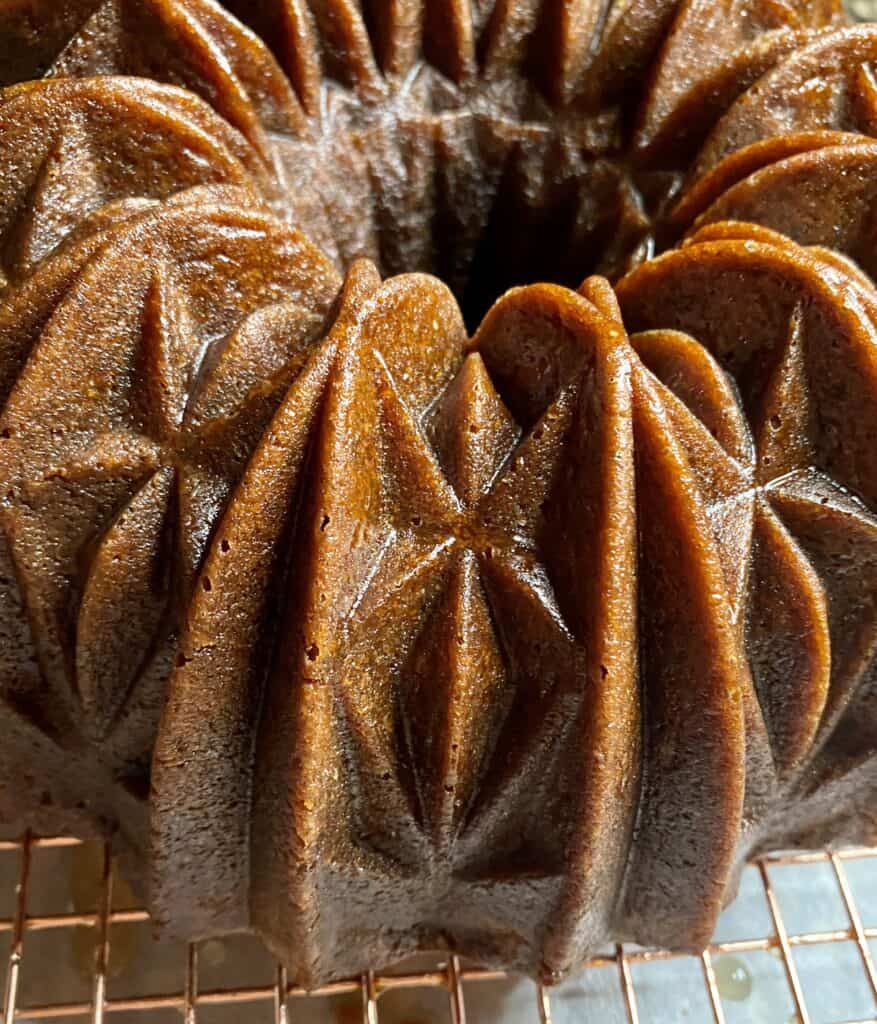
I have this to say about this Chai Lemon Blueberry Pound Cake:
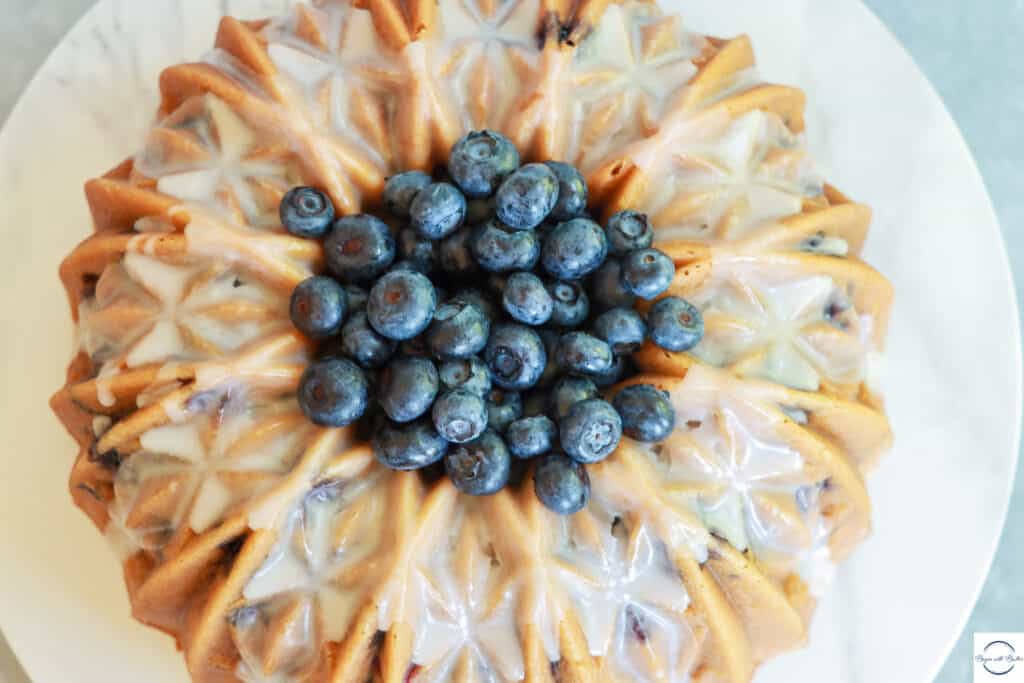
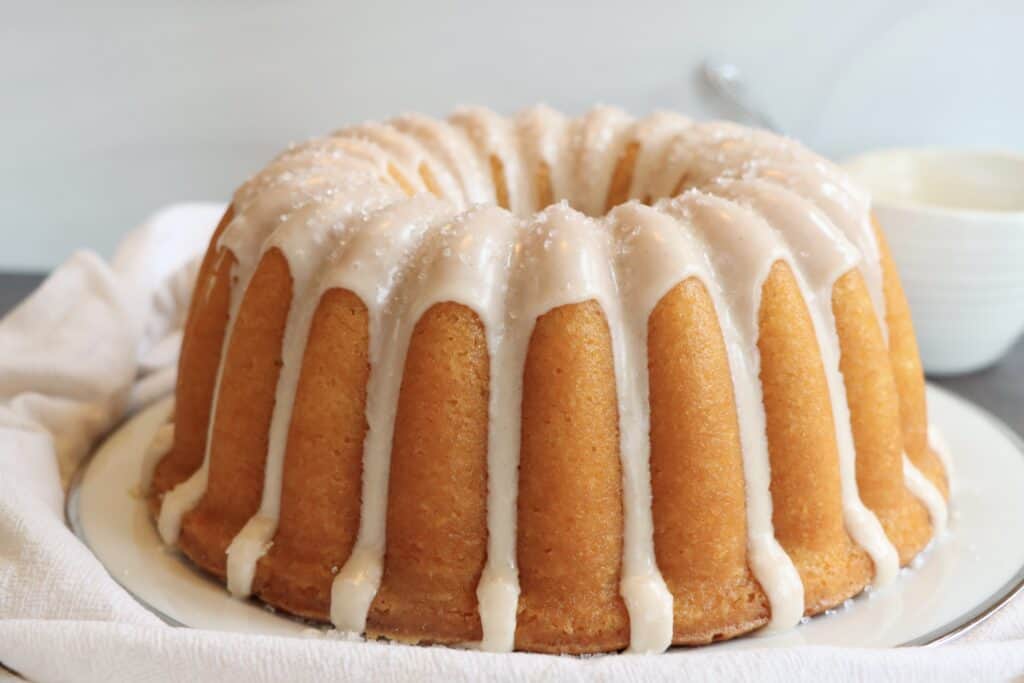
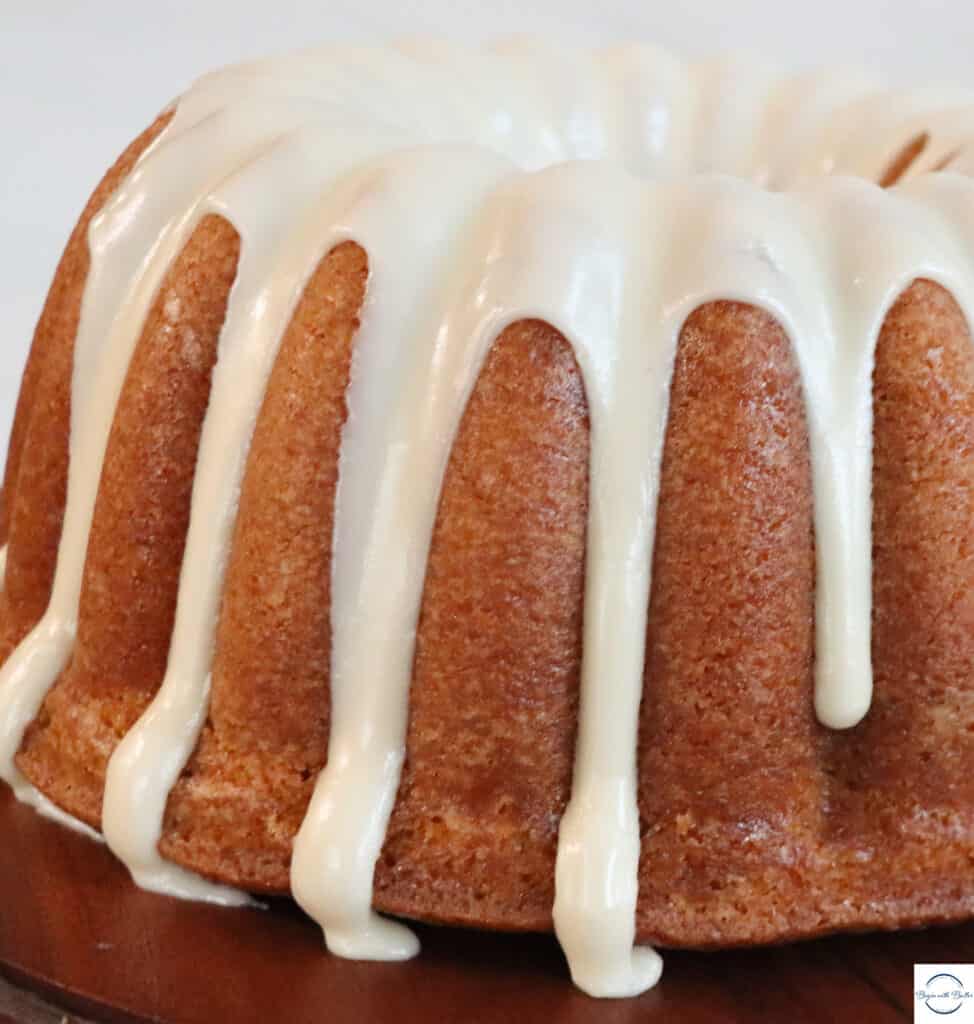
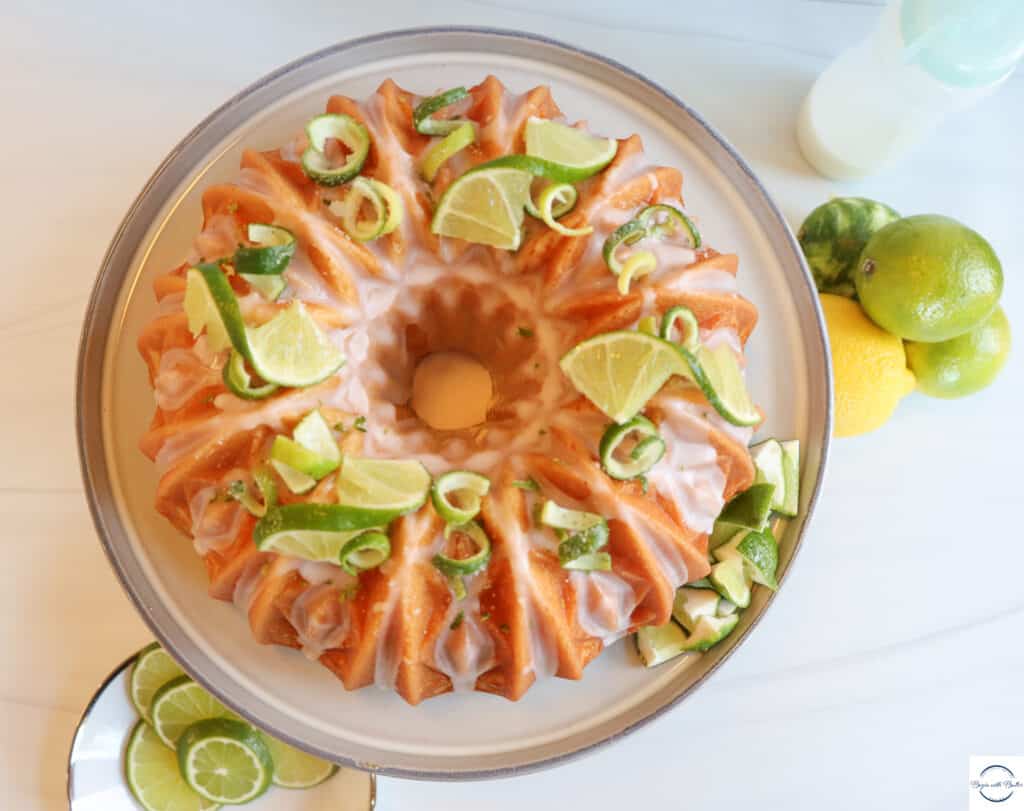
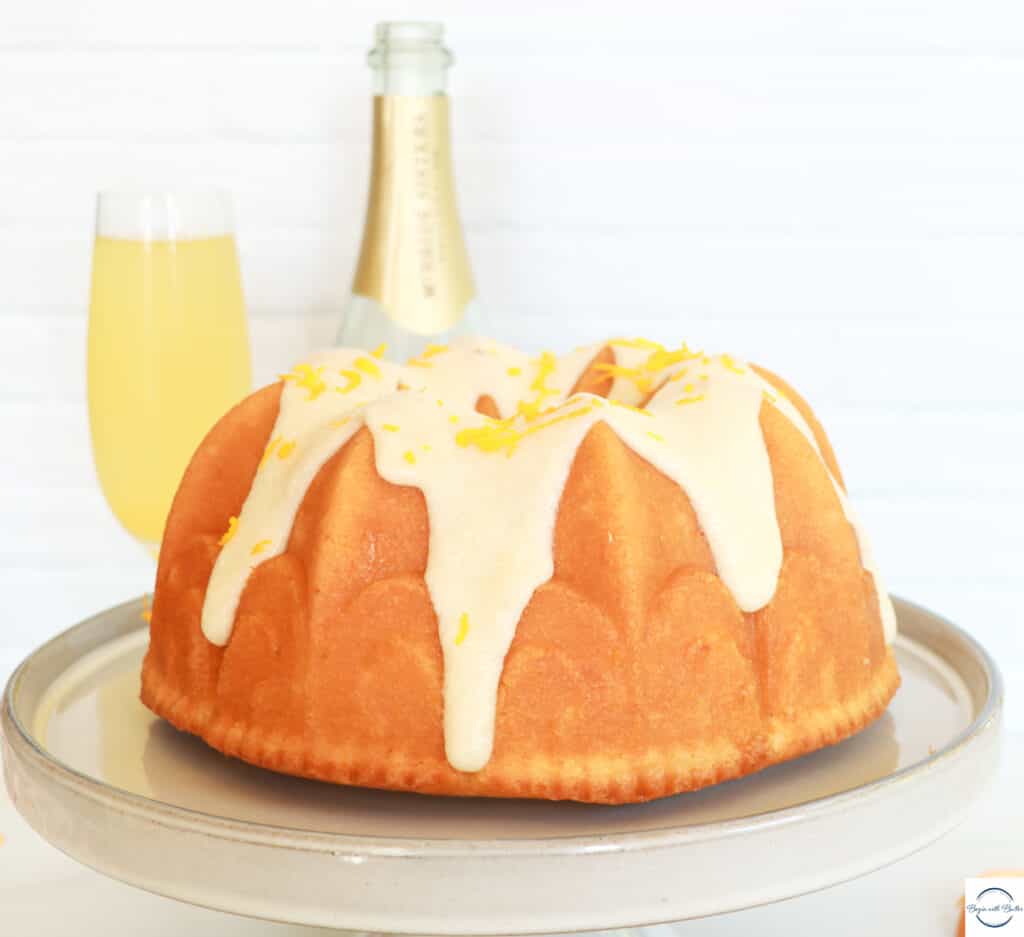
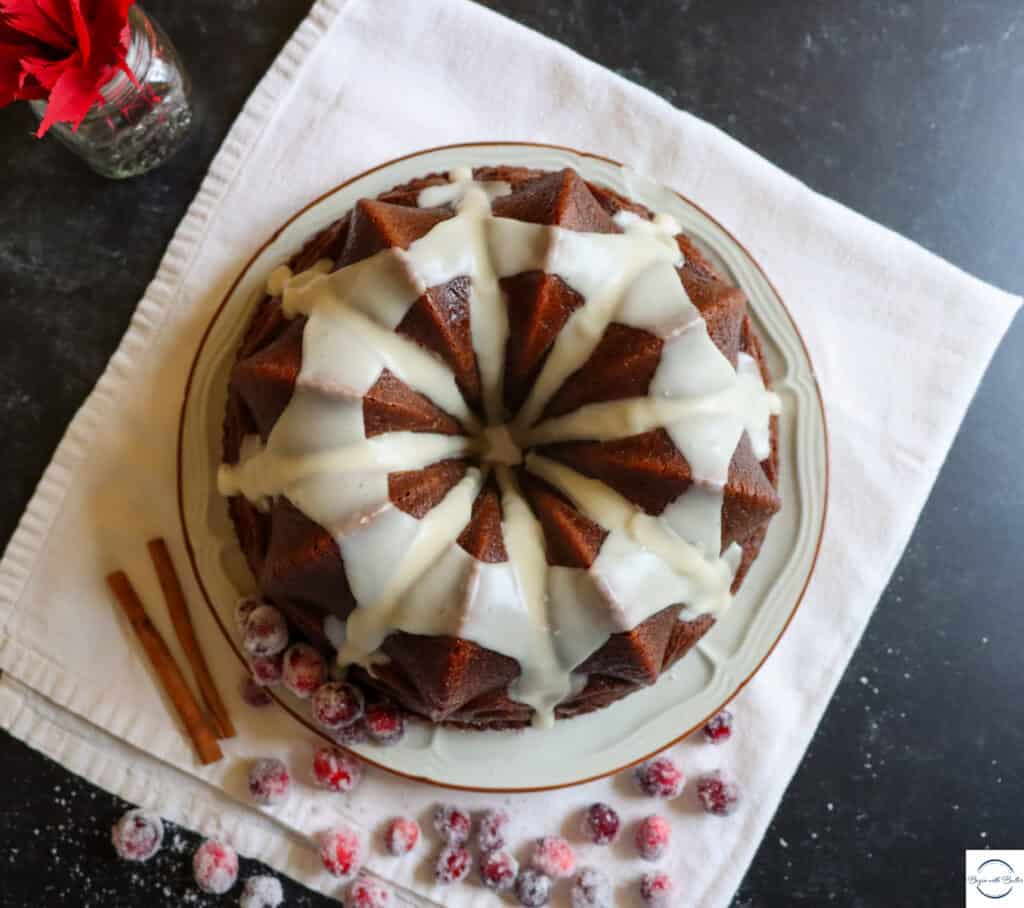
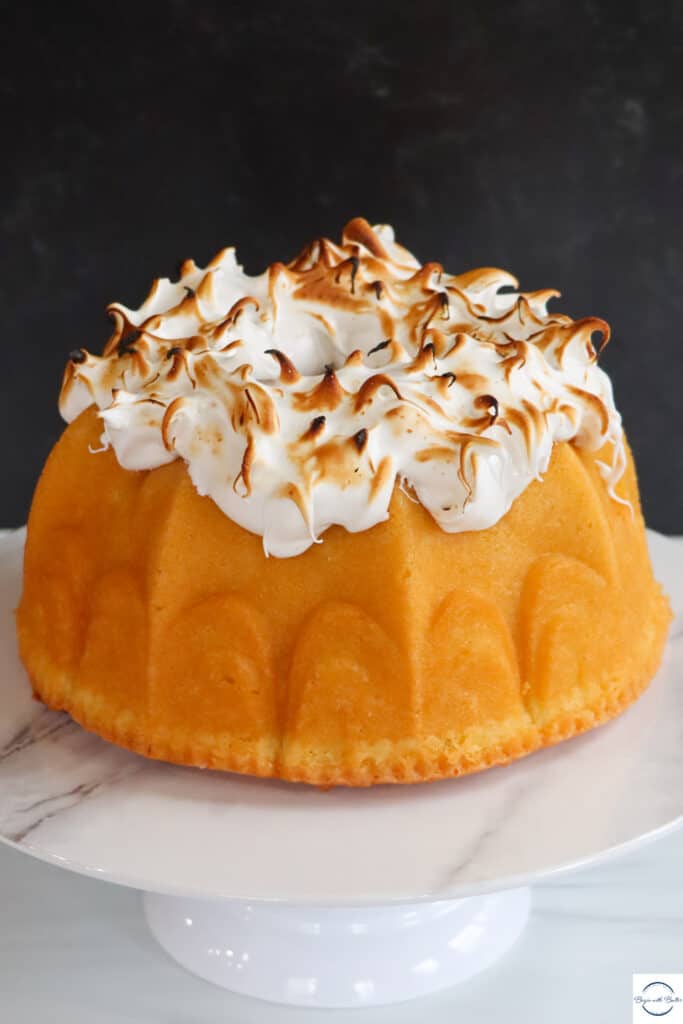
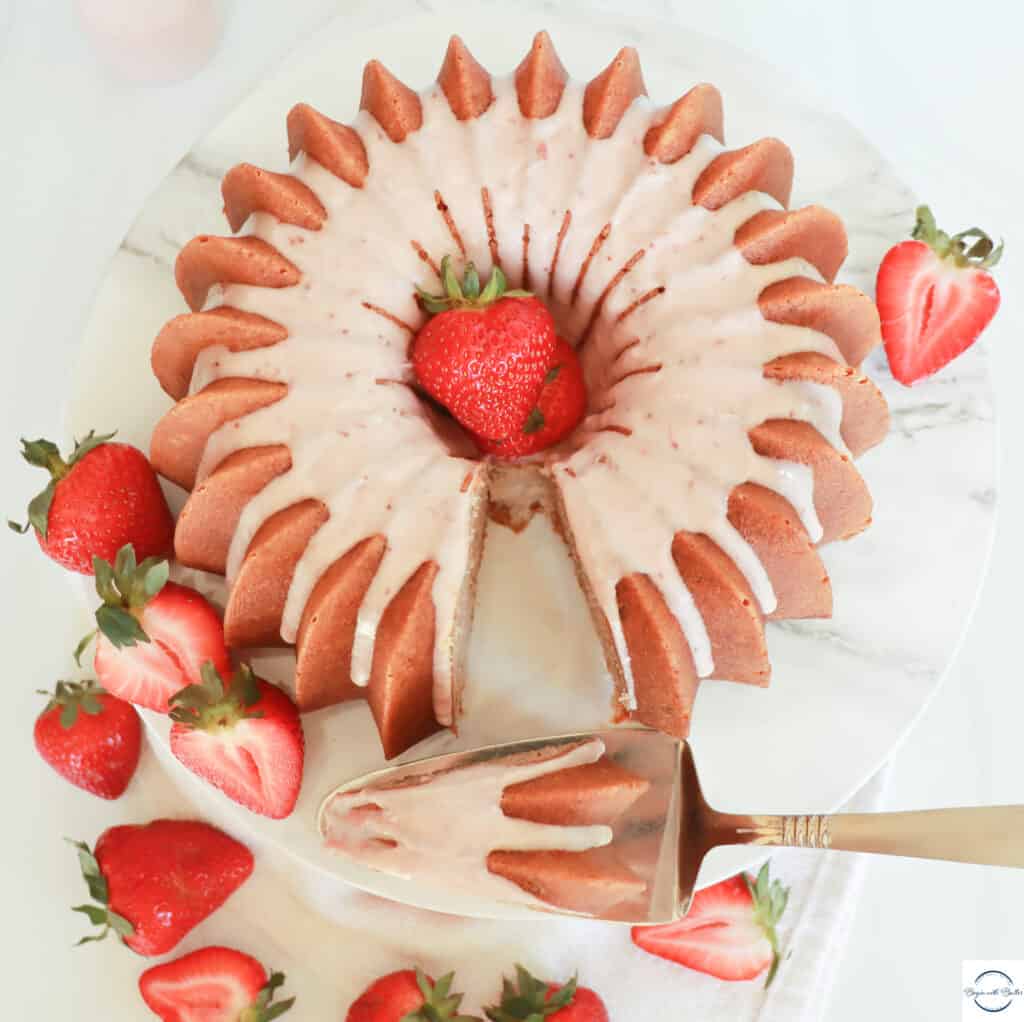
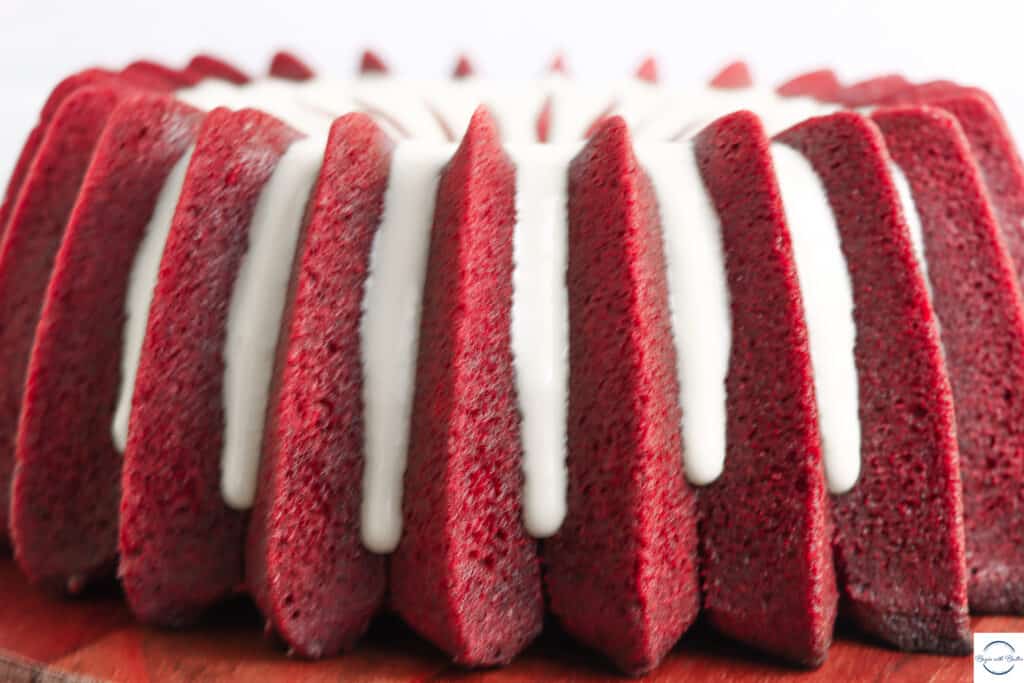
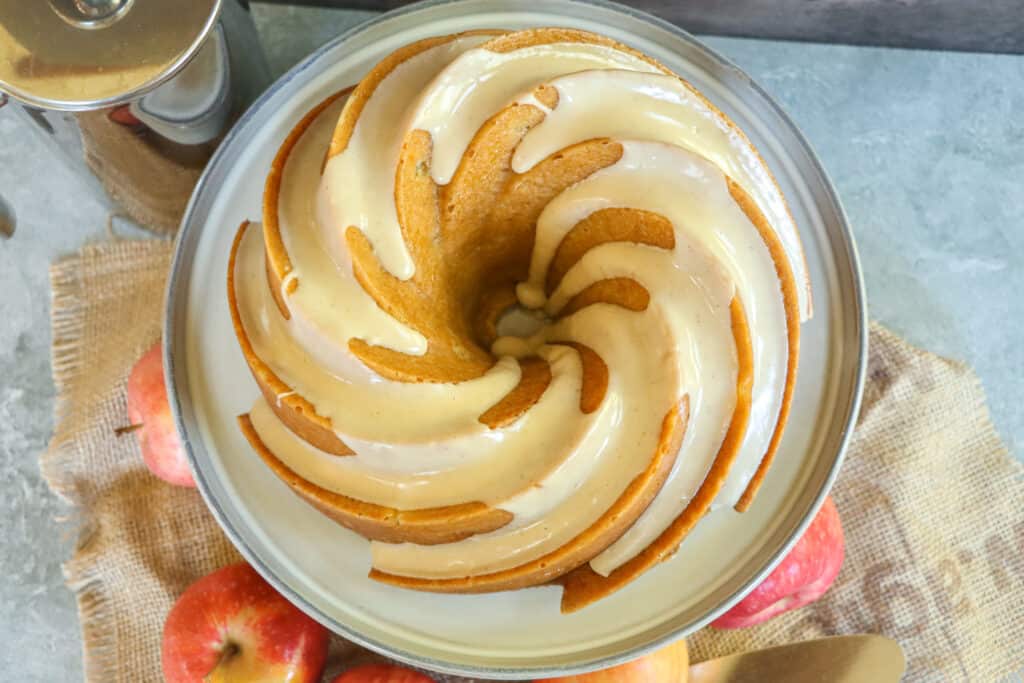
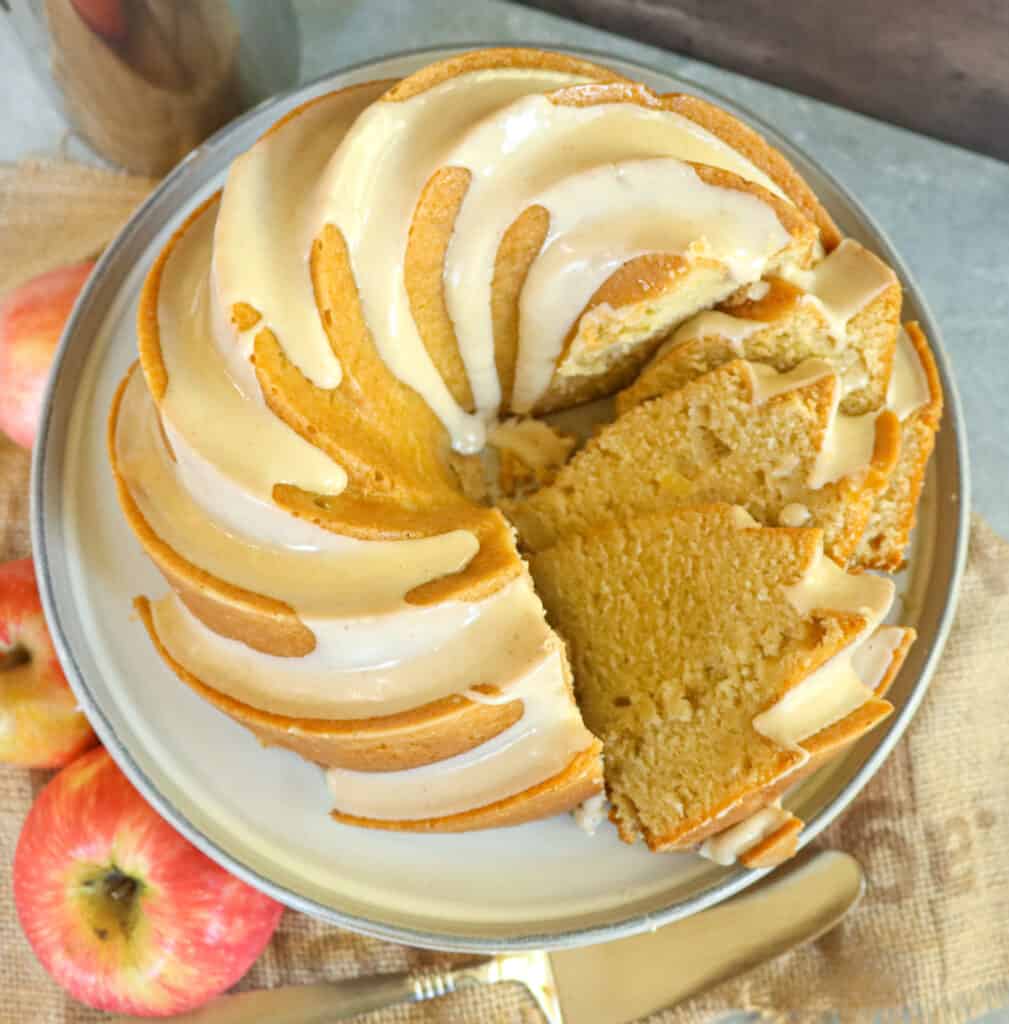
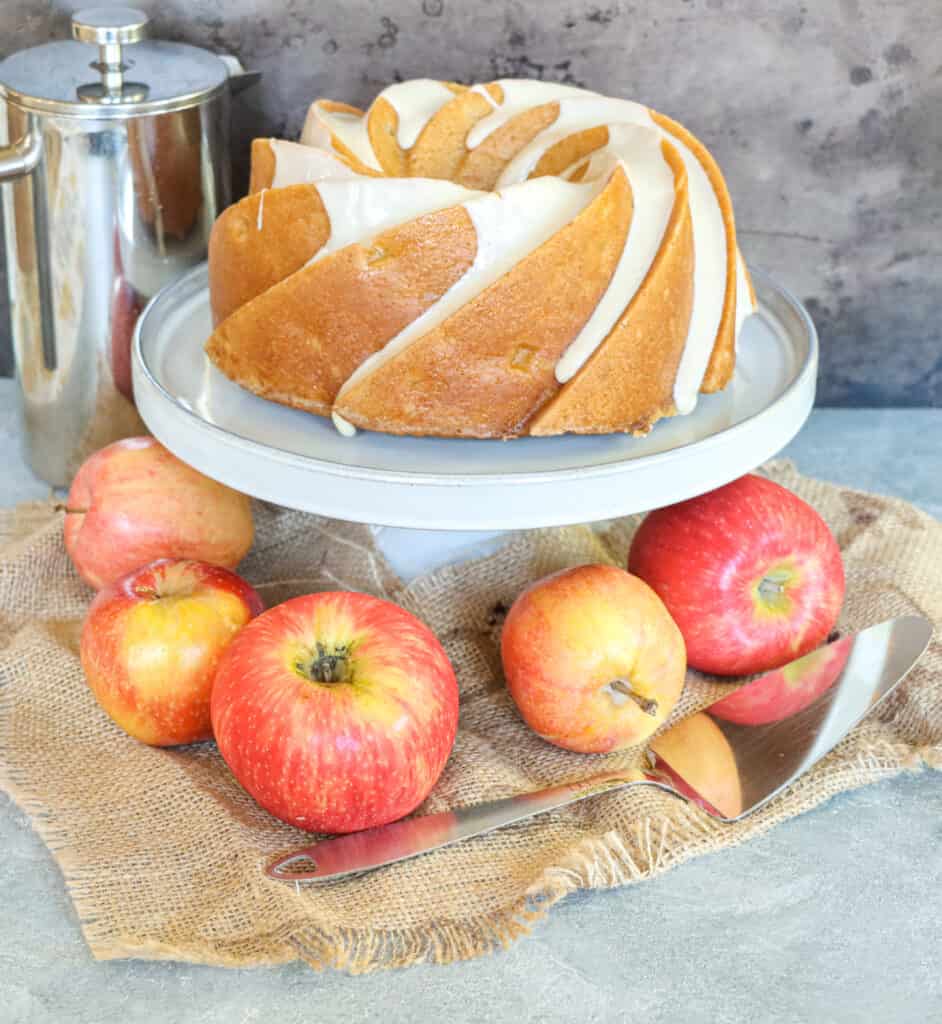
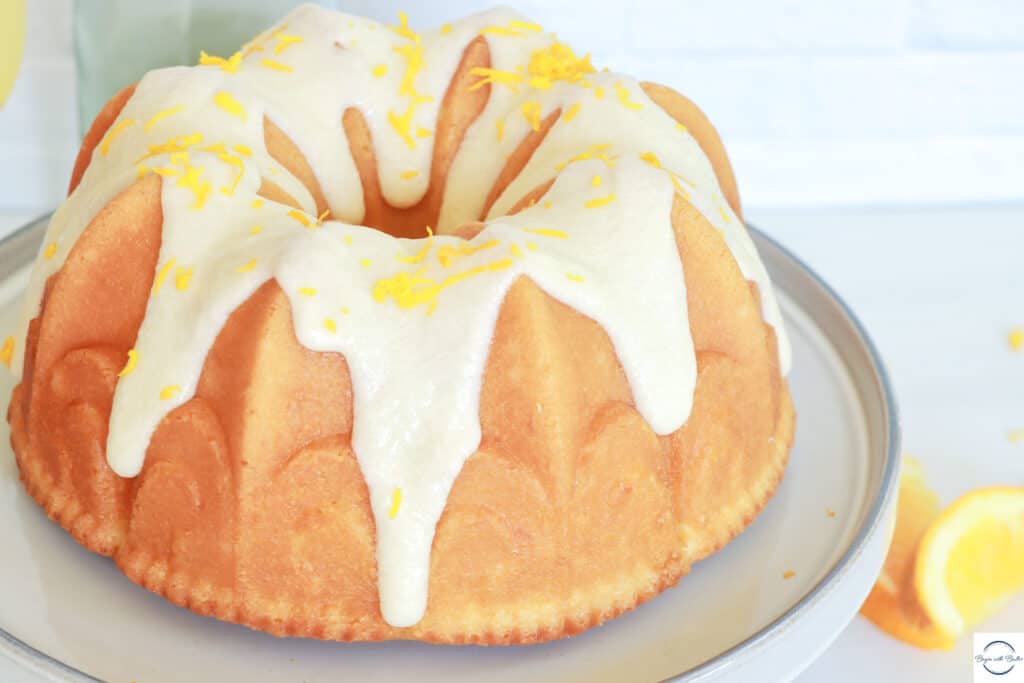
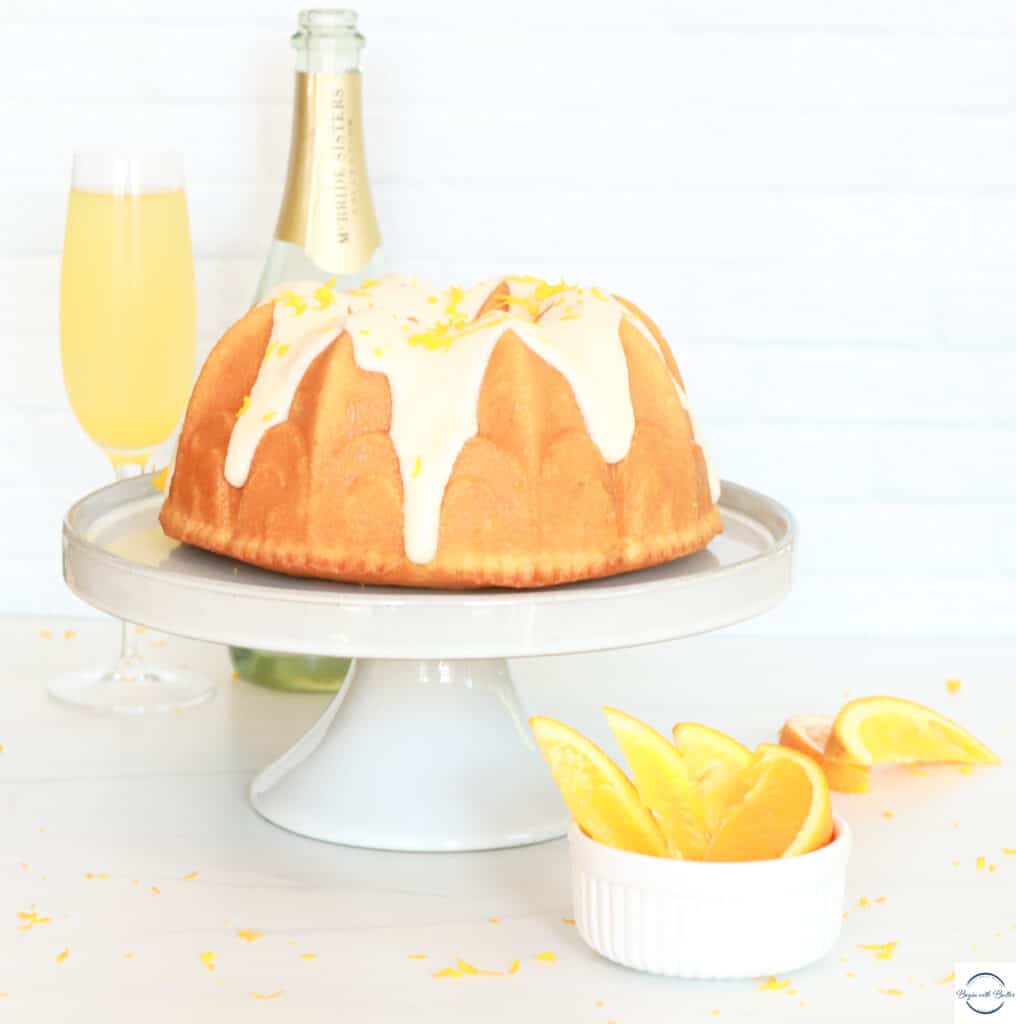
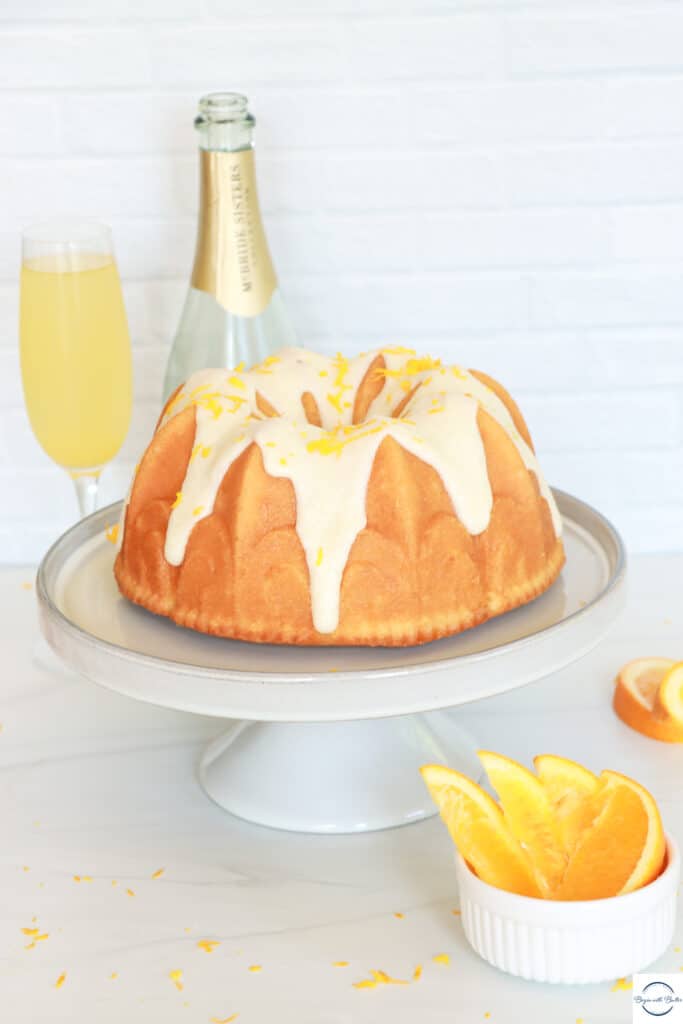
It is absolutely…delightful. This is the elegantly-spiced cake that summer didn’t know it needed. With fresh blueberries, a kiss of lemon for brightness, and the complex-but-oh-so-complementary spices in the fresh-brewed masala chai, this cake is deep, summery, and beautiful. It sings to all five of your senses-four before you even take a bite.
This cake is the summer love that you never forgot. Or, in my case, the summer love that you married. ??????
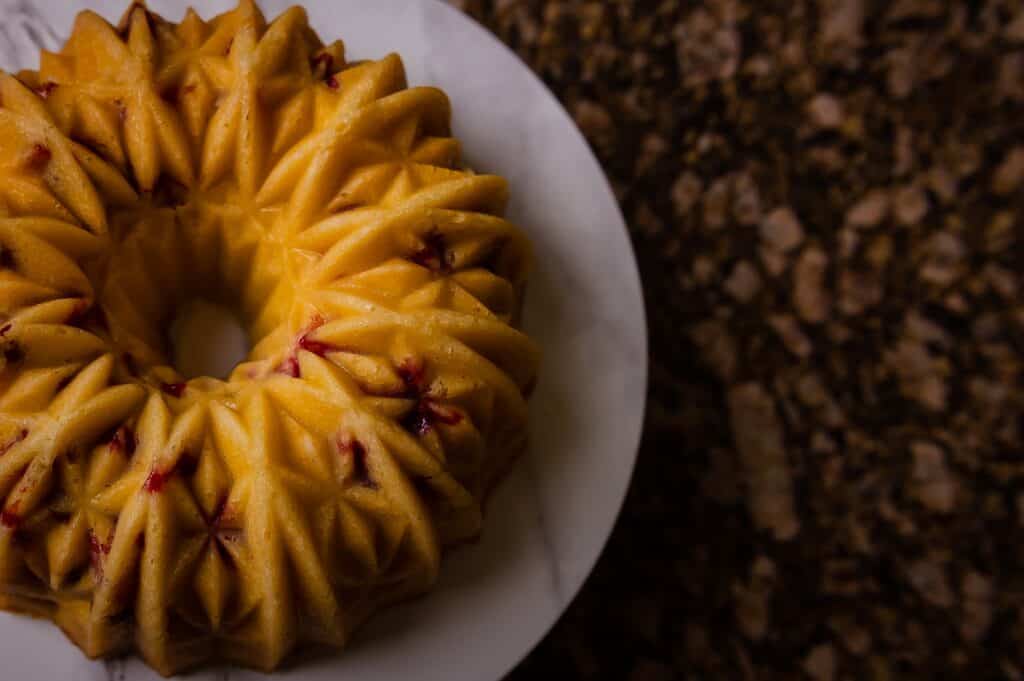
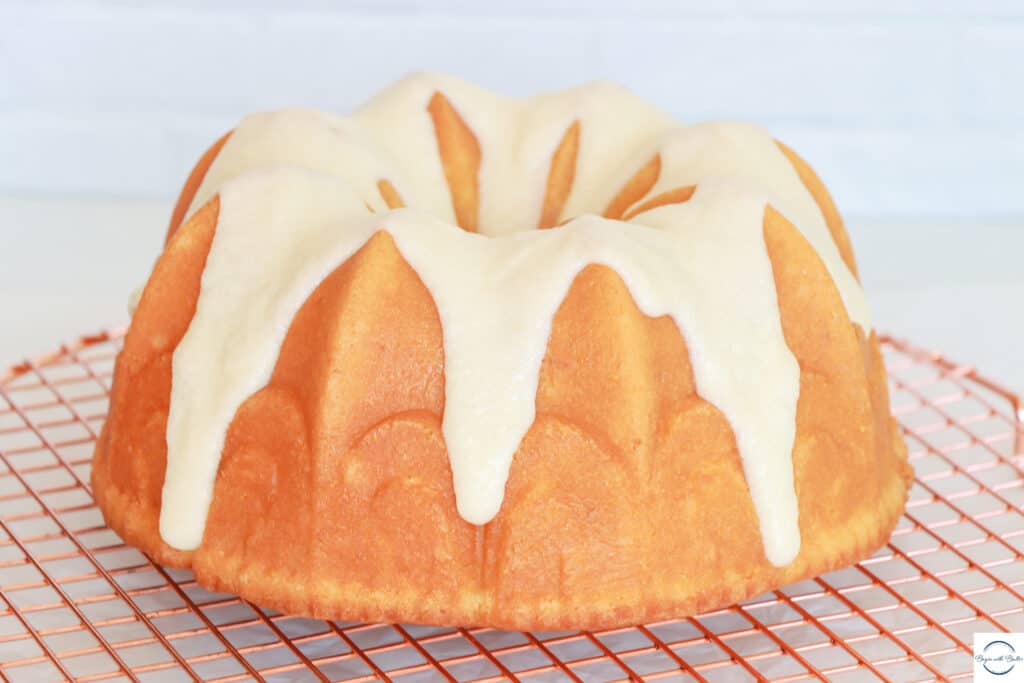
I love it so very much. It fragranced my entire kitchen with a spicy-sweet-summery scent, and the taste was even better than I could have imagined!
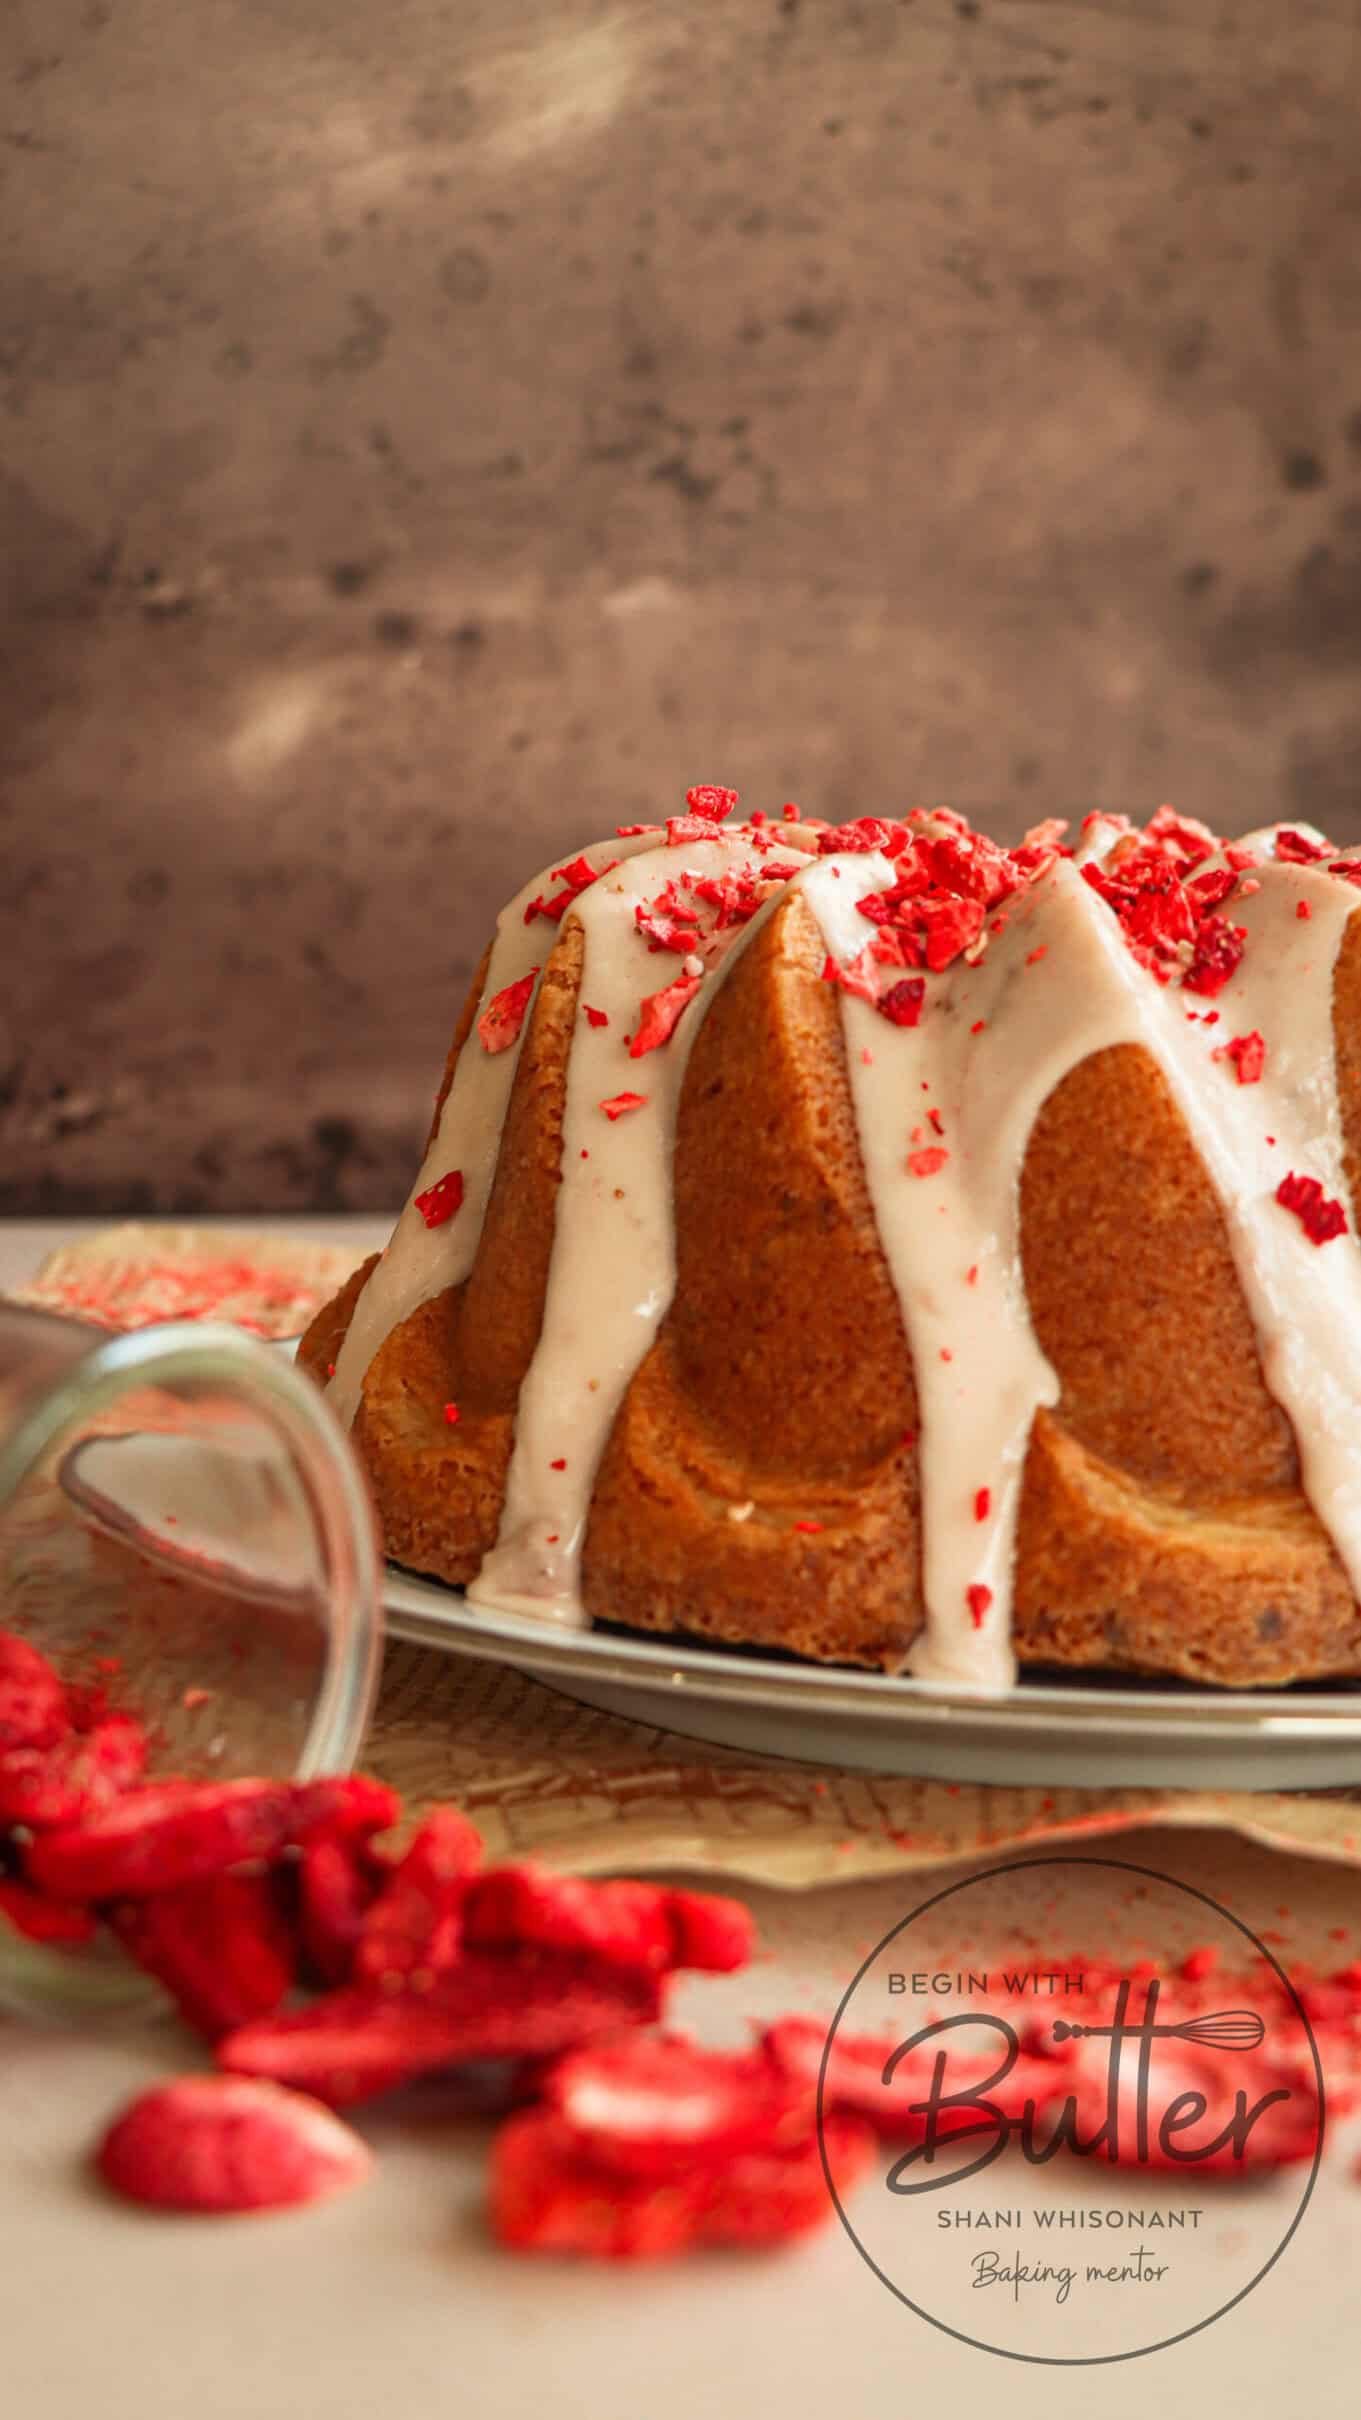
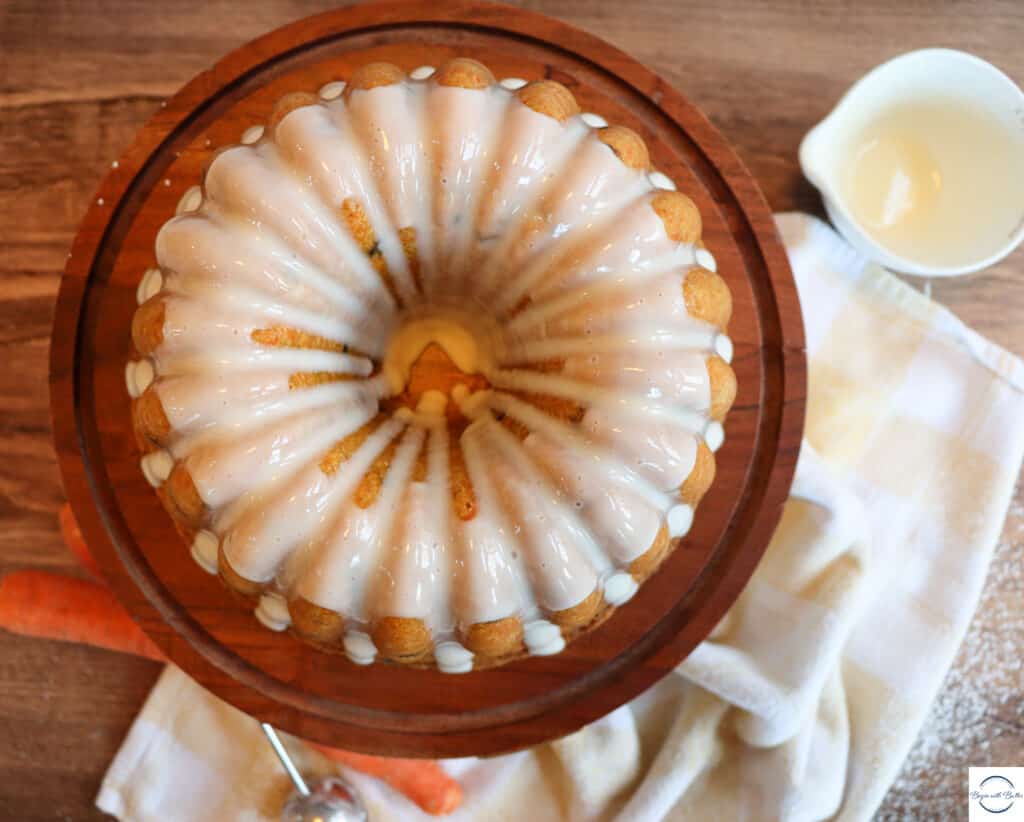
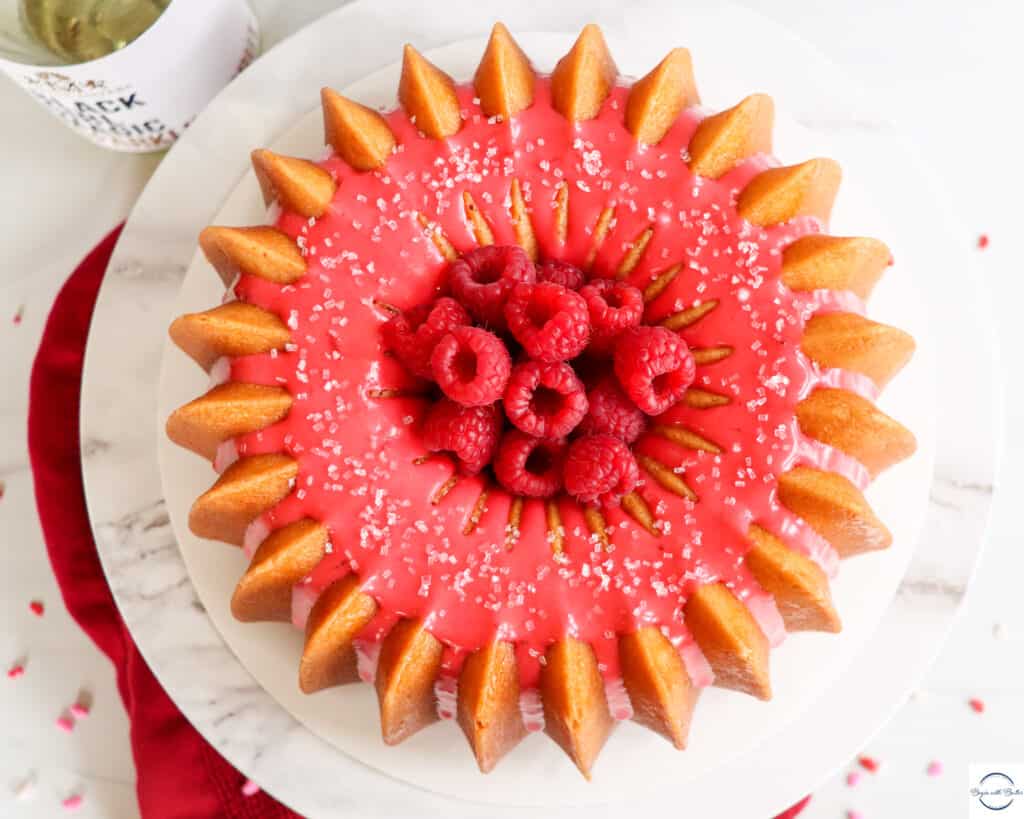
And I might have gorged myself on the extra Lemon Cardamom glaze.
Okay, I did gorge myself. It’s sweet and smoky and spicy…and that kick of lemon just made me throw my hands in the air in praise. So yes, I ate it all. It topped this cake perfectly and transported me somewhere very nice.
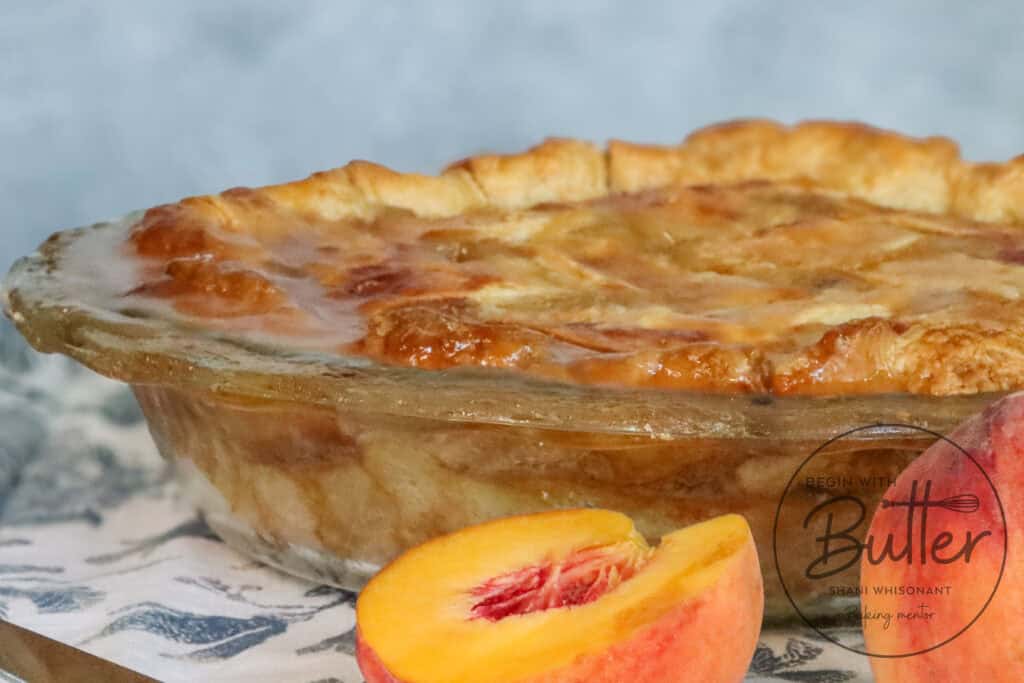
Want to learn all of the techniques that you’ll need to execute this Classic Peach Pie? Join my Classic Peach Pie Class at the BwB Home Baking Academy!
Why Masala Chai?
After making this cake, the question for me became: why not masala chai?
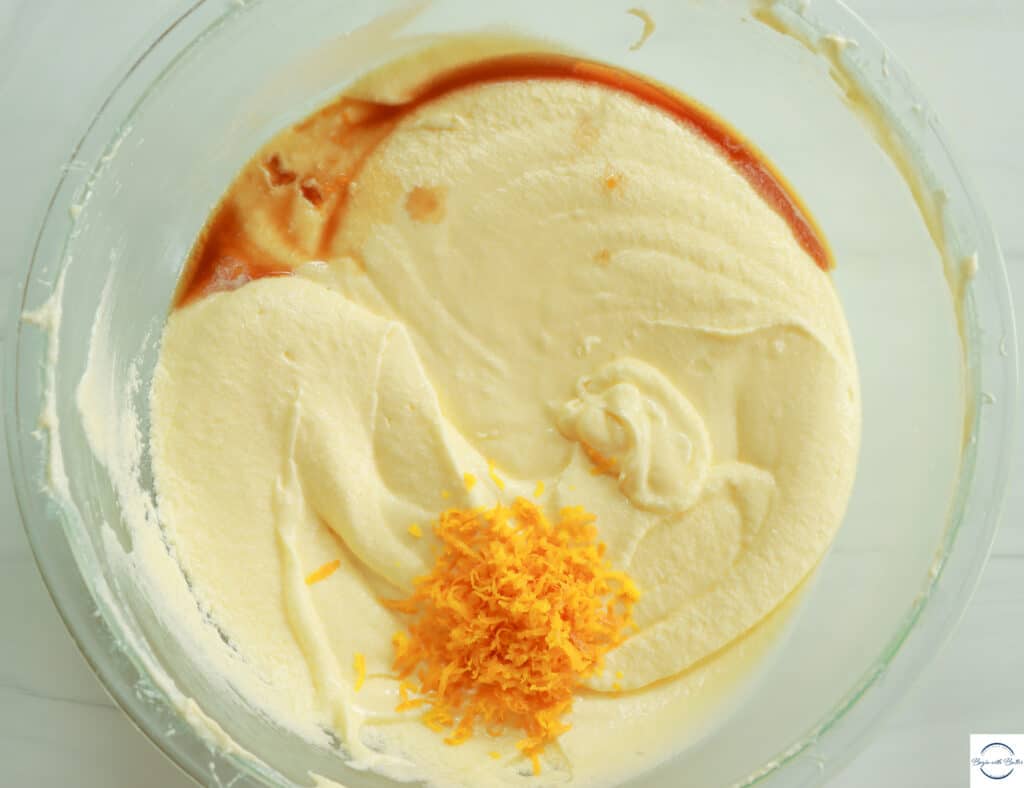
You see, “chai” in Hindi is the word for “tea”. The chai that I made for this recipe (using this recipe from the great blog Tea and Tumeric) is actually masala chai, which is tea with milk and spices. The recipe has cardamom and pepper and cinnamon and cloves, which marry into masala chai and create a perfect pairing for this classic lemon blueberry cake.
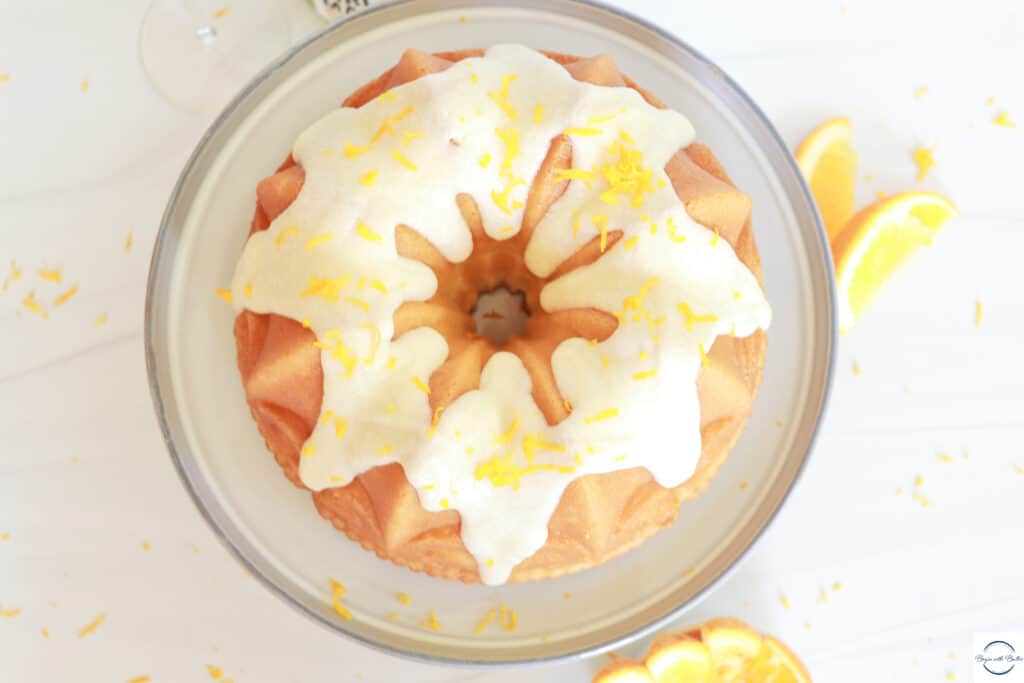
The masala chai adds a lovely spicy note to the lemon, and the fresh, sweet pops of blueberry against that masala spice blend were just delectable. The flavor actually builds the longer the cake is in your mouth, which made me slow down and linger as I ate it. I was truly transported by this cake, in ways both expected and unexpected. And the masala chai had a lot to do with that.
Beginners Start Here
If you’re new to baking, or if you want to brush up on basics, here are a couple of super helpful articles from the BwB site that will help you get set up for success with this amazing Chai Lemon Blueberry Pound Cake.
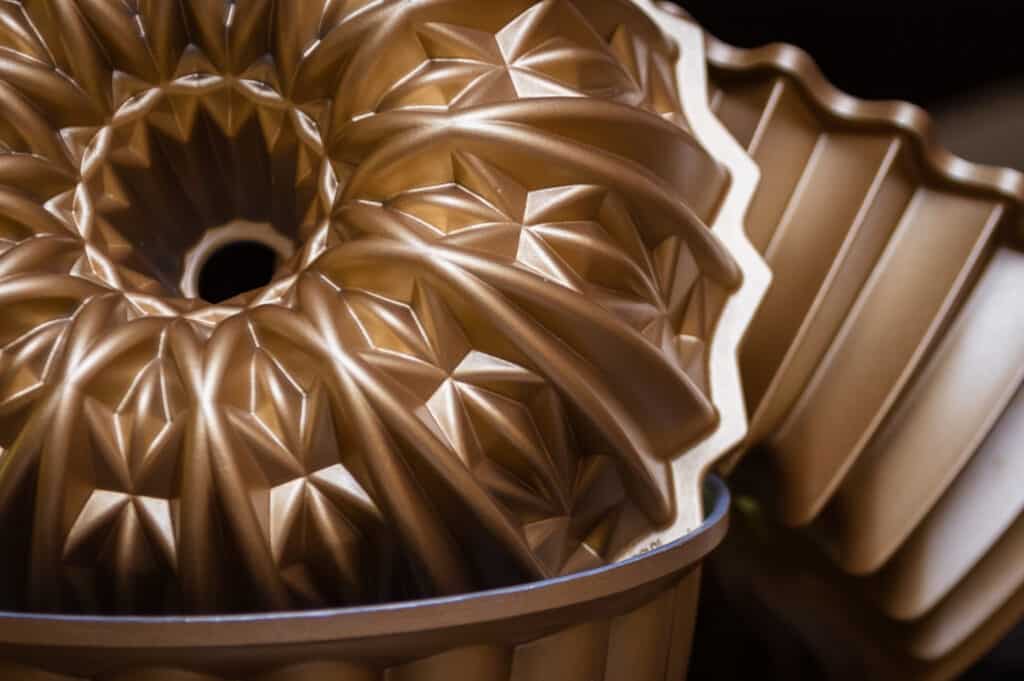
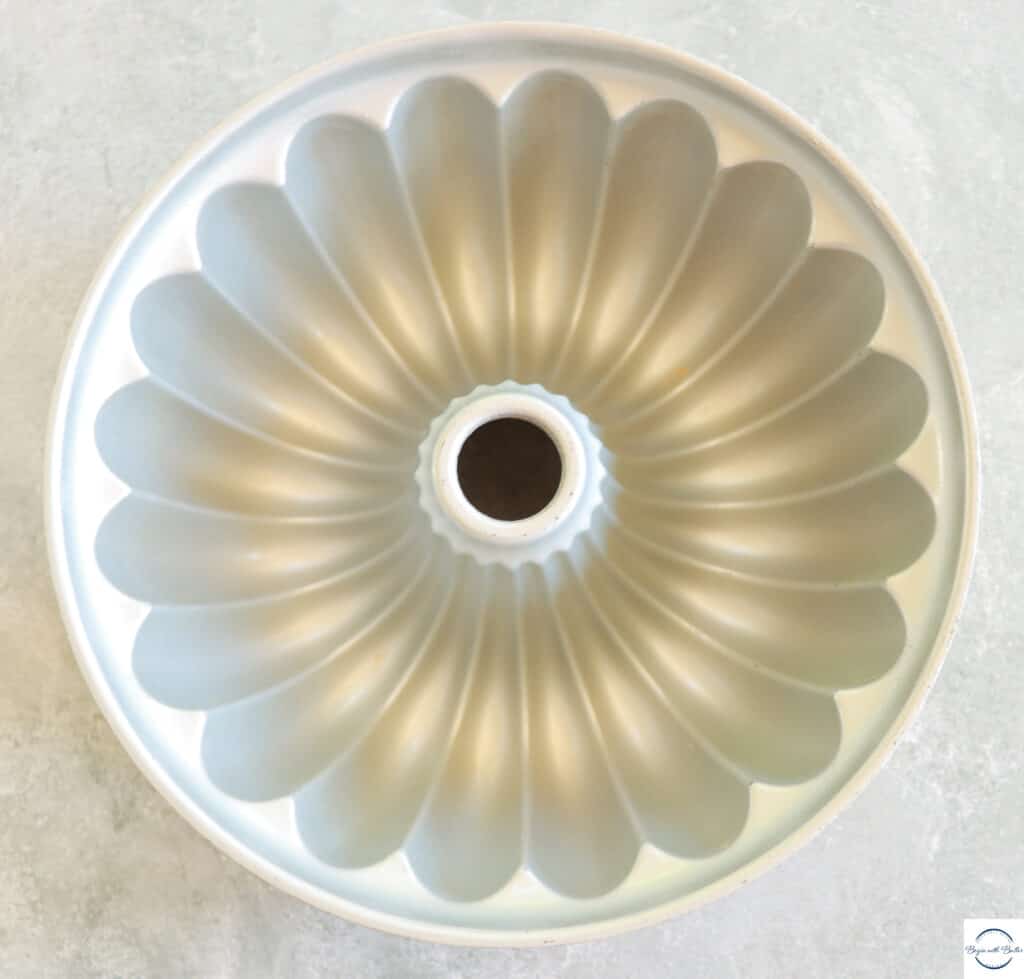
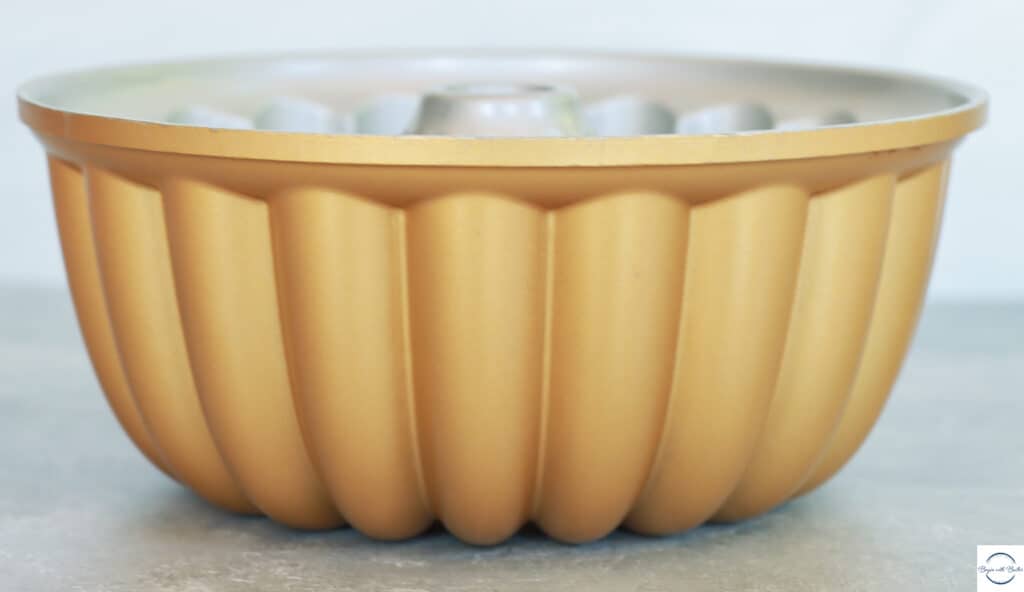
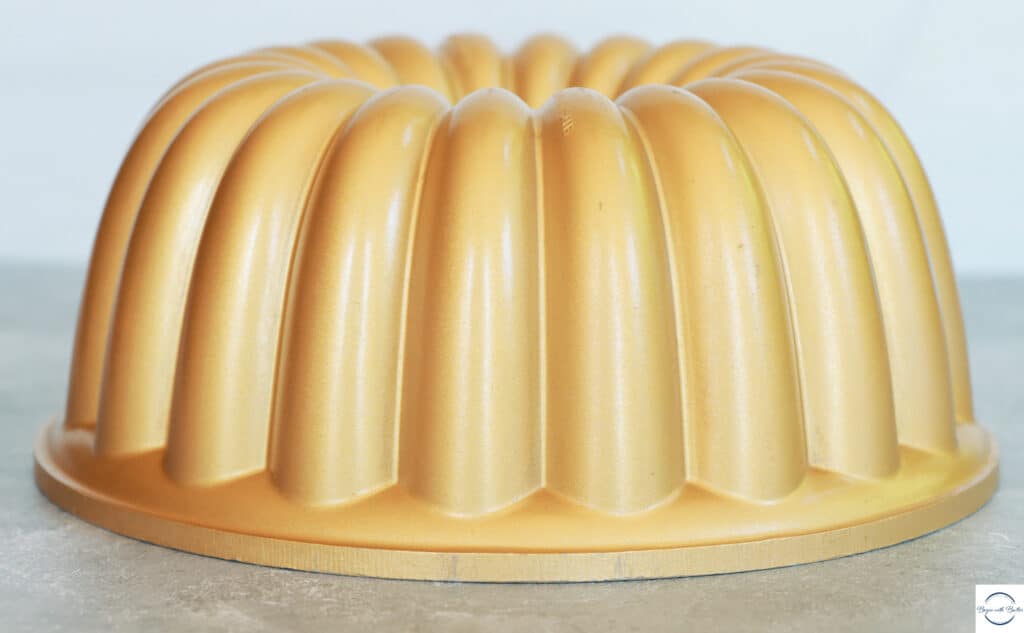
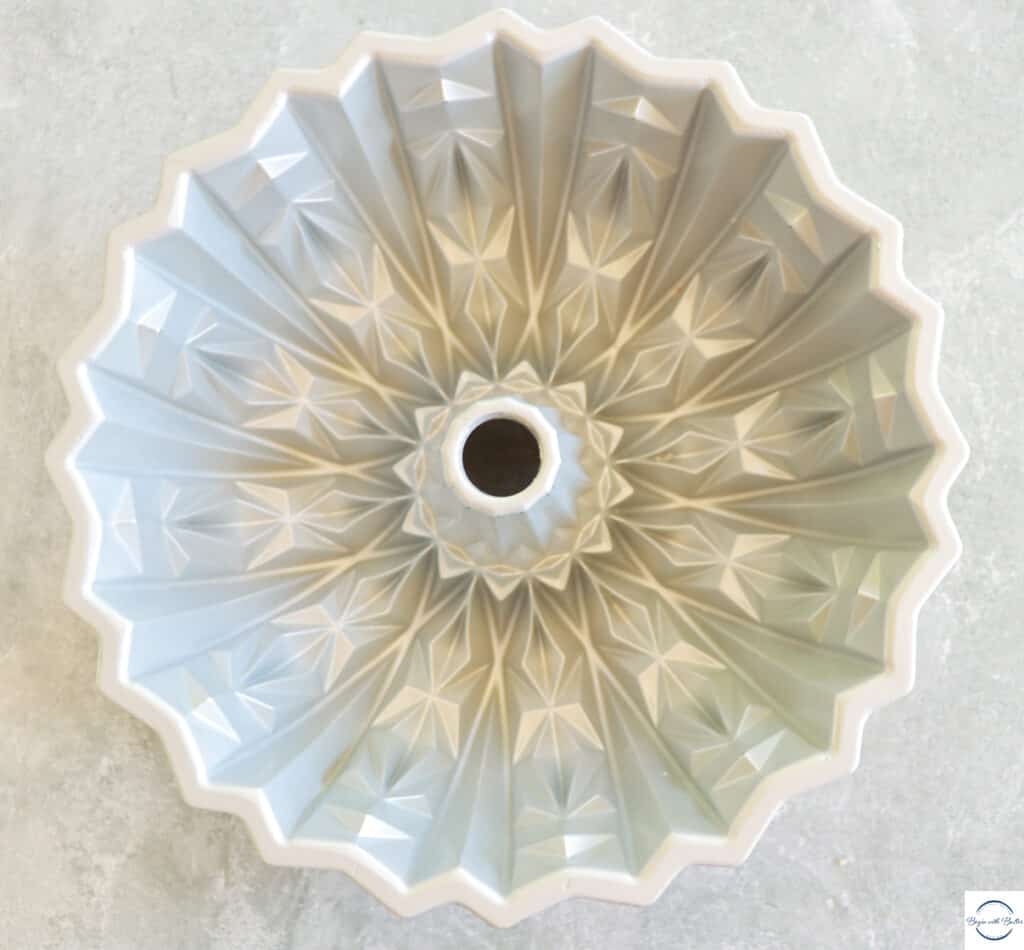
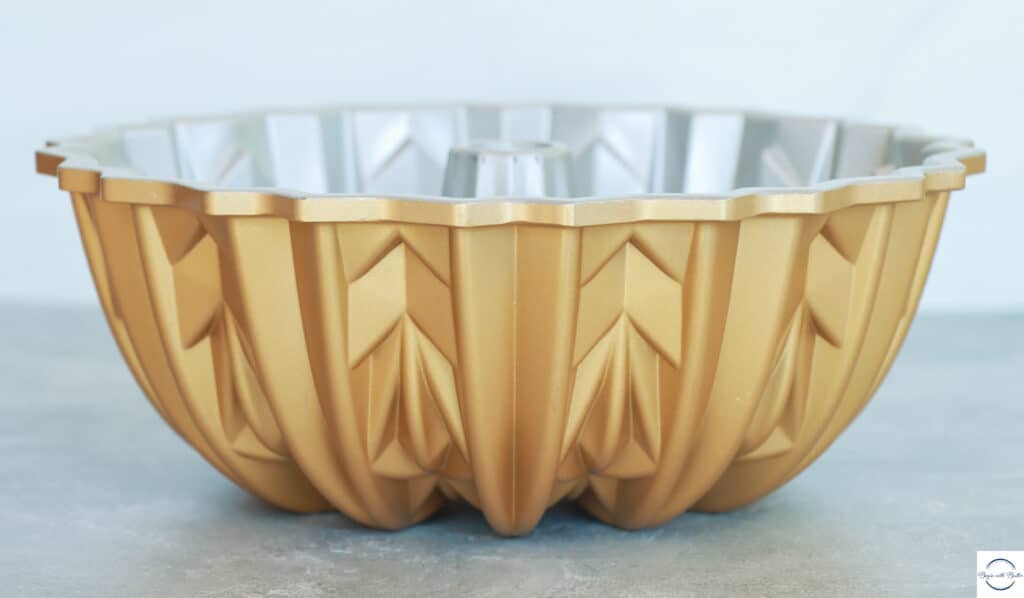
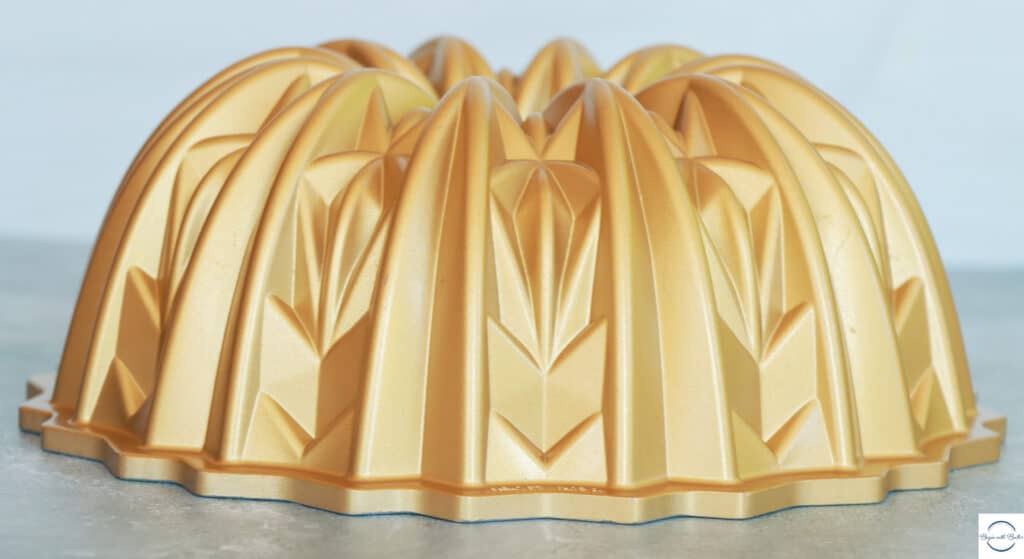
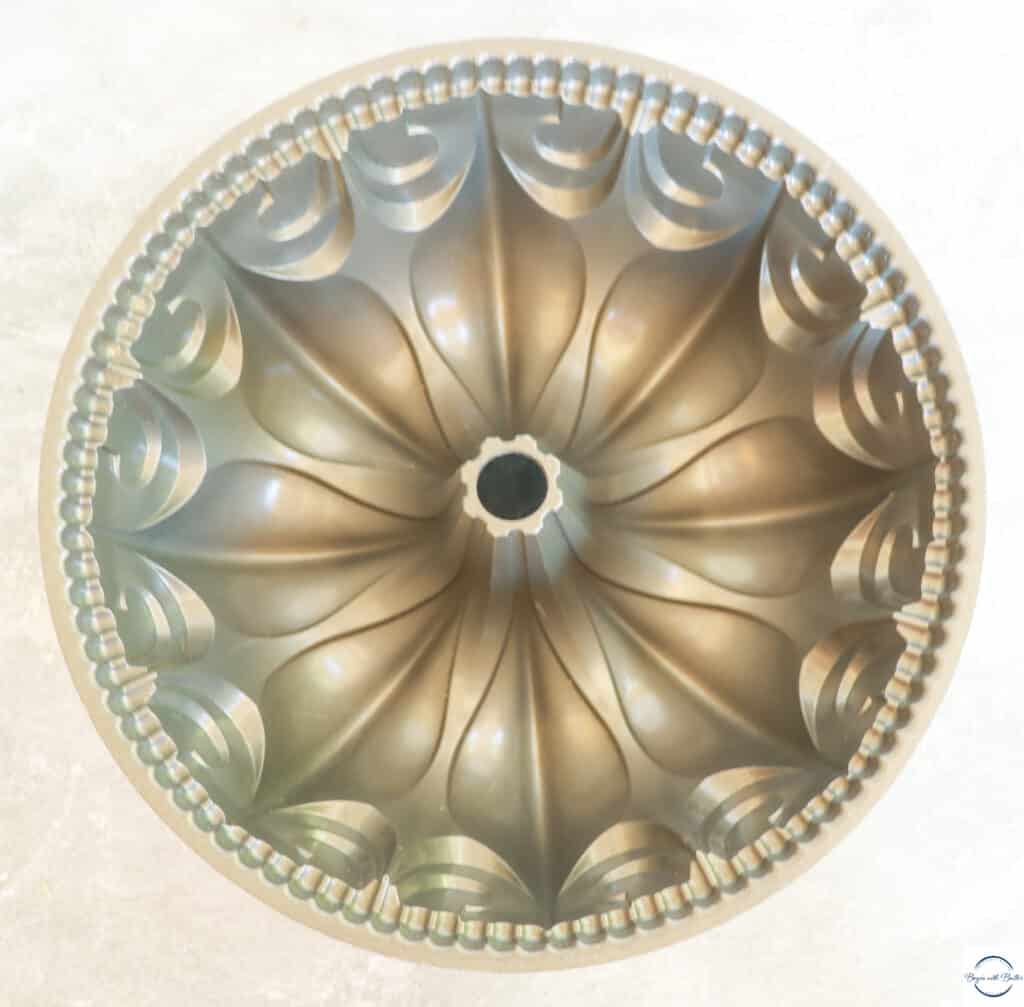
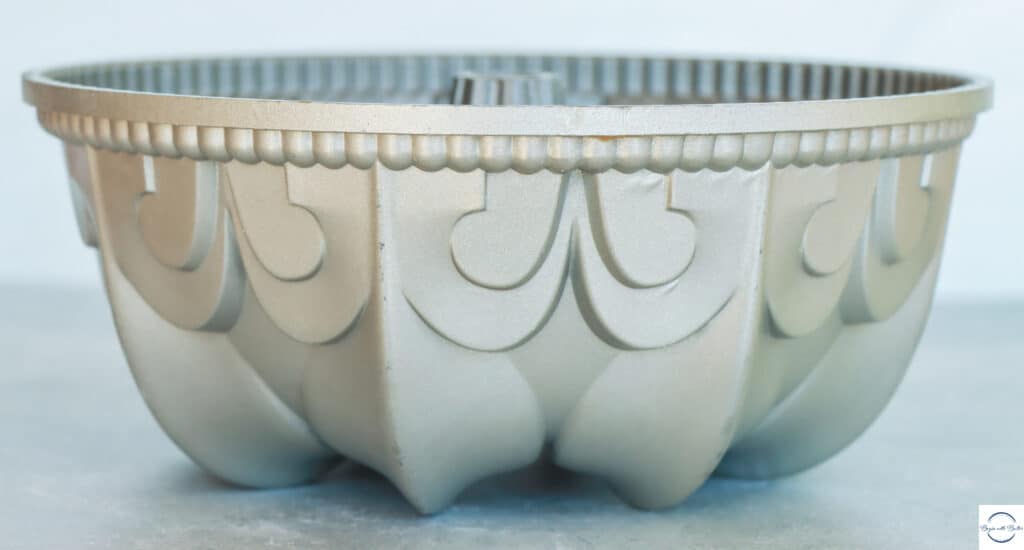
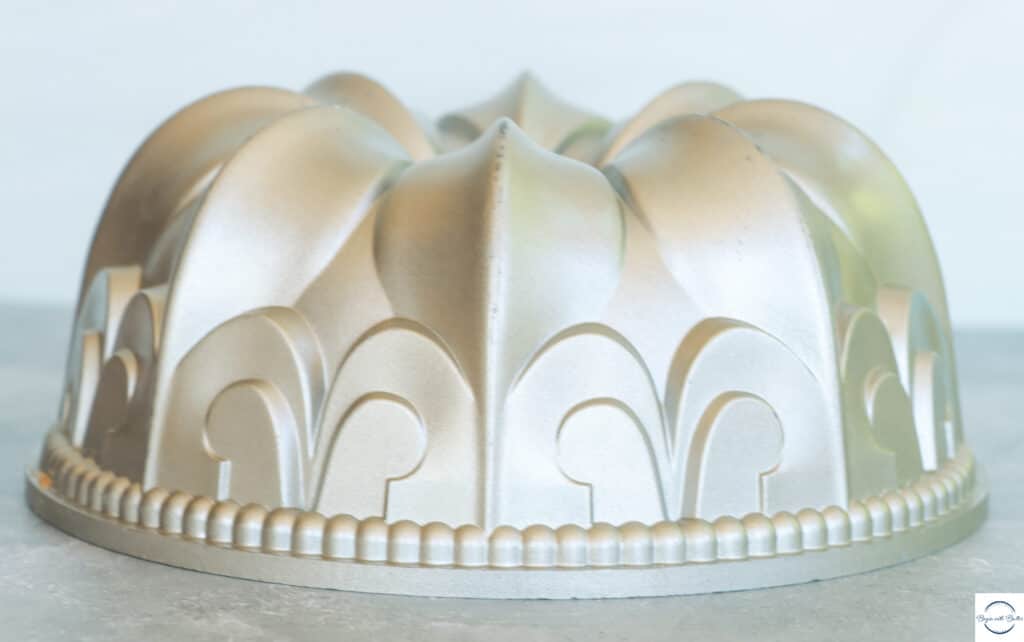
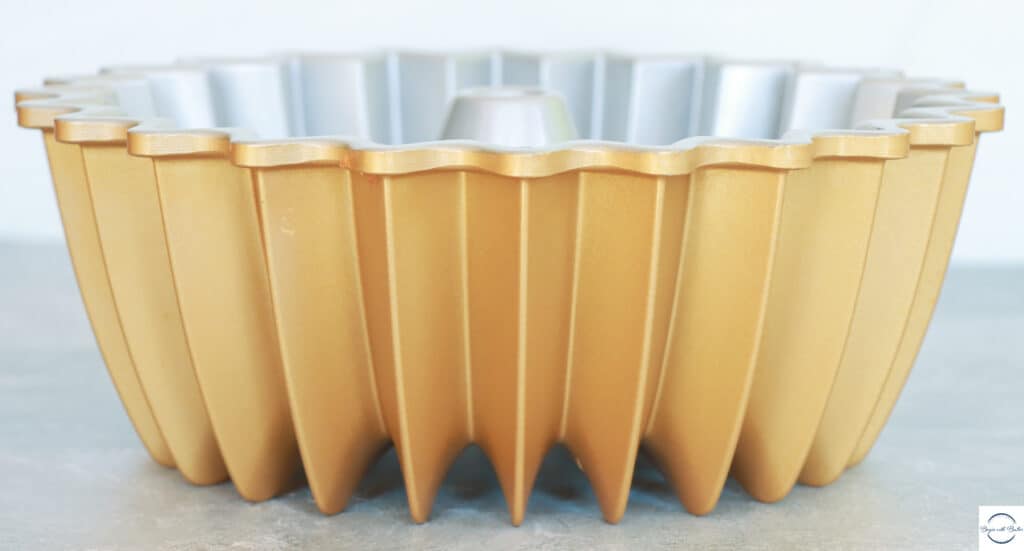
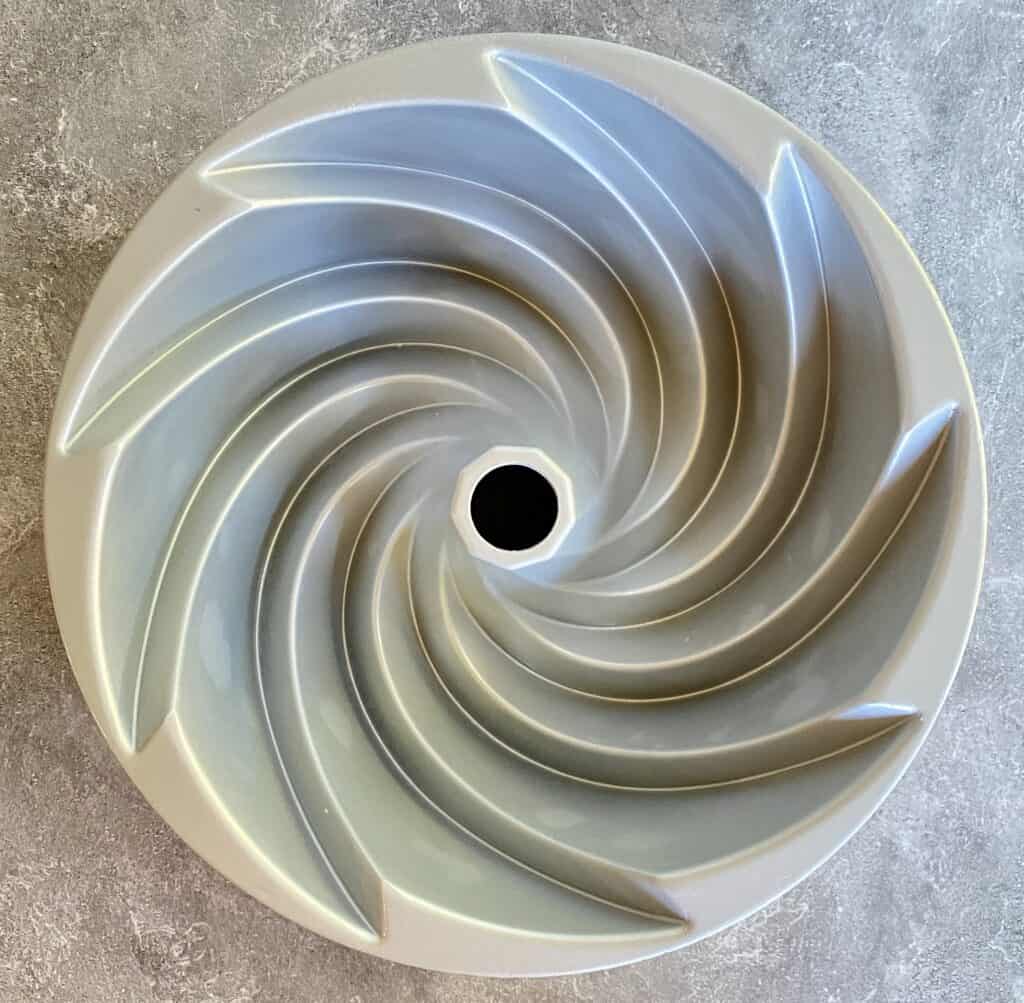
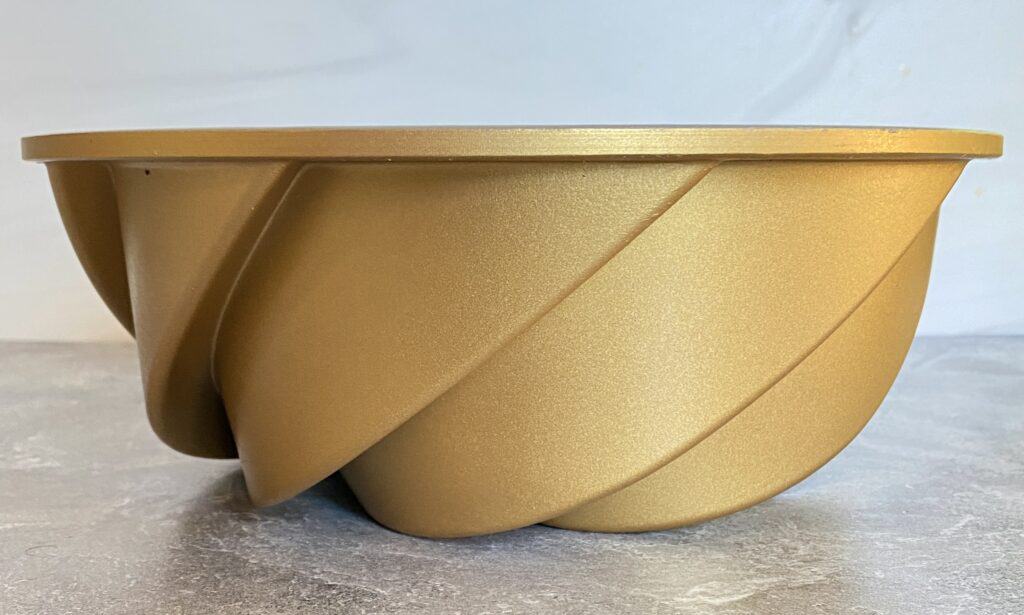
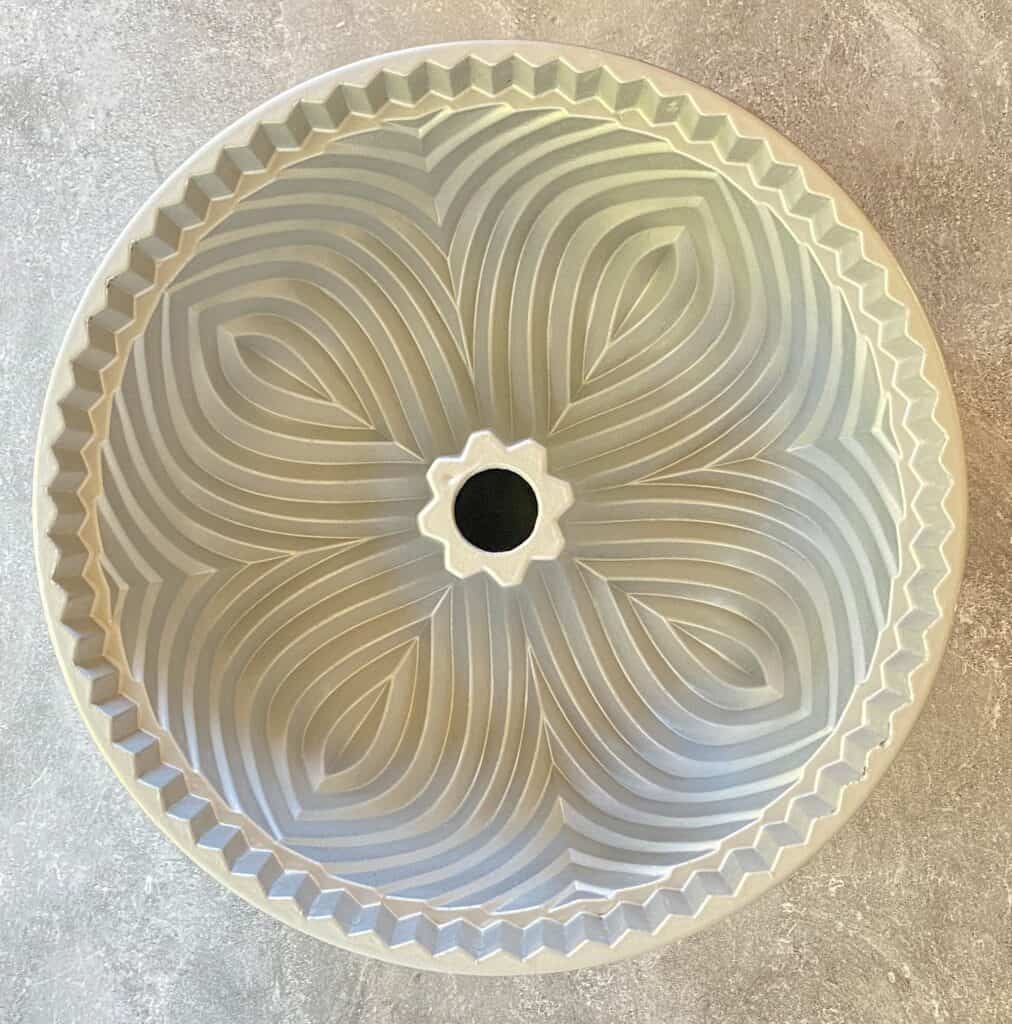
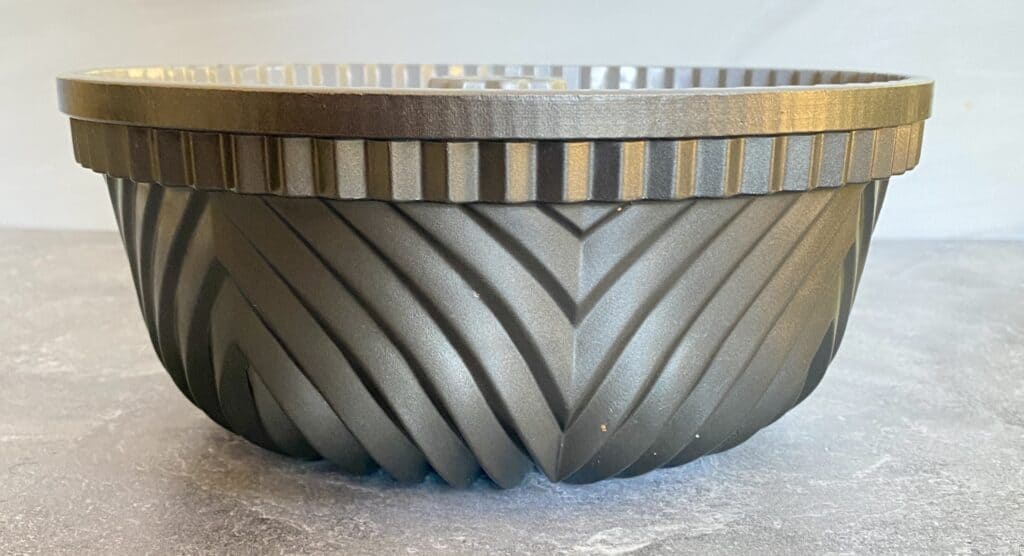
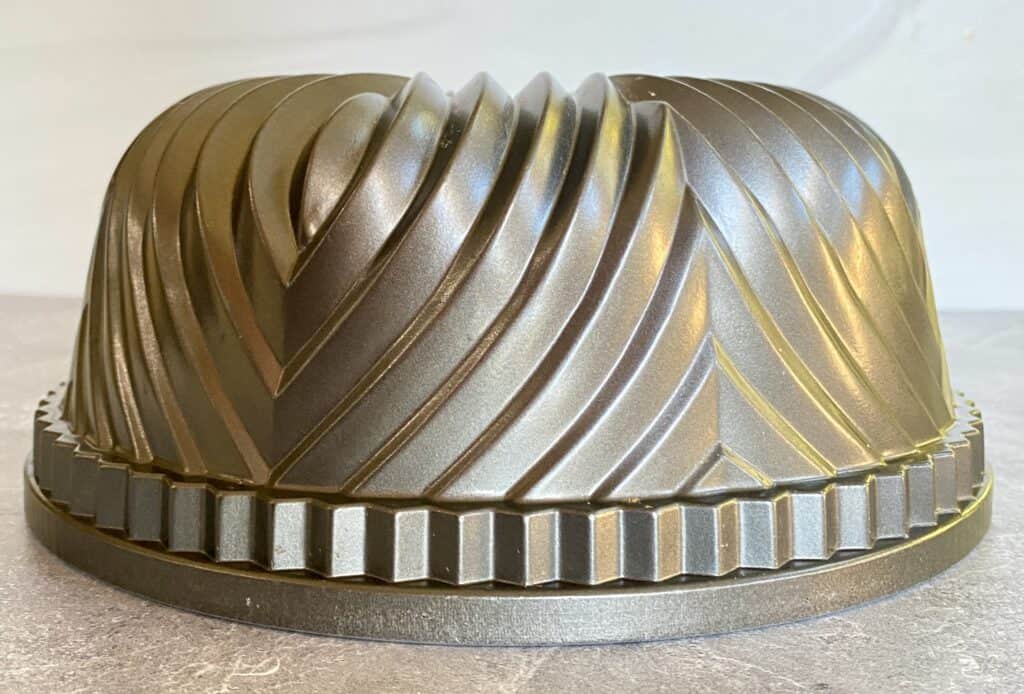
- My Favorite Bundt Pans
- Meet Your Kitchen BFF–Your Digital Kitchen Scale!
- Technique Tips for the Best Pound Cakes (& Big News!)
- How to Cream Butter and Sugar (With New Video!)
- Baking 101: How to Measure Ingredients
- How to Grease a Bundt Pan
- The Best Tools for Perfect Pound Cakes
- Knowing When to Stop a Technique
These resources are super helpful to help you build consistency and confidence on your baking journey. Happy Reading!
Important Tools Used in this Chai Lemon Blueberry Pound Cake
Below, you’ll find some tools that I used for this pound cake. These are the tools that I use in my kitchen for just about everything that I bake.
**I get paid a small commission if you purchase directly from some of these links, but they are truly amazing products that you’ll find in my kitchen.**
If you have them already, great! Think of this as a checklist to help you build the confidence that you’ll need to execute this recipe!
- Oven Thermometer
- Digital Food Scale
- KitchenAid Hand Mixer
- KitchenAid Stand Mixer (not an affiliate link)
- Stainless Steel Mixing Bowl Set
- OXO Spatula Set
- Sifter
Onto the recipe! ????
Thank you for stopping by today! Consider subscribing to Begin with Butter so that you can get new recipes and content directly in your inbox!


")