Family. It’s vacation time. And when it’s time for vacation, I need something quick, easy, and absolutely stinking delicious for dessert. And this Cherry Vanilla No-Churn Ice Cream checks every. single. box.
This Cherry Vanilla No-Churn Ice Cream starts with a standard no-churn vanilla base (original at foodnetwork.com). BUT, after I added flambéed cherries (and their gorgeous sauce accompaniment) to the ice cream base, I realized I was onto something special.
So let’s talk about this ice cream, shall we?
About this Ice Cream
This ice cream doesn’t use a standard churning process (hence, the “no-churn” name). It gets its ice cream texture from the technique of combining whipped heavy cream into a sweetened condensed milk mixture.
The secret? When you whip heavy whipping cream into actual whipped cream, you’re forcing AIR into the cream! And when you fold that whipped cream into the sweetened condensed milk, it immediately lightens the texture and gives you a wonderful ice cream texture. All alone, though, this ice cream is extremely rich. It needs something slightly acidic for balance.
Which is when these flambèed cherries enter the chat. They perfectly balance this super rich flavor of the vanilla ice cream, making it an amazingly delicious and beautiful treat.
And did I mention that it was easy?
Like, I’ll be making this during our upcoming beach vacation in the morning and then beaching all day easy?
Yes. It’s that.
Why Did You Flambé the Cherries?
Friend, I made this cherry sauce a few times as I was working on this recipe.
And while it tasted good, there was something missing when I added it to the ice cream.
To flambé the cherries, I made the sauce as written, then added 1/4 cup of brandy and WHOOSH.
Well, not whoosh. To flambé something is more like a controlled burn. When you flambé the brandy in this sauce, you burn off the alcohol, and you’re left with a wonderful depth of flavor from the brandy.
And that’s just what these cherries needed in order to balance this ice cream.
How to Make this Ice Cherry Vanilla No-Churn Cream
Make the Cherries First (Like, the Night Before)
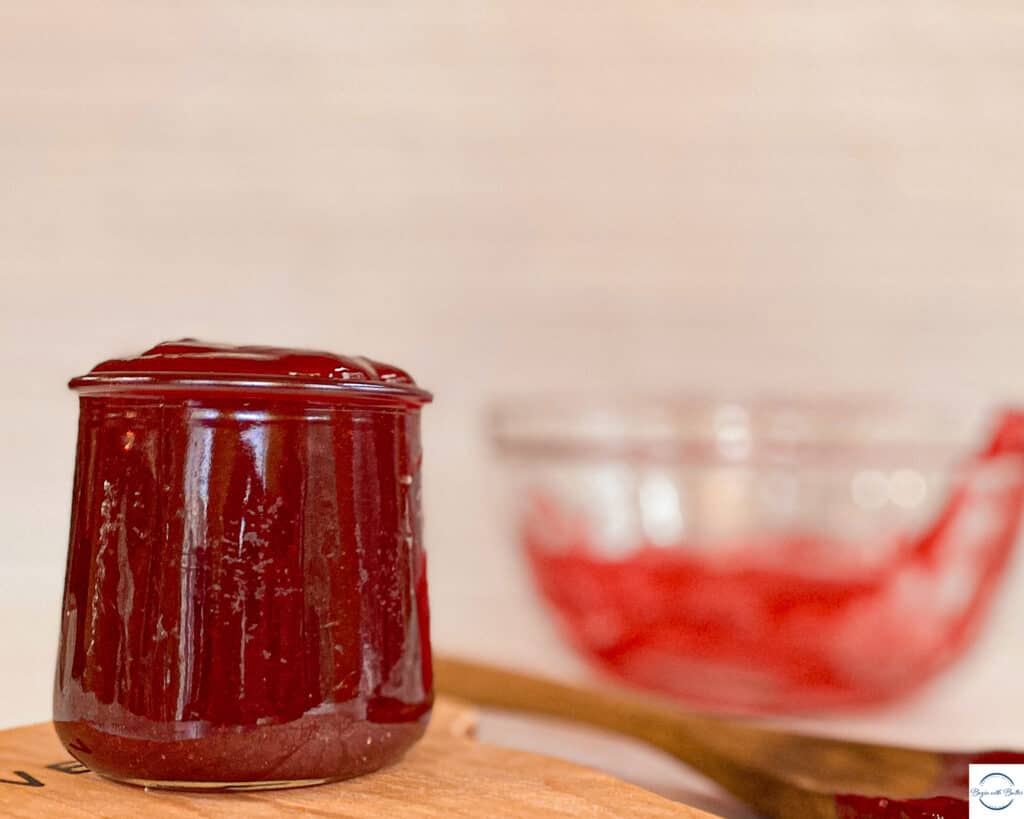
To make the cherry sauce, simply add the cherries, lemon juice, 63 g of water, and sugar to a medium saucepan. Stir the mixture to coat the cherries, then turn on the heat.
Bring the mixture to a boil, then reduce to a simmer on low-medium heat, stirring every couple of minutes to make sure that the cherries don’t burn. The sugar will turn into liquid, and then the liquid will start to reduce. Continue simmering until the liquid has reduced by half.
Combine the corn starch and the remaining 2 tbsp of water. Add the corn starch slurry to the cherry mixture. Stir over medium-high heat for one minute, then reduce to a simmer again until the cherry sauce is silky and thick, and it coats the back of a spoon.
After the sauce has thickened, remove the pan from the heat. It’s very important that you do not do the next step under a vent hood or microwave.
Add the brandy and use a long match or camping lighter to light the flame! Don’t worry about stirring at this point…just pay careful attention to the flame!
The flame will go out between 30 and 60 seconds. Once you’re sure that the flame is out, give the cherry sauce a good final stir and put it into a heat proof container (no plastics!). Allow to cool completely before using!
Let’s Make Some Ice Cream
First, take out all four ingredients that you need for this ice cream: heavy cream, sweetened condensed milk, pure vanilla extract, and fine salt.
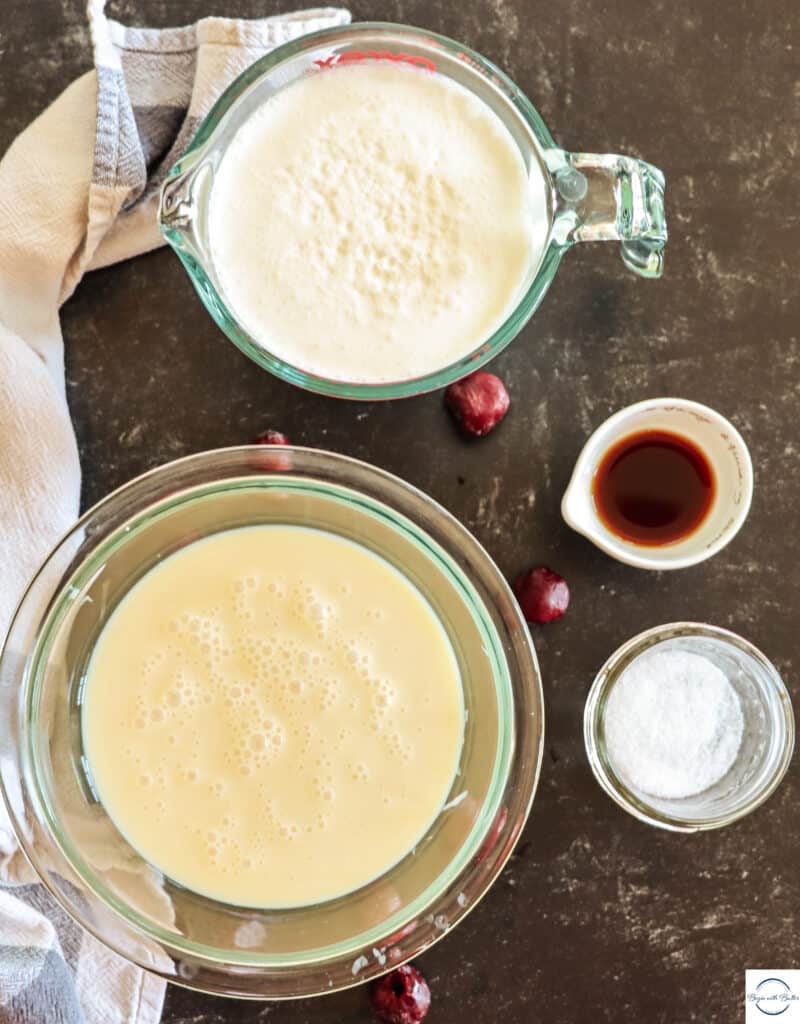
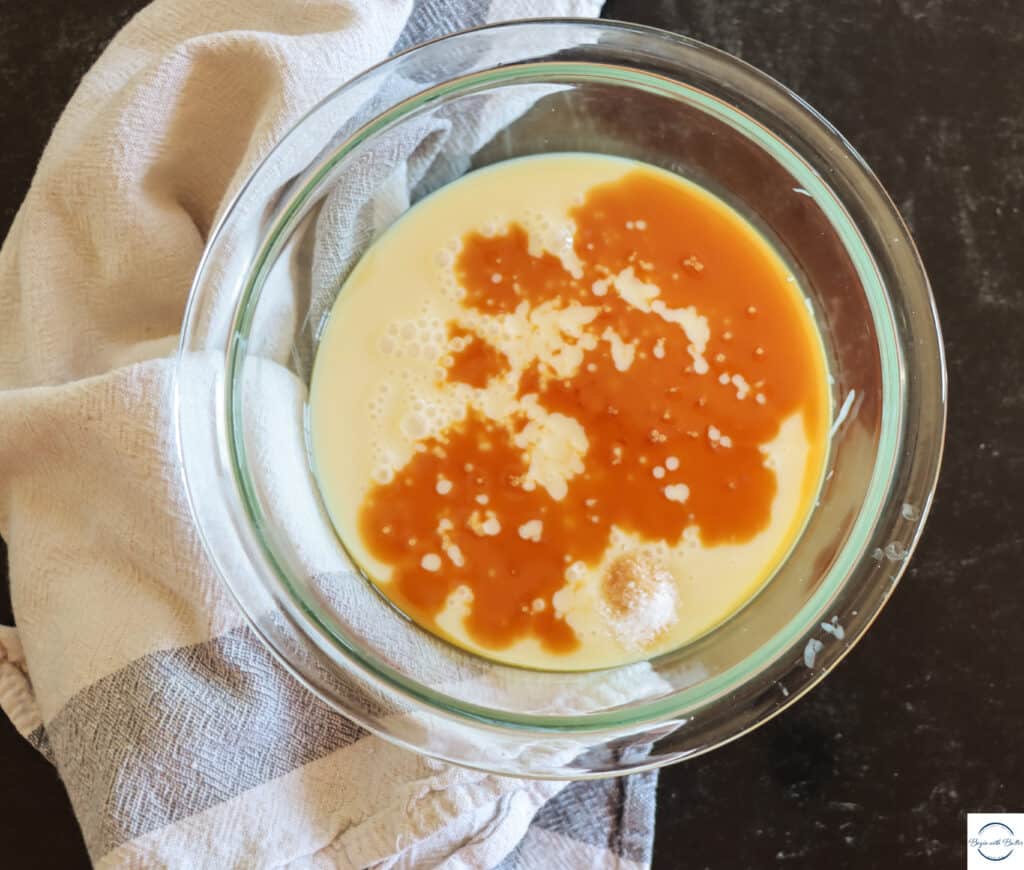
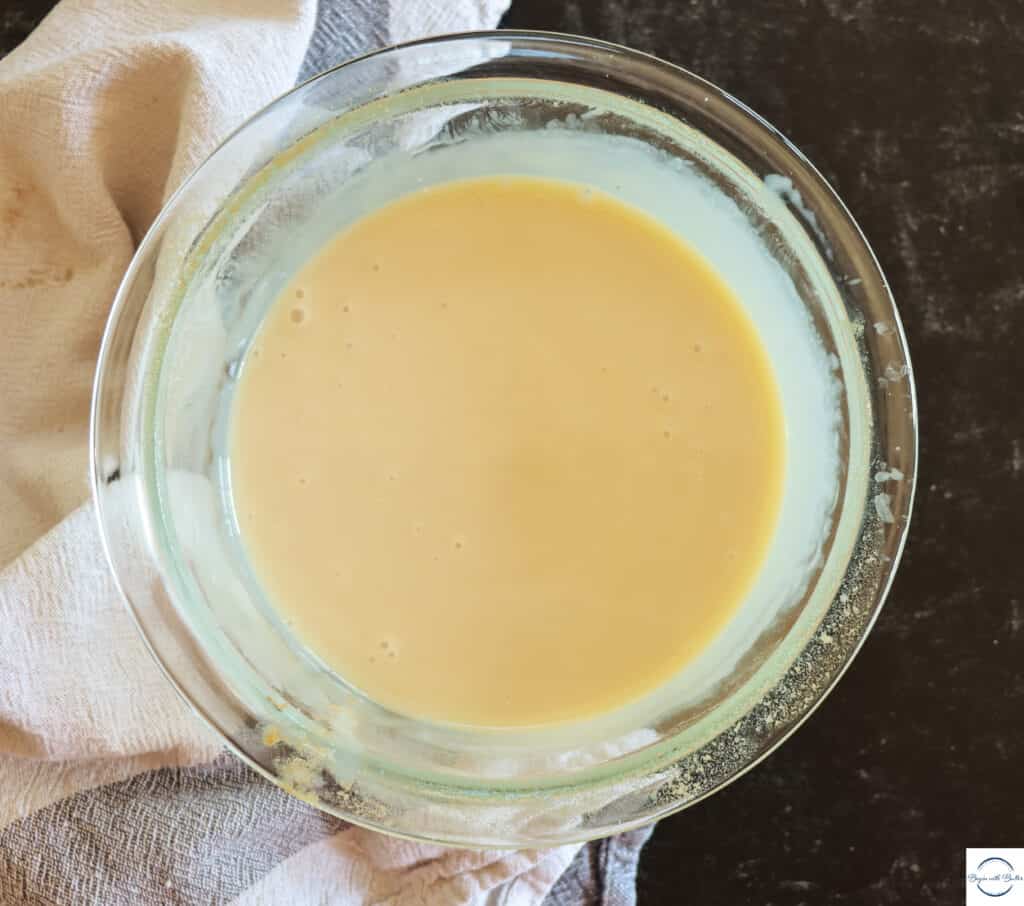
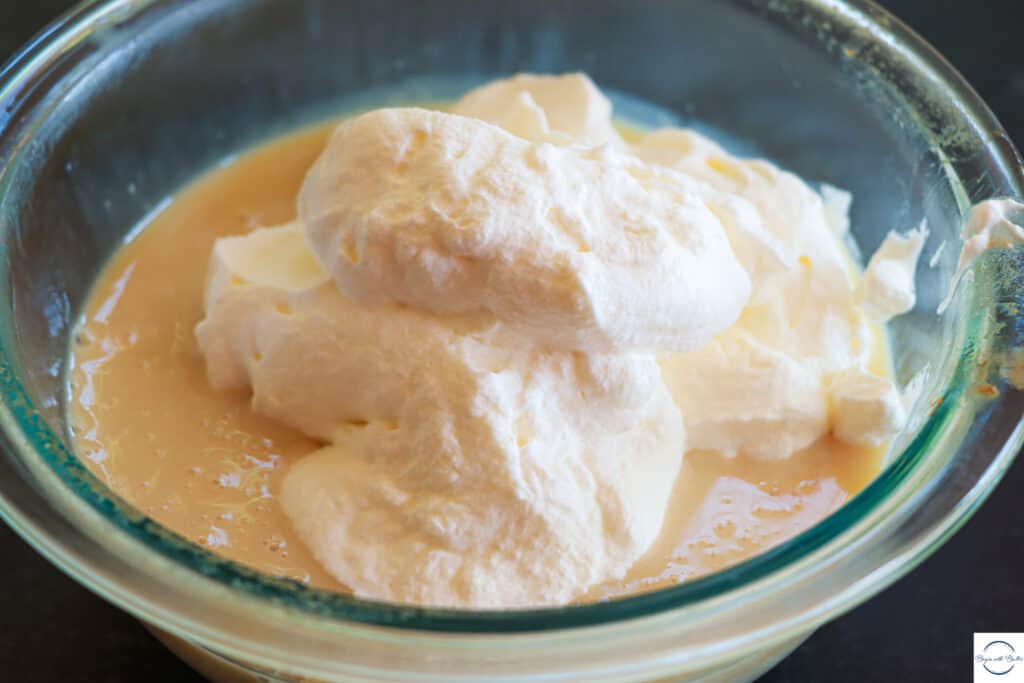
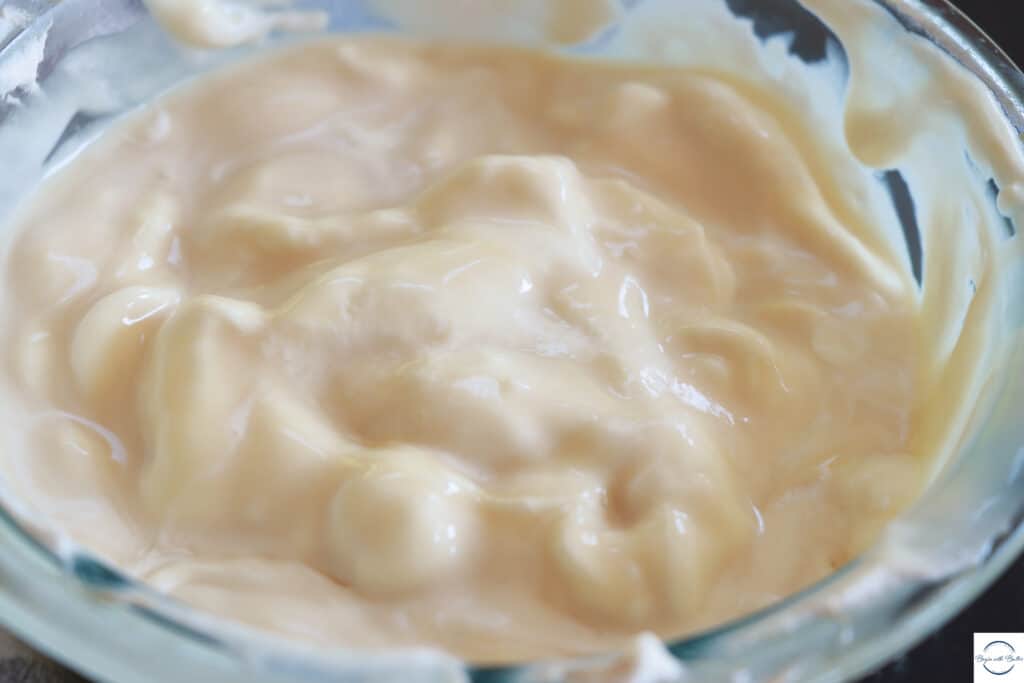
Combine the sweetened condensed milk, pure vanilla extract, and fine salt in a medium bowl. Mix to combine completely.
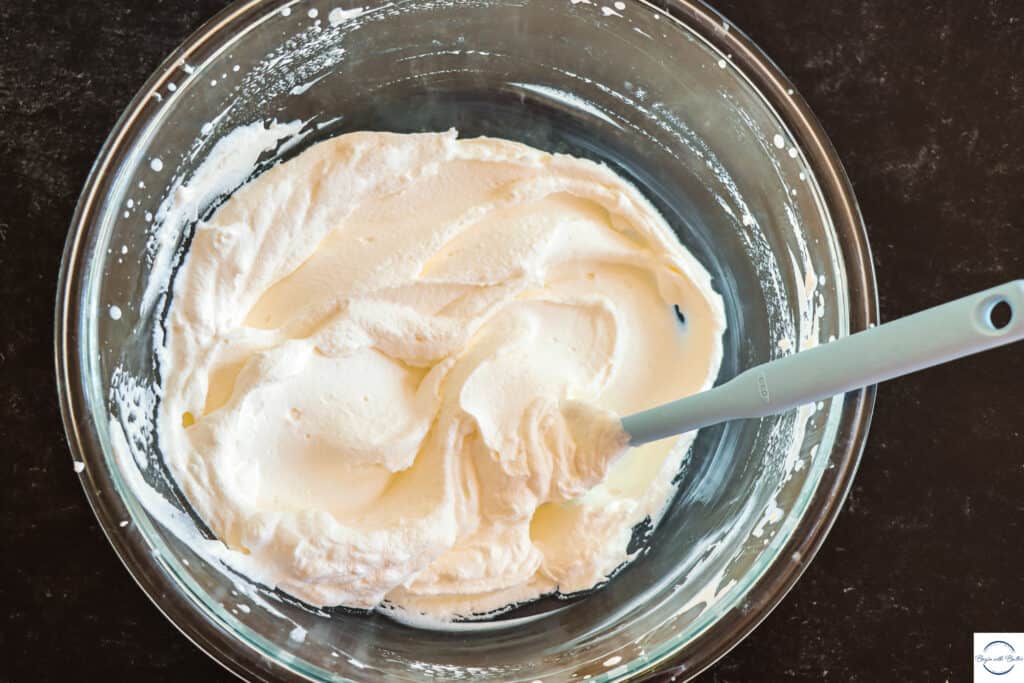
Whip the heavy whipping cream to stiff peaks in a large bowl. Take a minute to marvel at how crazy easy it is to whip heavy whipping cream into whipped cream.

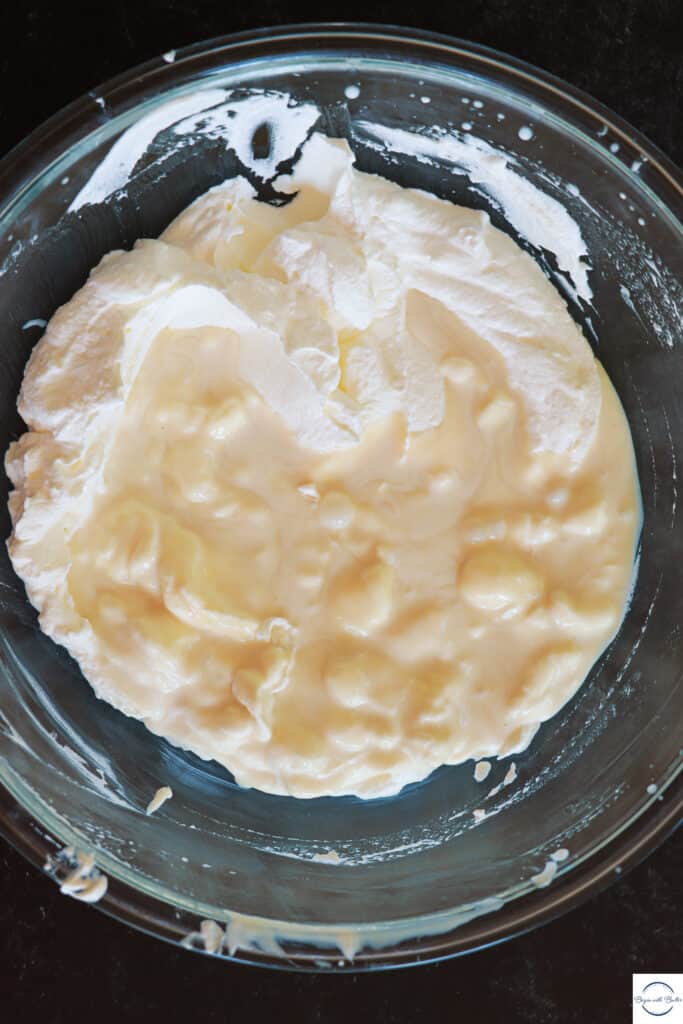
Place half of the whipped cream into the sweetened condensed milk mixture and fold gently to combine. I leave this mixture fairly lumpy and stop when the whipped cream is completely coated with the sweetened condensed milk mixture.
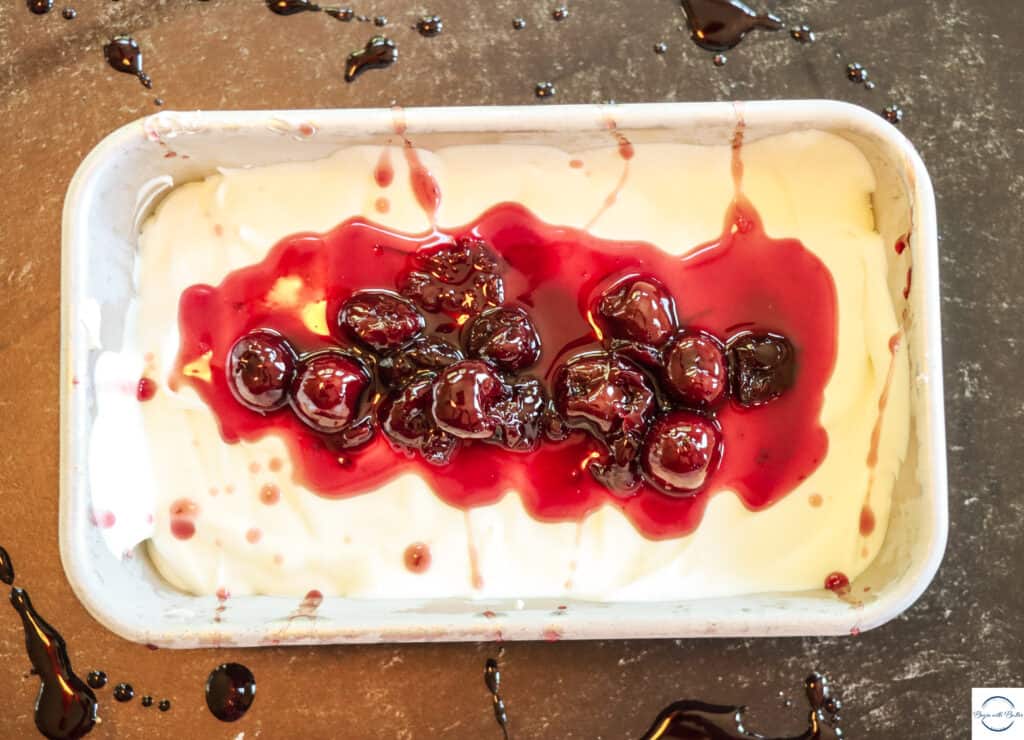
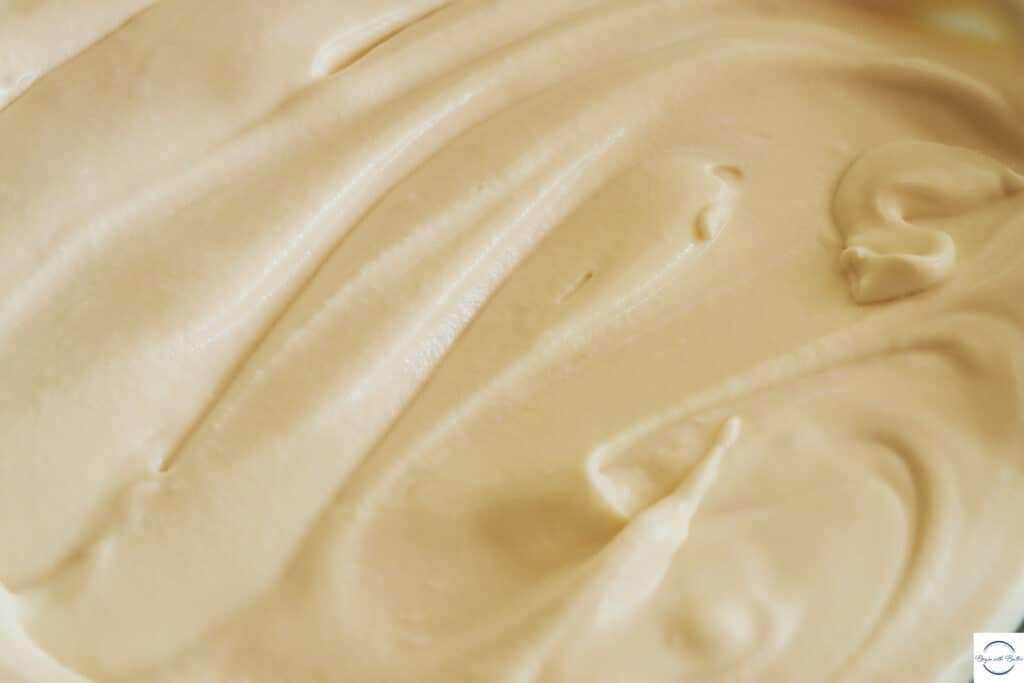
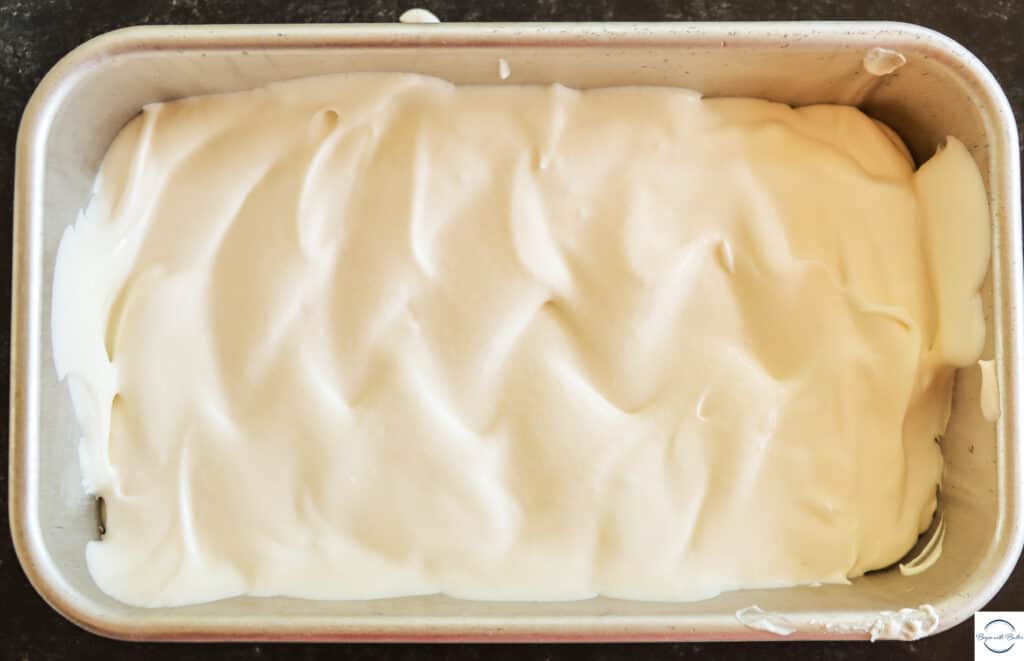
Add the sweetened condensed milk mixture back to the whipped cream mixture and mix until smooth. Place the ice cream into a chilled 9″x5″ loaf pan and chill for 90 minutes.
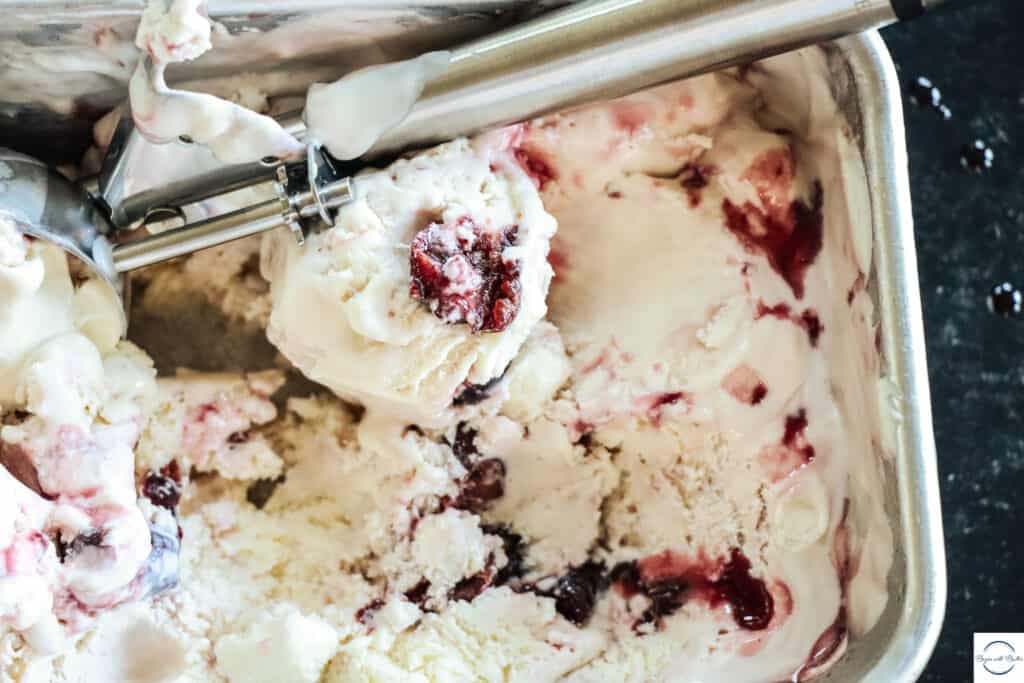
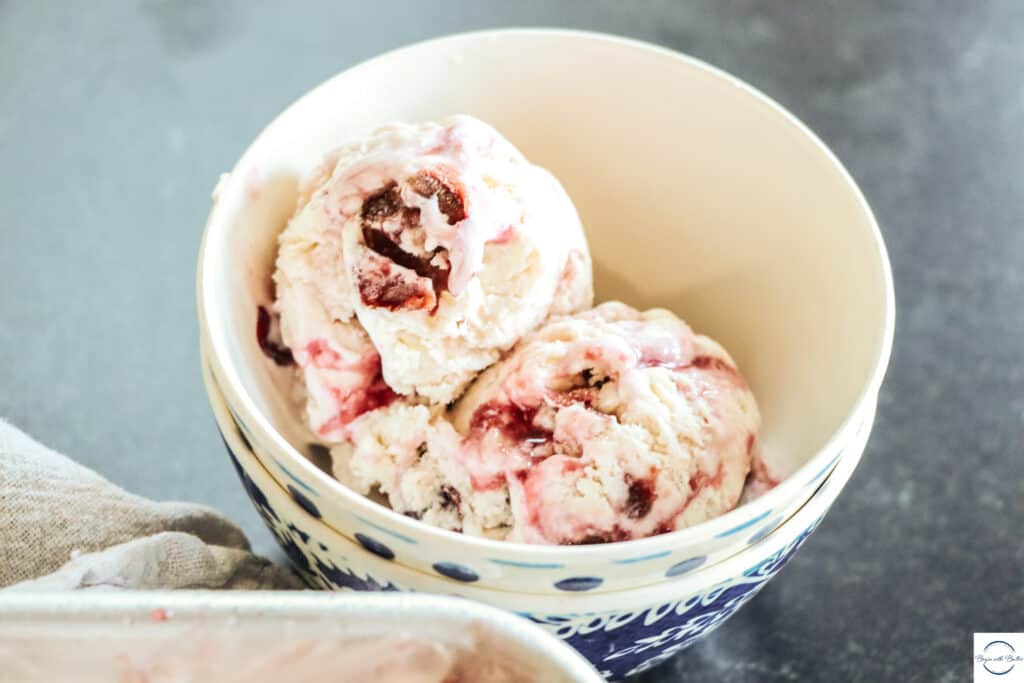
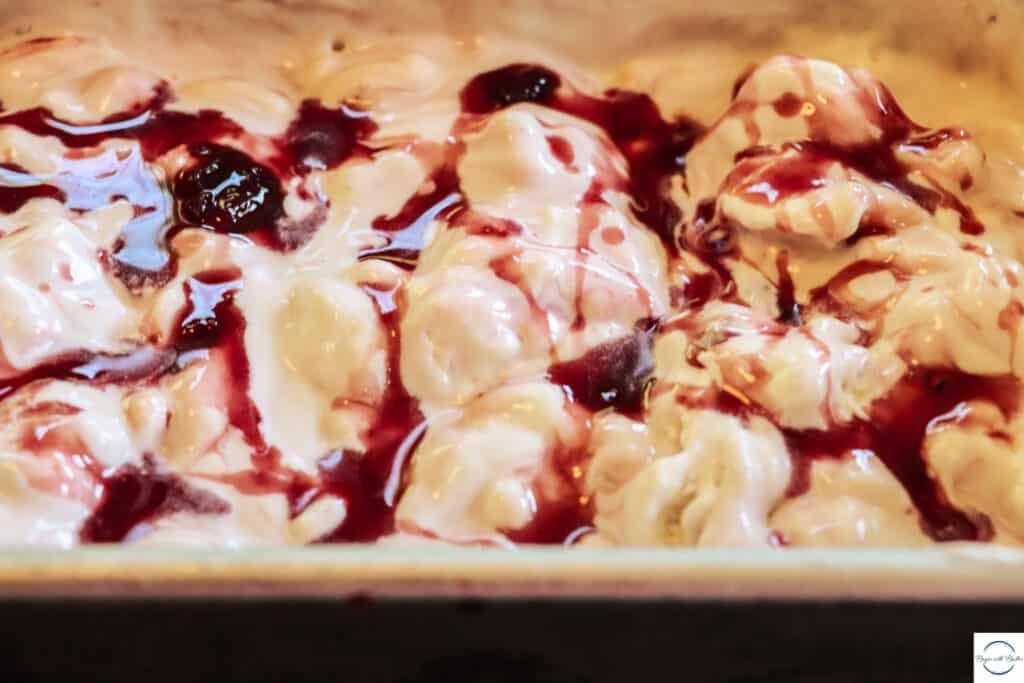
After 90 minutes, while the ice cream is still soft, add 1 cup of the cherry sauce to the top of the ice cream and combine! After combining the cherries into the softened ice cream, I drizzle some more of the cherry sauce onto the top of the ice cream because why not?
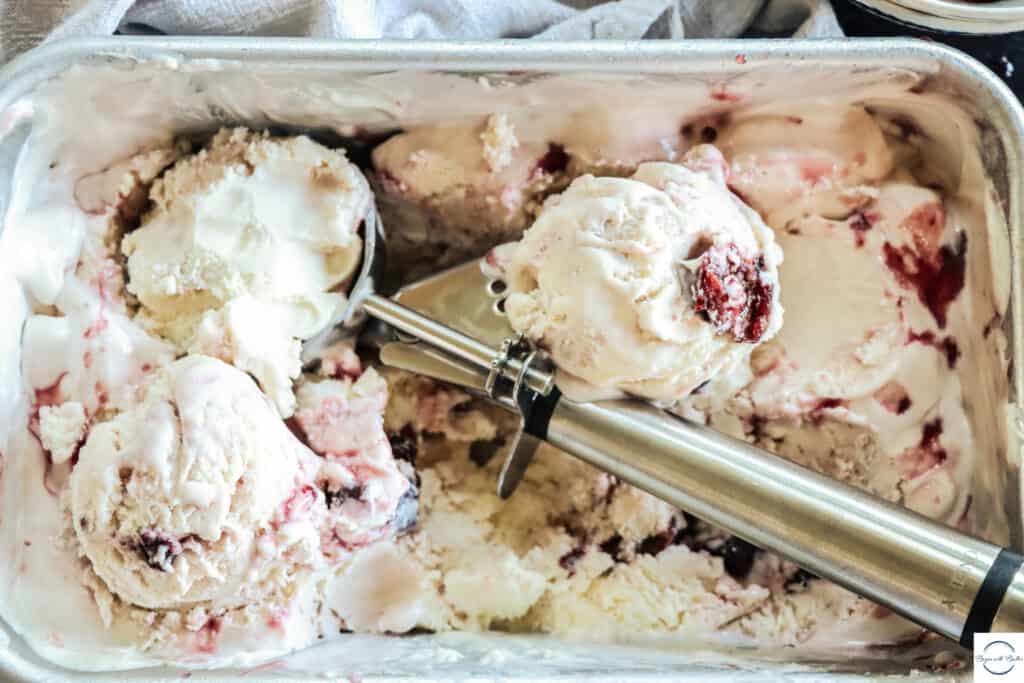
Allow the ice cream to chill for 3-4 hours, and it will be perfectly scoopable and ready to enjoy!
This recipe is so easy and so delicious that it will keep me from buying ice cream while on vacation. I’ll definitely be buying up all of the heavy cream and sweetened condensed that I can find, but that will just be for…quality control.
I’m sure my family won’t mind. ????
Here’s the Recipe!
This ice cream is so rich and delicious, and balanced. It’s simple and easy and I know where all of the ingredients came from. It’s a perfect accompaniment for pound cakes, or all by itself after a meal of shrimp cocktail. I cannot wait to get to the beach and eat it every night.
Please enjoy and I will see you next time! And while you’re here, think about subscribing so that you can get my recipes the minute they’re posted!