Maple Whole Wheat Sandwich Bread

0

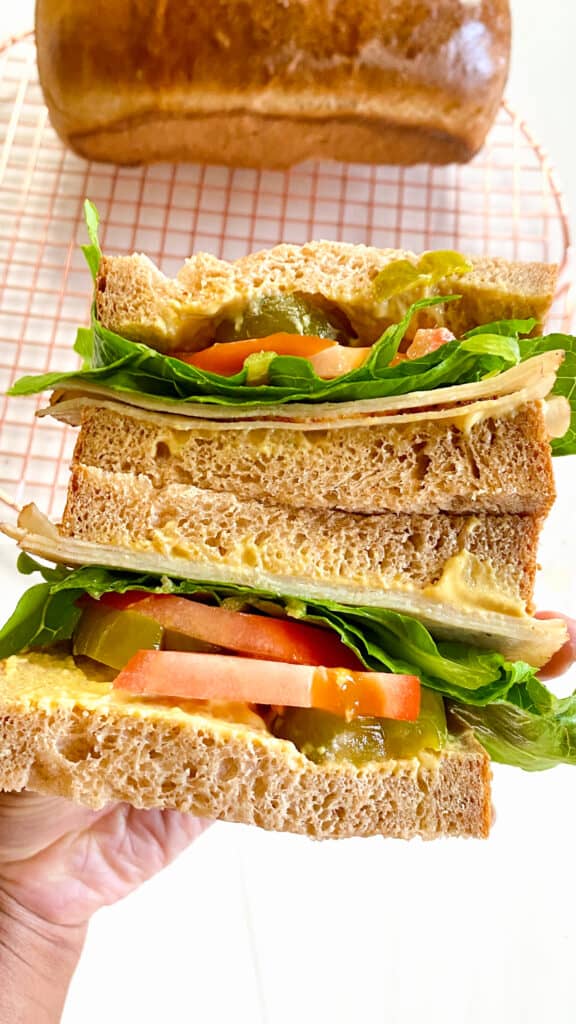
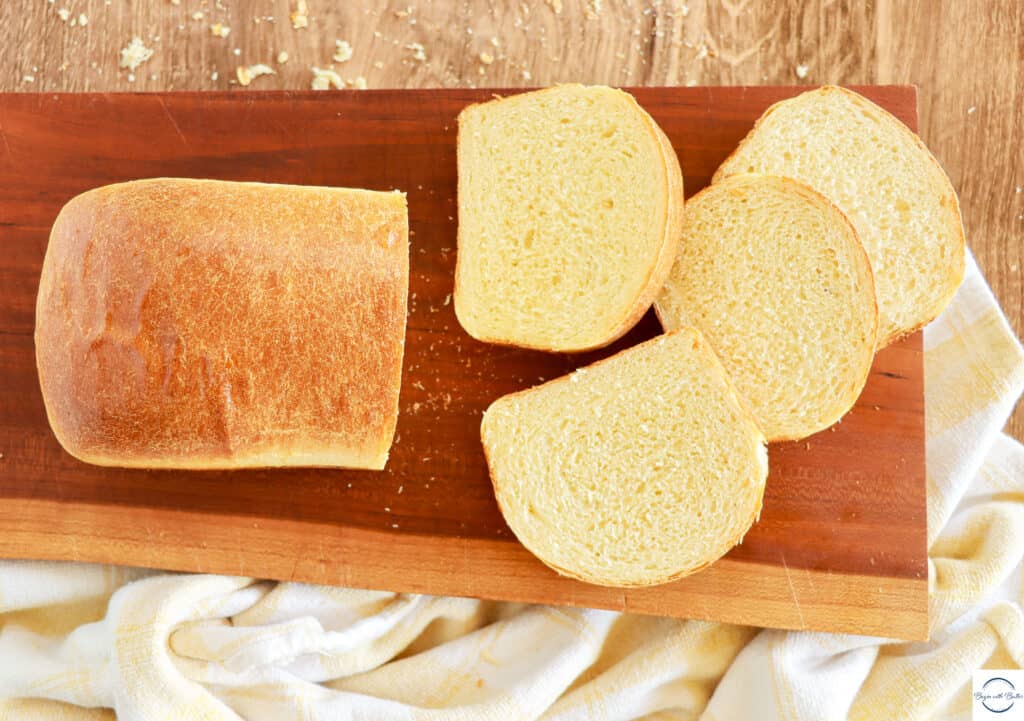
I mentioned last week in my Oatmeal Sandwich Bread post that I like a toothsome bread. Well, friends, this Maple Whole Wheat Sandwich Bread is TOOTHSOME and I love it so much.

Maple Whole Wheat Sandwich Bread in a loaf pan.

My love for toothsome bread hit hyperdrive when I was a freshman at the University of Michigan (GO BLUE!). What should have been the dreaded Freshman 15 turned into the ultra-dreaded Freshmen “more than 15”, largely because I had no self-control when it came to a local eatery called Zingerman’s Deli. If my roommate Monica and I had two nickels to rub together (and weren’t up to some other foolishness after Italian class), we were picking up our fave sandwiches from that place and enjoying every last bite.

Those sandwiches were such a far cry from the turkey and cheese sandwiches of my Midwestern youth. Before Zingerman’s, Deli, I thought those turkey and cheese sandwiches were fancy because my mom always packed the lettuce and tomatoes separately, and she included little separate condiment packets every day! I never ever had to worry about soggy sandwiches for my school lunch, and I am ever grateful for that to this day.

But this story is about Zingerman’s Deli. And how it changed my entire worldview on what bread could be. That amazing place changed my entire palette when it came to bread. No longer did I want the Wonder Bread of my youth. It was Rye or Whole Wheat or Sourdough or NOTHING AT ALL.

And since my 18th year, I’ve been in search of a bread from my own kitchen that just…scratches that Zingerman’s itch. And this is the closest one that I’ve ever made.

I hope you love this one, Friends. Because this one is ready for all of the roast beef and roast turkey breast and all the au jus that you can throw at it this fall.

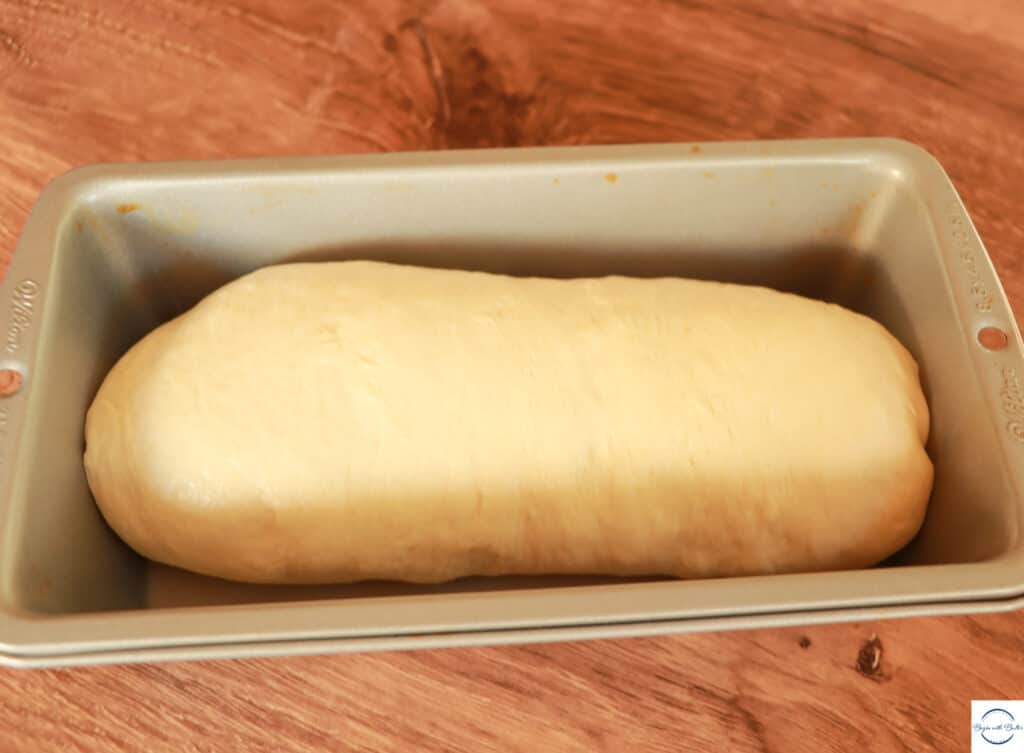
The Set Up for this Maple Whole Wheat Sandwich Bread

This Maple Whole Wheat Sandwich Bread makes me feel incredibly accomplished! The addition of the maple syrup made it palatable to my children, and if you know my struggles, you know that I have truly struggled to get my kiddos to eat whole wheat anything.

*Please note that this post contains affiliate links to the ingredients and products that I use in my own kitchen.*

Maple Whole Wheat Sandwich Bread in a loaf pan.

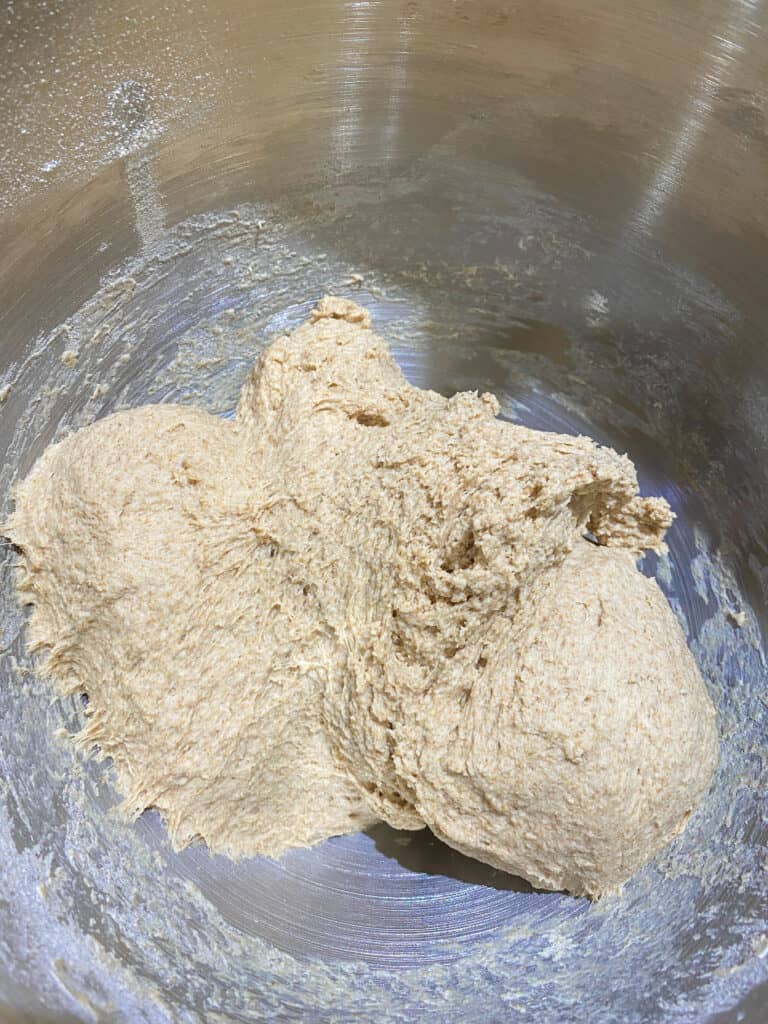
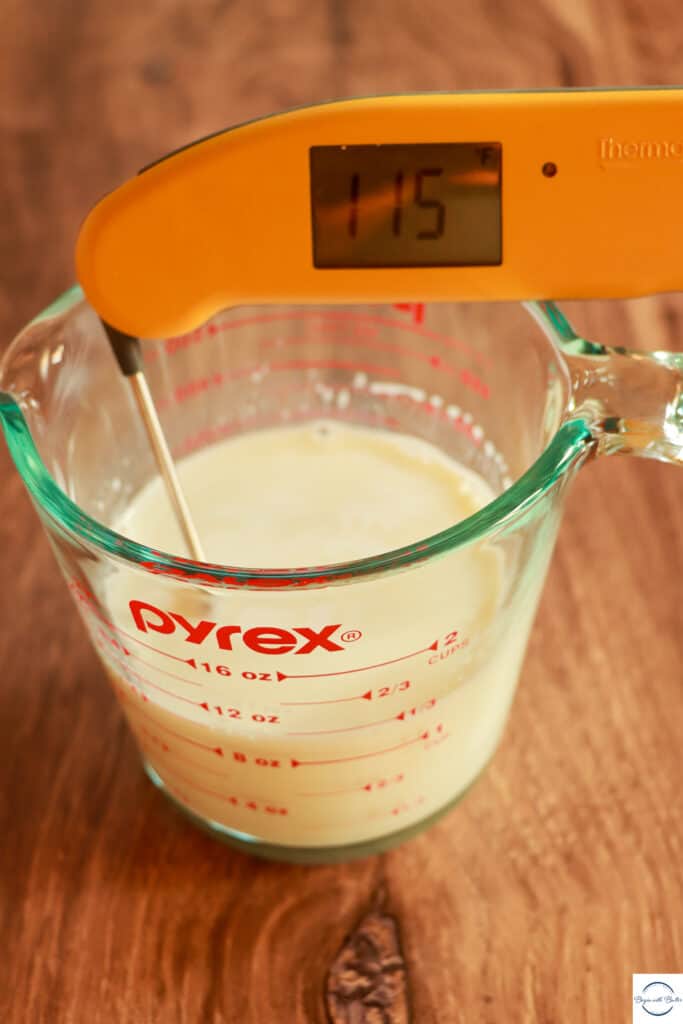
Water: Water is the liquid that I use for this bread. On paper, it seems like there’s a lot of water in this bread (about 84% hydration); however, whole wheat bread absorbs much more liquid than bread flour, so the additional water is necessary to get a great sandwich bread crumb (one that’s not too dense).

Instant Yeast: instant yeast helps this dough to come together a little more quickly than active dry yeast. You can substitute active dry yeast, but you’ll have to extend the rise and proofing time by about fifteen minutes. I exclusively use SAF Instant Yeast for all of my sandwich breads.

Turbinado Sugar: yeast is a living organism and it likes to eat sugar. So I give it a little turbinado sugar snack to help the initial proofing process.

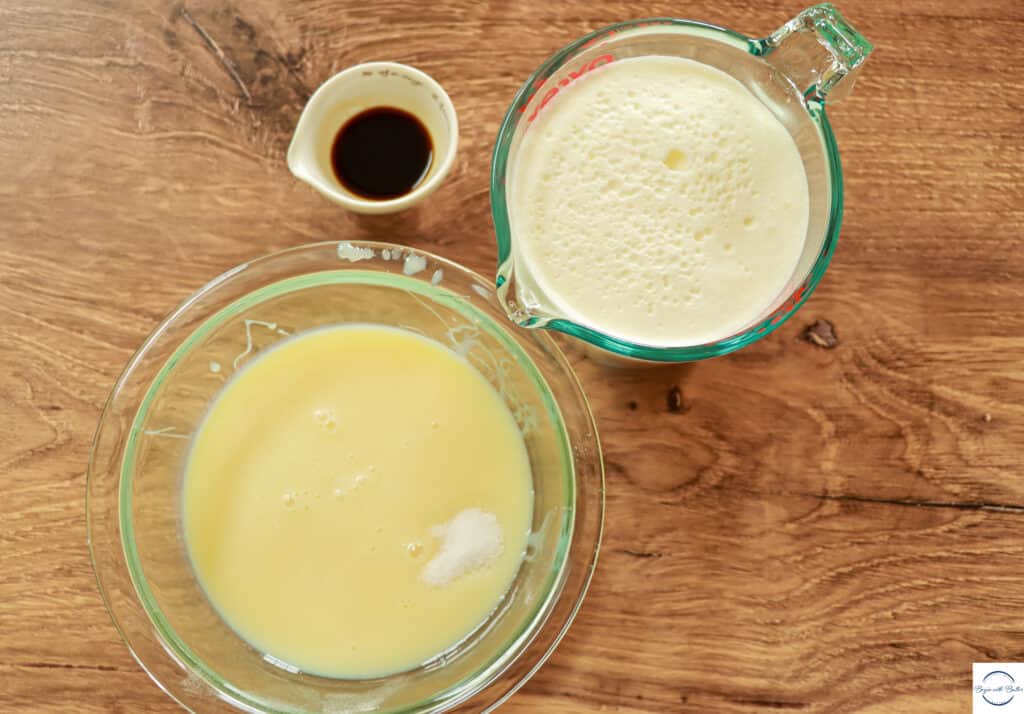
Maple Syrup: Aside from adding sweetness to this phenomenal sandwich bread, the maple syrup is the secret ingredient that softened the texture just enough for me to get my children to eat this whole wheat loaf! And that is HUGE!

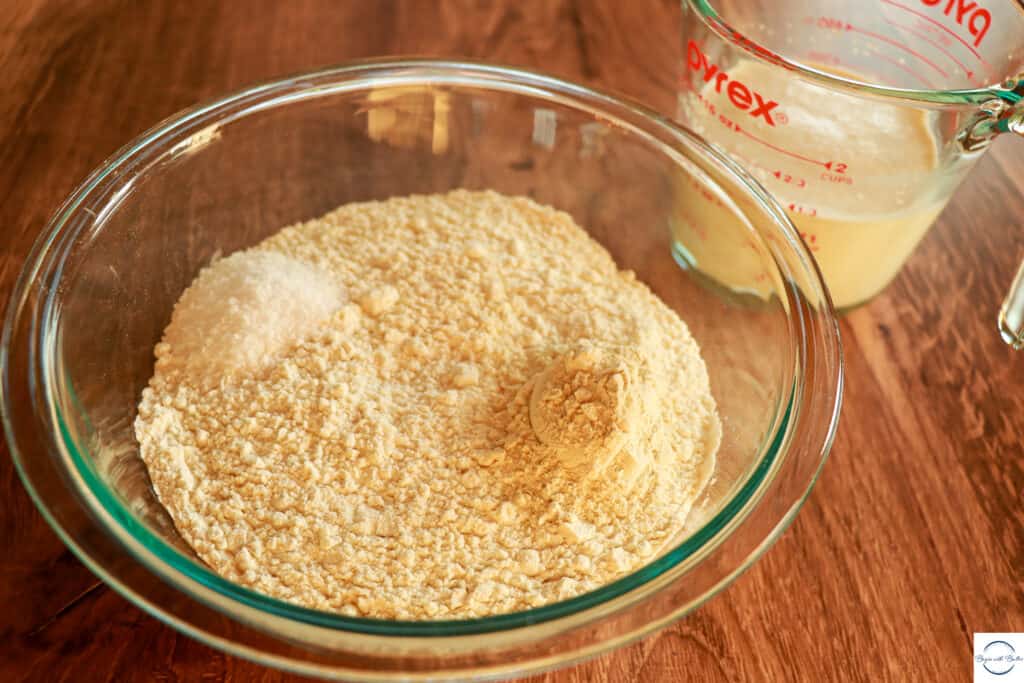
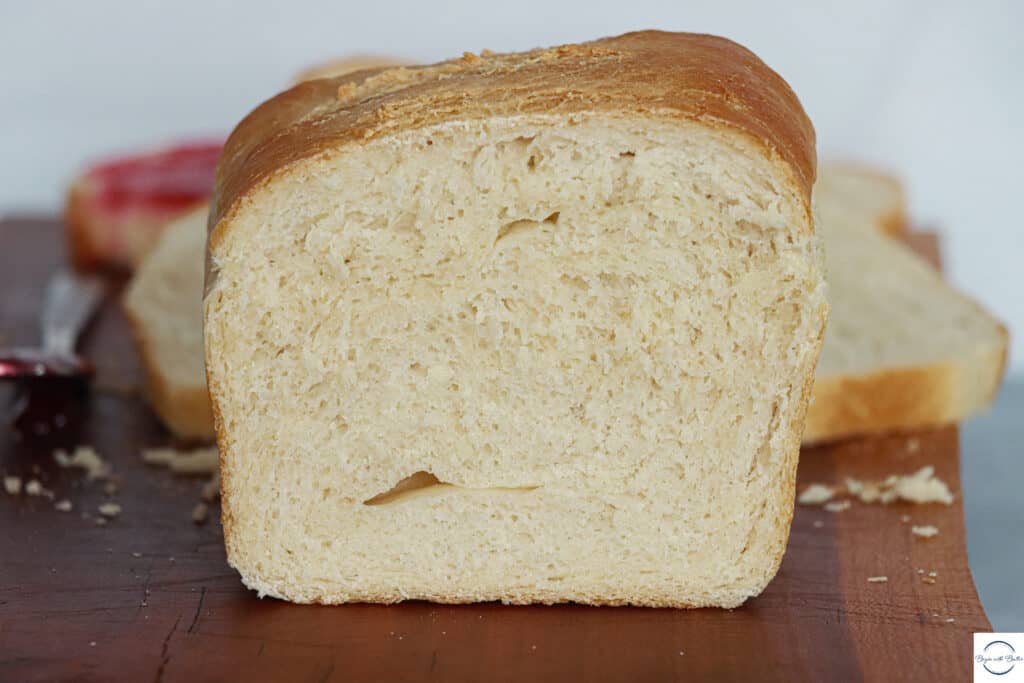
Whole Wheat Flour: Whole wheat flour is the driver behind this bread’s beautiful toothiness. Whole wheat flour is made from hard red wheat, and it uses every part of the wheat germ. White flour, by contrast, has most of the germ extracted, leaving the flour much smoother in texture and flavor. This bread is an amazing mix of Whole Wheat flour and Bread flour, which means that it maintains its delicious texture and taste, while also getting a great rise. My favorite whole wheat flour is King Arthur Baking’s Whole Wheat Flour.

Bread Flour: I also use bread flour in this recipe. The higher protein content of bread flour lends a beautiful, more airy texture to this whole wheat loaf. For this recipe, I used King Arthur Baking’s Bread Flour.

Kosher Salt: salt is the major flavor driver in any bread. Without salt, most bread has no taste whatsoever. I prefer kosher salt for bread, due to the larger granules. If using table salt, I recommend cutting the amount in half.

Vital Wheat Glutenvital wheat gluten (also known as vital wheat gluten flour) is a high-gluten dough enhancer. Coming in at 80% protein, it’s an important ingredient for great crumb in sandwich loaves, especially when those sandwich loaves use whole wheat flour. I don’t recommend skipping the vital wheat gluten in this recipe; if you cannot locate it, I would recommend strongly making another type of sandwich bread. I use Bob’s Red Mill for Vital Wheat Gluten.

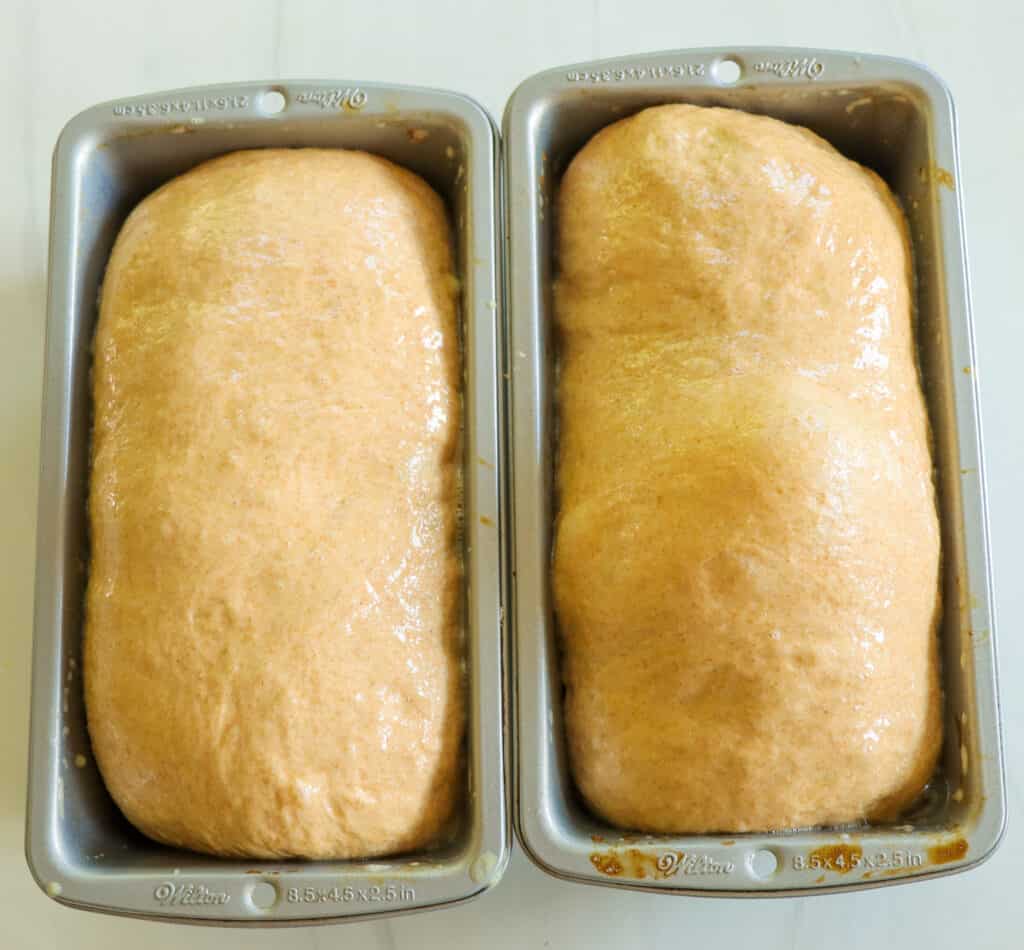
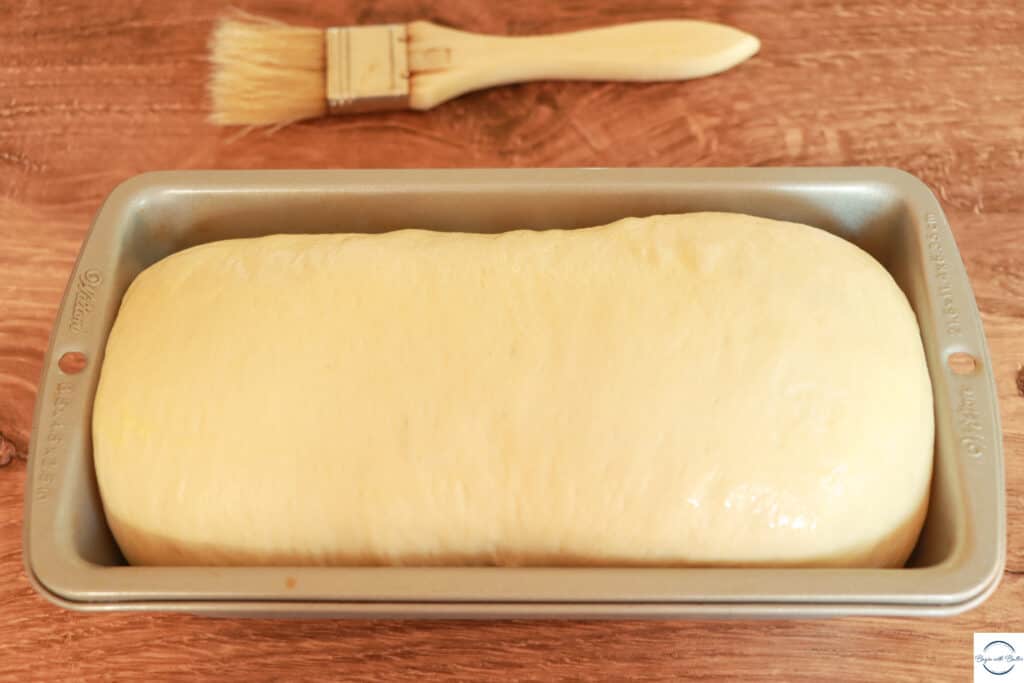
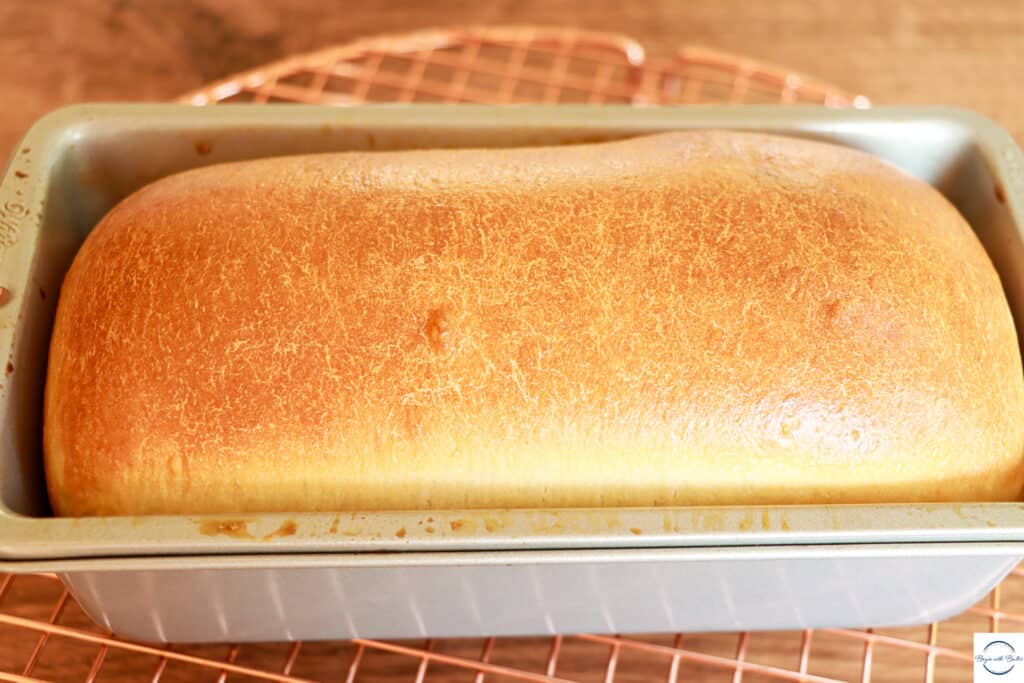
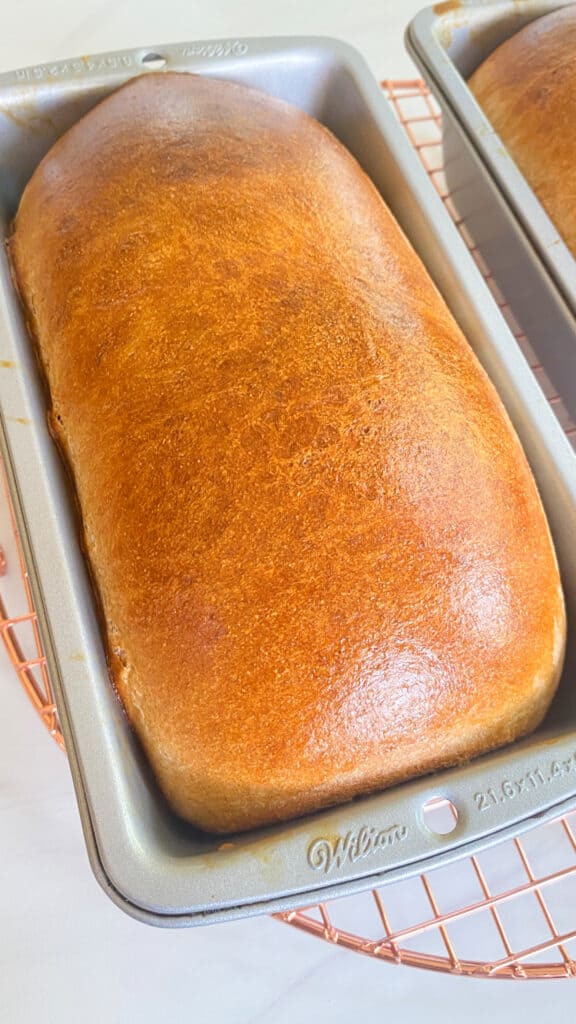
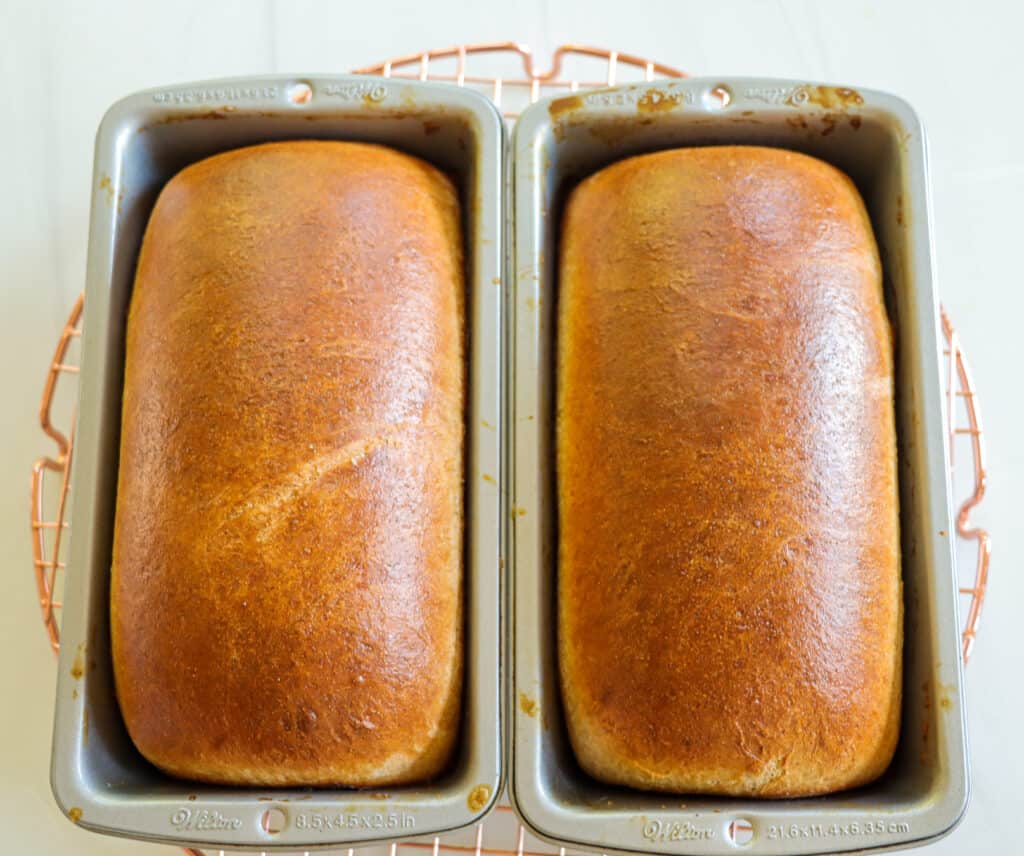
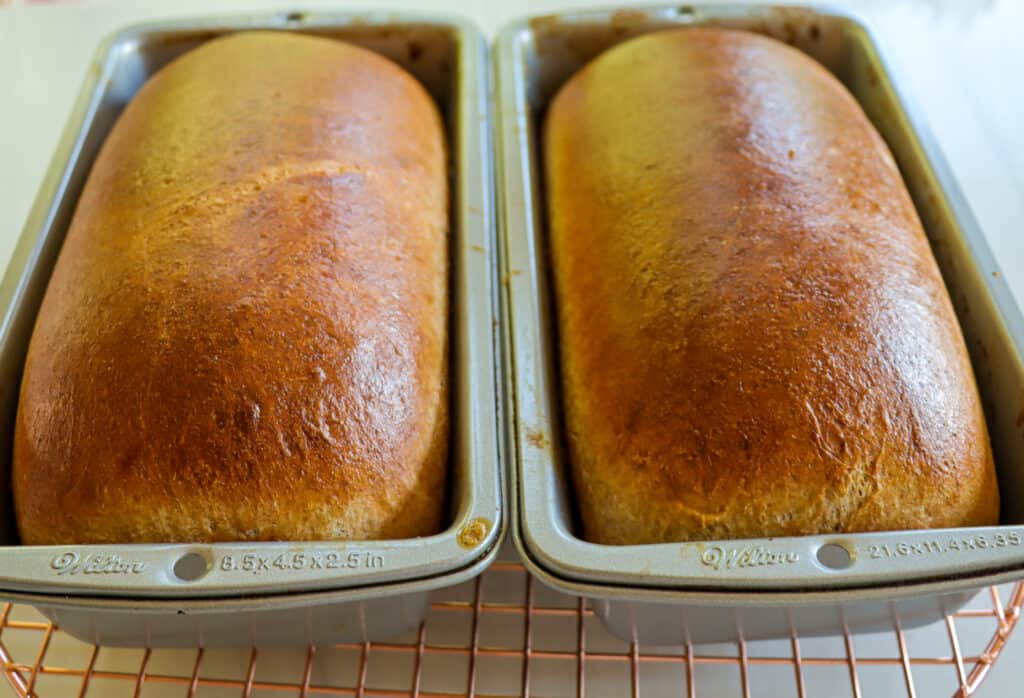
Egg Wash: I use a whole egg for this sandwich bread, and I bake it to a deep golden brown. Egg wash creates an amazingly beautiful shine on this sandwich bread and helps it caramelize to an amazingly delicious point!

Maple Whole Wheat Sandwich Bread in a loaf pan.

Beginners Start Here

If you’re new to baking, or this is your first time making bread, check out some of these BwB resources to help you become more confident with this Maple Whole Wheat Sandwich Bread!

These resources certainly aren’t mandatory for you to successfully make this bread, but they can help answer some burning bread questions for you!

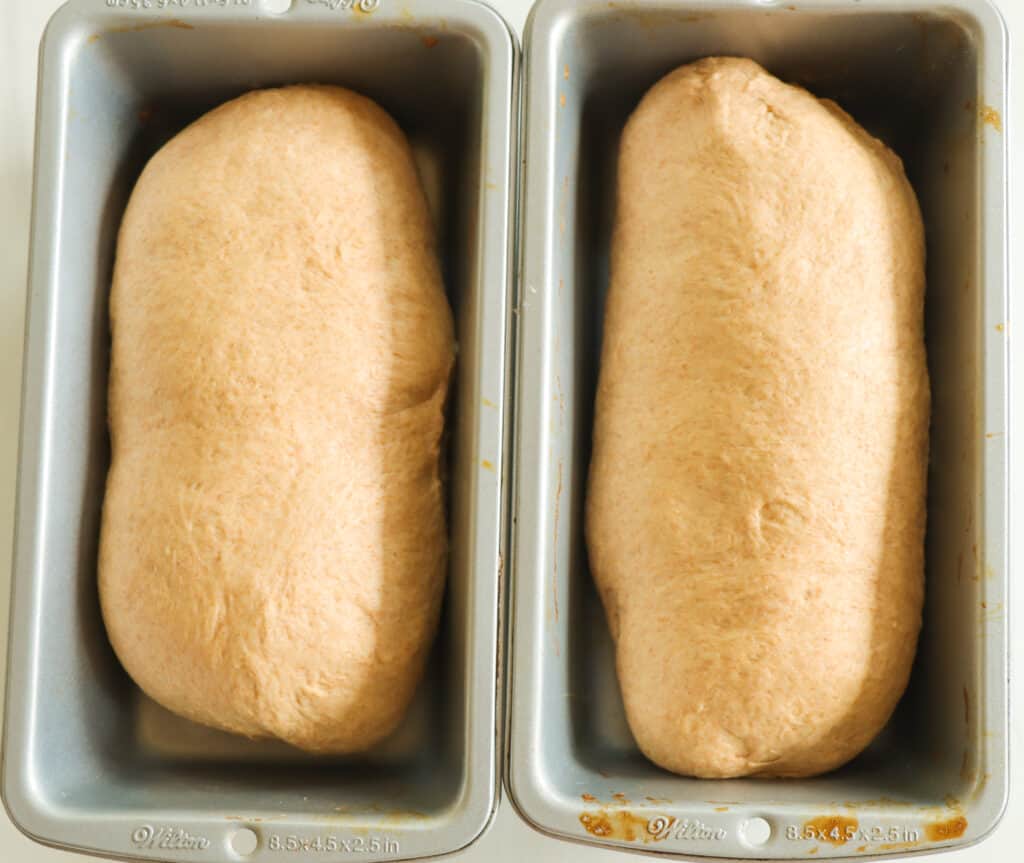
Want to see how I shaped this dreamy sandwich bread? Check out last week’s Office Hours, where I gave viewers a sneak peek of this sandwich bread and showed them how to shape it!

Frequently Asked Questions About Maple Whole Wheat Sandwich Bread

How long will this bread last?

This bread will last up to 48 hours on the countertop, or a month in the freezer.

What is the best way to store this bread?

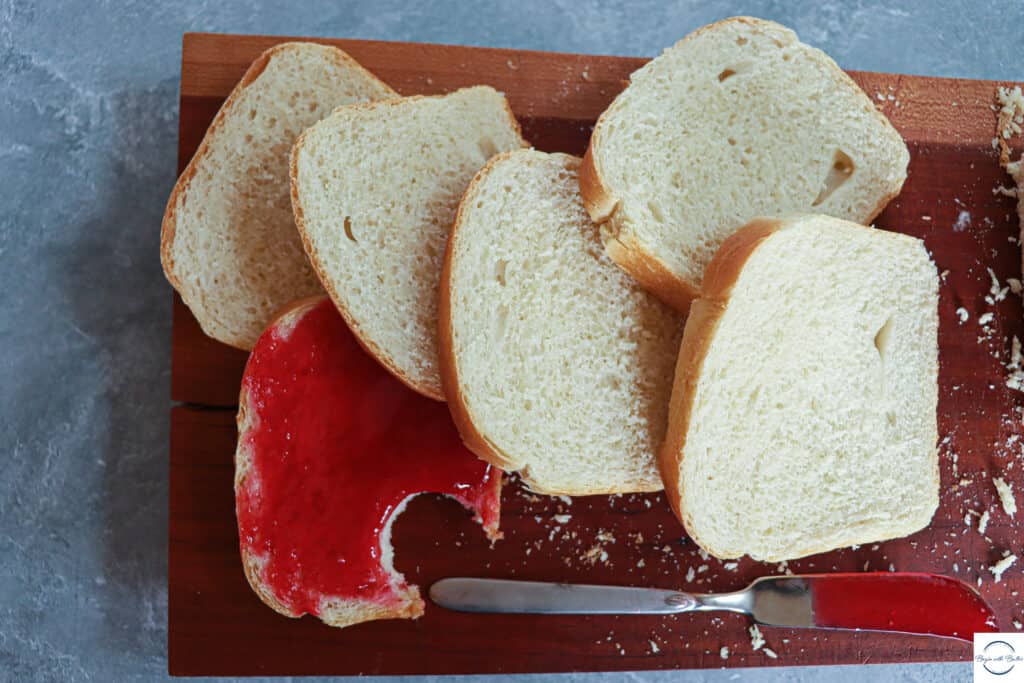
Cut from the middle! I cut it from the middle instead of the ends, and I wrap it very tightly with plastic wrap to store. The bread ends help prevent the bread from becoming prematurely stale.

Can I make this bread without vital wheat gluten?

I wouldn’t recommend making this particular bread without vital wheat gluten. The additional gluten really helps create a proper sandwich bread structure. Without it, you could get a very dense loaf.

How did you get your kids to eat this bread?

I added maple syrup! Without it, they wouldn’t touch it. ????

Do I truly need all of this flour?

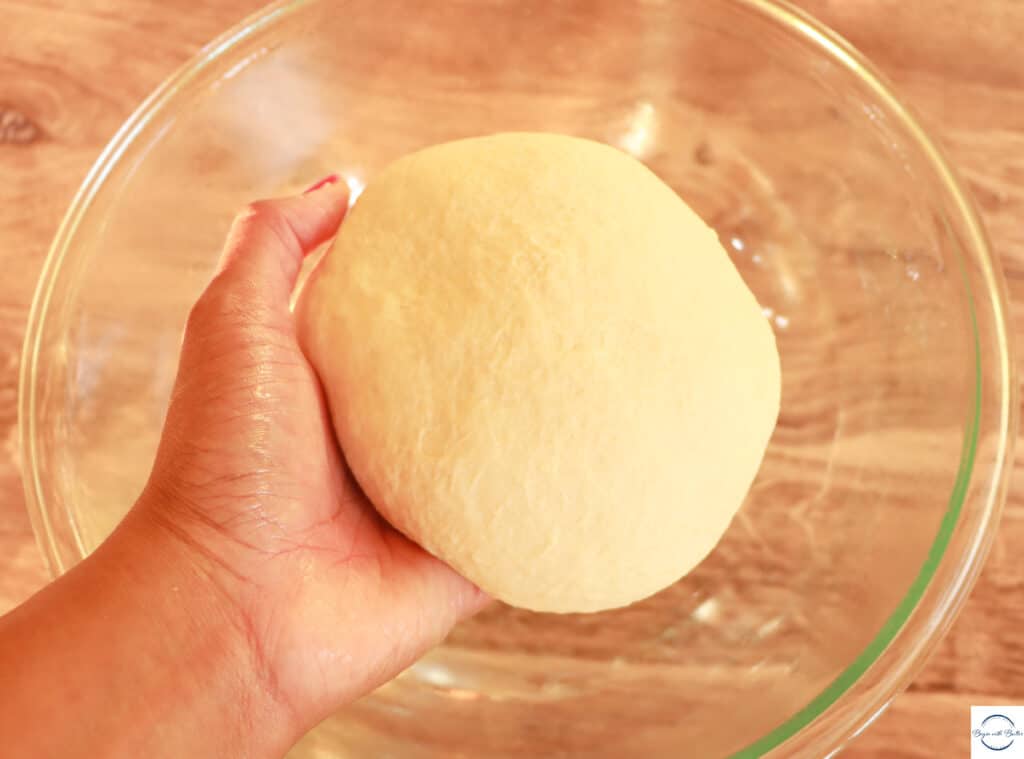
You might not! That’s why we add flour incrementally in this recipe, so that we don’t run the risk of over-flouring our dough by adding it all at once.

Without further delay, here is my Maple Whole Wheat Sandwich Bread! I hope you love it as much as I do!


My Classic Sandwich Bread

2

Friends, this summer has been an absolute dream. I’ve spent so much time with my family, had an incredible vacation, and smiled until my cheeks and head hurt. But reality is upon me now, and that means it’s time for back to school! With a third grader and a sixth grader who are very *ahem* secure about their food likes and dislikes, back to school means lots of sandwiches. And lots of sandwiches for them means lots of sandwich bread for me.

Classic sandwich bread photo

So…welcome to my sandwich bread series! In this series, you’ll learn the four types of sandwich bread that I make for my family. And today, we’re starting with my classic sandwich bread.

This recipe is for a classic white sandwich bread, and, while it does take practice to master, it is so worth the learning curve! The recipe makes two loaves, which is just about enough for a full week of kid sandwiches in my house.

Because did I mention there are lots of sandwiches around this time of year?

The Set Up for Classic Sandwich Bread

To make this sandwich bread, you need just a few ingredients!

*Please note that this post contains affiliate links to the ingredients and products that I use in my own kitchen.*

Ingredients: In the measuring cup: whole milk, yeast, and turbinado sugar. In the bowl: bread flour, salt, and vital wheat gluten. Not pictured: one egg for egg wash.

Whole Milk: whole milk adds flavor, color, and protein to the dough. It’s also the liquid for this particular dough.

Instant Yeast: instant yeast helps this dough to come together a little more quickly than active dry yeast. You can substitute active dry yeast, but you’ll have to extend the rise and proofing time by a few minutes. I exclusively use SAF Instant Yeast for sandwich bread.

Turbinado Sugar: yeast is a living organism and it likes to eat sugar. So I give it a little turbinado sugar snack to help the initial proofing process.

Egg: This simple recipe uses one egg. The egg helps create the most luscious and soft bread texture ever. If you choose to omit the egg, remove 32 g (1/4 c) of the flour to start.

Bread Flour: I prefer bread flour in this recipe, due to the higher protein content. You can substitute all-purpose flour, but your bread will not rise as high. Also, depending on the protein content in your all-purpose flour, the texture might be noticeably softer. For this recipe, I used King Arthur Baking’s Bread Flour.

Kosher Salt: salt is the major flavor driver in any bread. Without salt, bread is often left tasteless. I prefer kosher salt for bread, due to the larger granules. If using table salt, cut the amount in half.

Vital Wheat Gluten: vital wheat gluten (also known as vital wheat gluten flour) is a high-gluten dough enhancer. Coming in at 80% protein, it’s an important ingredient for great crumb in sandwich loaves. You can absolutely omit vital wheat gluten if you wish; the outcome, however, will be a more dense loaf. I use Bob’s Red Mill for Vital Wheat Gluten.

Egg Wash: I use a whole egg for my sandwich bread egg wash. Egg wash creates an amazingly beautiful shine on sandwich bread, making it much, much more enticing!

Beginners Start Here

If you’re new to baking, or this is your first foray into bread, check out some of these BwB resources to help you become more confident with this classic sandwich bread!

And, BONUS, I recently posted a video on the BwB YouTube channel about how to shape sandwich bread dough! You can check it out right here!

These resources aren’t mandatory, but they can help answer some burning bread questions for you!

BREAD BOOTCAMP IS LIVE!

Do you have lots and lots of questions about how to make incredible bread? Join us on September 17 and September 18 for BwB Bread Bootcamp! During this special, live, interactive event, your bread will be transformed from passable to predictably AMAZING!

Click here for details! Purchase early for 10% off with code BREAD10!

I’m so excited about this sandwich bread series! My kids are not much for bento box lunches, so when they don’t have hot lunch through their school program, I can feed them this bread and know exactly what’s in it.

And for this mom, that’s a big win.

Enjoy the recipe, friends!

See you next time!

Can’t wait for the next installment of the sandwich bread series? Don’t forget to sign up for the email list so that you can be among the first in the know!

Join the List

Subscribe to get the Five Tips for Amazing Cakes freebie and our latest content by email!

    We won’t send you spam. Unsubscribe at any time.
    Picture of dinner rolls

    Ready to start making the best bread of your life? Sign up for BwB’s Bread Bootcamp today and save 10% with code BREAD10! This special LIVE event is only available once a year, and you don’t want to miss this one!

    Salted Caramel No-Churn Ice Cream

    My friends, it’s summer. It’s been HAWT. And while I will always bake something, no matter what the temperature outside, it’s sometimes good to make something quick and delicious that doesn’t involve an oven. And this Salted Caramel No-Churn Ice Cream fits the bill perfectly.

    Salted Caramel No-Churn Ice Cream picture

    About No-Churn Ice Cream in General

    No-churn ice cream is popular because it is quick. It is simple. And it is delicious. There are any number of ways that you can personalize no-churn ice cream once you have the basic ice cream base down. Making the ice cream itself only takes a few minutes of your time, and you can go on about your day while it firms up for use later.

    If you made the Classic Salted Caramel Sauce that I recently posted, you’re already halfway there! Just allow it to cool completely (for about two hours), and it will be ready to mix into this delicious ice cream.

    How to Make This Ice Cream

    *Friends, this post contains affiliate links. If you purchase directly from those links, I get a small commission, but they are products that you will find in my very own kitchen!*

    To make this specific no-churn ice cream, you’ll need to start by making the Classic Salted Caramel Sauce. Caramel sauce is molten hot when it’s done, and it will completely melt your ice cream if you add it too soon.

    I forgot to mention that the most important ingredient in this ice cream is…patience. ????

    Once you’ve made the salted caramel sauce, carefully remove it to a heat-proof jar immediately (I love these Ball Jars for heat-proof storage), and allow it to sit on the countertop for about two hours. At that point, unless your kitchen is on the Equator, it should be cool enough to use.

    Start this ice cream by combining the sweetened condensed milk, vanilla extract, and 1/2 tsp of fine salt in a medium-sized bowl. Once it’s completely combined, set it aside.

    Salted Caramel No-Churn Ice Cream base picture

    Place the heavy whipping cream in a large bowl. Using a balloon whisk or a hand mixer, whip the heavy cream to stiff peaks. Make sure to start off slowly with this, or else you’ll splatter heavy whipping cream everywhere!

    After about 4-5 minutes, you’ll have a luscious, decadent, absolutely divine whipped cream that looks like this:

    Whipped cream picture for salted caramel no-churn ice cream

    It might seem hard to believe that this is the outcome at the beginning, but keep with it!

    Once you’ve reached this point with your whipped cream, add half of the whipped cream to the ice cream base. Fold together until you get a lumpy, bumpy mess.

    Yes. A lumpy bumpy mess. We don’t want to mix completely at this point because we don’t want to deflate all of that yummy air from the whipped cream.

    So we’re looking for this:

    Next, fold the lumpy, bumpy mess into the remaining whipped cream. Gently continue folding until you have a smooth, combined mixture. Place half of the ice cream in a 9×5″ loaf pan:

    Add half of the salted caramel to the top of the ice cream base. Then layer with the remaining ice cream base and the remaining salted caramel. Using a toothpick, skewer, or even the handle of a spoon, gently swirl the salted caramel into the ice cream base.

    You want to have lovely thick swirls of caramel throughout the ice cream, so the goal is not to mix the two textures. Rather, you’re trying to create a two-textured dessert: the crisp cool texture of the ice cream and the rich, sticky sweetness of the salted caramel are what makes this dessert a true delight. The key to getting that two-textured dessert to is not to mix too much with your swirling utensil!

    Once you’ve finished the initial swirl of the ice cream and the salted caramel sauce, do a final drizzle of the salted caramel sauce on top of the ice cream. This adds a lovely finishing look to the ice cream and gives you additional caramel. So, bonus! You can even add fresh fruit (like the peaches that I added, here) to bring a hint of acidity to this über rich dessert.

    Once everything’s all swirled together, place the ice cream in the refrigerator for at least six hours (did I mention that you need to be patient?) to allow it to firm up properly.

    Then enjoy with reckless abandon, knowing that you’ve made the perfect ice cream for these late summer days.

    Want to see how I made this recipe during Office Hours? Check it out here!

    Enjoy this recipe my friends!

    Classic Salted Caramel Sauce

    *This post may contain affiliate links.*

    Hello friends! Today, I’m bringing you a classic salted caramel sauce that is so easy to make, it will actually knock your socks off.

    To know me is to know that I have a serious penchant for the finishing touches that make desserts extra special. Why eat a plain piece of cake when you can fill it with a decadent Blueberry Cardamom Sauce? Why skip an opportunity to add a layer of flavor with a wonderfully floral simple syrup (like the one featured in my Lavender Vanilla Pound Cake)?

    Done correctly, these finishing touches take your desserts from “nice” to WOW. Want to become known for your baking? Start using special finishing touches and you’ll be the first one asked to contribute to the dessert table.

    Who Can Make Salted Caramel Sauce?

    Anyone! This recipe takes literally ten minutes to make once you’ve prepped your mise en place. And it’s a good thing it only takes ten minutes, since you pretty much have to babysit it the entire time.

    Salted Caramel Sauce mise en place.
    Four ingredients. That’s it! If you have granulated sugar, butter, heavy cream, and flaky sea salt, you’re ready to make this amazing Salted Caramel Sauce.

    What is Salted Caramel Sauce?

    Salted Caramel Sauce is, in fact, caramel! However, it’s thinner than the caramel candies that you see in the store.

    Caramel sauce can be used to top incredible desserts, like my Decadent Caramel Pound Cake. You can use it to make caramel buttercream, or to top ice cream…

    Really, there’s no limit to its uses. It is, however, extremely rich, so I wouldn’t pair it with other extremely rich ingredients unless the intended result is heartburn.

    And, while you want people to remember your food, you don’t really want them to remember it for that.

    There are lots of questions out there about the best way to make salted caramel sauce. Let’s answer some of them, shall we?

    Is This A Wet Caramel or a Dry Caramel Sauce?

    This recipe is for a dry caramel sauce. By “Dry Caramel Sauce”, I mean that you don’t add any water to this caramel. A wet caramel sauce uses water and sugar to create the base for the caramel. A dry caramel omits the water completely.

    There are actually big differences between wet caramel sauce and dry caramel sauce. Wet caramel sauce takes longer to develop, which in turn leads to a deeper caramel flavor. But it can crystalize and ruin more easily than a dry caramel. Though delicious, I recommend wet caramel for more experienced caramel makers.

    Dry caramel (the one we’re making here, today!) takes much less time to develop, and, with practice, you can get it to develop an intense caramel flavor! However, to get that depth of flavor, you have to take this caramel to the point of nearly burning during the initial phase.

    And oh can it burn quickly.

    How Do You Make Salted Caramel Sauce?

    Want a quick tutorial on how to make Salted Caramel Sauce? Check out this very quick video!

    Before you take out your first ingredient or tool, I need to caution you to please respect the caramel. Hot sugar can cause serious burns if you’re only halfway paying attention. So, during the ten minutes that it will take to make this caramel sauce, make sure it has your full attention.

    Salted caramel sauce is so incredibly easy to make! Here are a couple of important takeaways from the video:

    To start, place your sugar in the bottom of a heavy saucepan. Use a bigger saucepan than you think you need. I always, always, always use my 2.5-quart saucepan for caramel. Swirl the sugar to make sure that it’s in an even layer before you turn on the heat.

    Turn the heat on your stove to a high medium or a low medium high. If you’re just starting with caramel, high medium is the place to go!

    Next, watch the pot. No, seriously. Don’t touch it. Just watch it until you see that the sugar start to caramelize underneath. This will take anywhere from 2-5 minutes.

    They will feel like the longest minutes of your life. They are not.

    This is the point where you start working. Or, more specifically, start stirring with a balloon whisk. Constantly. Do Not Stop Stirring. Use a balloon whisk with a silicone handle to avoid burns, like this one!

    At first, the mixture will be mostly sugar with some caramelized lumps. It will slowly transform into caramel with a few bits of sugar. Keep stirring!

    You need to keep stirring until all of that lumpy sugar is completely transformed into a caramel brown liquid. This first process is what will determine the depth of flavor in your caramel, so don’t move on prematurely!

    Use Your Nose

    Most of the time, the telltale sign that your caramel is ready for the next step is that all of your sugar is melted and liquified. Sometimes, though, you might have a straggler sugar lump that does not want to melt before it’s time.

    How do you know whether to move on? Use your nose! When the caramel is deep, deep amber and smells like roasted nuts, it’s GO TIME!

    You only have seconds here so I’ll be brief.

    If you have a straggler lump of sugar after you’ve reached that deep amber color and you’re smelling roasted nuttiness, you have to move on. You might end up with a small lump of sugar in your final caramel, but you can always remove it later.

    If you wait for that obstinate lump, you’ll do so to your peril. Because waiting for that lump to dissolve after you’ve reached peak nutty flavor will ruin your caramel sauce. Once you smell that roasted nutty flavor, you are at the perfect point. Waiting more than 10-15 seconds after this perfect point means that you’ll go from perfect caramel to burnt caramel.

    Yes. It does happen that quickly.

    And you’ll definitely know burnt caramel. Because it smells very acrid and there’s a lot of smoke.

    The good news is that this happens to the best of us! The bad news is that you’ll have to start over. But the other good news is that you now know exactly how far you can go with caramel before it’s a burnt mess, so that’s actually a win!

    Add Your Butter

    Once you’ve reached that roasted nut smell, it’s time to add all of your butter. The caramel will bubble pretty ferociously at this point, so be very careful stirring the caramel! You need to keep stirring until the butter is completely incorporated. Then, you can turn off the heat!

    picture of butter for salted caramel sauce.

    Time for Heavy Cream and Finishing Salt!

    Once all of the butter is incorporated, remove the caramel sauce from the heat and add all of your heavy cream. The caramel will again bubble up pretty ferociously, so be very careful but keep stirring! You’re done when there’s no leftover evidence of the heavy cream in the caramel.

    salted caramel sauce on top of ice cream.

    After the heavy cream is fully incorporated, add your flaky sea salt (I love, love, love Maldon Sea Salt for this purpose) and move to a heatproof jar to cool completely. The sauce will be quite liquid when you pour it, but it will thicken a lot upon standing.

    It’s also molten hot when it’s at the liquid stage, so wait to taste test until it’s cooled a bit!

    Where Do You Store Salted Caramel Sauce?

    Once it’s cooled completely, cover your salted caramel sauce and refrigerate. You can keep it for 7-10 days in the fridge. To use, gently warm the salted caramel sauce in 5-10-second intervals in the microwave.

    Enjoy this recipe! If you make it, tag me on Instagram @beginwithbutter so I can give you a shoutout!

    Speaking of recipes, here you go! Enjoy!

    How to Test Bread Dough

    6

    We are getting into it today, Friends. Because my nerd heart won’t be satisfied until there’s an army of friends who feel confident about making homemade bread. And part of that confidence stems from knowing when your bread dough has properly risen and when it’s properly proofed.

    So that you can know, when you make sandwich bread, that this will be the result:

    So let’s talk about it, shall we?

    In this Post

    Rising vs. Proofing

    When you’re working with yeast bread, there are actually two different stages of yeast growth. The stage after you finish the first kneading process is called the rise.

    After the first rise, you typically shape your dough into its final shape and allow it to rise a second time. This second rise is technically called proofing.

    The good news is that the test to see whether your dough has properly risen (first rise) or properly proofed (second rise) is the same!

    And, much to the delight of all younger siblings everywhere, it involves your finger and a poke.

    Typically, when dough is rising, a recipe will tell you to cover it and place it in an area, free of drafts, until it’s doubled in size. Kind of like this.

    This is a perfectly fine way to determine when dough is ready, but there’s a more accurate way!

    Simply insert your finger firmly into your dough up to your second knuckle. If the resulting hole fills in within 60 seconds, then the dough is not quite ready yet!

    (The best way to become proficient in this technique is…to practice! So don’t worry about testing it multiple times! I actually encourage you to do this!)

    Why Does This Test Work?

    Here’s the science-y part.

    When you make a yeast dough, the yeast actually works by releasing carbon dioxide. This is what causes your bread to rise. That carbon dioxide gets trapped in the gluten network and continues to expand.

    Want to learn more about yeast baking for beginning bread bakers? Check out this post for fun and comprehensive info that will make you a much more confident bread baker!

    There are three stages of yeast growth in your bread dough: 1) the initial burst of carbon dioxide (which means rapid yeast expansion and dough growth); 2) what I call the “slow down”, when the yeast is almost exhausted and growth slows; and 3) deflation, when yeast stops working and the carbon dioxide actually starts to evaporate, causing the dough to deflate.

    If you get to the deflation point before the bread has established its final shape in the oven, your dough will start to collapse.

    And we want to avoid the part where the dough collapses!

    When you do the poke test, you can assess whether the yeast is:1) still working its little heart out; 2) just about done, or 3) whether it’s finished its work.

    What Does the Poke Test Tell Us?

    When you perform the poke test while yeast is still actively working, the yeast will bounce back and make the hole fill in about a minute or less.

    If you perform the poke test after the yeast has slowed down, the yeast will only bounce back slightly, and the hole will not fill in completely. That’s when you’re ready to move onto the next step!

    Like this!

    The four holes on top are from earlier tests. As you can see, the dough completely closed in on itself because the yeast was still quite actively doing its thing. You’re looking for a result like the bottom two holes; there’s a little bit of dough filled back in, but it doesn’t bounce back completely.

    When you perform the poke test after the yeast is depleted, then the dough won’t bounce back at all. Worse yet, the dough might completely deflate from that one-finger test!

    That’s…bad news.

    Why Does This Matter?

    Properly proofed bread matters because, as with everything involving bread, timing matters.

    If you try to shape bread before the dough has properly risen, the dough will actually fight you. It won’t be elastic; it will simply try to snap back with your every effort. If you wait too long to shape the bread, and the dough has already deflated, the dough won’t retain its shape well and the second rise won’t be fruitful.

    If you try to bake underproofed bread, the texture inside will be gummy, with non-uniform holes and a poor rise. This is a ruinous result that literally nobody wants. If you bake overproofed bread, the bread will remain flat when it’s baked, and the texture will again be gummy and flat.

    Rest assured, friend. You have a window of time to check your dough! And it’s totally fine to check it early; as you can see from the picture above, the holes will simply fill in. You won’t ruin it.

    Plus, checking it early allows you to figure out how bread acts in your kitchen. Because things like humidity, temperature, and the amount of yeast in your bread will directly impact the bread in your kitchen. And while the rise times given in recipes are usually safe to follow, you’ll create better bread if you know how bread dough responds in your specific kitchen. Better bread=more confident baking!

    I hope this post helps you become a more confident bread baker! If you have questions, reach out to me at hello@beginwithbutter.com; I love chatting with people about their biggest baking questions!

    See you next time!

    Join the List

    Subscribe to get the Five Tips for Amazing Cakes freebie and our latest content by email!

      We won’t send you spam. Unsubscribe at any time.

      Check us out on Instagram!