
Family, I did it; I am officially a member of The Great Resignation.
You heard that right. I am diving head first into full-time entrepreneurship with Begin with Butter and The Gloria Bakery.
On Tuesday, January 18, 2022, I logged off of my work laptop for the last time, grabbed two forgotten sweaters from a broken, forgotten briefcase, lifted my “Hello” sign off of my office door, took a last look at the nameplate that adorned that office door for nearly nine years…and then walked straight out without looking back.
I then took some time to plan for this exciting year, and to think about what I wanted my first post-resignation blog post to be.
I wanted it to be witty and breathless and effervescent and fun and pregnant with expectation.
I landed on pancakes. Don’t ask how I landed there because I honestly don’t know.
But these are amazing pancakes.

These are seriously so good. And so simple. So let’s dig in!
Beginners Start Here
These pancakes are the perfect vehicle for maple syrup, plain whipped cream, blueberry sauce, or the Crème de Cassis whipped cream that I’ve paired it with here. Of course you can top with fresh berries too!
One of the things that makes these classic pancakes so deliciously airy and perfectly dense is the fact that the protein-rich egg whites are whipped to stiff peaks, and the fatty, yummy yolk shines as a soloist in the batter, before those egg whites are barely incorporated by being folded in.
To that end, there are a couple of BwB articles that are very helpful if you’re trying to make perfect pancakes:
- The Role of Eggs in Your Baked Goods!
- The Difference Between Baking Powder and Baking Soda
- Three Simple Tips for Light and Fluffy Pancakes!
Also, pro tip: use the best butter you can source for these pancakes. You won’t regret it.
Equipment Needed for This Recipe
In addition to two bowls, you’ll need a couple of items (note: these are affiliate links, and I make a small commission if you purchase from any of these links):
- A silicone spatula for folding egg whites;
- A balloon whisk and a 9″ whisk for mixing;
- I prefer wider, flatter bowls for whipping egg whites. Like these Pyrex bowls;
- A cast-iron skillet is a classic way to prepare pancakes, but it’s not mandatory; and
- A sifter for dry ingredients.
If you have these tools, you’re ready to start!
How to Make this Recipe (in Photos)
Before starting on the recipe proper, you’ll need to do a couple of preliminary steps.
First, you’ll need to separate your egg, since we use each part separately in the recipe. It’s much easier to separate an egg when it’s cold, so I recommend doing this first. To separate, crack it gently on a flat surface (not the edge of a bowl) and then gently use your fingers to crack it open. Use your most gentle touch because you have to fully remove every trace of egg yolk in order for the egg white to whip properly. If the yolk breaks when you crack the egg, you’ll have to try with another egg.
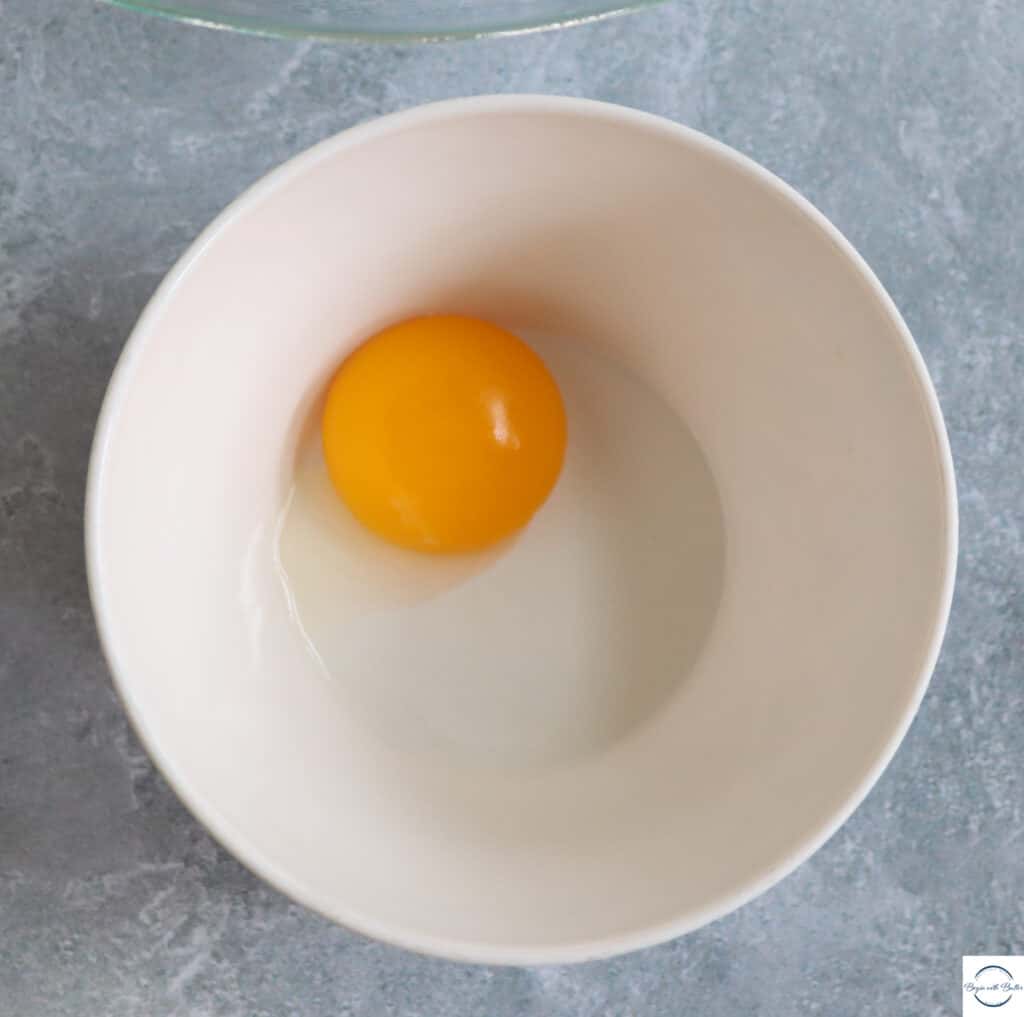
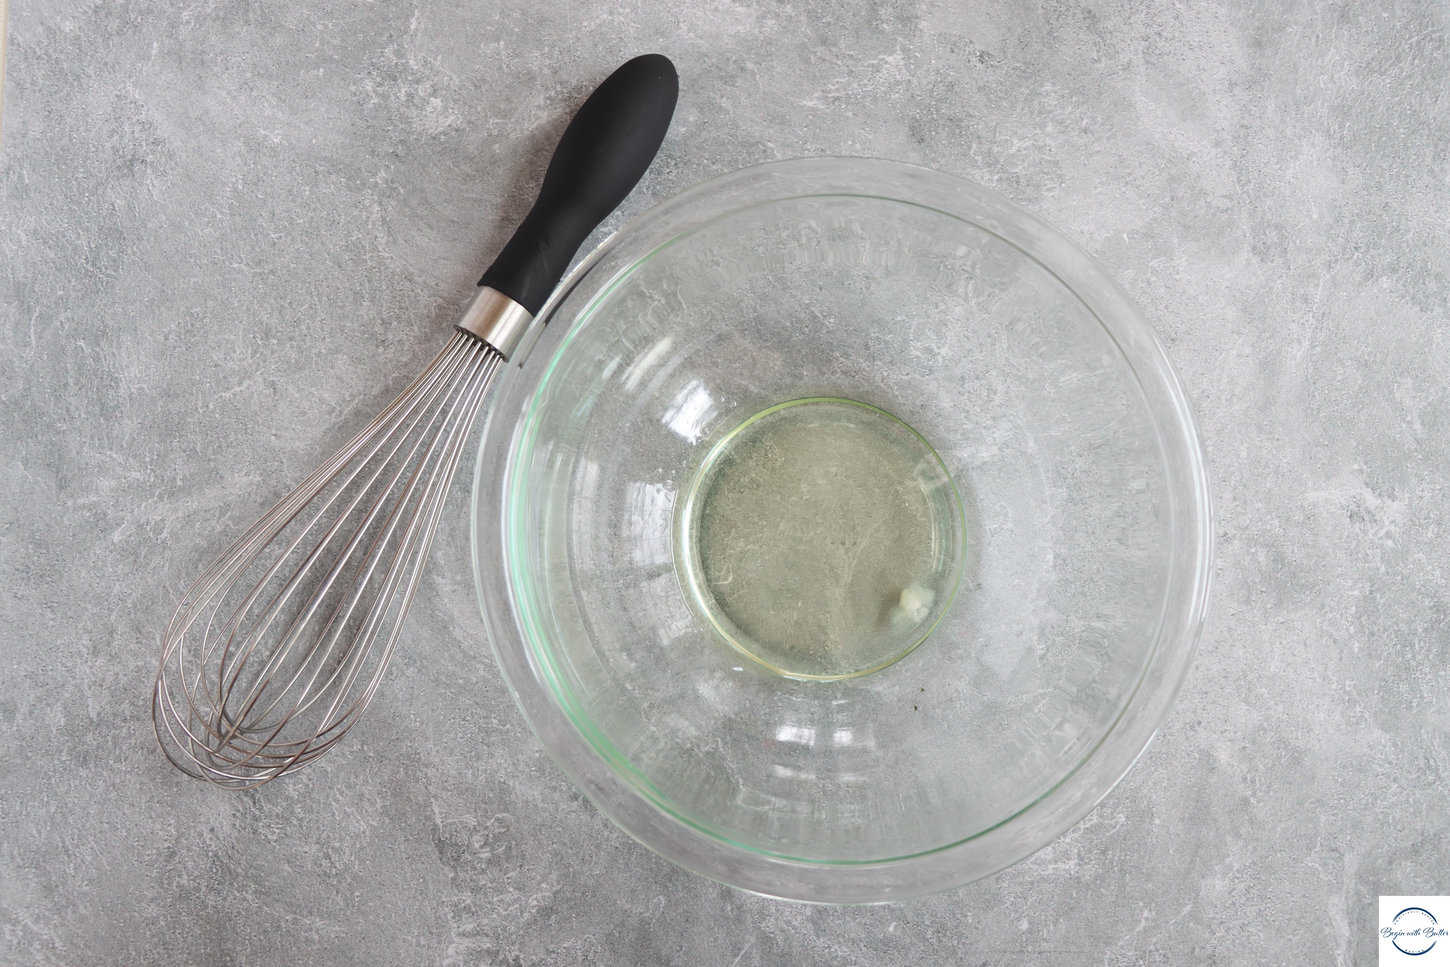
Place the egg white in a very clean metal or glass mixing bowl, free of fat and debris (these will keep the egg from whipping properly). Place the egg yolk in a separate small bowl.
This recipe uses a “sour milk” buttermilk hack, because buttermilk can sometimes be difficult to source. Sour the milk by adding the vinegar to the whole milk, stirring to combine, and then allowing it to sit for 5-10 minutes. I realize that this is more vinegar than is traditionally used for this buttermilk hack, but it works in this recipe. I promise.
Gather the rest of your ingredients and prepare your mise en place:
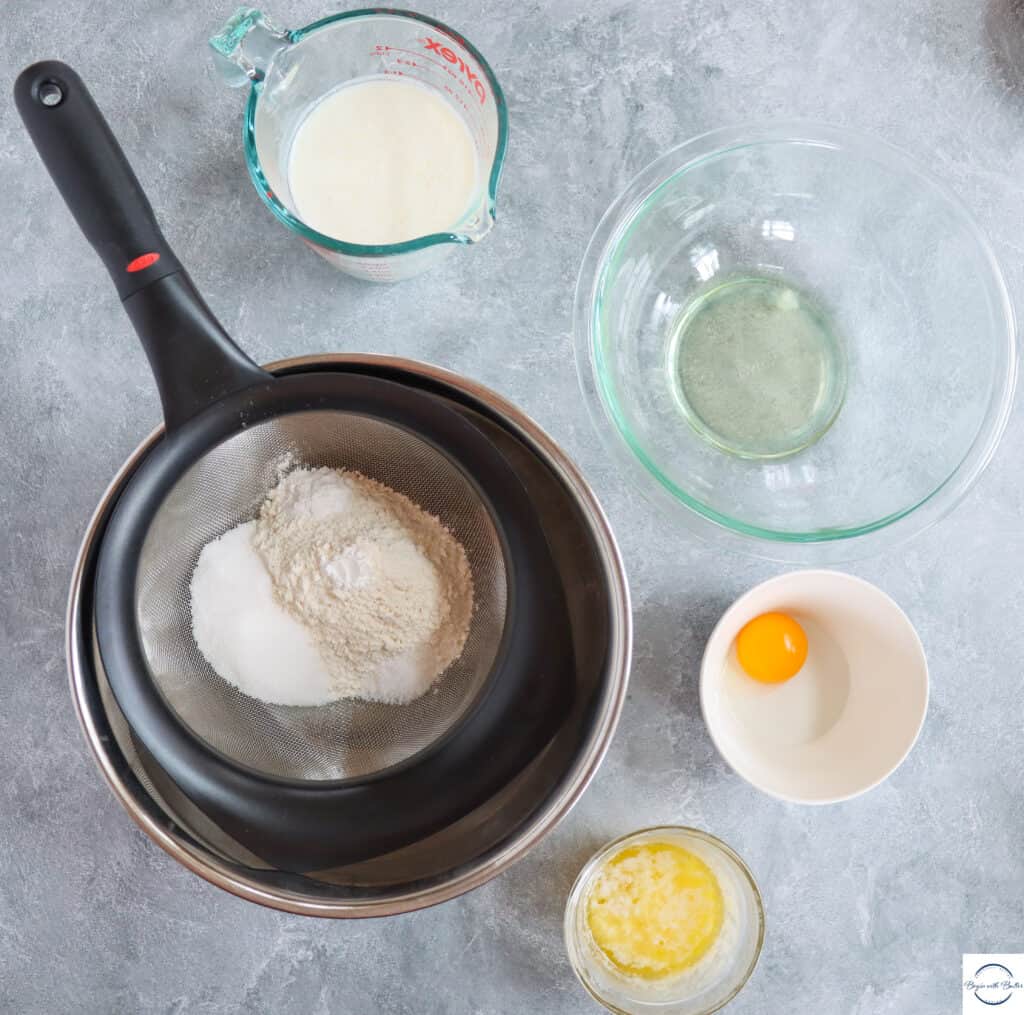
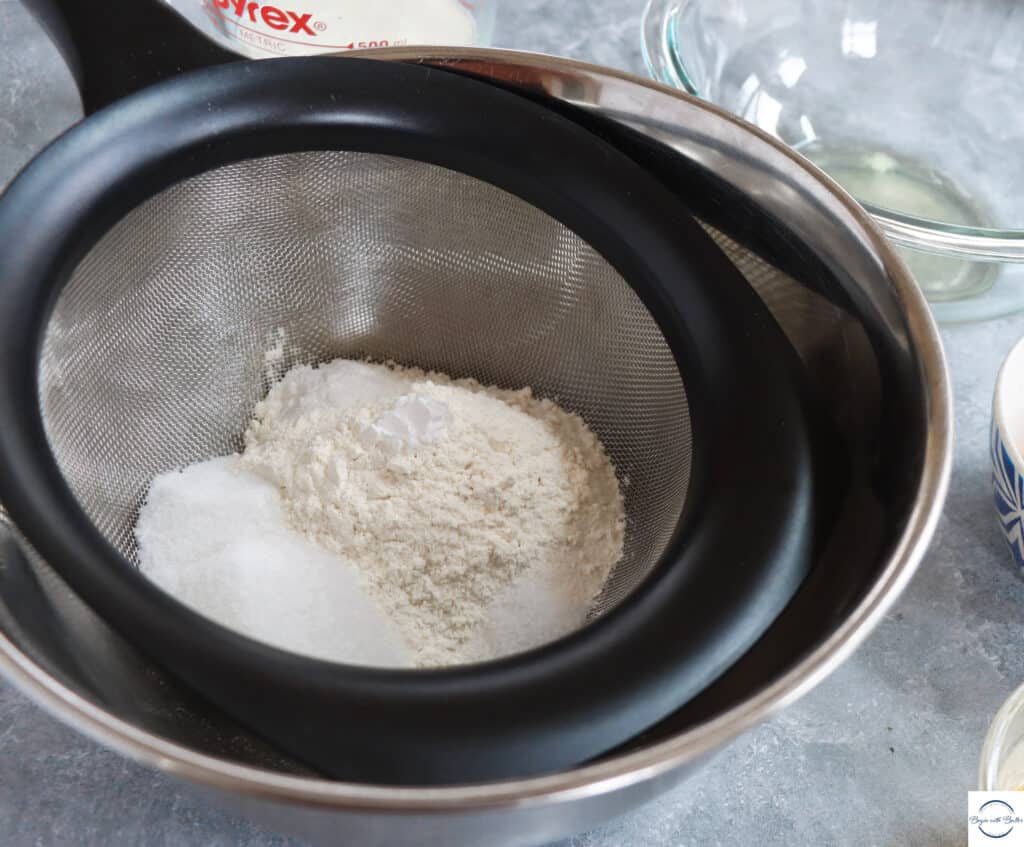
Begin by sifting your dry ingredients (all purpose flour, granulated sugar, baking powder, baking soda, and salt) into a large bowl.
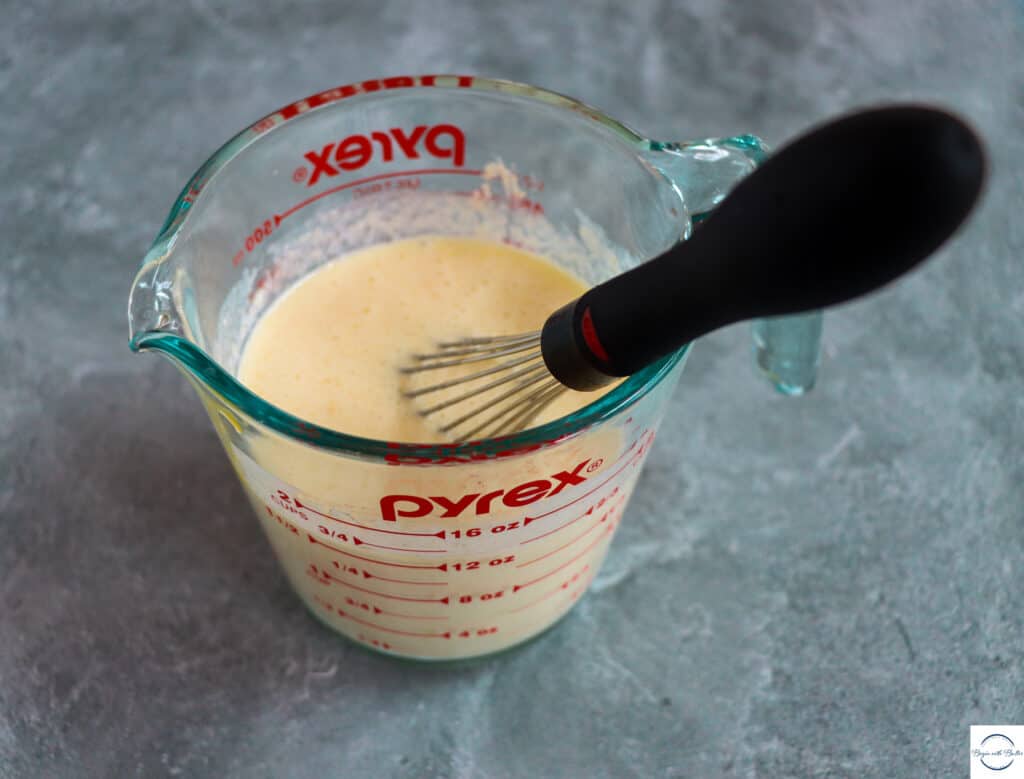
Then, combine the milk mixture, egg yolk, melted butter, and pure vanilla extract in a 2-cup liquid measuring cup.
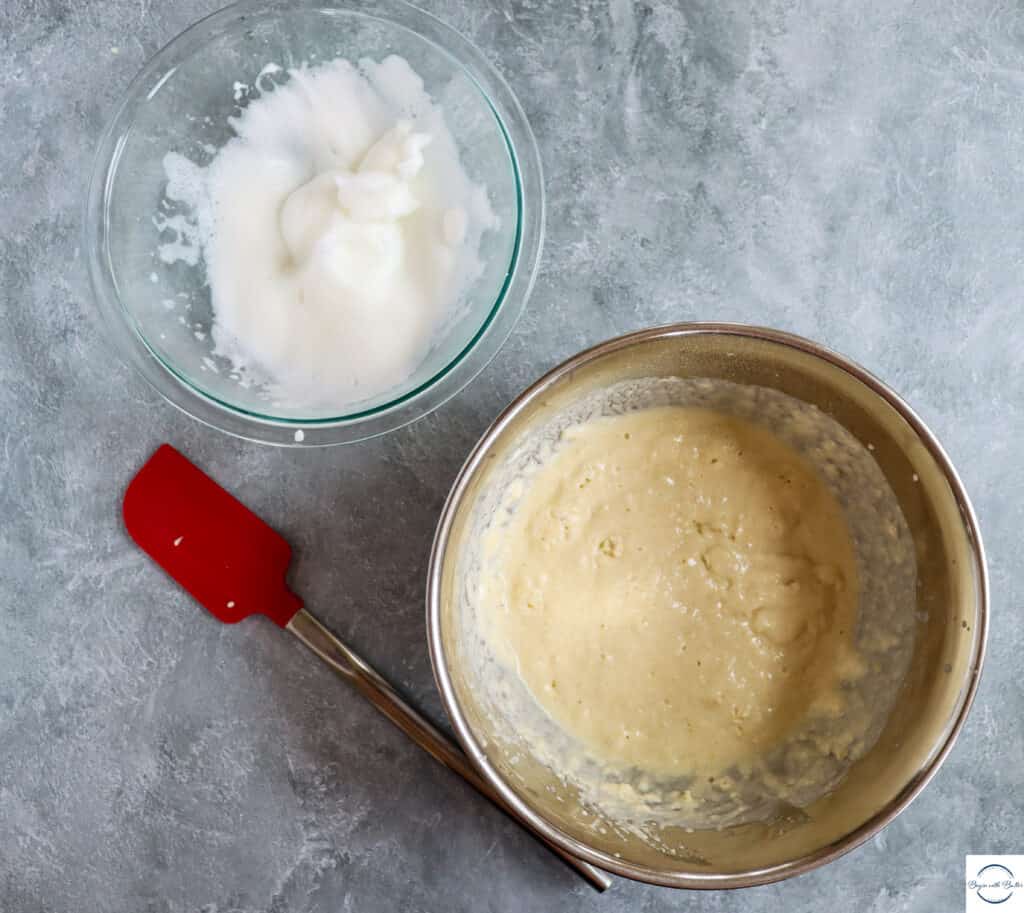
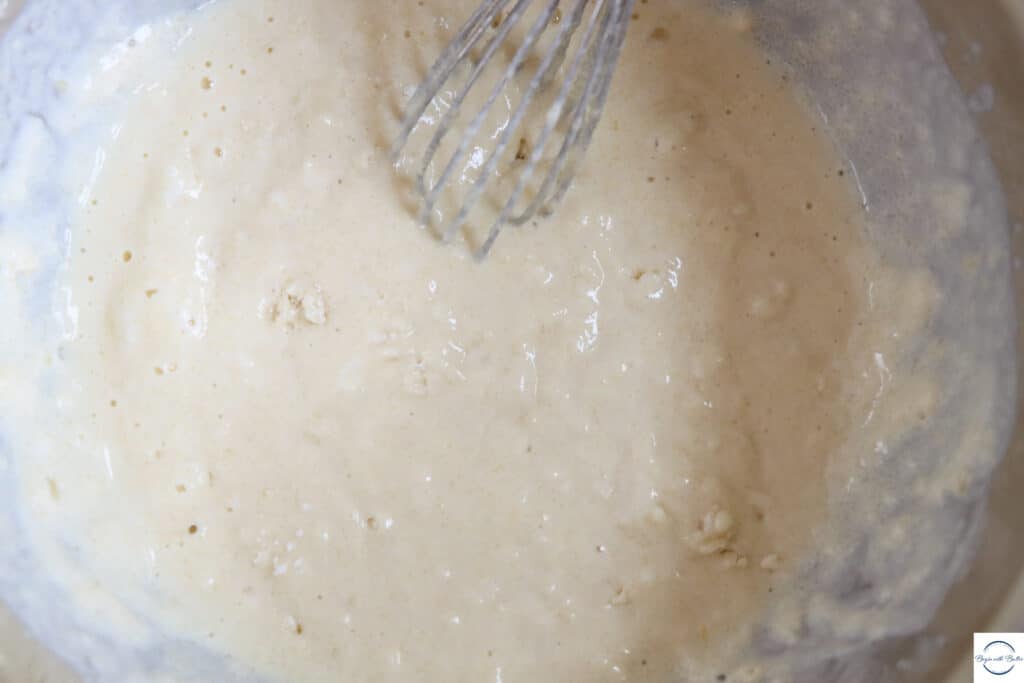
Add the wet ingredients to the dry ingredients and whisk until the mixture is the texture of a lumpy futon (really!) and there are a few streaks of flour left. Do not whisk until smooth.
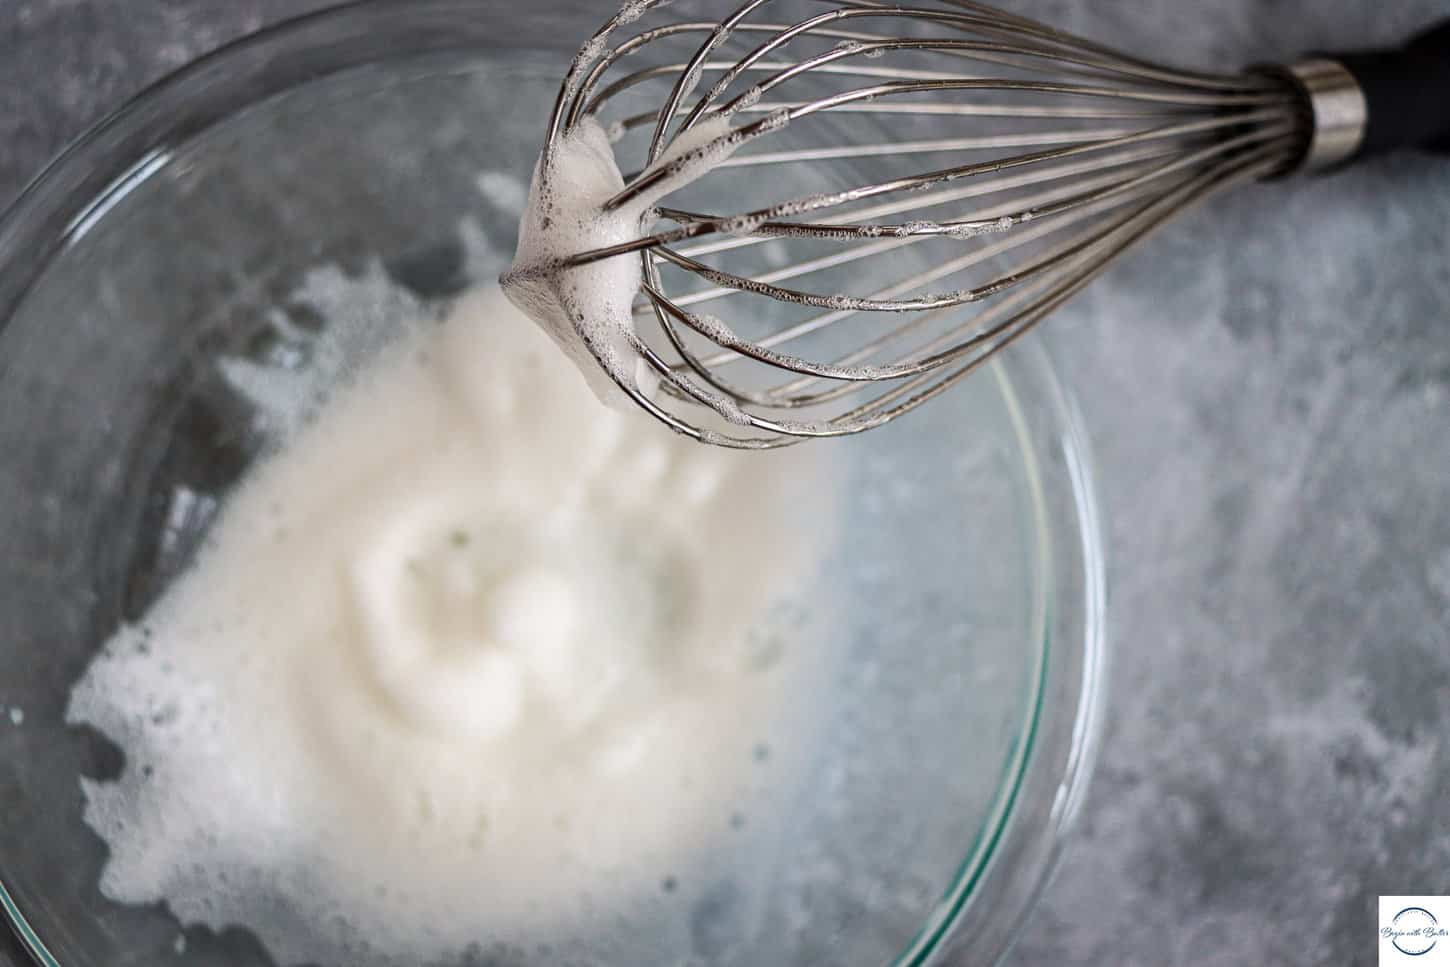
Set aside your batter and grab that balloon whisk! It’s time to whip some egg whites.
Use your balloon whisk to steadily whip your egg whites. This process can take anywhere from 2-5 minutes, depending on a number of factors:
- The temperature of the egg white (warm egg whites whip more easily);
- Whether you’re working consistently or resting your arm (which is okay!); and
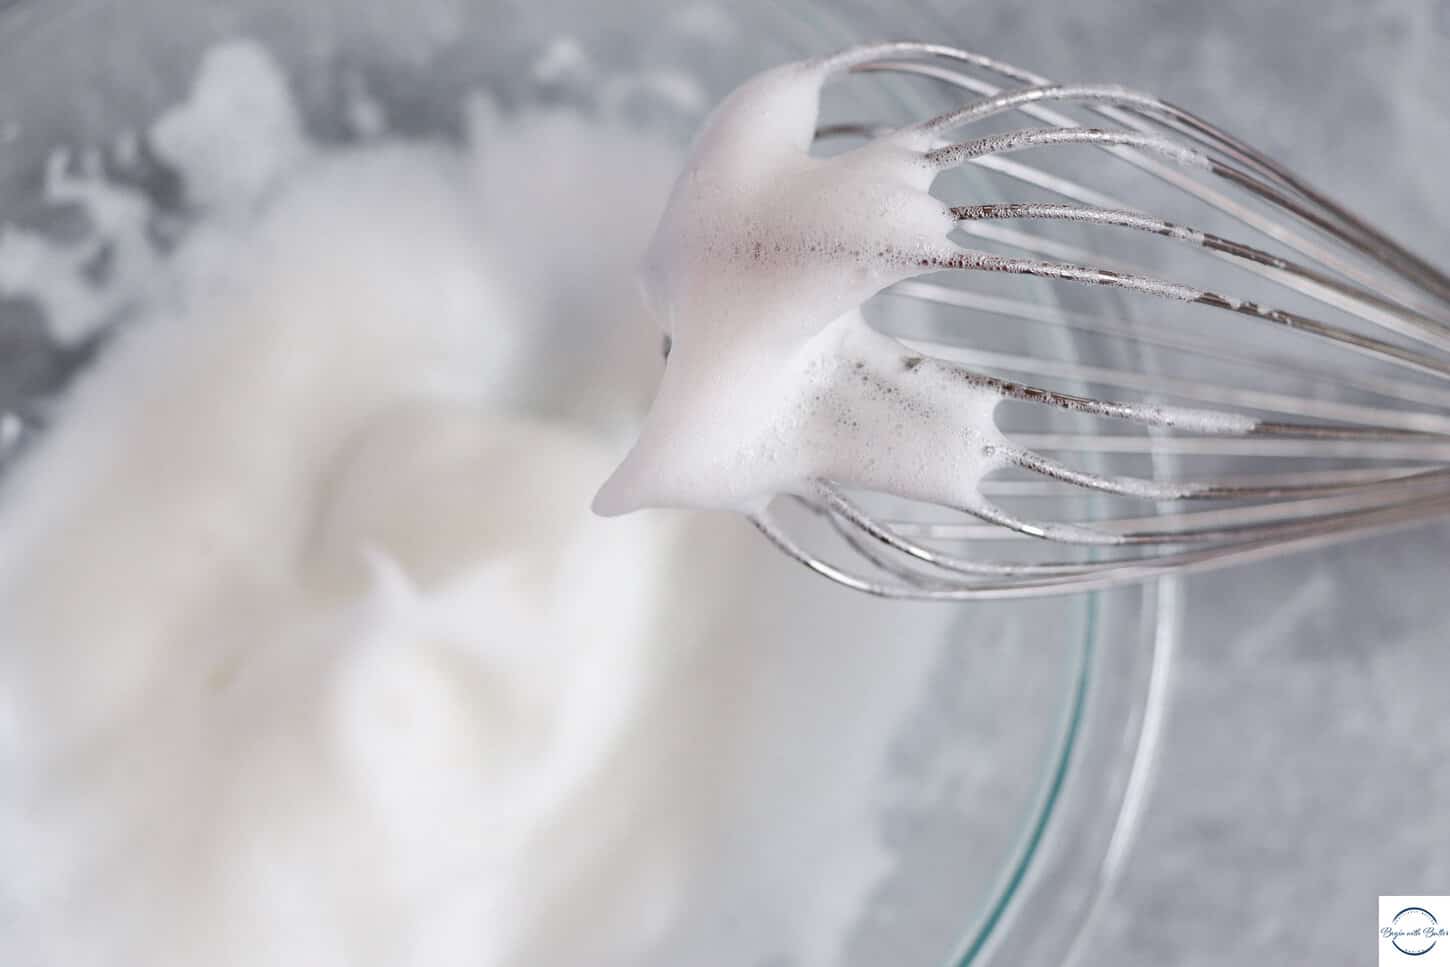
- Your technique. To reach perfectly airy egg whites, you’ll need to use a consistent, circular wrist motion. This comes with practice!
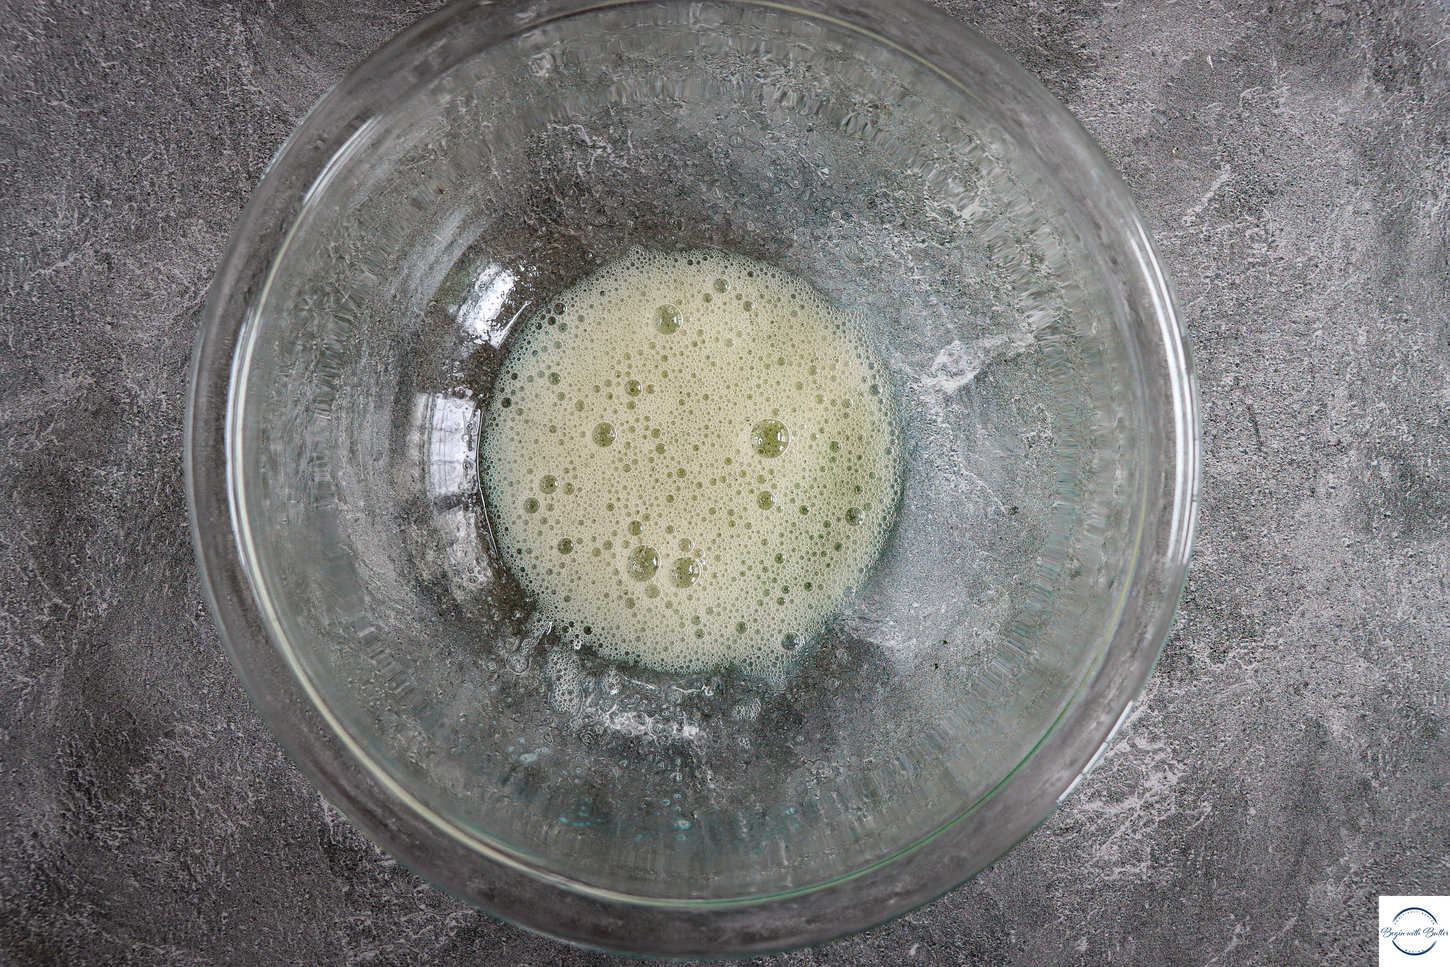
Your egg whites will go from snotty, to foamy, to…perfect.
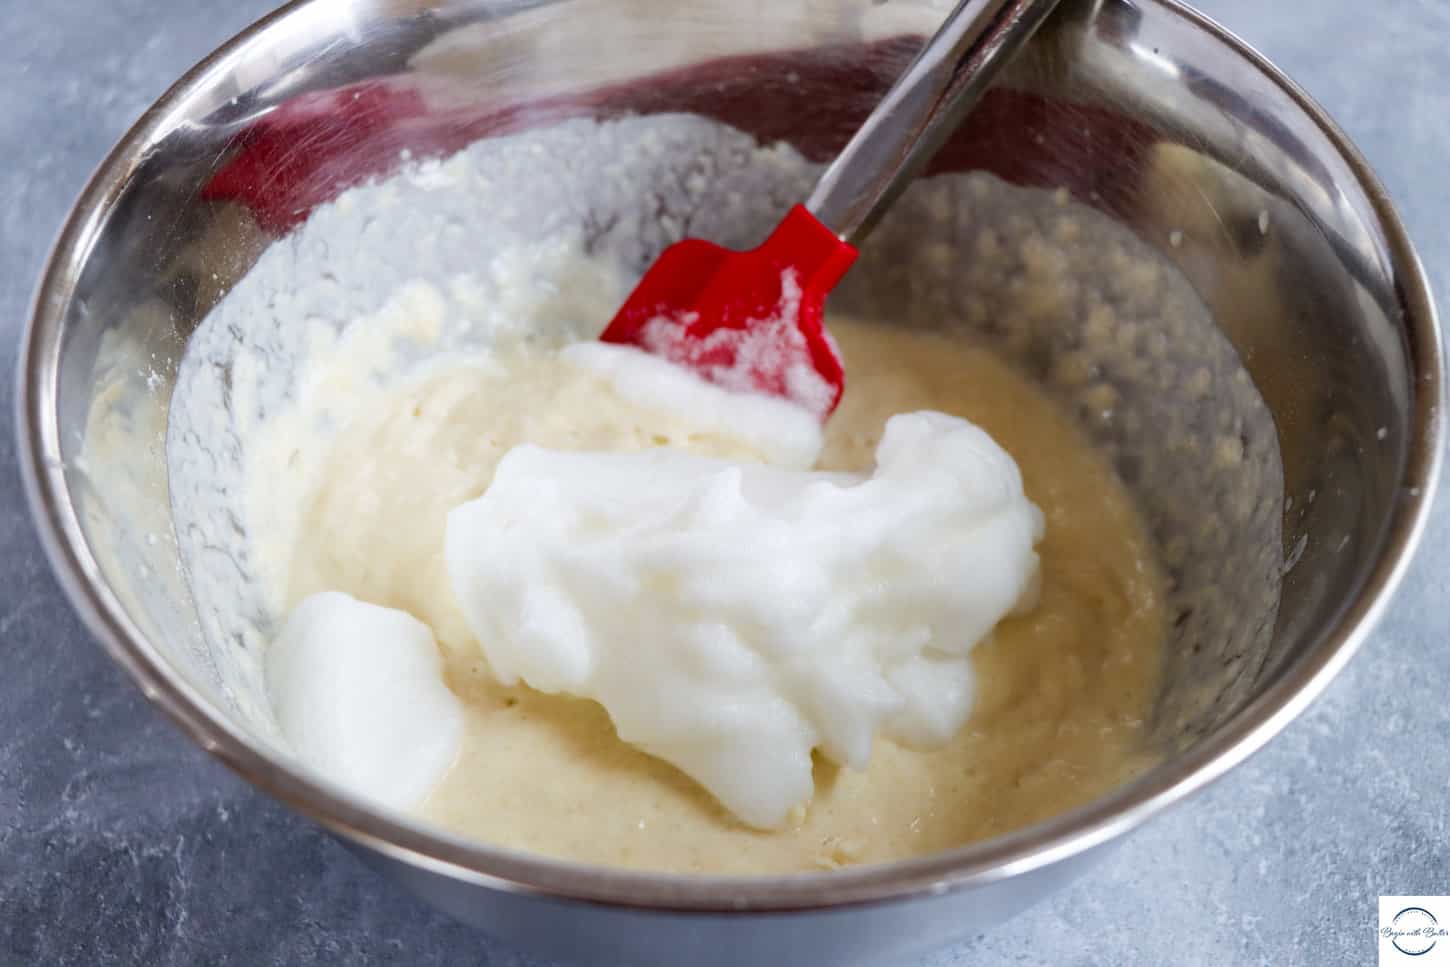
Once your egg whites are whipped properly, you’ll need to fold them into the rest of the batter. There’s an amazing Schitt’s Creek reference here, but you can see the technique for whipping and folding egg whites in this video, starting at about the 1:20 mark:
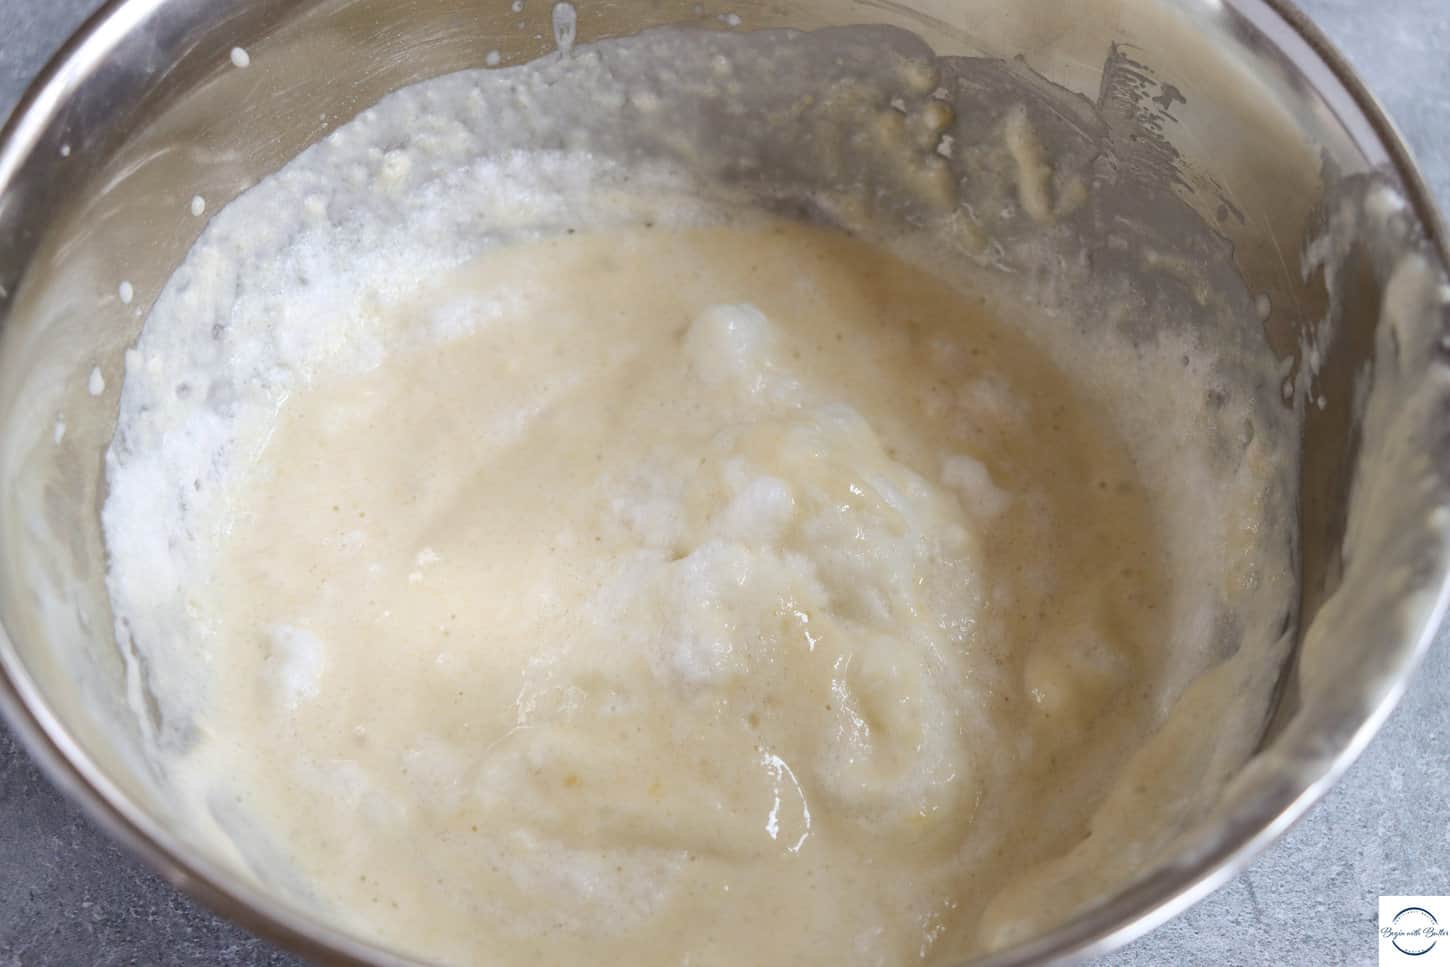
Don’t feel pressure to incorporate every atom of whipped egg white into your batter! Some exposed egg white is fine.
Once the egg whites are folded into the batter, let it rest! Resting means to just leave it alone and do something else for a while. Warm your skillet. Make bacon and eggs. Straighten your work area. Replace your messy bun with another messy bun. Anything to keep you busy for 10-30 minutes.
If you’re crunched for time, you can absolutely make these right away! Resting just allows all of the flour to moisten without additional stirring.
To make the pancakes, heat a cast-iron skillet (preferred, you can also use a non-stick pan) over medium high heat. Reduce the heat to medium and add a tablespoon of butter. Once the butter is melted, add the pancake batter. A 1/4 cup dry measuring cup works well for this task. One pancake is ideal, but you can also make two at a time in a 12″ skillet.
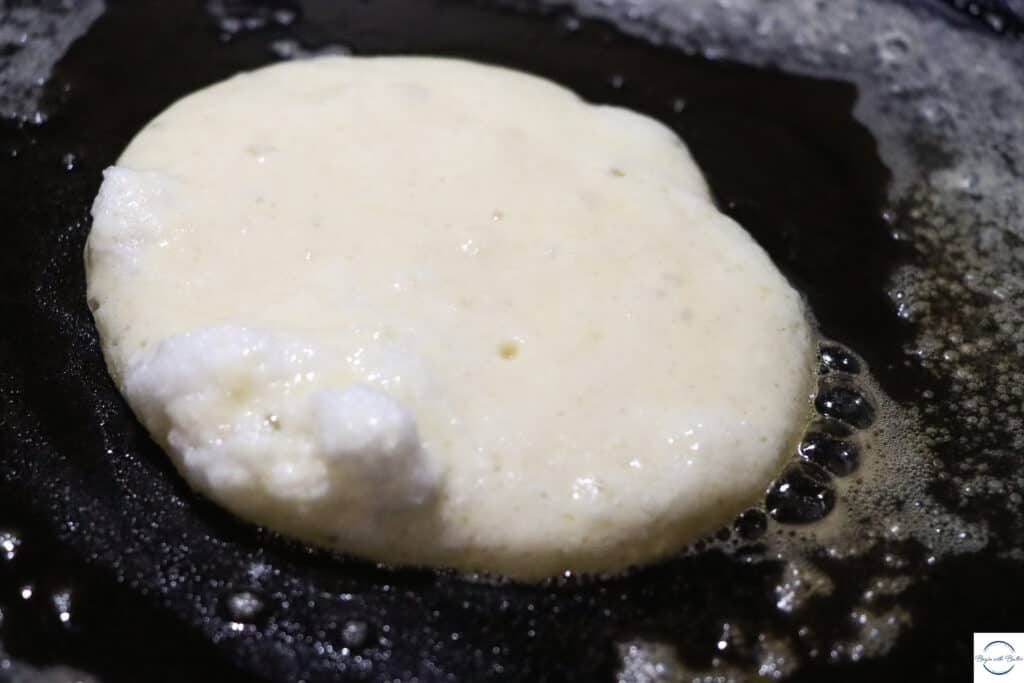
Allow the pancake to cook on the first side until there are several bubbles around the edge (60-90 seconds). Then, flip the pancake and…
I say this with all sincerity…
DO NOT TOUCH IT.
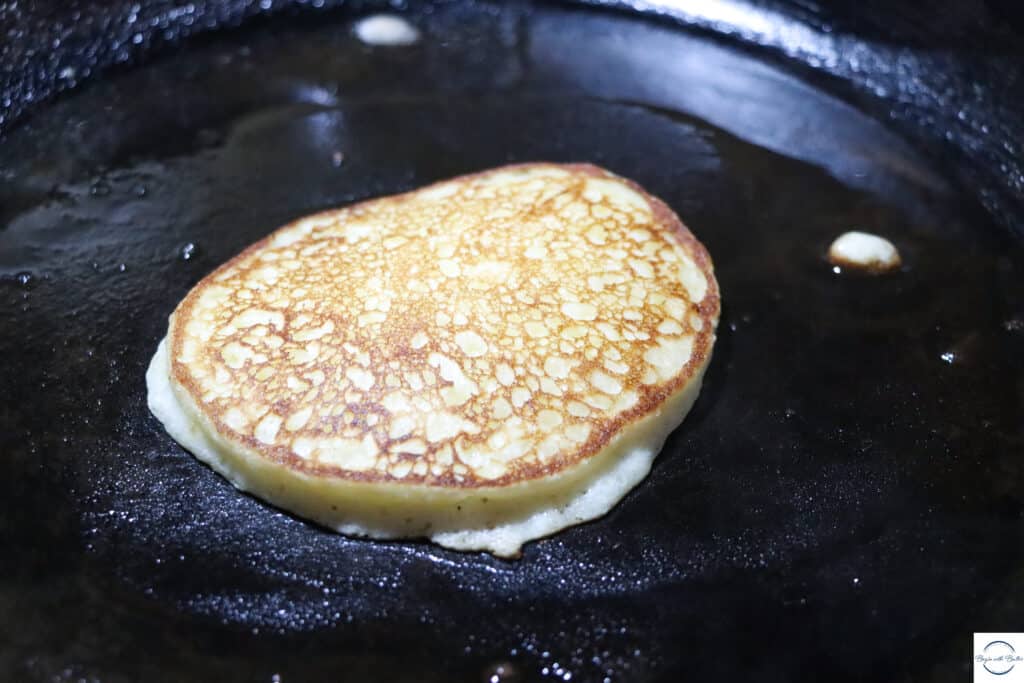
Family. Please do not smash the pancake once you turn it! Allow all of that good leavening and egg white to do its work for the next 45-60 seconds, then remove it from the pan. Repeat with the remaining batter, and then get ready to enjoy!
For special occasion pancakes, try the Creme de Cassis whipped cream! It is so simple and comes together really quickly. Pure maple syrup is also incredibly delicious in this recipe; you’re really unlimited with your toppings.
It’s my sincere hope that you’re ready to tackle these pancakes after reading this post. If you have any questions, shoot me an email or leave it in the comments! I’m always happy to offer a quick tip.
Here’s the recipe!
Print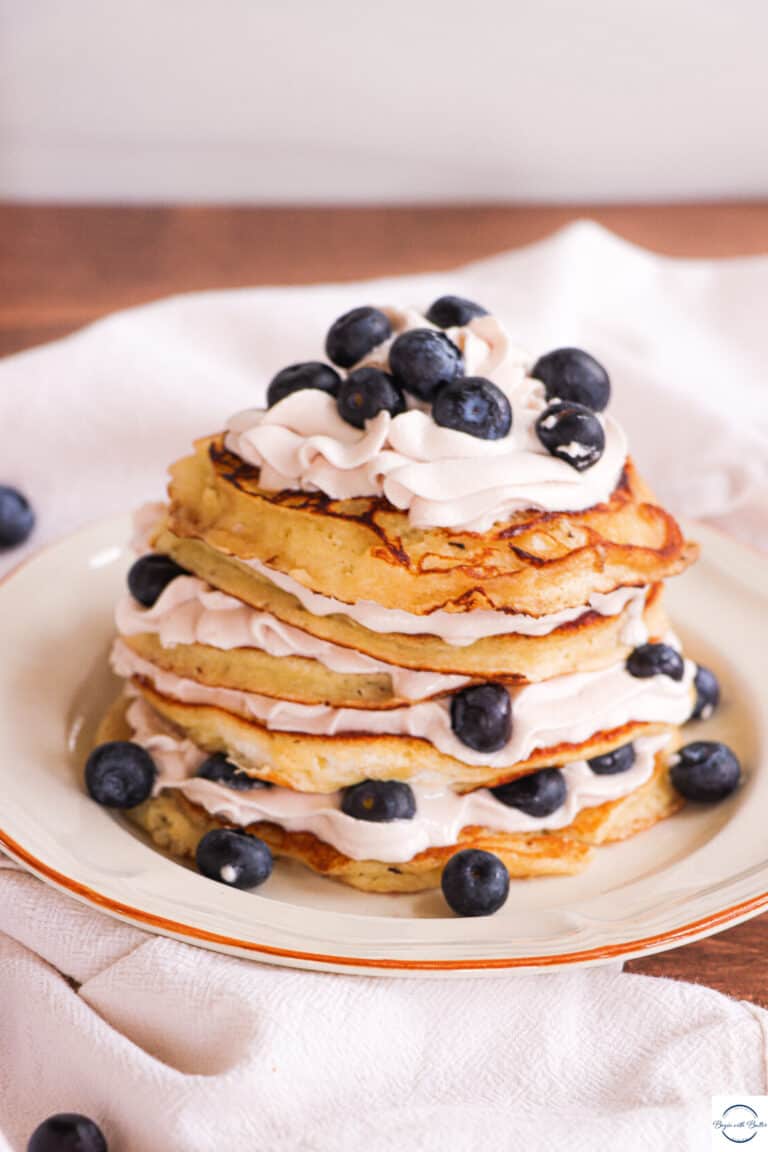
Best Buttermilk* Pancakes
These pancakes are the little black dress of the culinary world. They are delicious with pure maple syrup for an easy weekday breakfast, or they can be brunch superstar with a decadent Creme de Cassis whipped cream and fresh berries.
Ingredients
For the Pancakes:
- 128 g all purpose flour
- 2 tbsp granulated sugar
- 1 tsp baking powder
- 1/4 tsp baking soda
- 1/2 tsp kosher salt (if using table salt, reduce to 1/4 tsp)
- 188 g whole milk
- 2 tbsp white vinegar
- 1 egg, separated
- 28 g butter, melted
- 1 tsp pure vanilla extract
For the Crème de Cassis Whipped Cream:
- 250 g heavy cream, cold and shaken well
- 55 g confectioner’s sugar
- 2 tbsp Creme de Cassis (or 1 tsp pure vanilla extract)
Instructions
Instructions:
Before the Batter:
- Combine the whole milk and vinegar/lemon juice in a two-cup liquid measuring cup. Allow to sit for 5-10 minutes to “sour”.
- Separate the egg white from the yolk while the egg is cold. Place the egg white in a very clean metal or glass bowl, free of any residue (residue will prevent whites from whipping properly). Set aside until ready for use.
For the Batter:
- Sift the flour, sugar, baking powder, baking soda, and salt into a large bowl. Set aside.
- Add the egg yolk, butter, and vanilla extract to the milk mixture. Whisk until very well combined.
- Add the wet mixture to the dry ingredients and stir gently with a whisk. Stop when the batter is the texture of a lumpy futon, with a few streaks of flour remaining.
- Using a balloon whisk or mixer with a whisk attachment, whip the egg whites until they reach stiff peaks.
- Fold egg whites into the batter, taking care not to over-mix. The batter will have streaks of egg whites when you are done and this is okay!
- If time permits, allow the batter to rest for 10-30 minutes. This will let the flour naturally and fully mix into the batter.
To Make the Pancakes:
- Heat a cast iron skillet to medium-high heat. Reduce the heat to medium and add two tablespoons of butter.
- Use a 1/4 cup measuring cup to add batter to the cast iron skillet. Cook until there are several bubbles around the edges of the pancakes. (~90 seconds)
- Turn the pancake and, for the love of everything good in the world, please do not smash it down after turning. Allow the pancake to cook for another 45 seconds-1 minute, or until both sides are golden brown.
- Remove the pancake from the skillet to a clean plate.
- Repeat with the rest of the batter, turning down the temperature if the skillet begins to smoke. Replace butter as needed to cook the pancakes.
To Make the Creme de Cassis Whipped Cream:
- In the bowl of a stand mixer, add the cold heavy cream and confectioner’s sugar. You can also do this task by hand with a balloon whisk and a large bowl.
- Using the mixer’s whisk attachment, whisk on high speed (on a Kitchenaid, between 8-10) for about 30 seconds, or until the mixture begins to form soft peaks. If doing by hand, this process takes about 2-4 minutes.
- Add the Crème de Cassis and whip on high speed until the mixture forms semi-stiff peaks. With a stand mixer, this can take as few as 10 seconds. If doing this by hand, it can take between 30 seconds and 2 minutes.
- Don’t walk away from the mixer while it’s working! Whipped cream happens fast and you don’t want to it to break.
- Top the pancakes with maple syrup, whipped cream, fresh berries, or your favorite pancake topping and enjoy!
Notes
- This recipe uses the only baking substitution that I currently use: the buttermilk hack. I like this hack because buttermilk can be difficult to source for some, and this hack works just as well as the real thing in this recipe. If you have actual buttermilk, feel free to use 1 cup (250 mL) in this recipe.
Check us out in Instagram!