BBs, I was born in the 70s, grew up in the 80s, and came of age in the 90s. And there was one through line that existed at every birthday party during those years: Vanilla Cake with Chocolate Frosting. Like, there might or might not be a piñata. There might or might not be Red Rover. There might or might not be a trampoline. And the birthday party itself might or might not be at a local McDonalds. These were all variables. One thing never varied, however, and that thing was VANILLA CAKE WITH CHOCOLATE FROSTING. And after the interminable present-opening festivities, where the birthday kid ripped through every gift with fervor whilst their parents oohed and aahed at every gift (which was so annoying), that chocolate-wrapped cake was the gift that we could all enjoy.

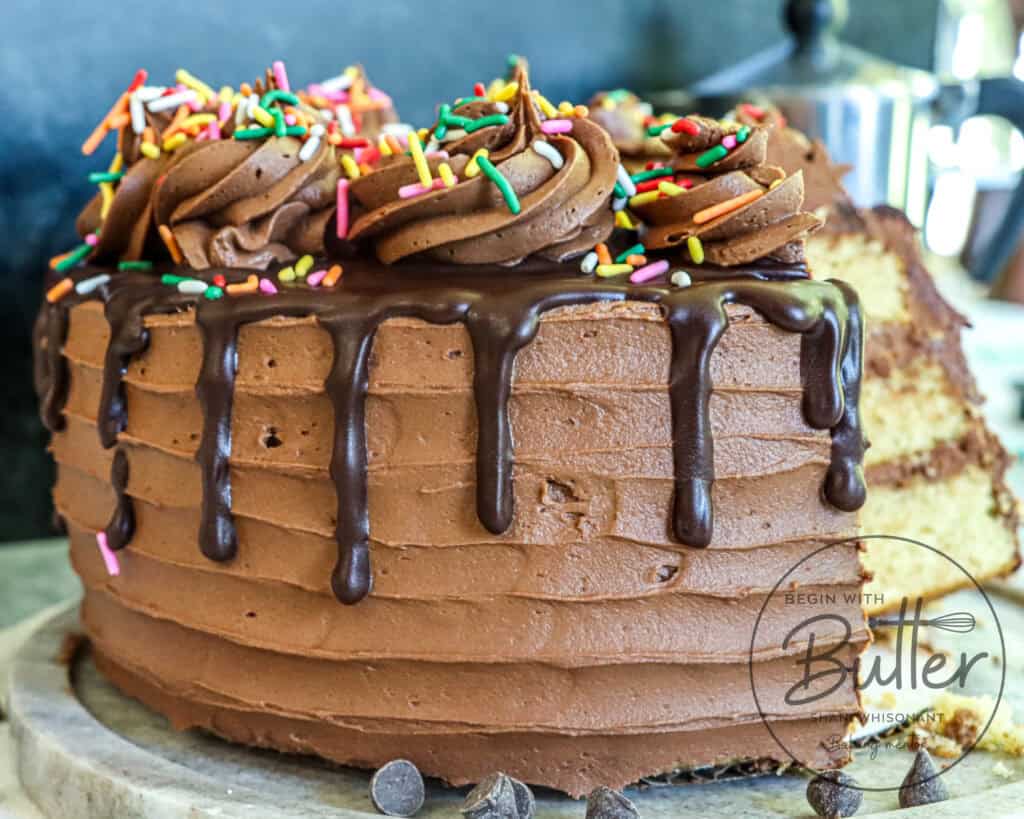
Fast forward to 2024: my good friend Britney gently reminded me that I own a whole baking website, and I lacked a basic birthday cake (mon dieu!). Immediately after she said that, the only cake that came to mind was – you guessed it – Vanilla Cake with Chocolate Frosting. But it had to be a BwB cake, so I added a few fun touches to make it truly sing. And sing it does. BB, the brown butter gives the very special vanilla cake a nutty, caramel flavor that is impossible to ignore. Then, there’s the perfectly chocolatey, rich frosting that pulls it together. And, for the ultimate rich auntie effect, there’s an optional chocolate ganache drip around the sides.
And sprinkles for whimsy. 😊
In this Post:
Ingredients in this Brown Butter Vanilla Cake
All-purpose flour: All-purpose flour provides structure and texture to the cake, thanks to its higher level of protein. We’re using all-purpose flour instead of cake flour in this special cake to achieve the tender, dense, moist texture of a classic yellow cake. Cake flour has a lower protein content, which would result in a delicate, tender crumb, but we want the slightly heartier texture of a traditional yellow cake. All-purpose flour delivers just that, while still providing a tender and fine-grained crumb.
Cornstarch: This sneaky addition is a master of moisture control, absorbing excess liquid and ensuring our cake stays tender, not soggy. It’s like a tiny sponge, soaking up the extra wetness and keeping things just right! Additionally, cornstarch helps to reduce gluten formation just enough, so that we can still get those delicate moist crumbs on with each beautiful bite.
Baking soda: This cake uses buttermilk, so baking soda is the appropriate leavening. (Want to know more about leavening? Check out this BwB article!)
Kosher Salt: Salt is very important in any dessert; it balances the sugar and keeps the dessert from becoming cloyingly sweet. If using table salt for this recipe, cut the amount in half. Using salt in this recipe is particularly important, as the salt cuts the richness of all of the chocolate as well!
Brown butter: Brown butter sounds like an impossible ingredient but it’s not! Brown butter is simply what happens when butter meets sustained heat, transforming into a rich, aromatic delight with beautifully caramelized milk solids at the bottom. Don’t worry; I’ll tell you how to make it and use it in this recipe!
Granulated sugar: Granulated sugar gives our cake the sweetness that it needs, but did you know that granulated sugar is also responsible for caramelization too? In this cake, the granulated sugar actually enhances the brown butter effect, creating a deep, rich flavor profile. As the sugar caramelizes, it develops a golden-brown color and a nutty, toasted flavor that perfectly complements the brown butter in the finished cake. The caramelized sugar and brown butter truly create an unforgettable taste experience!
Eggs: The protein in the eggs adds structure to the cake, while the fatty yolk adds delicious flavor. This recipe calls for four eggs, which might seem like a lot. Trust me, it’s perfection.
Pure vanilla extract: The vanilla part of our vanilla cake! I tested both vanilla beans and pure vanilla extract, and landed on pure vanilla extract. Pure vanilla extract much more accessible than vanilla beans, and I felt that using vanilla extract would be more true to the classic dessert. If you want to take it up a notch, scrunch a vanilla bean in with your sugar and cream it with your brown butter! It’s heaven.
Buttermilk: This tangy, creamy dream adds moisture, tenderness, and a hint of acidity – all while reacting with our baking soda and creating a tender crumb! Make sure to use room temperature buttermilk, as this allows it to mix seamlessly with the other ingredients and creates a smooth, even batter. Cold buttermilk can lead to a dense or lumpy texture, so take the time to let it come to room temperature before using!


About Brown Butter
In this cake, we do a special process with the butter. We create brown butter. Then, we refrigerate it to allow it to re-solidify, and we allow it to come to room temperature again with our buttermilk and eggs to make an incredible dessert.
But let’s address the “what” and “why” of brown butter.
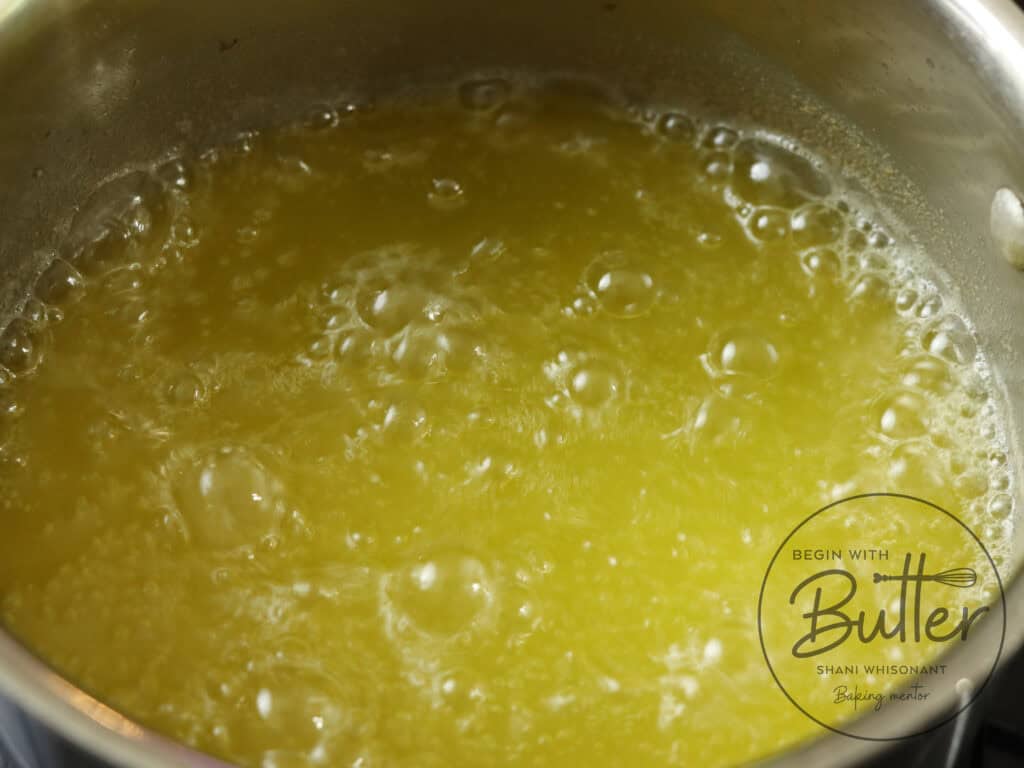
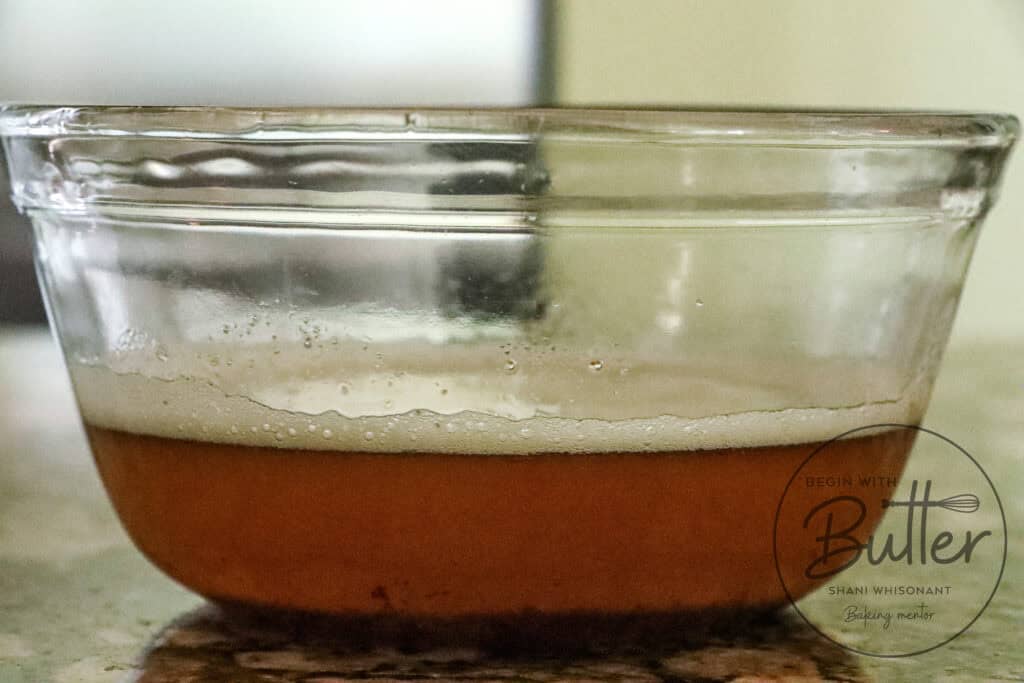
Brown butter is simply butter, heated over medium heat for an extended period of time. During the heating period, the butter will go through phases. First, the butter will melt and become the silky smooth butter that’s perfect for popcorn (yum). Next, as the milk solids in the butter start to separate from the water, you’ll see lots and lots of bubbles. This is when you want to start stirring and don’t stop.
As you continue to gently stir while the butter is working over medium heat, you’ll notice that the bubbles begin to reduce. This, Friend, is where brown butter can become very tricky. Because as soon as the milk solids caramelize (turn brown), that’s when you want to stop. You can expect the brown milk solids before the bubbles are completely eliminated. But, as you continue to gently stir, you’ll see them: beautiful brown bits in the bottom of your stainless steel pan.
Why do you want to use brown butter? Well, brown butter adds a deep, irreplaceable flavor to anything it touches. It’s nutty and caramel-y and rich. And that only comes with this special ingredient. While using it can be a touch tricky at times, it is always worth the effort.
How to Brown Butter: A Photo Tutorial
The process of browning butter is actually quite simple. You just need to remember to go slowly and stir once the butter has melted.
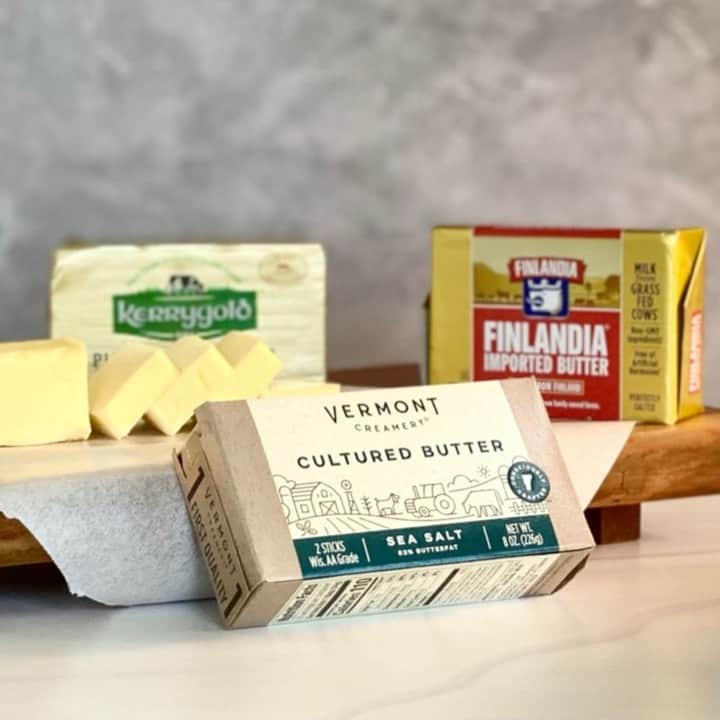
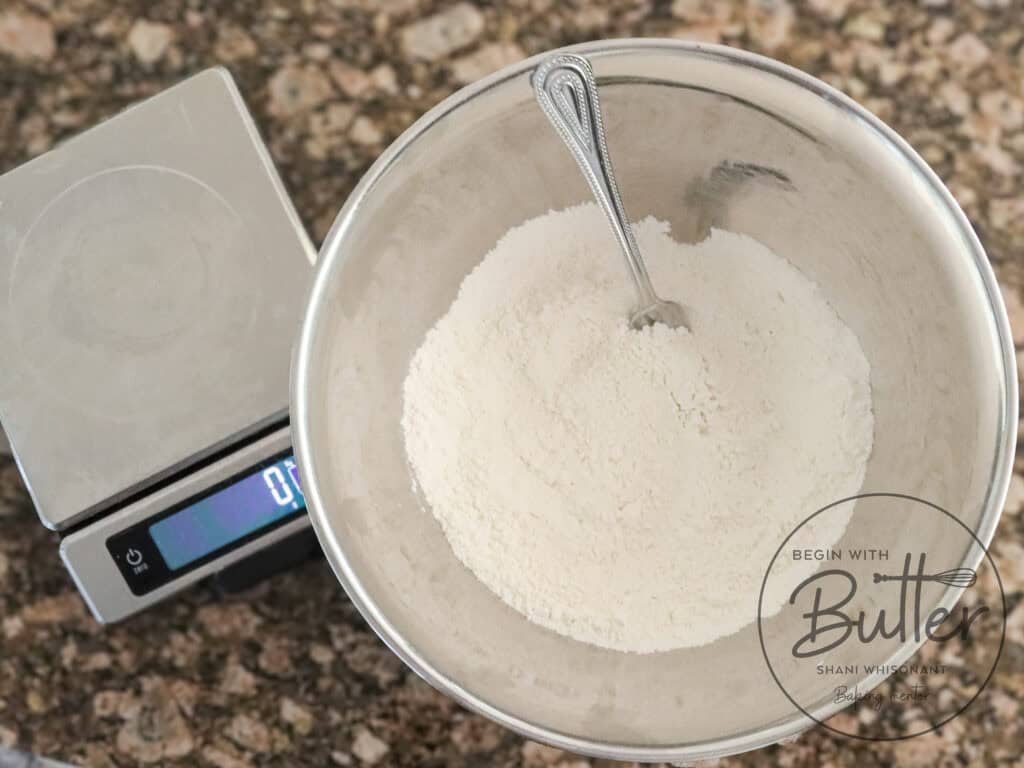
First, you’ll place the amount of butter that you need in a small saucepan. Use the best butter that you can source for this adventure!

Place the saucepan on a stovetop over medium heat. Leave it alone for a few minutes while it melts. You don’t have to stir at this point; you’d only be stirring solid butter anyway. 😂
Once the butter melts completely, you’ll need to start stirring. You do want to stir regularly, but you don’t have to stir constantly. The reason for stirring is this: the milk solids that are part of the butter will separate from the water and fat in the butter and those milk solids will go to the bottom of the pot and stay there (and burn!) if they’re not stirred on a regular basis. If that happens, the milk solids will burn before the rest of the butter gets to be a gorgeous amber color.
As it cooks (and you’re stirring), the brown butter will change color; it will go from light yellow (melted) to golden, to an amber hue with the butter solids at the bottom. During this process, you’ll also notice that the top of the butter gets very bubbly!

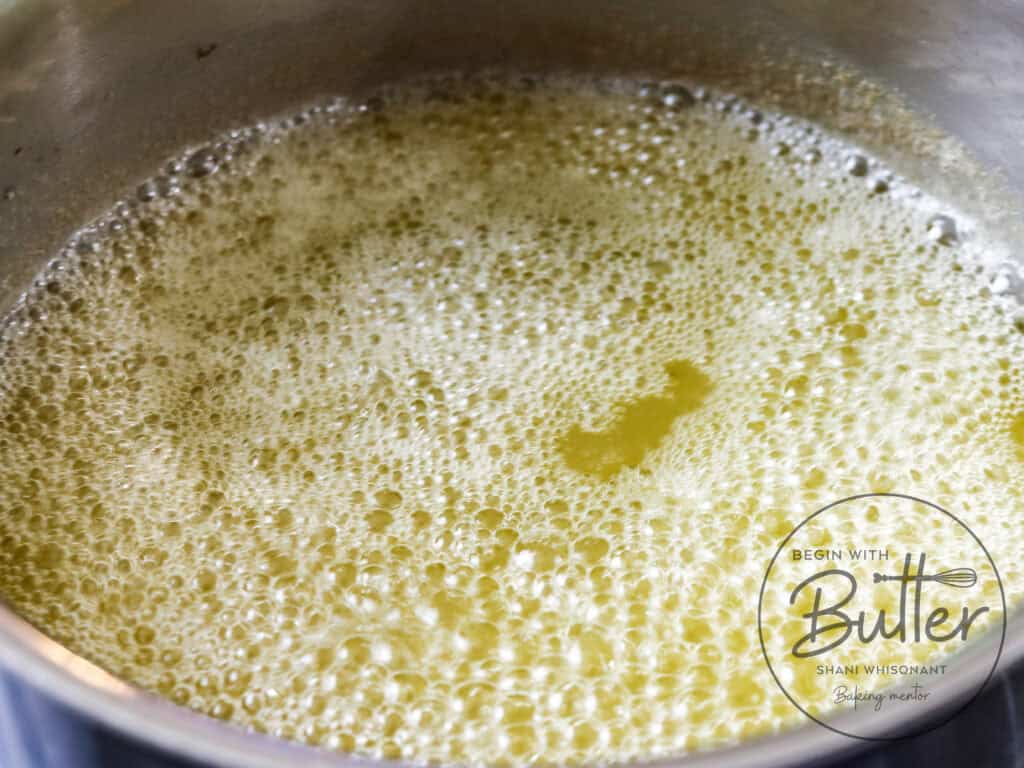

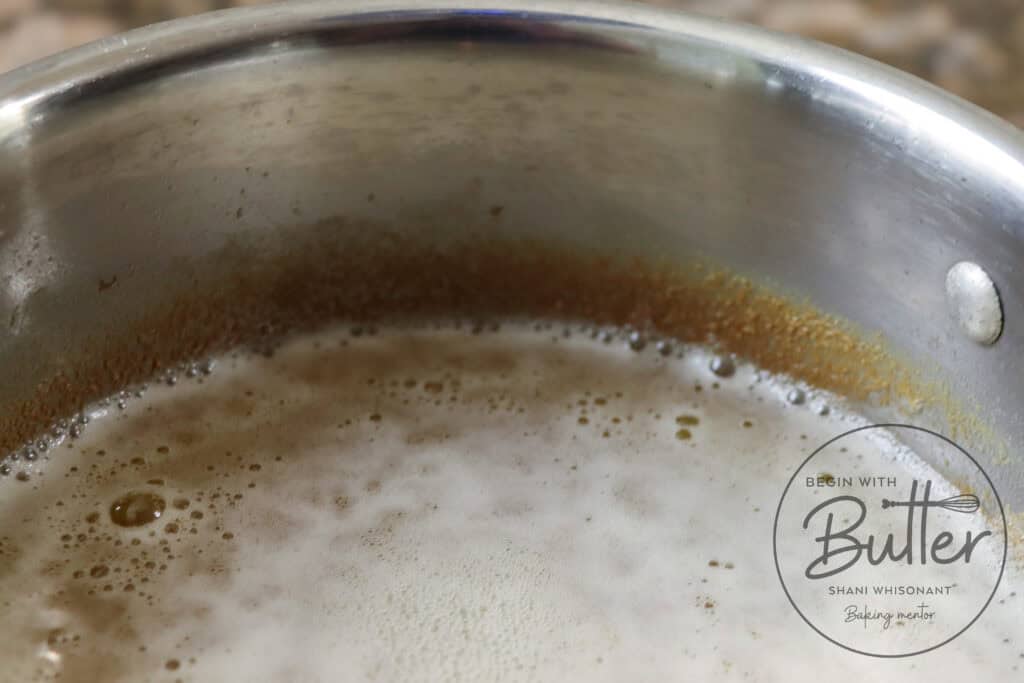
The bubbles can actually make it difficult to see what’s going on underneath. Pro tip: I look at the milk solids on the side of my pot, because those will loosely inform me when the milk solids underneath are done!
You’ll know you’re done with this step when you smell positively gorgeous nutty, caramel-y scent in your kitchen. Once you’re done, remove the brown butter from your heat immediately to a heat proof container.
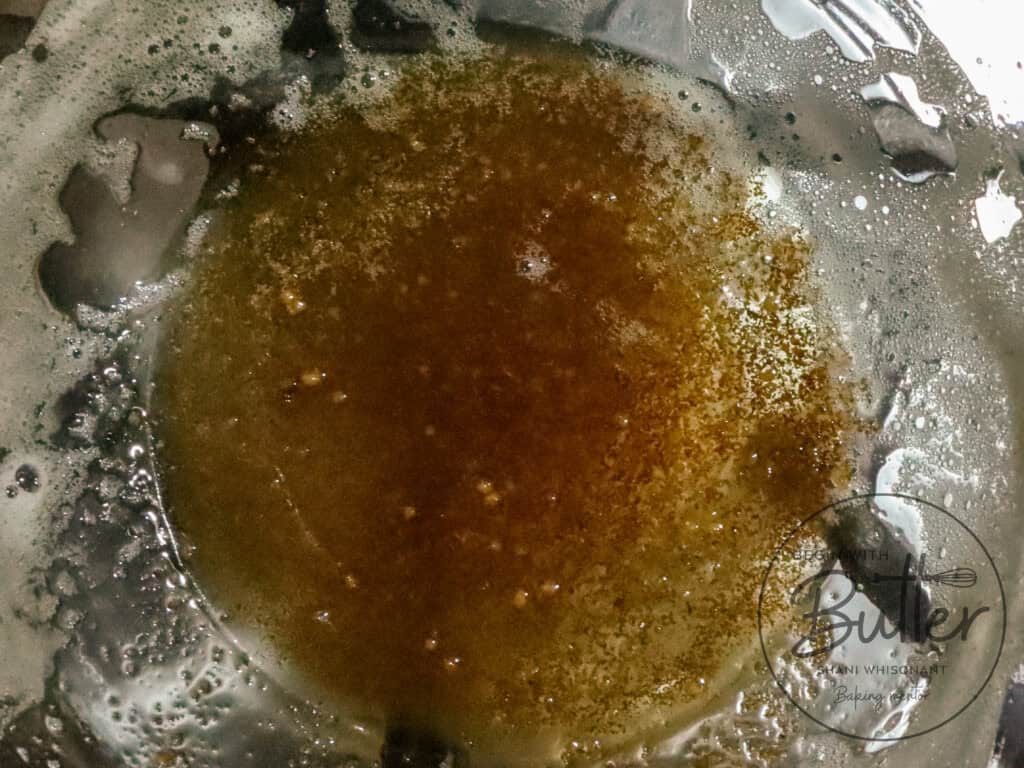
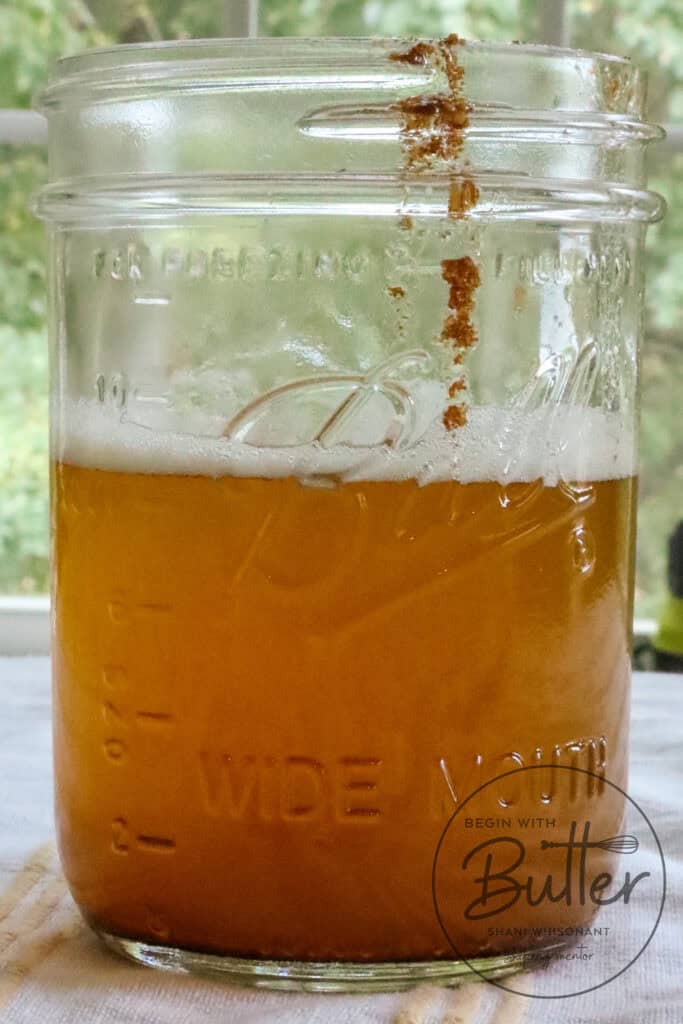
Allow the brown butter to cool to room temperature, then place it in the refrigerator until an hour before baking. In this recipe, we’ll be creaming brown butter with sugar to make the most delicious base for our vanilla cake! So the brown butter needs to be cooled and brought to room temperature for baking. 😊
Congratulations! You’ve made brown butter! Now you can use it in literally everything, because it is truly the best butter ever.
Beginners Start Here
If you’re new to baking, or if you want to learn how to do some of the more tricky baking techniques, here are a couple of super helpful articles from the BwB site that will help you get set up for success with this amazing Brown Butter Vanilla Cake.
- Meet Your Kitchen BFF–Your Digital Kitchen Scale!
- How to Cream Butter and Sugar (With New Video!)
- Baking 101: How to Measure Ingredients
- Knowing When to Stop a Technique
- Sifting: Quick Technique. Huge Impact.
- Three Tips for Amazing Home Cooks Who Want to be Amazing Bakers
- Do I Need Baking Powder or Baking Soda?
- The Basics of Butter
These resources are super helpful to help you build consistency and confidence on your baking journey, and specifically with this special cake. Happy Reading!

Important Tools Used in this Brown Butter Vanilla Cake
I am so happy to announce that Begin with Butter has its own Amazon Storefront, where you can find all of the amazing equipment that I used in this Brown Butter Vanilla Cake! Want even more specific links? Check out the recommendations, below.
I do get paid a commission when you purchase, but these are the tools that I use all the time in my own kitchen.
If you have these tools already, great! Think of this as a checklist to help you build the confidence that you’ll need to execute this recipe!
- My Favorite 8″ Layer Cake Pans
- Oven Thermometer
- Digital Food Scale
- KitchenAid Hand Mixer
- KitchenAid Stand Mixer
- Stainless Steel Mixing Bowl Set
- OXO Spatula Set
- Sifter
- Fine Mesh Strainer
- Cake Decorating Turntable
I do love this take on the classic cake, BB. I hope you enjoy making it, and that it becomes a favorite in your household like it has in mine. And don’t forget to tag me on Instagram @beginwithbutter so that I can shout out your success!
")


")