This post contains affiliate links. While I receive a small commission if you purchase from these links, they are products that I use and trust in my own kitchen.
Though quiche has a rep for being difficult, that is WRONG. That is all the way wrong. Quiche sounds like something high brow and fancy, and it absolutely can be, but it can also be a beautifully rustic, delicious family meal that can be enjoyed any time of day, whether it’s breakfast, brunch or dinner. And whether it’s rustic or entirely refined, quiche is incredibly simple to make.
So let’s get to this, my favorite quiche recipe.
About this Quiche Recipe
Quiche is the quintessential brunch dish! A perfectly baked quiche can elevate any gathering, from a casual breakfast to a fancy dinner party. But what makes a quiche truly special? It all starts with the crust – a flaky, tender, and deliciously buttery crust that’s the perfect base for a rich and creamy filling.
Quiche reminds us to not get too serious with our food. Take time to enjoy the process, and also to enjoy the outcome. It will take practice, but that practice will more than pay off in the end.
In this post, I’ll share my favorite quiche recipe, featuring a step-by-step guide to crafting the perfect all-butter pie crust. We’ll also dive into the secrets for creating a silky smooth filling, packed with flavor and perfectly balanced.
The Anatomy of a Quiche
Before we dive into the recipe, let’s break down the components of a quiche:
- Crust: The foundation of a quiche, made with all-purpose flour, cold butter, and ice-cold water. The crust provides a flaky, tender base for the filling.
- Filling: Alright, let’s talk about the magic that is the egg mixture! Picture this – whisking together those glorious eggs, half and half, and a sprinkle of salt and pepper creates a creamy, dreamy base for your quiche. And here’s the best part – the egg mixture totally customizable! You can jazz it up with your favorite cheeses, meats, and veggies to create a quiche that’s uniquely yours. So go ahead, get whisking and unleash your creativity with this egg-citing mixture! Your taste buds will thank you.
Quiche Filling Ingredients: A World of Possibilities
Here are the ingredients that make up the basic filling. Each has its own unique personality, and they work together to make an amazing quiche base.
- Eggs: The ultimate team players, eggs bring creaminess, richness, and a hint of sweetness to the quiche. They’re the glue that holds everything together! Every recipe developer has their favorite ratio of eggs to dairy in their quiche, and I prefer my quiche to have a bit more egg flavor.
- Half and Half: This luxurious liquid is the quiche’s best friend, adding a silky smoothness and a touch of sweetness. It’s like a warm hug for your taste buds! With its high fat content, half and half makes the quiche feel like a decadent treat. If you don’t have access to half and half, use half whole milk and half heavy cream instead!
- Kosher Salt: The salty sweetheart of the quiche world, kosher salt brings out the best in every ingredient. It’s like a flavor enhancer and a quiche therapist all in one! Sprinkle it on, and watch your quiche transform into a masterpiece.
- Black Pepper: The sassy spice that adds a kick to the quiche, black pepper is not afraid to speak its mind. With its sharp, peppery flavor, it cuts through the richness and keeps things real. Freshly ground black pepper is like a wake-up call for your taste buds!
- Cheese Options (these are my faves, but by no means are they the only options!):
- Sharp Cheddar: The charming chameleon of cheeses, cheddar can be sharp, smooth, or somewhere in between. It adds a tangy flavor and a creamy texture that’ll make you swoon! You can use sharp or mild, and cheddar is always a crowd-pleaser.
- Parmesan: This sophisticated Italian cheese is is nutty, salty, and utterly irresistible. With its crumbly texture and umami flavor, it adds depth and complexity to the quiche. Sprinkle it on, and you’ll be transported to the Tuscan countryside!
- Feta: This feisty Greek cheese, is tangy, salty, a little bit sassy, and crazy delicious. With its crumbly texture and creamy interior, it adds a delightful contrast to the quiche!
Vegetable and Meat Add-in Ideas (again, you’re limited only by your imagination!):
- Spinach: Adds a burst of nutrients and flavor, with a soft, wilted texture.
- Mushrooms: Earthy and savory, with a meaty texture that pairs well with cheese.
- Broccolini: Crunchy and delicious, with a subtle bitterness that balances the richness.
- Onions or Shallots: Sweet and caramelized, adding a depth of flavor and crunchy texture.
- Tomatoes: Fresh and tangy, with a burst of juicy flavor.
- Pork or Turkey Breakfast Sausage: Spicy and meaty, with a crumbly texture that adds a nice contrast.
- Crispy Pork Bacon: Smoky and indulgent, with a crunchy texture that adds a satisfying bite.
- Green Onions:Green onions add a pungent flavor and crunchy texture to the quiche, balancing the richness of the eggs, cream, and cheese. They also provide a pop of color, making the dish more visually appealing. Fresh and flavorful green onions are essential for creating a delicious and well-rounded quiche.
- Asparagus: Asparagus brings a delicate, earthy flavor and tender texture to the quiche, complementing the savory eggs and cheese. Its subtle bitterness cuts through the richness of the cream, creating a beautifully balanced flavor profile. Fresh asparagus is essential for achieving the right texture and flavor, so choose thick, tender spears for the best results.
Crafting the Perfect Quiche Crust: A Photo Tutorial (you can also check out my photo tutorial for my Easy All-Butter Pie Crust for even more tips!)
Step 1: Combine Dry Ingredients
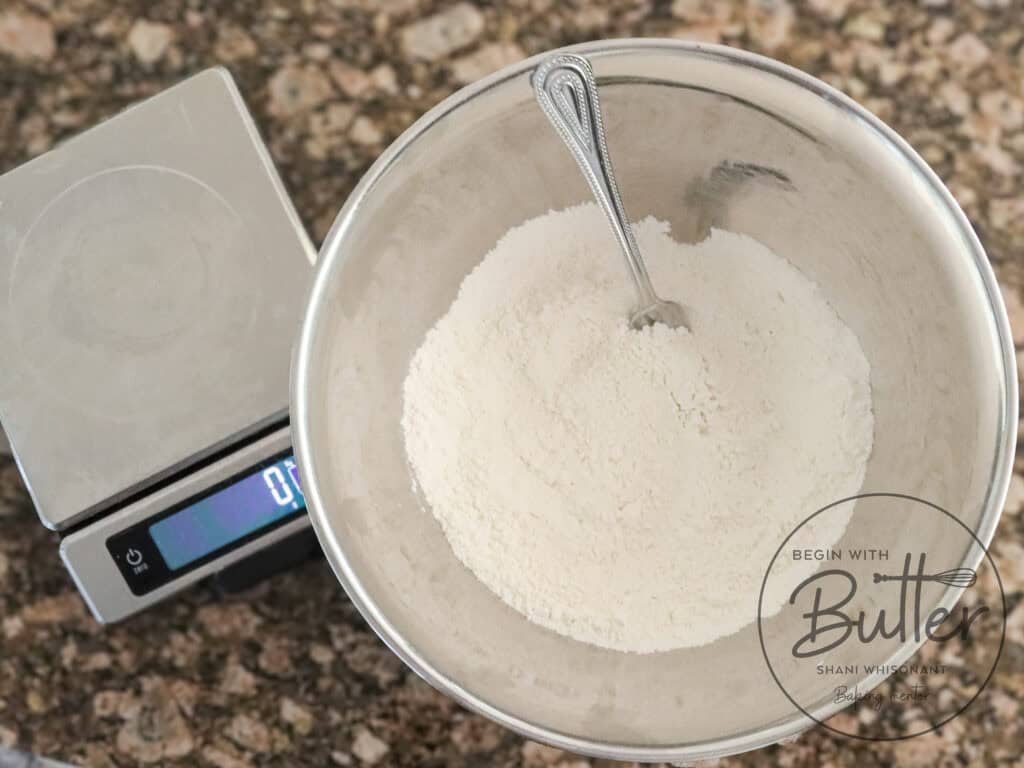
Combine 264g of all-purpose flour and 1/4 tsp of fine sea salt in a large mixing bowl. Stir with a fork to combine.
Step 2: Add Cold Butter
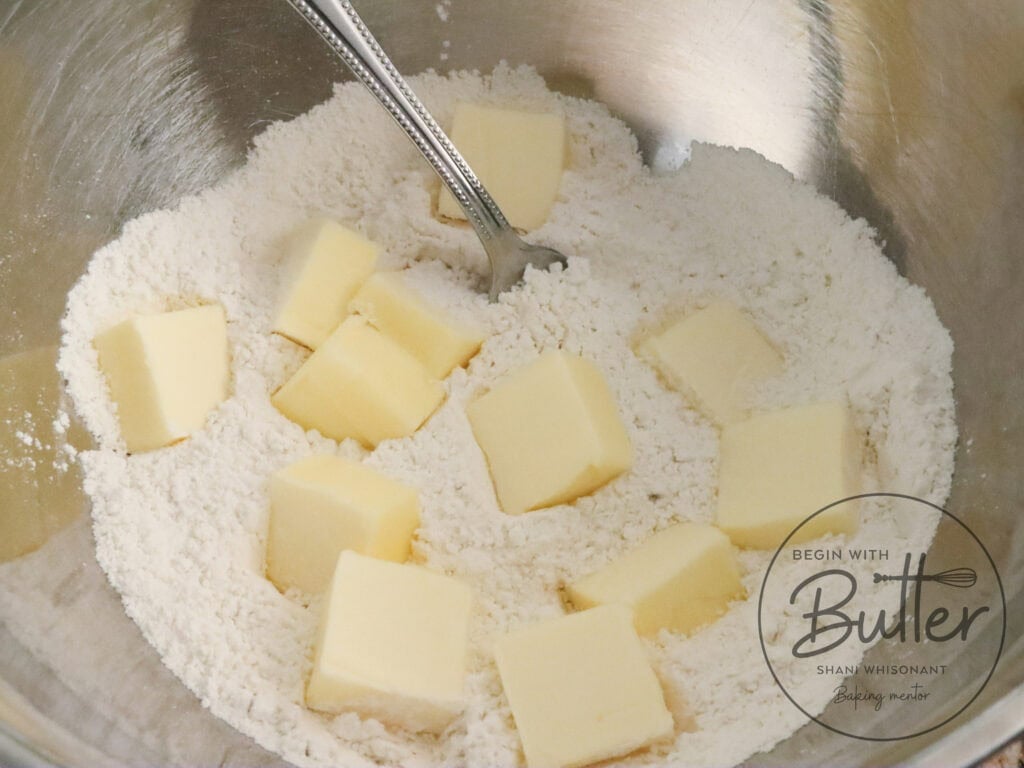
Add 182g of cold butter to the flour mixture.
Step 3: Cover Butter with Flour
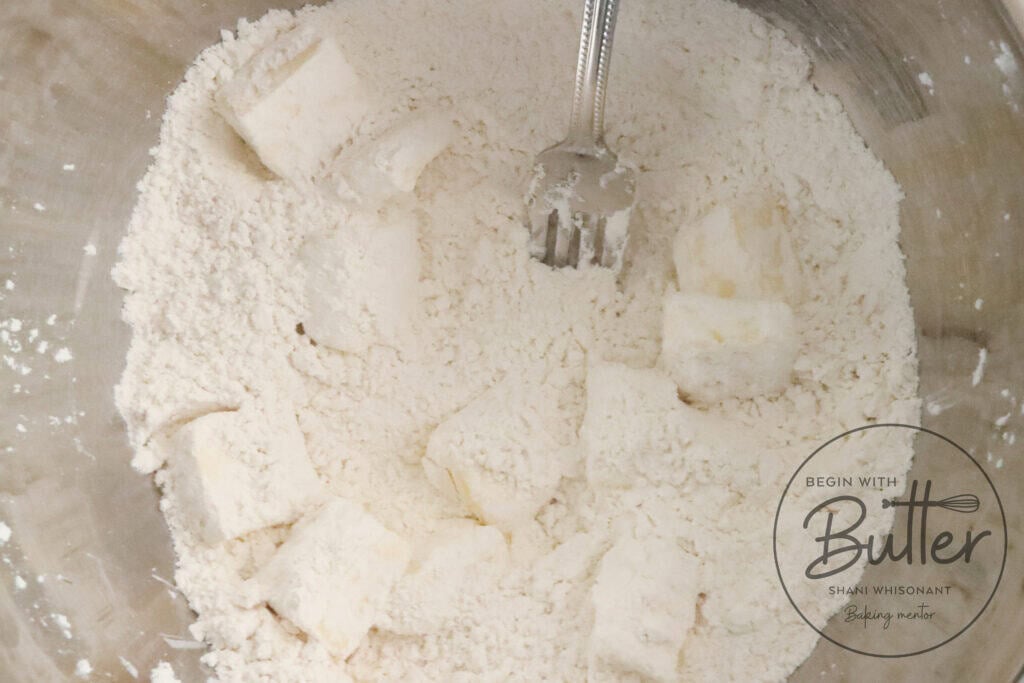
Stir the flour and butter together in order to coat the cold butter with flour. This will help prevent it from sticking to the pastry cutter as much (though it will still stick a bit!).
Step 4: Cut Butter into Flour
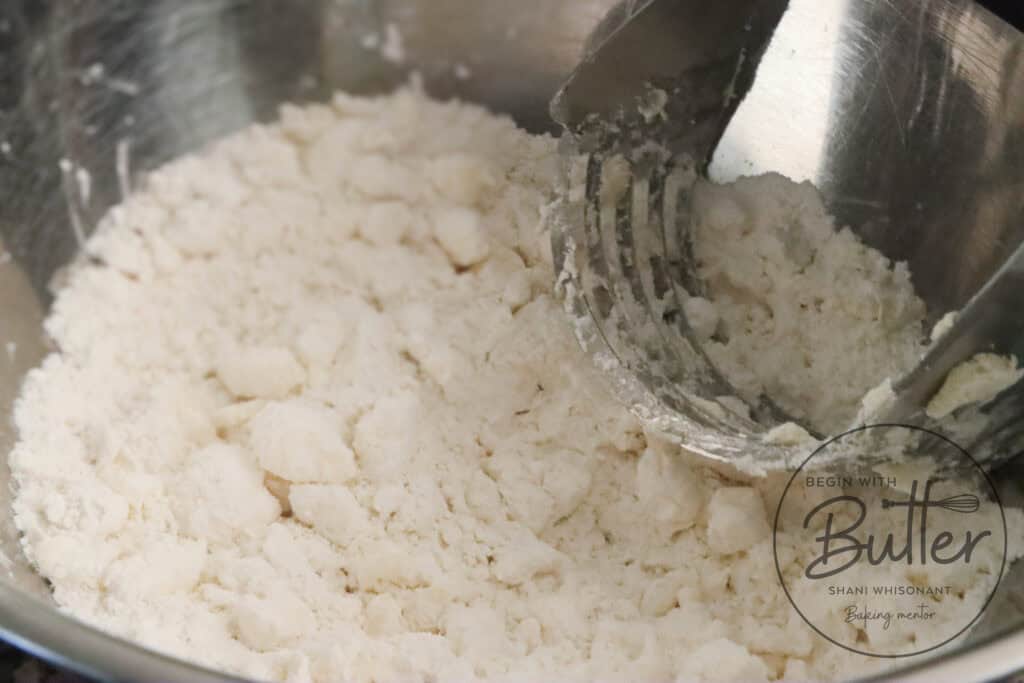
Use a pastry cutter to break the butter into smaller pieces, working gently to avoid overworking the dough.
Step 5: Add Ice-Cold Water
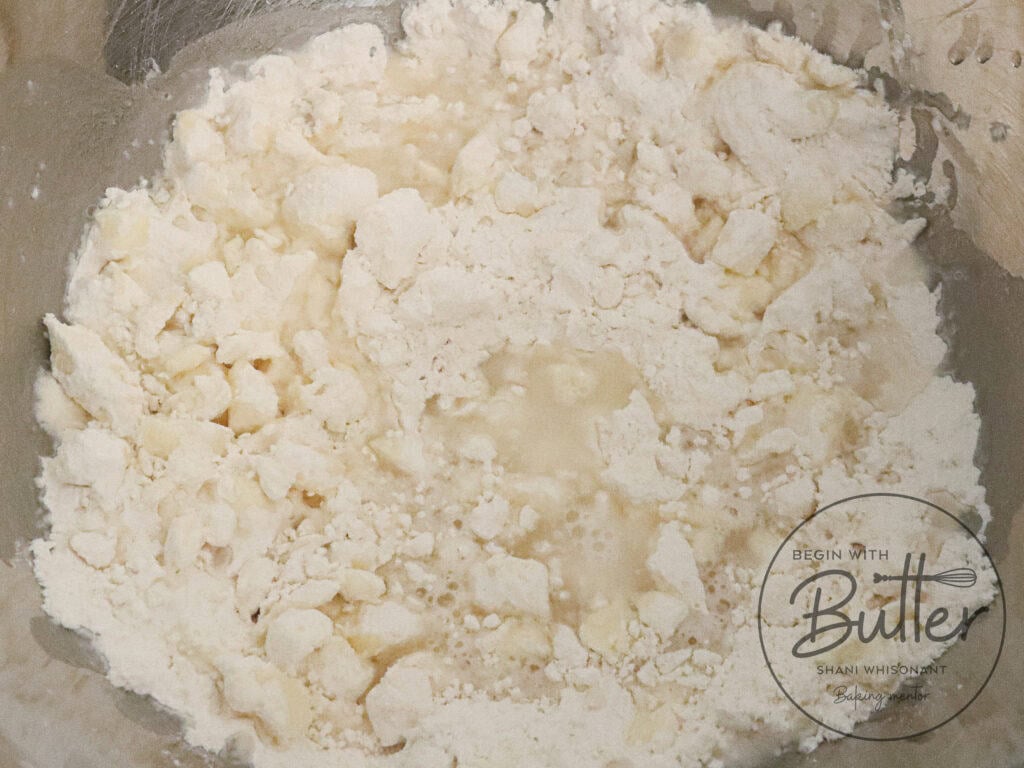
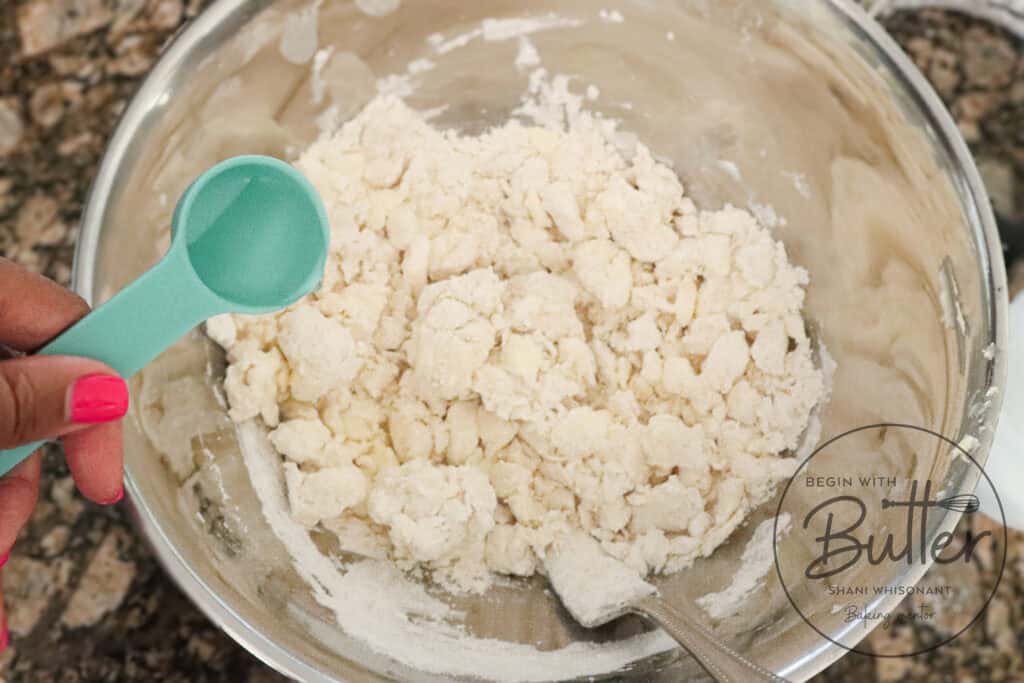
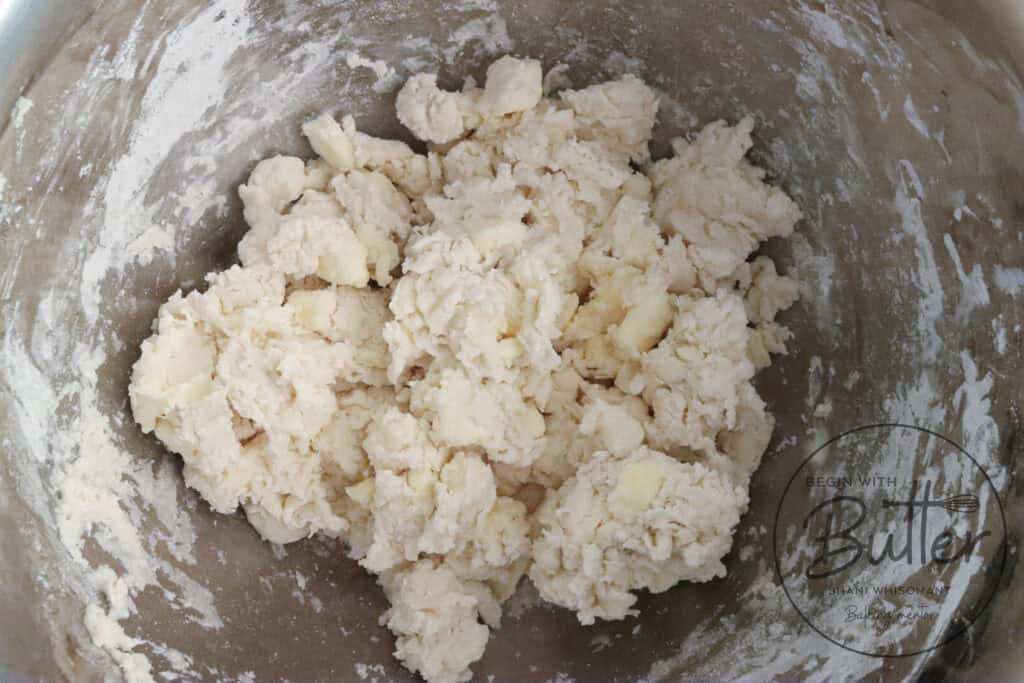
Pour the ice-cold water evenly over the flour-butter mixture. Stir very gently to combine with a fork, being mindful of the dough’s consistency. The dough is done when it is ever-so-slightly tacky; it should not be the consistency of a wet bread dough or a cake batter. If needed, add an additional 2-3 tablespoons of water to achieve the right balance – but be cautious not to add too much. Perfecting this stage takes practice, so don’t be discouraged if your first attempts aren’t perfect; keep trying, and you’ll soon develop your baker’s touch!
Step 6: Shape and Chill
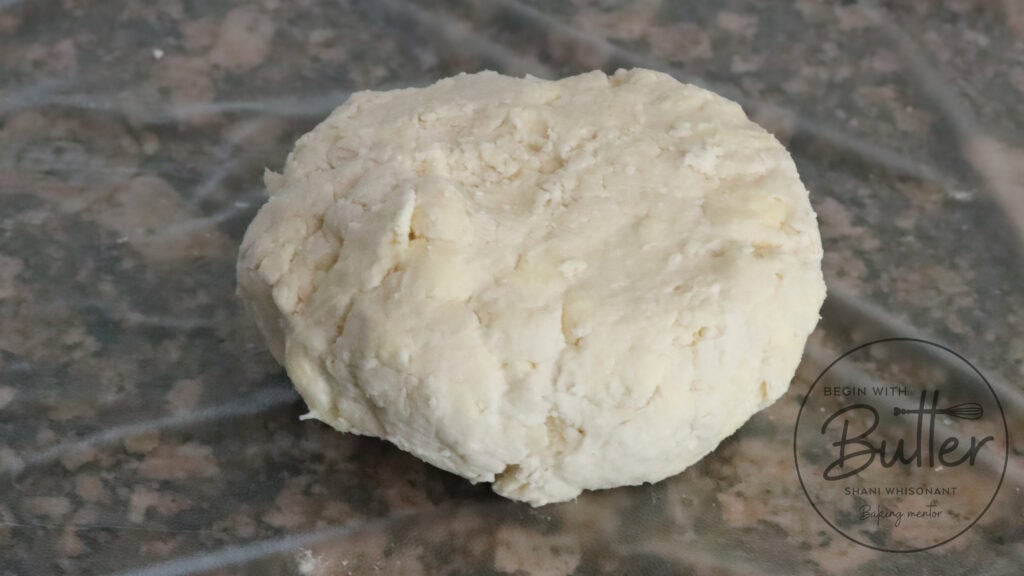
Shape the dough into a single fat disc, cover with plastic wrap, and refrigerate for at least two hours or overnight. This crucial step allows the butter to re-solidify, which is essential for creating a flaky crust. As the butter relaxes and firms up, it will create layers within the dough, leading to a tender, flaky, and utterly delicious crust. Be patient and let the dough chill – it’s worth the wait!
Step 7: Roll Out
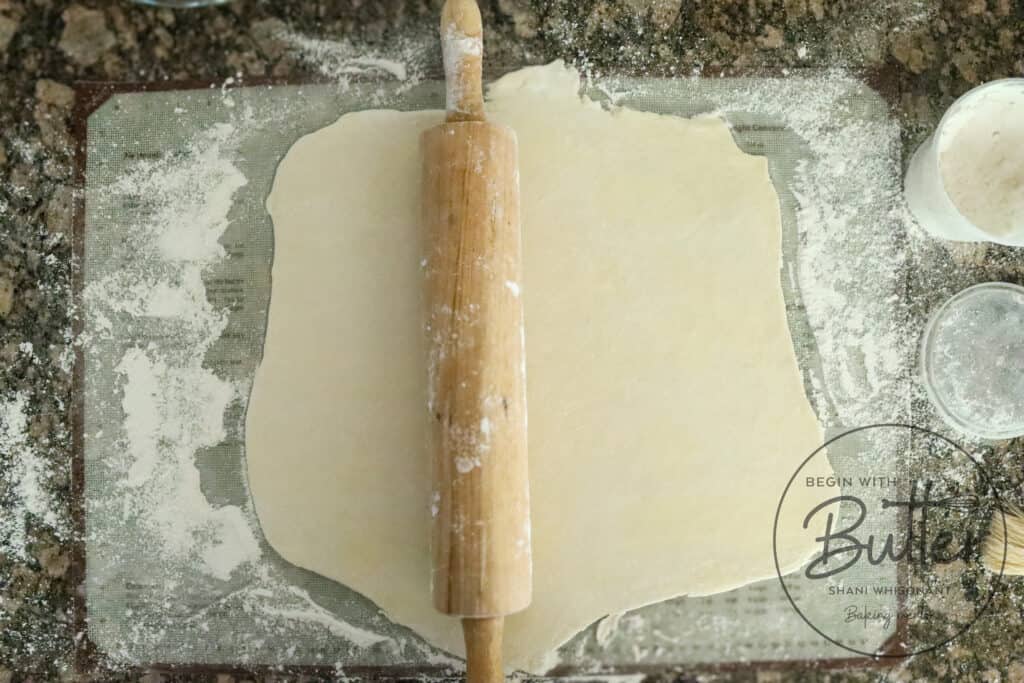
Place the chilled dough disc on a well-floured pastry mat, flouring the top of the dough and your rolling pin as well. Gently tap the rolling pin on the dough to test its readiness; if it makes small indentations, you’re ready to roll. Roll the dough to 1/4” thickness, taking care not to overwork it. If the dough breaks or cracks, allow it to rest for 2-3 minutes before trying again – this can happen when the butter is still too cold.
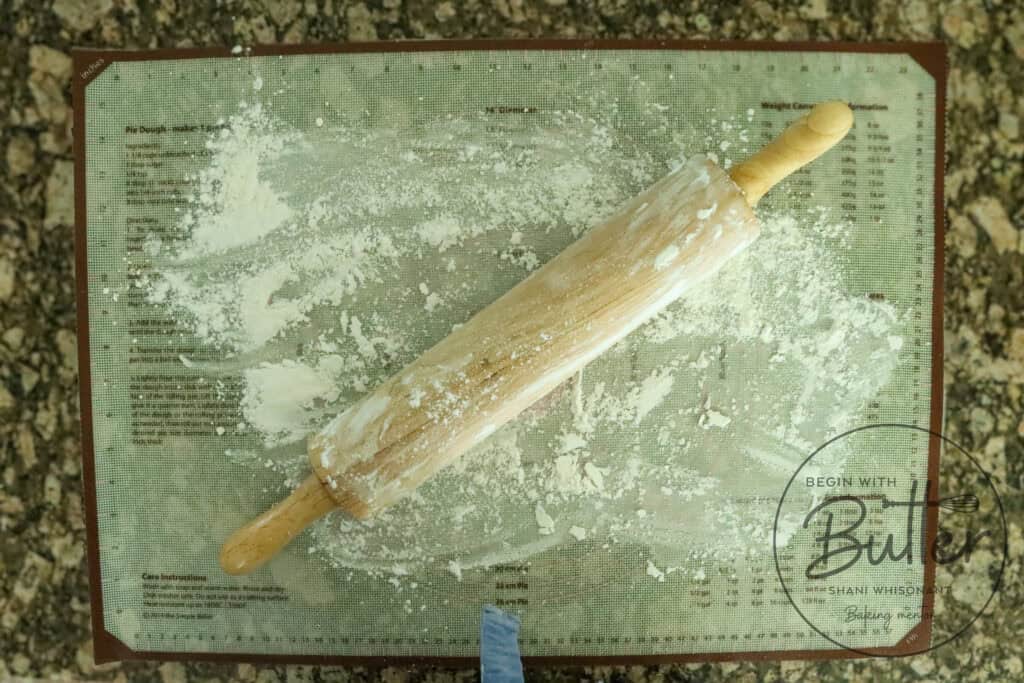
As you roll, add flour as needed and occasionally turn the dough over to prevent sticking. Don’t worry about over-flouring at this stage.
To achieve the perfect flakiness, repeat the following process three times:
- Fold the dough in half twice (see photo tutorial for guidance)
- Roll the dough to 1/4” thickness
- Repeat the folding and rolling process two more times
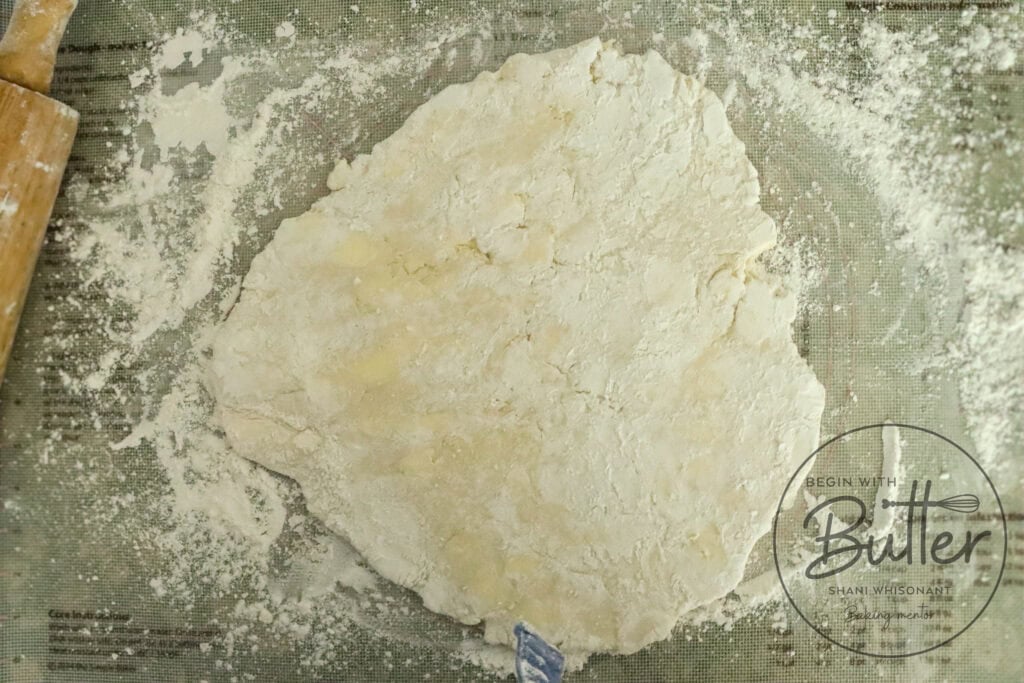
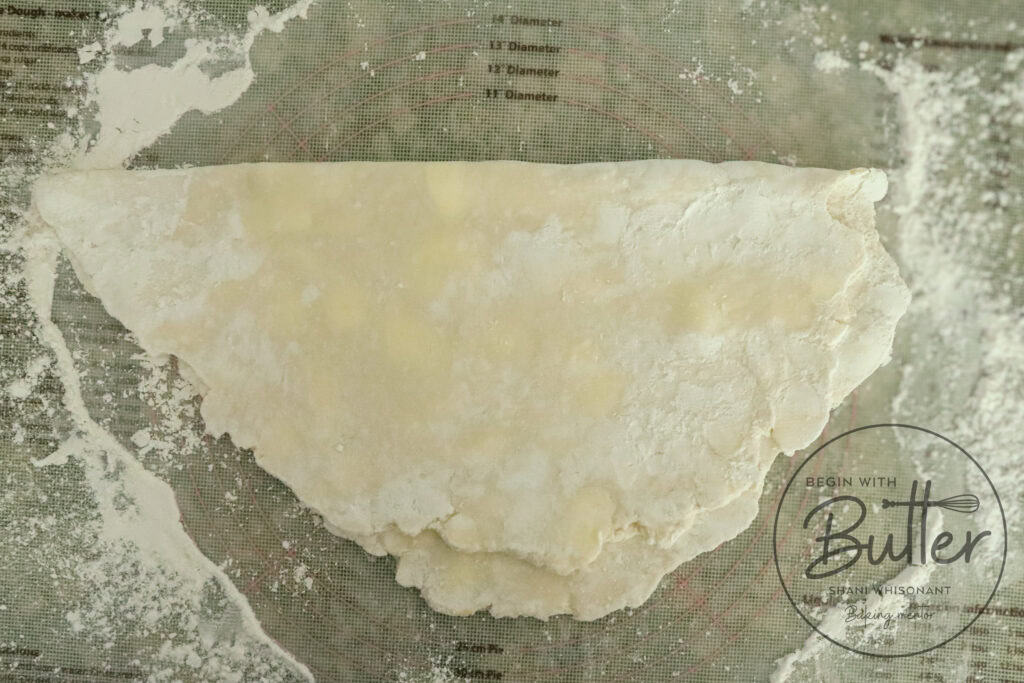
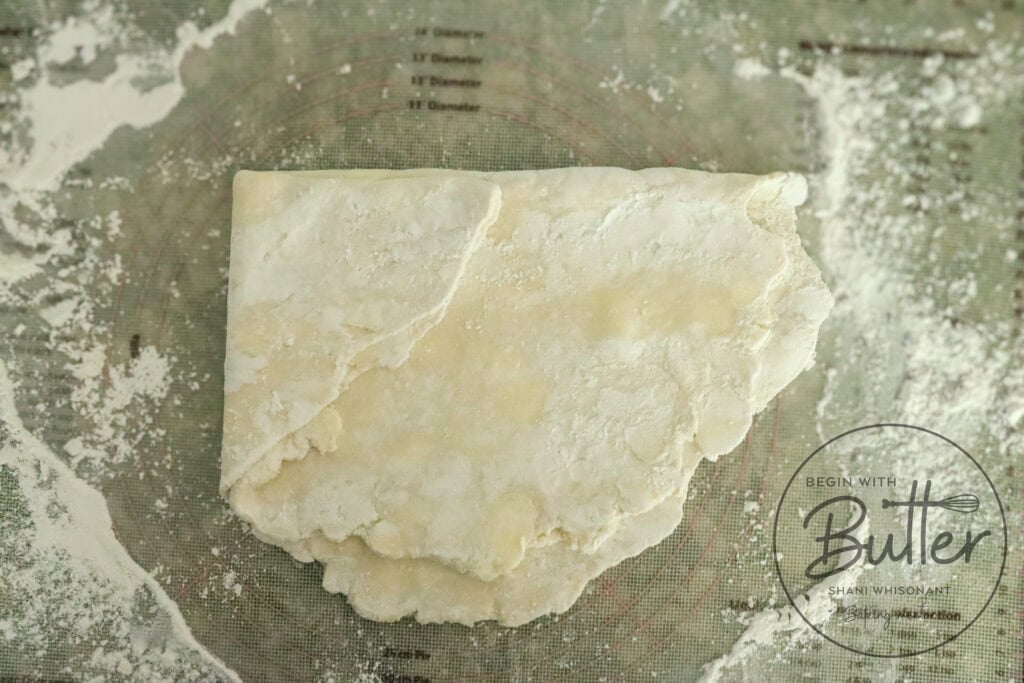
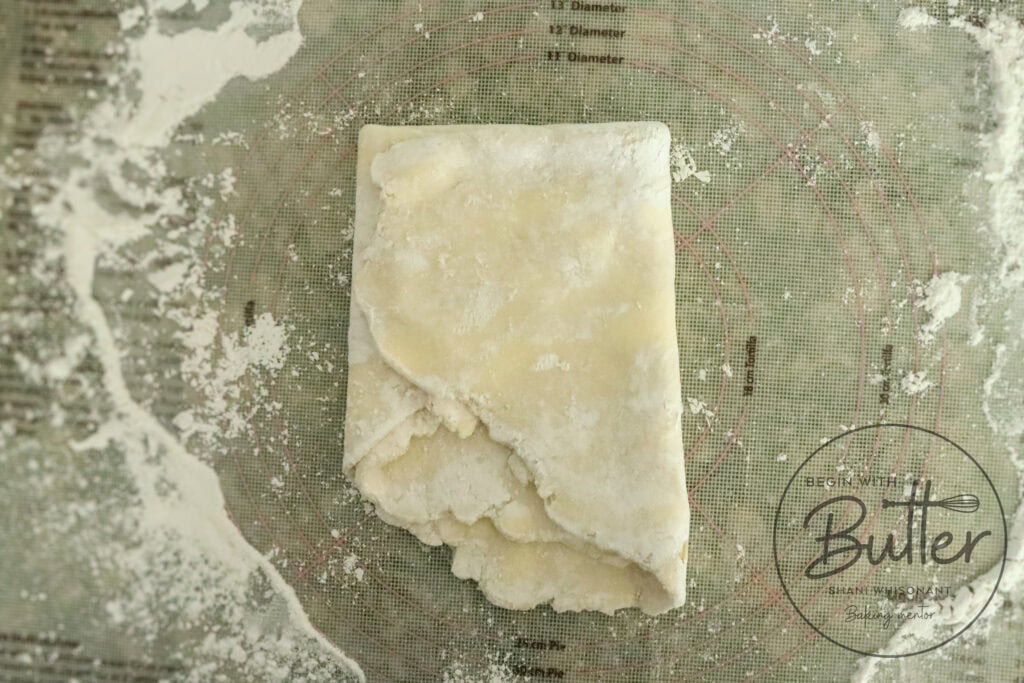

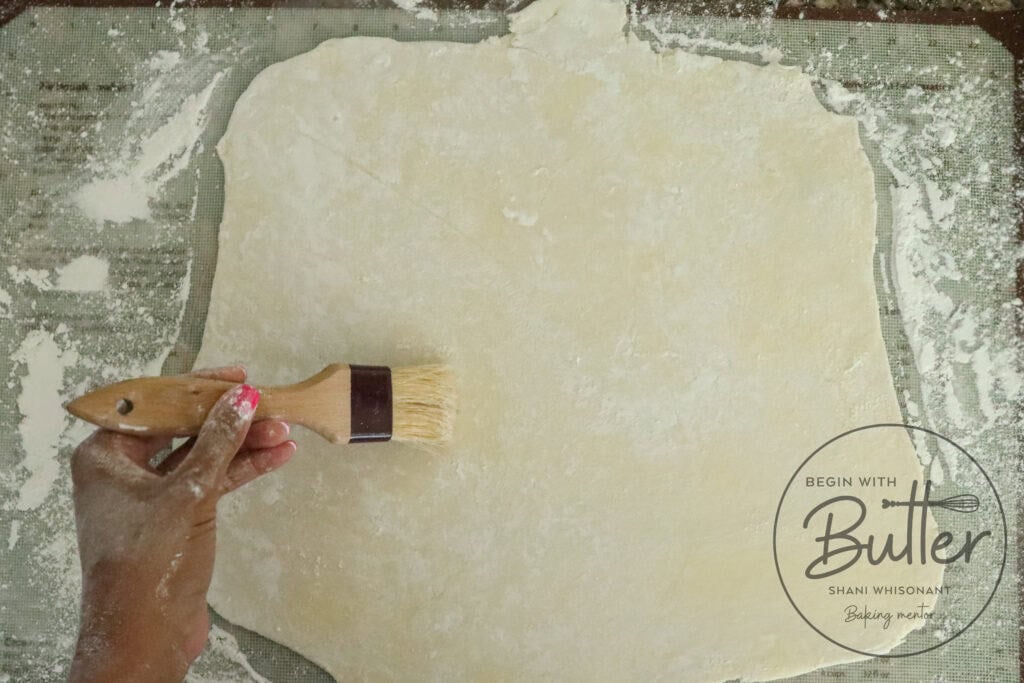
This process is referred to lamination, and it’s the procedure that really helps your dough become the flakiest that you’ve ever made. As you do this process over and over again, you’ll also see the dough become even more cohesive and a more pliable. Don’t do this too many times, however, as you’ll get a rubbery, tough dough. Three times is more than enough!
Step 8: Place Dough in Pie Plate
Carefully lift the rolled-out dough and place it into the pie plate, gently lifting and tucking the dough into the corners of the plate. Avoid stretching the dough, as this can cause it to thin and lose its flaky texture. Instead, lift and place the dough, allowing it to settle into the plate naturally.
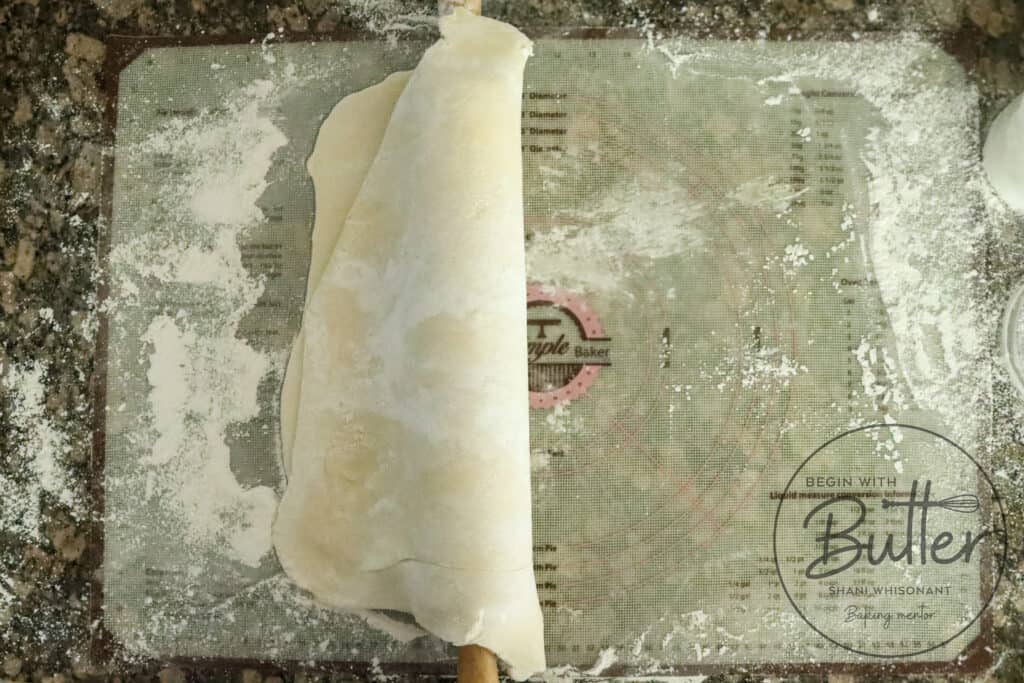
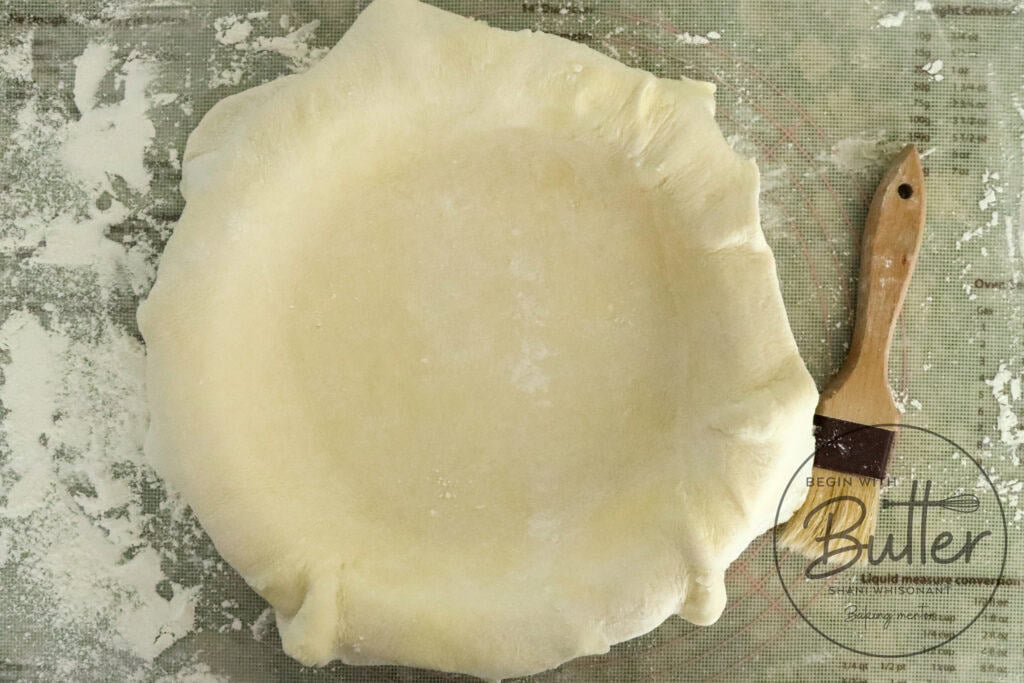
Note: This all-butter pie crust holds its shape exceptionally well, but if you’re looking for a crust that will maintain a very detailed shape or design, you may want to consider using shortening (this amazing Quiche Florentine recipe from Britney Breaks Bread is positively amazing!) . Shortening can help the crust hold its shape even more precisely, but keep in mind it will affect the flavor and texture slightly.
Once the dough is in place, trim the edges to 1” outside the plate. If desired, crimp or flute the crust to create a decorative border.

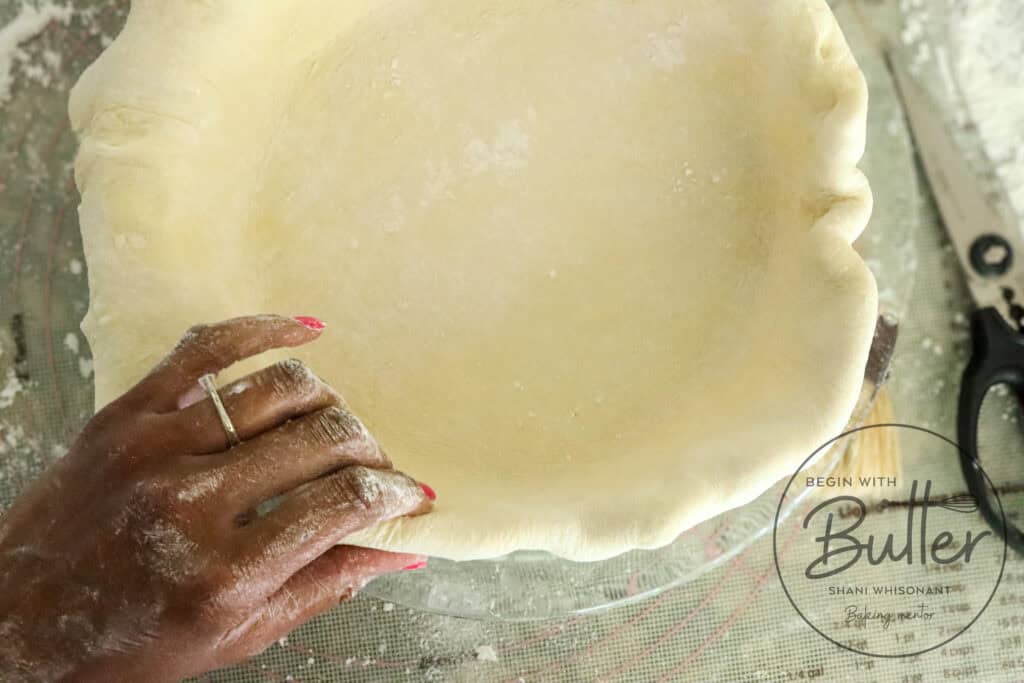
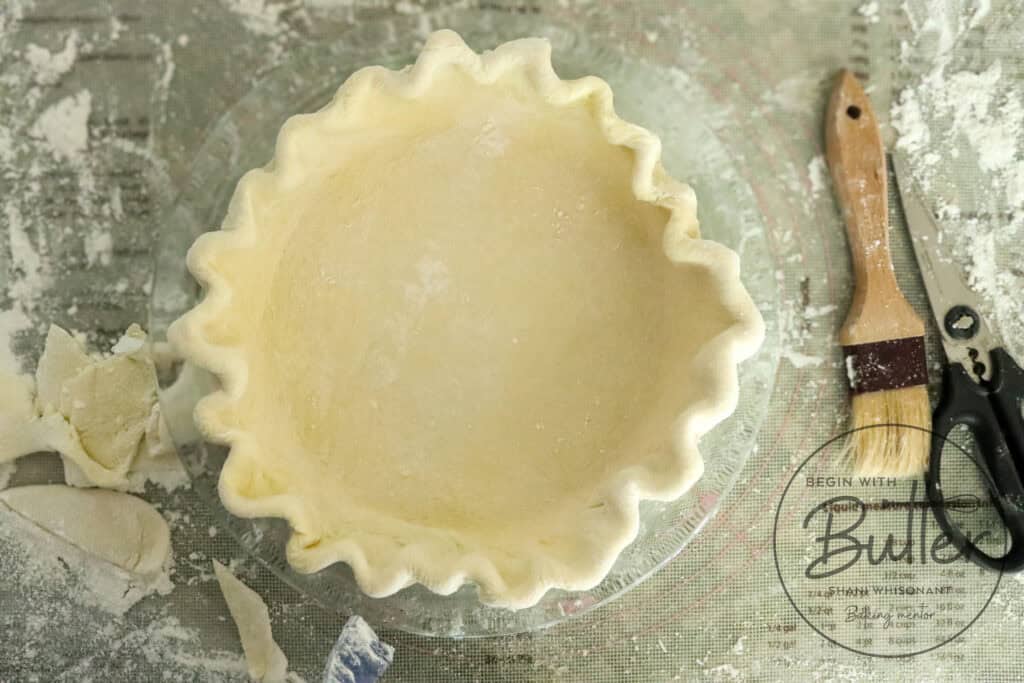
Finally, place the pie plate in the refrigerator, turn on your oven to 375°F, and allow your pie crust to chill the crust for at least 45 minutes before baking. This will help the crust hold its shape and prevent shrinkage during the bake.
Step 9: Blind Bake
Line the pie crust with parchment paper, leaving some overhang for easy removal. Fill the parchment-lined crust with pie weights or dried beans.

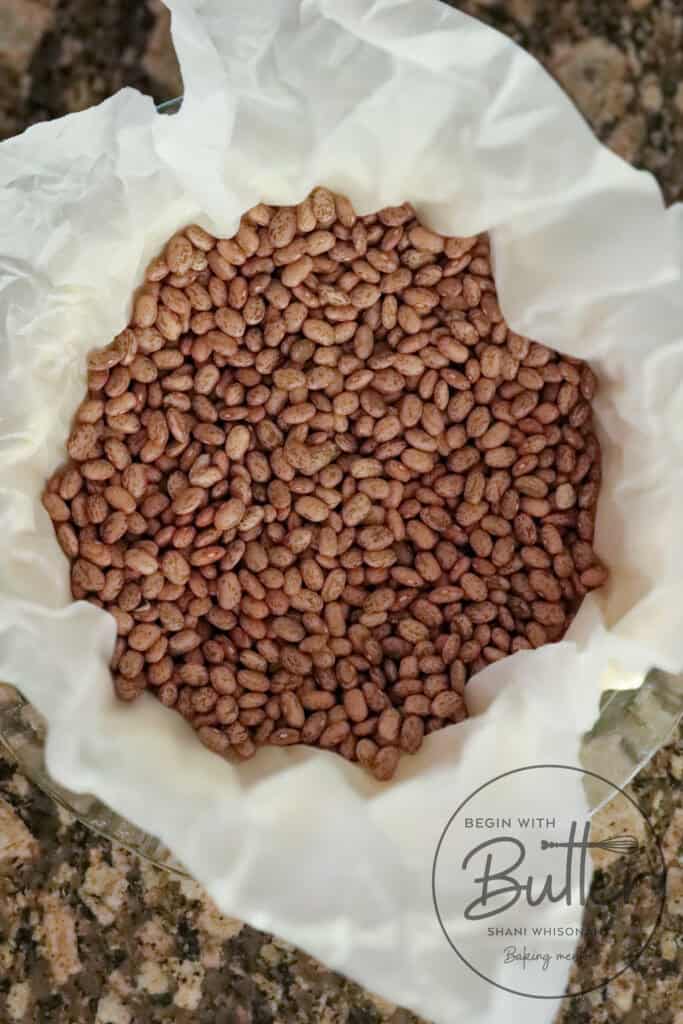

Bake the crust at 375°F (190°C) for 15 minutes. Remove the parchment paper and pie weights or beans. Use a fork to gently poke holes into the bottom and sides of the pie crust.
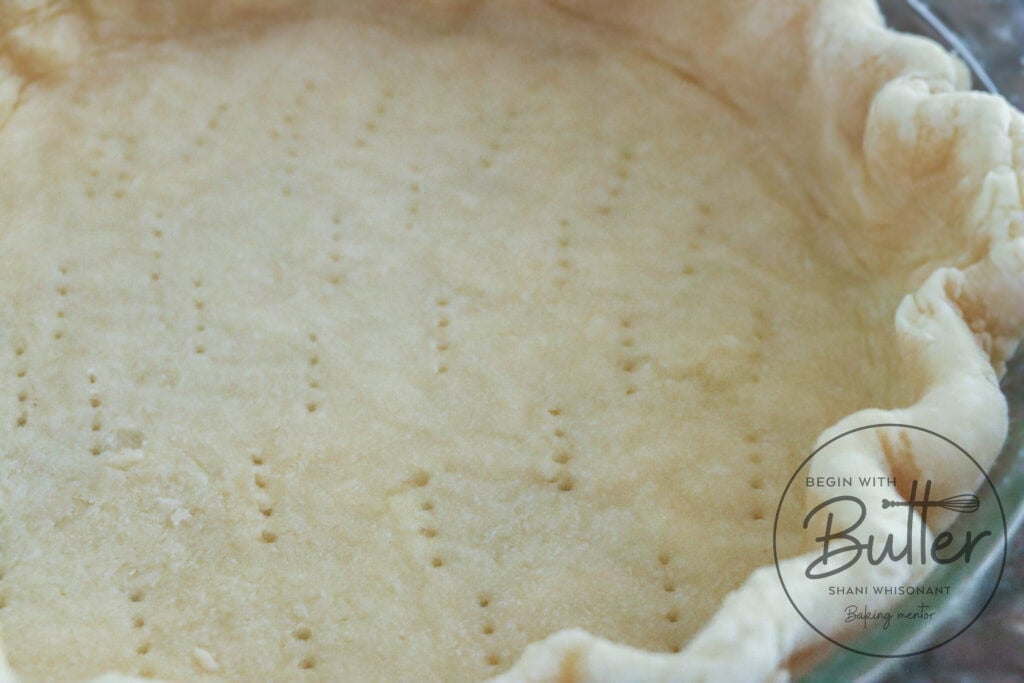
Continue baking the crust for an additional 10 minutes, or until it is ever-so-slightly golden.
Remove the crust from the oven, let it cool for about 5-10 minutes, and then brush the egg wash (beaten egg mixed with a splash of water) evenly over the crust. This will help give the crust a golden brown finish and also helps prevent a soggy bottom crust!
Step 10: Prepare the Filling
While the crust is baking, prepare the quiche filling. In a large mixing bowl, whisk together:
- 5 large eggs
- 250 g (1 c) half and half
- 1/2 tsp kosher salt, plus more to taste
- 1/2 tsp freshly ground black pepper, plus more to taste
Scramble the ingredients thoroughly, then stir in the shredded cheese.
Step 11: Assemble and Bake the Quiche
Remove the baked crust from the oven and pour in the prepared filling. Smooth the top with a spatula and bake for an additional 25-30 minutes, or until the filling is set and the edges are set and golden brown. The center should have a lil’ jiggle when it’s done!
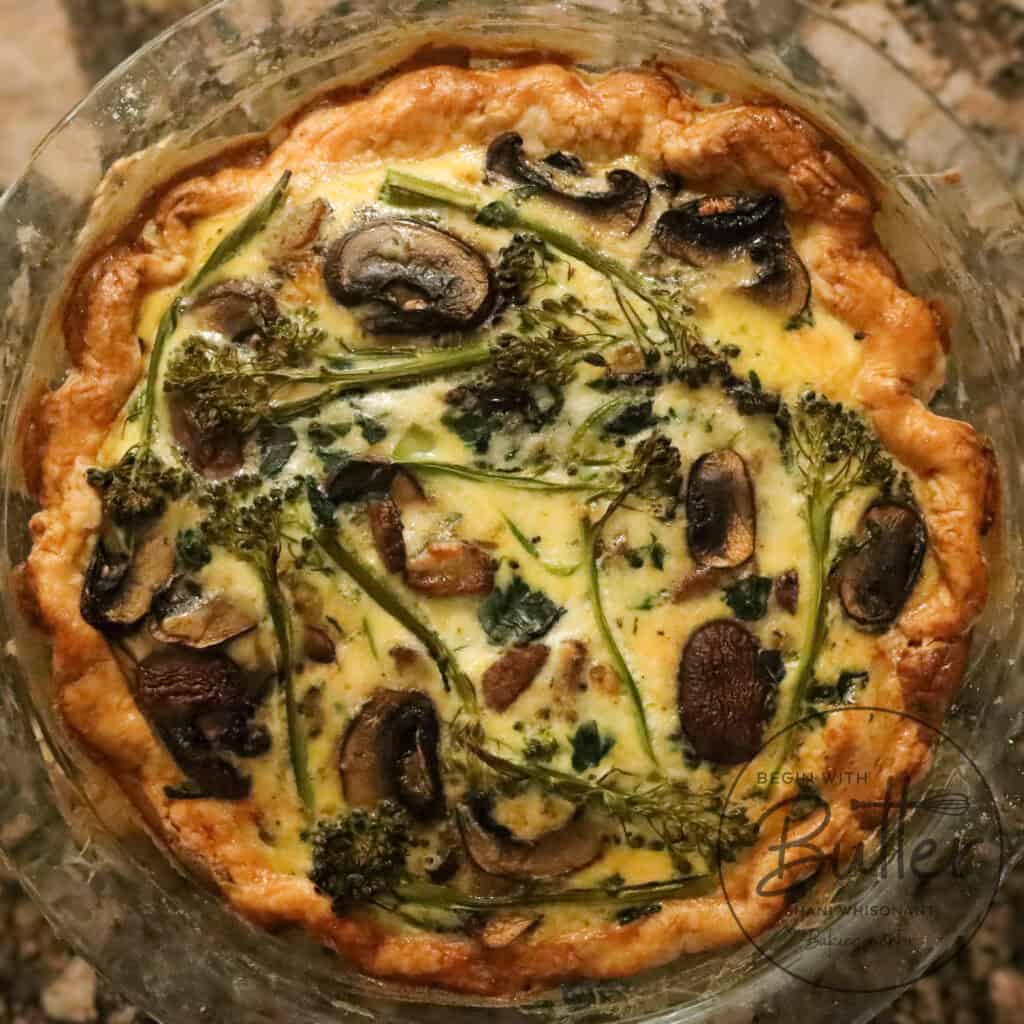
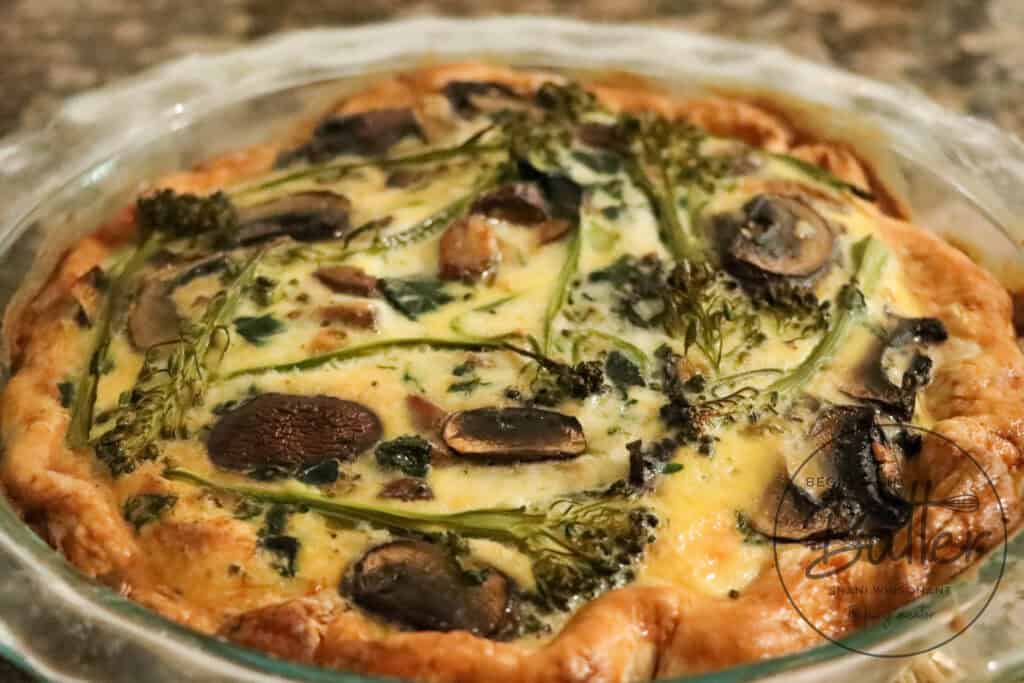
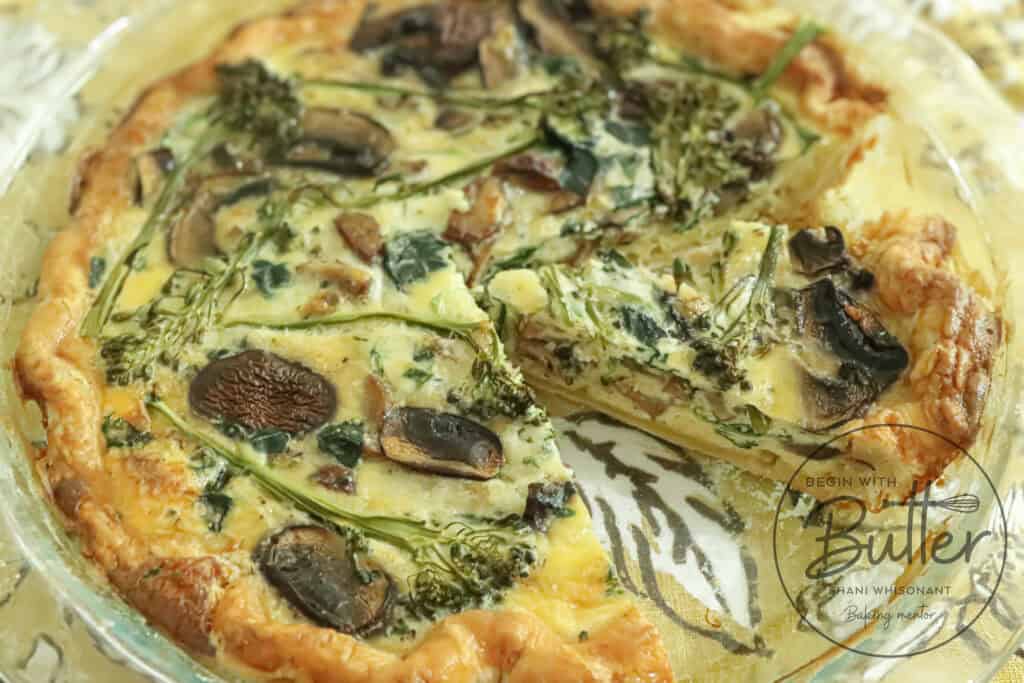
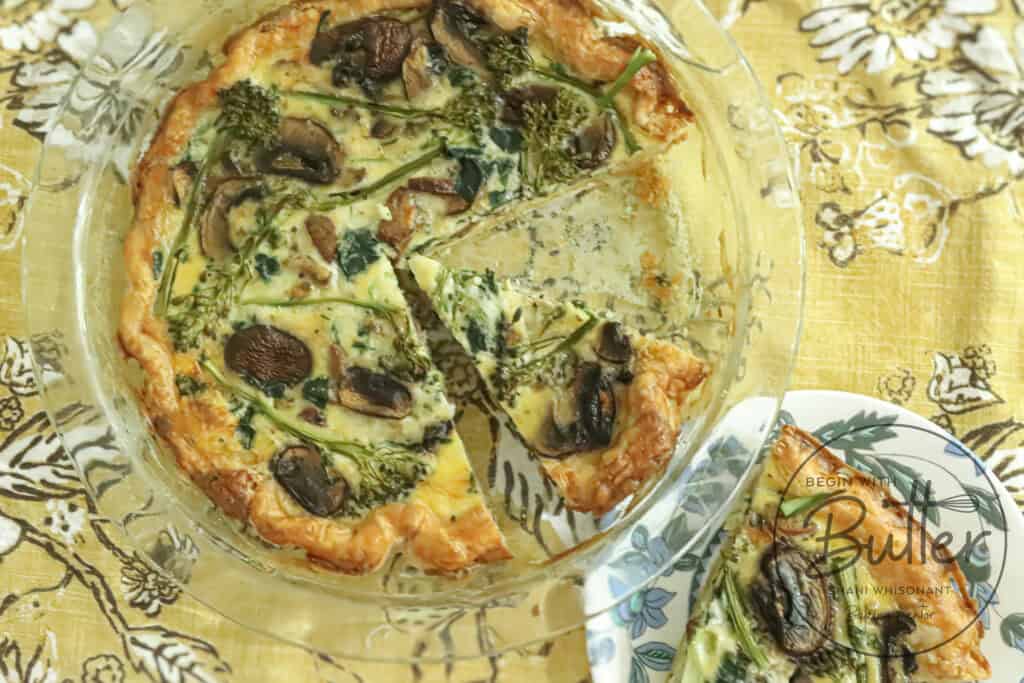
Step 12: Serve and Enjoy!
Remove the quiche from the oven and let it cool for a few minutes. Once the center is set, you can serve it immediately, or you can allow it to chill in the fridge and serve cold.
Tips and Variations:
- Use a variety of cheeses, such as Gruyère, Cheddar, and Parmesan, for a rich and complex flavor profile.
- Add diced vegetables, such as bell peppers or mushrooms, to the filling for added flavor and nutrition. Make sure to cook down watery veggies like spinach and mushrooms until the water has evaporated, so that that additional water doesn’t go into your quiche filling.
- Use cooked sausage or bacon for a meaty twist on the classic quiche.
Conclusion
With these simple techniques, you’ll be well on your way to crafting the perfect quiche – a dish that’s sure to impress your friends and family. Remember to take your time, practice makes perfect, and don’t be afraid to experiment and try new things. Happy baking!
Print
Easy and Delicious Quiche
This easy, delicious quiche recipe seems difficult, but it’s unbelievably accessible and makes a delicious and impressive brunch delight. Prepare for oohs and aahs as your guests devour this amazing quiche.
Ingredients
For the Pie Crust:
- 256 g (2 c) all-purpose flour (I love White Lily Flour for this crust)
- 1/4 tsp fine sea salt
- 182 g (13 tbsp) butter, cold
- 94 g (1/3 c) water, ice cold, plus up to two more tablespoons if needed
- 1 large egg plus one teaspoon of water, for egg wash
For the Quiche Filling:
- 5 large eggs
- 250 g (1 c) half and half (you can also use heavy cream for an even more creamy filling; I prefer the finish that half and half creates)
- 1/2 tsp kosher salt, plus more to taste
- 1/2 tsp freshly ground black pepper, plus more to taste
- 110 g (1 c) cheese (shredded cheddar, parmesan, and feta are my favorites)
Instructions
To Make the Crust:
- Add the 264 g all-purpose flour and fine sea salt to a large mixing bowl. Stir with a fork to combine.
- Add the butter to the flour mixture. Stir gently to cover the butter with the flour. Then use a pastry cutter (also known as a pastry blender) to break the butter into smaller pieces. The butter pieces should be between the size of a pea and the size of a walnut. The pieces will not be uniform and this is ideal!
- Pour the 94 g of water evenly over the flour/butter mixture and stir very gently to combine with a fork. The mixture should be shaggy but combined. If necessary, add water a tablespoon at a time until you get the correct consistency. You should not need more than 2 additional tablespoons!
- Shape the pie dough into a single fat disc and cover each disc with plastic wrap. Place in a refrigerator for at least two hours before rolling out.
- After the initial chill, place flour on a pastry mat. Place the dough disc atop the well-floured pastry mat. Flour the top of the dough disc and also your rolling pin. Test to see if the dough is ready by gently tapping your rolling pin on top of the disc; if the rolling pin makes small indentations, you’re ready to roll. Gently roll to 1/4” thickness. If the dough breaks when rolling, allow the dough to sit for 2-3 minutes and then try again. Dough often breaks when the butter is still too cold from the refrigerator.
- Once you’ve reached 1/4” thickness, fold the dough in half two times (for a photo tutorial, check out my Easy All-Butter Pie Crust post). Add flour as necessary and turn over the pie dough occasionally; don’t worry about over-flouring at this point.
- After folding the dough, roll the dough again to 1/4” thickness. Repeat this step one more time, for a total of three times.
- Brush excess flour from the top of the pie dough. Use your rolling pin to gently place the dough into a 9” pie plate. Trim the pie crust to 1” outside of the pie plate, and fold over the crust to seal. If desired, crimp or flute the crust. Place the pie plate in the refrigerator.
- Place the completed pie in the refrigerator while you warm your oven to a true 375°F (convection works best, but don’t fret if you don’t have it!), and place an oven rack on the bottom third of the oven. Allow your oven a significant amount of time to reach the proper temperature. I allow my oven at least 45 minutes to come to the right temperature.
- Once the oven has fully preheated, remove the pie shell from the oven and place a piece of parchment on top of the entire pie crust. Place pie weights on top of the parchment paper (I use dried black eyed peas for this task) and then place the pie crust in the 375°F oven.
- Bake the pie crust (this is called blind baking) for fifteen minutes. Remove the pie crust from the oven and carefully remove the pie weights and parchment paper. Gently dock the bottom of the pie crust. To dock the pie crust, simply use a fork to poke holes into the bottom of the pie crust. Place back into the 375°F oven for another ten minutes. While the crust finishes blind baking, make the filling.
To Make the Filling:
- Place eggs, half and half, kosher salt and black pepper into a large mixing bowl. Scramble thoroughly, then stir in the cheese.
- Prepare your preferred toppings (though a cheese quiche is delicious all by itself!). Remember, any meats should be fully cooked before adding them to the quiche. And vegetables with a high water content (for example, spinach and mushrooms) should be sautéed on medium high heat until the water evaporates. More fibrous vegetables, like broccolini (one of my absolute favorites!) can be placed into the the quiche without pre-cooking. Once the cooked toppings are cooled, stir them into the egg mixture.
- Scramble one egg with one teaspoon of water. Use a pastry brush to brush the egg wash on bottom crust. Pour the filling into the partially baked pie crust.
To Bake the Quiche:
- Place the built quiche into the 375°F oven. Bake for an additional 40-45 minutes, or until the internal temperature reaches 165°F. Alternatively, the quiche is done when it slightly jiggles in the center and is set on the sides. Allow to cool on the countertop completely, when the center fully sets, and then refrigerate if not eating right away.
- How do you eat quiche? However you want! You can eat it at room temperature, chilled from the fridge, or even warmed up a bit! However you eat it, crack a little black pepper over it before enjoying!

