This post contains affiliate links. While I receive a small commission if you purchase from these links, they are products that I use and trust in my own kitchen.
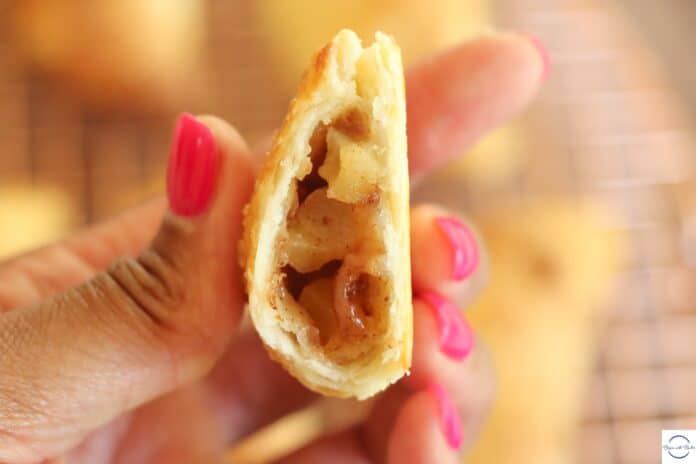
There are few things in life more delicious than apple pie. The filling of apple pie, Friends, is something that I could eat all by itself. And I often do! Today I have for you, my favorite Apple Hand Pies on earth. It is the easiest pie crust I’ve ever developed, and it doesn’t even require refrigeration!
If you’re intimidated by pie crust, and you’ve been afraid to make your own, then this pie crust is the place to start. Even experienced pie makers will love this crust for its simplicity. You don’t have to refrigerate it, and there is no sacrifice in quality with this flaky, delicious crust.
About these Apple Hand Pies
There are three big secrets to these Apple Hand Pies:
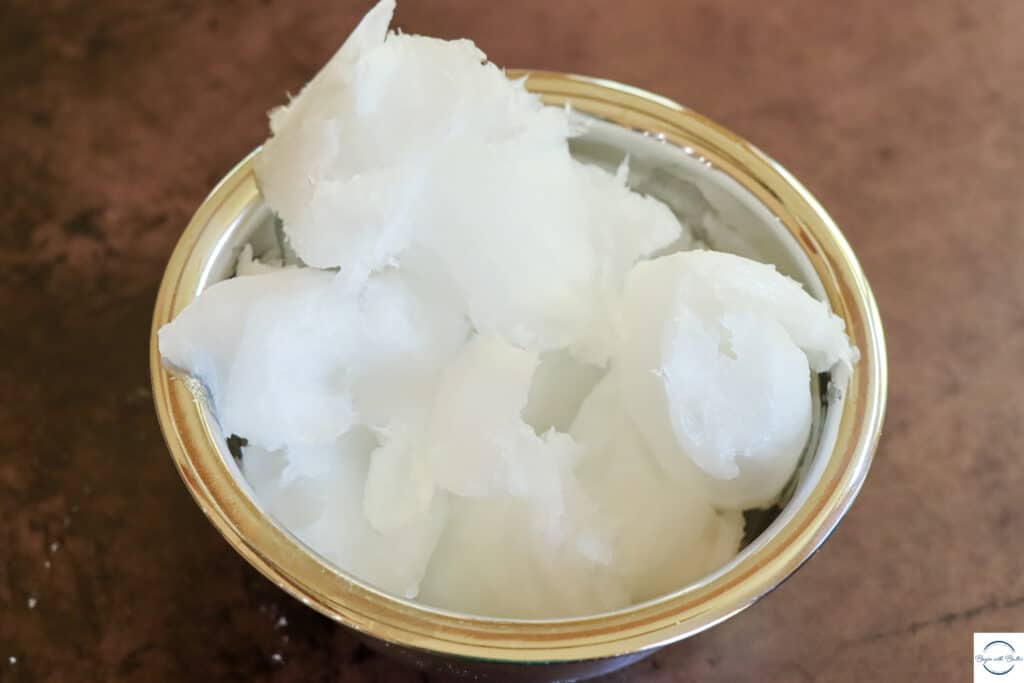
- They use coconut oil as the fat in the crust! It has an extremely neutral flavor, so you only get the slightest bit of coconut flavor (read: no real coconut flavor) in the crust.
- The dough is laminated, meaning that it’s folded over itself twice and rolled a second time. This creates layer upon layer of incredibly flaky crust!
- They use vodka in the crust as well. The vodka assists with the incredible flakiness!
These hand pies are so simple to make, and you don’t have to refrigerate the dough after you make it. That cuts down the time to make these by…a LOT. They bake quickly and they’re best served very warm, so, of the pie options that you could make, these are the fastest, and they are unbelievably delicious.
How to Make these Apple Hand Pies
Because these come together so quickly, it’s important to make the filling first. Once you have the dough ready, you’ll want to get straight to the action.
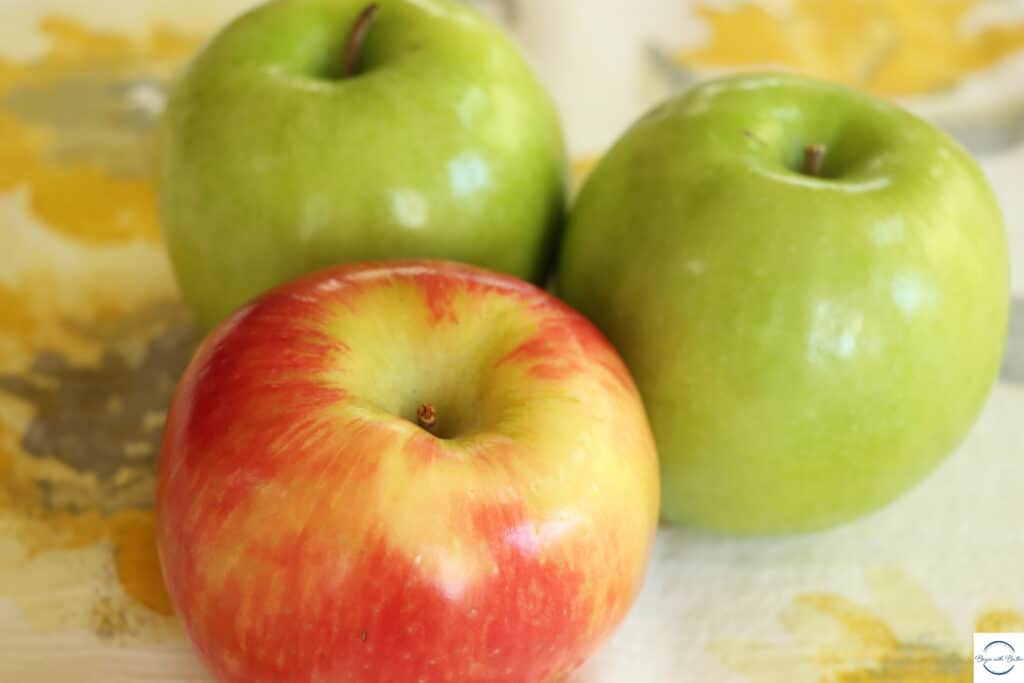
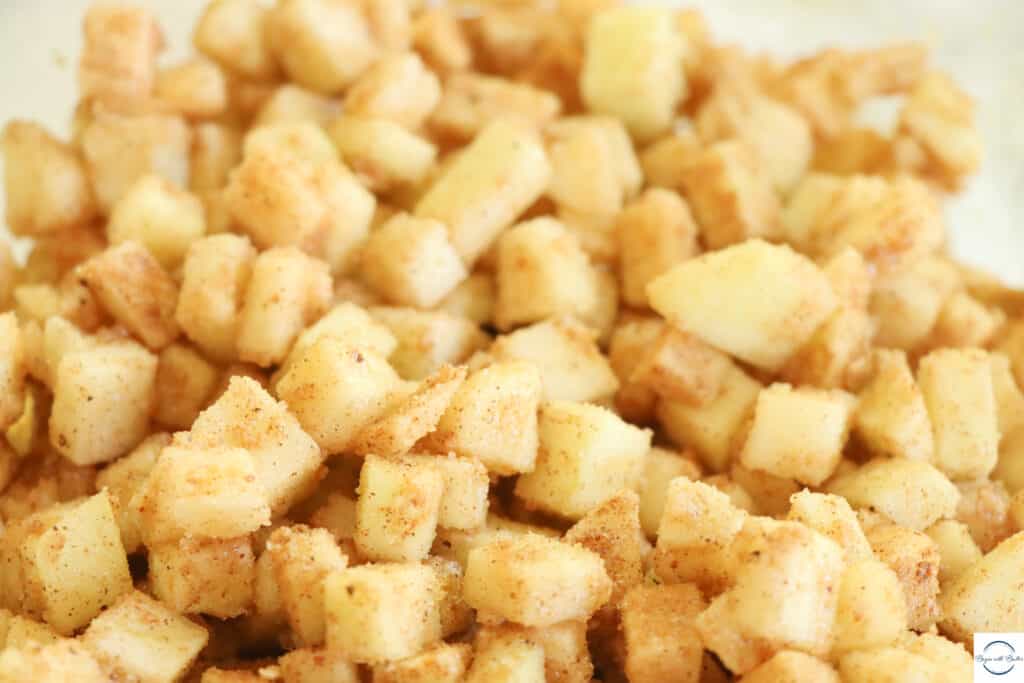
To make the filling, peel 2 large (or 3 medium) apples. Roughly dice the apples and place in a medium bowl. I like Honeycrisp and Granny Smith apples for these hand pies, but any firm, semi-sweet apple will work!
Add the sugar, flour, apple cider vinegar, ground ginger, nutmeg, cinnamon, and salt, and stir gently to combine completely. Set the filling aside and get ready to make the easiest crust of your life.
To make the crust, put the all-purpose flour, sugar, and salt in a large bowl. Whisk to combine the dry ingredients.
Note: I use all-purpose flour in this recipe because it gives me the structure that I want, while also making a tender, flaky crust. You can use pastry flour, but you will lose some of the flakiness if you do.
Put the coconut oil in the flour mixture in tablespoon-sized pieces. Toss in the flour to coat completely before going onto the next step.
Once the coconut oil is completely coated in the flour mixture, use your fingers to smush the coconut oil into pea-sized pieces. Some of the pieces might be a little larger, and that’s fine!
Combine the vodka and water. Pour evenly over the flour/coconut oil mixture. Use a fork to gently combine. The dough should be very shaggy, but it should stick together if you press it between your fingers. The dough shouldn’t be wet when you’re done!
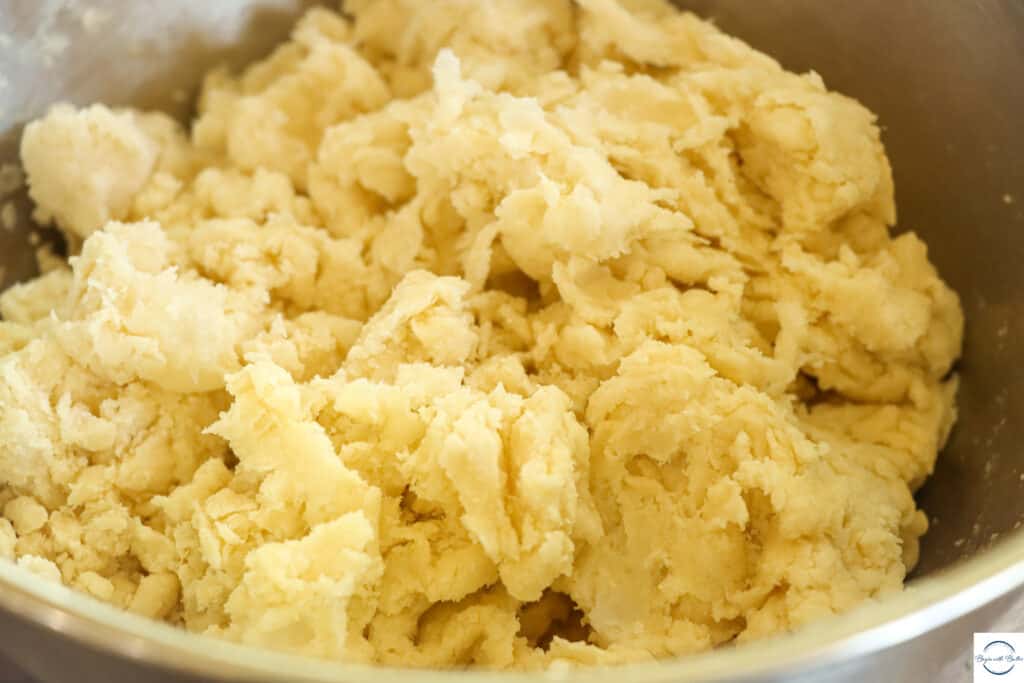
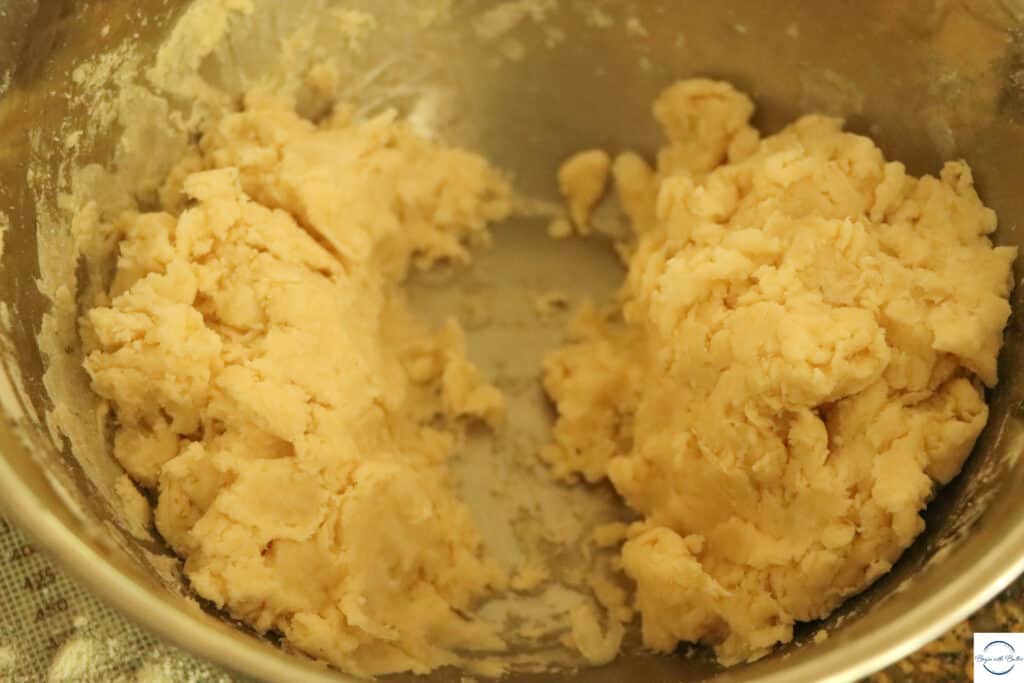
Split the dough into two “even-ish” sections. You’ll work with each section separately, and you’ll work with each section immediately!
Generously flour a pastry mat or a clean surface. When I say “generously”, I mean “generously”! You don’t want your dough to stick to the surface!
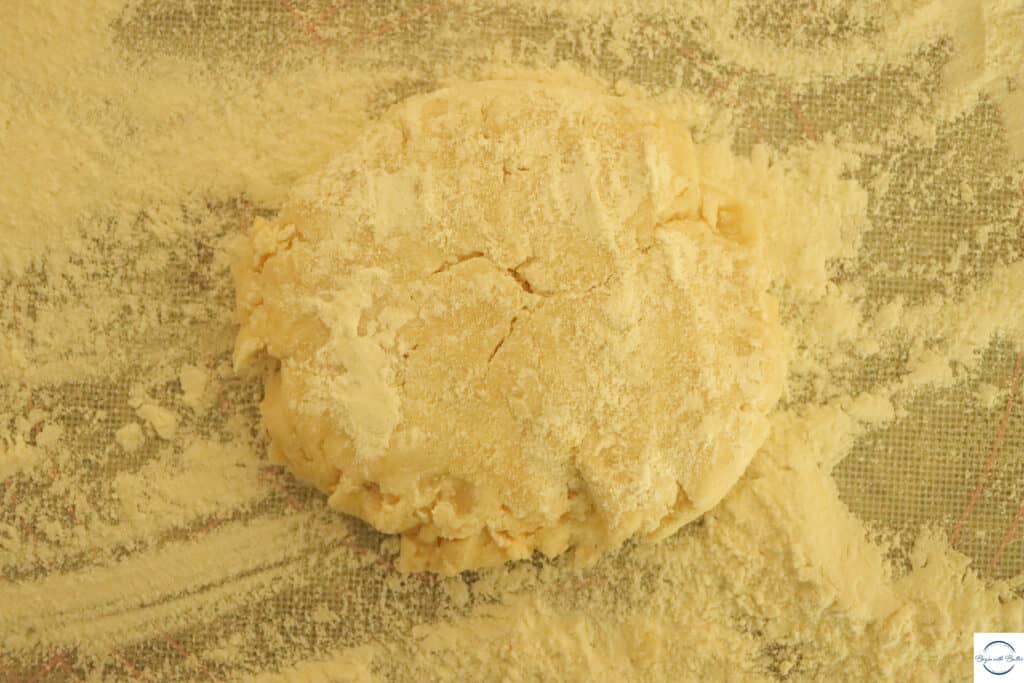
Flour the top of your dough and your rolling pin, and roll the dough to about a 1/4″ thickness. The dough will be soft this go-round, so be super gentle with this step! And don’t worry!
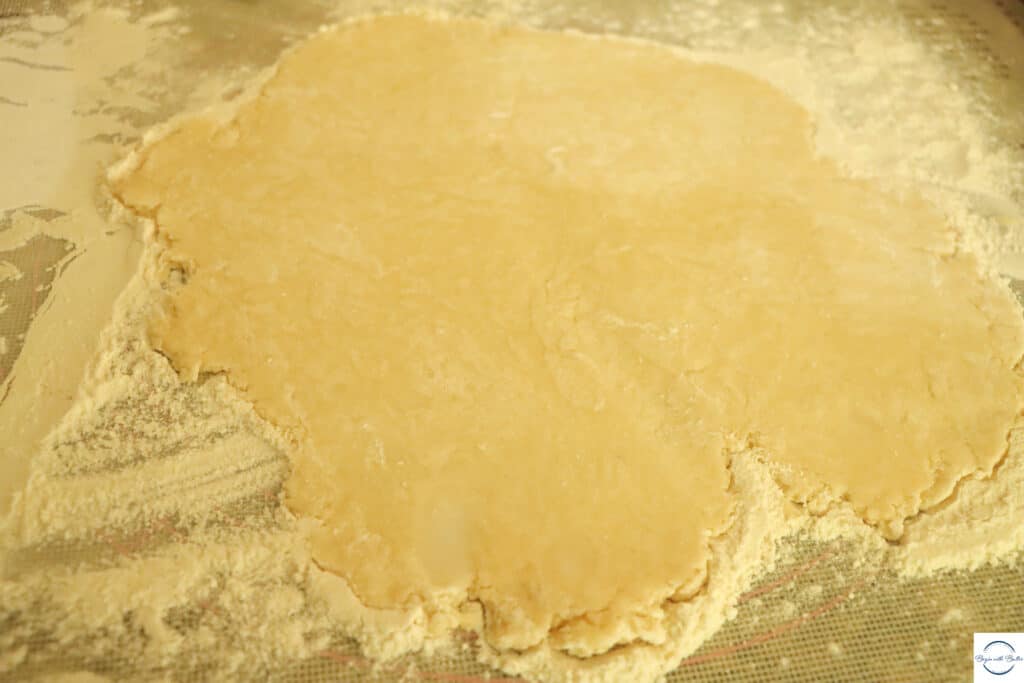
This next step is where the money resides. This is where you laminate. You’ll laminate your dough by folding it in half twice, then rolling it out again to 1/4″ thickness.
Want to know how I accomplish this step? Here’s a video!
Once you’ve rolled the dough the second time, you’re ready to use a 4.25″ biscuit cutter to cut as many circles as you can. Try not to leave too much space between the dough circles, since you can only roll out the excess dough one more time.
Add 1.5-2 tablespoons of your apple mixture to each dough circle. Brush egg wash on the bottom of each dough circle and close each dough circle gently. Then, gently use a fork to crimp the edges of each hand pie, and place them in the refrigerator while your heat your oven to a true 400°F convection setting.
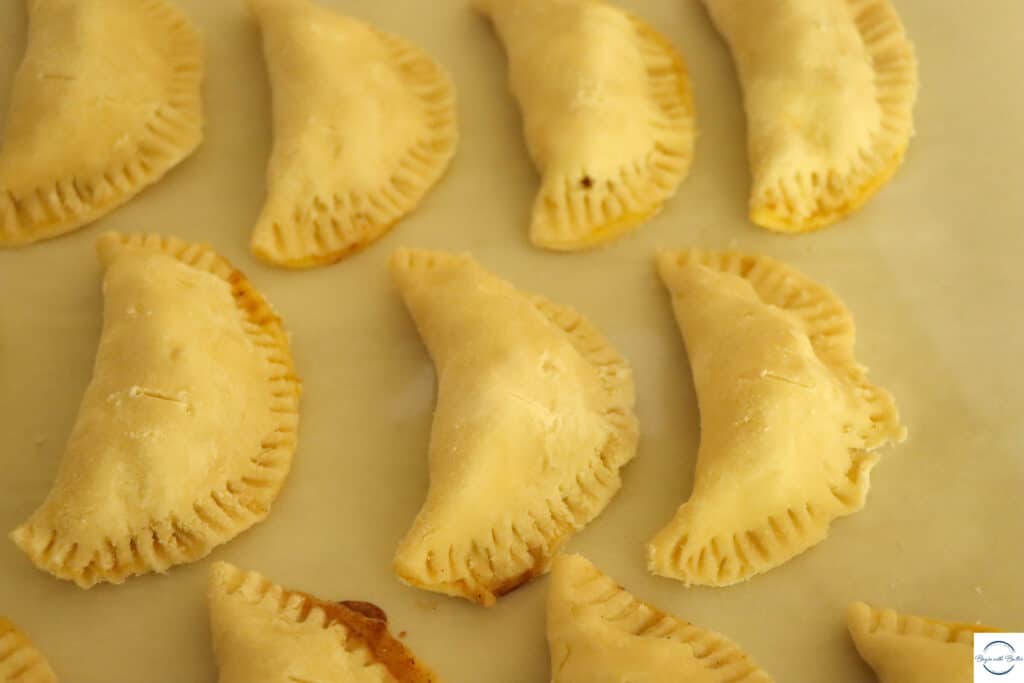
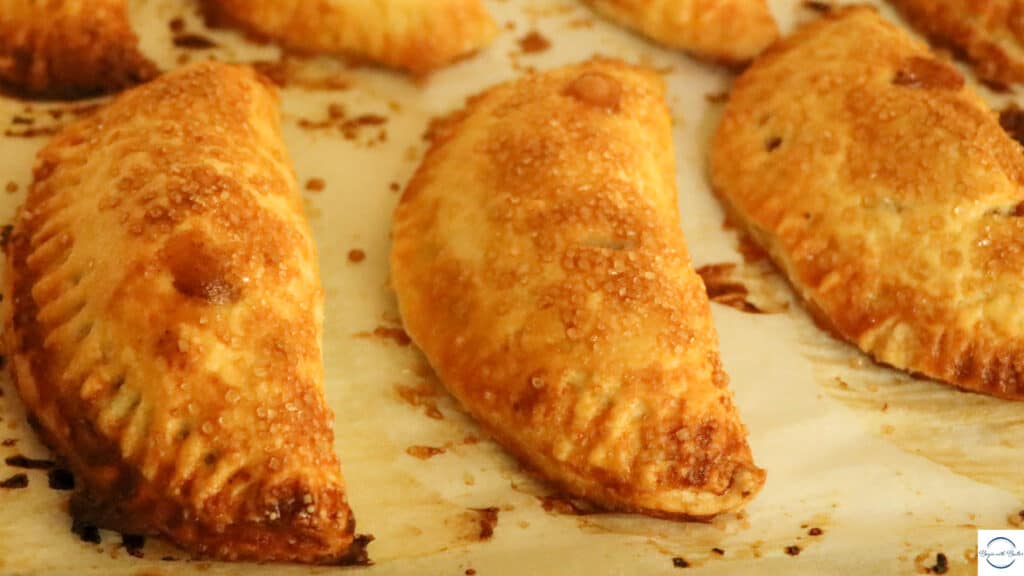
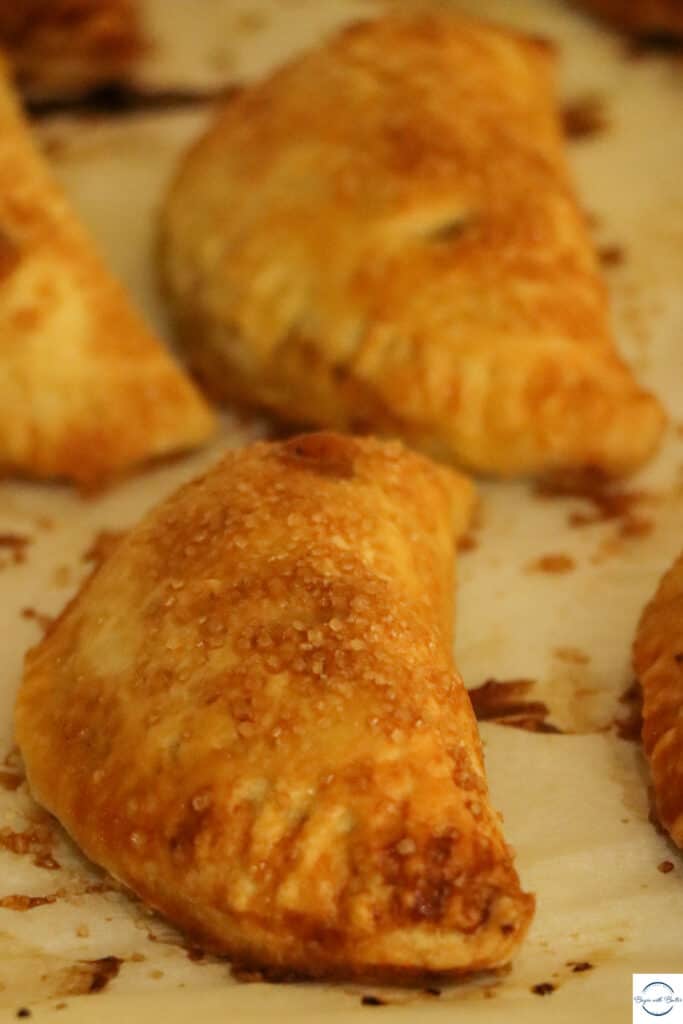
Once you’re ready to bake (about 30-45 minutes after you start your preheat), vent the top of each hand pie with a sharp knife. Brush the top of each hand pie with egg wash, then finish by sprinkling the top of each hand pie with turbinado sugar. Bake the hand pies for 18-24 minutes, or until the top of the hand pies are a deep golden brown.
Pro tip: you might want to turn your pan during the baking time! Keep an eye out to see if the hand pies are browning evenly during the bake!
Once these hand pies are done, remove them from the oven and place them immediately on a cooling rack. They cool surprisingly quickly and will be ready to eat within 15-30 minutes!
Equipment Used to Make These Apple Hand Pies
There are a couple of pieces of equipment that you’ll need to make these hand pies…don’t be intimidated! You might have most of these already! These are affiliate links, but I really use these pieces of equipment in my kitchen!
Once you have these special pieces of equipment, you’ll be ready to make these amazing hand pies! And it will be worth the investment!
These hand pies are a hit everywhere they go. If they need to travel to an event, I simply pack up the cooled hand pies, and then reheat them in an oven (NOT A MICROWAVE) at 300°F for about 6-8 minutes. And viola! I have brand new hand pies.
Frequently Asked Questions
How “solid” does the coconut oil need to be?
The coconut oil that you use for this recipe needs to be solid, and not melted. It doesn’t need to be “refrigerator cold”, but it does need to be firm enough to scoop without it being liquid. Room temperature coconut oil is perfectly fine to use, as long as it has not started to melt.
Can I refrigerate the dough once I make it?
Yes! However, you’ll need to allow it to return all the way to room temperature before you roll it out.
Can I make a double-crust pie with this recipe?
You absolutely can! This dough is enough for a double-crust pie. I would recommend quadrupling the filling amounts though.
Why can’t I roll out the excess dough multiple times?
The more you roll out excess dough, the more tough the final product will be. The first re-roll is fine, but I wouldn’t recommend rolling out excess dough over and over again. Just make sure that you make your dough circles close together with your biscuit cutter, and you won’t have a huge problem with this.
What kind of apples do you use for these hand pies?
It’s totally up to you! You do want a firm, semi-sweet apple (so no Red Delicious please), but whether you like Fuji or Honeycrisp or Granny Smith, it’s totally your preference! My favorite mixture for these hand pies is one Honeycrisp apple and two Granny Smith Apples.
These Apple Hand Pies are so delicious and make me feel like a kitchen boss. To go from total ineptitude in the baking kitchen to making my own pie dough? Well, that just feels incredible to me. I hope you love this recipe and that you enjoy it for years to come!
Until next time!
Print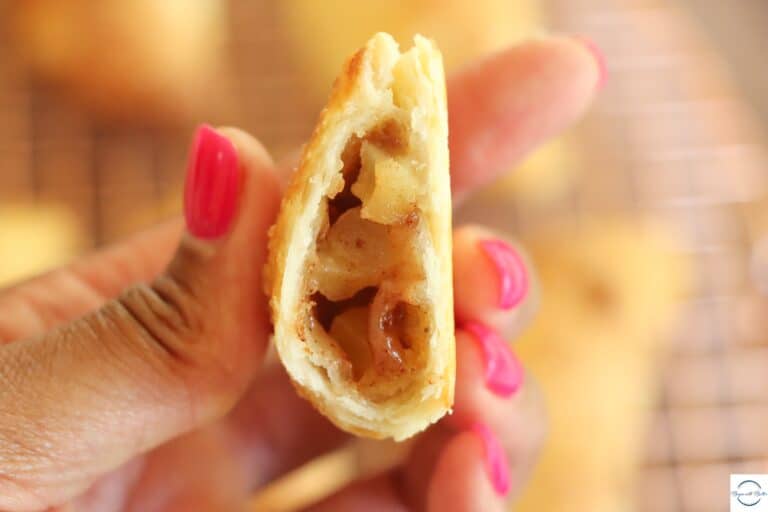
Apple Hand Pies
These adorable Apple Hand Pies are beyond delicious, and they’re the quickest and most perfect little dessert!
- Total Time: ~50 minutes
- Yield: 12–15 hand pies 1x
Ingredients
For the Filling:
- 2.5 c apples (about 2 large apples or 3 medium apples)
- 100 g (1/2 c) granulated sugar
- 2 tbsp all-purpose flour
- 1/2 tbsp apple cider vinegar
- 1/2 tsp ground ginger
- 1/2 tsp nutmeg
- 1 tsp cinnamon
- 1/2 tsp salt
- Turbinado sugar, for finishing
For the Egg Wash:
- 1 whole egg
- 1 tsp water
For the Crust:
- 300 g (2.33 c) all-purpose flour
- 1/4 tsp fine sea salt
- 2 tbsp granulated sugar
- 227 g (1 c) coconut oil, room temperature but solid
- 2 tbsp vodka
- 70 g (4.67 tbsp) water, plus more if needed
Instructions
To Make the Filling:
- Peel the apples and chop into a rough dice.
- Add the granulated sugar, all-purpose flour, apple cider vinegar, ground ginger, nutmeg, cinnamon, and salt, and stir gently to combine completely.
- Set filling aside while you make the dough.
To Make the Crust and Build the Hand Pies:
- Add the 300 g all-purpose flour, fine sea salt, and granulated sugar to a large mixing bowl. Whisk to combine.
- Add the solidified coconut oil to the flour mixture. Completely cover the coconut oil with the flour. Then use your fingers to smush the coconut oil into pea-sized pieces. Some pieces might be larger and this is okay!
- Combine the vodka and water. Pour evenly over the flour/coconut oil mixture and stir gently to combine with a fork. The mixture should be shaggy but combined.
- Split the pie dough into two equal-ish parts in your mixing bowl.
- Place flour on a pastry mat. Create a thick disc with one half of the pie dough, and place the disc atop the floured pastry mat. Flour the top of the dough disc and also your rolling pin. Gently roll to 1/4” thickness. *On this first pass, the dough will feel very soft. Be gentle!
- Once you’ve reached 1/4” thickness, fold the dough in half two times. Then roll the dough again to 1/4” thickness.
- Use a 4.5” biscuit cutter to cut out circles for your hand pies. If you have a lot of dough left over, you can re-roll the extra dough one time and make more hand pies.
- Add 2 tbsp of the apple pie filling to each dough circle. Brush egg wash over the edges of the circles that are closest to you, then close gently. Use a fork to seal gently.
- Place formed hand pies on a parchment-lined baking sheet and place in the refrigerator.
- Make the egg wash by adding the whole egg and 1 tsp of water to a small bowl, then whisking to combine.
- Preheat your oven to 400°F (convection) while your hand pies are in the refrigerator. Allow the oven to come to a true 400°F before putting the hand pies in the oven!
- Before baking, cut small vents into the hand pies with a sharp knife, then brush each hand pie with egg wash. Add turbinado sugar to the top of each hand pie, then place in the oven.
- Bake the hand pies for 18-24 minutes, or until the hand pies are a deep golden brown. Remove from the oven and place on a cooling rack.
- These hand pies are best when they are warm, so they’ll be ready to eat within 15-30 minutes of coming out of the oven. To reheat, place in a 300°F oven for ~5 minutes. Microwaving is not recommended for these hand pies.
- Prep Time: 30 minutes (active)
- Cook Time: 18-24 minutes
- Category: Dessert

