We are getting into it today, Friends. Because my nerd heart won’t be satisfied until there’s an army of friends who feel confident about making homemade bread. And part of that confidence stems from knowing when your bread dough has properly risen and when it’s properly proofed.
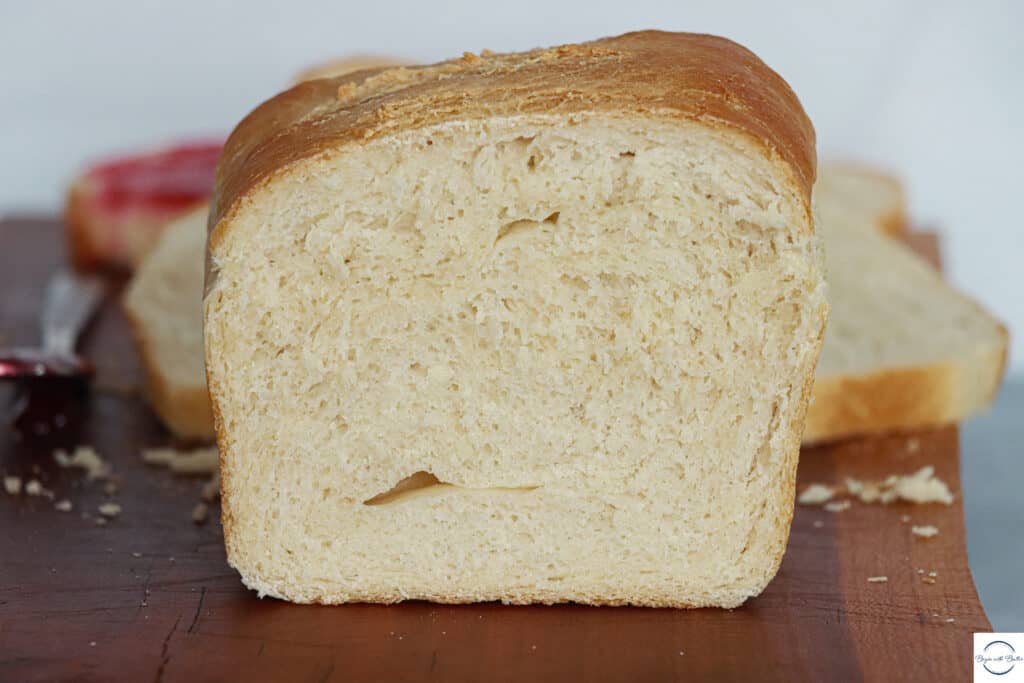
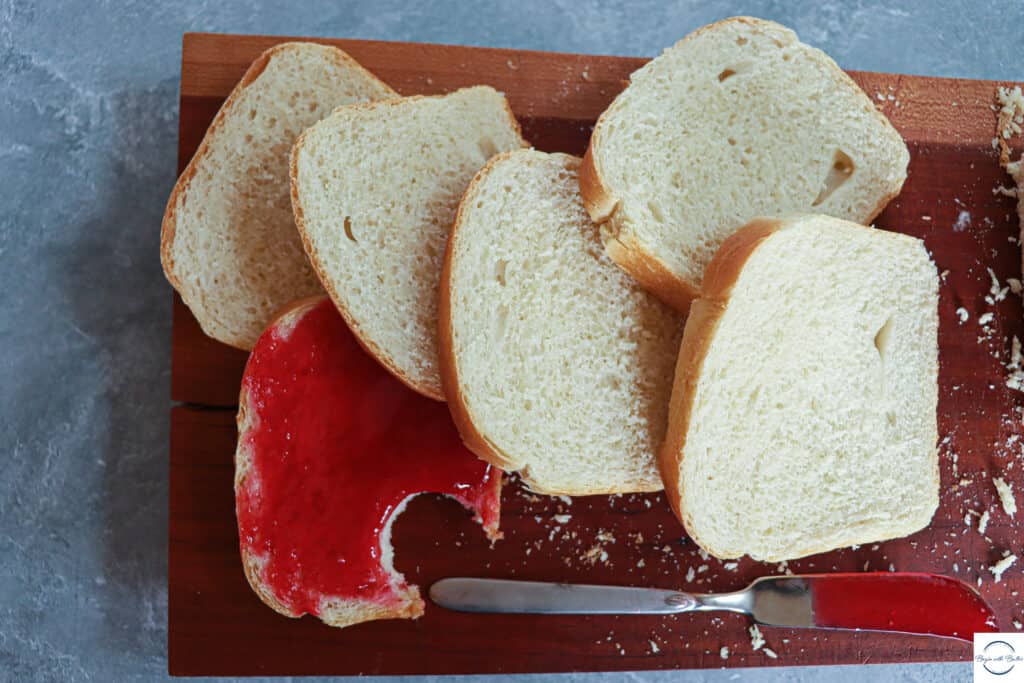
So that you can know, when you make sandwich bread, that this will be the result:
So let’s talk about it, shall we?
In this Post
Rising vs. Proofing
When you’re working with yeast bread, there are actually two different stages of yeast growth. The stage after you finish the first kneading process is called the rise.
After the first rise, you typically shape your dough into its final shape and allow it to rise a second time. This second rise is technically called proofing.
The good news is that the test to see whether your dough has properly risen (first rise) or properly proofed (second rise) is the same!
And, much to the delight of all younger siblings everywhere, it involves your finger and a poke.
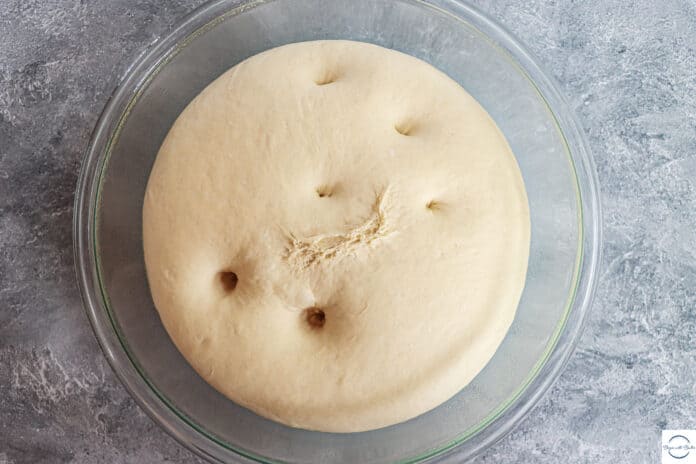
Typically, when dough is rising, a recipe will tell you to cover it and place it in an area, free of drafts, until it’s doubled in size. Kind of like this.


This is a perfectly fine way to determine when dough is ready, but there’s a more accurate way!
Simply insert your finger firmly into your dough up to your second knuckle. If the resulting hole fills in within 60 seconds, then the dough is not quite ready yet!
(The best way to become proficient in this technique is…to practice! So don’t worry about testing it multiple times! I actually encourage you to do this!)
Why Does This Test Work?
Here’s the science-y part.
When you make a yeast dough, the yeast actually works by releasing carbon dioxide. This is what causes your bread to rise. That carbon dioxide gets trapped in the gluten network and continues to expand.
Want to learn more about yeast baking for beginning bread bakers? Check out this post for fun and comprehensive info that will make you a much more confident bread baker!
There are three stages of yeast growth in your bread dough: 1) the initial burst of carbon dioxide (which means rapid yeast expansion and dough growth); 2) what I call the “slow down”, when the yeast is almost exhausted and growth slows; and 3) deflation, when yeast stops working and the carbon dioxide actually starts to evaporate, causing the dough to deflate.
If you get to the deflation point before the bread has established its final shape in the oven, your dough will start to collapse.
And we want to avoid the part where the dough collapses!
When you do the poke test, you can assess whether the yeast is:1) still working its little heart out; 2) just about done, or 3) whether it’s finished its work.
What Does the Poke Test Tell Us?
When you perform the poke test while yeast is still actively working, the yeast will bounce back and make the hole fill in about a minute or less.
If you perform the poke test after the yeast has slowed down, the yeast will only bounce back slightly, and the hole will not fill in completely. That’s when you’re ready to move onto the next step!
Like this!
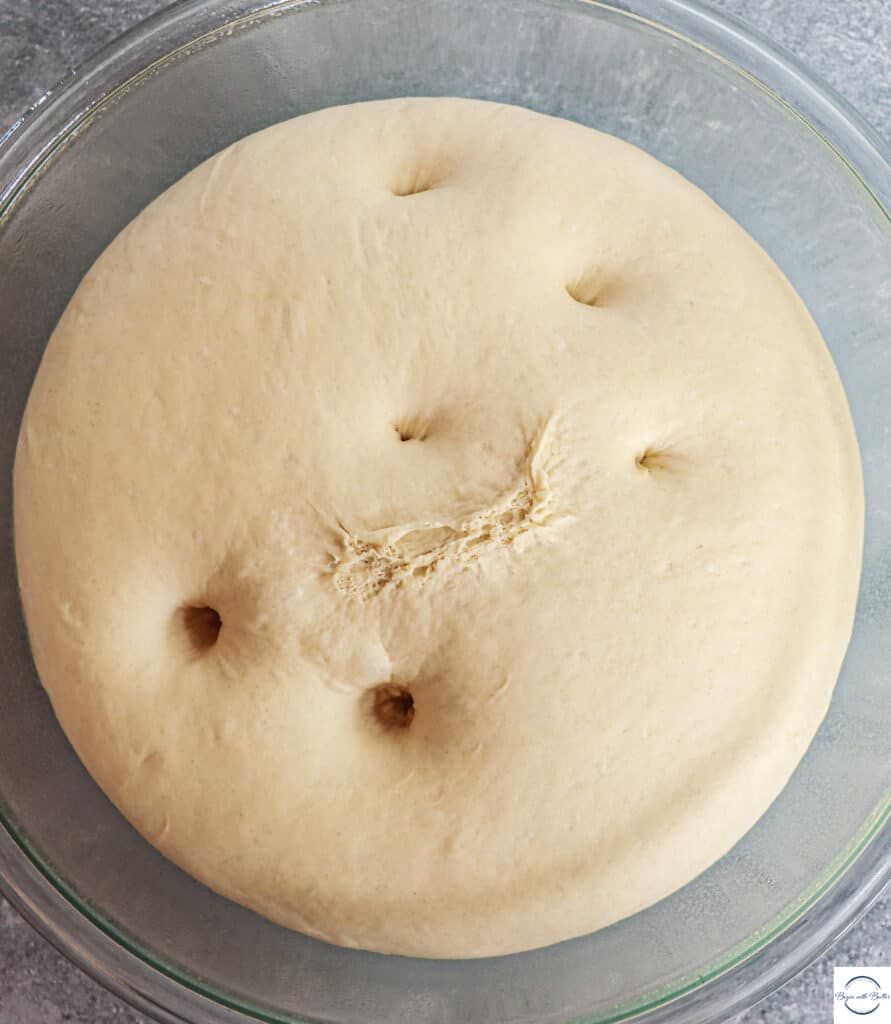
When you perform the poke test after the yeast is depleted, then the dough won’t bounce back at all. Worse yet, the dough might completely deflate from that one-finger test!
That’s…bad news.
Why Does This Matter?
Properly proofed bread matters because, as with everything involving bread, timing matters.
If you try to shape bread before the dough has properly risen, the dough will actually fight you. It won’t be elastic; it will simply try to snap back with your every effort. If you wait too long to shape the bread, and the dough has already deflated, the dough won’t retain its shape well and the second rise won’t be fruitful.
If you try to bake underproofed bread, the texture inside will be gummy, with non-uniform holes and a poor rise. This is a ruinous result that literally nobody wants. If you bake overproofed bread, the bread will remain flat when it’s baked, and the texture will again be gummy and flat.
Rest assured, friend. You have a window of time to check your dough! And it’s totally fine to check it early; as you can see from the picture above, the holes will simply fill in. You won’t ruin it.

Plus, checking it early allows you to figure out how bread acts in your kitchen. Because things like humidity, temperature, and the amount of yeast in your bread will directly impact the bread in your kitchen. And while the rise times given in recipes are usually safe to follow, you’ll create better bread if you know how bread dough responds in your specific kitchen. Better bread=more confident baking!


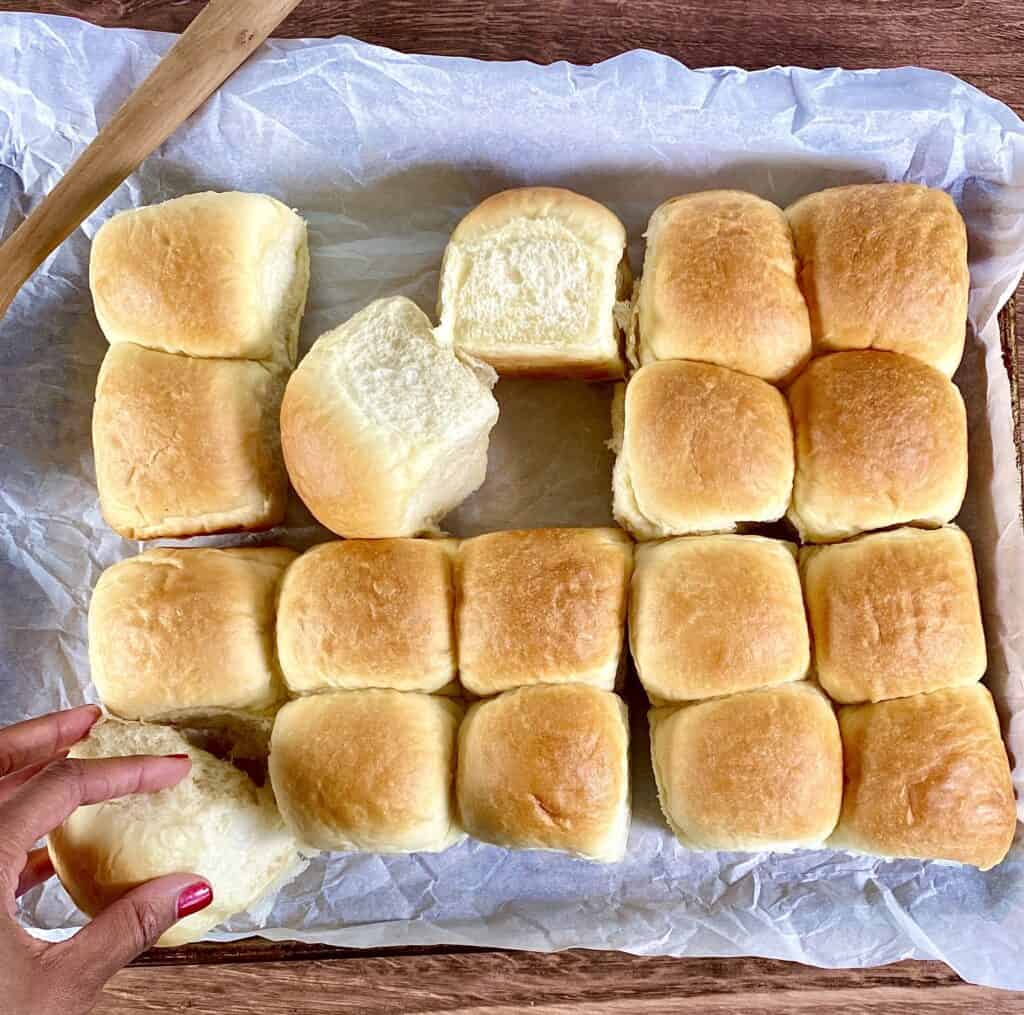
I hope this post helps you become a more confident bread baker! If you have questions, reach out to me at hello@beginwithbutter.com; I love chatting with people about their biggest baking questions!
See you next time!
Check us out on Instagram!

Bread can be so intimating, but I really want to get more comfortable making my own. When I made donuts the first time, it may have been pure luck, lol! But I will definitely keep practicing. *crossing fingers* Thank you for these great tips! xx
You’ll definitely get there my friend! I’m so glad this tip was helpful for you!
Wow! Finally a fantastic, comprehensive explanation about dough testing! From a very scared novice baker, thank you so, so much!
You’re very welcome! I’m so glad it was helpful for you. ????
my bread comes out of the oven well formed and tight but deflates as it cool and the crust cracks. Is it overproofed?
Hi there! Some contraction and light cracking happens with many perfectly-formed and made breads. Don’t beat yourself up! If it caves in on itself, it could be overproofed. But it doesn’t sound like that was your issue. If you don’t mind sharing, how was the crumb inside your loaf?