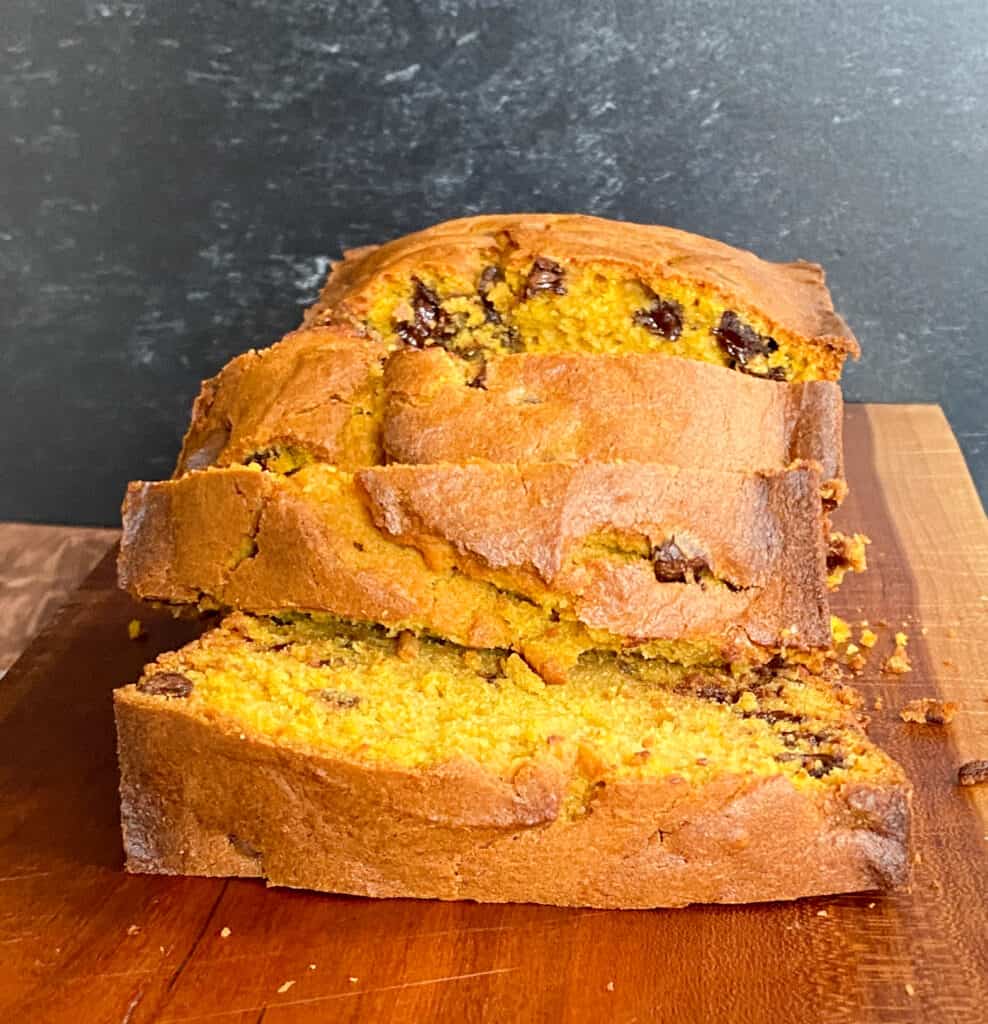
Happy National Pumpkin Day, Friends! It’s not often that I will participate in food holidays, but this one seemed so…perfect! So this Pumpkin Chocolate Chip Loaf was created just for today!
I know that you all expect something “pumpkin spiced” and just so warm today, but that wasn’t the vibe that I wanted from this Pumpkin Chocolate Chip Loaf. ???? While there is a hint of nutmeg (because it complemented the pumpkin and the molasses in the brown sugar so beautifully), this one isn’t a spice cake.
It’s about the chocolate and the pumpkin and the yumminess of those two things together.
So let’s get into this loaf, shall we?
About this Pumpkin Chocolate Chip Loaf
Every ingredient in this Pumpkin Chocolate Chip Loaf plays a specific role.
We’re never willy-nilly over here at Begin with Butter. We’re all about intentional choices with ingredients.
Want to know more? Great!
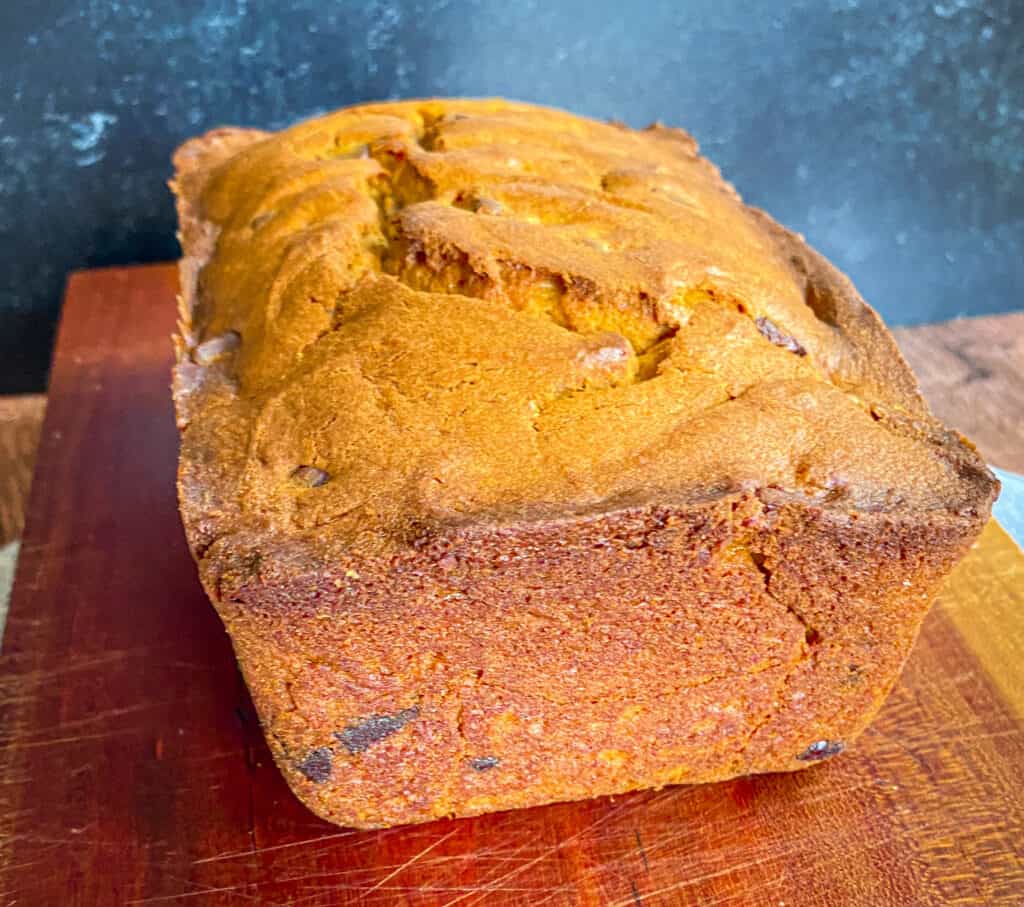
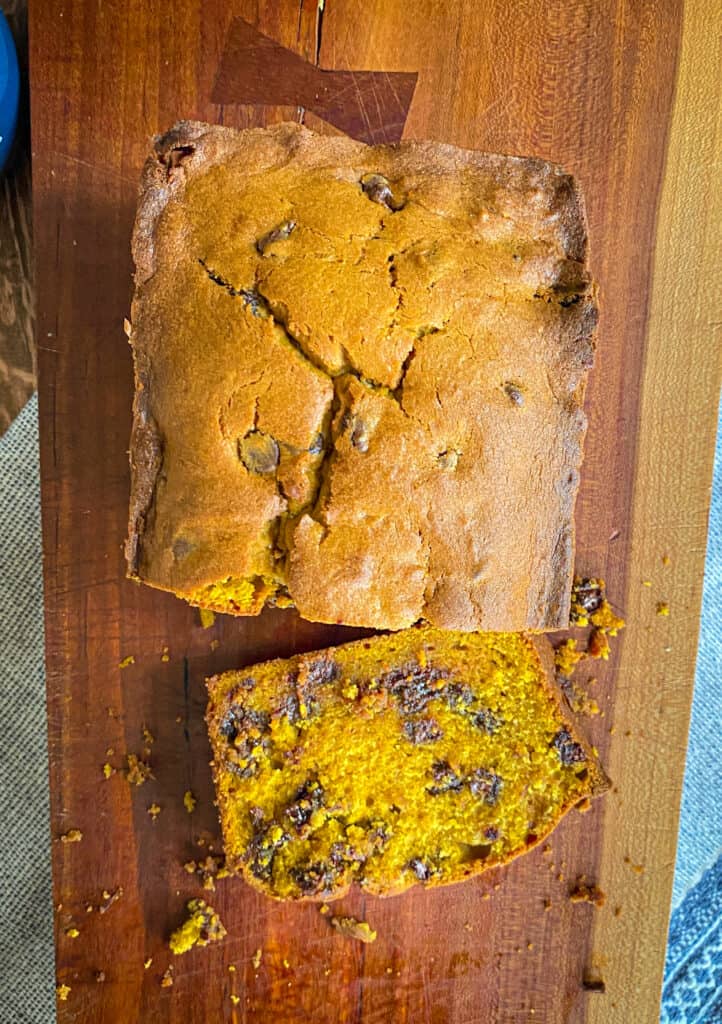
All-Purpose Flour: All-purpose flour has the perfect protein content to lend this rich, decadent loaf a beautiful rise. All-purpose flour also helps the chocolate chips distribute evenly, which is super important for this loaf.
Baking Soda: Pumpkin is mildly acidic, so I would go with baking soda in this cake. With the addition of Greek Yogurt, baking soda was definitely the leavening of choice for this cake.
Kosher Salt: The salt in this recipe prevents the brown sugar from dominating the flavor. If you’re using table salt instead of kosher salt, cut the amount in half. The smaller granules mean more salt per teaspoon, and too many salt granules will throw off the balance in the dish.
Nutmeg: I know, I know, I said this isn’t a spice cake. And it isn’t! But nutmeg is earthy and warm and that balances the molasses in the brown sugar quite perfectly. So I’ve added just a smidge of nutmeg to this Pumpkin Chocolate Chip Loaf to help with flavor. Don’t skip it!
Butter: I chose butter for the fat in this dish for two reasons: 1) flavor (because we love butter around here); and 2) I wanted the additional aeration that butter would add to this Pumpkin Chocolate Chip Loaf when I creamed it with the brown sugar. So. Good.
Brown Sugar: Brown sugar was the winner for this special loaf! Brown sugar has a byproduct (!) of molasses, which lends a butterscotch-y goodness to this wonderful loaf. It helped to offer a perfect counterbalance to the chocolate chips.
Pure Vanilla Extract: Since the theme of this loaf was fall comfort, and since pure vanilla extract adds a perfect note of comforting goodness, I decided that more was more and added two teaspoons of the extract to the Pumpkin Chocolate Chip Loaf.
Eggs: Eggs are one of my favorite multi-tools for baking. The fatty yolk adds yummy flavor to everything they touch, and the protein-rich egg white helps the loaf rise.
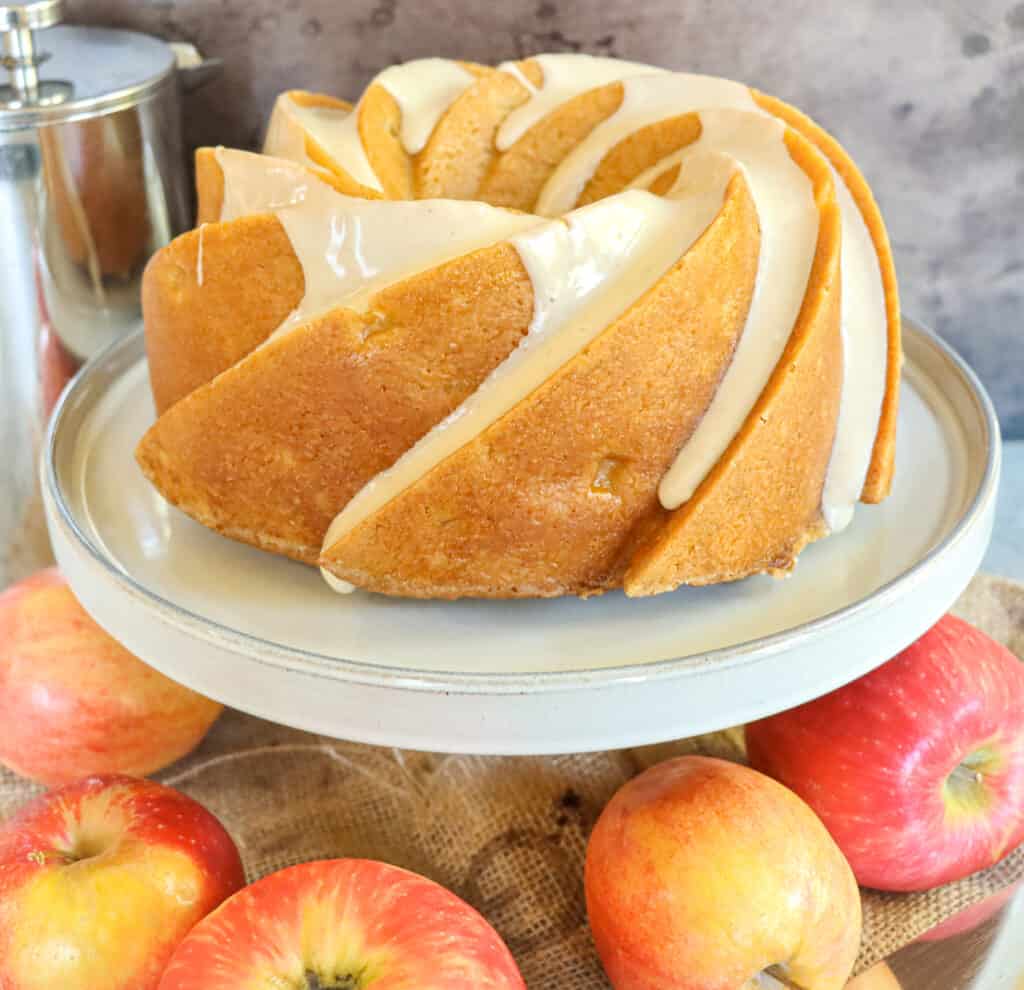
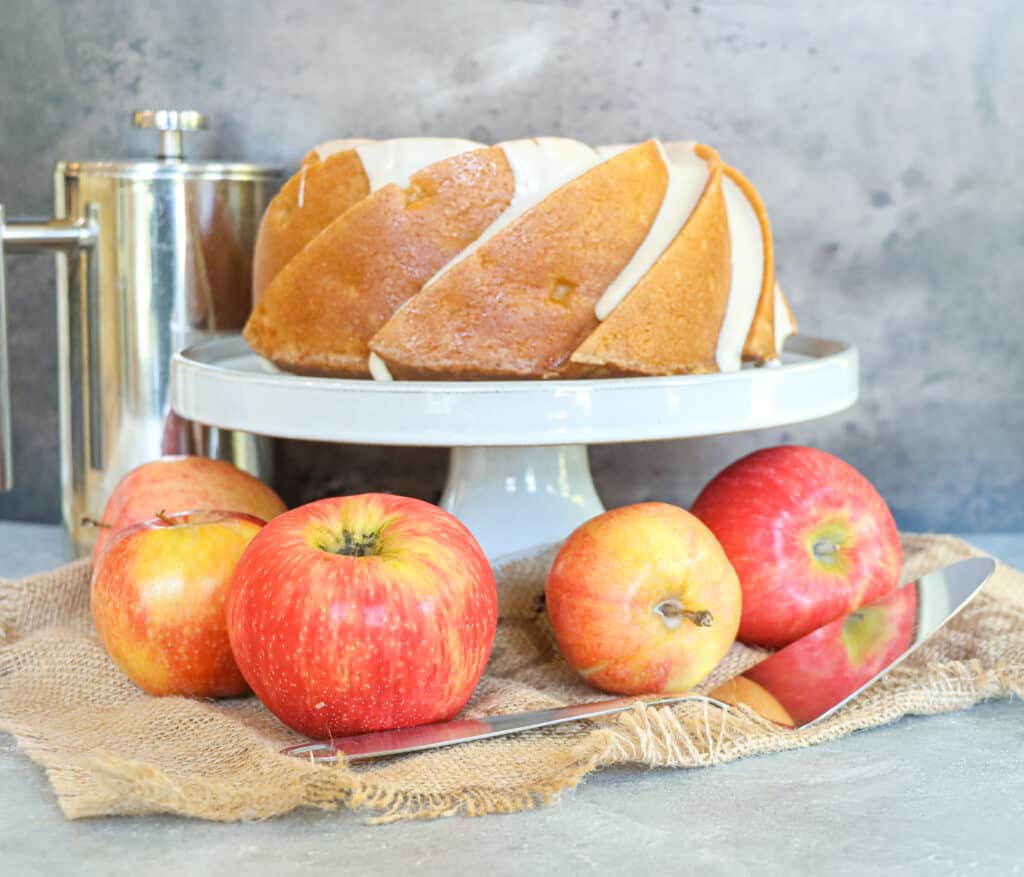
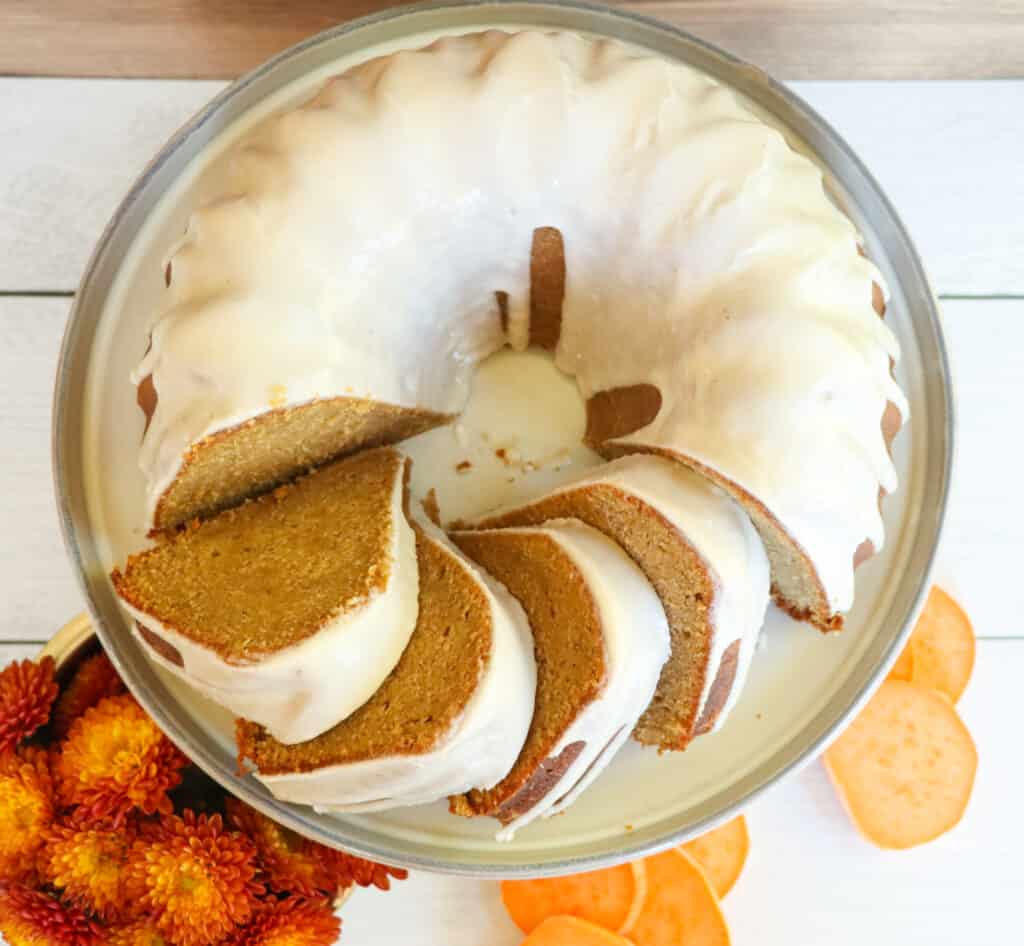
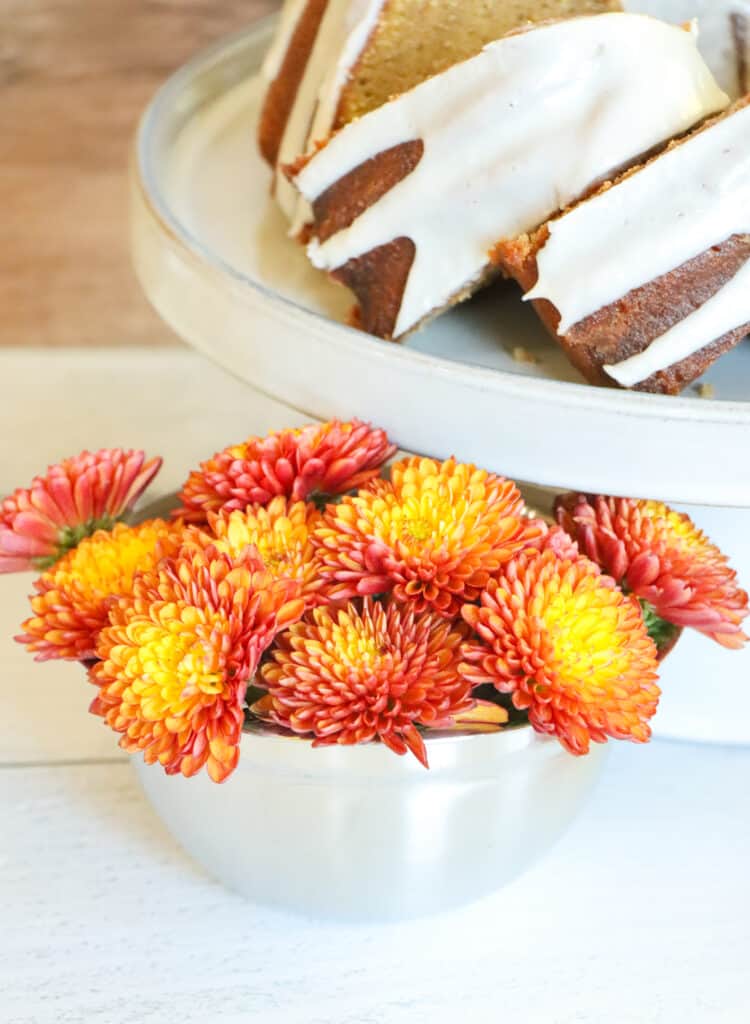
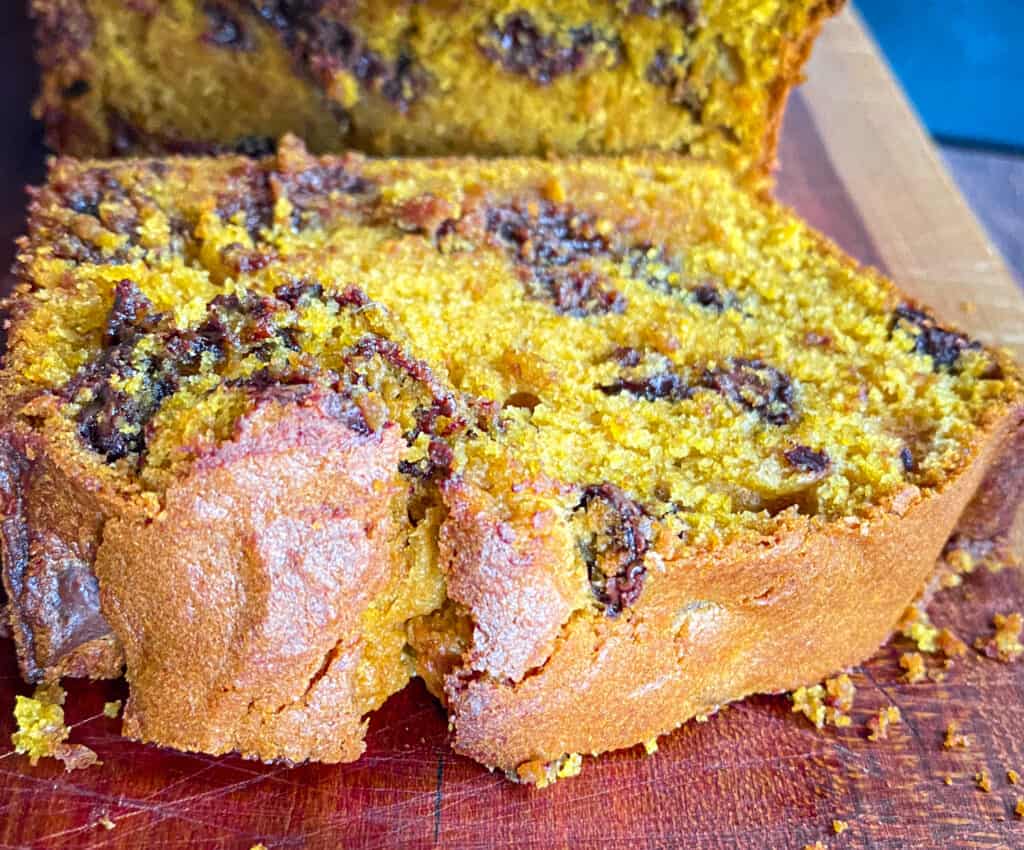
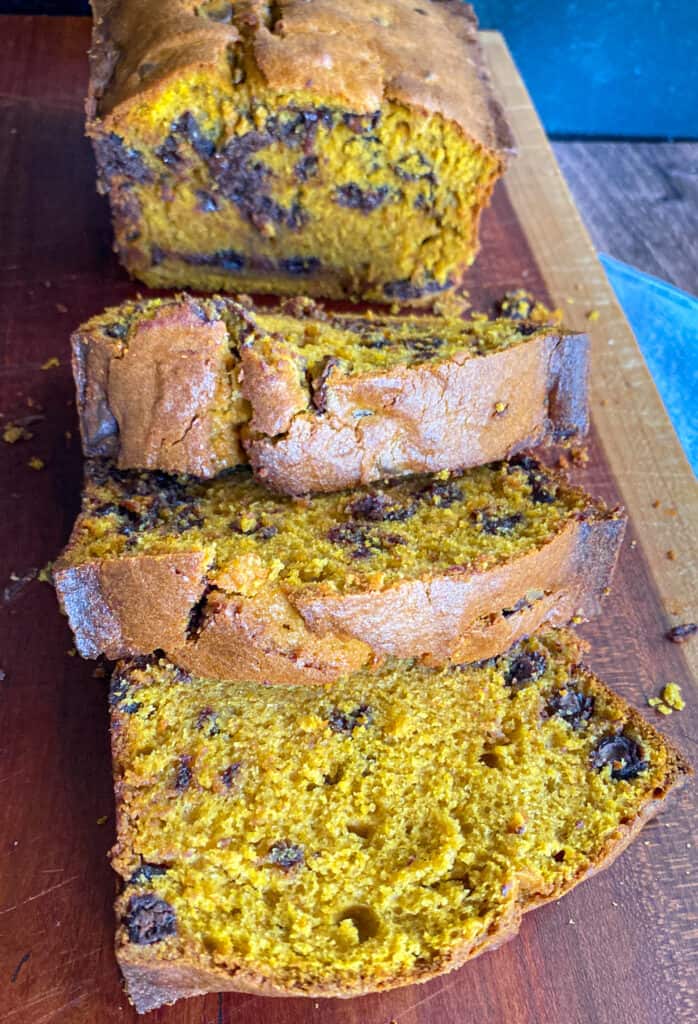
Pumpkin Puree: This loaf uses quite a bit of pumpkin puree. I wanted to maximize the orange color, the smooth flavor, and the incredible texture from this deliciously neutral fruit. You can use either canned pumpkin puree, or you can break down your own pumpkin. Do what you feel! As long as you don’t use pumpkin pie filling, you’ll end up with a delicious loaf!
Greek Yogurt (Full Fat): Greek yogurt is the “liquid” in this recipe, and it adds a tang that cannot be beat. I tested this recipe with sour cream, mascarpone cheese, buttermilk, and Greek yogurt, and the Greek yogurt won hands down!
Chocolate Chips/Chunks: You could absolutely omit the chocolate chips/chunks in this recipe and end up with a delicious Pumpkin Loaf. However, my daughter is the chocoholic of chocoholics, so that was…not an option for me. ???? To get great distribution of the chocolate, fold the chocolate in gently at the end of the mixing time.
Beginners Start Here
If you’re new to baking, or if you want to brush up on basics, here are a couple of super helpful articles from the BwB site that will help you get set up for success with this Pumpkin Chocolate Chip Loaf.
- Meet Your Kitchen BFF–Your Digital Kitchen Scale!
- The Art of Mise en Place
- How to Cream Butter and Sugar (With New Video!)
- Baking 101: How to Measure Ingredients
- Knowing When to Stop a Technique
These resources are super helpful to help you build consistency and confidence on your baking journey. Happy Reading!
Important Tools Used in this Pumpkin Chocolate Chip Loaf
Below, you’ll find some tools that I used for this Pumpkin Chocolate Chip Loaf. These are the tools that I use in my kitchen for just about everything that I bake.
**I get paid a small commission if you purchase directly from some of these links, but they are truly amazing products that you’ll find in my kitchen.**
If you have them already, great! Think of this as a checklist to help you build the confidence that you’ll need to execute this recipe!
- Oven Thermometer
- Digital Food Scale
- KitchenAid Hand Mixer
- KitchenAid Stand Mixer (not an affiliate link)
- Stainless Steel Mixing Bowl Set
- OXO Spatula Set
- Sifter
Happy National Pumpkin Day to all of my pumpkin-loving friends! I hope you love this recipe, or you’re crushing on one of the other pumpkin recipes on my site today!
Speaking of the recipe, here it is!
Thank you for indulging me on this national holiday, friends! See you next time!
Want more pumpkin content on this special holiday? Check out these posts!