In the magical world of vegan baking, there’s one unsung ingredient that stands out, and it is a humdinger—it gives incredible texture, it binds batters, and it is a source of joy for those who want to make an incredible plant-based cake. Let’s wander into the fantastical world of flax eggs and explore how they’re redefining the art of plant-based baking.

Whether you’re a seasoned vegan baker or just curious about flax eggs, this post has everything you “knead” to get cracking and make your vegan desserts rise to the occasion.
What are Flax Eggs, Anyway?
Flax seeds, my baking besties, are a tiny but mighty source of dietary fiber, protein, and omega-3 essential fatty acids (that’s the good stuff, trust me). Chock-full of these healthy components, they’re not just adding structure to your vegan cakes, they’re also packing them with a nutritional punch.
I get it. We’re not making diet food. But I wanted to share that there are health benefits to flax eggs too. 😂
Made by simply combining water with flax meal, flax eggs mimic the binding properties of traditional chicken eggs.
Why Should You Give a Flax?
Because of their magical binding properties, flax eggs are an egg-cellent (sorry, not sorry 😝) option for vegans, those with egg allergies, or anyone who has ever run out of chicken eggs (don’t judge…but that person is me). Who knew that such an unassuming little seed could pull off such a feat?
Plus, they’re high in omega-3 fatty acids and fiber, so your sweet treats are a little more guilt-free. Look, Vegan Snickerdoodle Pound Cake will never be health food, but it can be egg-free!
The Shelf Life of Flax Seeds: Short but Sweet
Though flax seeds have a short shelf life once opened, unopened packages can last up to a whole year in your pantry. So, unless you’re a commercial vegan baker, you don’t need to buy huge bags of flax seeds; if your local grocery store sells it in the self-serve aisle, that’s your best bet.
When you grind flax seeds into flax meal, the shelf life takes a bit of a dip (and not the yummy kind). Typically, flax meal can stay fresh for up to a week in your pantry, but if you want to play it safe, go ahead and pop it in the fridge, where it’ll be good for up to a month.
If you’ve had an open bag of flax seeds in your pantry for over a month, it’s probably time for a little refresh. Remember, fresh is best, so if that flax has been hiding in the back of your pantry, it’s time to give it a courteous farewell and get a new batch for your fabulous vegan baking adventures!
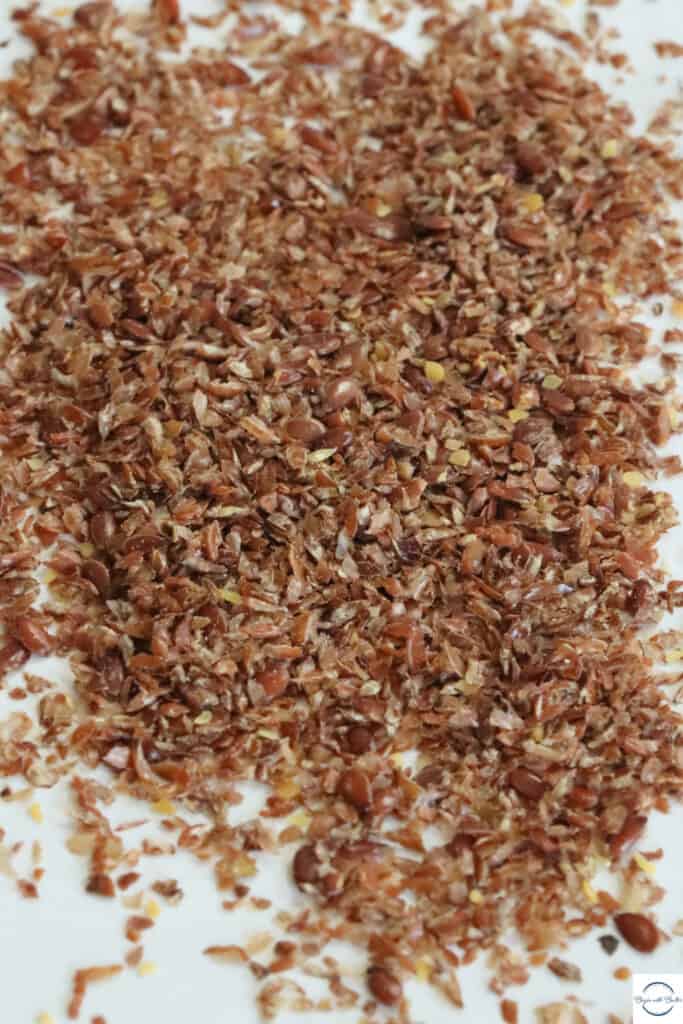
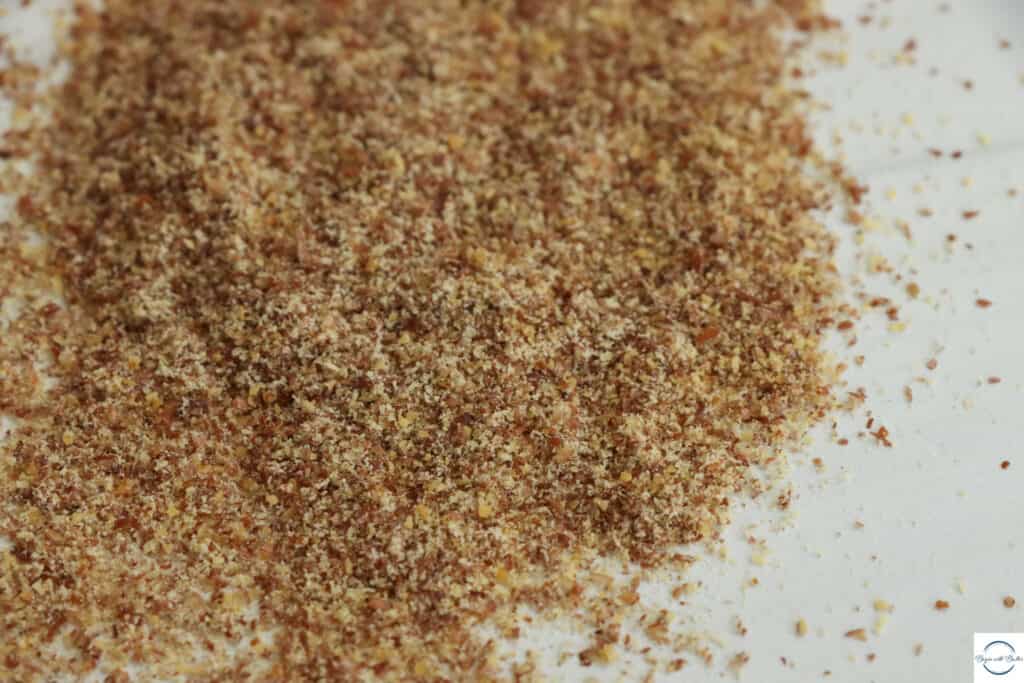
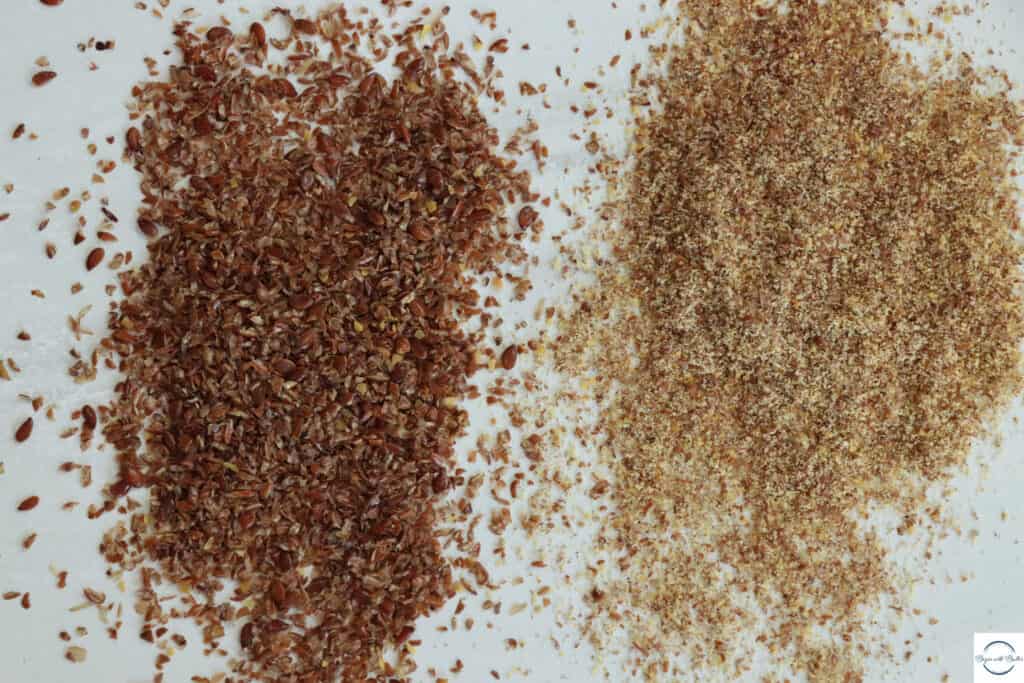
If you’re unsure about the difference between flax seeds and flax meal, take a look here:
Making Your Own Flax Eggs at Home
The first thing that you need to remember when making flax seeds is that you need flax meal, and not full flax seeds. You can either purchase pre-ground flax meal (or, as some brands call it, “milled flax seeds”), or you can grind flax seeds with your coffee grinder, blender, or mortar and pestle until they reach a fine, flour-like consistency.
** Pre-Ground Flax Meal, a Note: Pre-ground flax meal will almost always have a number of whole flax seeds in it. You can either sift out the whole flax seeds with a fine mesh strainer, or you can use a mortar and pestle to get everything to the same consistency. If you’re purchasing ground/milled flax seeds, my guess is that you’re looking for convenience, so a fine mesh strainer is the way to go!**
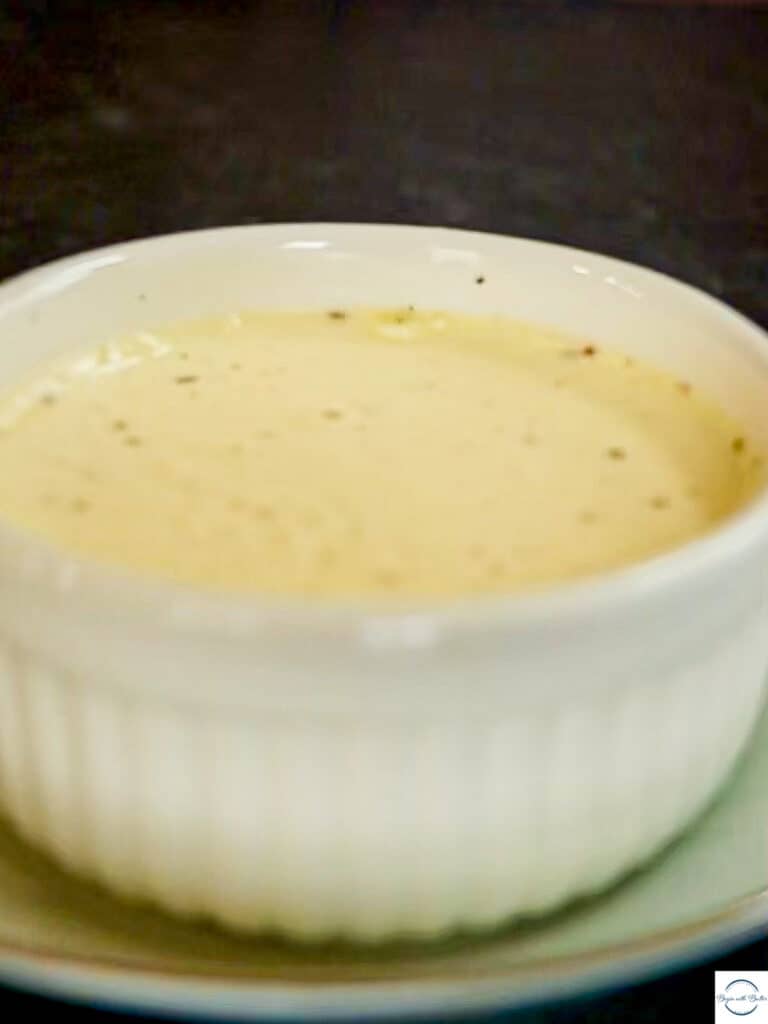
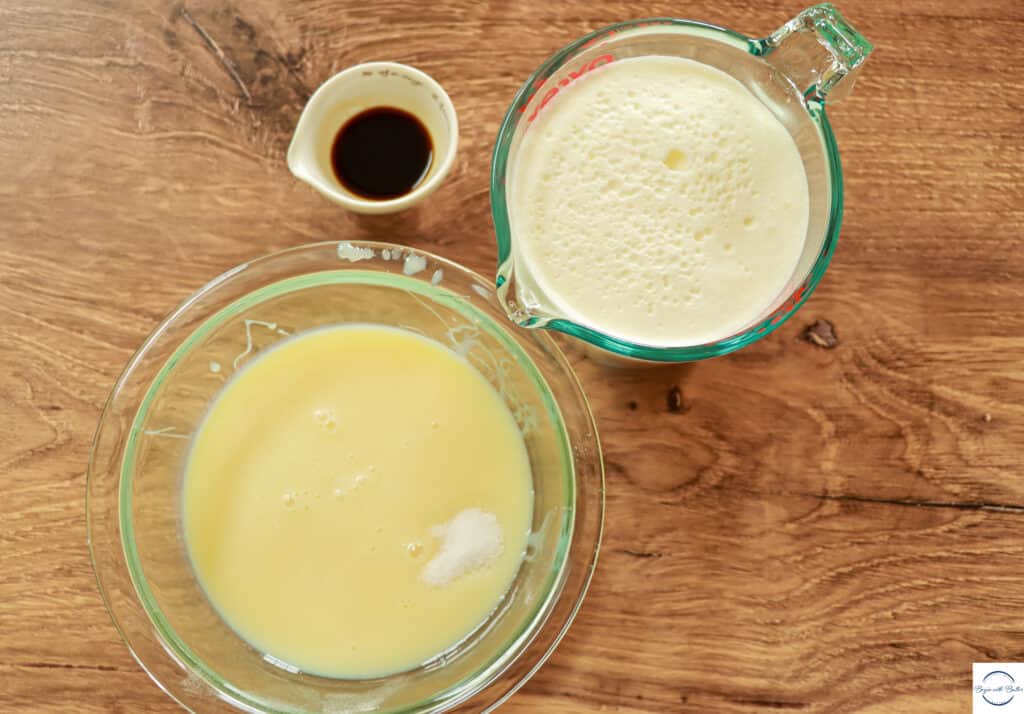
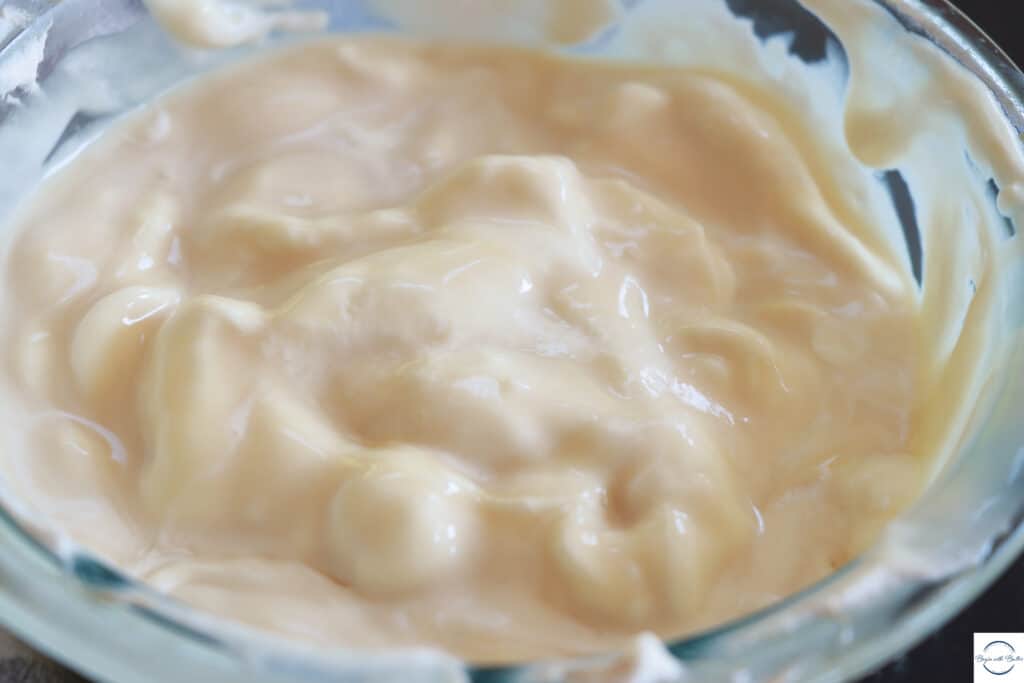
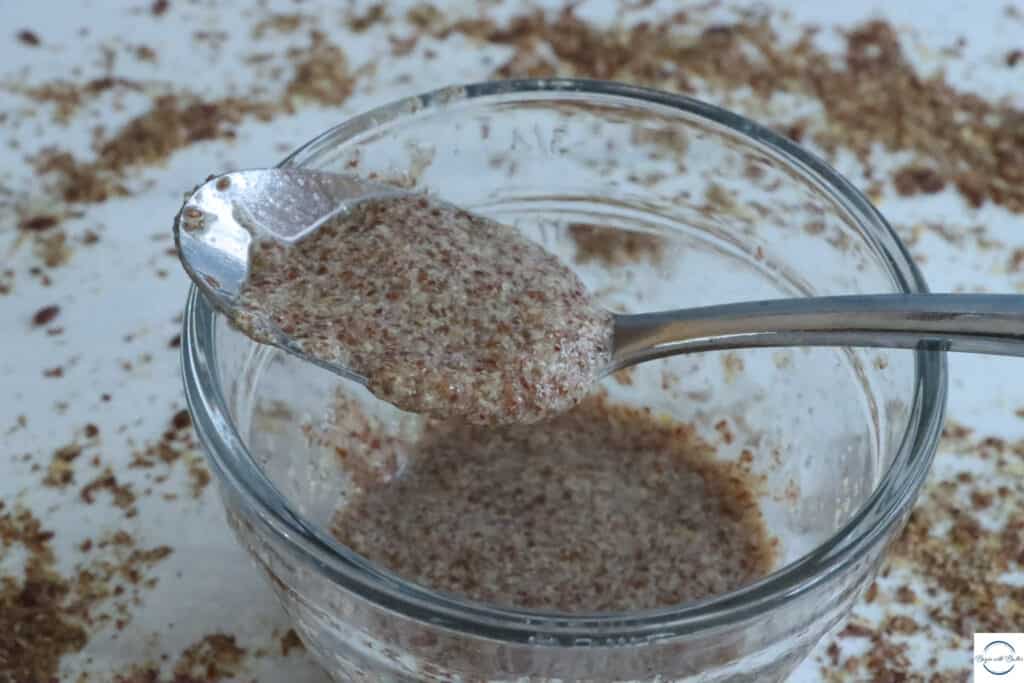
For every egg you need, just mix one tablespoon of ground flaxseed meal with 2.5 tablespoons of water. Let it sit for ten minutes, and it will come together as a goopy, golden-brown entity that’s ready for its role in your creation. This goop is, first and foremost, an important binder for your baked goods.
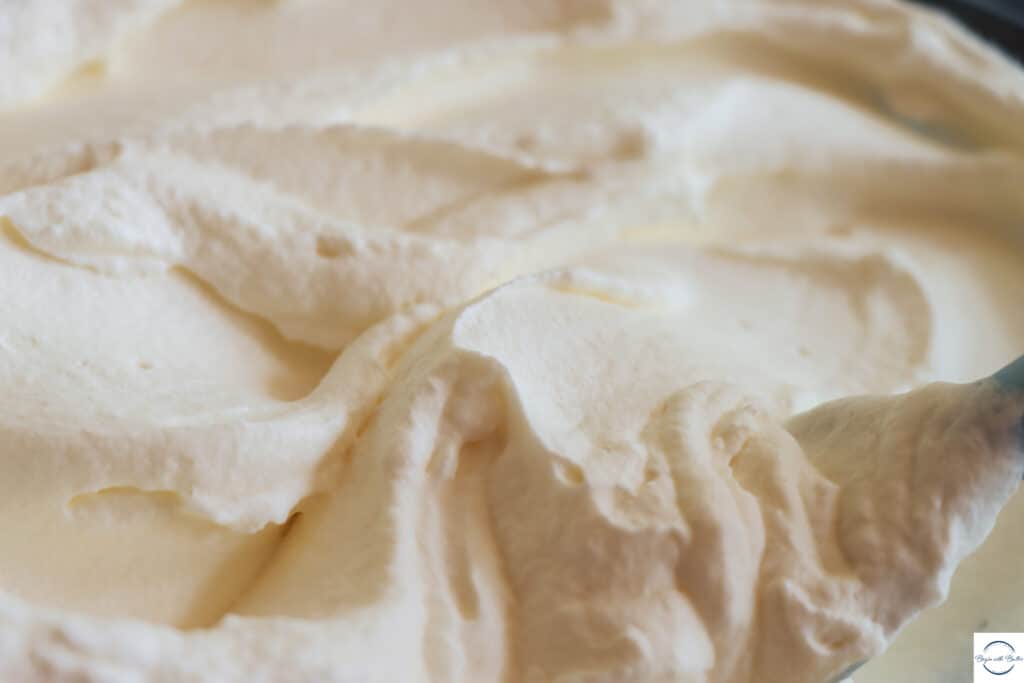
How do you know if the goop is good? Well, it should be the consistency of egg whites, and it should look like this:
(sorry for the freakishly large image 😩)
Texture Talk: Flax Eggs and Vegan Cakes
In vegan baking, as in traditional baking, texture is everything. If a vegan egg doesn’t provide the same binding effect that chicken eggs provide, vegan cakes can end up a little crumbly. Flax eggs bring a subtle chewiness and structural integrity, transforming a potentially dry or grainy cake into a masterpiece of moistness.
But Can I Sub Flax Eggs for Chicken Eggs?
In most recipes, the answer is a resounding yes; it usually a 1:1 replacement. To replace a chicken egg with a flax egg, simply whisk up one of these golden globs and you’re good to go. Just remember, like any vegan substitute, it’s all about finding balance. Some trial, a little error, and a whole lot of tasting will help you nail it. ❤️
There is some thought in the baking world that you can only sub up to two flax eggs in a recipe. With my vegan baking recipes, I successfully used up to FIVE flax eggs, and am happy to report that the results have consistently been delightfully delicious.
Versatility that Takes the Cake
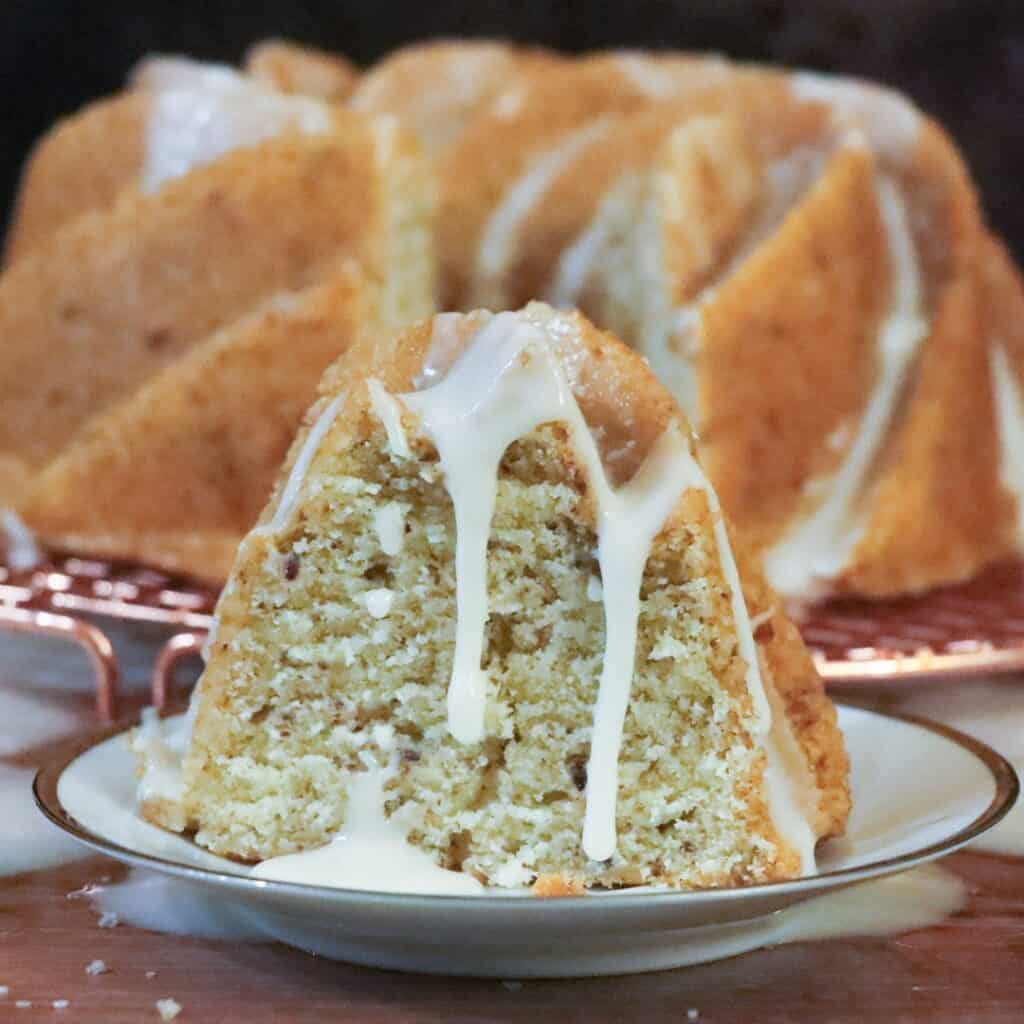
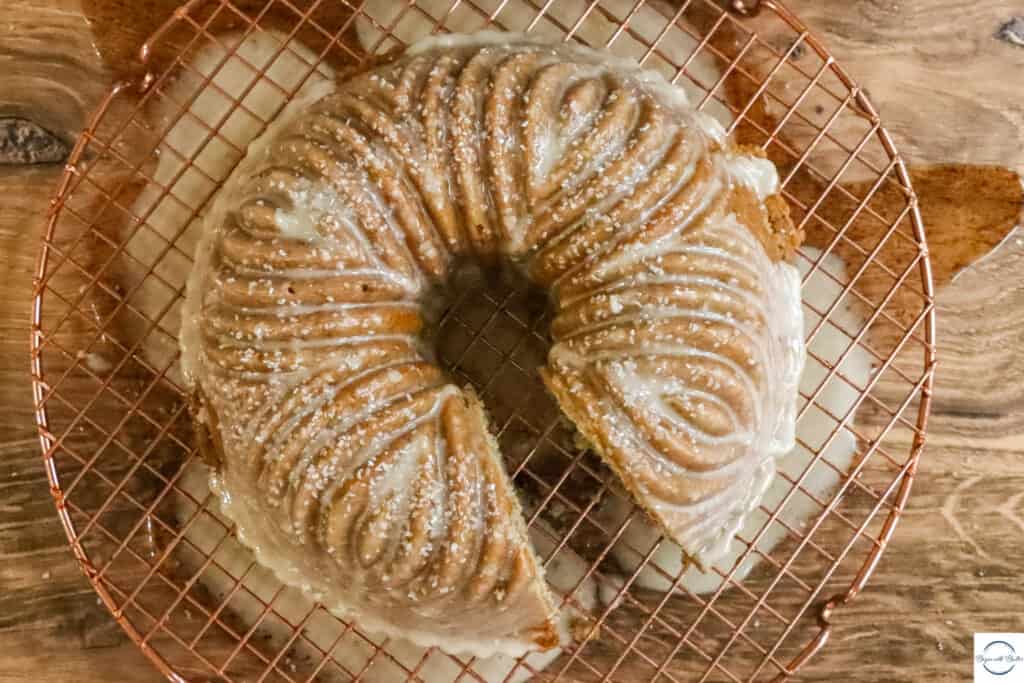
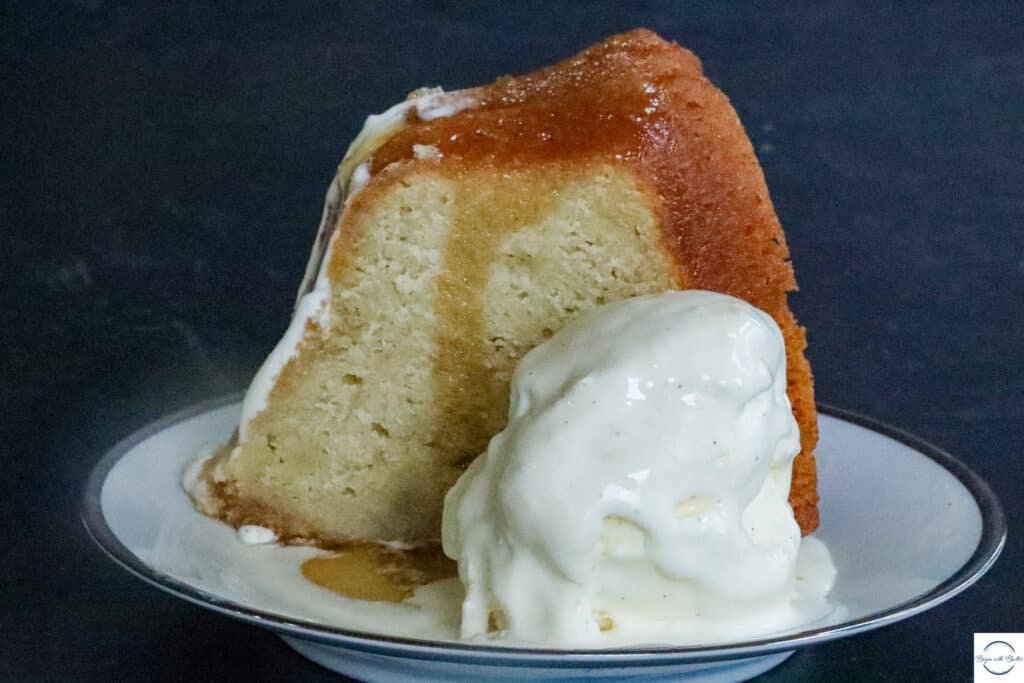
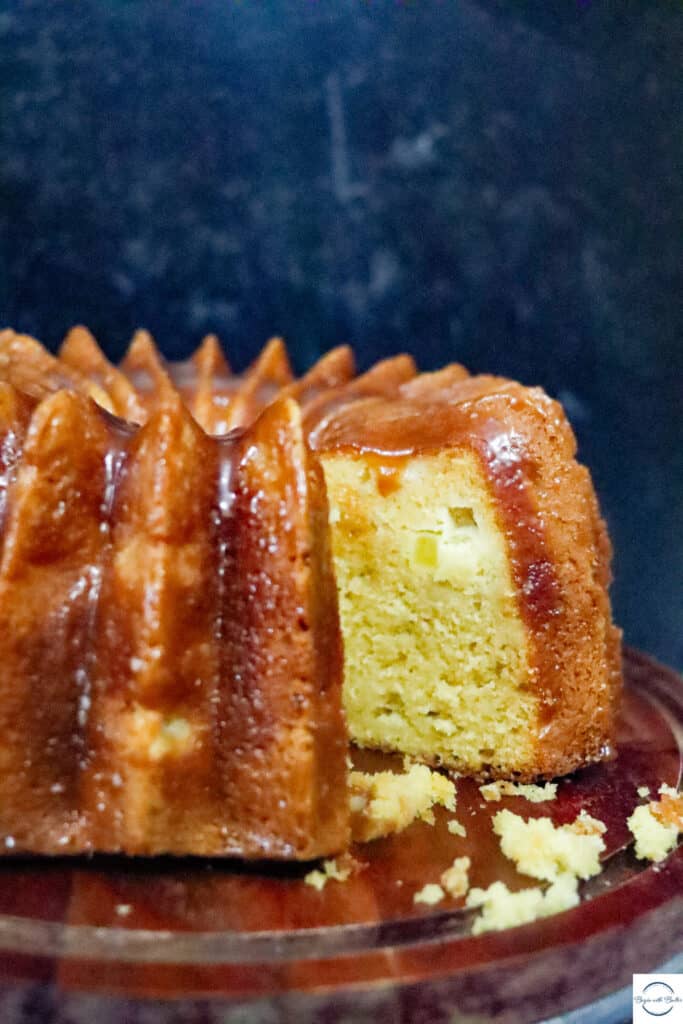
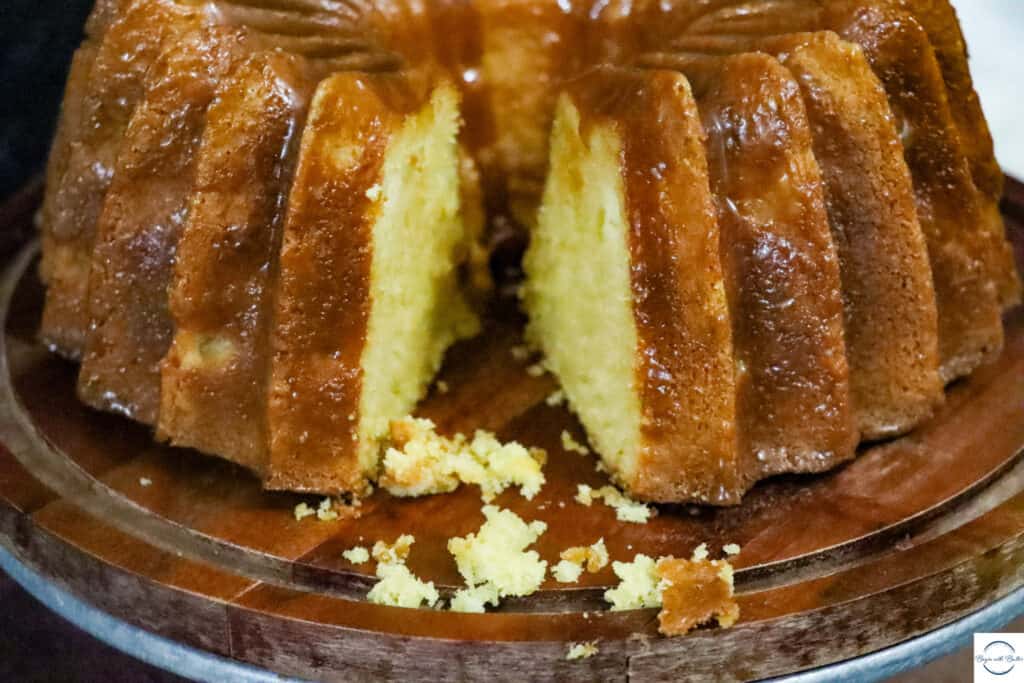
Flax eggs know no bounds. From muffins to fluffy pancakes, they seamlessly fill the role of their avian counterparts. But perhaps their true pièce de résistance is in the pound cakes…
Pound Cakes that Pound with Flavor, Not Eggs
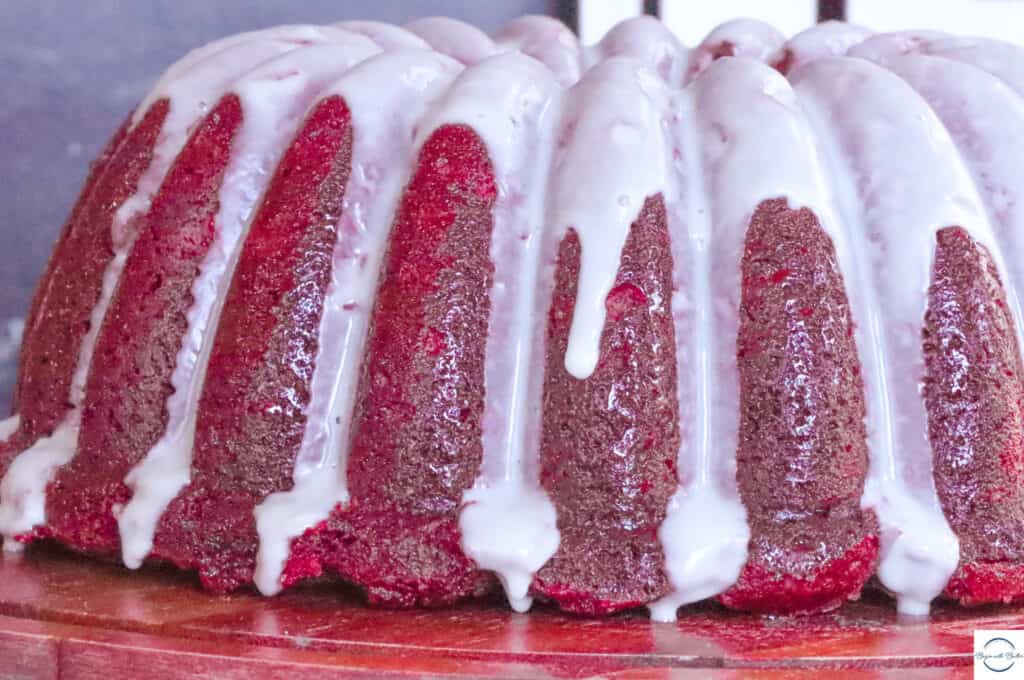
Vegan Red Velvet Pound Cake
For when you need something rich and velvety but you don’t want to use chicken eggs. This recipe is proof that some of the best reds are vegan. 😘
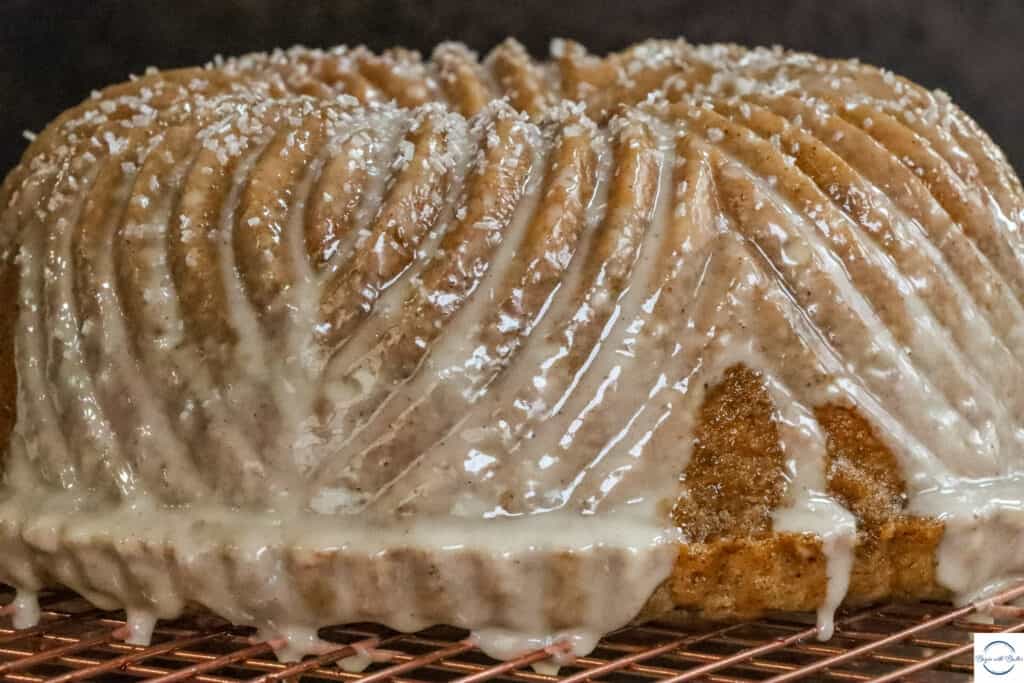
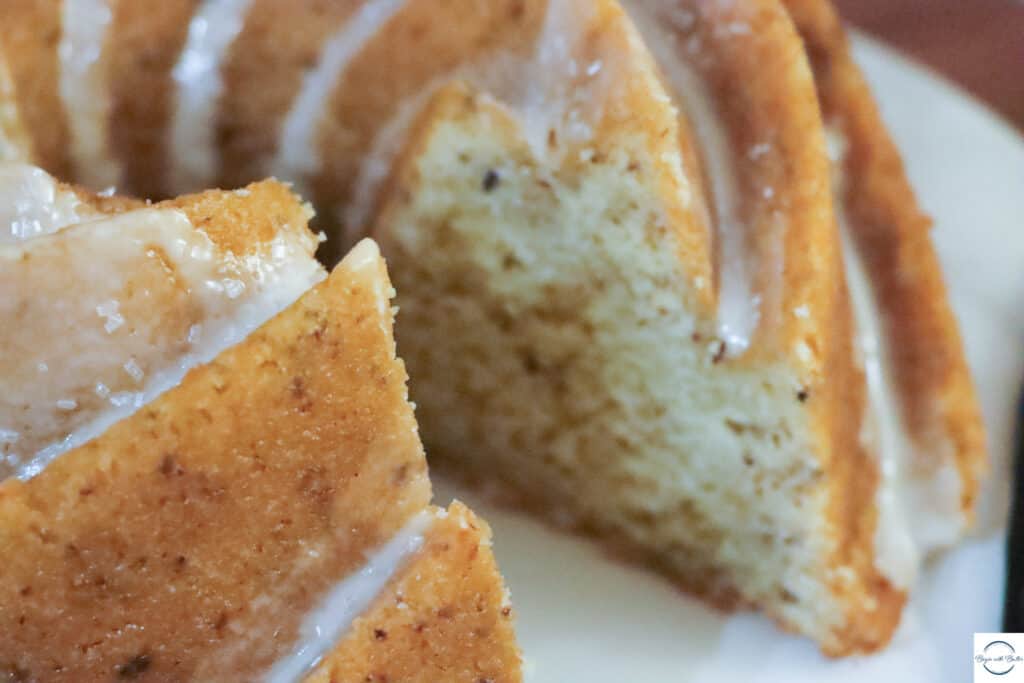
Vegan Snickerdoodle Pound Cake
Those cinnamon-sugar flavors in a cake that’s wonderfully dense yet tender—thank you, flax eggs, for making it possible.
Vegan Lemon Vanilla Pound Cake
When life gives you lemons (and flax meal), make the most lip-smackingly good lemon cake this side of non-vegan desserts.
Flax Eggs vs. Other Vegan “Eggs”: A Friendly Face-Off
Now, you might be asking yourself, “Why flax eggs? Aren’t there other non-chicken eggs out there?” And the answer is yes! Applesauce, mashed banana, and even silken tofu can play the part of eggs in your vegan recipes. However, none of these offer the vegan baker the multiple uses that the flax eggs offer.
Applesauce, with its sweet, fruity flavor, is a popular egg substitute that brings a moist, dense texture to baked goods. But here’s the catch – that sweetness will often significantly alter the flavor profile of your recipe. And while it’s great for moisture, applesauce doesn’t quite have the same binding power as flax eggs.
Next we have the lovely mashed banana. It’s a classic choice as an egg alternative, especially when you’re going for a sweet, moist finish. But here’s the scoop, my cake-loving companions. While bananas can bring a lovely moistness to your bakes, they again don’t quite have the same binding magic as flax eggs. Plus, banana again brings its distinctive flavor to the party, which, delicious as it may be, might not be the taste you’re after for every recipe.
Alright then, onto the silken tofu. This mild-mannered marvel is often used as an egg substitute in denser cakes and brownies. But here’s the scoop – while silken tofu can bring an enviable creaminess to recipes, it again lacks the binding power that flax eggs flaunt so effortlessly. So if you’re facing the “to tofu or not to tofu” conundrum, flax eggs are a safe, reliable, and pantry-friendly bet to bring that perfect balance of moistness and structure to your vegan bakes. 🍰
TL;DR version: nothing binds like flax eggs, and that is a major requirement of eggs in any baking recipe.
Tips and Tricks that Crack the Code of Flax Eggs
FAQstastic: Commonly Asked Questions
Why do we need to grind flax seeds into flax meal to make flax eggs?
The outer layer of a flaxseed is quite hard and tough, and does not really contribute the necessary binding properties to the flax egg. That’s why we grind the seeds into flax meal. Doing so breaks down that stubborn outer shell, releasing all the good stuff inside – the nutrients and the oils that give flax eggs their binding power. So, in essence, grinding flaxseeds into meal ensures that your baked goodies get the maximum benefit from this super-seed and help mimic the binding properties of traditional eggs. Remember, patience is key here – those little seeds can be stubborn, but your efforts will be rewarded in the delicious end result!
Can I use a mortar and pestle to grind my flaxseeds into flax meal?
Absolutely! If you’re in a pinch or just love the old-school charm, a mortar and pestle can be a great way to grind flaxseeds into meal. Simply toss the seeds into the mortar, grab that pestle, and grind away until you reach the consistency of flour. But, remember this: flaxseeds are a bit stubborn, so arm yourself with a little patience. Once you’ve got your homemade flax meal, you’re all set to whip up your flax eggs.
What’s the ideal flax meal to water ratio?
One tablespoon of flax meal to 2.5 tablespoons of water. This maintains the viscous texture that marks a quality flax egg.
Can I use flax eggs as a 1:1 replacement for chicken eggs in any recipe?
A: Great question! For many baking recipes, it’s a very safe bet. You can replace each chicken egg with one flax egg (1 tablespoon flax meal mixed with 2.5 tablespoons water). But remember, every recipe is its own unique adventure in the kitchen. Some might need a little tweaking. So, keep your taste buds at the ready and don’t be afraid to experiment. After all, a little culinary curiosity is the key to cracking the code of perfect vegan baking.
How long do flaxseeds last?
Great question, my fellow flax enthusiasts! Whole flaxseeds in an unopened container can stay fresh for up to a year if you store them in a cool, dark place. But once they’re ground into flax meal (the form we use for our superstar flax eggs), they can go rancid more quickly. So, if you’re grinding your own flaxseeds—or if you’ve bought pre-ground flax meal—keep it in an airtight container in the fridge. It’ll stay fresh there for about a month. And remember, a fresh flax egg is a happy flax egg!
Can I make flax eggs in advance?
Definitely! Mix up a batch and store it in the fridge for up to a week. It’s like having a loyal egg carton that never cracks or gets its contents all over the kitchen floor. Unless the container is glass. And that glass container falls to the floor. 😑
Are there any flax egg pitfalls I should avoid?
Don’t skimp on the mixing or the resting time. The flax egg needs a good mix and about ten minutes to thicken. Don’t be afraid to stir a few times during the rest time to! Also, ensure you’re using flax meal, not whole flaxseeds. The meal has already been milled, which really helps the egg impersonation. If you can only find flax seeds, it’s time to give that coffee grinder a whirl!
Where can I find flax seeds?
You can find them at your local grocery store! I prefer the Bob’s Red Mill brand (**please note, this is an affiliate link**).
Conclusion
Flax eggs are not only an amazing baking ingredient in the vegan baker’s toolkit, but also a small step you can take towards increasing your baking arsenal. So go on, whisk up a batch, raise a spatula, and let your next sweet adventure begin—with flax eggs leading the charge!
Remember, the kitchen is your playground, and each recipe is an invitation to play. So play with your food, experiment with flax eggs, and always bake with love. It’s the most important ingredient, after all.
Stay tuned for more tips, tricks, and all-around baking awesomeness. And if you have any topics you’d like to see covered or questions that are on the tip of your batter-dipped tongue, let me know! I’ll be right here, ready to assist, educate, and egg-cite your baking journey.
Cheers to all the bakers—veterans, rookies, and everyone in between—who dare to elevate their desserts to new (eggless) heights. The flax egg is at your service!