Y’all…this Half and Half Cake is the best kind of line jumper. And I am someone who cannot stand a line jumper. Like, when we go to amusement parks, I am always the person who will tap your shoulder and say “excuse me, there’s a little bit of a line back here.” 😂 (My kids love this by the way.)
Why is this cake a line jumper, you ask? Because she wasn’t supposed to be posted until next year. But y’all made such a kerfuffle on Instagram about this cake that I had to post it in time for your holiday tables.
(psst…want the tips for how to prep this ahead so that you can glaze and go on the big day? Check out this post: Storage Tips for Make-Ahead Desserts!)
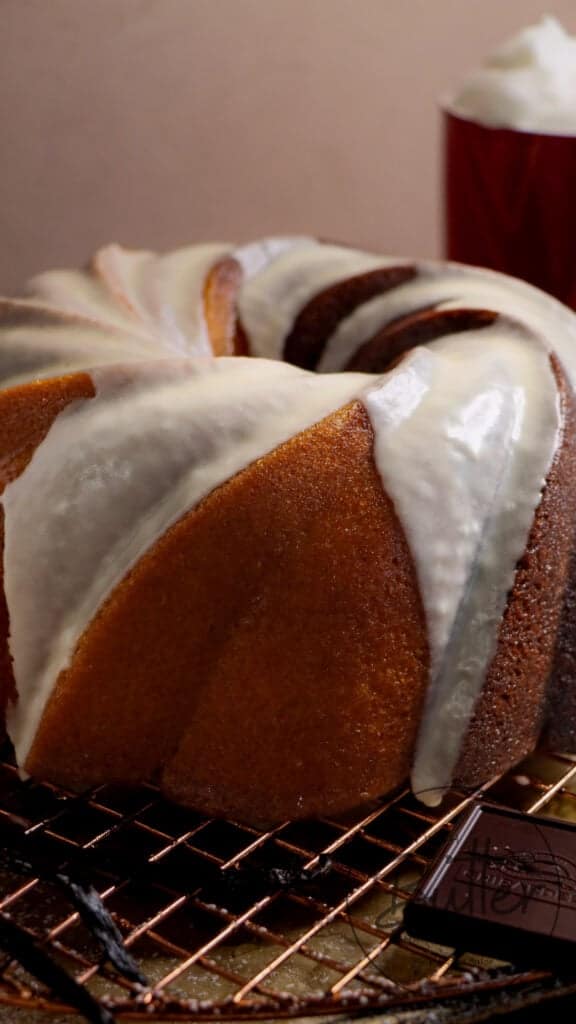
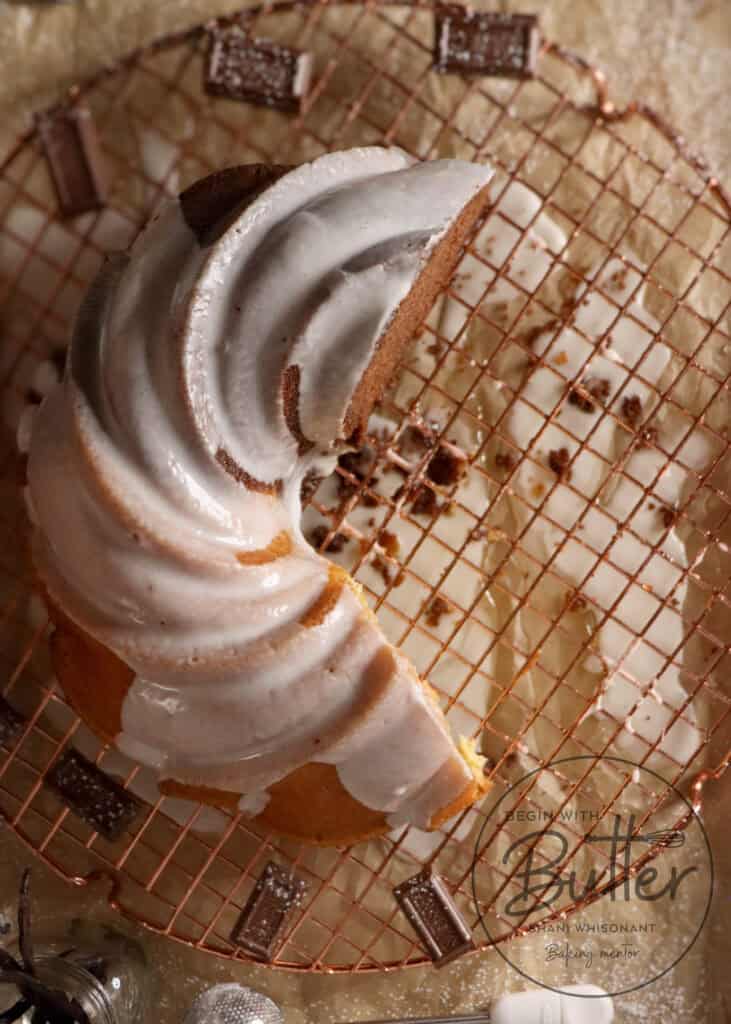
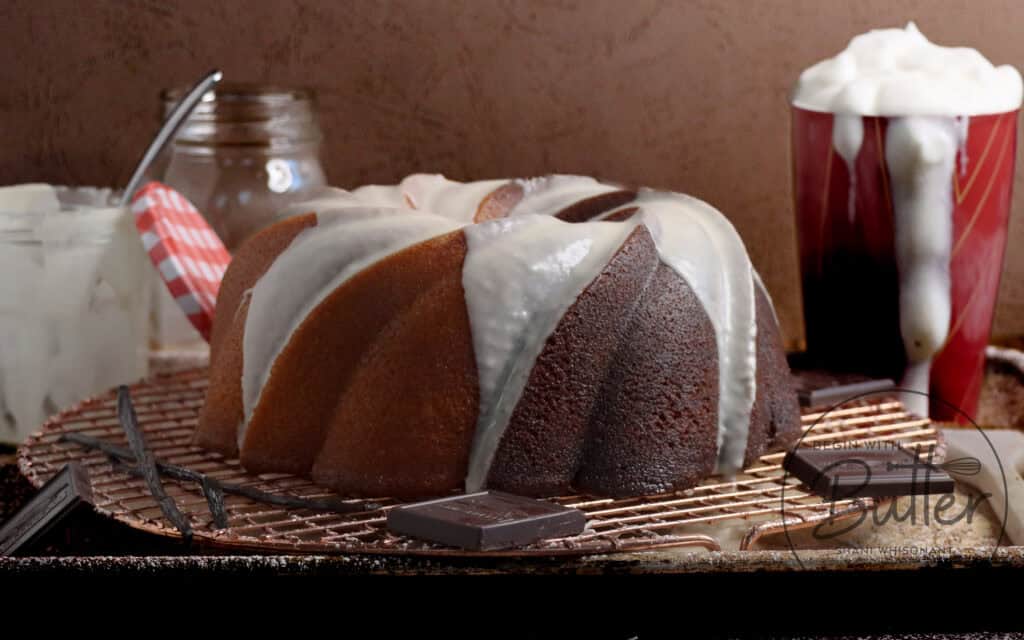
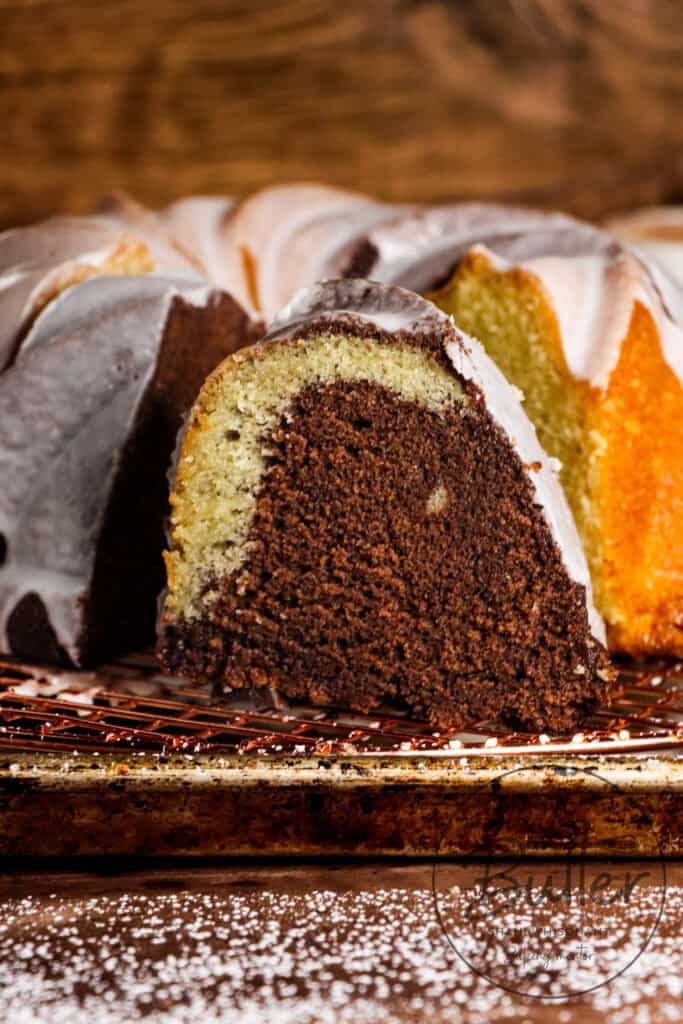
This cake will finally help you resolve the spats that inevitably pop up when you ask whether people want vanilla cake or chocolate cake. You can give them both without sacrificing one or the other. One of the big gripes about marble cakes is that the chocolate cake often ends up underbaked, while the vanilla ends up dry. Well, both halves of this Half and Half Cake are perfectly moist (🙉), they each give big flavor, and, for the marble cake lovers among us who love both vanilla and chocolate, there’s even some marbling that happens where the two flavors meet for a lil’ razzle dazzle.
This just might be the perfect cake.
In this Post:
About this Half and Half Cake
This cake was absolutely borne of necessity. You see, I have a beautiful, vivacious, sweet, chocoholic-of-a daughter who cannot get enough chocolate. She was actually the inspiration for the Ultimate Chocolate Pound Cake, and she has fallen head over heels in love with my Mexican Chocolate Pound Cake…she also gave me very specific instructions for how she’d like to see the ratio of chocolate to vanilla in my S’Mores Pound Cake…heavy on the chocolate.
My sweet, sweet, food-critic-of-a son literally detests chocolate. If it’s not vanilla or some derivation thereof, he’s not touching it. If there is a *puff* of chocolate in the air, his nose gets all crinkly and he acts like he might become faint from the disgust. And don’t let chocolate touch something he actually wants to eat, because…yeah no.
But give him anything NOT CHOCOLATE that’s heavy on the vanilla, and he is absolutely insane with delight. The Very Vanilla Pound Cake came from my hurt feelings after he told me that the fourth cake didn’t “have enough vanilla”. And this boy will tear up a Snickerdoodle anything (see Snickerdoodle Pound Cake and Snickerdoodle Cookies). So long as it’s not chocolate.
My poor husband doesn’t care. He’s such a good man.
Y’all see my dilemma. So I had to put this to bed once and for all, and make a cake that everyone could consume happily. Chocolate for the chocoholic. Vanilla for the vanilla virtuoso, and a marbled middle for the wonderful man in my life who’s made it all possible. A literal win-win-win. And the cake sacrifices NOTHING to make everyone exceptionally happy.

Half and Half Cake: Recipe at a Glance
⏰ Prep Time: 60-70 minutes
- ~25 minutes for mise en place (getting all ingredients measured and ready, friends!)
- 45 minutes for batter (it needs additional time because you’re going to split the batter in two to create separate chocolate and vanilla cake batters!)
🔥 Bake Time: 60-70 minutes at a true 325°F
🕒 Total Time: 5-7 hours
🕒 TL;DR, Cake Details Edition: A striking bundt cake cleanly divided into two distinct halves – pure vanilla and rich chocolate – with a naturally marbled effect only where the two batters meet, and crowned with my brand-new, Rich Vanilla Glaze

⭐ Why You’ll Love It: Each half maintains its distinct flavor integrity – pure vanilla for purists, deep chocolate for chocoholics, and a perfect marble middle for those who want both. No compromises in taste or texture…ever
📝 Tips for Success:
- Bring butter, eggs, AND buttermilk to room temperature for best results
- A kitchen scale is essential for precise measurements of flour, sugar, and butter to achieve perfect half-and-half results
- Natural cocoa powder (not Dutch-processed) works best with the baking soda
- Don’t substitute the buttermilk – it’s key for tenderness
🔪 Special Equipment:
- Kitchen scale (absolutely necessary for perfect results with this cake)
- 12-15 cup bundt pan
- Stand mixer or hand mixer
💭 Make Ahead: The cake can be wrapped well and frozen for up to 3 months. The vanilla simple syrup can be made up to a week ahead and stored in an airtight jar in the refrigerator. The vanilla glaze can be prepared 1-2 days in advance and stored in an airtight container in the refrigerator.
Ingredients in this Half and Half Cake
Let’s talk about the amazing science happening in your mixing bowl with this Half and Half Cake. Understanding your ingredients will help you tremendously on your baking journey, as you develop the confidence to start tinkering and playing with recipes. By learning the baking science behind the ingredients, you’ll be able to confidently personalize recipes, with an expectation that you’ll have great outcomes!
All-Purpose Flour is our cake’s foundation – it creates the building blocks that give your cake its beautiful structure. When we measure it by weight (yes, that kitchen scale is your best friend!), we’re ensuring every slice has that perfect, tender crumb. All-purpose flour, with a higher protein content than cake flour, is key for success in this recipe.
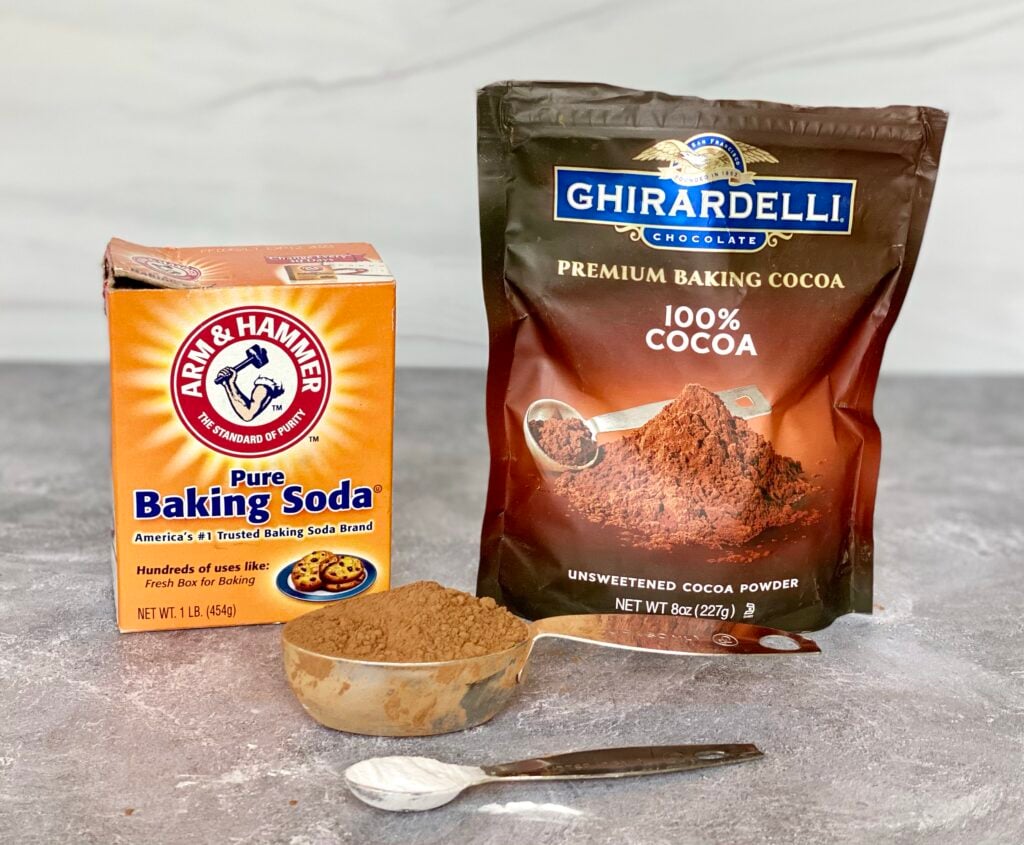
Baking Soda is the tiny but mighty chemist in your batter! (cue visual of Dr. Bunsen Honeydew from the Muppets. 😂) It teams up with the acid in our buttermilk and our natural (not Dutch Process) cocoa to create bubbles that help your cake rise into a fluffy dream.
Natural Cocoa Powder isn’t just any chocolate – it’s specifically chosen because it’s naturally acidic, which means it needs our friend baking soda to neutralize it and help create a proper rise. Trust me, this natural cocoa powder and baking soda friendship makes the most beautiful, dark chocolate magic happen in your cake!
Kosher Salt is the quiet hero that makes every other flavor sing louder and more beautifully, while helping to balance out the sweetness of our sugar. It’s working behind the scenes to make your vanilla more vanilla-y and your chocolate more chocolate-y!

Butter brings the richness we all love, especially when we take the time to cream it properly with sugar. And when browned? Oh friends, that’s when butter transforms into liquid gold with the most amazing toffee notes!
Oil is butter’s trusty sidekick in both of our batters, but for slightly different reasons! In the vanilla batter, it ensures a moist, tender crumb, and prevents the vanilla cake from drying out in the oven while the chocolate cake gets perfectly done. In the chocolate batter, the oil helps prevent the cocoa powder from making things too dry – that’s why chocolate cakes often include oil in their recipes.
Sugar isn’t just here for sweetness – it actually helps with texture and caramelization too! While it’s making things deliciously sweet, it’s also busy creating that melt-in-your-mouth tenderness we’re after, and the beautiful, deep, mouthwatering caramelization that we’re all craving from our pound cakes.
Eggs are our master binders, bringing the whole party together while adding richness and structure. Isn’t it amazing that nature packaged these contradictory elements – strong, structure-building egg whites and fatty, protein-tenderizing egg yolks – in one perfect shell without them canceling each other out? Remember to let them come to room temperature – they’ll thank you by blending in beautifully!
Pure Vanilla Extract is pure flavor gold, enhancing both sides of our cake (yes, even the chocolate half!). Give it time to work its magic – the flavor gets even better as the cake cools.
Buttermilk is the tenderizer of all tenderizers! Its tangy personality not only helps create that velvet-like texture we’re after but also teams up with our baking soda for the perfect rise.
When you understand these principles, baking becomes much more fun; it’s always better when you can expect outcomes because you’re being creative but following the baking rules!


Techniques for the Half and Half Cake
This Half and Half Cake looks beautiful, but it truly relies on some special techniques to pull it off.
Fear not, gentle reader! I’ve got you covered. Take a look at the resources below to gain the most kitchen confidence with this recipe. These resources cover so many fun techniques that will take your baking to the next level!
- Storage Tips for Make-Ahead Desserts
- My Holiday Baking Success Secrets
- Sifting: Quick Technique, Huge Impact
- Meet Your Kitchen BFF–Your Digital Kitchen Scale!
- Technique Tips for the Best Pound Cakes
- How to Cream Butter and Sugar (With New Video!)
- Baking 101: How to Measure Ingredients
- The Role of Eggs in Your Baked Goods
- How to Grease a Bundt Pan
- The Science of Sugar
- The Best Tools for Perfect Pound Cakes
- Knowing When to Stop a Technique
- Begin with Butter Home Baking Academy | Perfect Pound Cakes Class!
These resources are super helpful to help you build consistency in your baking, which will make your confidence soar. Happy reading! And don’t forget to reach out to me with questions: bakingbestie@beginwithbutter.com.
Need equipment? Not sure if you have everything that you need to make this amazing cake? No worries! I’ve got you covered there too!
Important Tools
If you’re wondering whether you have everything you need to make this Half and Half Cake, I’m here to help! Begin with Butter has an Amazon Storefront where you can find all of the essentials that I use day-to-day in my own baking kitchen. Because you don’t have to spend a fortune to make a cake. A few essentials is all you need!
If you’re interested in the tools that I use to make absolutely delicious and irresistible pound cakes, check out the My Essentials for Perfect Pound Cakes link in my Amazon Storefront!
I do get paid a commission when you purchase, but these are the tools that I use all the time in my own kitchen.
If you have these tools already, great! Think of this as a checklist to help you build the confidence that you’ll need to execute this cake!
- Taylor Oven Thermometer
- ThermoWorks Square Dot Thermometer
- Ozeri Pronto Digital Food Scale
- OXO Digital Food Scale
- KitchenAid Hand Mixer
- KitchenAid Stand Mixer
- Stainless Steel Mixing Bowl Set
- Deli Containers for Prep
- Spouted Measuring Cup for Glaze
- OXO Spatula Set
- Sifter
- My Absolute Favorite Pound Cake Pans
Let’s get into this recipe, shall we? It’s an amazing one!
Print
Half and Half Cake
This Half and Half Cake is for everyone; the vanilla virtuosos and the chocoholics, and the beautiful marbled center for those in the middle. It’s deliciously moist on both sides, stunningly beautiful, and totally accessible to every home baker. This stunner is positively incredible, and perfect for special occasions.
- Total Time: 5-7 hours
- Yield: 18 servings 1x
Ingredients
For the Cake Batter:
- 309 grams (~2 2/3 cups) all-purpose flour, divided (117 grams [~9/10 cups] for chocolate cake, 192 grams [1 1/2 cups] for vanilla cake)
- 1/2 teaspoon baking soda, divided (1/4 teaspoon for each dry mix)
- 44 grams (1/2 cup) natural cocoa powder
- 1 teaspoon kosher salt, divided (1/2 teaspoon for vanilla, 1/2 teaspoon for chocolate)
- 227 grams (1 cup) unsalted butter, room temperature (you can also use brown butter in this recipe for an even deeper, more complex flavor.)
- 1 tablespoon neutral oil, divided (1/2 tablespoon for the vanilla mixture, and 1/2 tablespoon for the chocolate mixture)
- 450 grams (2 1/4 cups) granulated sugar
- 6 eggs, room temperature
- 1 tablespoon pure vanilla extract
- 250 grams (1 cup) buttermilk, divided (125 grams [1/2 cup] for chocolate, 125 grams [1/2 c] for vanilla)
For the Vanilla Simple Syrup:
- 84 grams (1/3 cup) water
- 67 grams (1/3 cup) granulated sugar
- 1/8 teaspoon fine sea salt
- 1 teaspoon pure vanilla extract
For the Rich Vanilla Glaze:
- 120 grams (1 cup) confectioner’s sugar
- 1/8 teaspoon fine sea salt
- 1/2 tablespoon whole milk, plus up to one more teaspoon, if necessary
- 1/2 tablespoon heavy cream, plus up to one more teaspoon, if necessary
- 1 teaspoon pure vanilla extract
Instructions
To Make the Cake:
- Get the tare weight of your primary mixing bowl, using your digital kitchen scale. (Don’t know what “tare weight” means? Check out this post!)
- Set oven to a true 325°. An oven thermometer will help you determine whether your oven is actually the correct temperature.
- Sift together 117 grams of all-purpose flour, ½ teaspoon of baking soda, 44 grams of natural cocoa powder, and ½ teaspoon kosher salt into a medium bowl. Set aside.
- Sift together 192 grams all-purpose flour, ¼ teaspoon baking soda, and ½ teaspoon kosher salt in a second bowl. Set aside.
- Split 250 grams of buttermilk into two small containers. Add ½ tablespoon oil to each liquid container and combine.
- This step is very important! For this recipe, you’ll need two mixing bowls. Your primary mixing bowl, where you’ll make your chocolate cake batter, and your secondary mixing bowl, where you’ll make your vanilla cake batter. Before you start (in your primary bowl), you need the bowl weight of each bowl. Write down the bowl weight for each bowl and set that aside where you’ll be able to find it quickly later.
- Place all of the butter into your primary mixing bowl. Mix on medium speed until the butter is completely smooth.
- Add the granulated sugar and cream the mixture until light and fluffy. (psst…don’t know what it means to “cream until light and fluffy”? Take a look at this article!) Scrape the sides and bottom of the bowl as necessary to ensure even mixing.
- Add eggs, one at a time. Mix each egg until it’s fully incorporated before adding the next egg. Scrape the sides and bottom of the bowl as necessary to ensure even mixing. The batter might look curdled and that is okay.
- Add all of the pure vanilla extract and mix until fully combined.
- *Critical Step* Place 1/2 of the batter into a second mixing bowl. To do this, follow these steps: a) Weigh the primary mixing bowl while it is full with all of the batter; subtract the weight of the empty mixing bowl, using your note from earlier (this is your batter weight); and c) divide the remaining weight by 2 to figure out how much batter needs to be added to the second bowl. Then, remove that amount of batter from the primary mixing bowl into the second mixing bowl.
- To finish the chocolate batter: Add half of the flour/cocoa mixture and mix on low speed until nearly combined. Scrape the sides and bottom of the bowl as necessary.
- Add the first buttermilk/oil mixture to the chocolate batter, and mix on low speed until nearly combined.
- Add the second half of the flour/cocoa mixture and mix on low speed until nearly combined. Scrape the sides and bottom of the bowl with a stiff spatula, and fold the batter until it is smooth and combined. Set the chocolate cake batter aside while you prepare the vanilla cake batter.
- To finish the vanilla batter: Add half of the flour mixture and mix on low speed until nearly combined. Scrape the sides and bottom of the bowl as necessary.
- Add the buttermilk/oil mixture and mix and mix on low speed until nearly combined.
- Add the second half of the flour mixture and mix on low speed until nearly combined. Scrape the sides and bottom of the bowl with a stiff spatula, and fold the batter until it is smooth and combined.
- Prepare a 10- or 12-cup bundt pan as you normally would. Use an ice cream scoop to place a layer of chocolate batter around half of the pan; fill in the second half with vanilla. Continue to layer in this way (chocolate scoops around half the pan, then vanilla scoops to finish the layer). To settle the batter into the pan, give it several taps on the counter with a straight up and down motion. Do not shake the pan, as it will cause the batters to swirl together more.
- Bake at 325° for 60-70 minutes, or until the internal temperature of the cake reaches 212°F.
- Remove the pan from the oven. After ten minutes, remove the cake from the pan by inverting the pan onto a cooling rack. Allow to cool completely.
To Make the Vanilla Simple Syrup:
- Place granulated sugar, water, and salt in a small saucepan. Bring to a boil.
- Remove from the heat and add pure vanilla extract. Stir to combine.
- Allow the simple syrup and the cake to cool completely, then brush the simple syrup on to the completely cooled cake.
To Make the Rich Vanilla Glaze:
- The name of the game for a smooth glaze is to stir gently. This glaze has heavy cream, and if it’s agitated too much during the mixing process, it will develop bubbles and attempt to transform to whipped cream. To avoid this, stir very gently. Practice is key here too!
- Place the confectioner’s sugar, fine sea salt, pure vanilla extract, ½ tablespoon of whole milk, and ½ tablespoon of heavy cream in a medium mixing bowl.
- With a small whisk, very gently stir, until the confectioner’s sugar is fully hydrated by the liquid. It will seem like there is too much confectioner’s sugar, but if you continue stirring, it will eventually get moistened by the initial liquid amounts. (It will likely be in a ball in your whisk, and that’s to be expected.)
- Add ½ teaspoon of heavy cream, and another ½ teaspoon of whole milk. Continue stirring very gently, until the glaze is the consistency of very thick honey.
- Use a spouted measuring cup or spoon to pour the glaze over the center of the cake. Gravity will take the glaze over the sides. This glaze recipe makes a very conservative amount of glaze; that was intended, since I didn’t want to completely cover the beautiful cake design with glaze.
- Enjoy!
Notes
- This cake can be stored in an airtight container on the counter for up to five days.
- Perfect additions for this cake: The Easiest Whipped Cream and No-Churn Vanilla Bean Ice Cream.
- Prep Time: 45 minutes
- Cook Time: 60-70 minutes
- Category: Dessert
Frequently Asked Questions
What’s so important about creaming butter and sugar? Why is it such a big deal?
Creaming butter and sugar properly adds rise to your cake! The friction caused by agitating the sugar granules with the butter creates little air pockets that help with cake rise. This is especially important for pound cakes, where we use minuscule amounts of chemical leavening in the cakes.
What is “neutral oil”?
Neutral oil is any oil that does not lend flavor to your cakes. Some examples of neutral oils routinely found in home kitchens would be: vegetable oil, canola oil, grapeseed oil (absolutely great for baking, but it can be difficult to find) and avocado oil (my personal favorite). These oils do not have their own unique flavor profile, and they won’t impact the flavor of your cake.
You can absolutely use olive oil in this cake, but just know that you might have the slightest variation in flavor from what the recipe intends.
Why can’t I just use “regular” measurements, instead of metric measurements?
This cake, more than others, truly relies on baking precision to get the absolute best outcomes. Because metric units are the smallest units of measurement, I always use them in my baking. For the beautiful Half and Half outcome that we’re looking for in this cake, a digital kitchen scale and the use of metric measurement is imperative; there’s no way to ensure the perfect halves without it.
Can I halve this recipe to make it in a 6-cup bundt pan or a loaf pan?
Absolutely! Just make sure to use metric measurement and not measuring cups to scale the recipe.
Why are there bubbles in my glaze? UGH!
This Rich Vanilla Glaze uses heavy cream to give it a luxurious finish. When heavy cream is agitated too much, it believes that it’s intended to become whipped cream and it develops wonderful bubbles. In a glaze, those bubbles form and usually pop when the finished glaze is on your cake, causing a frustratingly hole-y glaze.
To remedy this, stir very gently when making this glaze. The less agitation you give the heavy cream, the better it will be.
How long can I keep this cake?
This cake will last up to five days, covered, on the countertop.
Can I freeze this cake?
You can absolutely freeze this cake before you do the final glaze layer! Freezing glaze is not recommended, as the glaze can become gummy and unpleasant when thawed. Check out this Instagram Live replay and this blog post for more information about how to freeze pound cakes!

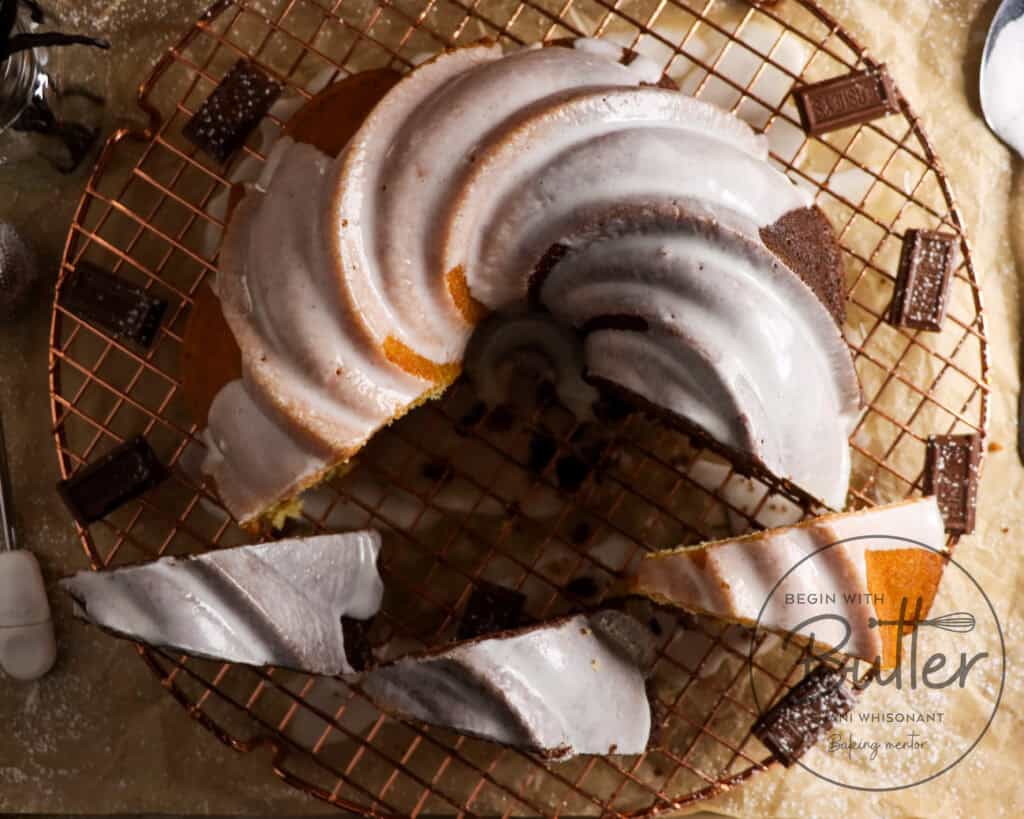

This Half and Half Cake is the Great Mediator of Our Time
BB, this cake took several iterations to get just right. But it was all worth it, to see the absolute joy that crept over my children’s faces when they saw it finally come together. No more making their respective cases for why I should make one or the other; they could each have their favorites. And that, Friend, was well worth all of the butter and eggs that were sacrificed in the testing.
I call this delicious, unique cake “The Great Mediator” because it finally brought peace in the Whisonant Family Cake Wars. It is my hope that it does the same for any family that’s experiencing the same, and that it makes special occasions just a lil’ easier (but still outstanding and impressive!) for the bakers who have to arbitrate the chocolate/vanilla wars.
Got questions about the recipe? Reach out to me and let’s chat! You can reach me at bakingbestie@beginwithbutter.com, and I love your questions!
Did you make this cake? Make sure to tag me on Instagram @beginwithbutter so that I can share your success with the rest of our wonderful community!
Enjoy!

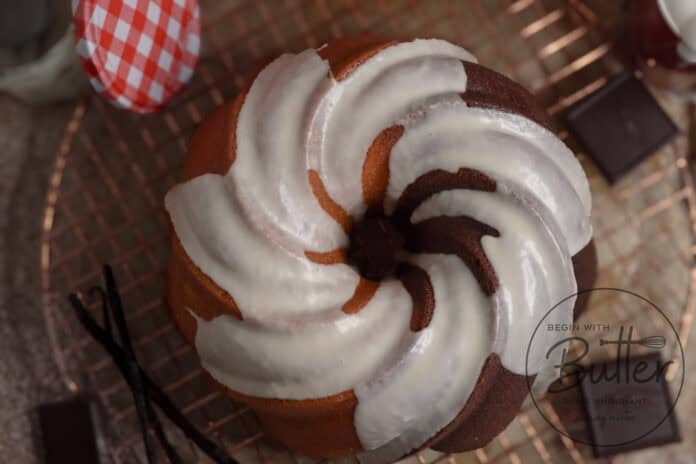
This cake deserves a standing ovation!! I was going to actually give up. I had never weighed ingredients before (I actually own a kitchen scale that collects dust on top of the refrigerator), and I had never browned butter for a cake. Between forgetting the ‘zero’ out option on the scale and not considering cooling time for the brown butter, I was frazzled!! My 12 year old told me – we can’t give up now… so we didn’t! This cake tastes amazing – and I’m of the opinion with the kid that doesn’t like chocolate cake lol. The flavor is that of a gooood, buttery Madeline and the perfect Chocolate brownie. Definitely a bite of bliss. I’d make this cake again and again!
PS – we’ve made the Very Vanilla cake multiple times, we recently made the Key Lime cake for New Year’s Eve and we regularly make a 7up cake from a family recipe. This one definitely took my baking skills to another level!
Dearest Elisha! Thank you for this incredible review! I am so humbled and I am so happy that you loved this cake! And, even better, I’m so happy that you feel more confident in your baking skills! Please give my best to your 12 year-old! ❤️