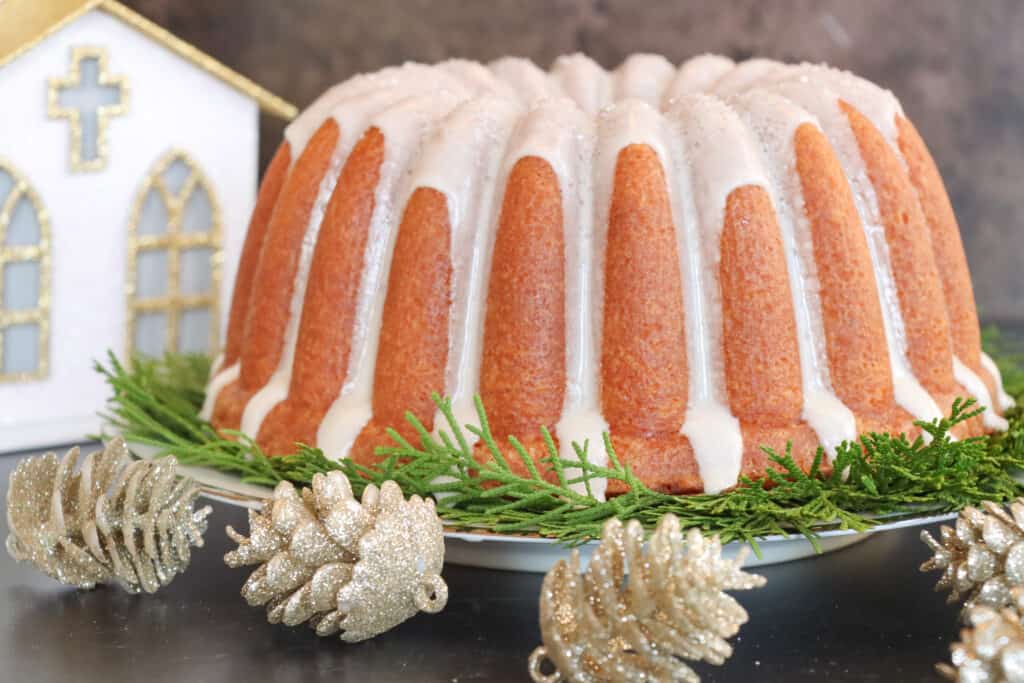
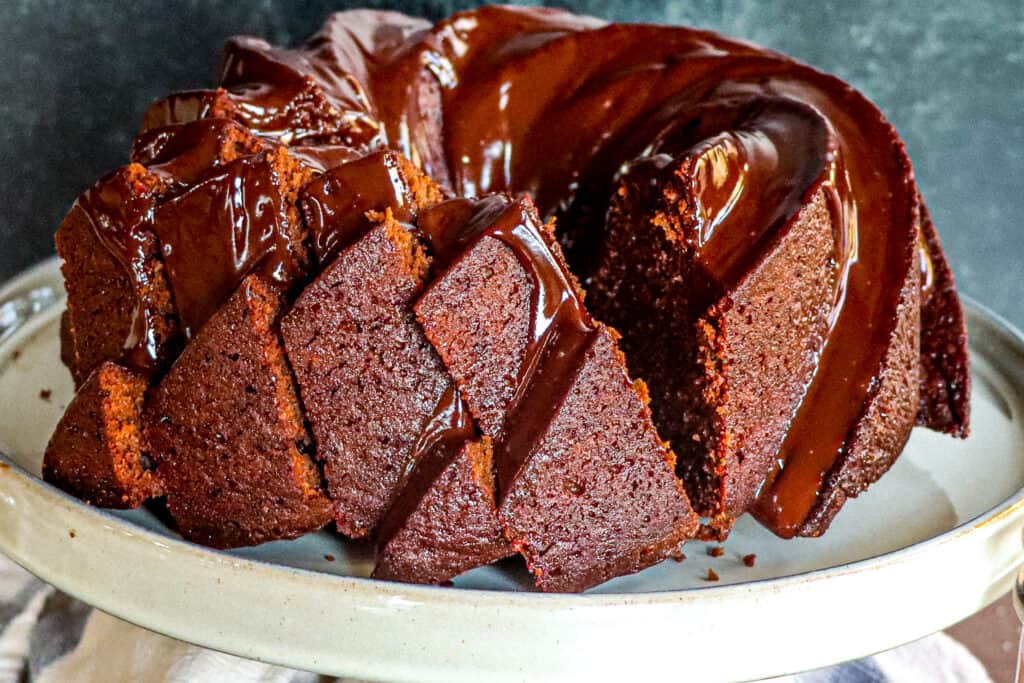
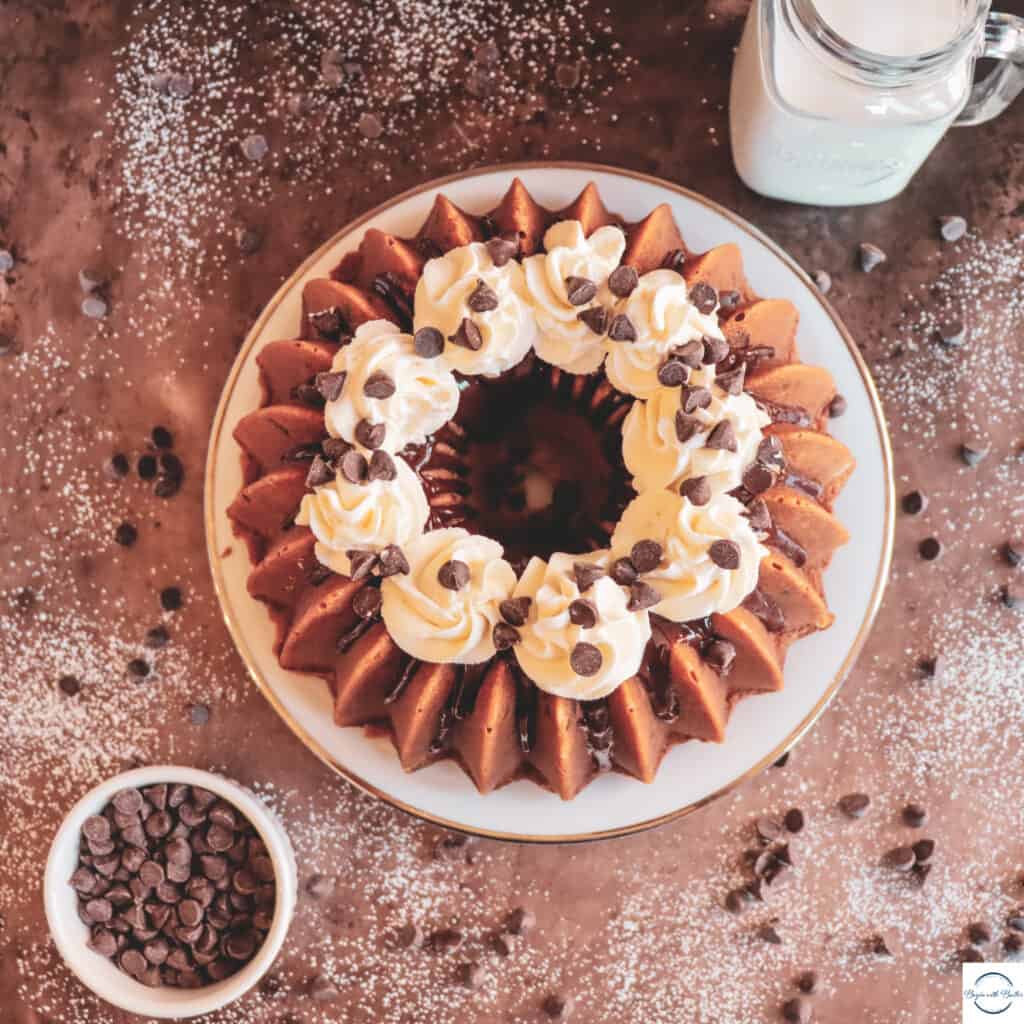
To cookie or to cake? That USED to be the question. Because with this Chocolate Chip Cookie Pound Cake, you no longer have to make that awful decision.
Welcome to Day 5 of the Twelve Days of Pound Cake, Friend!
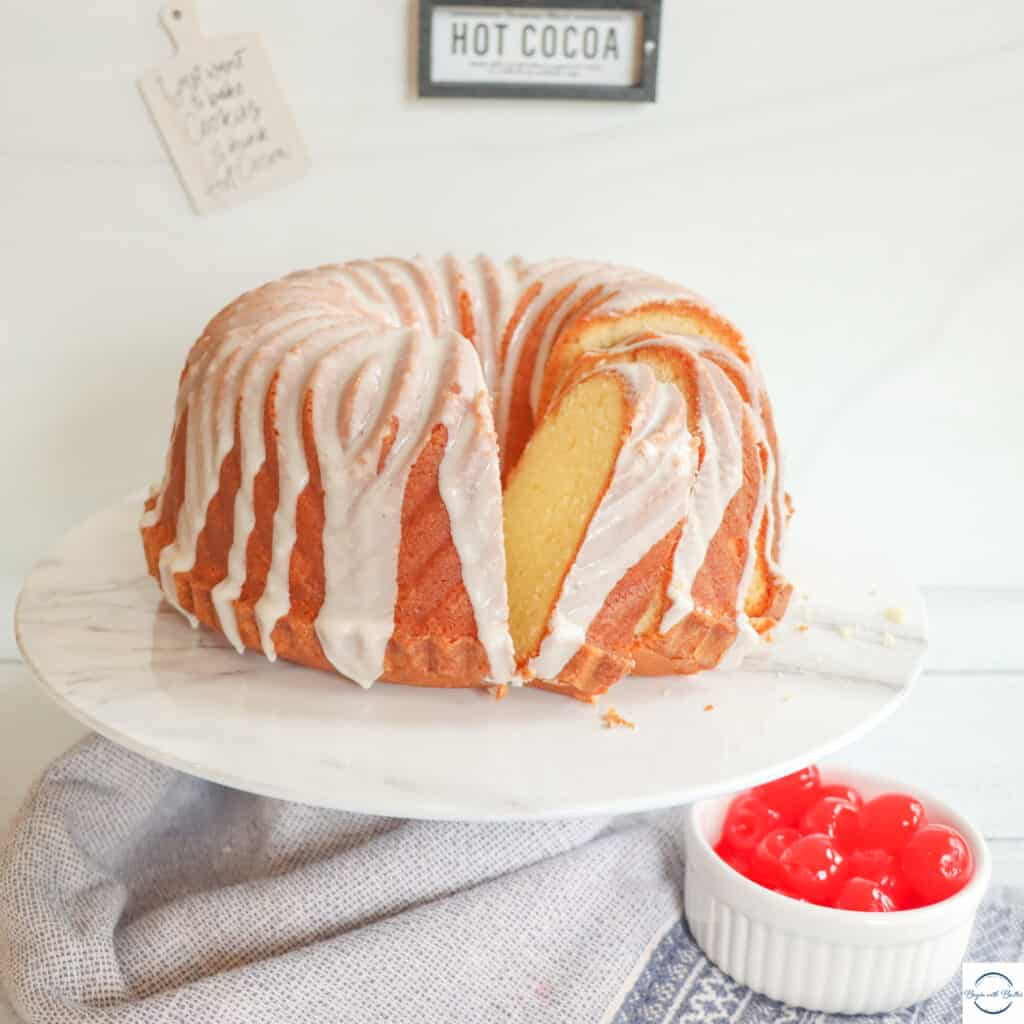
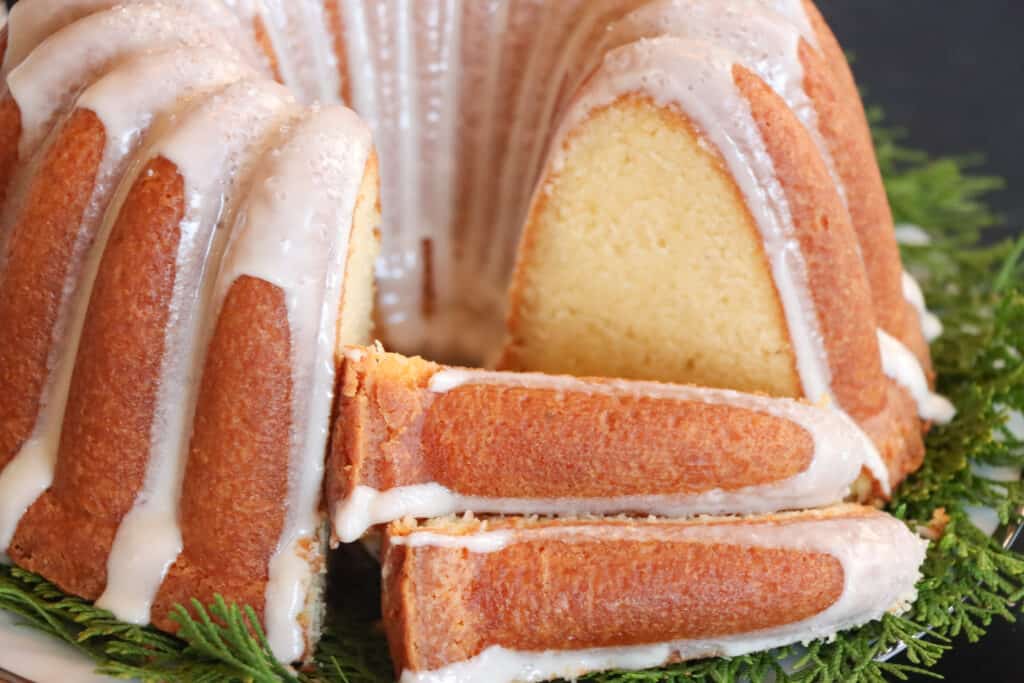
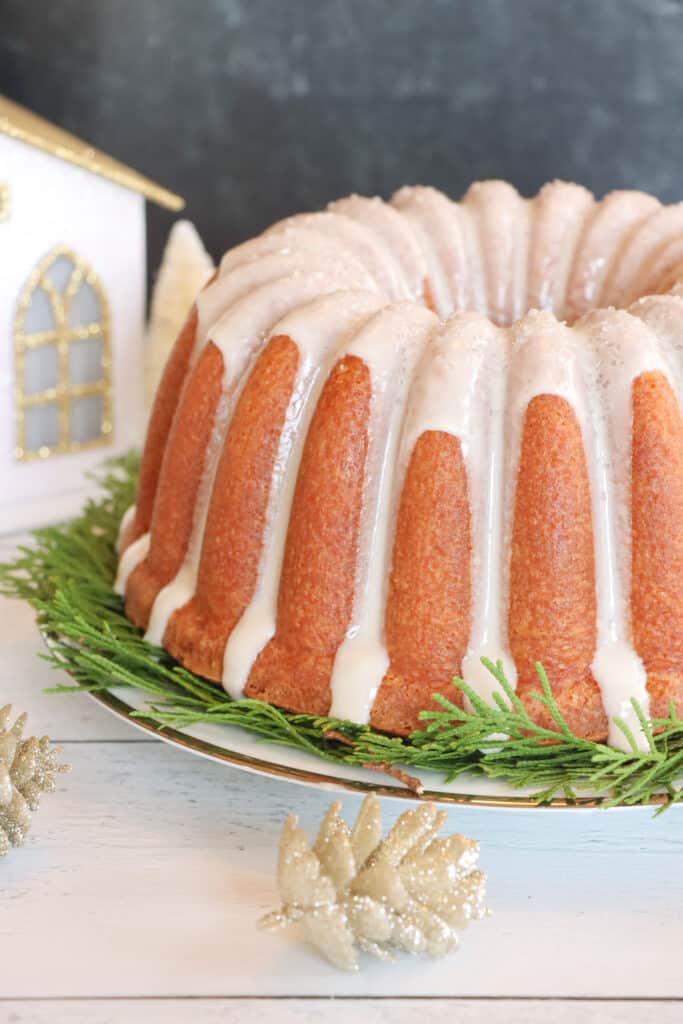
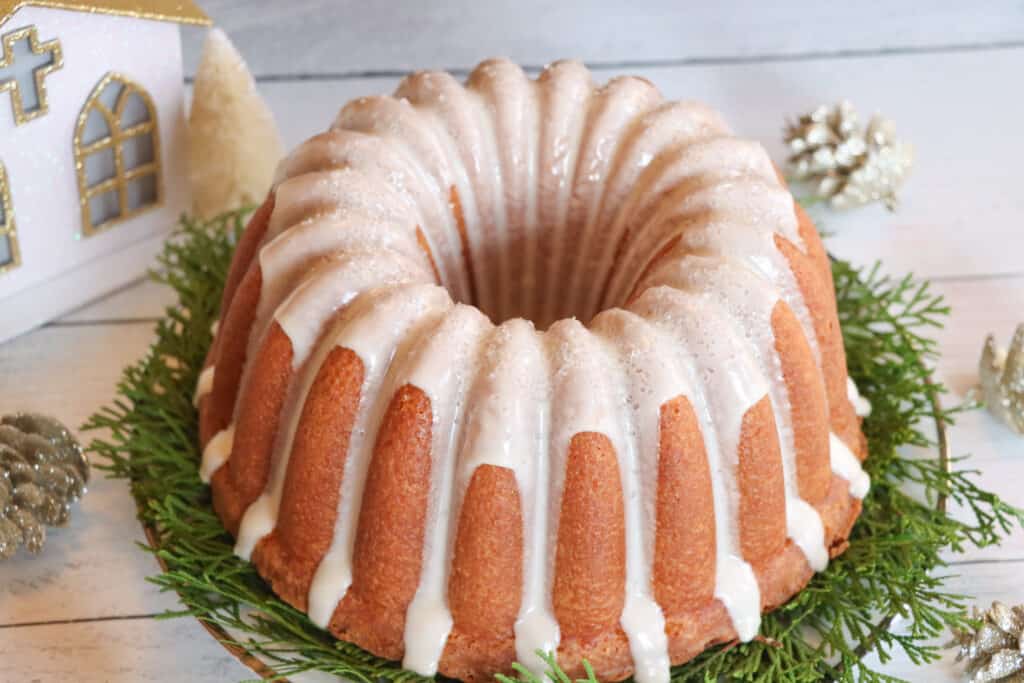
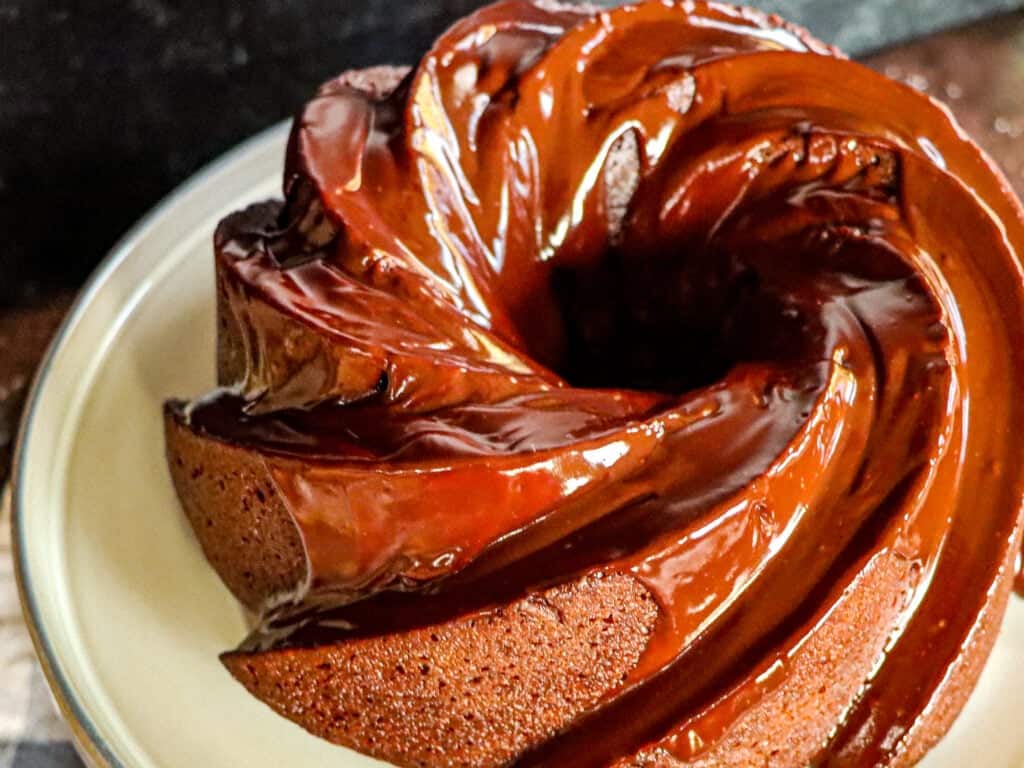
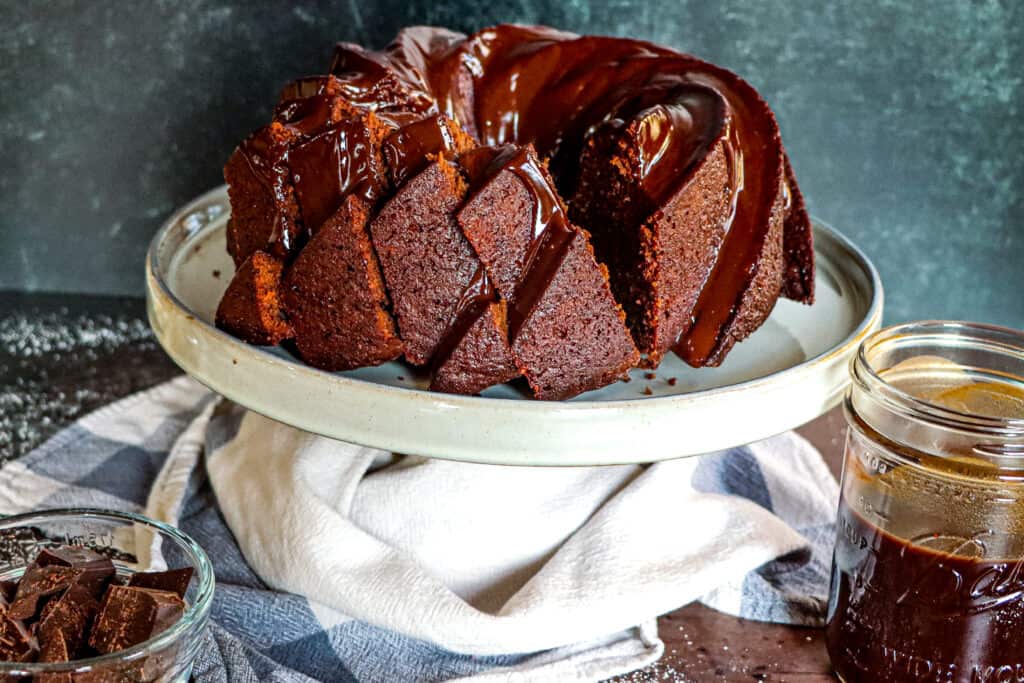
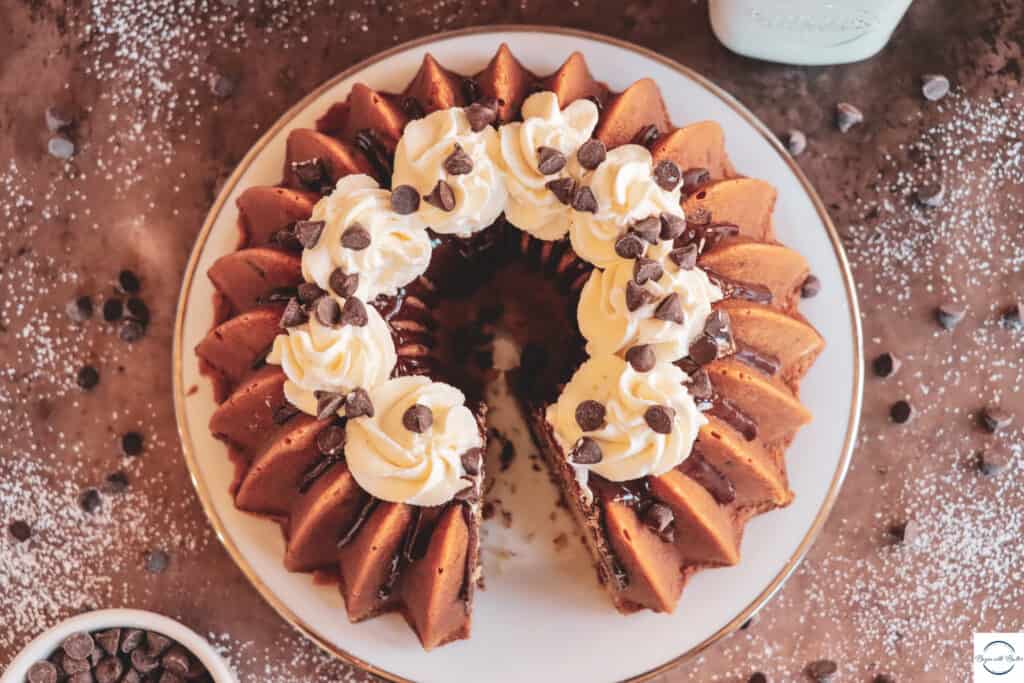
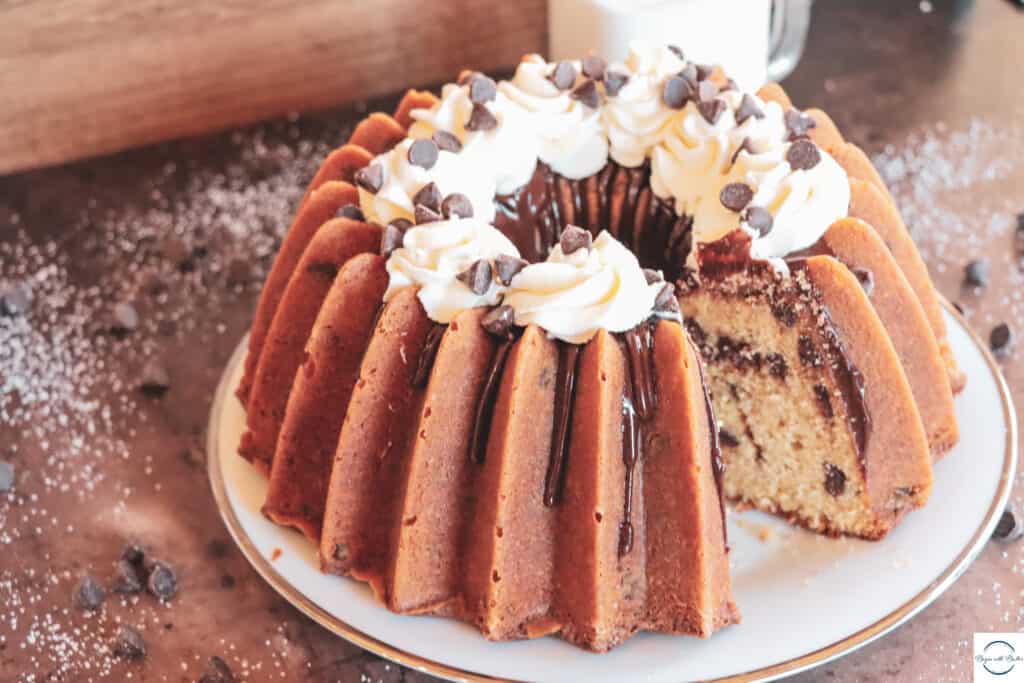
This Chocolate Chip Cookie Pound Cake is the very best of both worlds; it’s molasses-y and satisfying like a highly-anticipated cookie, while also satisfying that craving for a pleasantly plump, buttery piece of pound cake.
It was also a surprise for my chocoholic baby girl, so it brought me great glee to see her face when she got her first slice.
The Begin with Butter Home Baking Academy is here! Check out our live classes and replays to help you get ready for holiday baking!
Want to purchase more than one class? Purchase a BwB Home Baking Academy bundle and save a bundle!
About this Chocolate Chip Pound Cake
Last year, I made a Snickerdoodle Pound Cake for the Twelve Days of Pound Cake, and it was…a hit. Snickerdoodles are my son’s favorite cookies (and mine!), and we’ve enjoyed it several times since last year.
My daughter and my husband love chocolate chip cookies, so how could I not make a special cake based on their favorite for this fun event?
Friends, my family means the absolute world to me. I would do anything to make them happy. And this Chocolate Chip Pound Cake did just that. ????
Chocolate Chip Pound Cake Ingredients
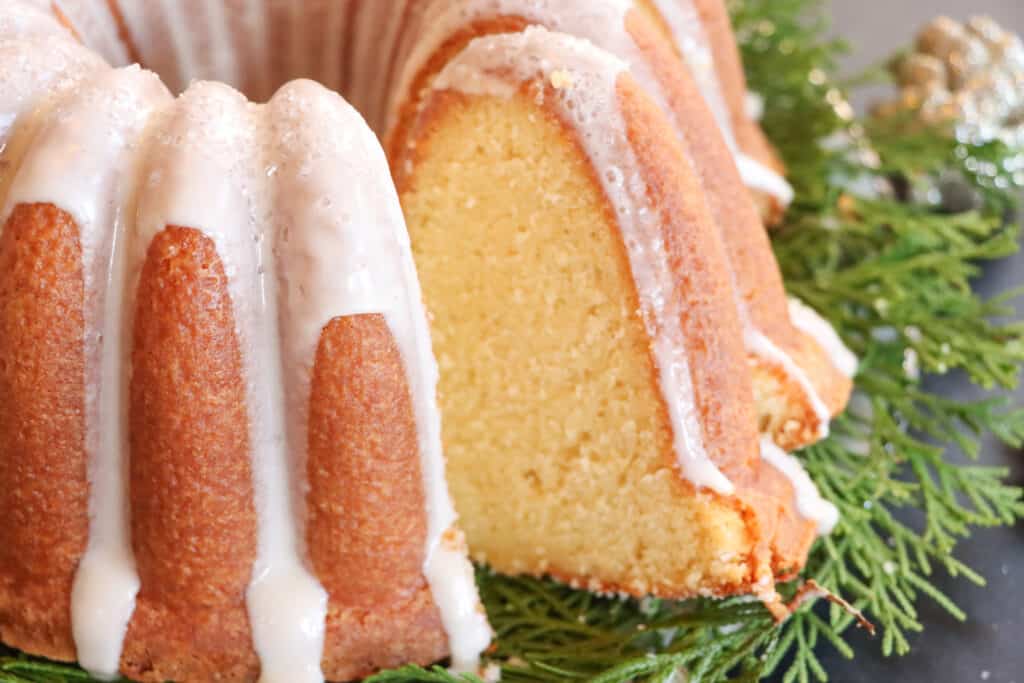
All-Purpose Flour: I love the pleasantly plump texture of a good pound cake. In my experience (and with my cakes), that beautiful texture comes from all-purpose flour. In this cake, the all-purpose flour helped me achieve the texture that I really wanted.
Baking Soda: I used sour cream in this cake for a few reasons. Because of that sour cream is acidic, baking soda was the proper leavening to add to this cake.
Kosher Salt: Salt is very important in any dessert; it balances the sugar and keeps the dessert from becoming cloyingly sweet. If using table salt for this recipe, cut the amount in half.
Unsalted Butter: This cake has some heavy-duty ingredients, so I wanted to use butter instead of oil. The reason is surprising…butter helps this cake become lighter! Specifically, the process of creaming butter and sugar creates air pockets that assist with cake rise.
Full-Fat Cream Cheese: I love using cream cheese in this cake because of the additional density that it adds. It’s dense without being heavy, and I love that about this particular pound cake!
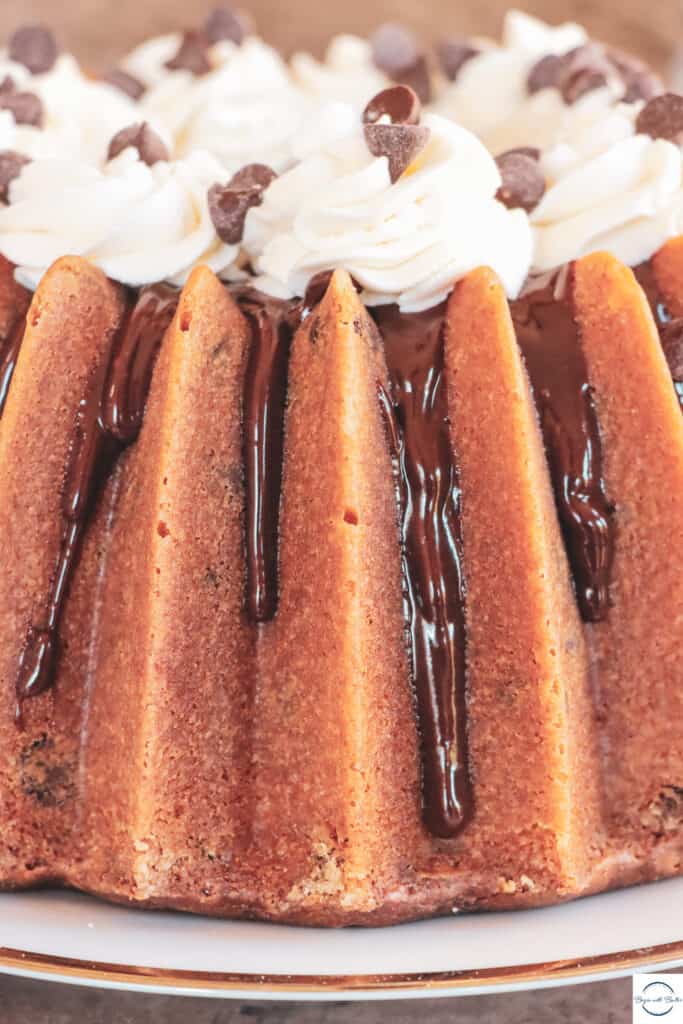
Granulated Sugar: In this cake, granulated sugar adds sweetness and caramelization. That beautiful crust on the outside of your pound cake? It is largely because of the amount of sugar in your recipe!
Dark Brown Sugar: I also added dark brown sugar to this cake, to give it that luxe, molasses taste!
Eggs: The protein in the eggs adds structure to the cake, while the fatty yolk adds delicious flavor.
Pure Vanilla Extract: This cake calls for two teaspoons of vanilla extract. Make sure to use the good stuff, like Nielsen-Massey, for this incredible recipe! Whatever brand you use, make sure you use pure vanilla extract. It can be difficult to find this time of year, so make sure to stock up!
Full-Fat Sour Cream: You want to use full-fat sour cream in this recipe; fat = flavor and you don’t want to skimp on flavor! Sour cream also helps with the texture of the cake and I really, really wanted to get that right for my Cookie Monsters!
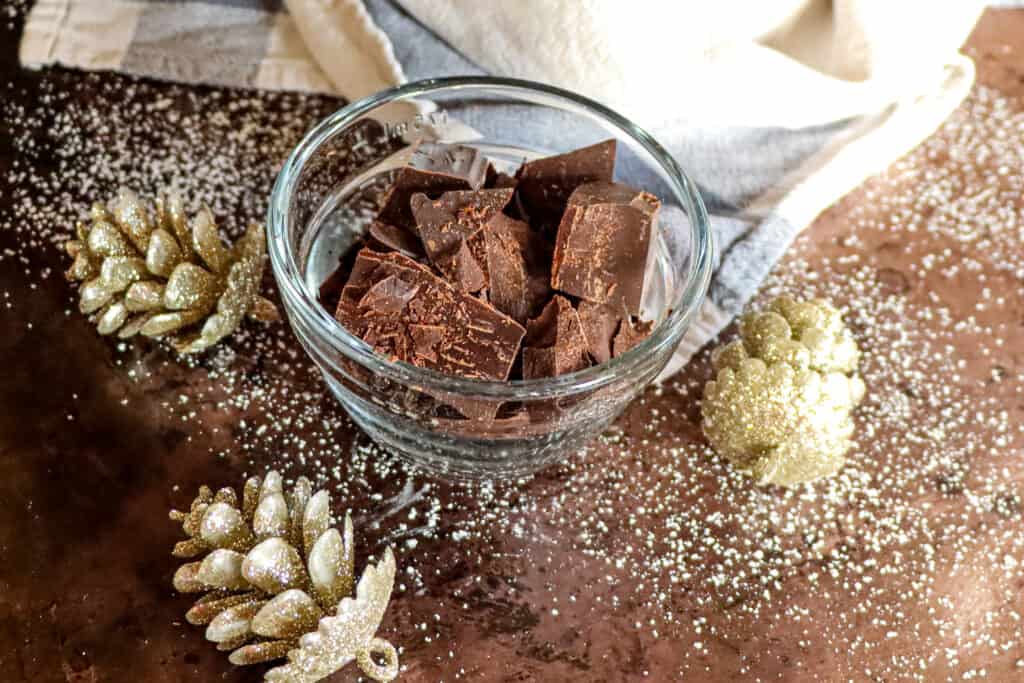
Chocolate Chips: Use the good stuff for this cake! You want to use semi-sweet chocolate chips for this one; milk chocolate will encourage this cake to go too sweet and we don’t want that!
Beginners Start Here
If you’re new to baking, or if you want to learn how to do some of the more tricky baking techniques, here are a couple of super helpful articles from the BwB site that will help you get set up for success with this Chocolate Chip Cookie Pound Cake.
- My Favorite Bundt Pans
- Meet Your Kitchen BFF–Your Digital Kitchen Scale!
- Technique Tips for the Best Pound Cakes (& Big News!)
- How to Cream Butter and Sugar (With New Video!)
- Baking 101: How to Measure Ingredients
- How to Grease a Bundt Pan
- The Best Tools for Perfect Pound Cakes
- Knowing When to Stop a Technique
These resources are super helpful to help you build consistency and confidence on your baking journey. Happy Reading!
Important Tools Used in this Chocolate Chip Cookie Pound Cake
Below, you’ll find some tools that I used for this pound cake. These are the tools that I use all the time in my own kitchen.
**I get paid a small commission if you purchase directly from these links, but they are truly amazing products that you’ll find in my kitchen.**
If you have them already, great! Think of this as a checklist to help you build the confidence that you’ll need to execute this recipe!
- Oven Thermometer
- Digital Food Scale
- KitchenAid Hand Mixer
- KitchenAid Stand Mixer
- Stainless Steel Mixing Bowl Set
- OXO Spatula Set
- Sifter
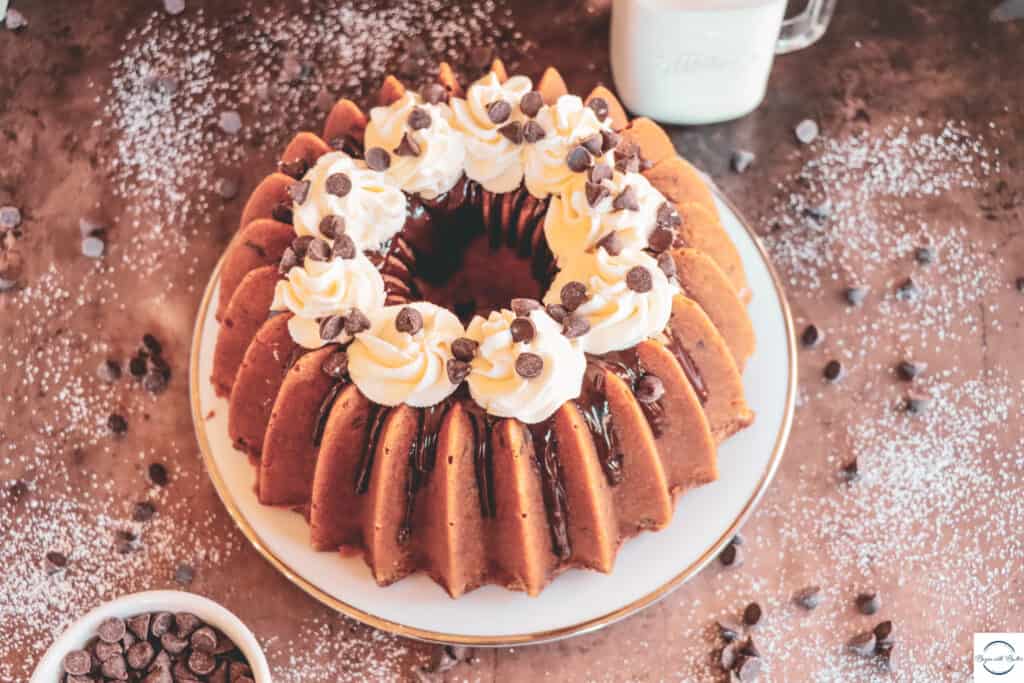
Cookie lovers, rejoice! You no longer have to choose between cookies or cake this holiday season. Now, you can have your cookie (and eat cake too)!
Enjoy the recipe, Friends! See you tomorrow for Day 6!