*This post contains affiliate links*
If you’re here today, I’m truly sorry.
Because if you’re reading this post, it’s likely because you’ve experienced a particularly sad baking disaster, and you’re trying to figure out why.
That particularly sad baking disaster is the phenomenon known as the **whispers** sunken cake.
The good news is this: this post will help you troubleshoot what went wrong!
The bad news is that, well, you’re probably going to be pretty unhappy with the answer because your cake already went awry. BUT the purpose of Begin with Butter is education; it’s always my aim to leave you with a piece of information that empowers you in your future baking endeavors.
Be heartened, Friend. The answers are coming.
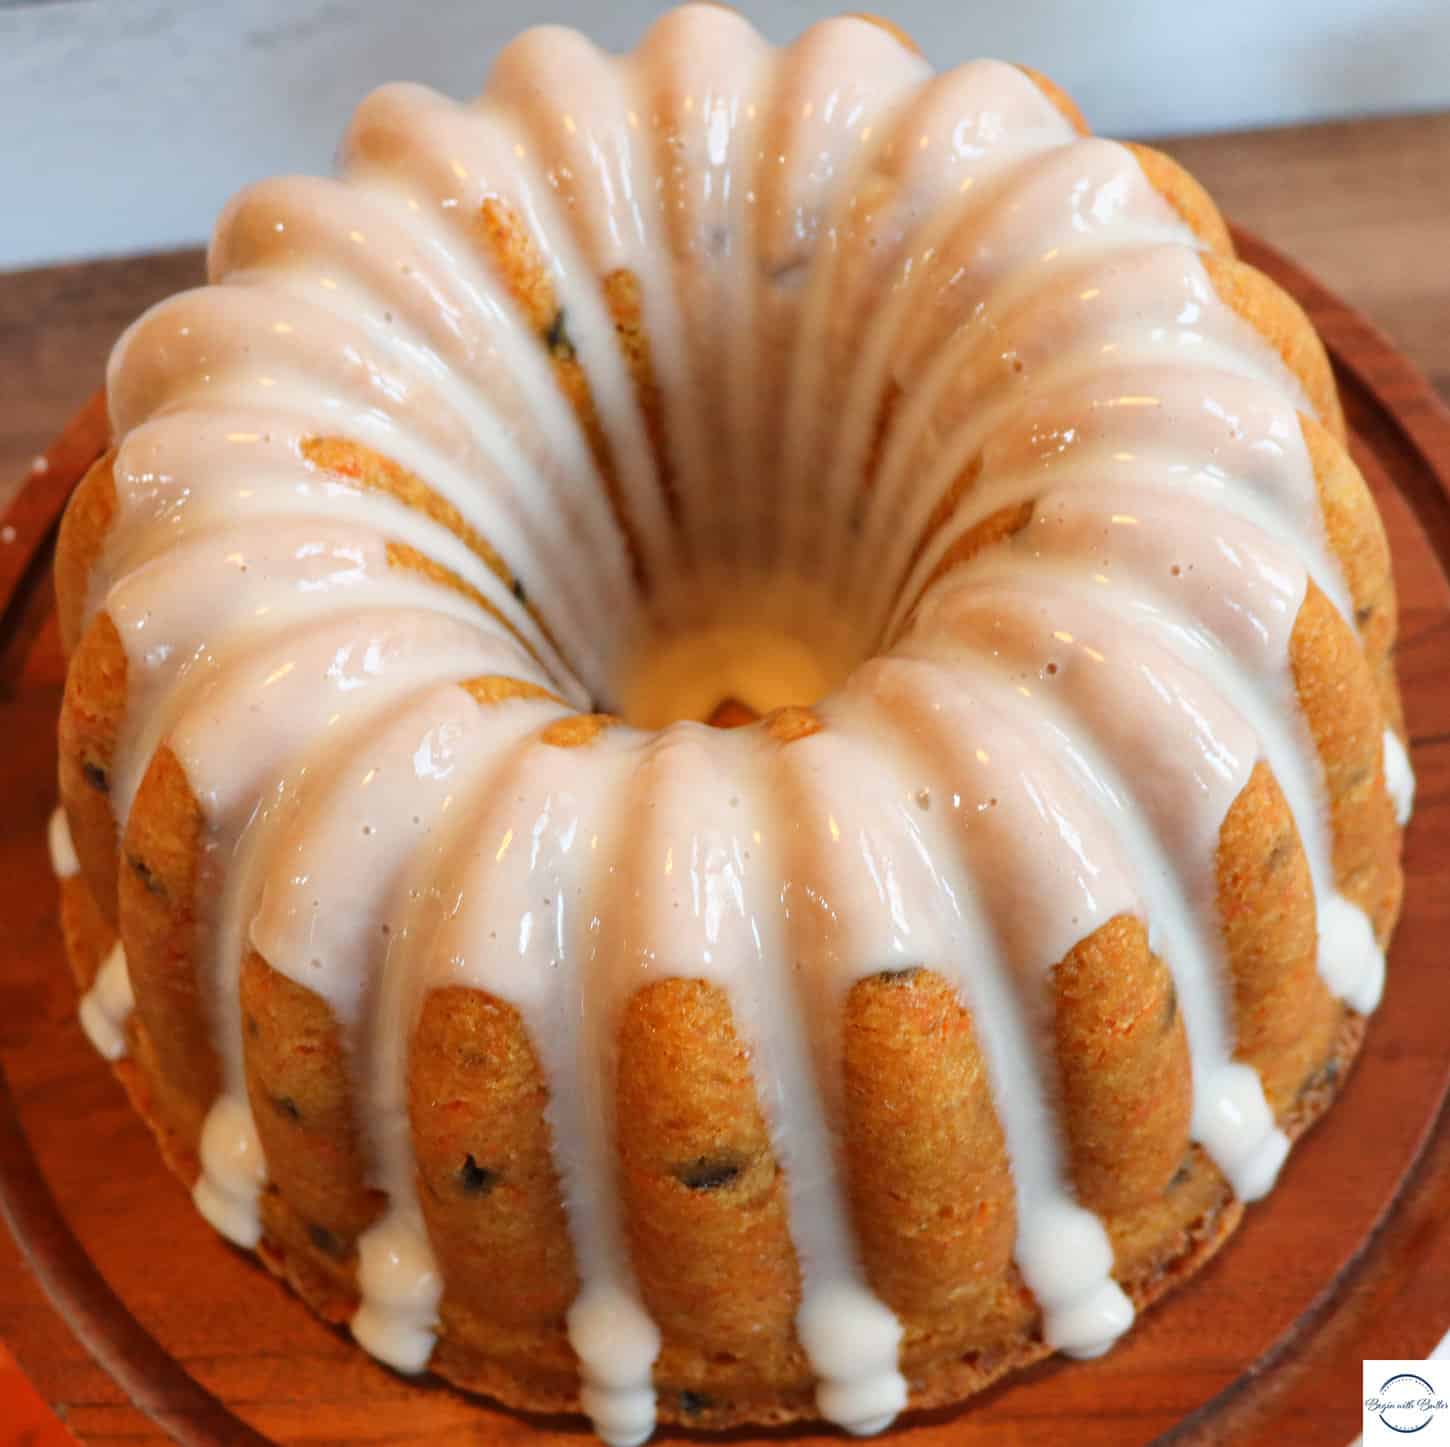
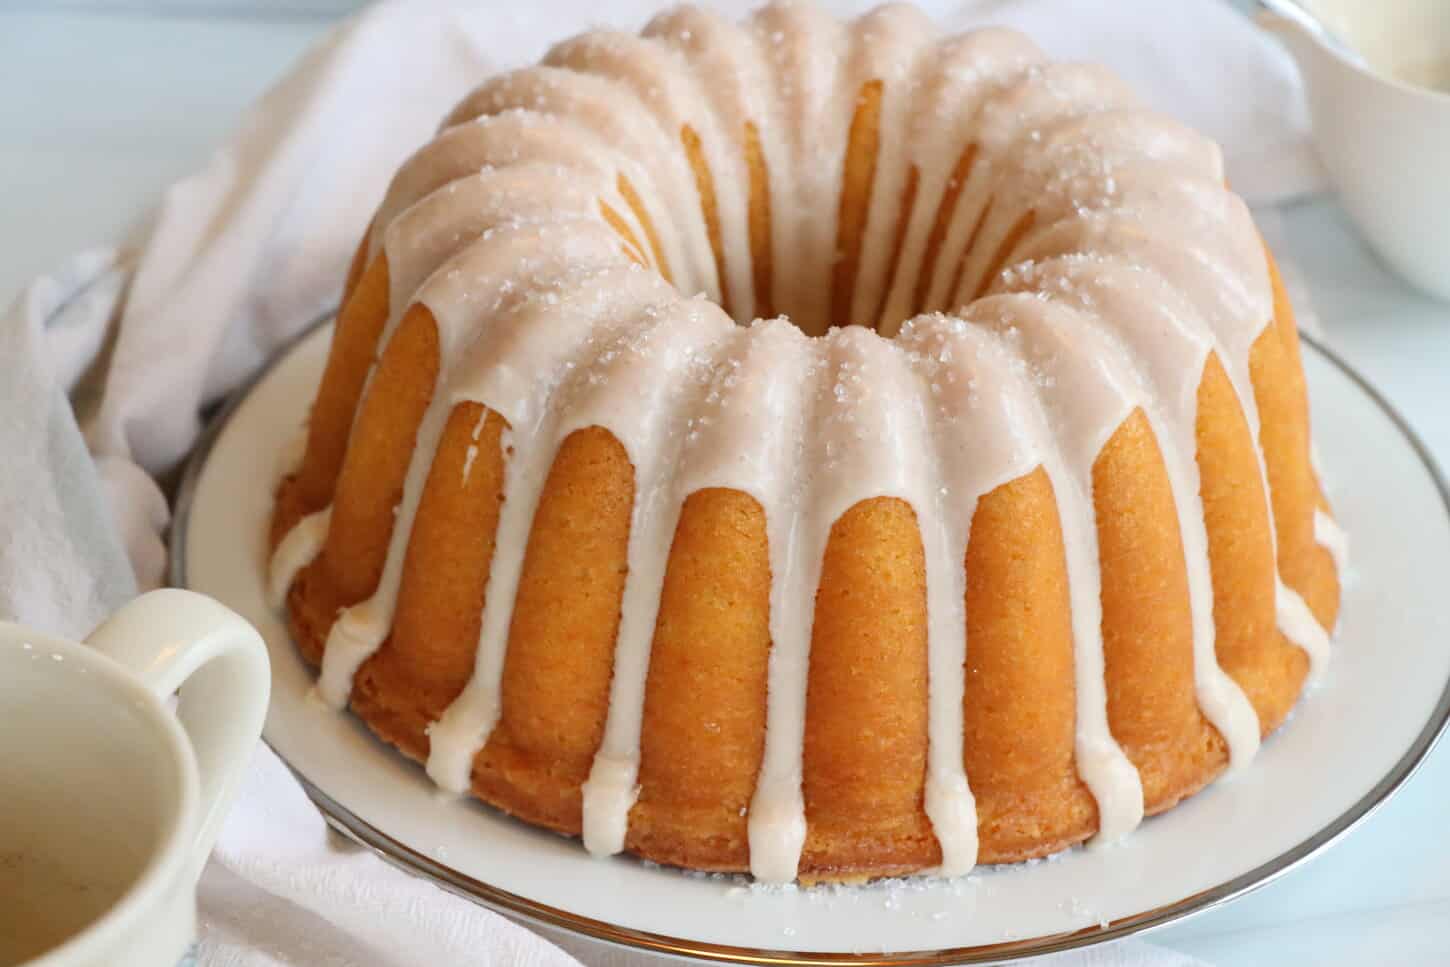
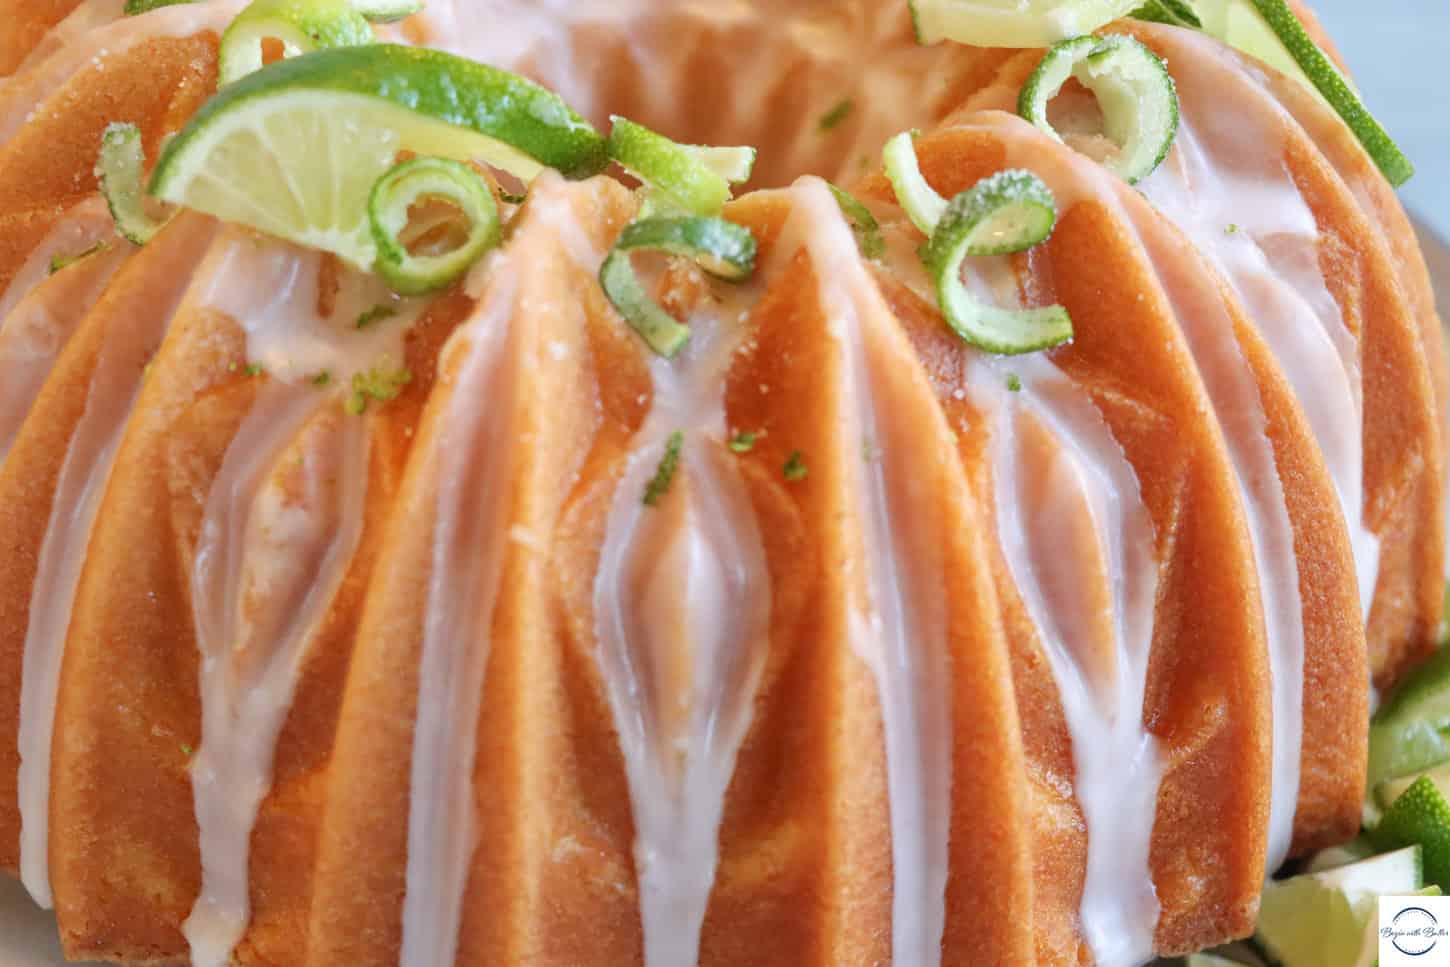
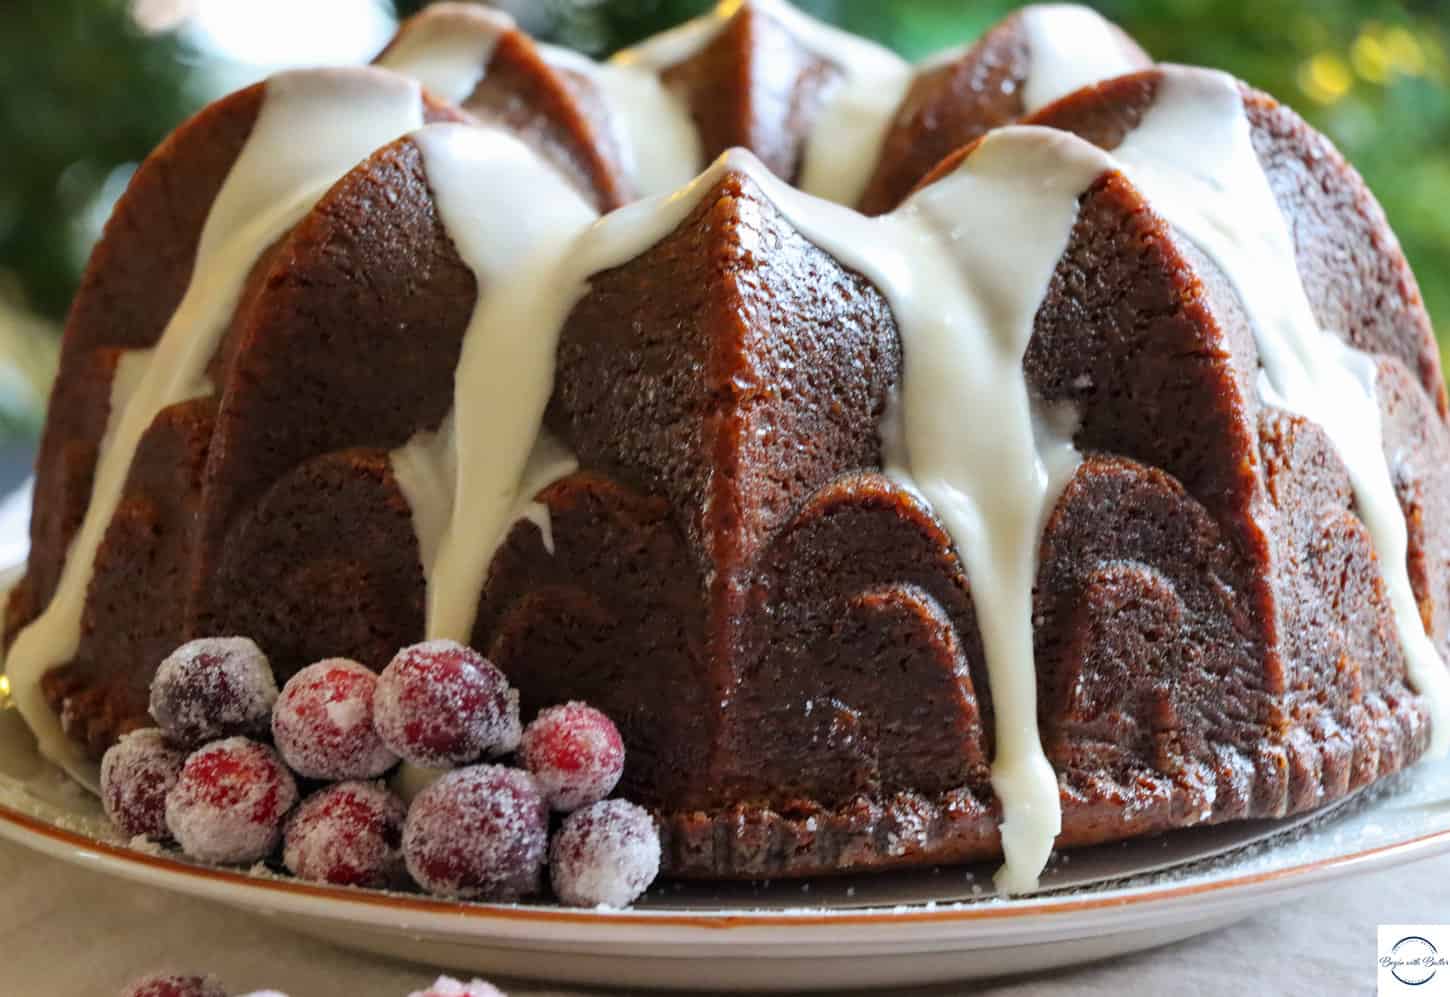
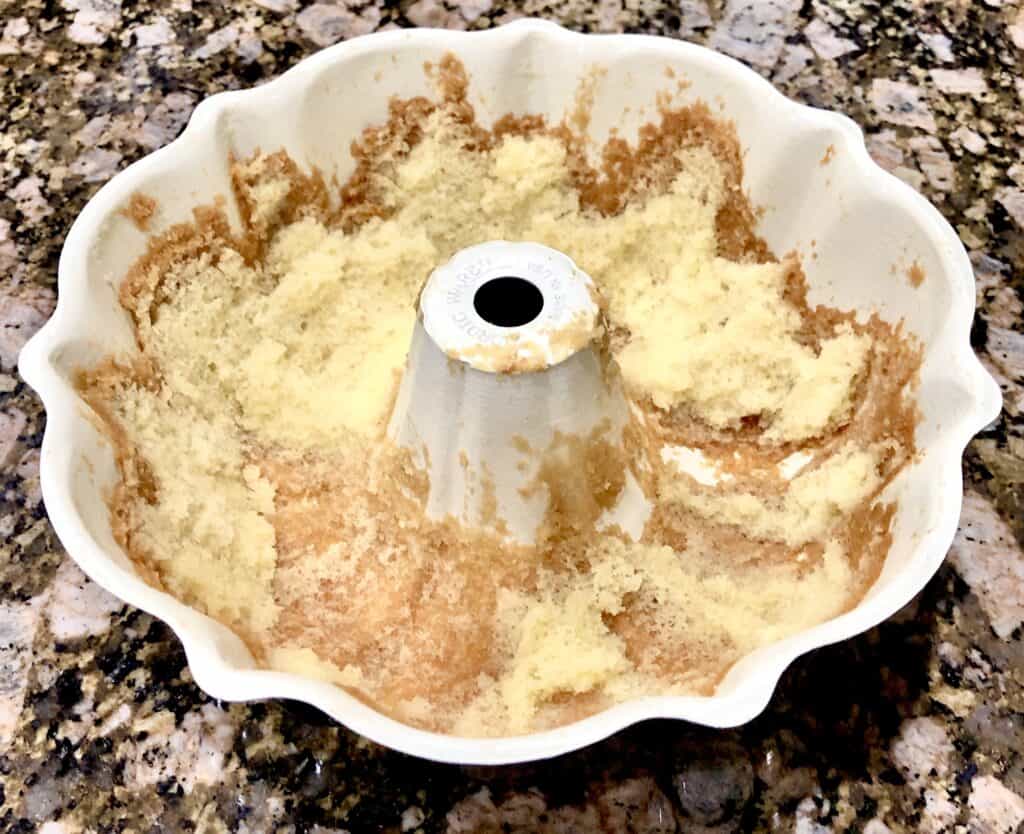
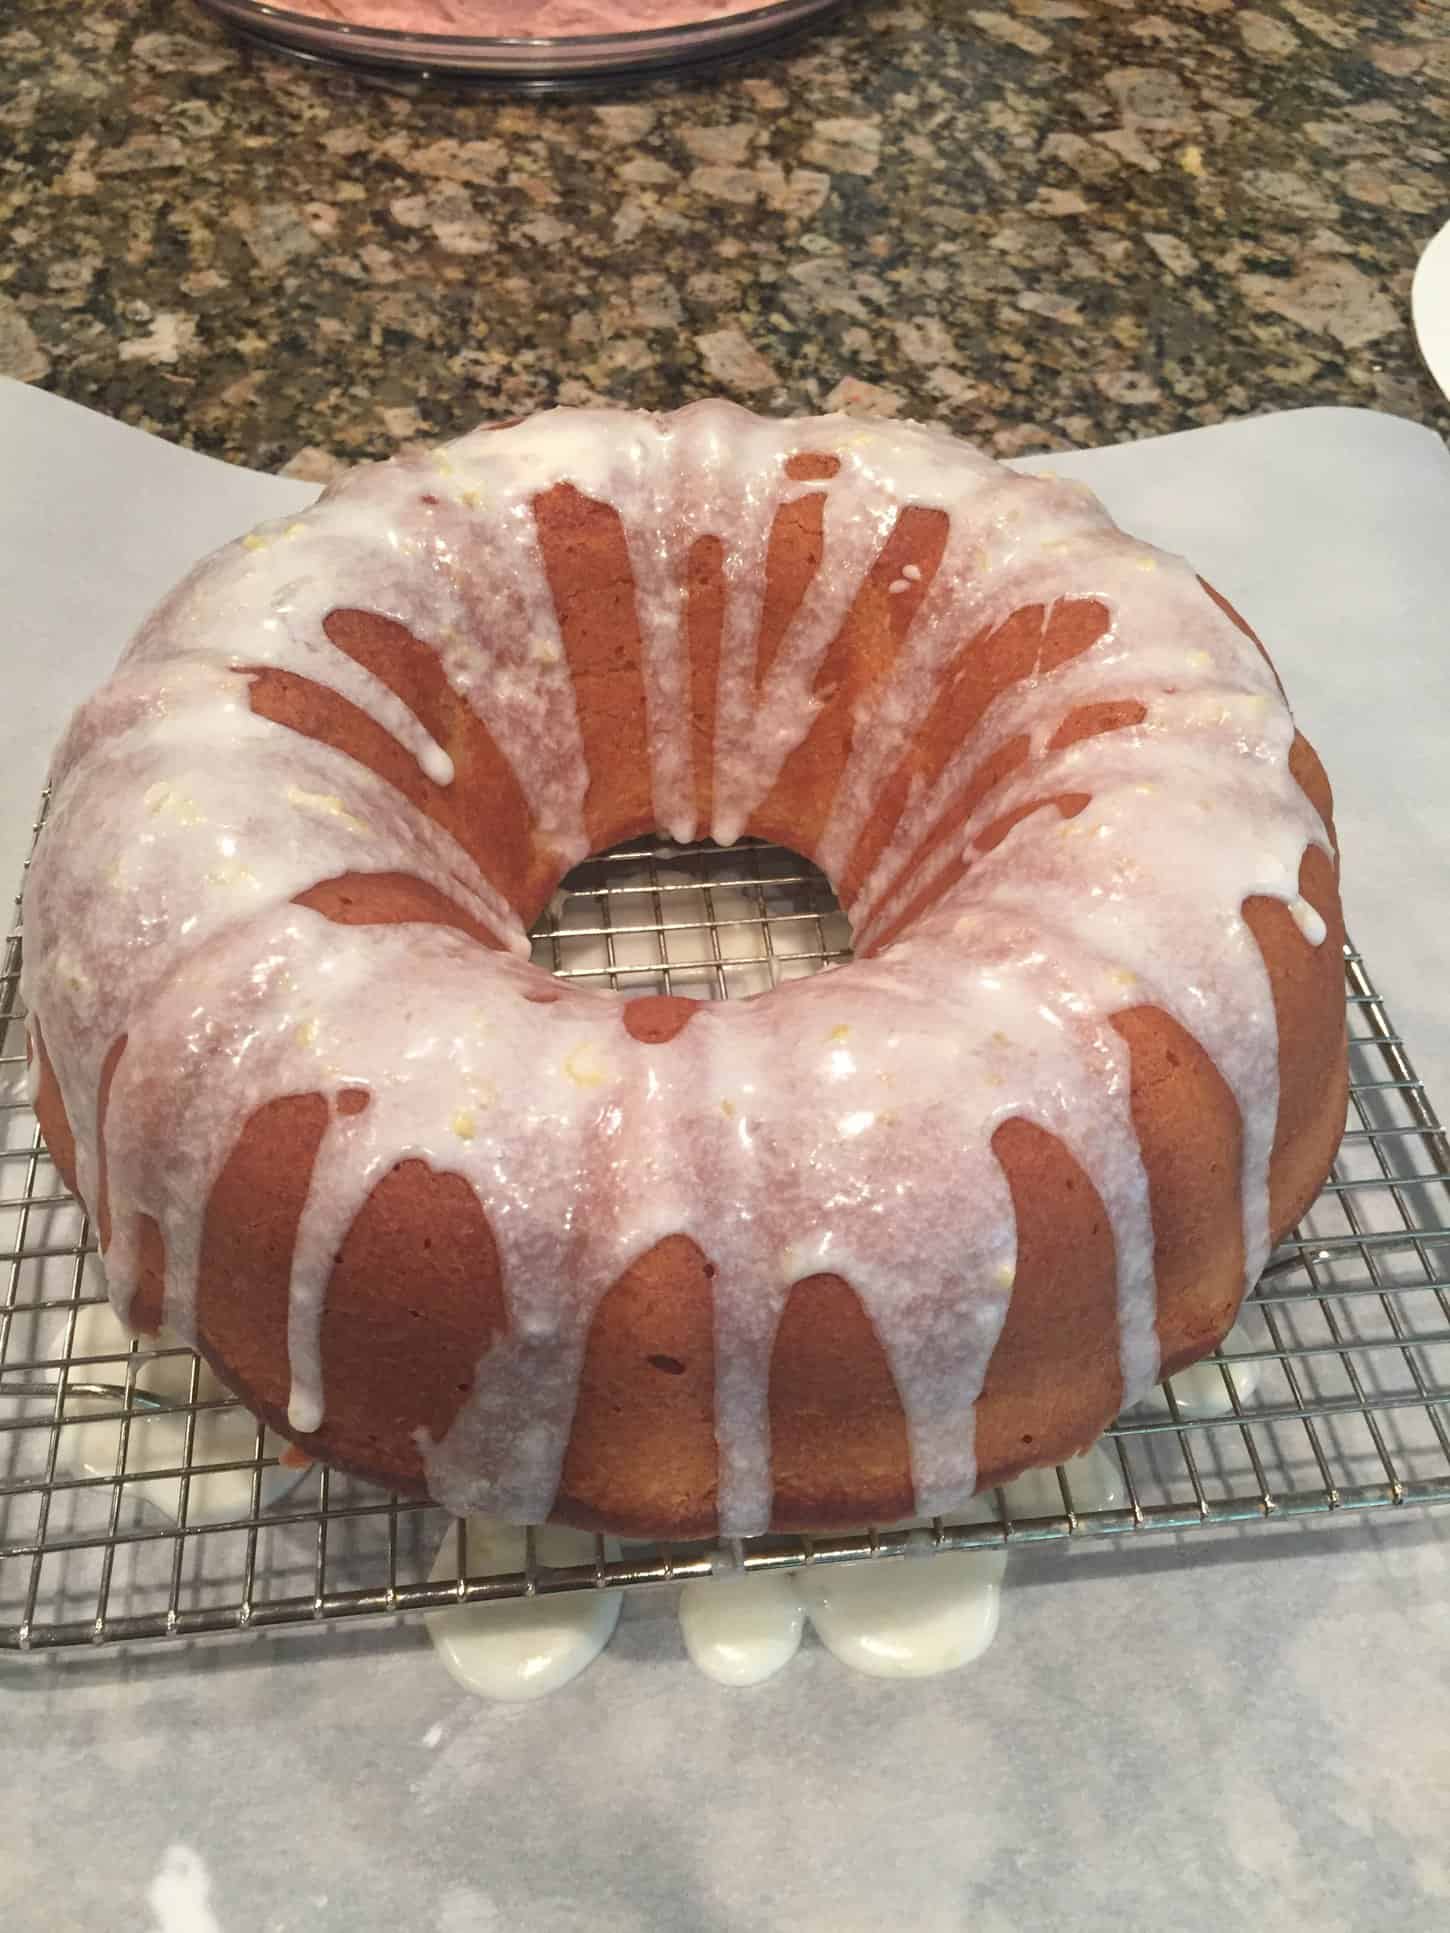
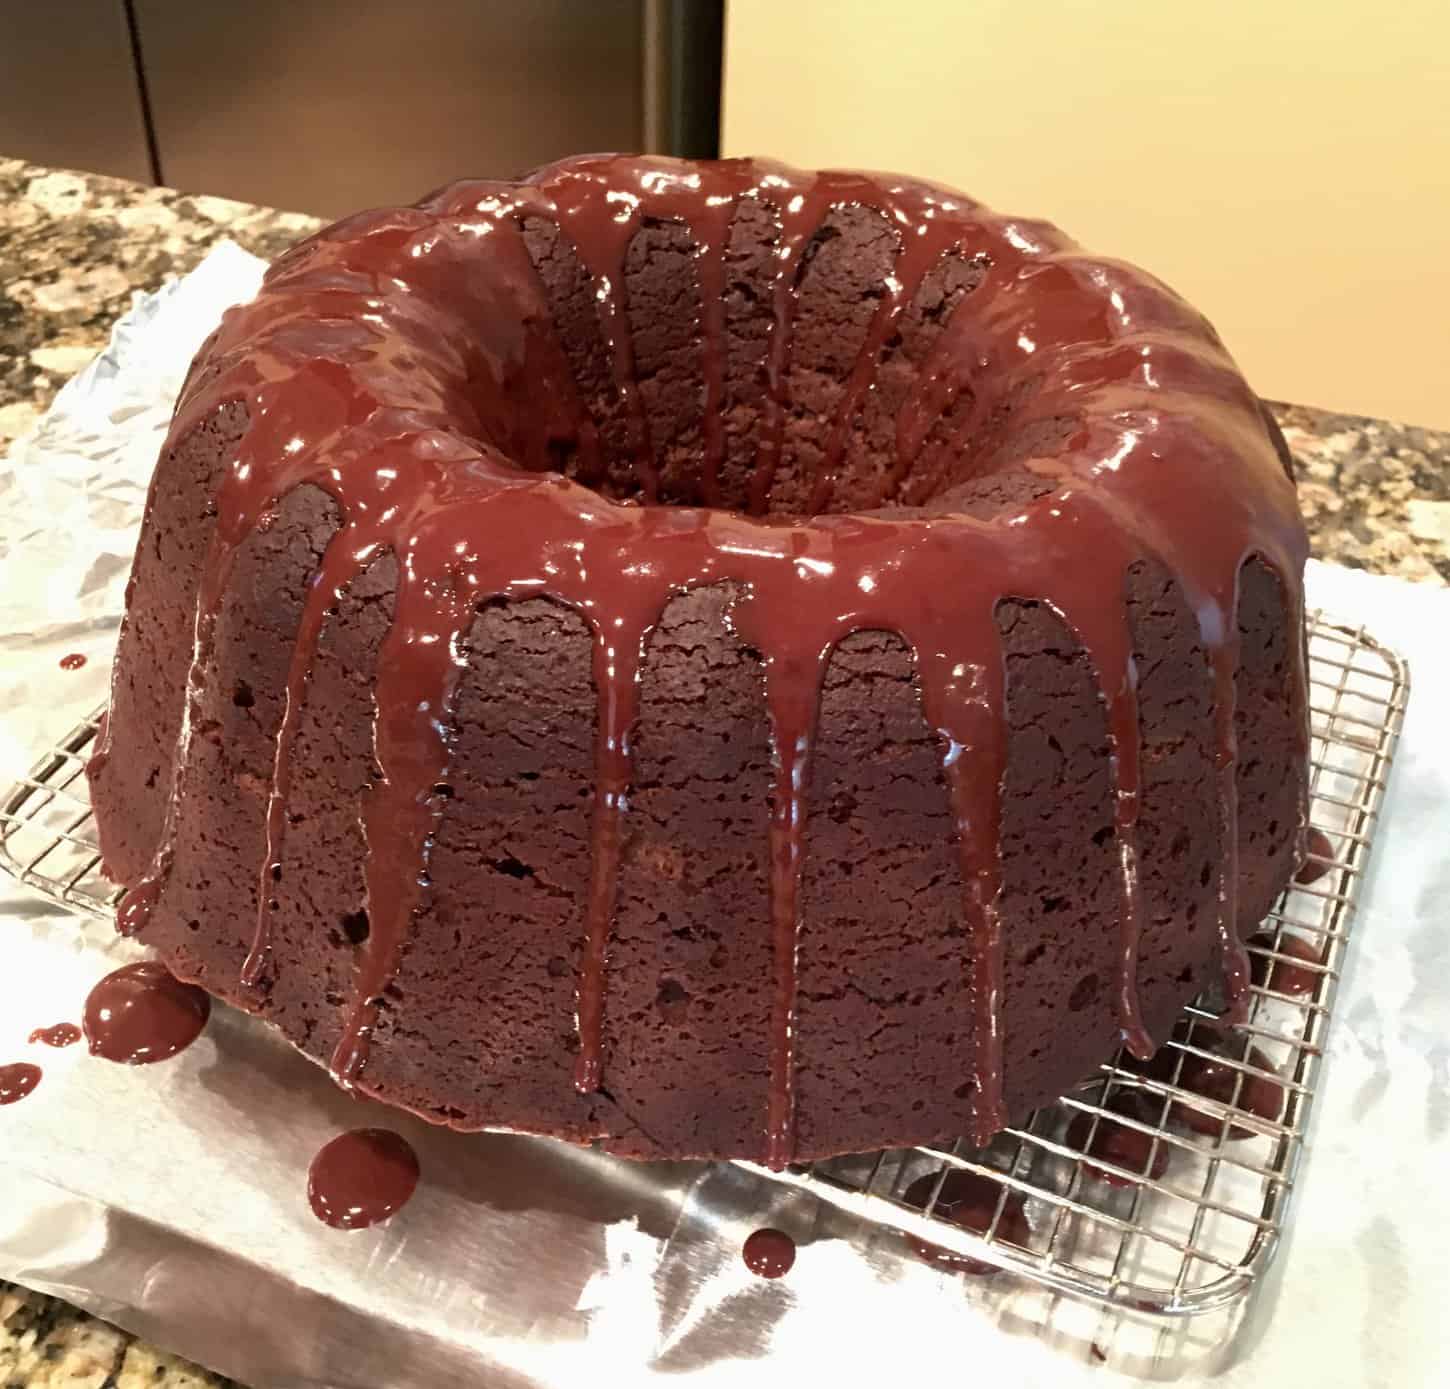
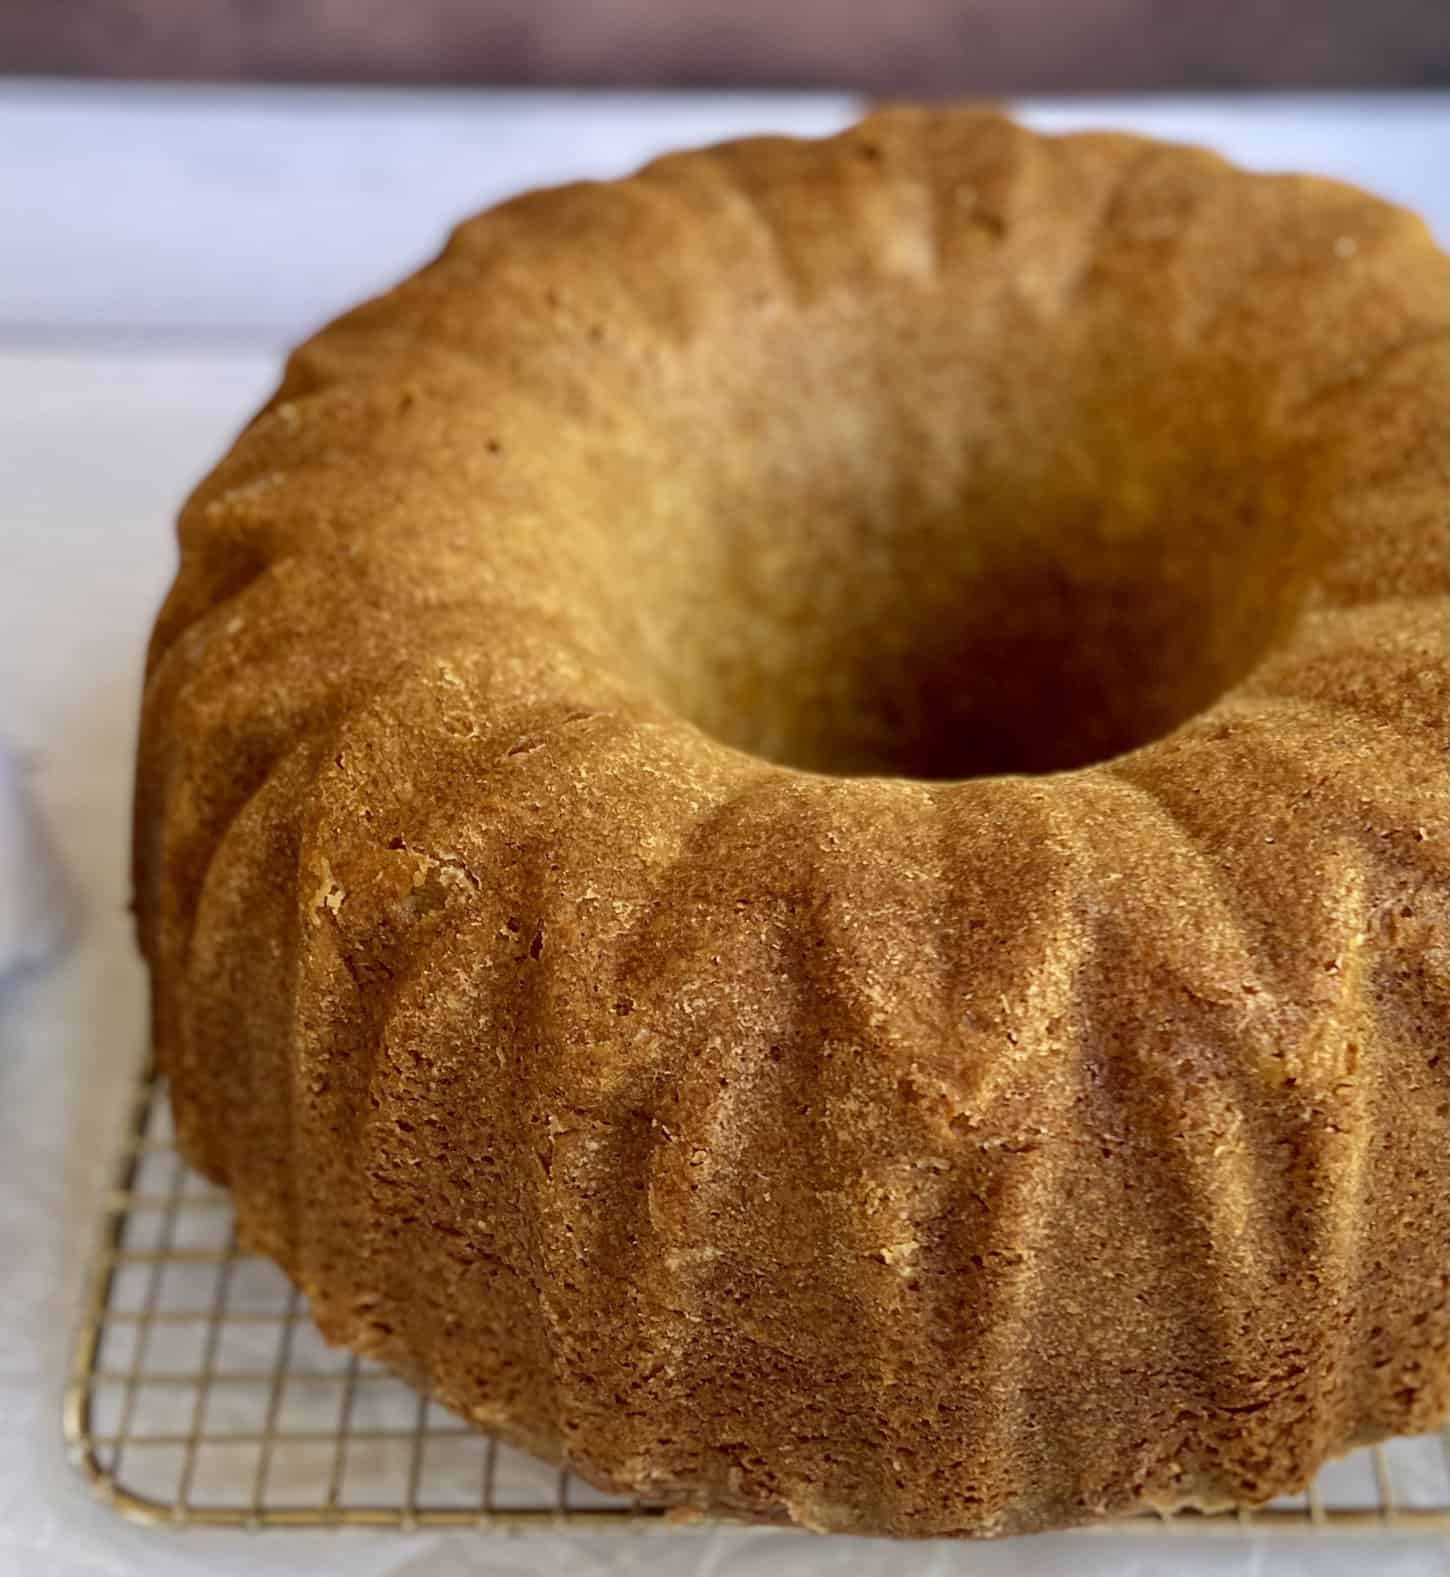
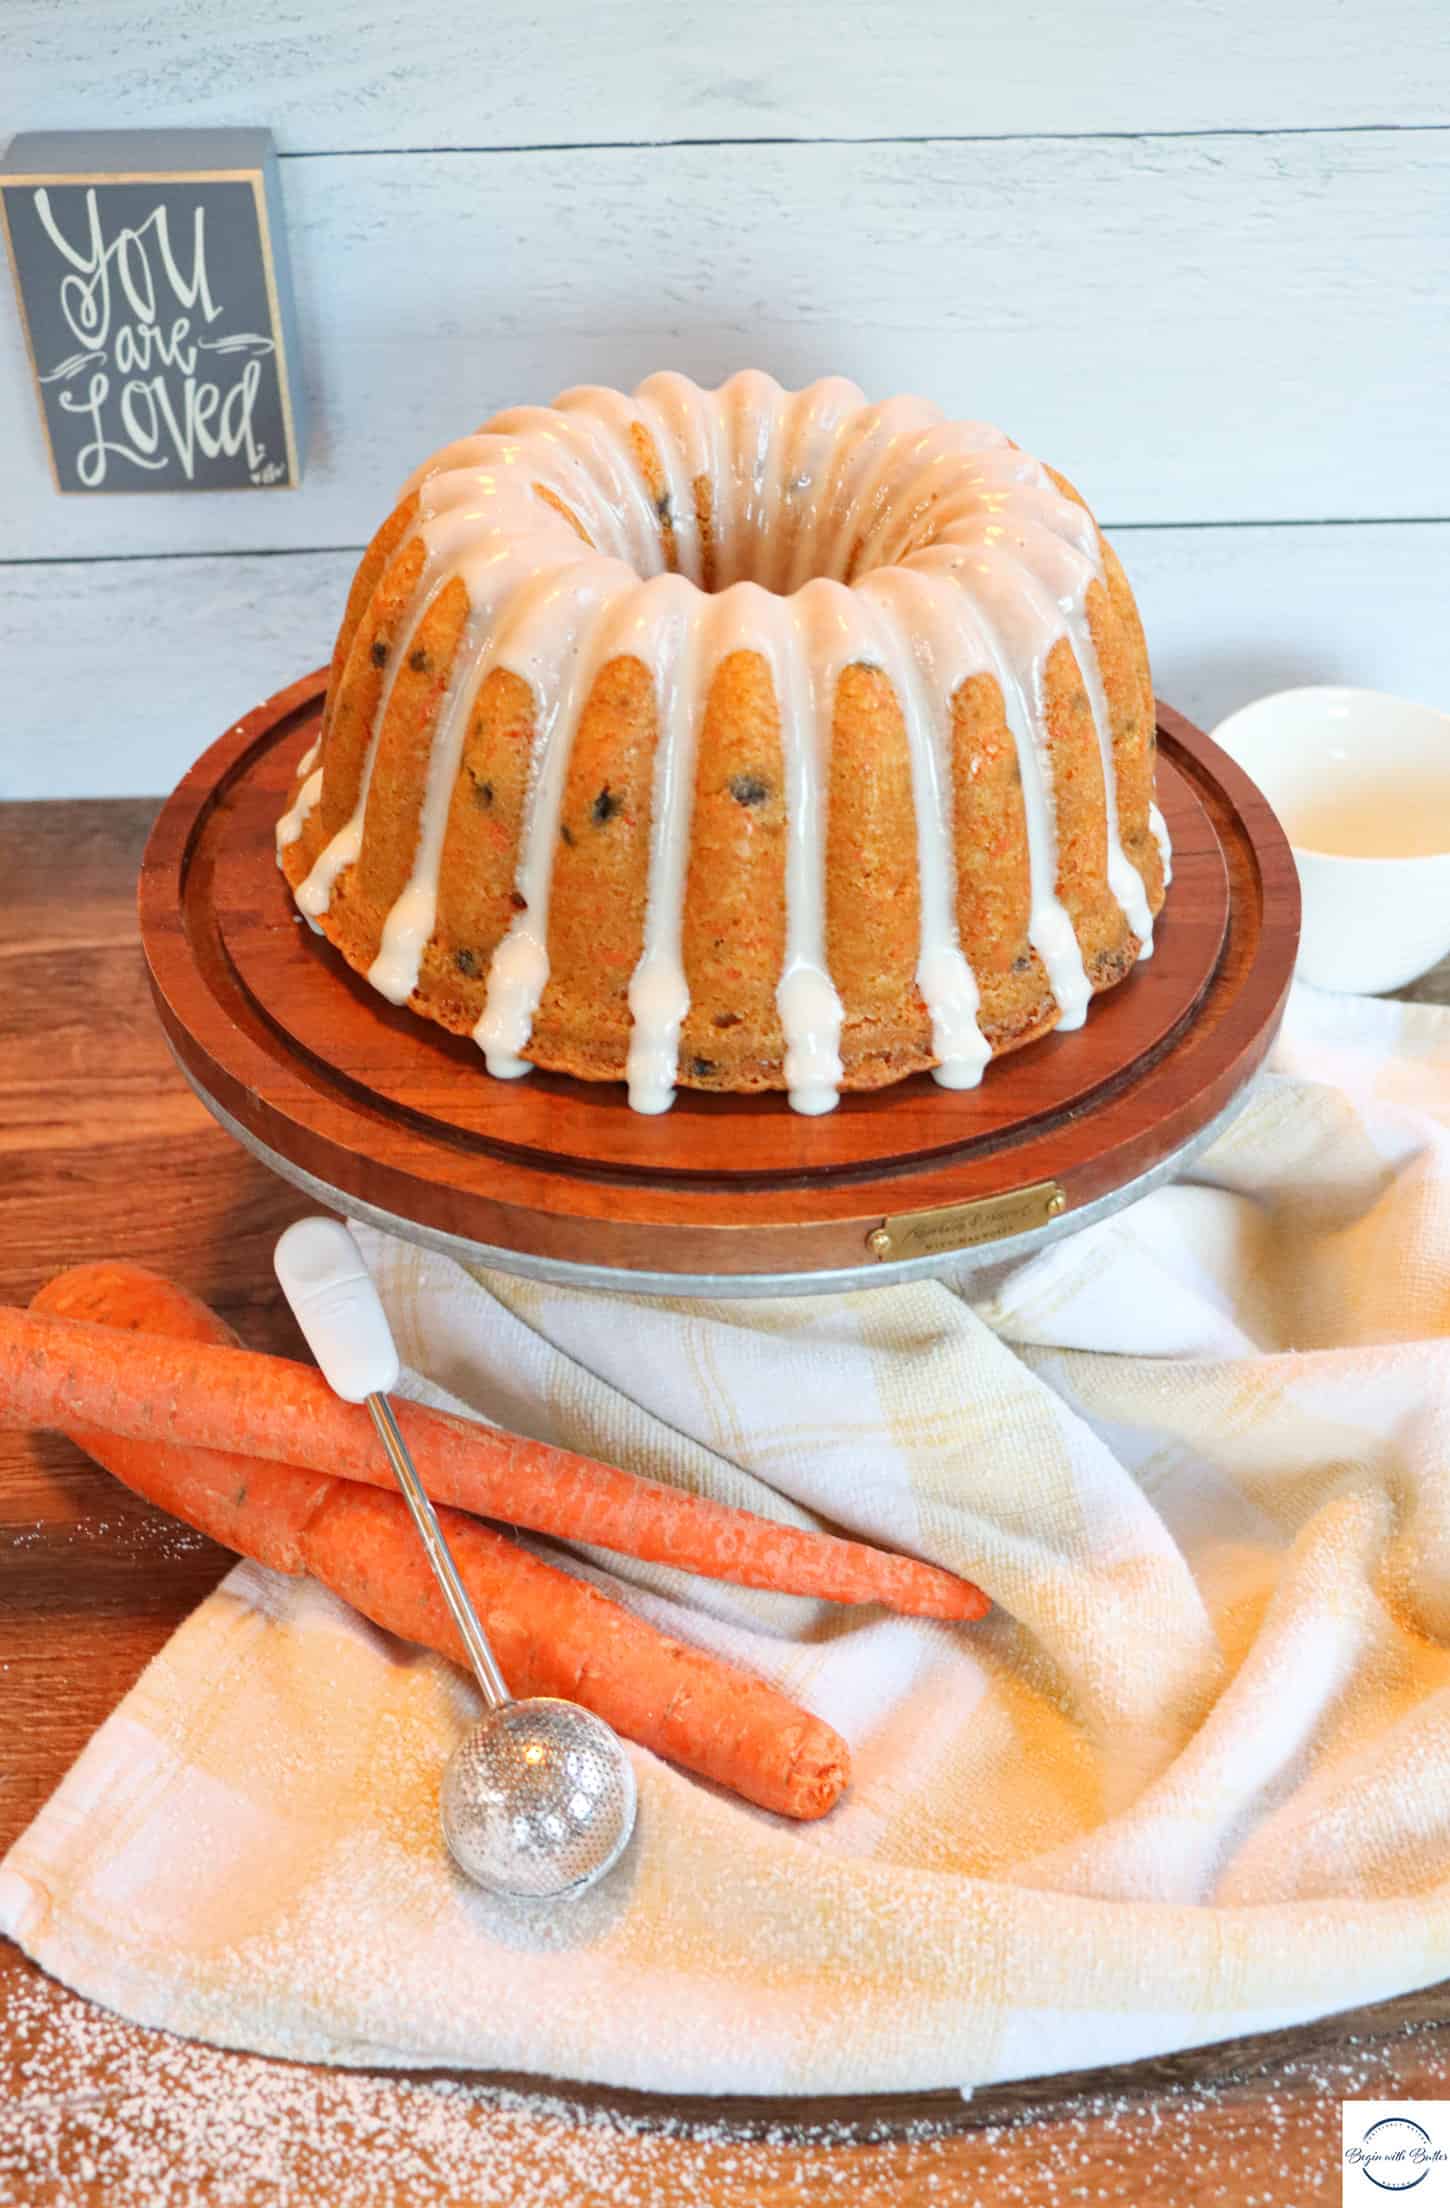
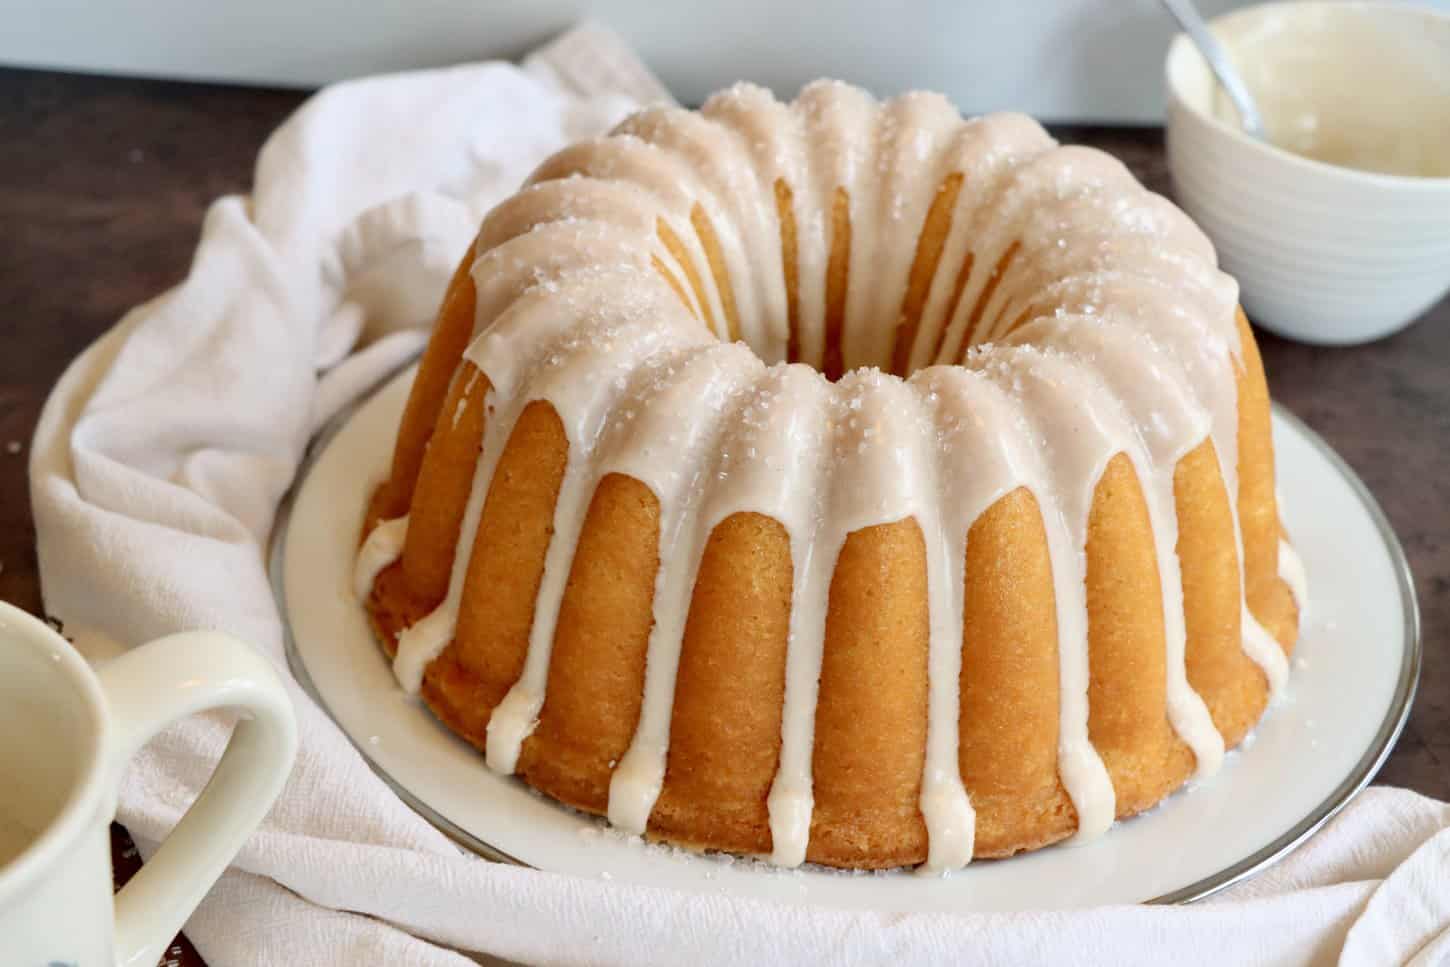
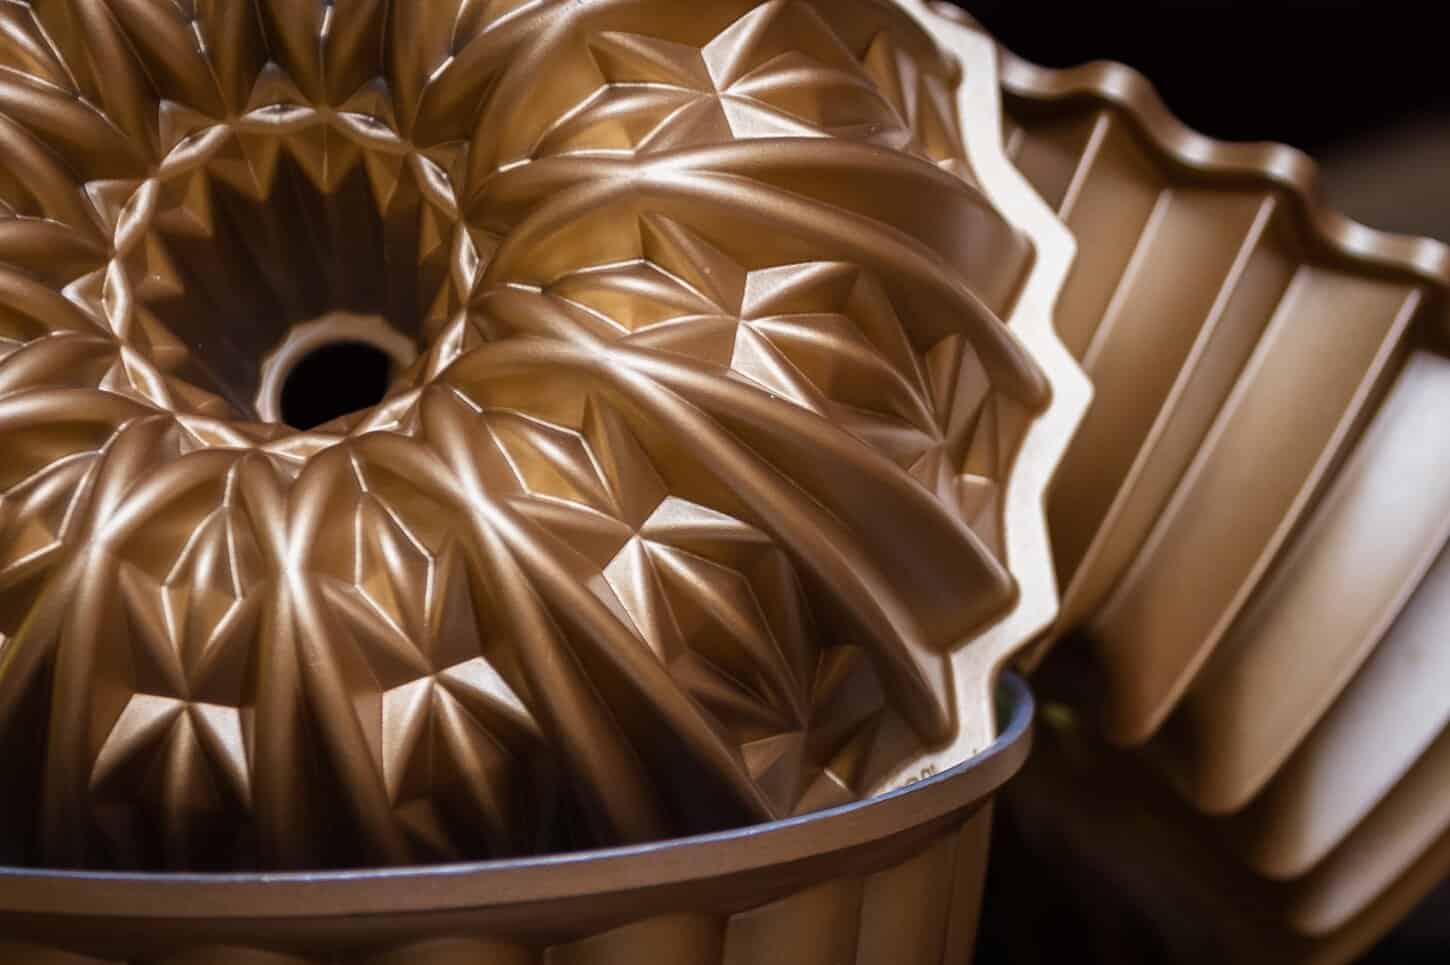
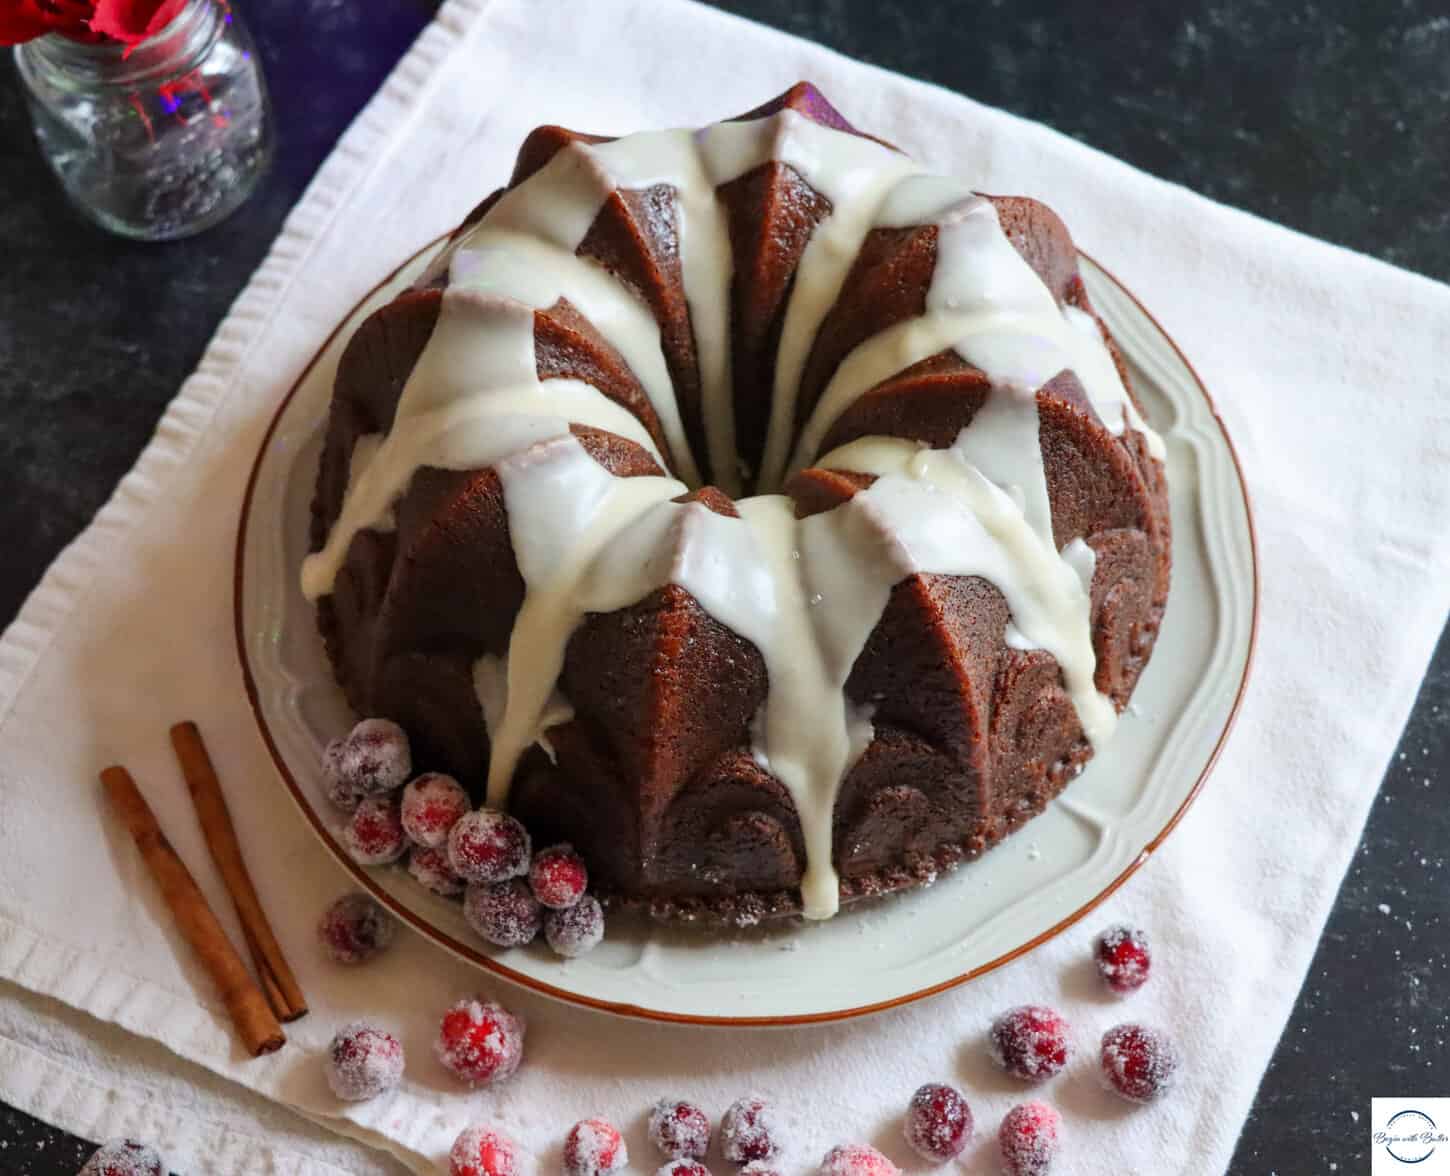
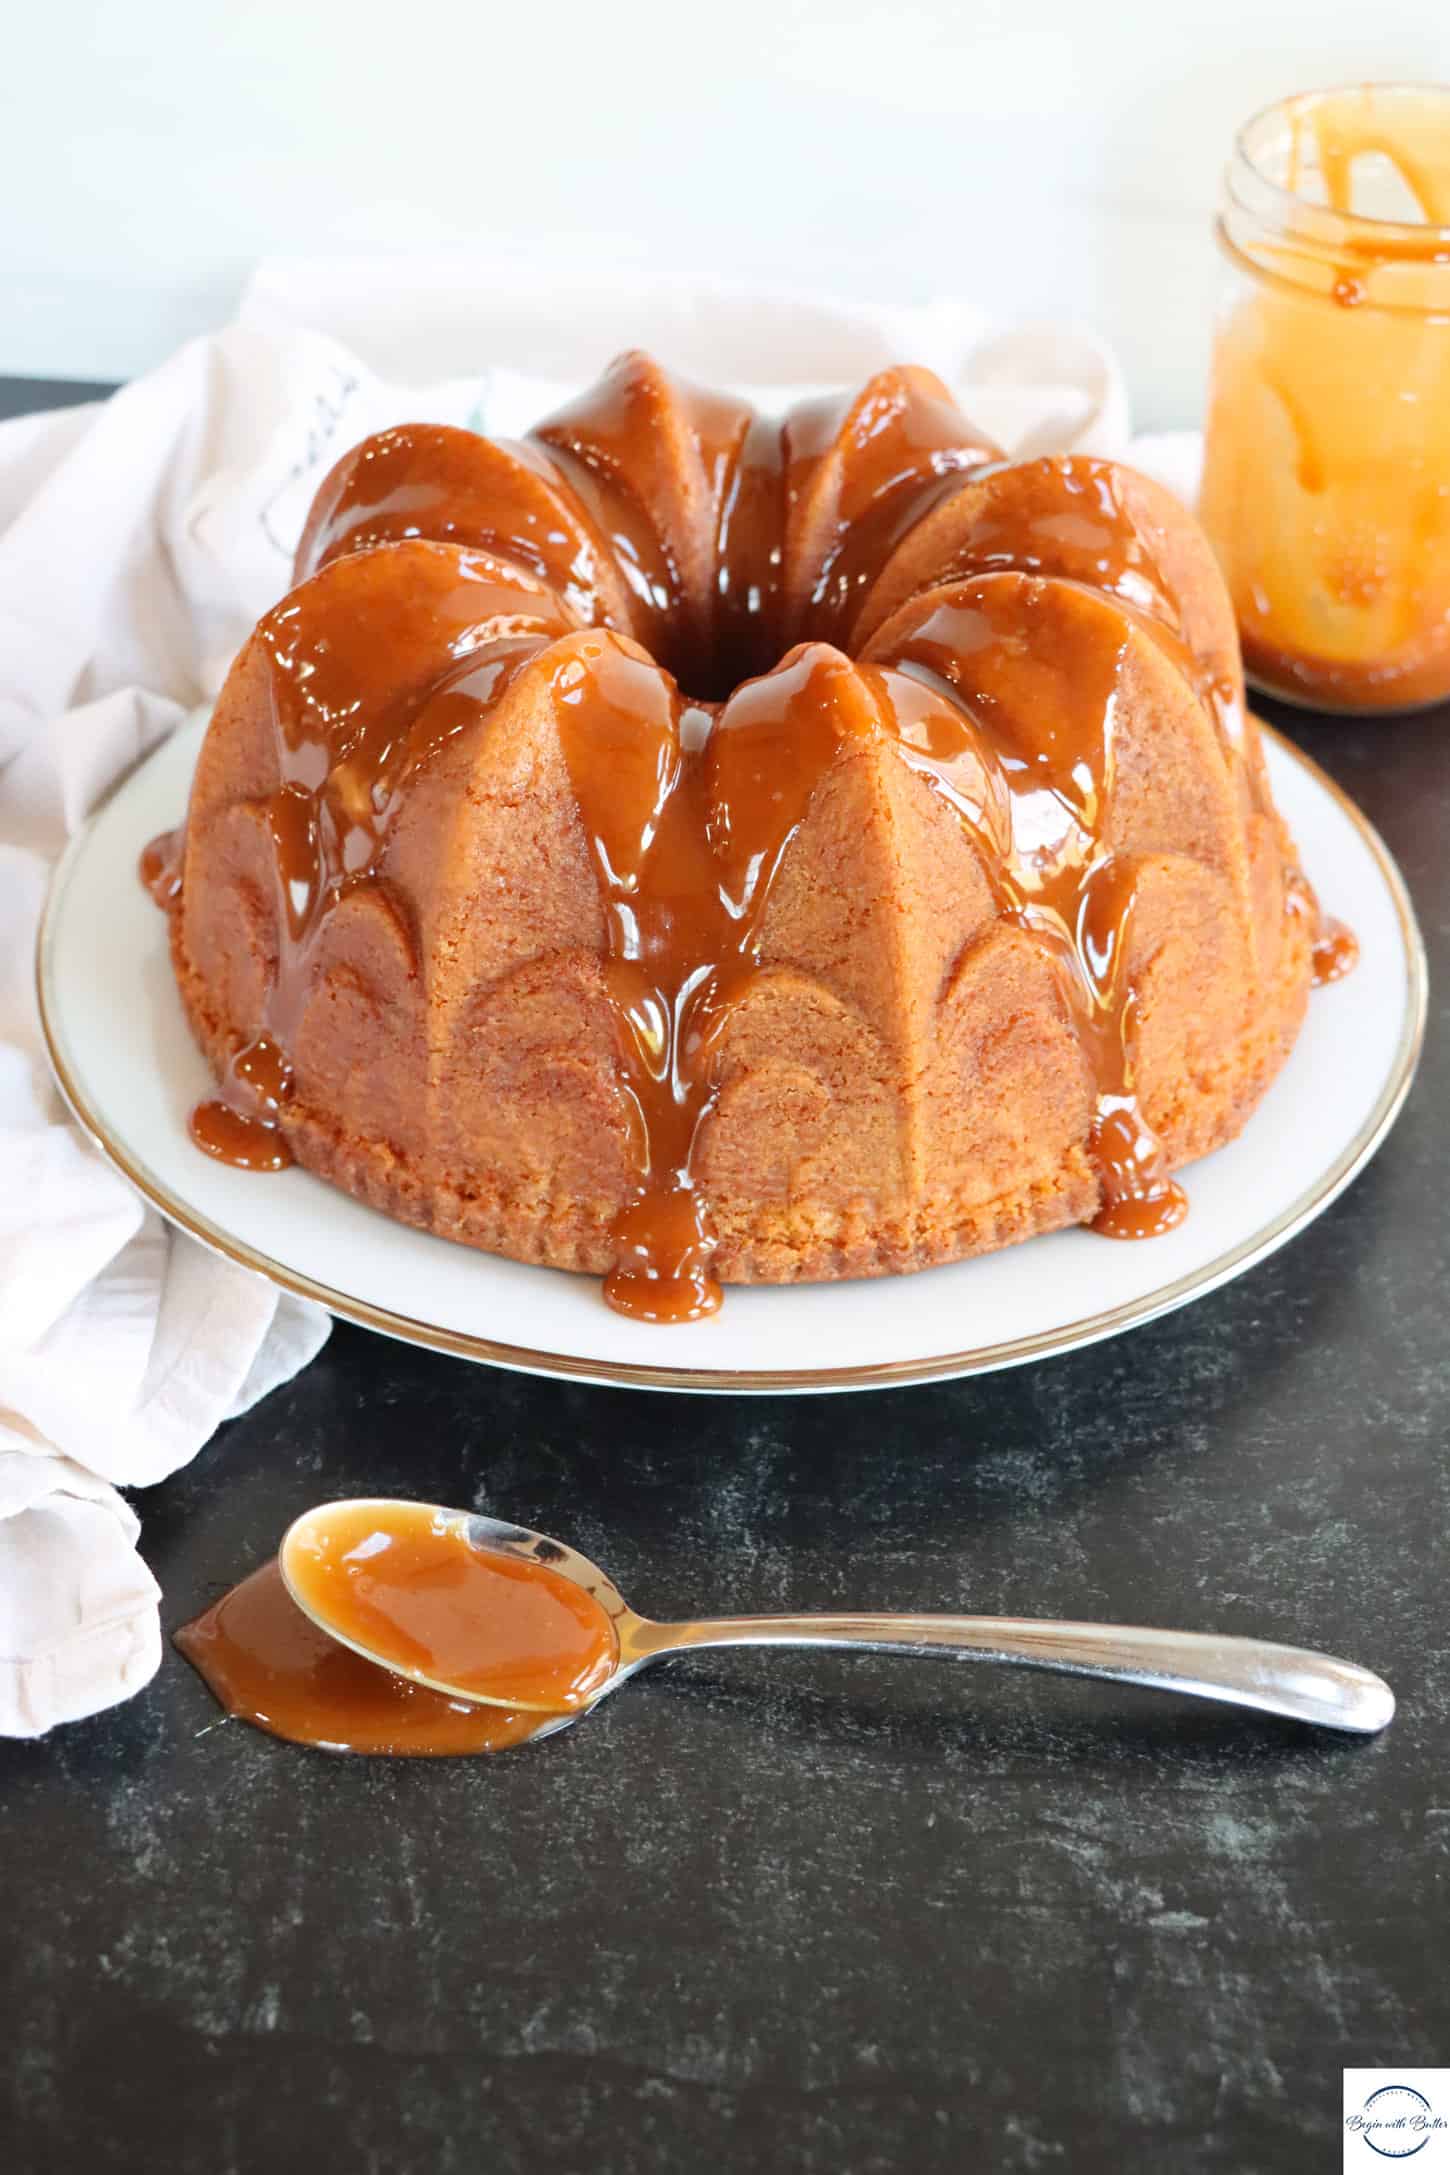
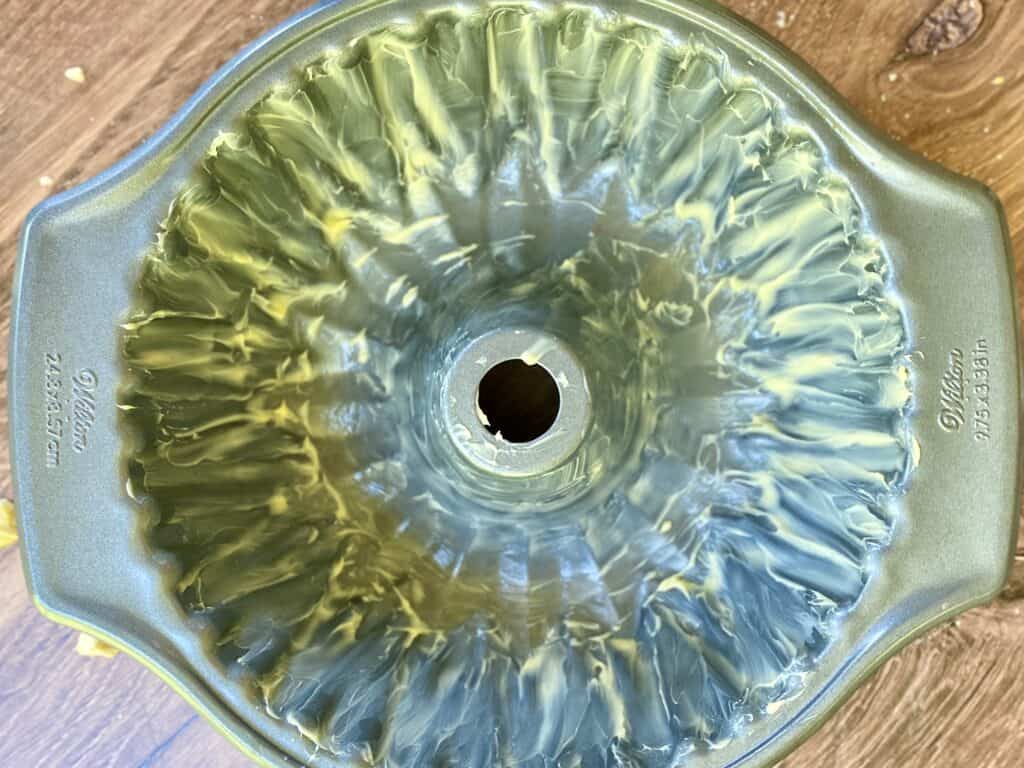
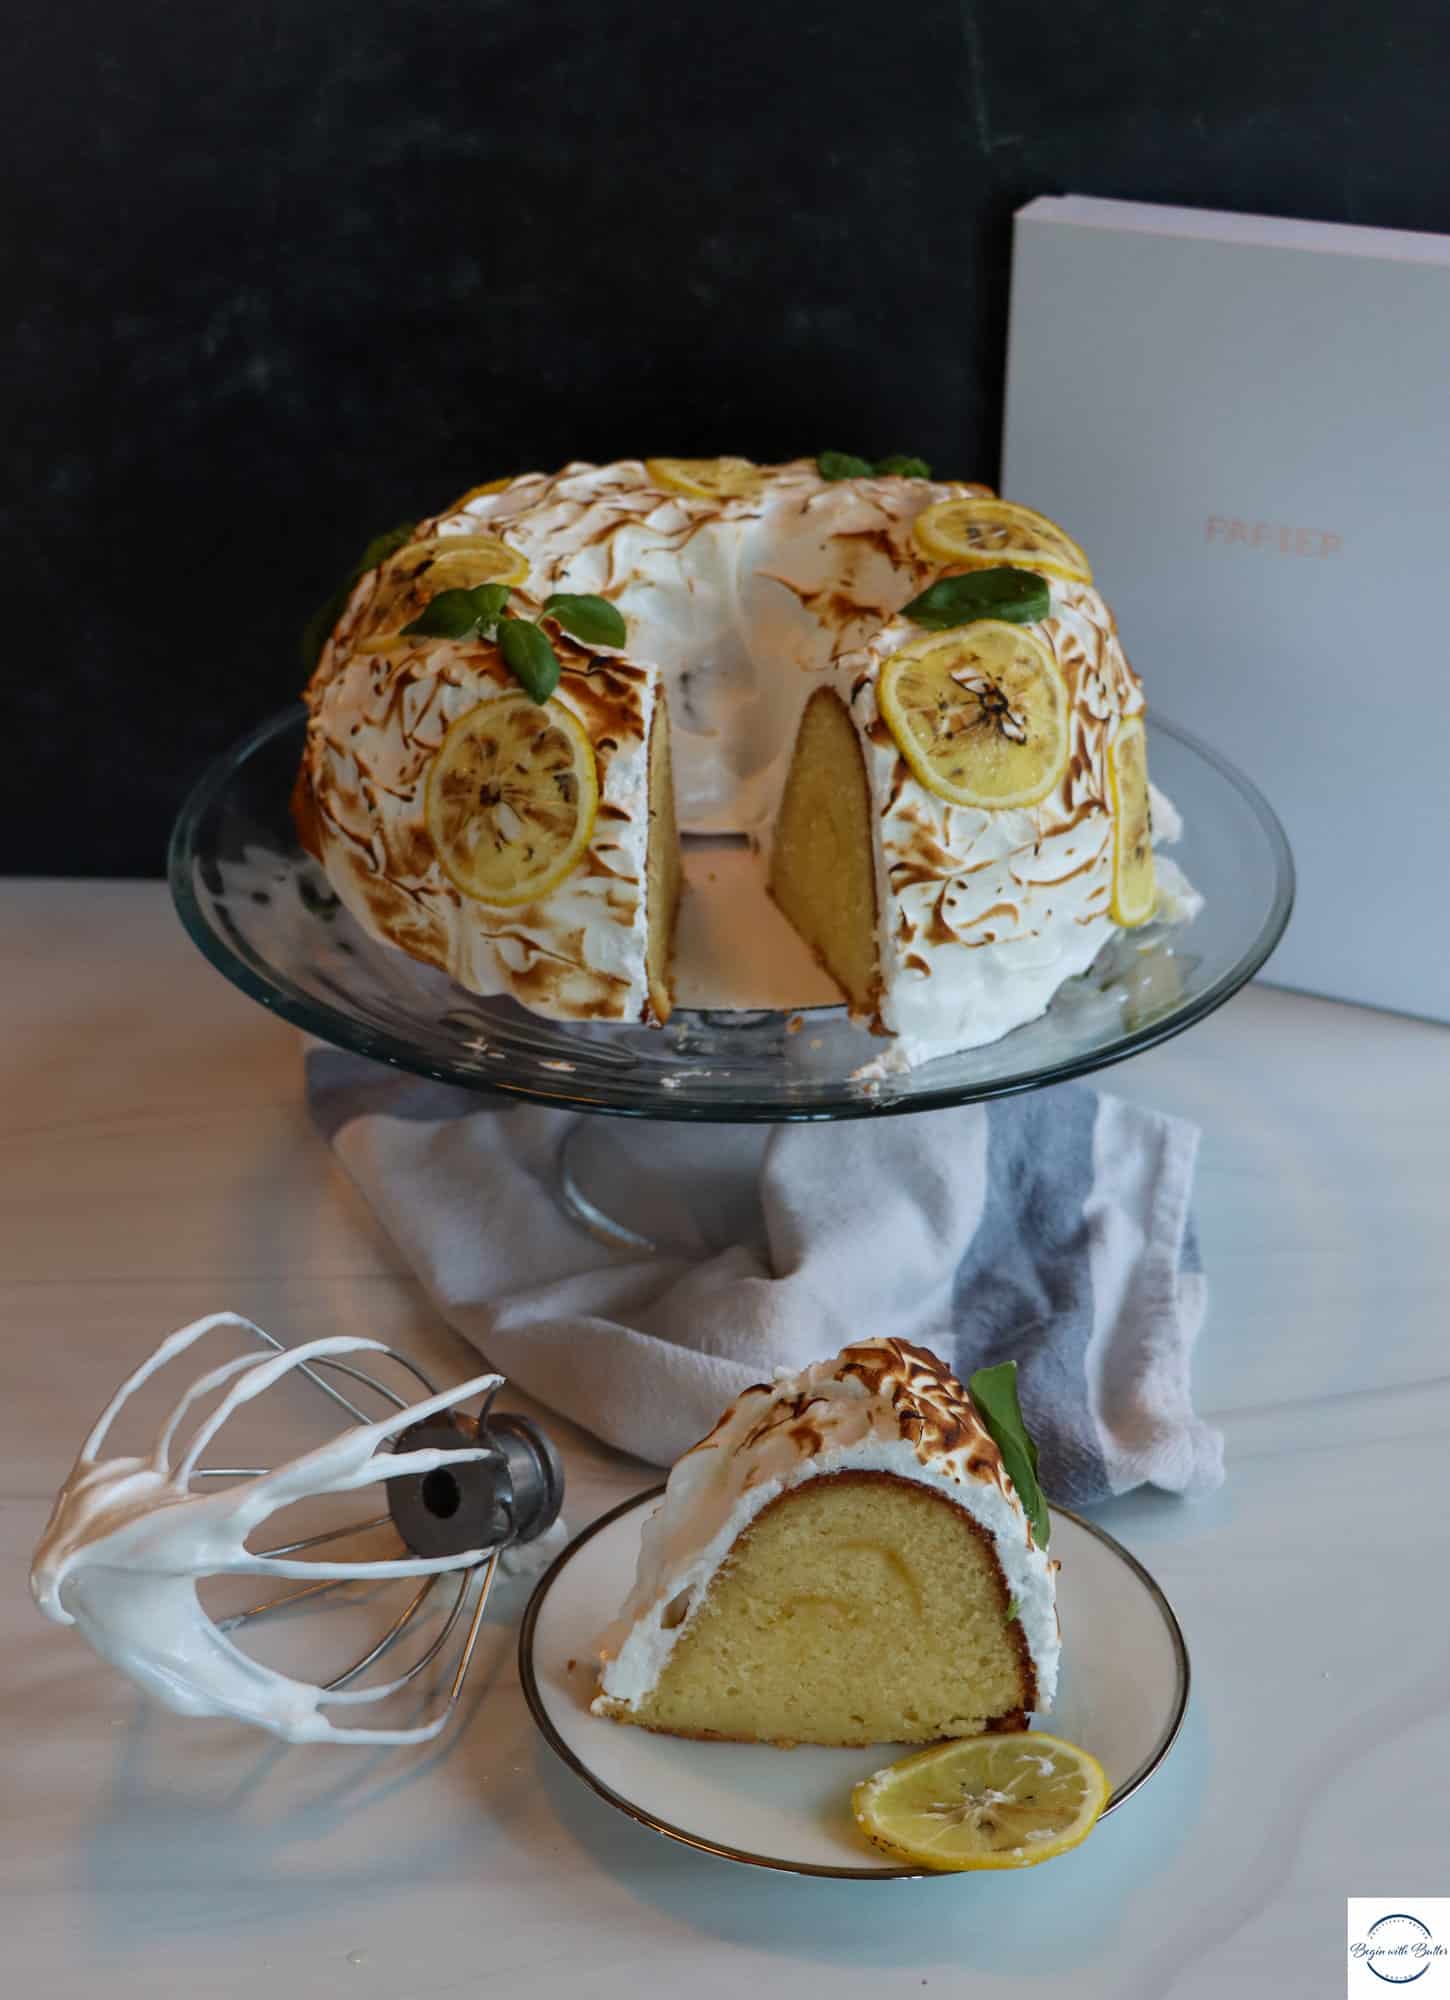
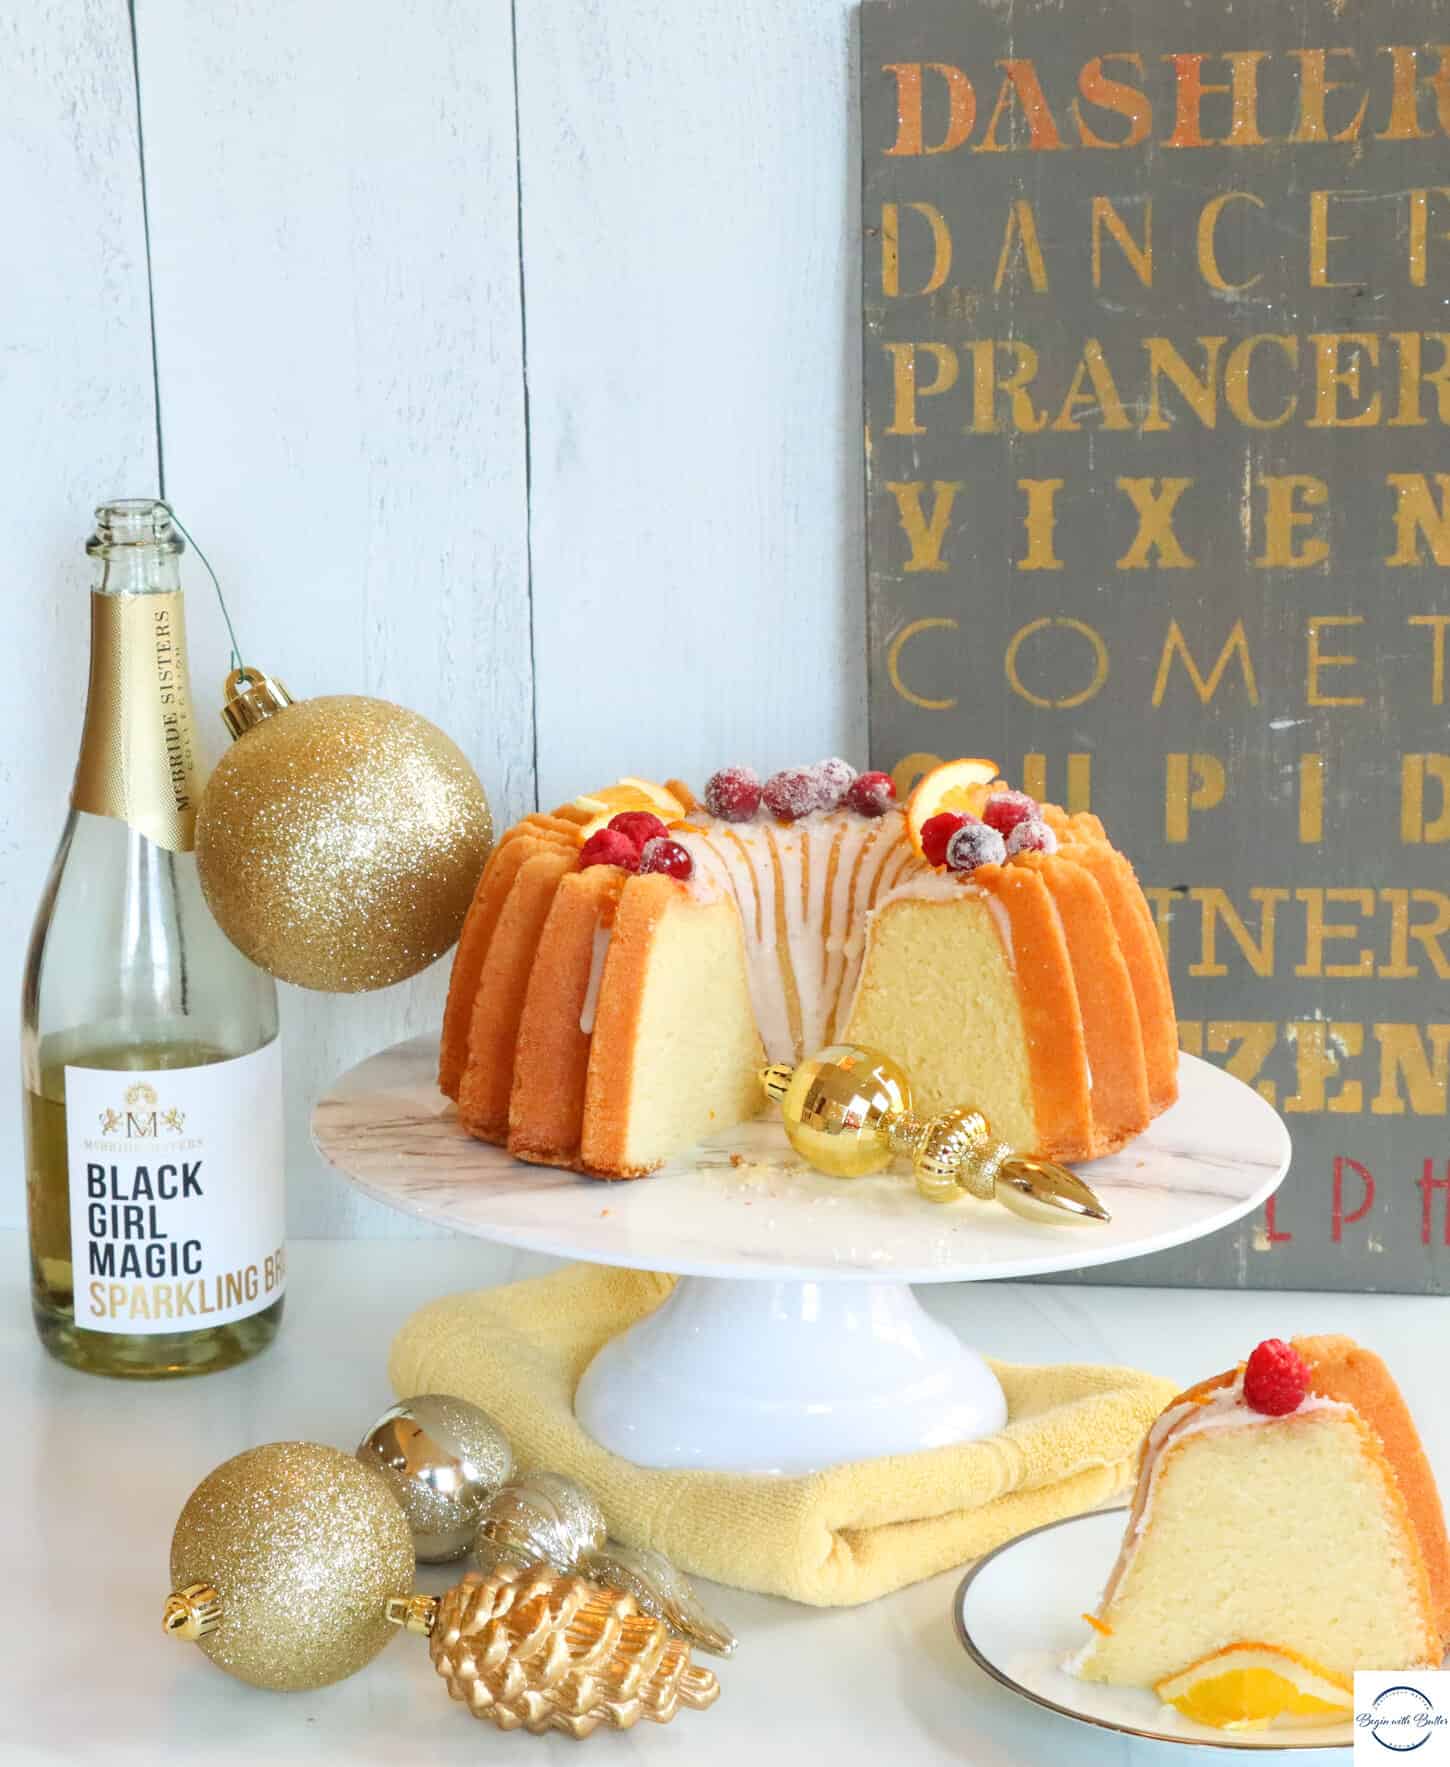
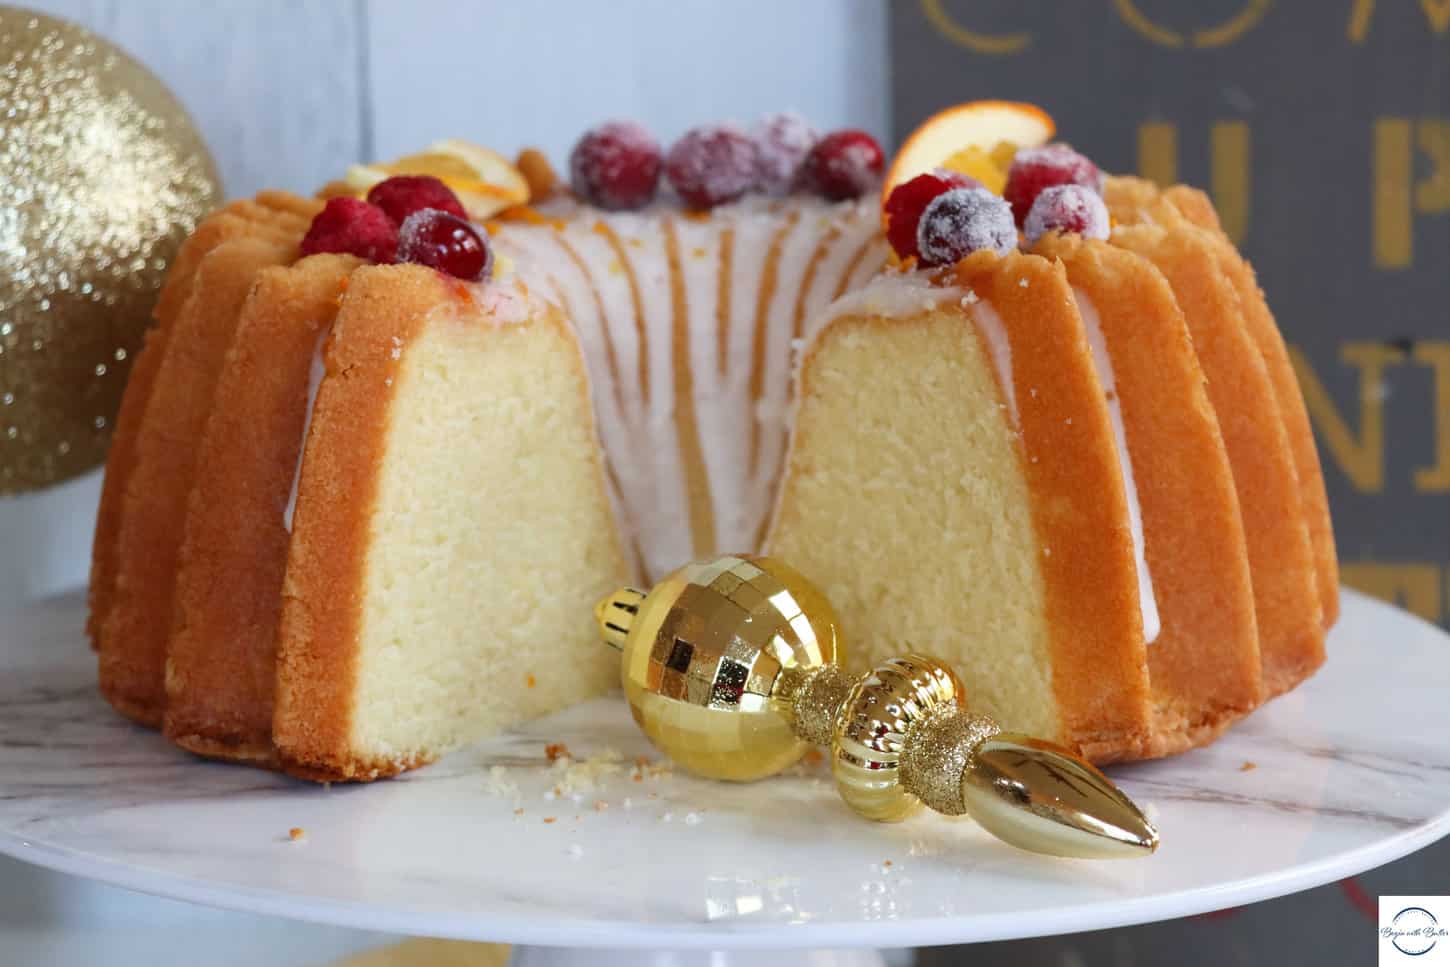
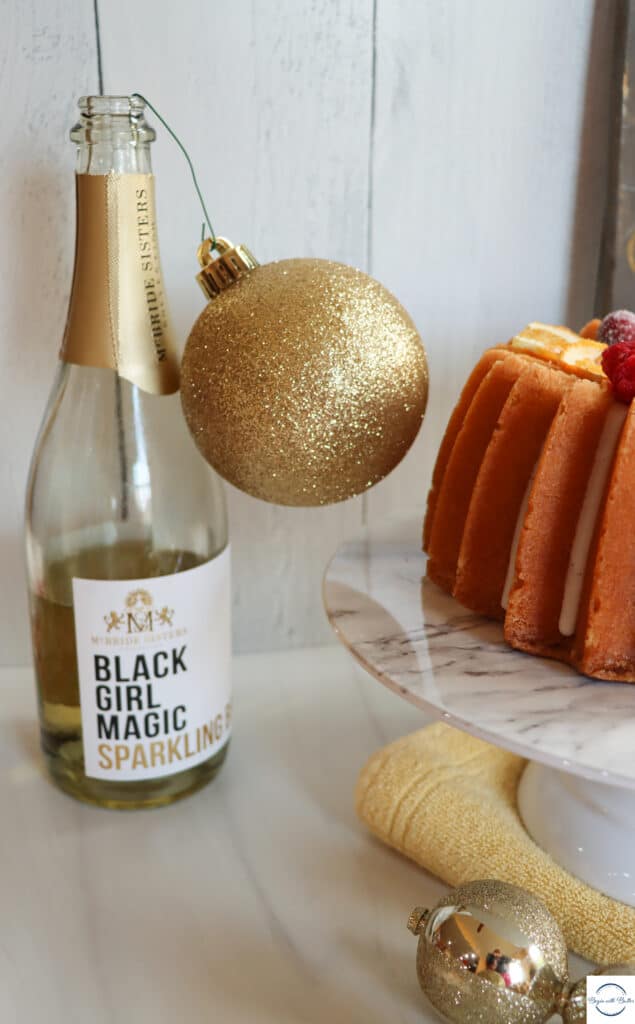
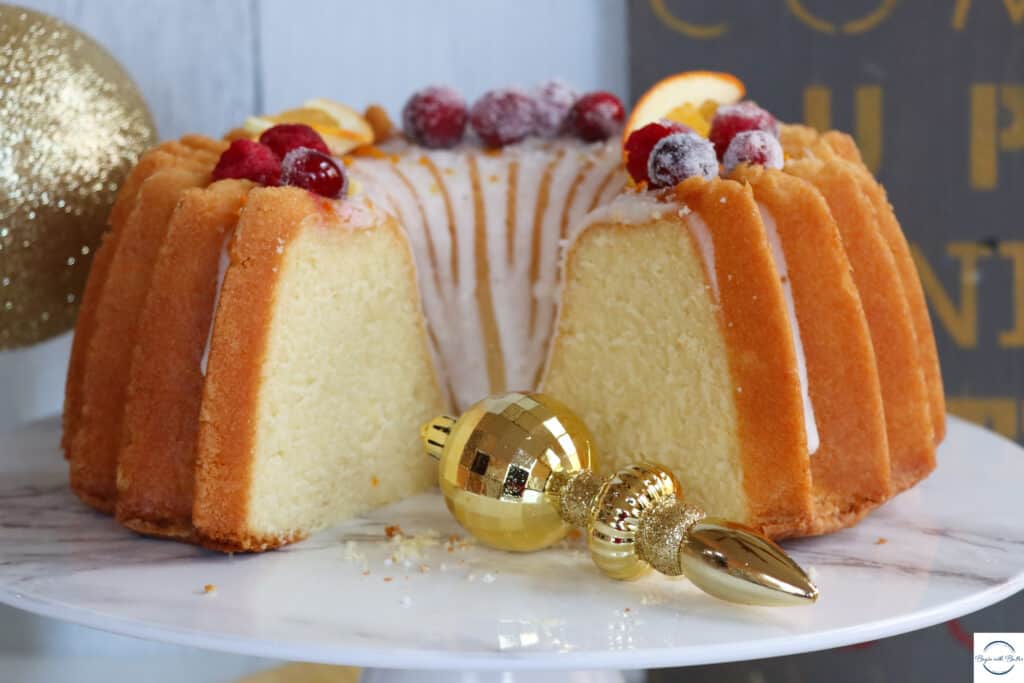
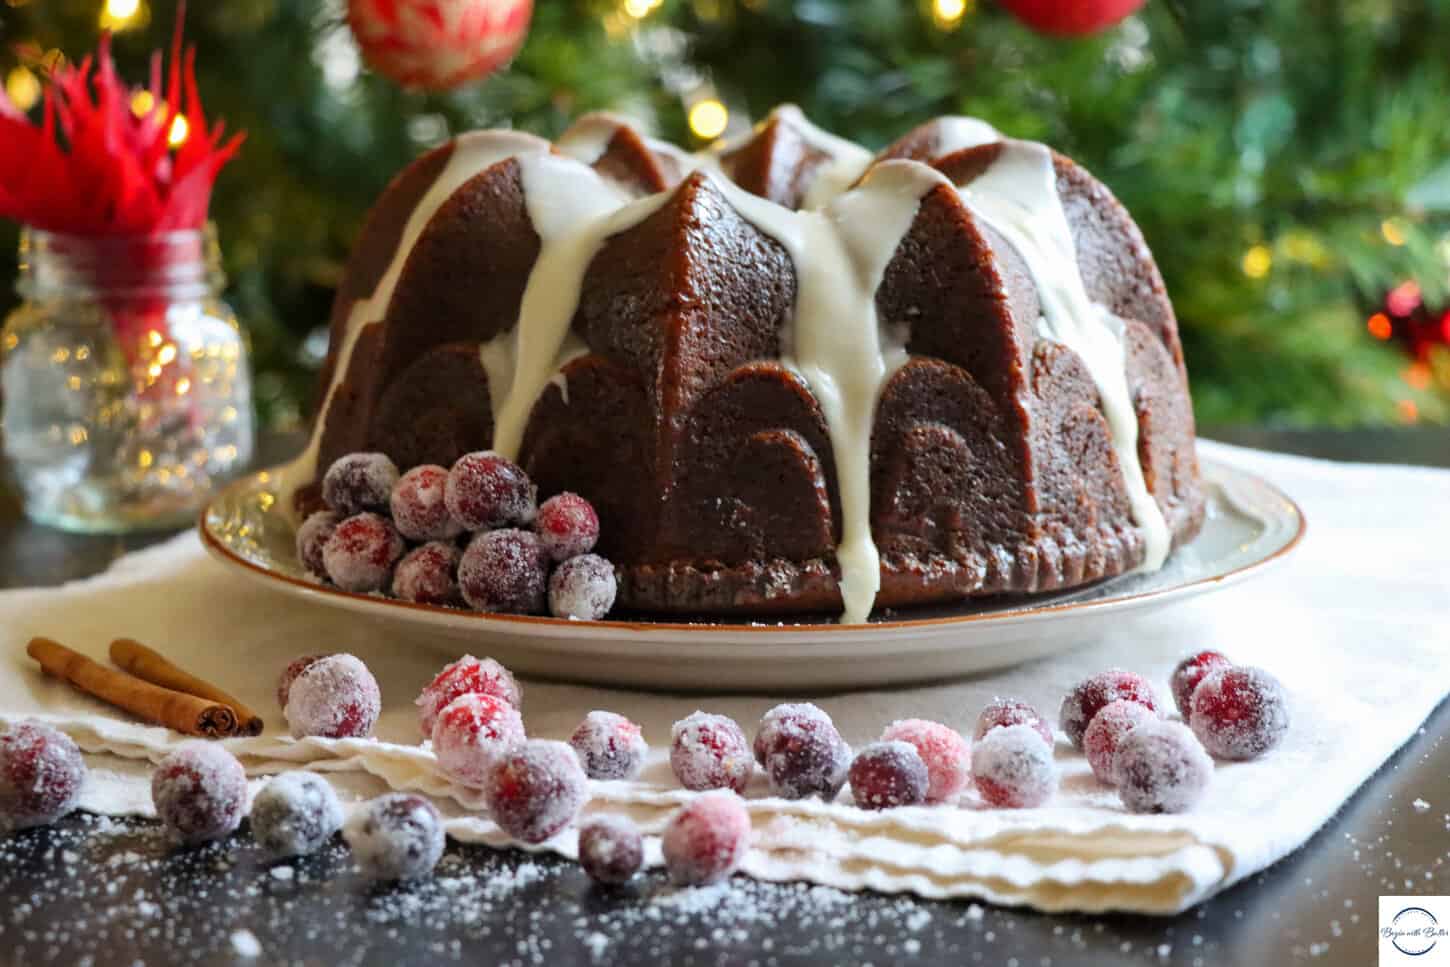
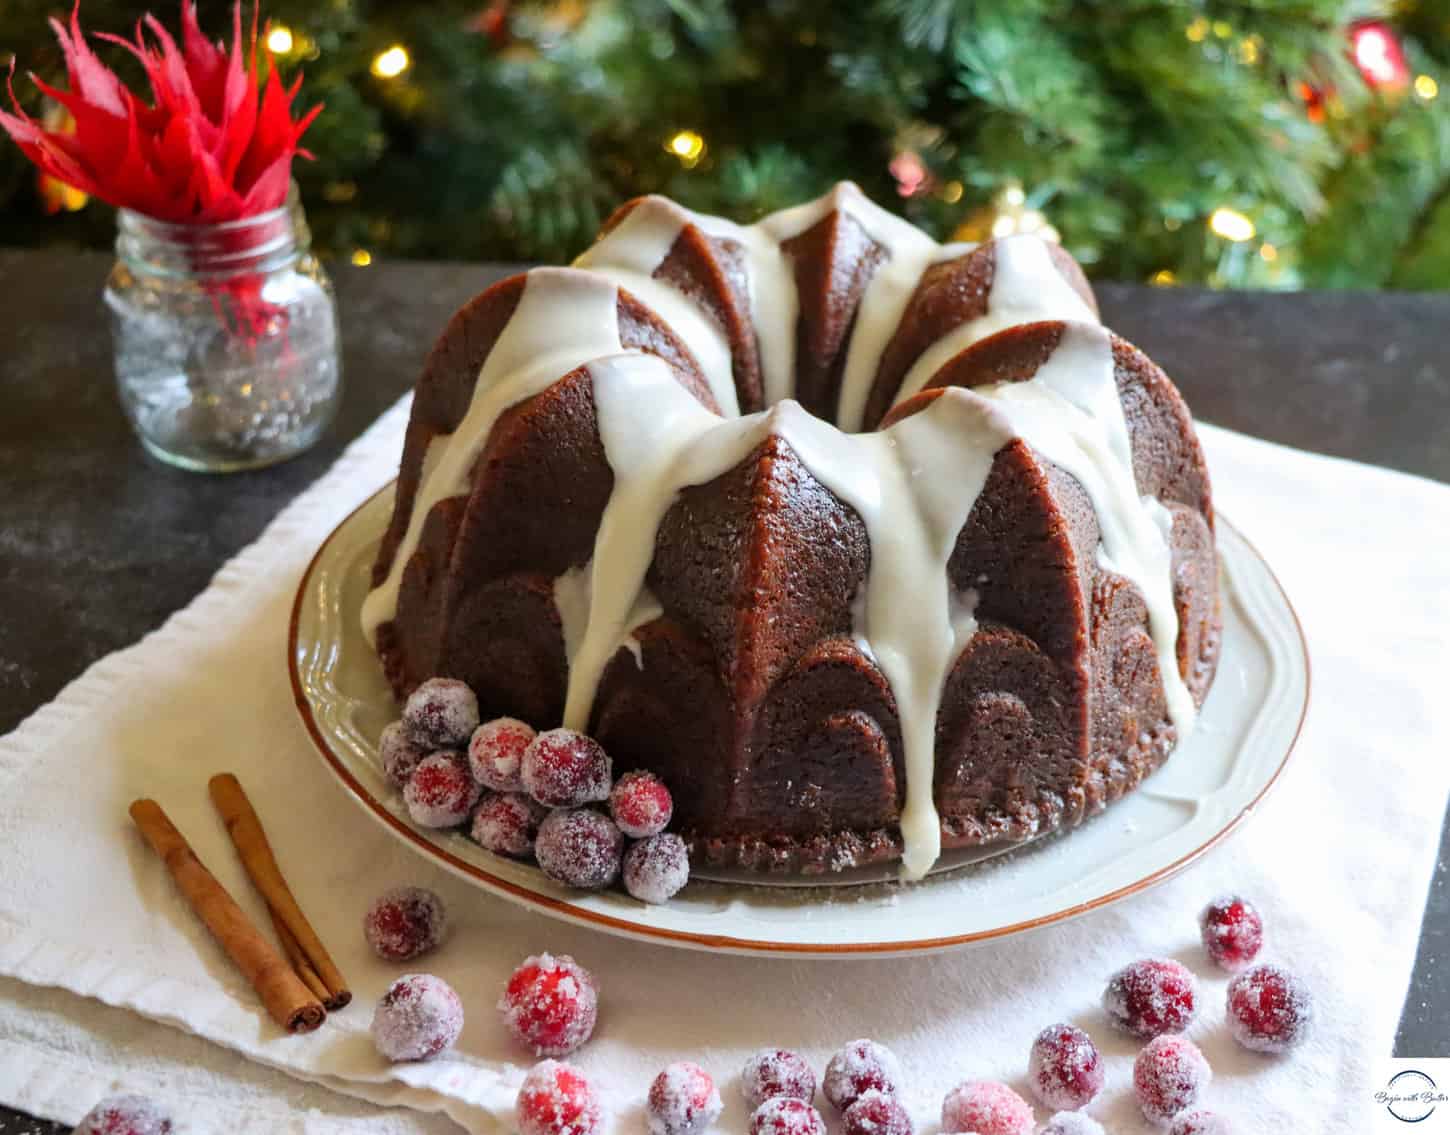
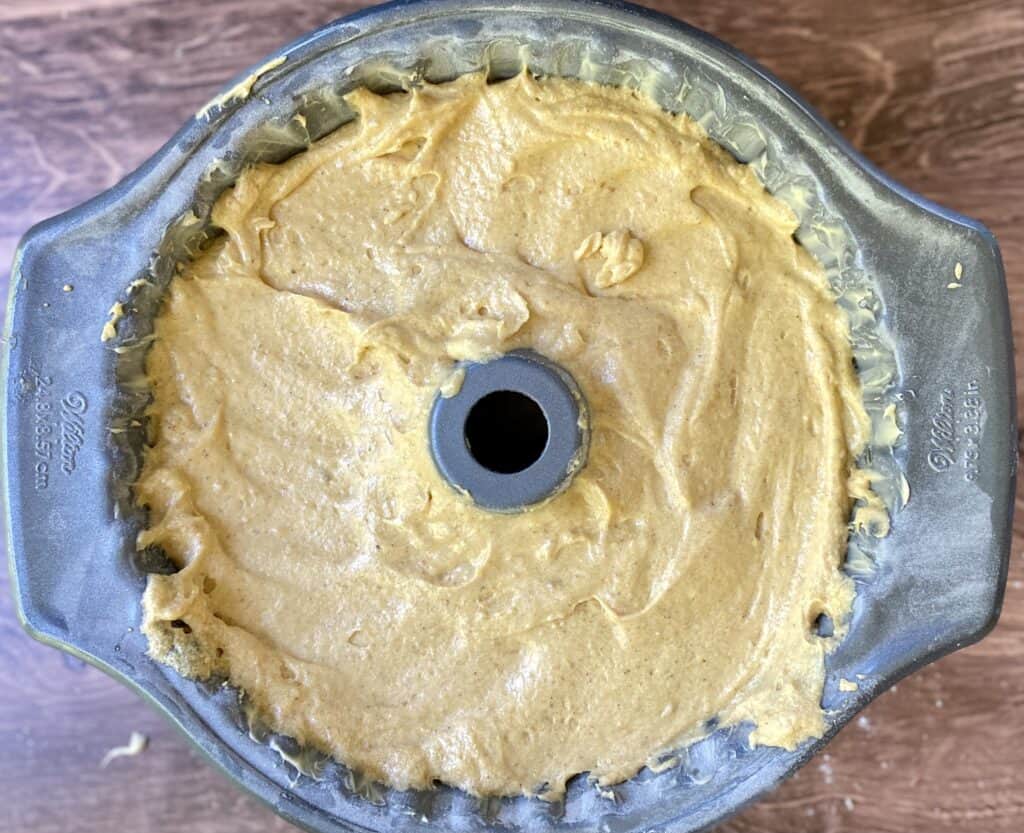
The sunken cake is a very sad mystery for many new bakers. It’s particularly frustrating to prep your mise en place and follow a recipe (like this one for my Lavender Vanilla Pound Cake, or this one for my Champagne Pound Cake), only to see a cake with an uncooked, sunken middle at the end of all of your efforts.
Let’s get to it. After reading this post, hopefully you’ll be able to review each step of your process and see where you went a bit astray. If you’re unsure, I’m an email away!
In this Post
Leavening Issues
Most new bakers will probably default to thinking that something went awry with their leavening.
And that could absolutely be the case! There are a couple of ways that your leavening could impact the final cake result:
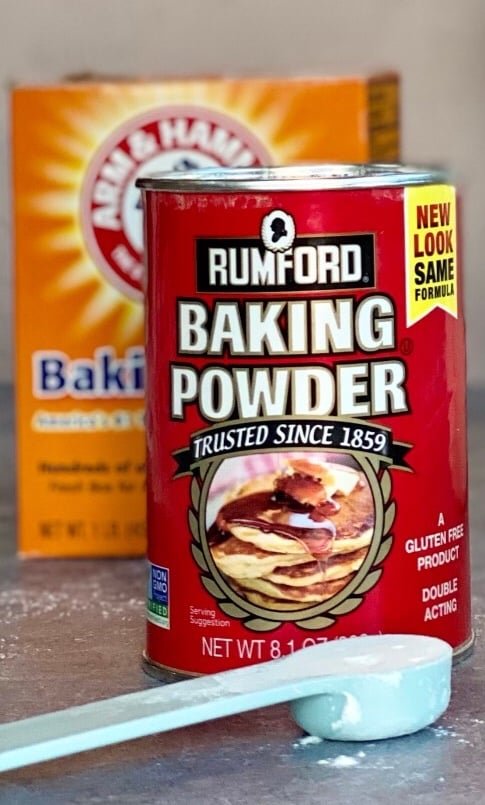
Your leavening was too old.
Baking powder and baking soda both lose their strength after a period of time. If it’s been a while since you purchased leavening, you can test it by using the methods that I described in this article on baking powder and baking soda. If your leavening doesn’t have enough oomph, it won’t help your cake rise. This could be the problem. To avoid this, check your leavening before baking or replace it completely if it’s been sitting for more than about six months.
You used too much leavening.
It seems counterintuitive, but too much leavening can actually cause your cake to fall. This is because the leavening activates too quickly during baking, which causes a turbocharged, too-fast carbon dioxide reaction.
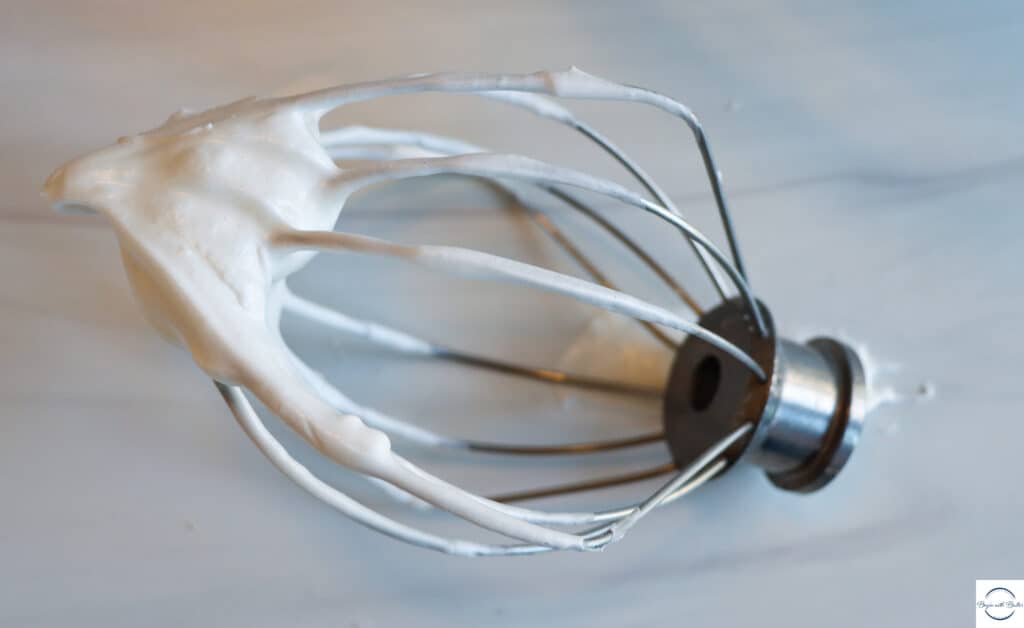
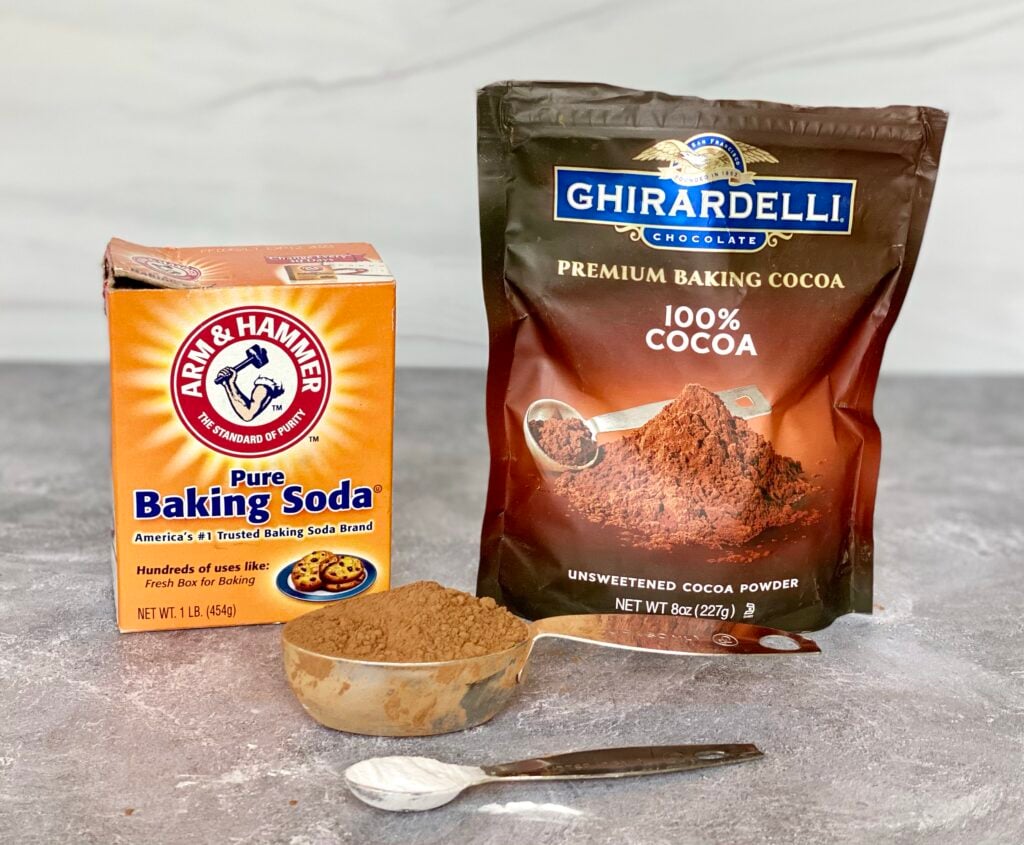
When the carbon dioxide reaction happens too quickly, the bubbles to pop before the cake fully sets in the center. To fix this, make sure you’re leveling your leavening in your measuring spoons. Like this!
Think back to the cake that led you to this post. Did you check the viability of that questionably old leavening before you started? Did you level your leavening before adding it? Did you take the leavening amount in the recipe as a gentle suggestion and use a tablespoon of baking powder instead of a teaspoon? If any of those things are true, this might be the culprit for your sunken cake.
Oven Issues
Your oven temperature is a critical part of baking success; it is truly just as important as any single ingredient. Baking too high or too low can both cause your cake to sink in the middle.
Your oven temperature is too low.
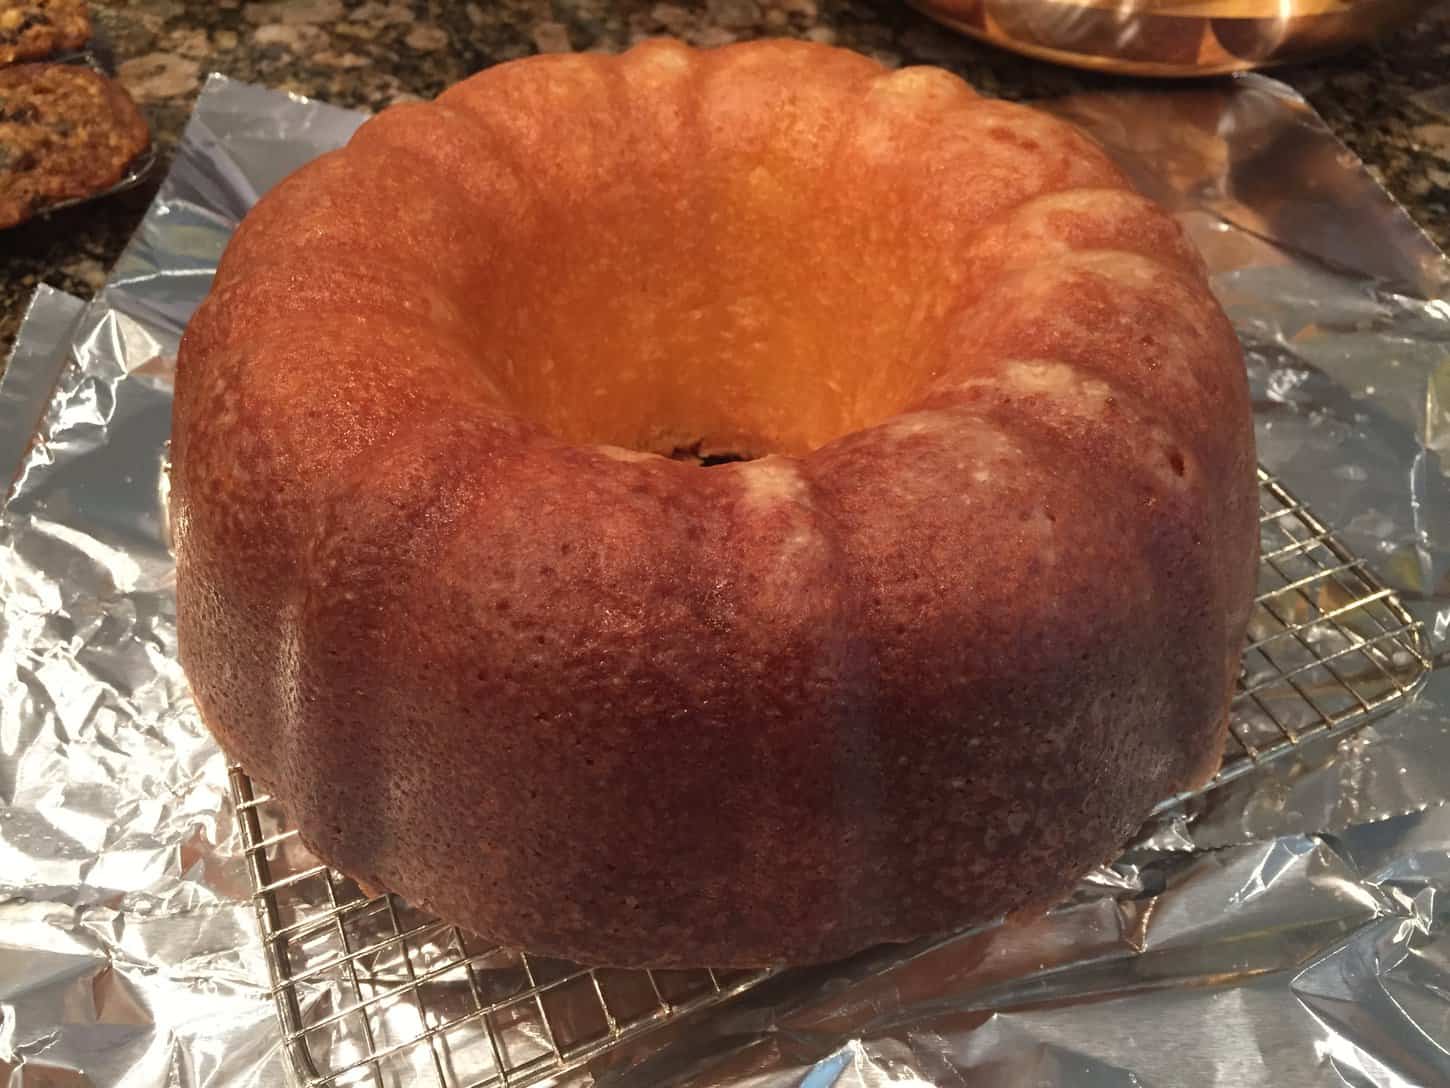
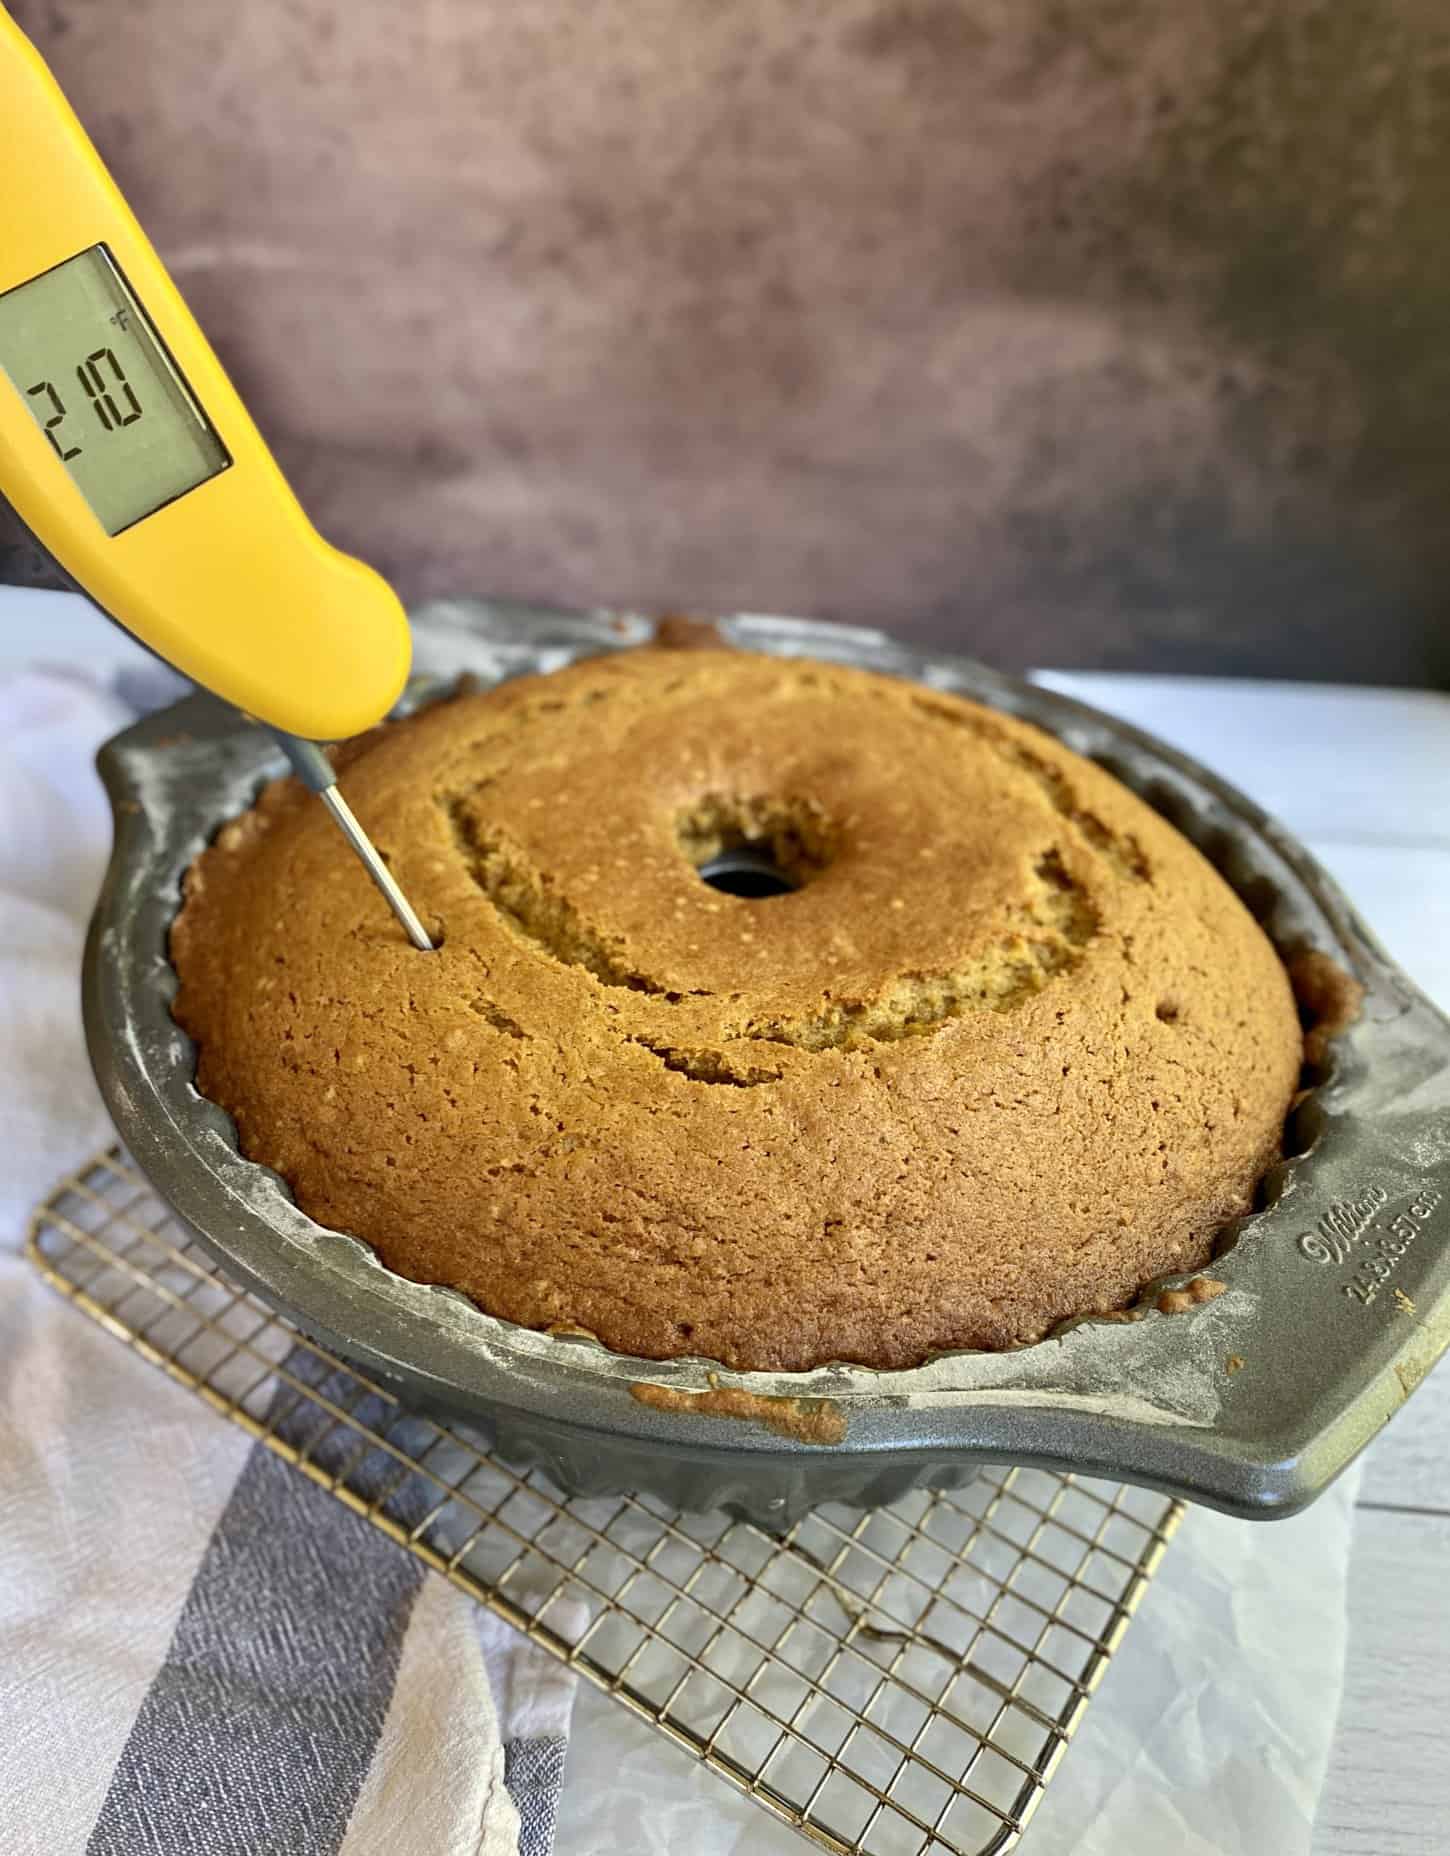
In order for a cake to bake properly, it needs to be in an oven that’s the proper temperature for the right amount of time, and your cake generally needs to reach an internal temperature of 210°F-215°F. If your oven temperature is too low, your cake won’t fully bake in the prescribed time. Sure, the outer edges of your cake might be set, and the middle might even have a nice dome and look done, but if the oven temperature is too low and you don’t adjust (increase) the baking time, once you take the cake out of the oven it will deflate in slow motion like a sad balloon.
To avoid this, use an oven thermometer to make sure that your oven reaches (and maintains) the correct baking temperature, and use an instant read thermometer to make sure that your cake is actually done.

Your oven temperature is too high.
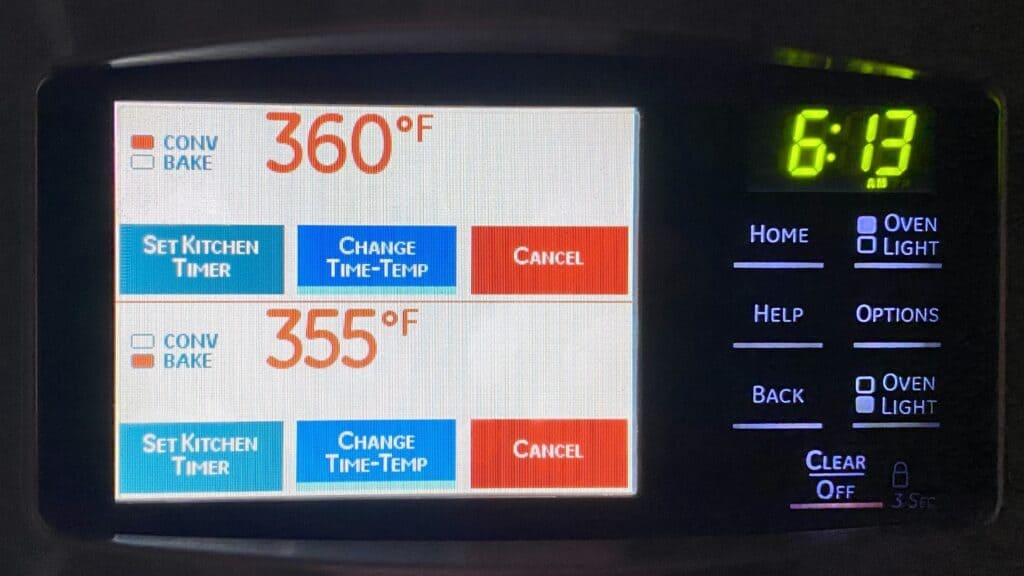
If your oven is anything like mine, it runs cool. And this fact has caused me great consternation over my baking life.
When I say it runs “cool” what I mean is that, for example, in order to get to a true 325°F for a bundt cake, I have to set my oven to 350°F and let it fully preheat for at least 20-30 minutes before I put anything in it.
Of course, this comes with the inherent risk that my oven will decide one day to actually preheat to 350°F and it will be too hot, which would cause the outer part of the cake to bake way too quickly. In this circumstance, in order to prevent the outer edge of the cake from overbaking and completely drying out, I would have to remove it from the oven prematurely, before the center sets. This, again, would cause the sad balloon. Or, even worse, the infamous “undone cake jiggle”.
Again, the best way to avoid this situation is to use an oven thermometer to ensure proper baking temperature, and an instant read thermometer to ensure that the internal cake temperature is in range.
Your oven randomly shuts off during baking.
This dagger hurts the worst because it’s usually completely unforeseeable. I recently had one of my ovens just…stop baking one day. I had no clue how long the oven was off before I detected the issue.
I turned the oven back on and finished the scheduled baking time, with the hope that the residual heat from the oven would have continued to bake the cake.
The residual heat from the oven did not continue to bake the cake, and I was left with a cake that caramelized on the outside (because the oven reheated with the cake inside of it) but that never fully cooked on the inside. That cake ultimately had to be discarded.
If this happens to you, I’d recommend having your oven serviced to find the root cause of the issue. And, as tempting as it might be, don’t eat undercooked cake (*that nugget of wisdom was for me*).
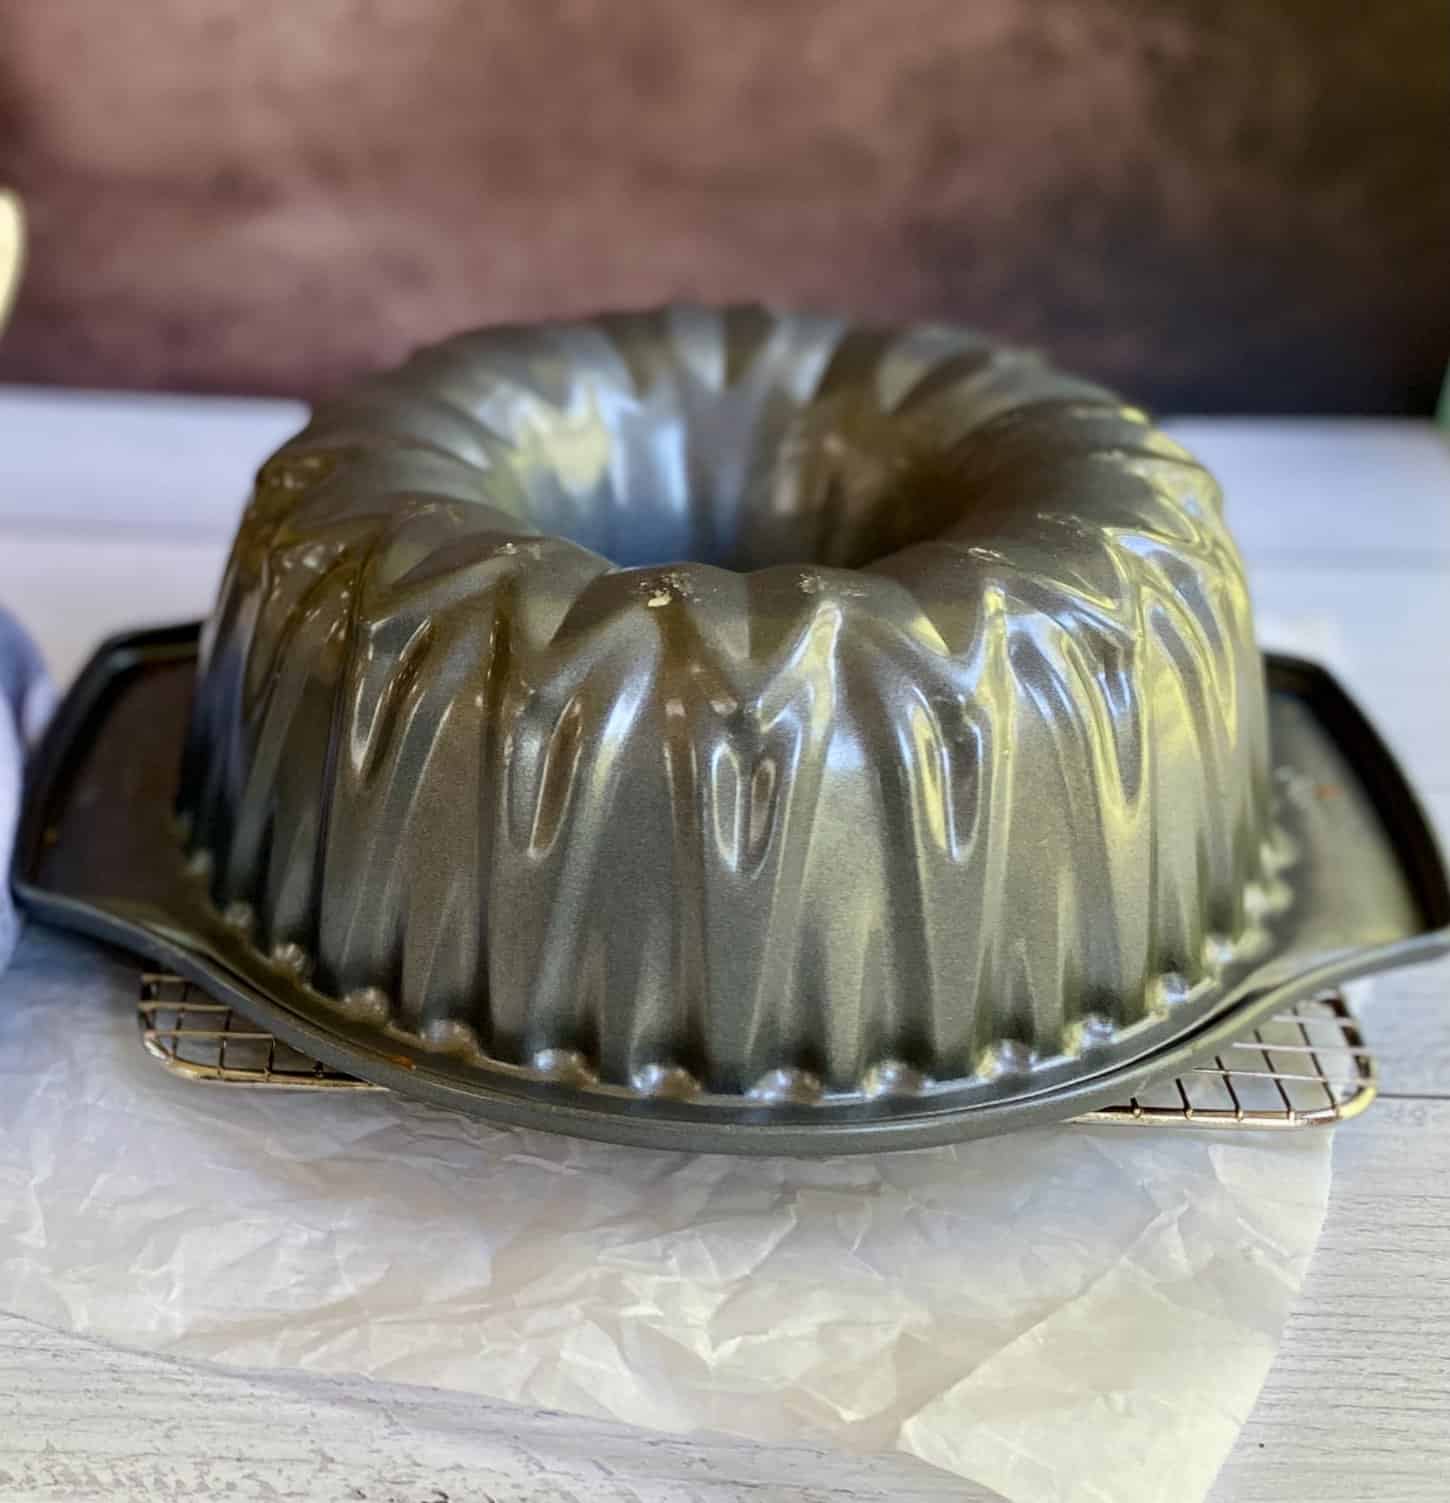
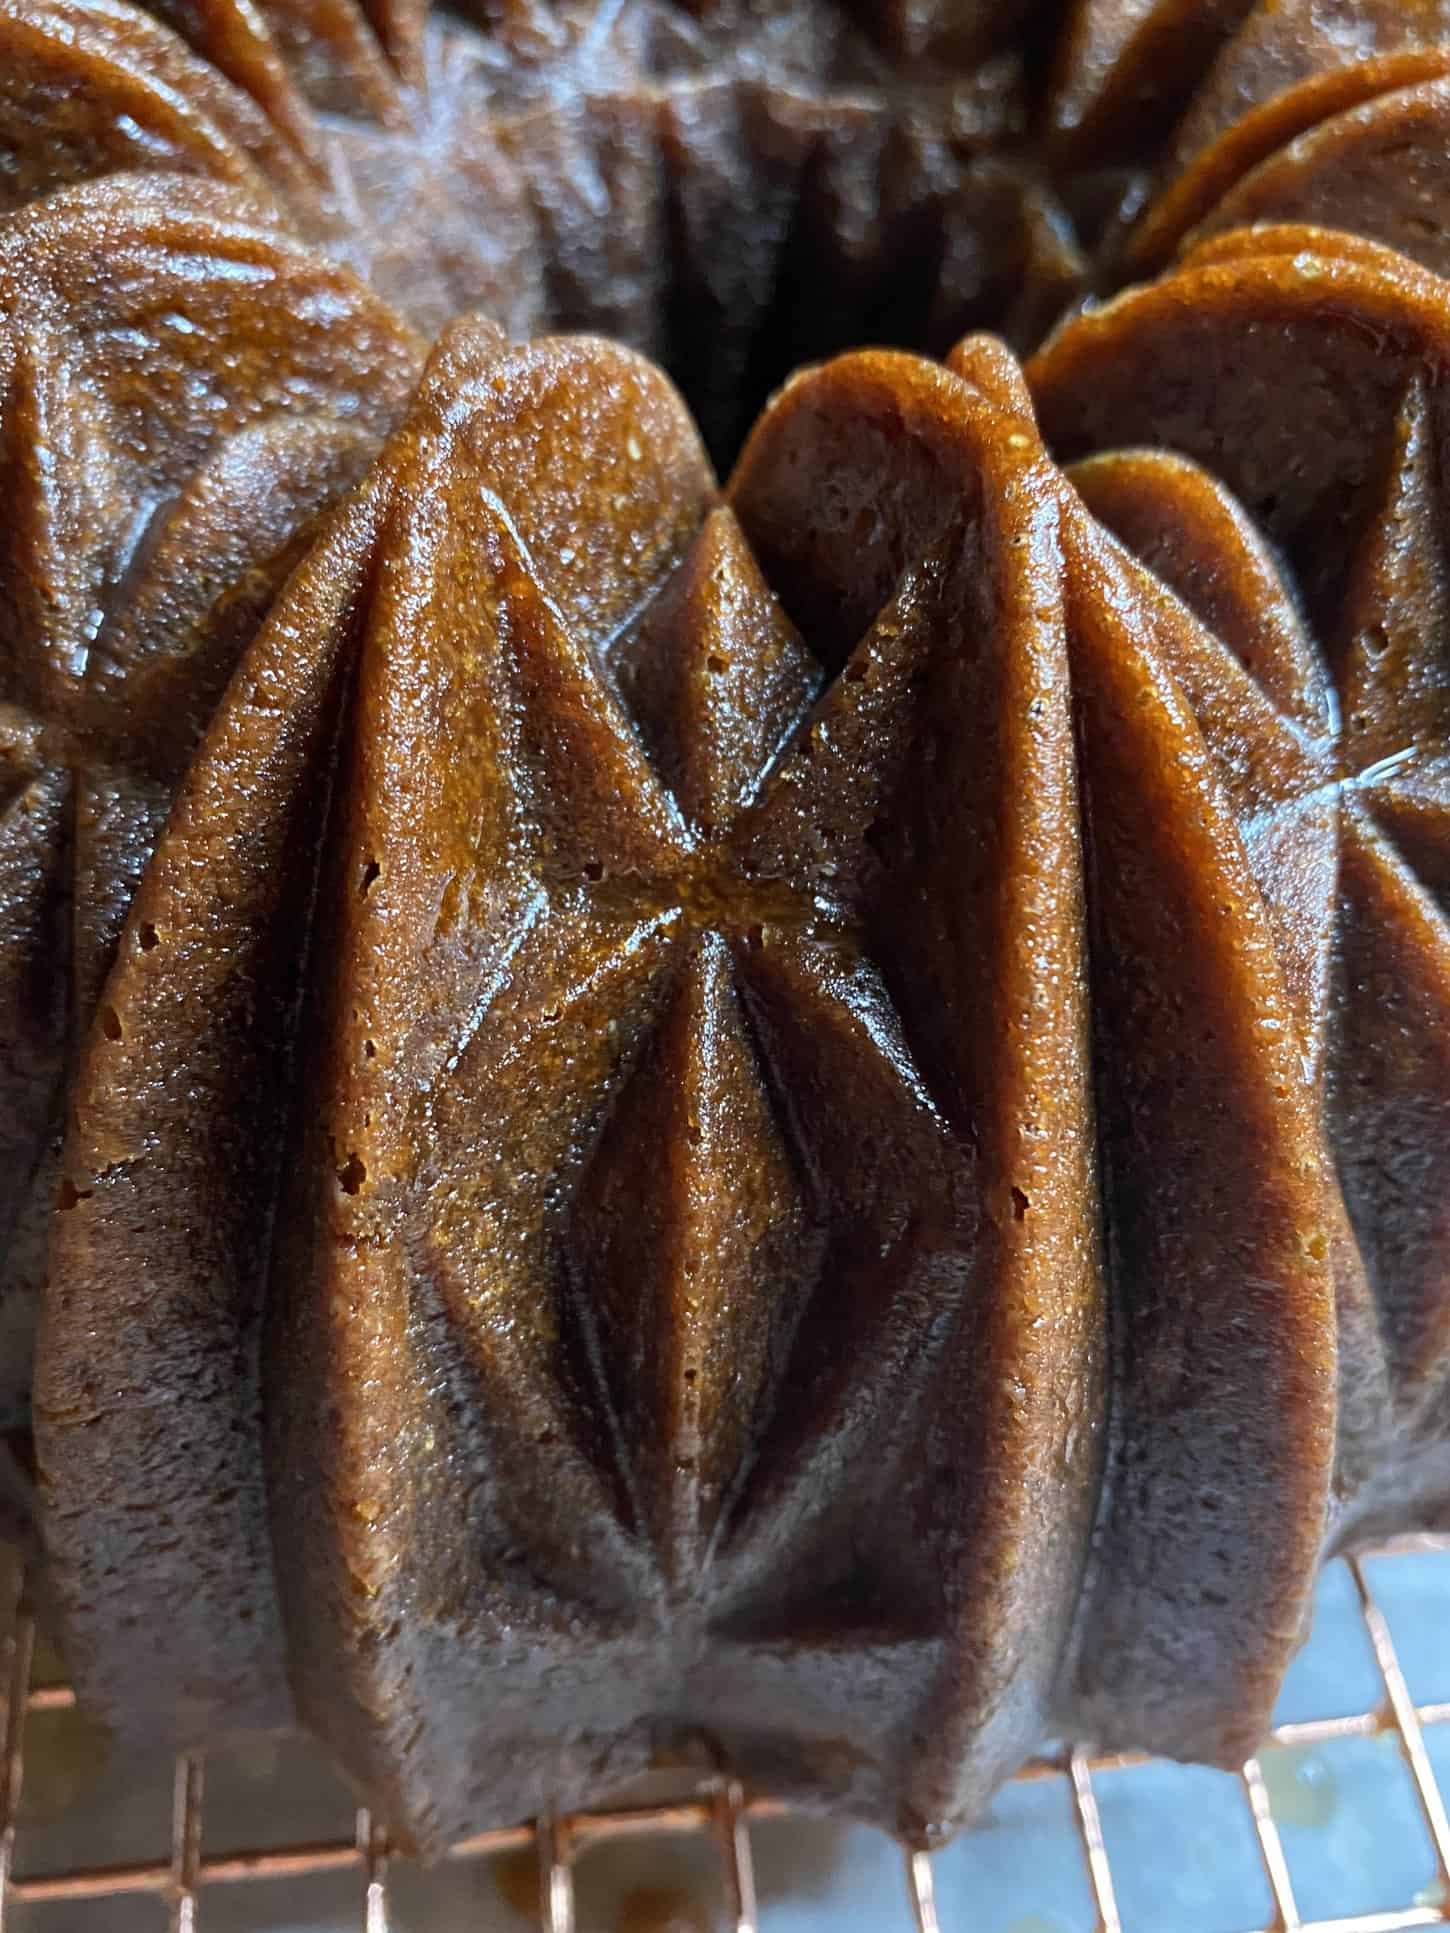
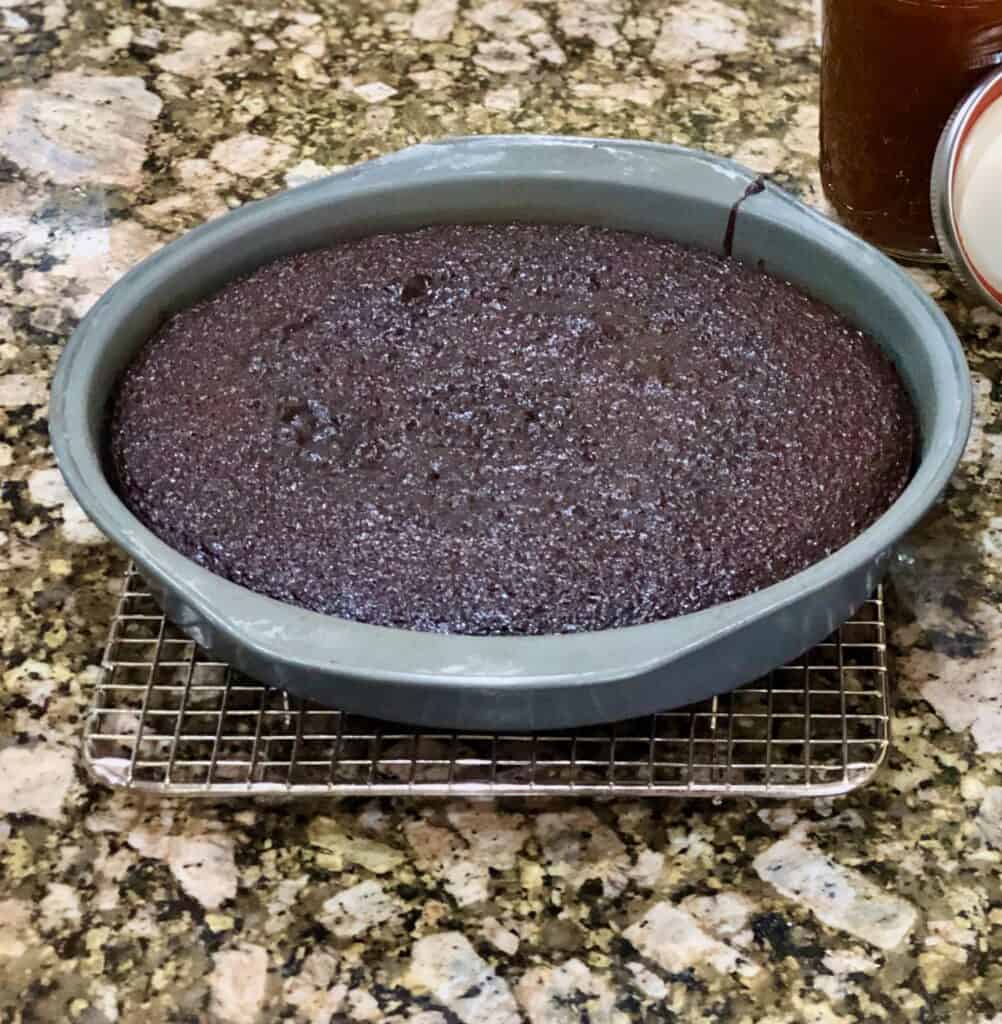
Pan Issue
The depth of your cake pan and the volume of batter in your cake pan can also contribute to a sunken cake. If the cake pan is too full and the oven temperature is too high, the cake will again cook around the edges and not in the center.
End result? Sunken cake. Sad faces.
The fix for this is two-fold. When you can, avoid filling a cake pan more than 2/3rds full. An oven thermometer will help here too, because it will again help you ensure that the oven is at the proper temperature.
I say “when you can”, because the reality is that some recipes (like my pound cakes) will definitely challenge the volume boundaries of your cake pans.
For such recipes, using an oven thermometer to ensure that you’re baking at the proper temperature is even more important; these recipes call for a lower baking temperature in order to ensure that cakes bake evenly from the outside to the inside.
If you’re reading this post after experiencing a sunken cake, I hope that this information was helpful for you. And I’m sorry you experienced it in the first place.
The good news is that every baker, at every level, experiences setbacks sometimes. Baking is a humbling and beautiful experience, but don’t get discouraged! There are lessons to be learned from every bake, whether that bake was successful or not.
See you next time! And if you loved this post, don’t forget to subscribe so that you can be the first to know all of the new and exciting things that we’re up to here at BwB!