

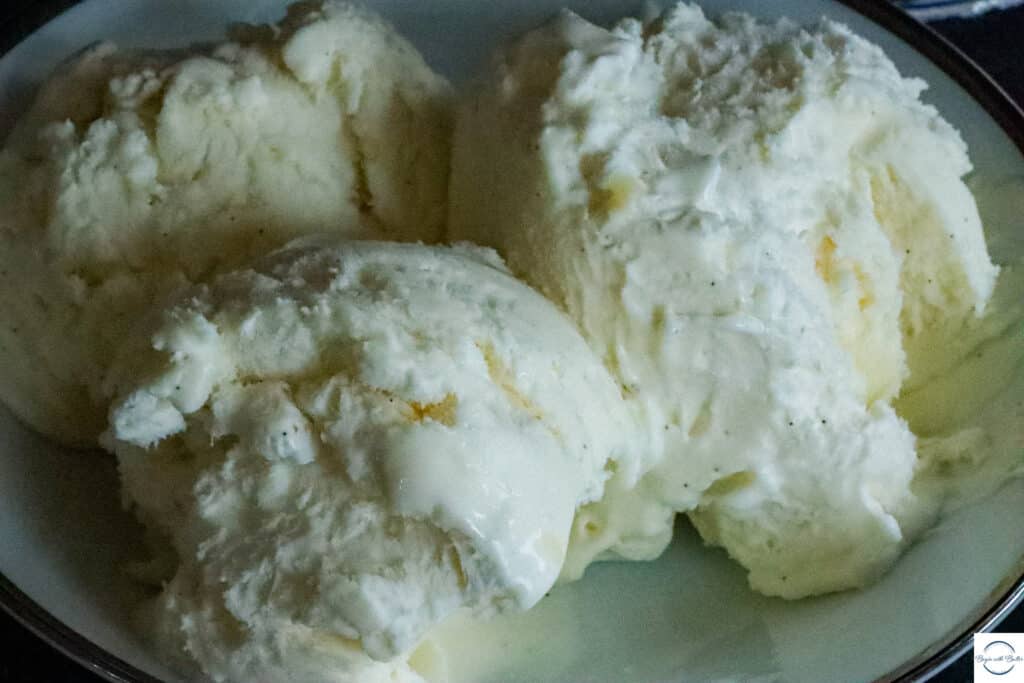
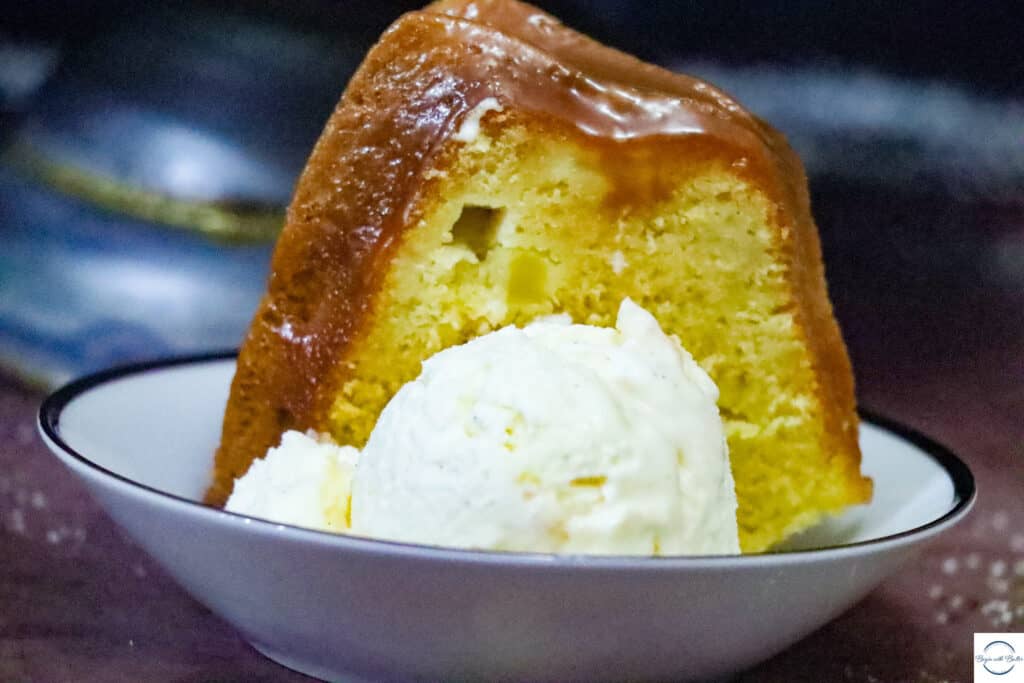
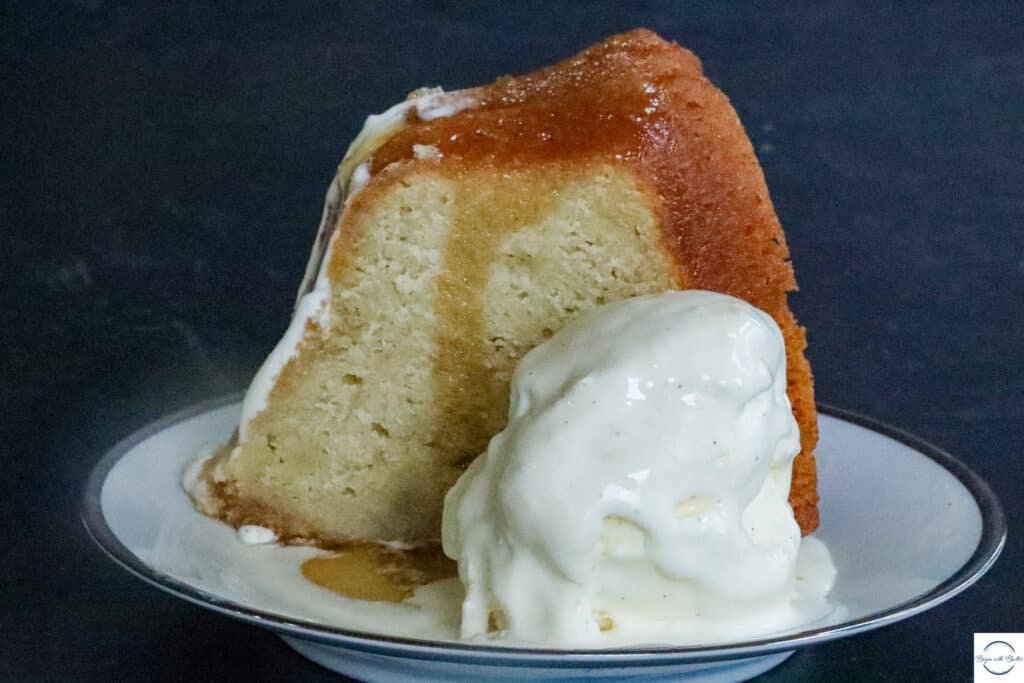
Hey Y’all! How about a bonus day for the Twelve Days of Pound Cake? Yes? Great! Because today, I have for you, the most delightful accompaniment for the pound cake lineup this season: My No-Churn Vanilla Bean Ice Cream.
Those of you who love cake with ice cream can delight in the fact that this one comes together in a literal flash. ⚡️
So, on this 13th day of the Twelve Days of Pound Cake, we have…ice cream. 😊
About this No-Churn Vanilla Bean Ice Cream
This No-Churn Vanilla Bean Ice Cream comes together with a whopping FOUR ingredients. If I’m baking, you’d better believe that there’s a container of this chilling in my freezer. Because it pairs so beautifully with just about any baked dessert. I showed this gorgeous ice cream during the latter part of my Twelve Days of Pound Cake this year, and when I say it added the sweetest special touch.
How to Make This Ice Cream
*Friends, this post contains affiliate links. If you purchase directly from those links, I get a small commission, but they are products that you will find in my very own kitchen!*
Start this ice cream by combining the sweetened condensed milk, seeds of one vanilla bean (or 2 tsp vanilla extract), and 1/2 tsp of fine salt in a medium-sized bowl. Once it’s completely combined, set it aside.
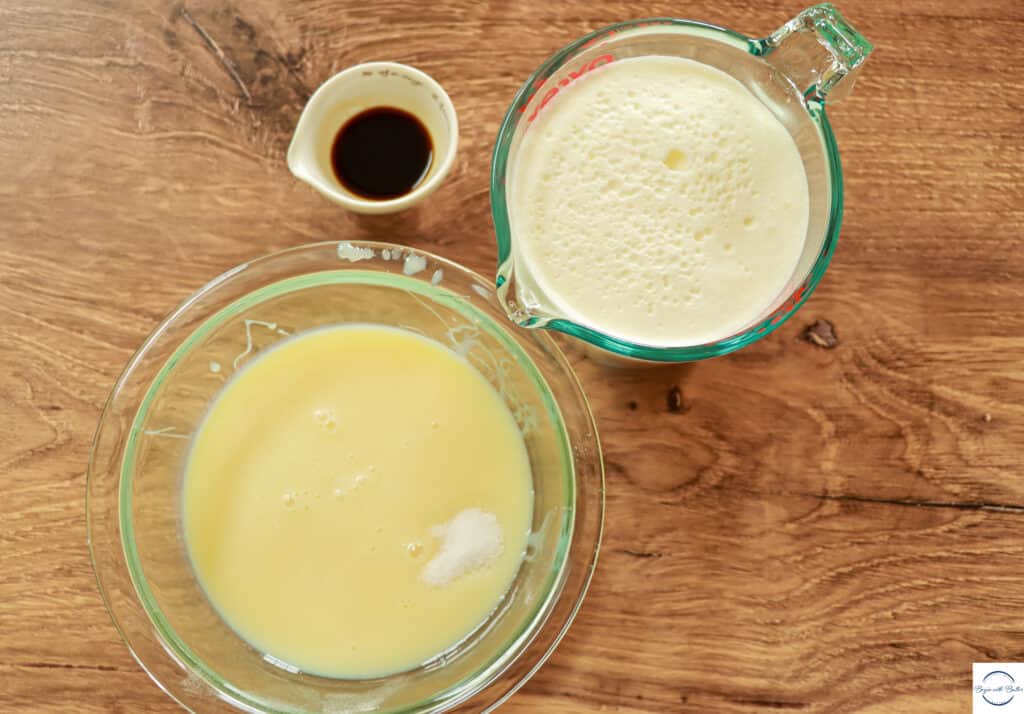
Place the heavy whipping cream in a large bowl. Using a balloon whisk or a mixer, whip the heavy cream to stiff peaks. Make sure to start off slowly with this, or else you’ll splatter heavy cream everywhere!
After a few minutes, you’ll have a luscious, decadent, absolutely divine whipped cream that looks like this:
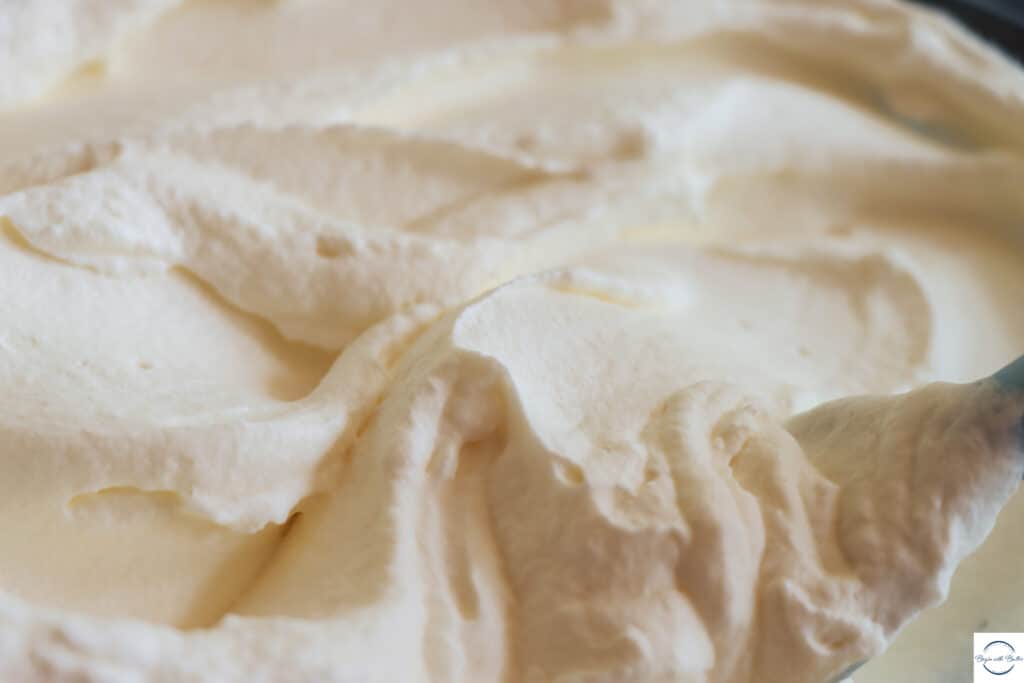
It might seem hard to believe that this is the outcome at the beginning, but keep with it!
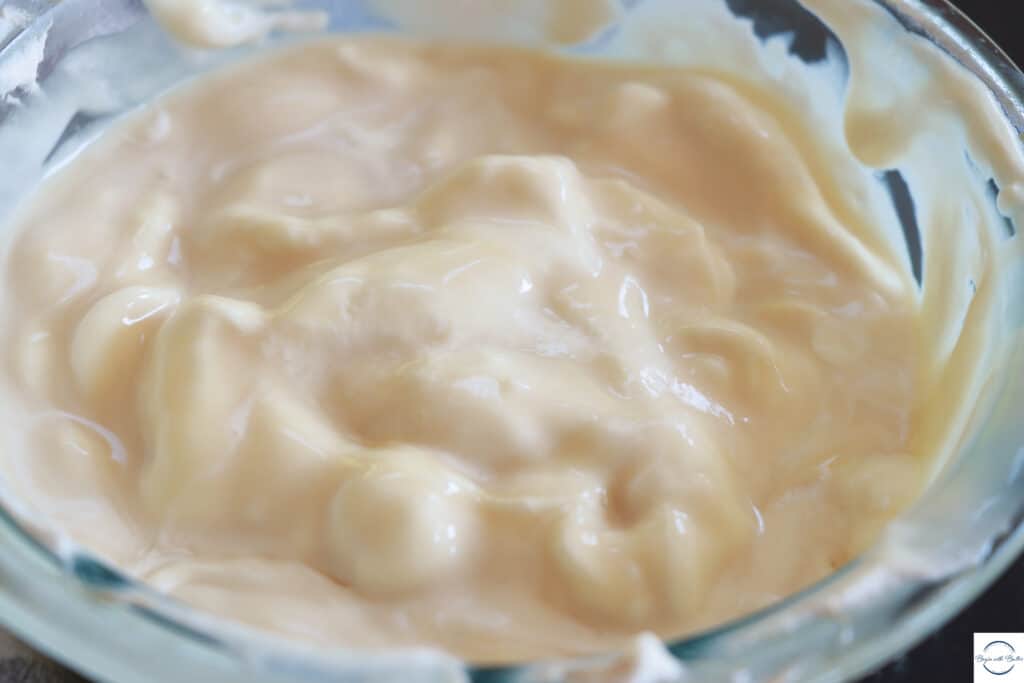
Once you’ve reached this point with your whipped cream, add half of the whipped cream to the ice cream base. Fold together until you get a lumpy, bumpy mess.
Yes. A lumpy bumpy mess. We don’t want to mix completely at this point because we don’t want to deflate all of that yummy air from the whipped cream.
So we’re looking for this:
Next, fold the lumpy, bumpy mess into the remaining whipped cream. Gently continue folding until you have a smooth, combined mixture. Place the ice cream in a 9×5″ or 8″x8″ pan:
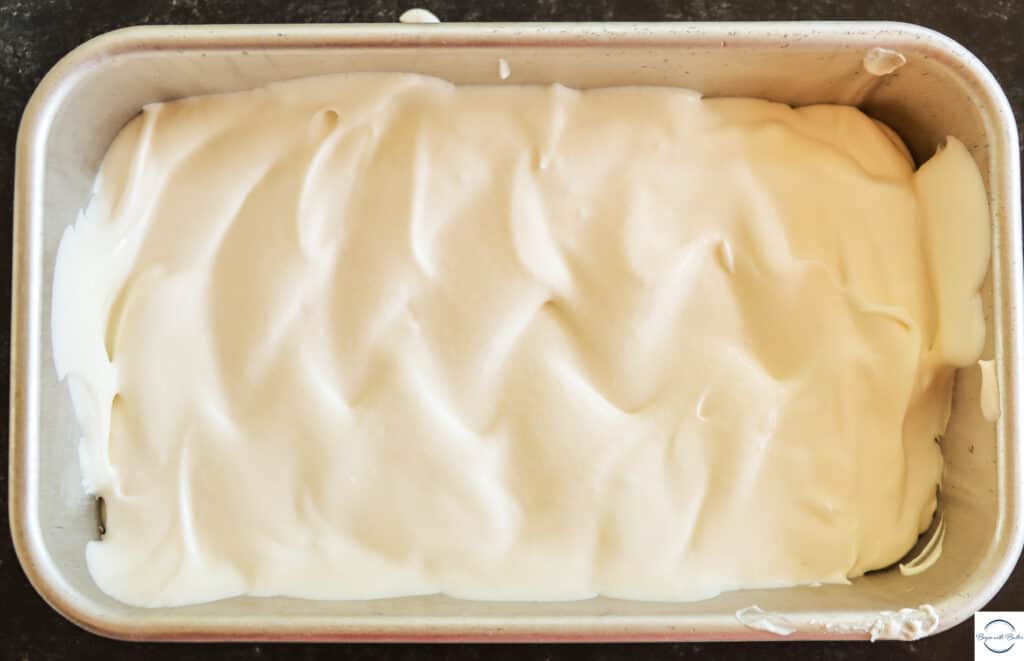
Freeze the ice cream for at least six hours before serving. It will be hard to wait, but it will be so worth it!
Enjoy, Friends!
Print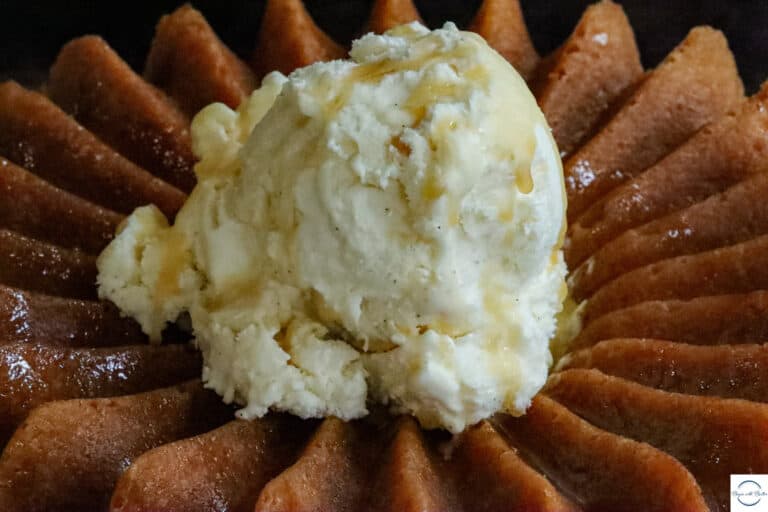
No-Churn Vanilla Bean Ice Cream
This dreamy, luscious Vanilla Bean No-Churn Ice Cream is the perfect accompaniment for the pound cakes of the Twelve Days of Pound Cake, or it’s perfect all on its own!
- Total Time: 6 hours 10 minutes
- Yield: 12 servings 1x
Ingredients
- 1 can Sweetened Condensed Milk
- 1 vanilla bean or 2 tsp pure vanilla extract
- 1/2 teaspoon salt
- 500 g (2 c) Heavy Cream
Instructions
- Add the sweetened condensed milk, the beans from the vanilla bean pod (or the pure vanilla extract), and fine salt to a medium bowl. Combine thoroughly.
- Add the heavy whipping cream to a large bowl. Using either a balloon whisk or a mixer, whip the heavy whipping cream until it reaches stiff peaks.
- Place half of the whipped cream into the bowl with the sweetened condensed milk mixture. Fold gently until a few lumps and bumps remain.
- Add all of the sweetened condensed/whipped cream mixture to the bowl with the second half of the whipped cream. Fold gently until the mixture is completely smooth.
- Add the vanilla ice cream mixture to a chilled loaf pan or ice cream storage container (like this one from Tovolo).
- Allow to cool for at least six hours before devouring. This is the most difficult part.
- Enjoy!
- Prep Time: 10 minutes
- Freezing Time: ~6 hours
- Category: Dessert