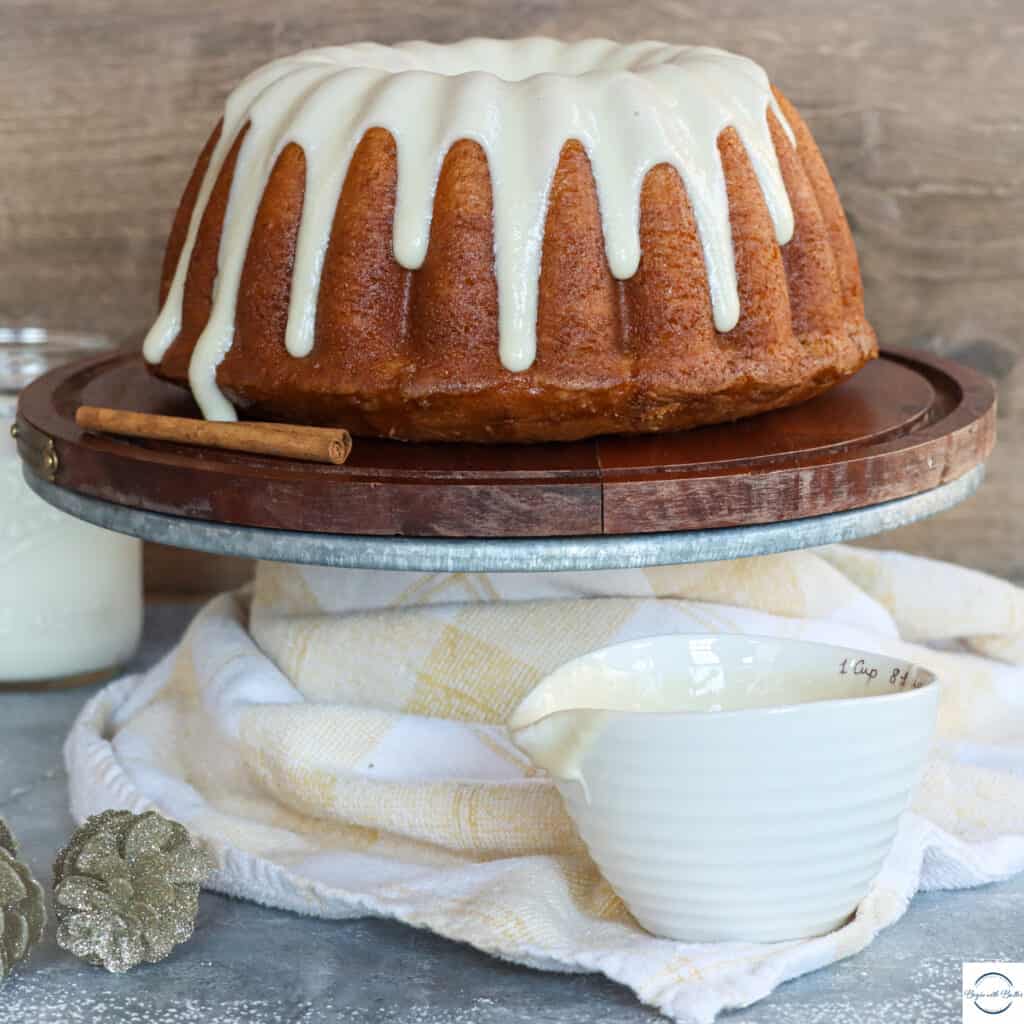
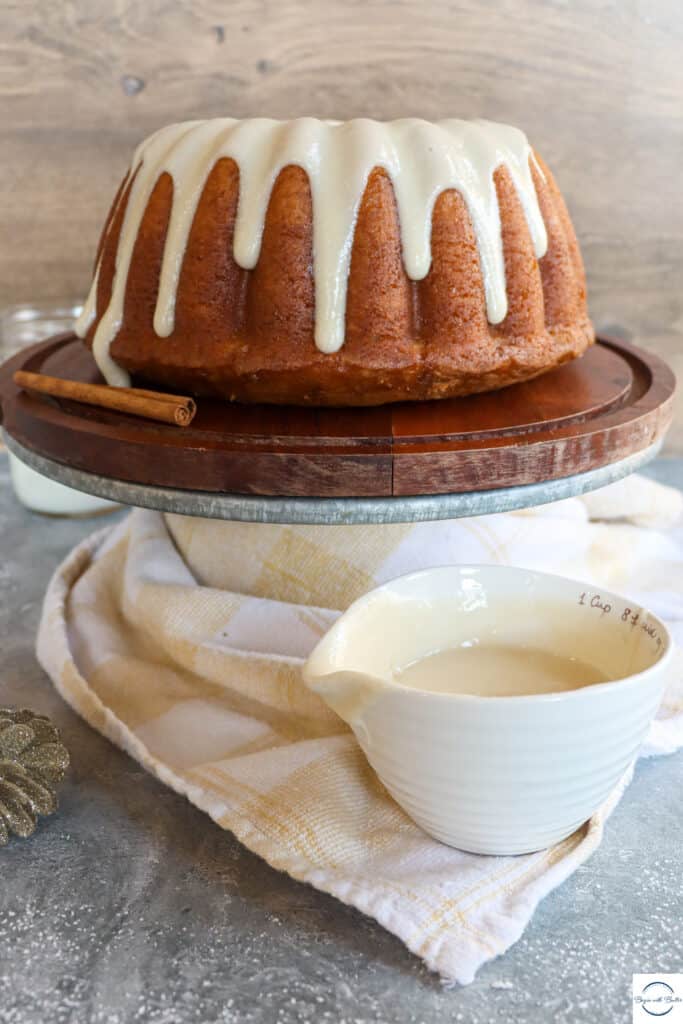
Friends. It’s Day 10 of the Twelve Days of Pound Cake. And that means it’s high time for this Peach Cobbler Pound Cake to enter the chat! And WHOOOO BOY is this one incredible!
Seriously. I have so many heart eyes for this cake.
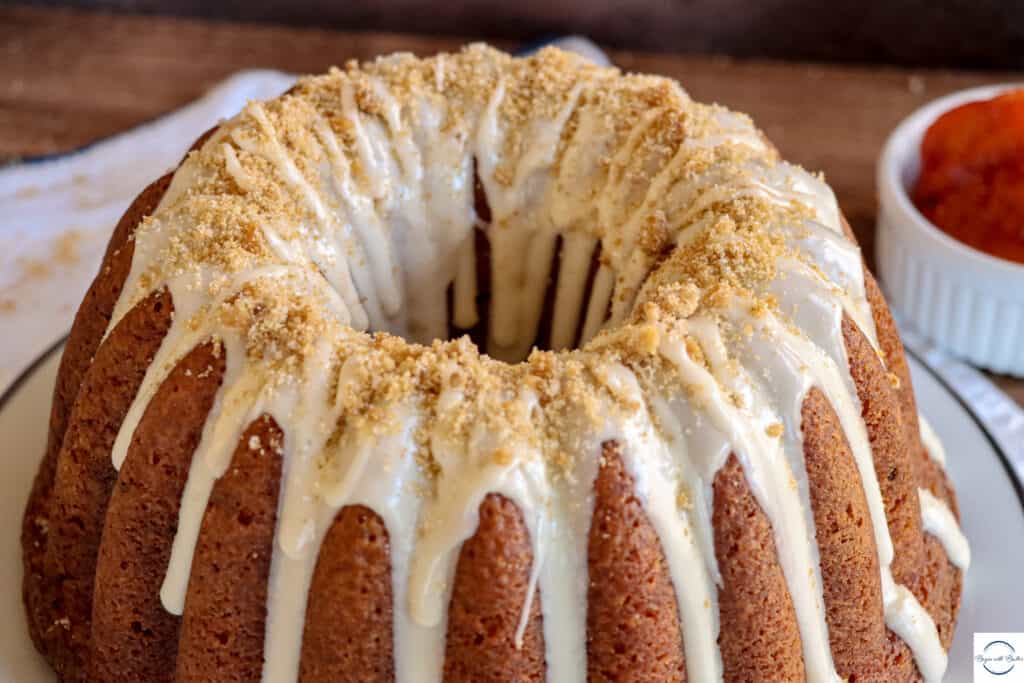
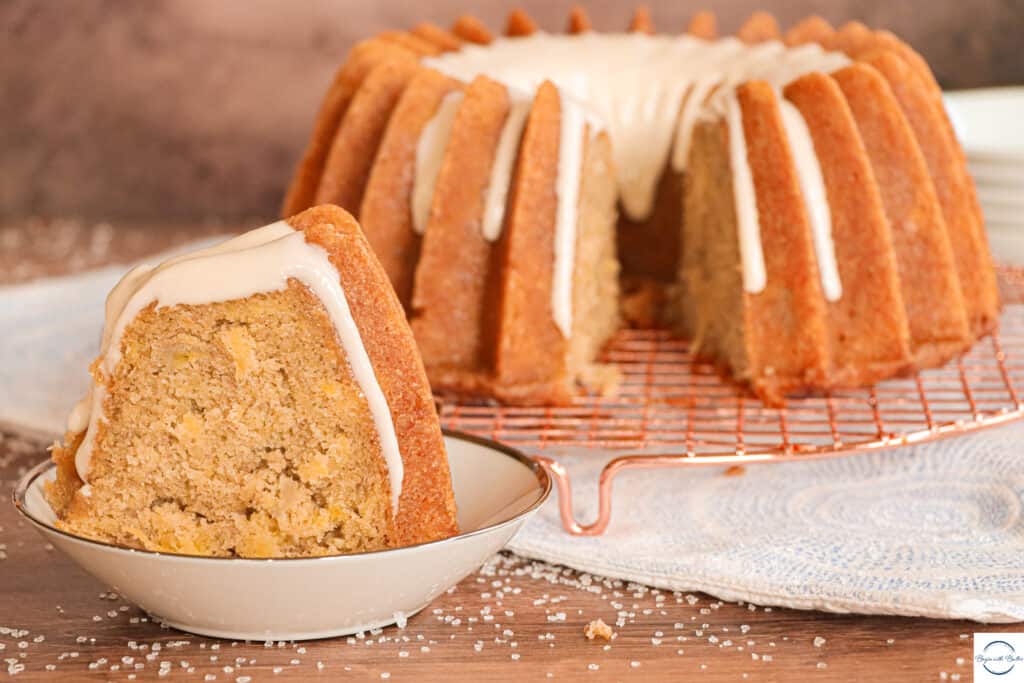
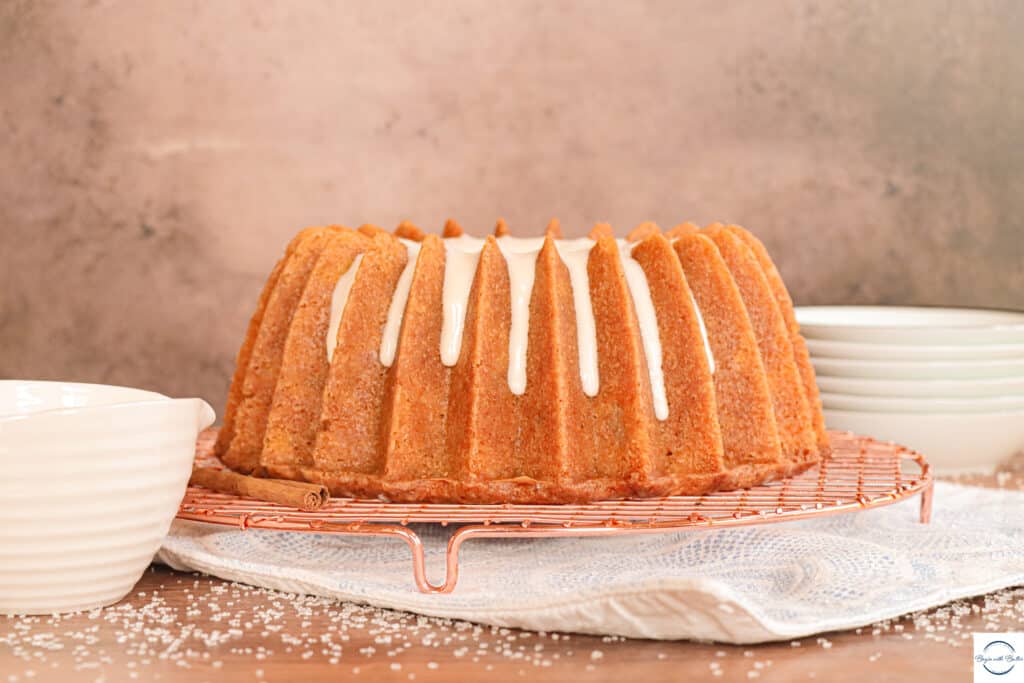
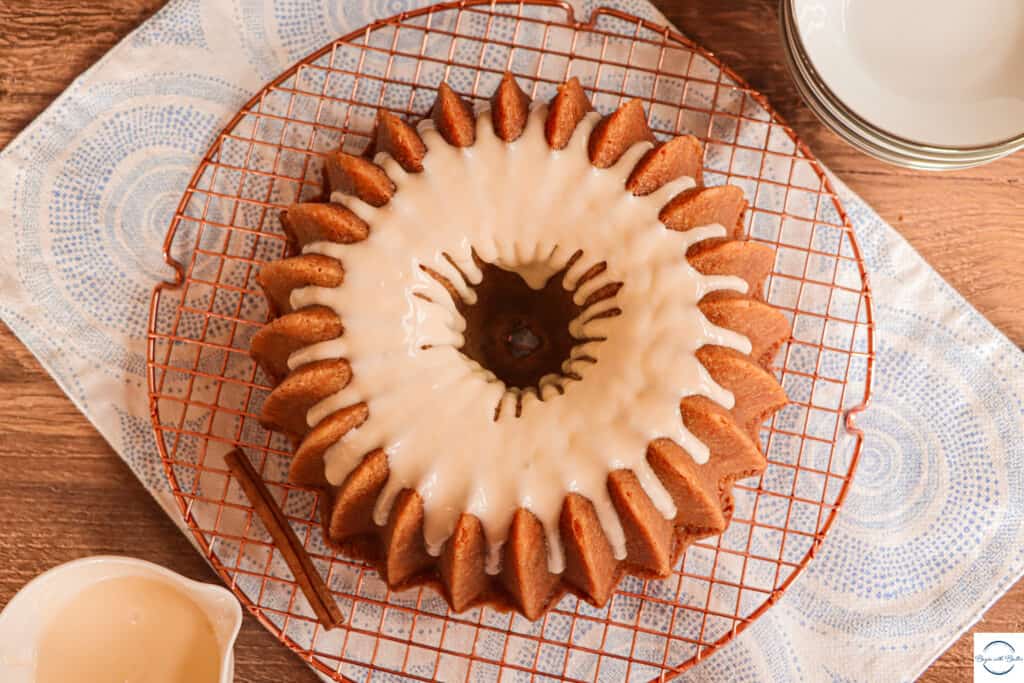
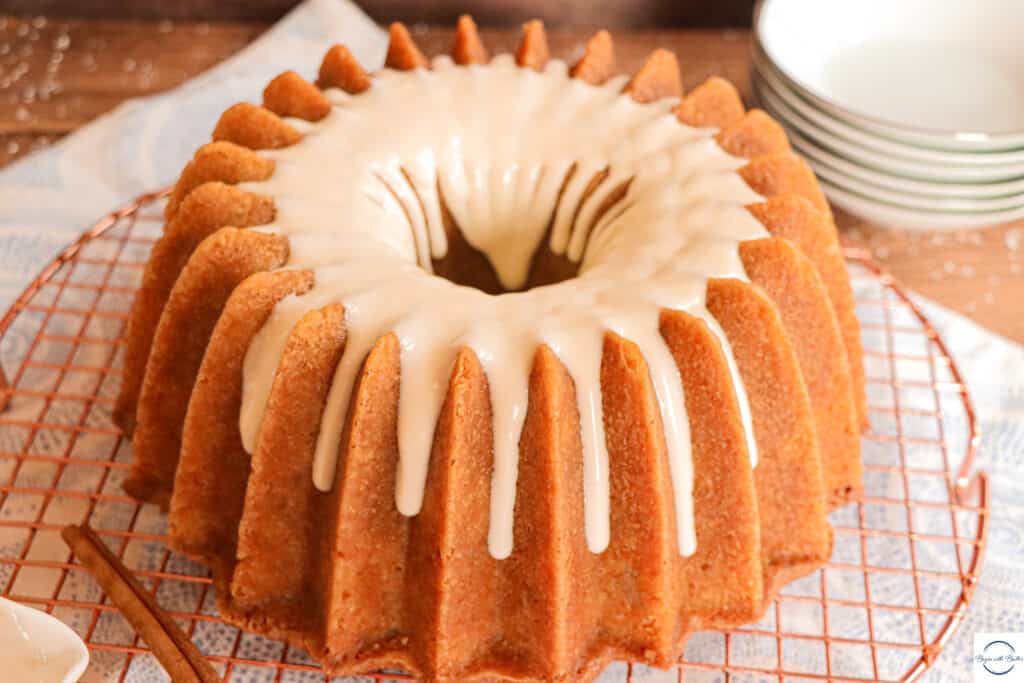
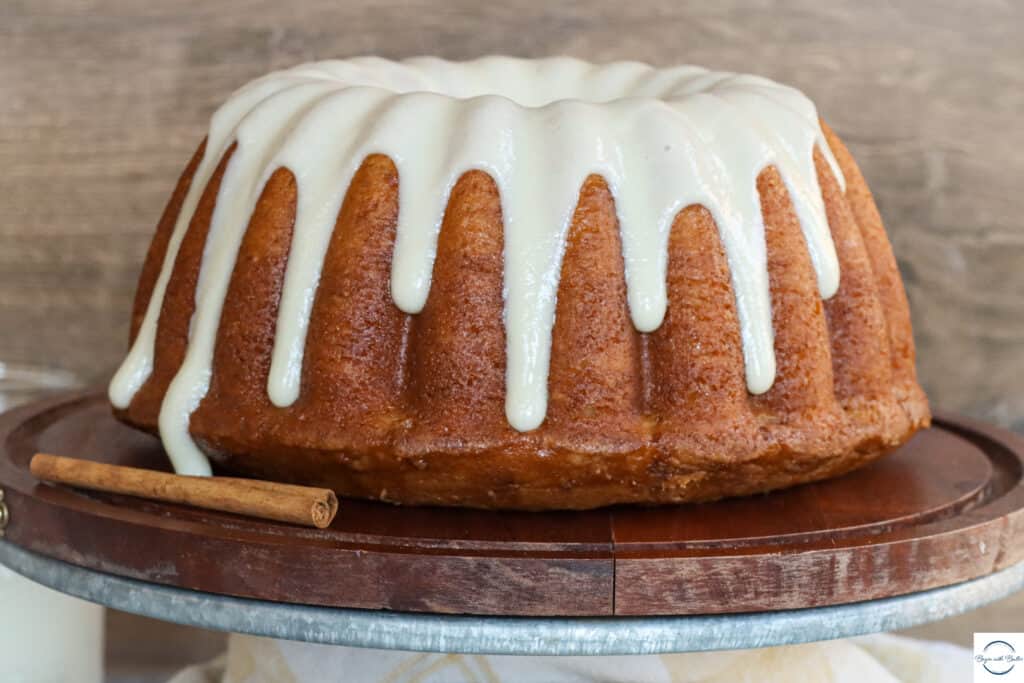
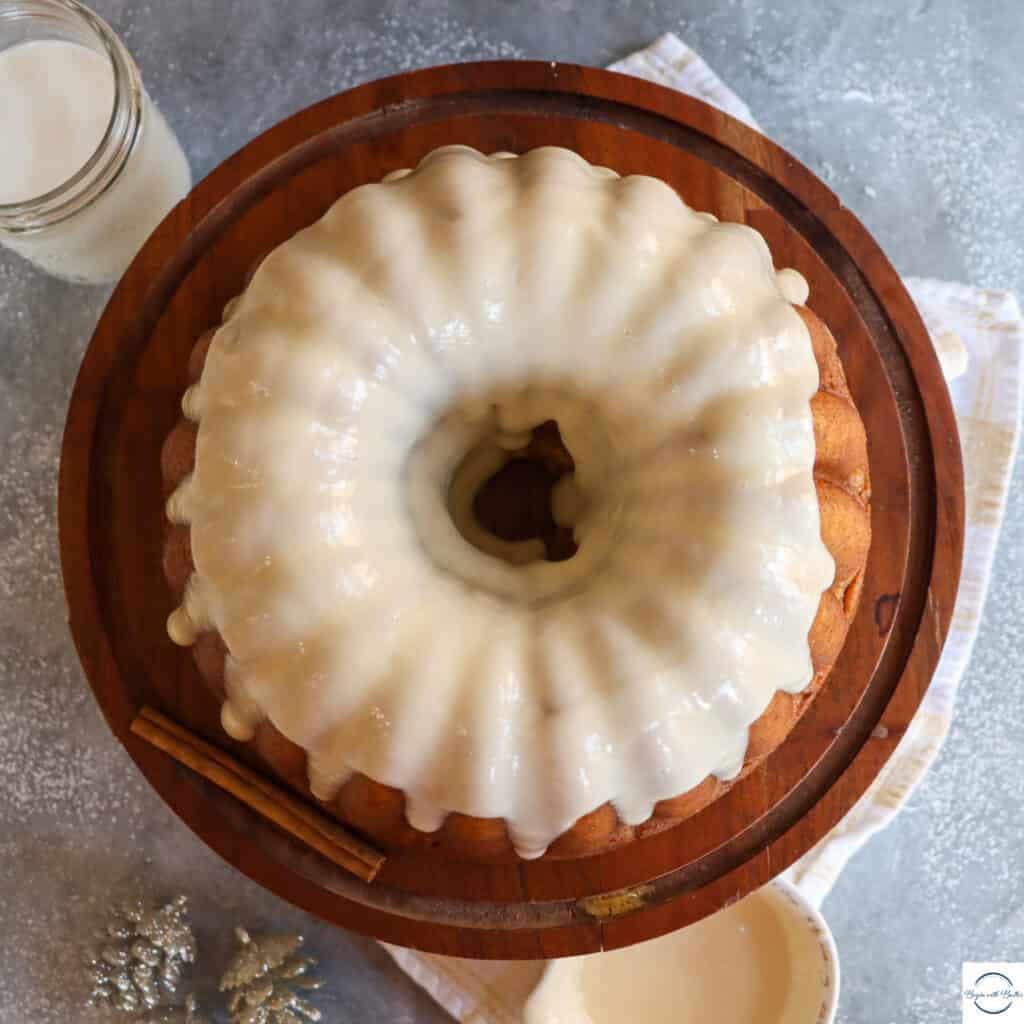
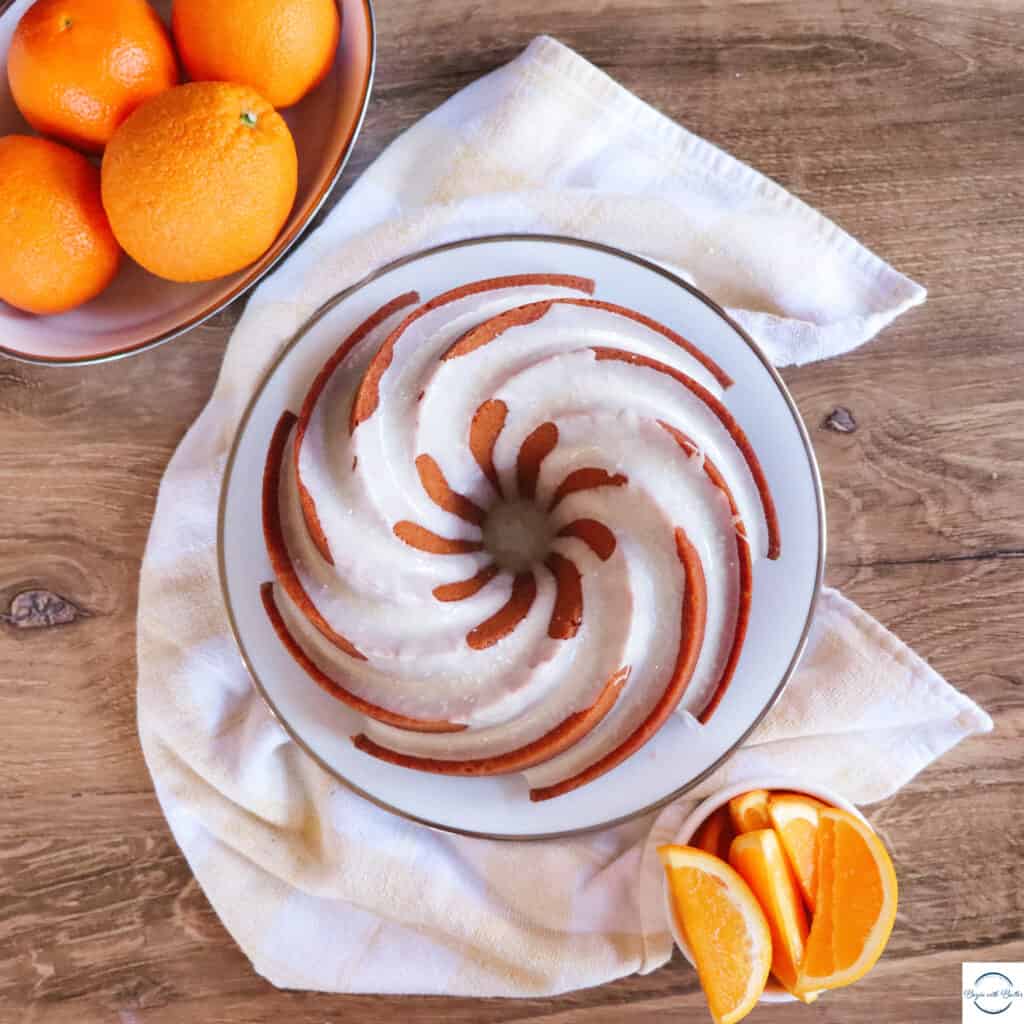
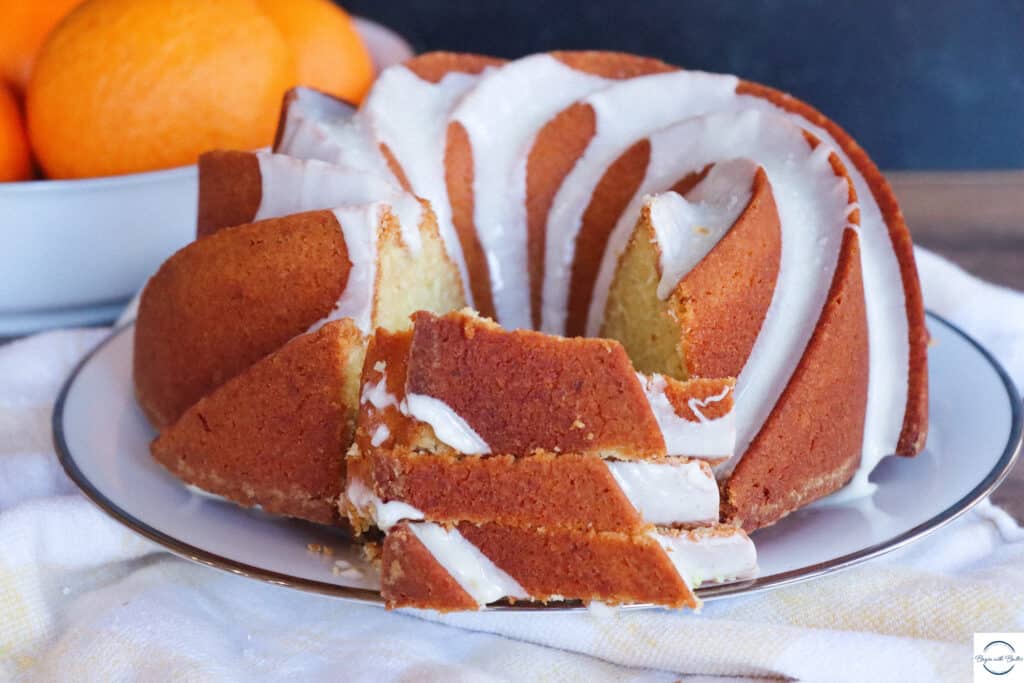
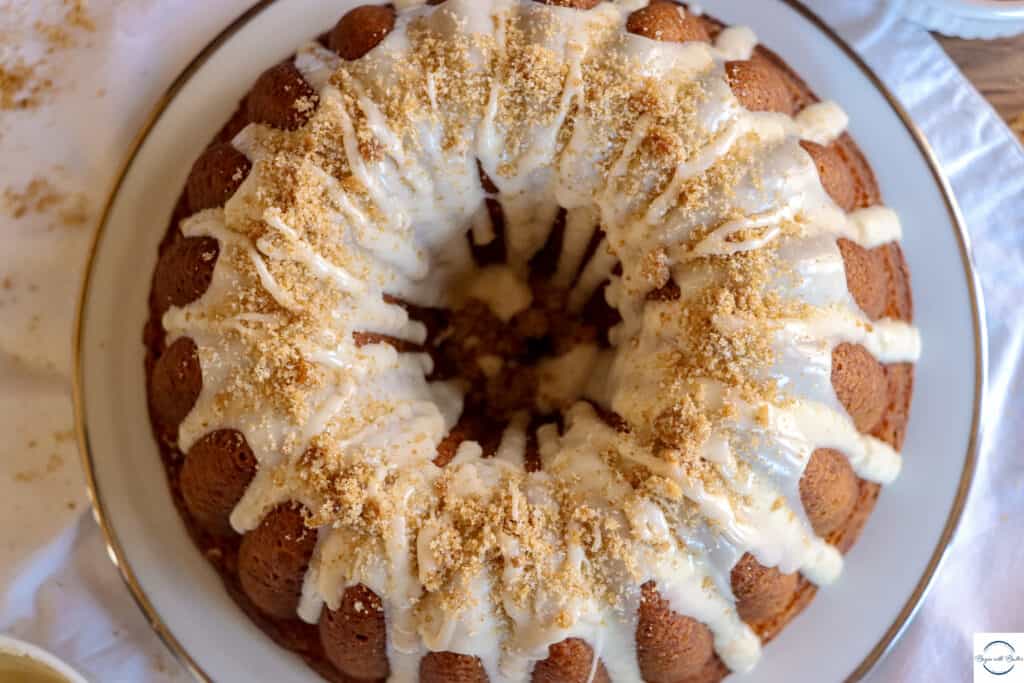
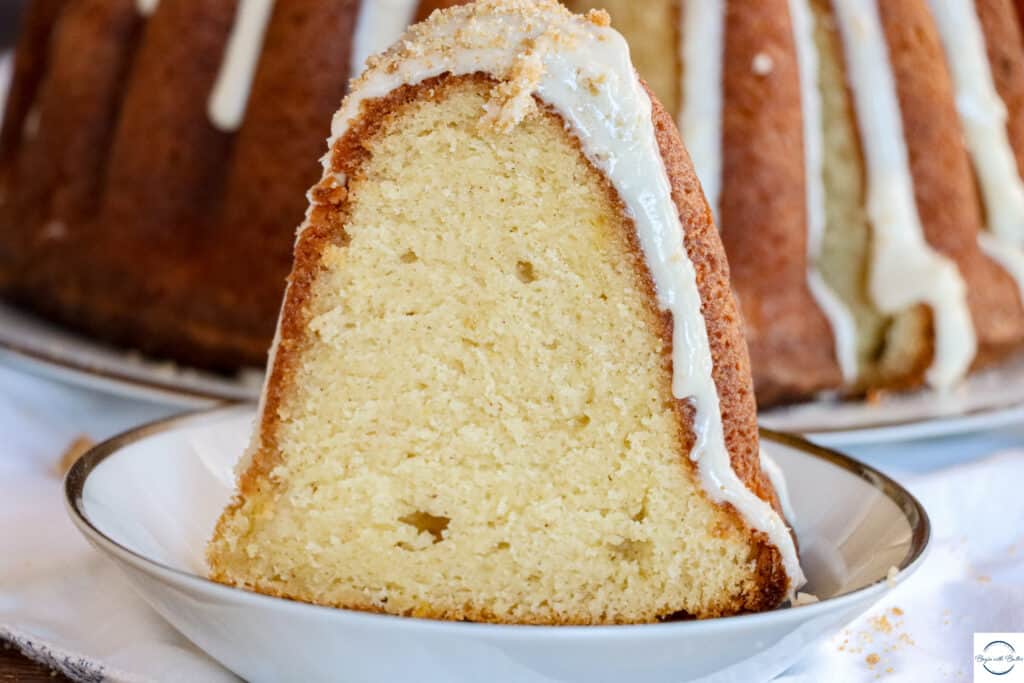
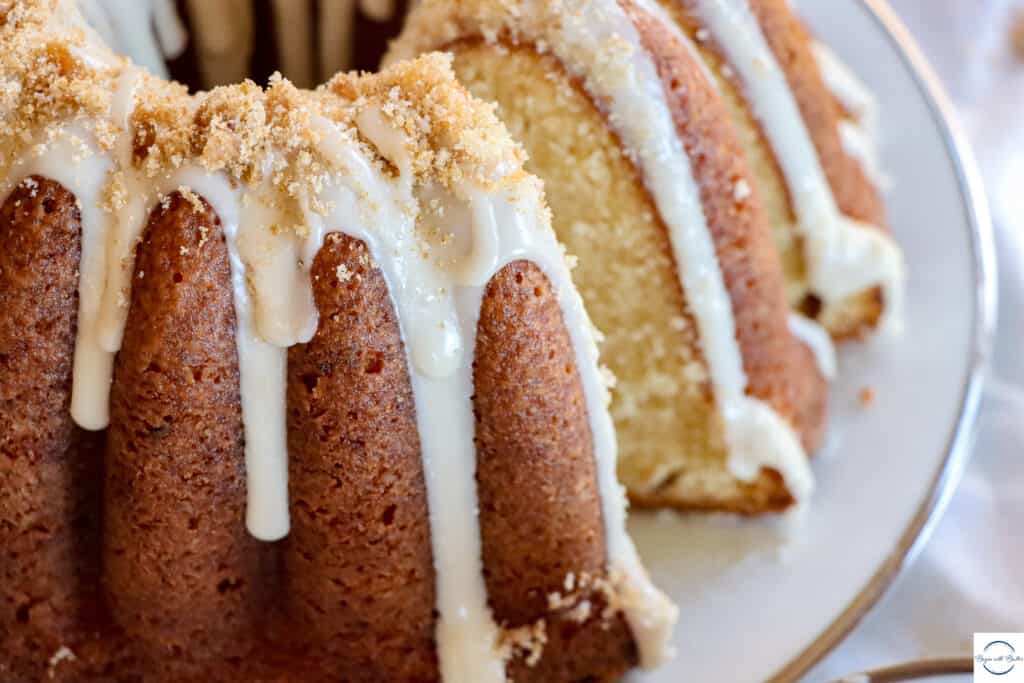
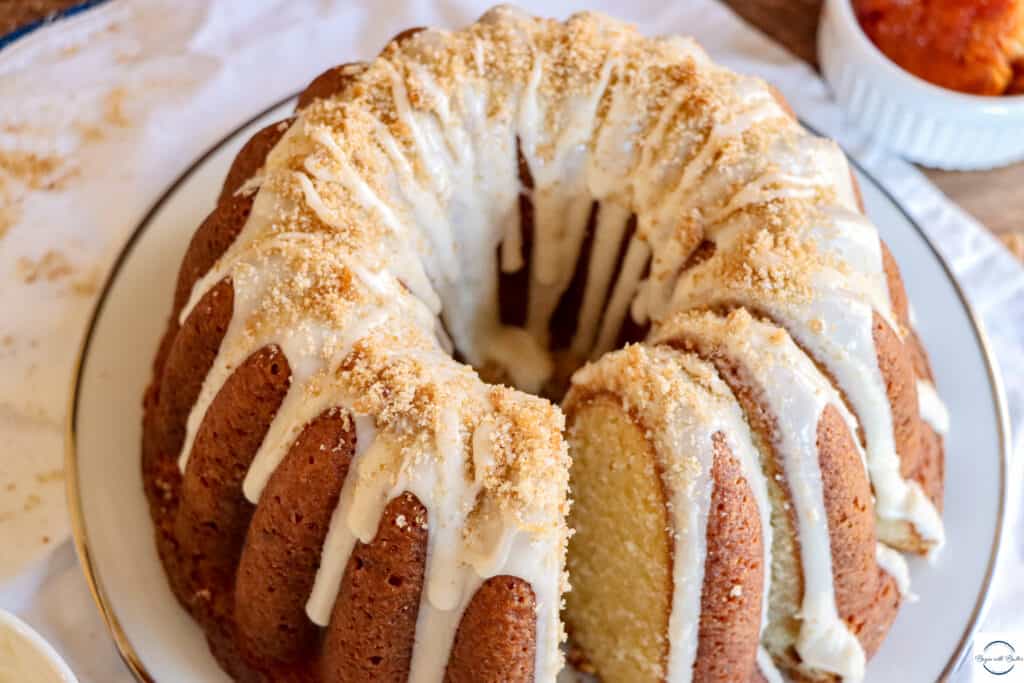
This Peach Cobbler Pound Cake is moist, full of peachy flavor, and rustically beautiful to boot. I found myself just staring at this cake and being instantly transported to family gatherings full of people, and watching as my dear mother-in-law’s peach cobbler was devoured by hungry guests after a day of eating and fellowship.
When I say that this Twelve Days of Pound Cake has been a trip down memory lane…
And apparently writing this post made my mother-in-law’s ears itch, because she and I gabbed the whole time I was writing it. ???? I love her so much.
About this Peach Cobbler Pound Cake
If you’ve seen my Strawberry Pound Cake, you already know that I love summer fruits. You also know that I use freeze-dried strawberries in that cake so that I can have it all year.
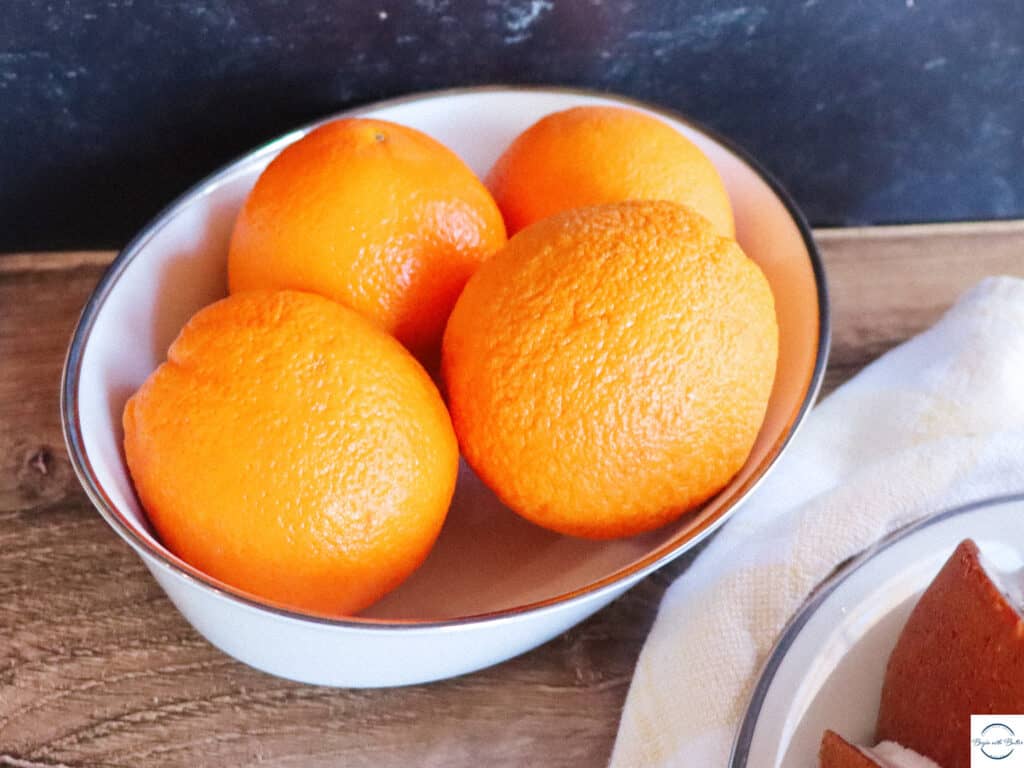
I used that same trick for this cake. Freeze-dried peaches saved the day, since fresh peaches are long out of season in Maryland in November. Also, fresh peaches don’t really taste like much when they’re baked in anything but pie, so I wanted to use an ingredient that would really give this cake a big peach flavor!
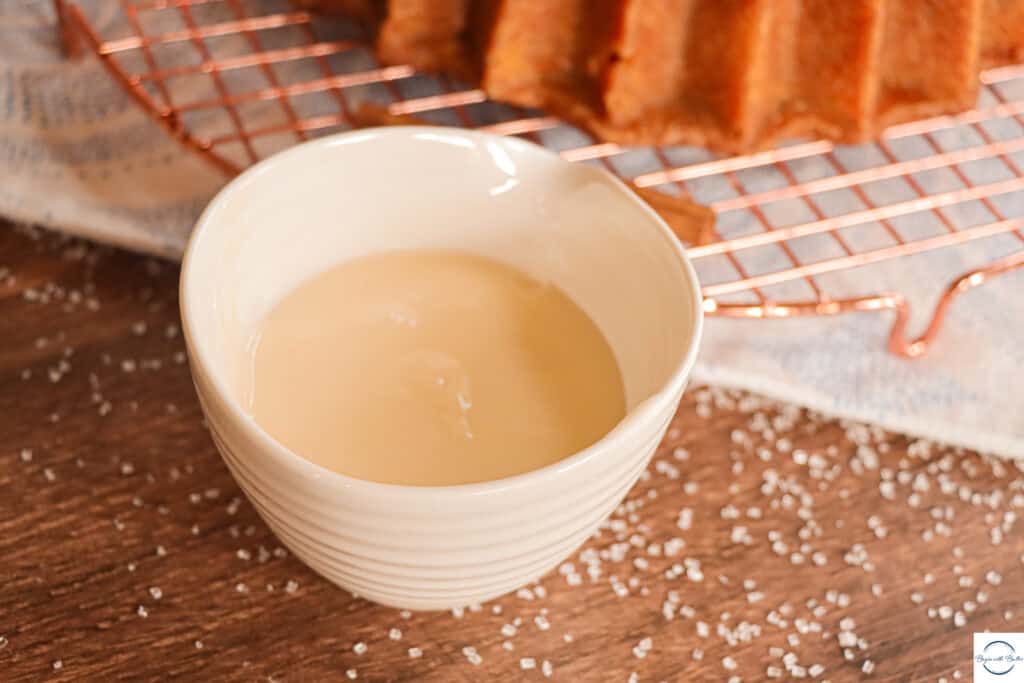
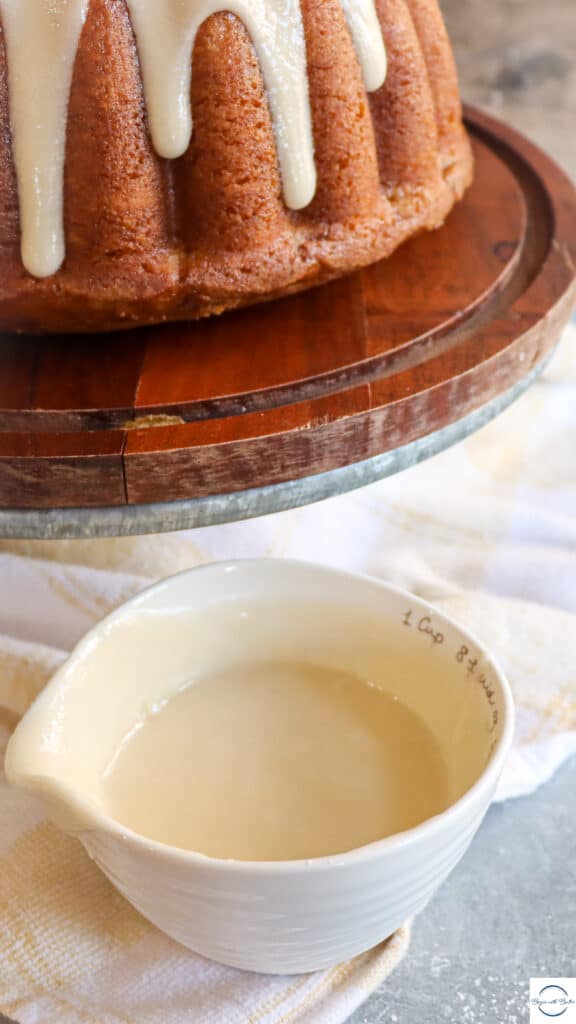
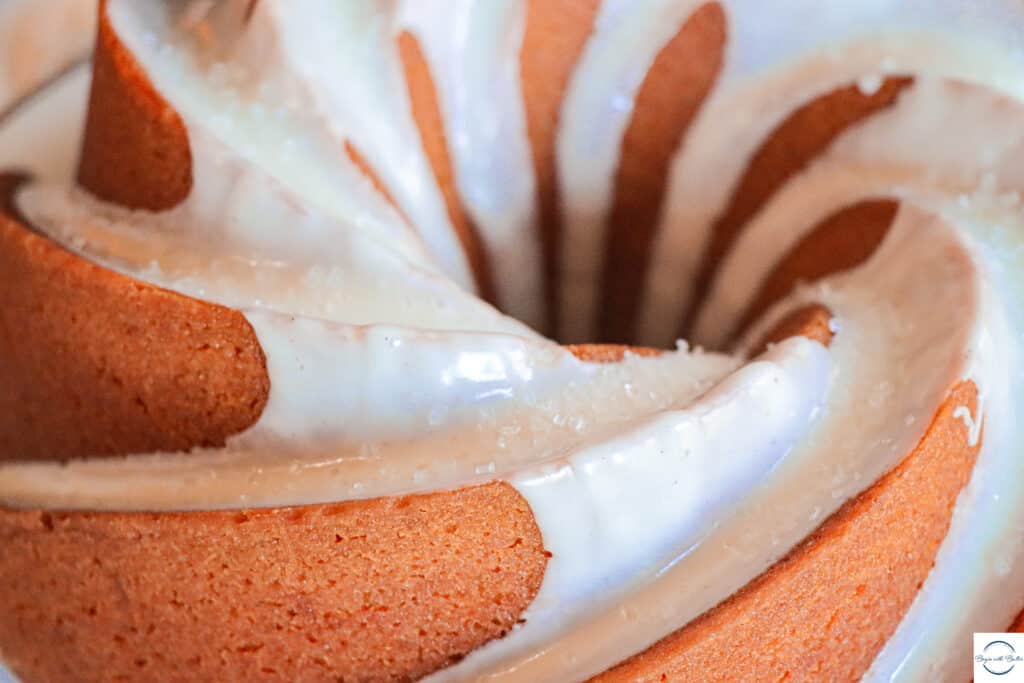
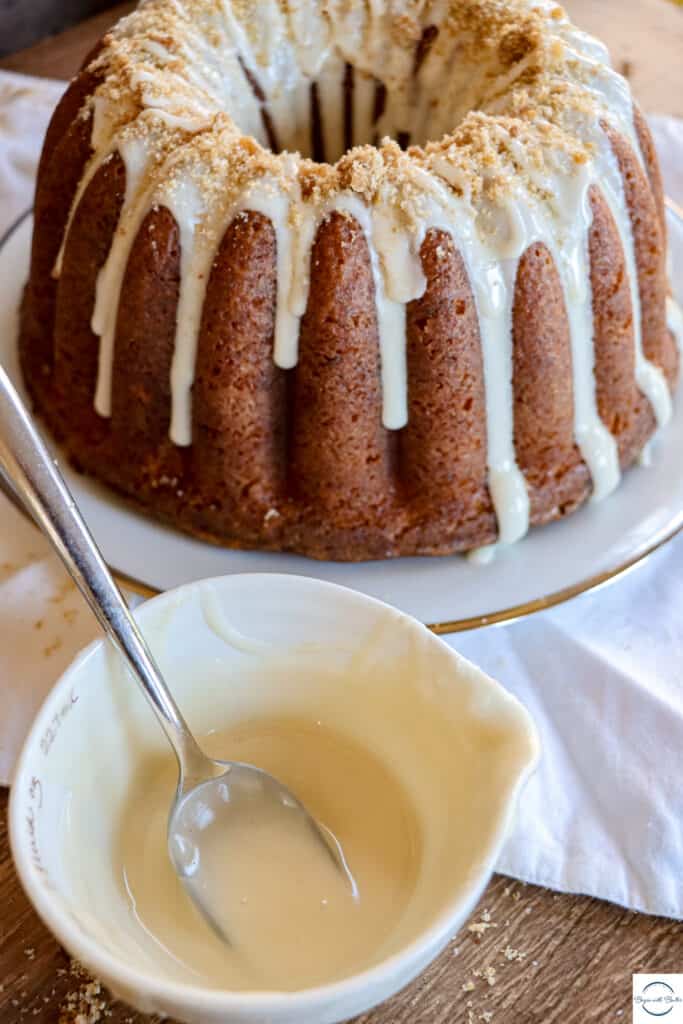
Freeze-dried peaches punch way above their weight class and give tremendous flavor to this Peach Cobbler Pound Cake. Butter and oil keep it super moist, and the streusel and glaze topping is the perfect amount of sweet and crunch to finish!
I really, really love this cake.
Peach Cobbler Pound Cake Ingredients
All-Purpose Flour: I love the pleasantly plump texture of a good pound cake. In my experience (and with my cakes), that beautiful texture comes from all-purpose flour. In this cake, the all-purpose flour helped me achieve the texture that I really wanted.
Baking Soda: Peaches are an acidic ingredient. Because of that, baking soda was the proper leavening for this particular pound cake.
Kosher Salt: Salt is very important in any dessert; it balances the sugar and keeps the dessert from becoming cloyingly sweet. If using table salt for this recipe, cut the amount in half.
Cinnamon: This cake benefits from the *slightest* kiss of cinnamon. It adds a special flavor without turning it into a spice cake.
Nutmeg: The slight amount of nutmeg in this recipe adds a big hit of warmth to this cake, and makes it super homey.
Freeze-Dried Peaches: Fresh peaches are waaaaay out of season in Maryland, and they wouldn’t add that much peachy flavor to this cake anyway. Freeze-dried peaches are perfect for the job; they impart huge peach flavor in this pound cake.
Unsalted Butter: This cake has some heavy-duty ingredients, so I wanted to use butter instead of oil. The reason is surprising…butter helps this cake become lighter! Specifically, the process of creaming butter and sugar creates air pockets that assist with cake rise.
Vegetable Oil: I added vegetable oil to this cake to improve moisture. A couple of tablespoons works wonders in this cake!
Granulated Sugar: Granulated sugar adds sweetness and caramelization. That beautiful crust on the outside of your pound cake? It is largely because of the sugar in your recipe!
Eggs: The protein in the eggs adds structure to the cake, while the fatty yolk adds delicious flavor.
Pure Vanilla Extract: Make sure to use the good stuff, like Nielsen-Massey, for this incredible recipe! Whatever brand you use, make sure you use pure vanilla extract. It can be difficult to find this time of year, so make sure to stock up!
Orange Extract: The orange extract really enhances the peach flavor in this cake!
Buttermilk You’ll want to use full-fat buttermilk for this recipe. Fat=flavor and you don’t want to skimp on flavor! The buttermilk also plays nicely against the sweetness of the freeze-dried peaches.
Beginners Start Here
If you’re new to baking, or if you want to learn how to do some of the more tricky baking techniques, here are a couple of super helpful articles from the BwB site that will help you get set up for success with this Peach Cobbler Pound Cake.
- My Favorite Bundt Pans
- Meet Your Kitchen BFF–Your Digital Kitchen Scale!
- Technique Tips for the Best Pound Cakes (& Big News!)
- How to Cream Butter and Sugar (With New Video!)
- Baking 101: How to Measure Ingredients
- How to Grease a Bundt Pan
- The Best Tools for Perfect Pound Cakes
- Knowing When to Stop a Technique
These resources are super helpful to help you build consistency and confidence on your baking journey. Happy Reading!
Important Tools Used in this Peach Cobbler Pound Cake
Below, you’ll find some tools that I used for this pound cake. These are the tools that I use all the time in my own kitchen.
**I get paid a small commission if you purchase directly from these links, but they are truly amazing products that you’ll find in my kitchen.**
If you have them already, great! Think of this as a checklist to help you build the confidence that you’ll need to execute this recipe!
- Oven Thermometer
- Digital Food Scale
- KitchenAid Hand Mixer
- KitchenAid Stand Mixer
- Stainless Steel Mixing Bowl Set
- OXO Spatula Set
- Sifter
I can’t wait to make this one for my mother-in-law in a few weeks. It reminds me so much of her and I hope she loves it. I hope you all love it too!
Enjoy the recipe, Friends! See you tomorrow for Day 11!
")