


They say that good things come to those who wait. And they are not wrong. Friends. FRIENDS. This baguette is the one that I envisioned in January 2022 when I started working on this recipe. It didn’t come together like I wanted it to back then, so I put it on the back burner for a bit.
Inspiration to work on it came roaring back this week, and the issue that plagued me all those months ago just…disappeared.
My Friends, she is my absolute favorite baguette and she is finally ready to make her blog debut. I honestly feel like she is owed a name, for how long she took to create, but that’s another issue for another day.
She is here.
About this Baguette
When I am in the mood for baguette, I want it to be right. It has to have a crackly crust and be pillowy soft inside. The flavor must be delectable enough to stand alone, but perfectly complemented by an amazing butter, goat cheese, or even wine.
It must be sturdy enough for a sandwich, but a star in its own right. With just a kiss of good salt, a good baguette can make your whole day better.
And this, Friends, is ALL OF THAT.
This baguette is classic in the sense that it uses a pre-ferment called a poolish. Not to be confused with a starter (although that is the mother of all pre-ferments), poolish makes all the difference in this wonderful bread.
To use a poolish, you’ll need to start this bread a day ahead of time, but Friends, it’s absolutely worth it.
The Stages of Poolish
It is true that this baguette takes a bit of patience. But it is also true that the payoff is entirely worth it.
Why does it take patience, you ask? Because of the poolish. Poolish is a pre-ferment where you take some of the flour from the recipe, some of the liquid from the recipe, some of the yeast from the recipe, and a *kiss* of honey and stir it all together until it’s thoroughly mixed and loose.
Then you leave it alone for 15-18 hours and go on about your day.

The final mix should jiggle like good cellulite, and be near the point of collapse when it goes into your recipe. This, Friends, is the optimal time for this poolish. The flavor that it imparts on these baguettes when you give it enough time to do its thing is just…as the French say, “superbe”.
If you need some help figuring out the basics of bread, check out this post! Want even more help? You can take my Bread Bootcamp course!
The Baguette Dough
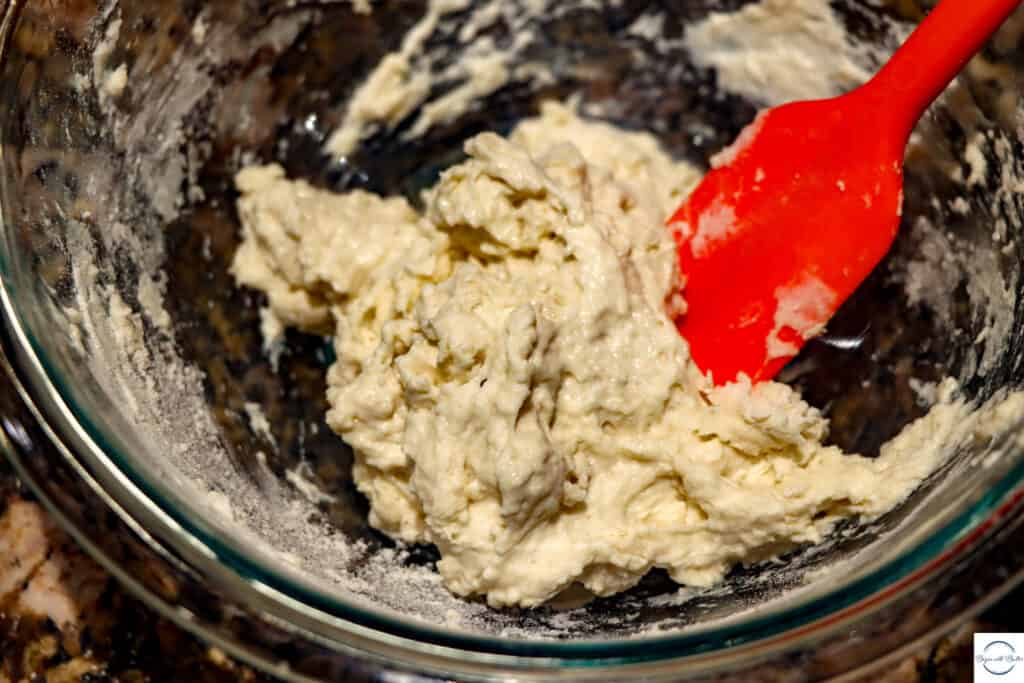
Once the poolish is ready, it’s time to get busy! You add the whole mixture to the rest of your flour, water, salt and yeast, and it makes the most incredible dough. When it’s finished with its initial mix, it will be bumpy and quite sticky. It will pass the windowpane test, though, so you know it’s ready to rest!
This is just a tremendous dough.
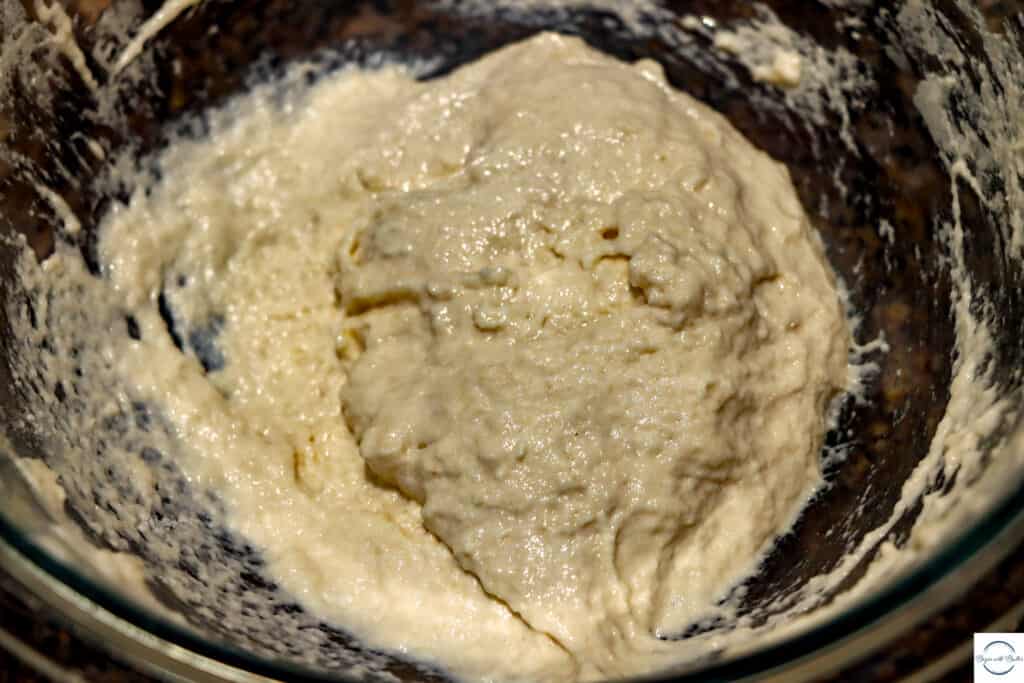
Once the dough is finished, let it rise for an hour, then pull the four corners to the center, just like you would with focaccia dough.
Cover the dough and allow it to rest for another hour. This additional hour gives the dough time to develop more strength and elasticity, so you don’t want to skip this step.
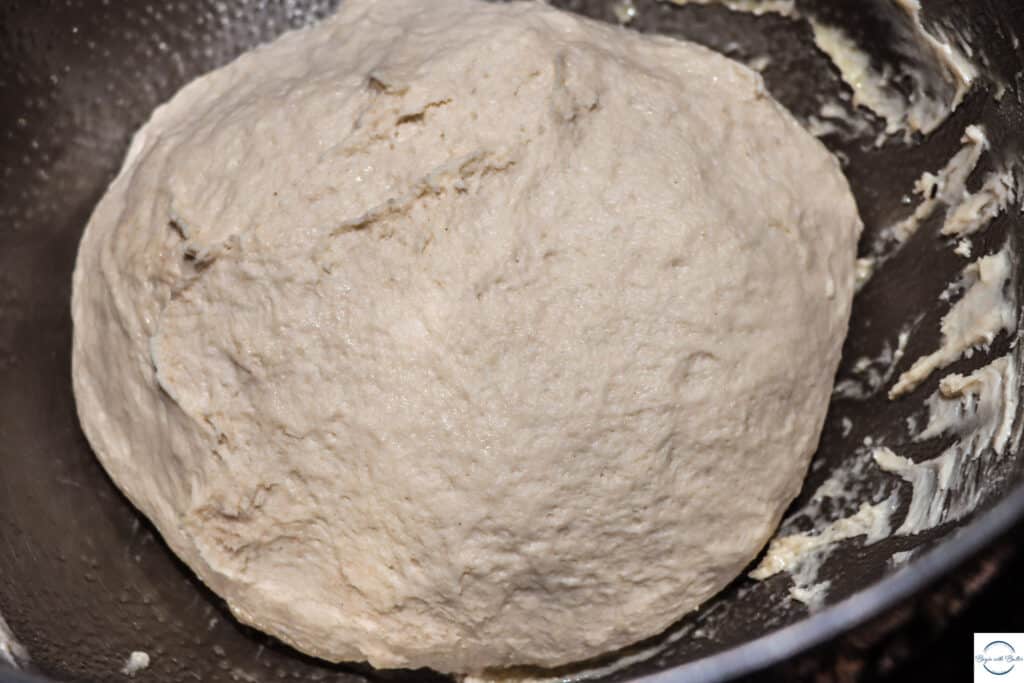
Once the two-hour rise time is over, it’s time to separate the dough into three equal parts. Make sure to use your digital kitchen scale for this step, since you’ll want loaves that bake equally. Don’t shape the dough just yet; just make three dough balls and put them onto a very lightly greased countertop under a clean dish towel. Leave them for 15-30 minutes.
Seriously. Go do something else.

Because once you return to the dough, it will be time for one of my favorite parts. Shaping the dough. This incredible video from King Arthur Baking will help you if you have never shaped baguettes before. Once they’re shaped, put them either on a baguette pan (like this one!) and cover them with a clean tea towel, and allow them to rise for another 45 minutes.
While the loaves are rising, it’s time to preheat your oven to a true 425° and put your bread stone in the middle of your oven. An oven thermometer will help you know when your oven is at the right temperature. You need a good long preheat for these loaves, so that you can get the right crackle on the bread, so make sure to preheat your oven for the entire time that the loaves are proofing!
Ten minutes before baking, add a cup of boiling water to the bottom of a loaf pan. Handle with care; the pan will be hot! Put the loaf pan on the bottom rack or bottom of your oven. The steam will help create that beautiful baguette crust that you want!
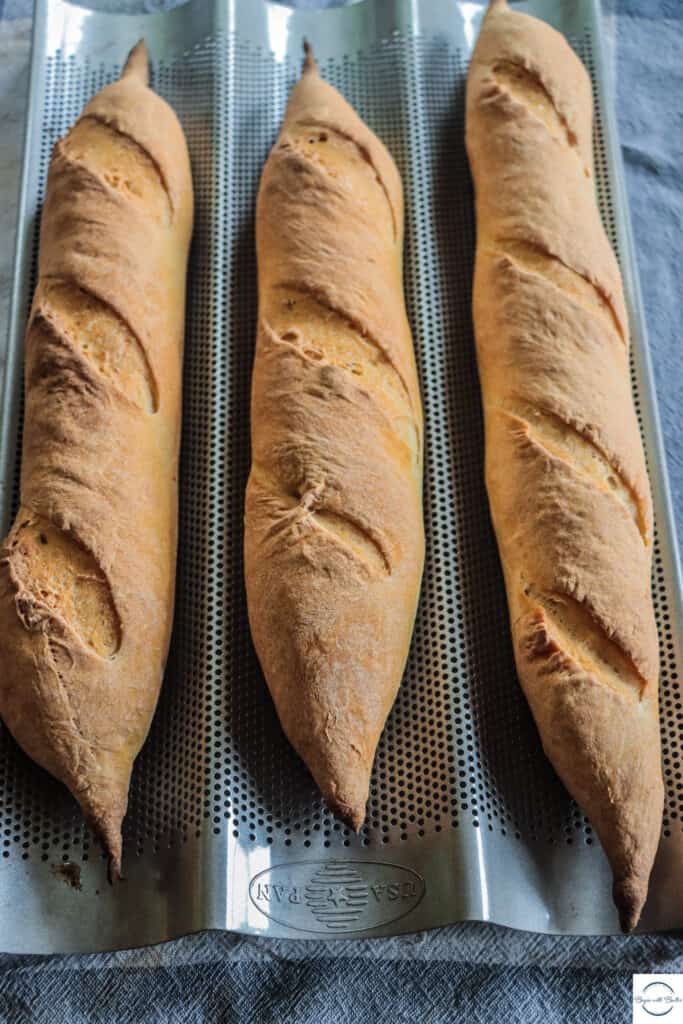
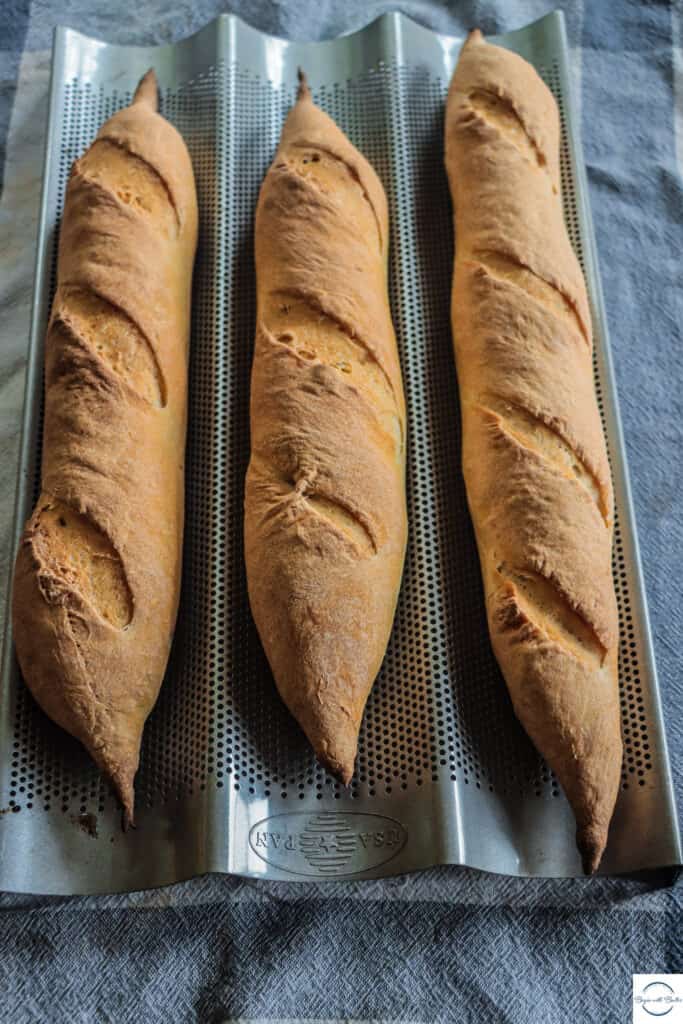
Once the bread is done rising, slash each loaf 4-6 times. Place loaf pan into the oven on top of the bread stone to bake for 18-25 minutes, or until the loaves are a deep golden brown.
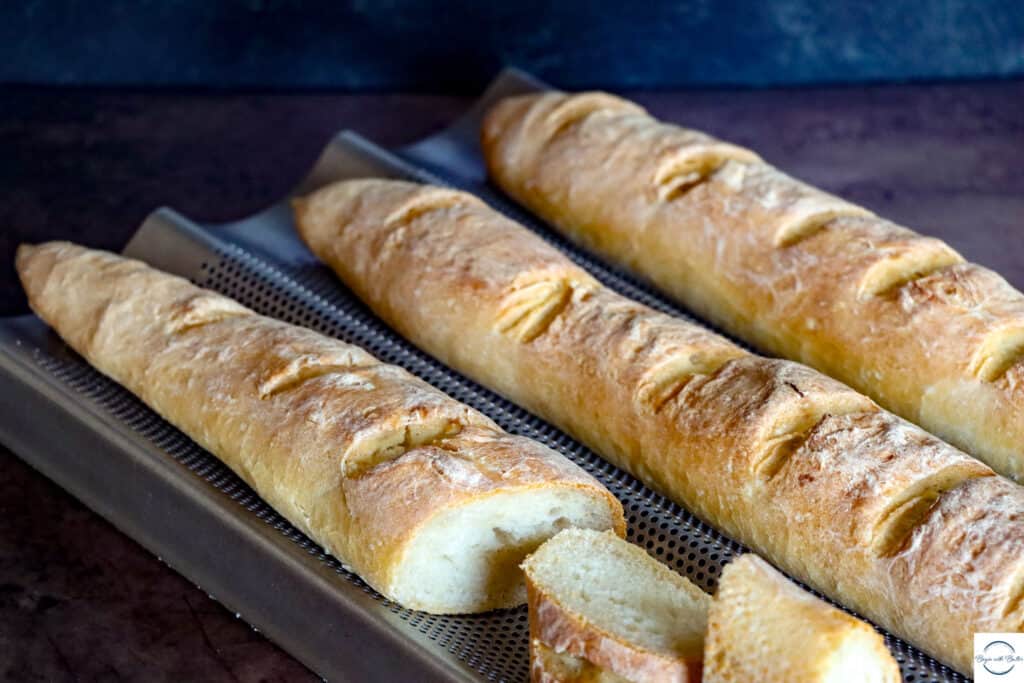
The Finished Product
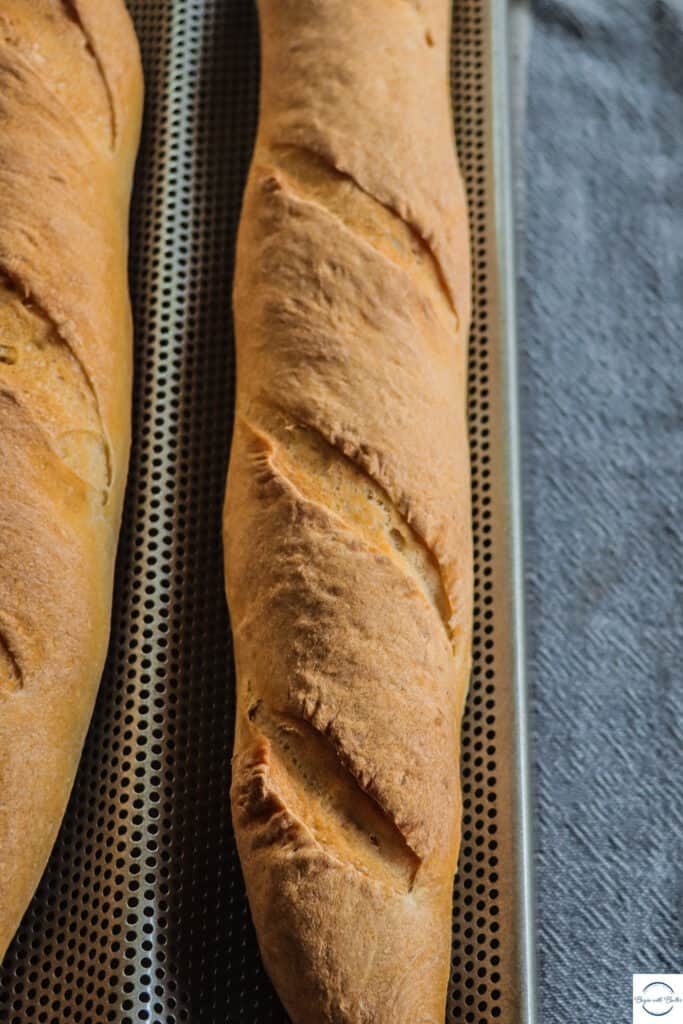
When the bread is done, the crust will have a gorgeous crackle to it. One of the hardest parts of this whole process is waiting until the baguettes are cool enough to eat.
Because…look at them.
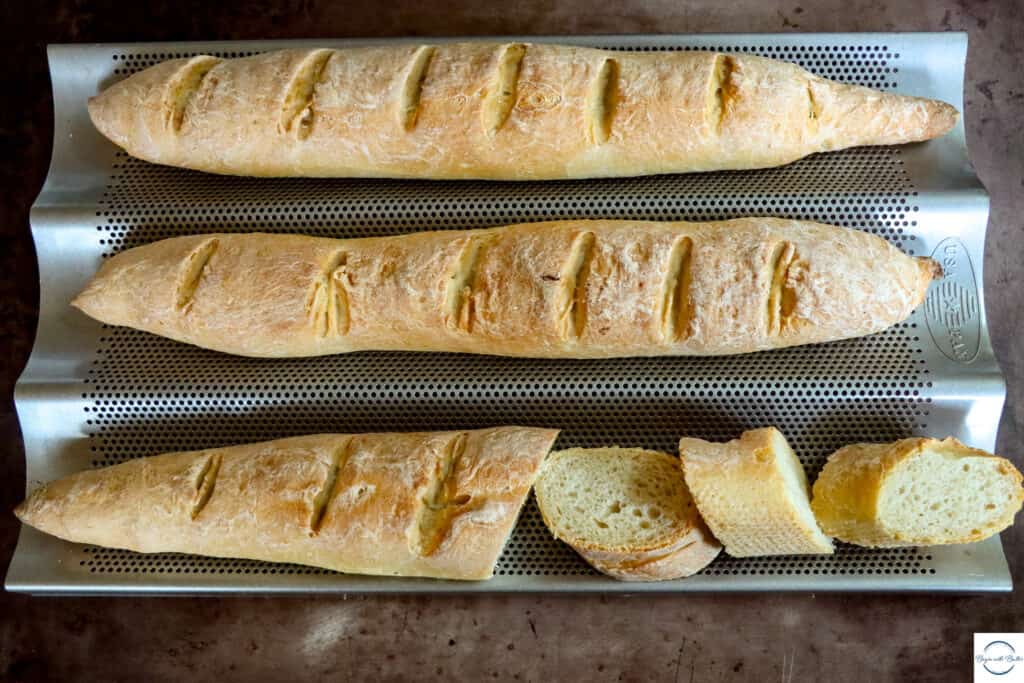
They’re gorgeous. And when you bite into them, that crackle is life-giving.
I hope you all love these baguettes as much as my family and I do. They’re truly one of the highlights of my 2023, and I can’t wait to hear how they go for you!
Enjoy, Friends!
Print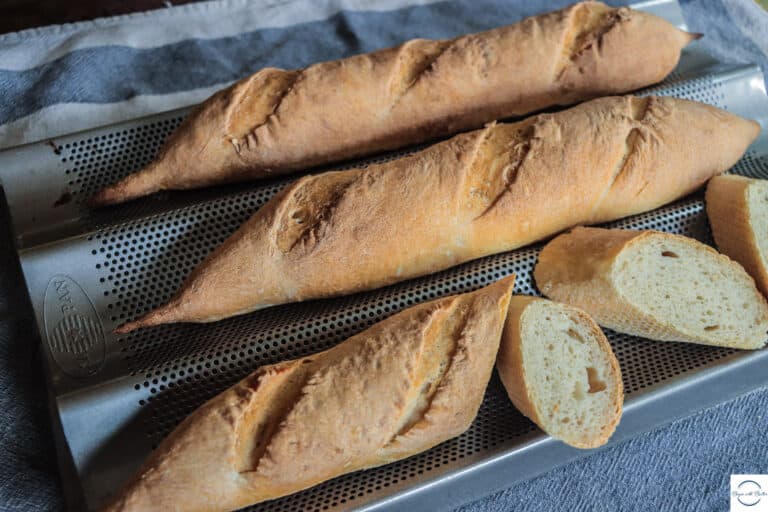
My Favorite Baguette
These baguettes have an amazingly crusty exterior and a perfectly soft interior. Enjoy with butter, cheese, soup, or your favorite wine…there’s literally nothing that you cannot pair with these!
- Total Time: 0 hours
- Yield: 3 baguette loaves 1x
Ingredients
For the Poolish:
- 105 g cold water
- 1/4 tsp dry yeast
- 1/4 tsp raw honey
- 105 g bread flour
To Make the Baguette Dough:
- Poolish
- 289 g water
- 1.5 tsp dry yeast
- 407 g bread flour
- 3/4 tbsp kosher salt
Instructions
To Make the Poolish:
- Mix water, yeast, and honey together thoroughly, mixing until there is no dry yeast.
- Add flour and stir until the mixture is combined and loose. Even after the mixture is combined, you’ll need to stir for a while longer to get the right consistency. The final poolish should be slightly jiggly when you’re done.
- Allow the poolish to rest, at room temperature, for 15-18 hours before using.
To Make the Baguette:
- Add the water, poolish, yeast, bread flour, and salt to a large mixing bowl.
- Mix on low speed (or by hand) for 8-10 minutes before adding any additional flour, 1/2 tbsp at a time. You should not need more than an extra 1.5 tbsp unless you are in an extremely humid area. The finished dough should be sticky, but it should pass the windowpane test. It will stick to the bottom of the bowl a bit, and that is totally normal.
- Place the dough into a greased bowl (I used the bowl of my stand mixer) and allow to rise, covered with plastic wrap, for 1 hour. Make sure to vent the plastic wrap slightly to allow gases to escape.
- Bring the four corners of the dough to the center and turn over the dough in the bowl. Allow the dough to rise for another hour.
- Use a digital kitchen scale to split the dough into three equal parts. Form each part into a dough ball and place on a lightly greased surface. Cover with a clean tea towel and allow them to rise for another 15 minutes.
- Shape the baguettes, using the letter fold. Place the baguettes directly on your loaf pan after shaping.
- Allow the baguettes to rise for another 45 minutes on your baguette pan.
- While the baguettes are rising, heat your oven to 425°F. Place a pizza stone on the middle rack of your oven.
- Five minutes before baking, place 1 c boiling water into a shallow pan. Place the pan in the oven with the pizza stone.
- When the baguettes are finished proofing, slash them 4-6 times and then place them into the oven. Bake for 18-24 minutes, or until they are a very deep golden brown.
- You can either remove these from the oven immediately upon baking, or you can allow them to cool completely in the oven with the oven door opened about 2”. Either way, you’ll end up with beautifully crusty baguettes.
- Allow baguettes to cool slightly (20-30 minutes) before cutting.
- Prep Time: 20 hours
- Cook Time: 18-24 minutes
- Category: Bread