
Friends! It’s time for Juneteenth and I…just love this holiday. I was first introduced to Juneteenth by my father when I was a kid. And, to me, it’s not Juneteenth unless there’s a Red Velvet dessert on the table. So, in honor of Juneteenth this year, and in collaboration with Eat the Culture, I’ve developed these absolutely luxurious Red Velvet Cupcakes.


Join me in celebrating Juneteenth with more than 30 other Black culinary creators. Juneteenth marks our country’s second independence day, signifying the final emancipation of those enslaved in the US announced in 1865. This year, we are celebrating "Freedom Day" by offering a delightful selection of mains, sides, desserts, and refreshing drinks that are perfect for backyard barbecues and summer gatherings with friends and family.

Join us in honoring the legacy of progress and freedom by cooking and sharing these recipes. Additionally, you can easily follow each participant by using the hashtag #JuneteenthCookout2023 on Instagram. You can find a list of all recipes from the 2023 Juneteenth Virtual Cookout on the Eat the Culture website.
About Juneteenth
When I was a child, my father explained that Juneteenth was the day that the last enslaved people in the United States were notified of their freedom. More than two years after the Emancipation Proclamation became the law of the land, the last enslaved people in Galveston, Texas, learned that they no longer had to involuntarily give their lives to someone else.
What a profound thing to learn.
They had dominion and control over their own lives and their own bodies. And, as a descendant of enslaved people in the United States, I see it as my duty to pay homage to the many generations of people in my lineage so that their legacy isn’t forgotten. Being the link between past generations and future generations is one thing that I’m constantly thinking about when I’m filming my Youtube show “I’ll Bring Dessert“. I love being part of that oral history.
It’s also the reason why I created the Begin with Butter Home Baking Academy. It’s beyond important to me that I am able to teach future generations of bakers the ins and outs of baking, so that they can have the kitchen experiences with family and friends that are so integral to community building. I realize that, for a long time, my ancestors didn’t have the luxury of choosing their livelihoods or how they moved about in the world. It is my great hope that I’m making them stand tall now.
About these Red Velvet Cupcakes
Friends, here’s the thing about red velvet: it can get very dry. So dry, in fact, that it’s unpleasant.
I did a few things with these cupcakes to make sure that they didn’t suffer that fate:
- I added sour cream. The 80% fat content gives great flavor to these cupcakes, but that fat also tenderizes the crumb, making it just incredible;
- I added a touch more sugar to give these just a little bit more liquid to work with;
- I added a tablespoon of oil to the butter. This is a marvelous trick that you can use with just about any cake.
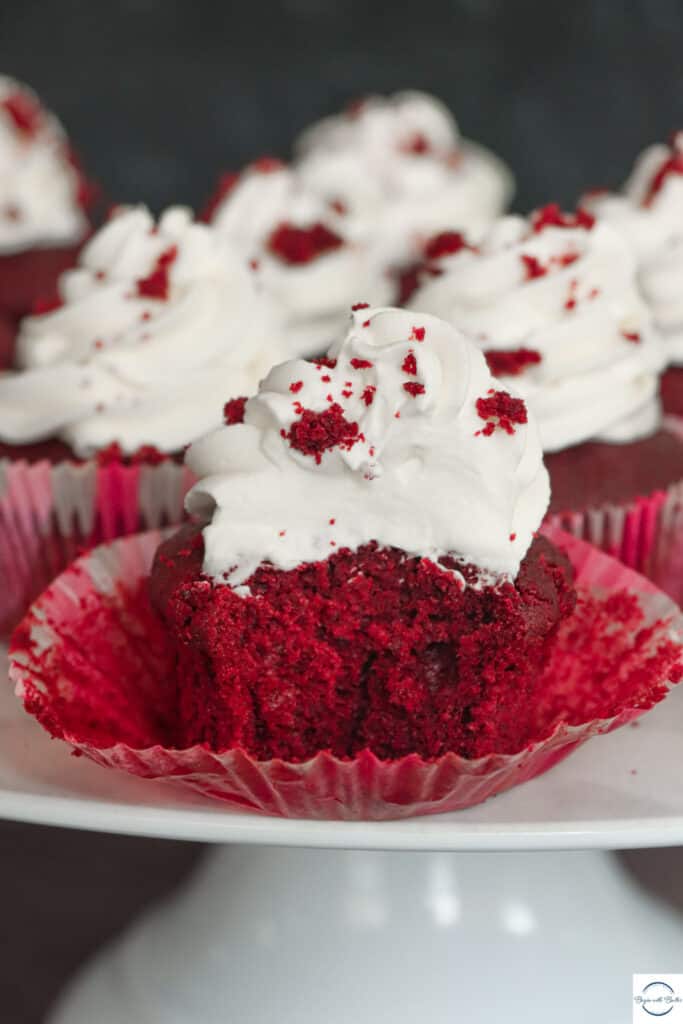
The end result was a Red Velvet Cupcake that is not only beautifully red (in honor of the holiday), but one that is also delectably moist.
I had to be a little bit different with these cupcakes, though. While I do love a well-executed cream cheese frosting, I wanted something impossibly light and not-too-sweet to pair with these cupcakes.
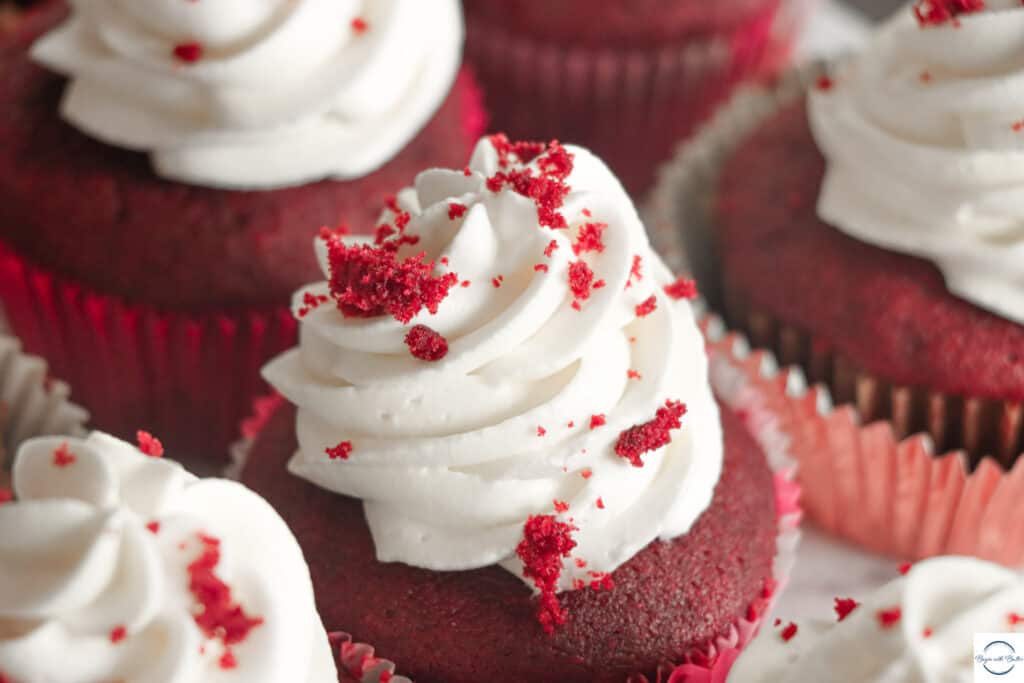
So stabilized whipped cream entered the chat.
And Friends…FRIENDS. This stabilized whipped cream is the thing that Red Velvet Cupcakes didn’t know they needed. It’s so light, yet it perfectly complements the flavor and texture of the cupcake because it’s not cloyingly sweet.
You want to make these NOW.
Want some other ideas for incredible Juneteenth recipes? Check out the other recipes from the “Sweet Miss Juneteenth” recipe edit, courtesy of Eat the Culture!
- Her Mise En Place – Bourbon Glazed Candied Bacon
- Kenneth Temple – Hot Honey Wings
- My Sweet Precision – Strawberry Oreo Crunch Pound Cake
- My Sweet Precision – Raspberry Chocolate Crumble Bars
- A Classic Twist – Strawberry Basil Sparkler
- Coined Cuisine – Rainbow Fruit Salad + Agave-Lime Syrup
- Seasoned To Taste – Watermelon Cherry Frosé
- You can find a list of all recipes from the 2023 Juneteenth Virtual Cookout on the Eat the Culture website
Red Velvet Cupcake Ingredients
All-Purpose Flour: I went back and forth between all-purpose flour and cake flour for these cupcakes. The all-purpose flour helped me achieve the texture that I really wanted; with all of the moisturizing and fat-enhancing efforts that I put into these cupcakes, I found that the texture with cake flour was a bit more mealy than I would have wanted.
Natural Cocoa Powder: Natural cocoa powder is the right cocoa powder for any red velvet dessert. That’s because natural cocoa powder needs additional acid, and with vinegar and buttermilk in this recipe, there is plenty of acid to work with.
Baking Soda: The vinegar and buttermilk are acidic ingredients. Because of that, baking soda was the proper leavening for this particular cupcake recipe.
Kosher Salt: Salt is very important in any dessert; it balances the sugar and keeps the dessert from becoming cloyingly sweet. If using table salt for this recipe, cut the amount in half.
Unsalted Butter: These cupcakes have some heavy-duty ingredients, so I wanted to use butter as the primary fat. The reason is surprising…butter helps these cupcakes become lighter! Specifically, the process of creaming butter and sugar creates air pockets that assist with rise.
Neutral Oil: I added avocado oil to these cupcakes to improve moisture. A tablespoon works wonders!
Granulated Sugar: Granulated sugar adds sweetness, moisture and caramelization to this recipe!
Eggs: The protein in the egg whites adds structure to these cupcakes, while the fatty yolk adds delicious flavor.
Pure Vanilla Extract: Make sure to use the good stuff, like Nielsen-Massey, for this incredible recipe! Whatever brand you use, make sure you use pure vanilla extract.
Red Food Coloring: Whether you use natural food coloring or traditionally mass-produced food coloring, you won’t need more than 1-1.5 tbsp of it. Too much more and it will impact the taste of the cupcakes in not a good way.
White Vinegar: A touch of white vinegar in this recipe helps brighten the red food coloring even more!
Sour Cream: You’ll want to use full-fat sour cream for this recipe. Fat=flavor and you don’t want to skimp on flavor! The rich sour cream also plays nicely against the depth of the cocoa powder.
Buttermilk: Buttermilk is a perfect accompaniment for these cupcakes. It adds a beautiful, tangy level of moisture to these cupcakes.
Beginners Start Here
If you’re new to baking, or if you want to learn how to do some of the more tricky baking techniques, here are a couple of super helpful articles from the BwB site that will help you get set up for success with these Red Velvet Cupcakes.
- Meet Your Kitchen BFF–Your Digital Kitchen Scale!
- How to Cream Butter and Sugar (With New Video!)
- Baking 101: How to Measure Ingredients
- Knowing When to Stop a Technique
These resources are super helpful to help you build consistency and confidence on your baking journey. Happy Reading!
Friends, I am so happy to be collaborating with Eat the Culture again for this super special event. You can find all of the recipes that are part of this collaboration right here; check this out for incredible Juneteenth menu ideas!
I hope you enjoy these amazing cupcakes and that you have the best Juneteenth celebrations this year!
Print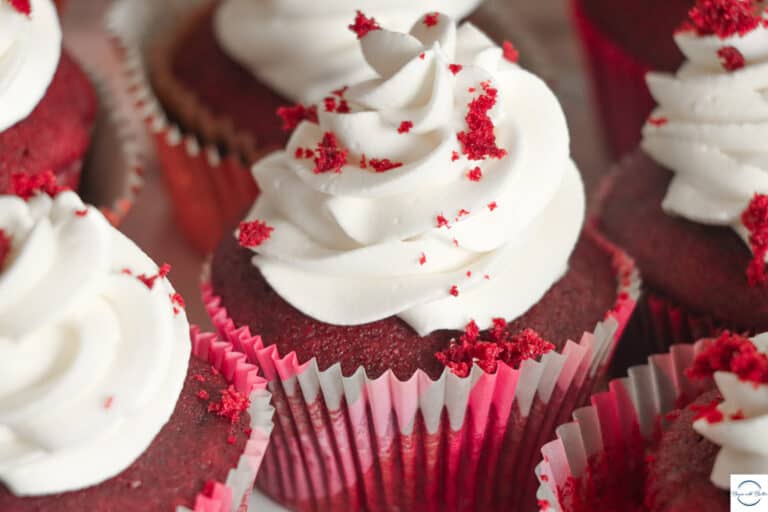
Red Velvet Cupcakes
These Red Velvet Cupcakes, with stabilized whipped cream, are the dessert that Juneteenth didn’t know it needed. Moist, delicious red velvet cake is paired with a stabilized whipped cream to create an unforgettable dessert experience!
- Total Time: 1 hour (with cooling)
- Yield: 15–18 cupcakes 1x
Ingredients
For the Cupcakes:
- 192 g (1.5 c) all-purpose flour
- 29 g (1/3 c) natural cocoa powder
- 1/2 tsp baking soda
- 1/2 tsp kosher salt
- 171 g (.75 c) unsalted butter, room temperature
- 1 tbsp neutral oil (I used avocado oil)
- 250 g (1.25 c) granulated sugar
- 2 eggs, room temperature
- 1 tsp pure vanilla extract
- 1/2 tsp white vinegar
- 1–1.5 tbsp red food coloring
- 114 g (1/2 c) sour cream, room temperature
- 125 g (1/2 c) buttermilk, room temperature
For the Stabilized Whipped Cream:
- 2 tsp unflavored gelatin
- 2 tablespoons, plus 1 tsp water
- 500 g (2 c) heavy cream, cold
- 120 g (1 c) confectioner’s sugar
- 1/8 tsp fine sea salt
Instructions
To Make the Cupcakes:
- Set oven to a true 350°F. An oven thermometer is extremely helpful for this step!
- Prepare a muffin pan with cupcake liners. Helpful tip: I always double cupcake liners for cupcakes.
- Sift together flour, cocoa powder, baking soda, and salt. Set aside.
- Combine buttermilk and sour cream in a 2-cup liquid measuring cup. Set aside.
- Place butter and oil in a large mixing bowl, or the bowl of a stand mixer. Mix the fats together until completely smooth.
- Add the sugar and cream until light and fluffy. Scrape the sides and bottom of the bowl as needed to make sure that everything is incorporated evenly.
- Add eggs, one at a time, and mix until each egg is thoroughly combined. Scrape the sides and bottom of the bowl as needed.
- Add vanilla extract, red food coloring, and white vinegar and mix until thoroughly combined. The batter might look a little curdled at this point and that is okay.
- Add half of the flour/cocoa powder mixture and mix until almost combined.
- Add all of the buttermilk/sour cream mixture and mix until almost combined.
- Add the second half of the flour/cocoa powder mixture and mix until almost combined. Finish by doing the last few turns with a rubber spatula.
- Use a 1/4 cup measuring cup to place equal amounts of batter into each cupcake liner.
- Bake at 350°F for 15-17 minutes, or until an instant-read thermometer reads 205°F-210°F.
- Allow the cupcakes to remain in the muffin tin for three minutes, then remove to cooling racks to cool completely.
To Make the Stabilized Whipped Cream:
- Place the gelatin and water in a small microwaveable bowl. Stir to combine completely. Microwave for 15 seconds ONLY. Set aside.
- Place cold heavy cream, fine sea salt and confectioner’s sugar into a large mixing bowl, or the bowl of a stand mixer. Stir gently until the confectioner’s sugar and fine sea salt are completely covered in heavy cream.
- Mix at a medium pace with a ballon whisk or in the bowl of your mixer for 1-2 minutes, or until very soft peaks form.
- Add the gelatin/water mixture to the soft peaks and continue mixing on high speed (or keep working that balloon whisk!) for another 30-40 seconds.
- Allow to rest in the refrigerator for 10 minutes before piping.
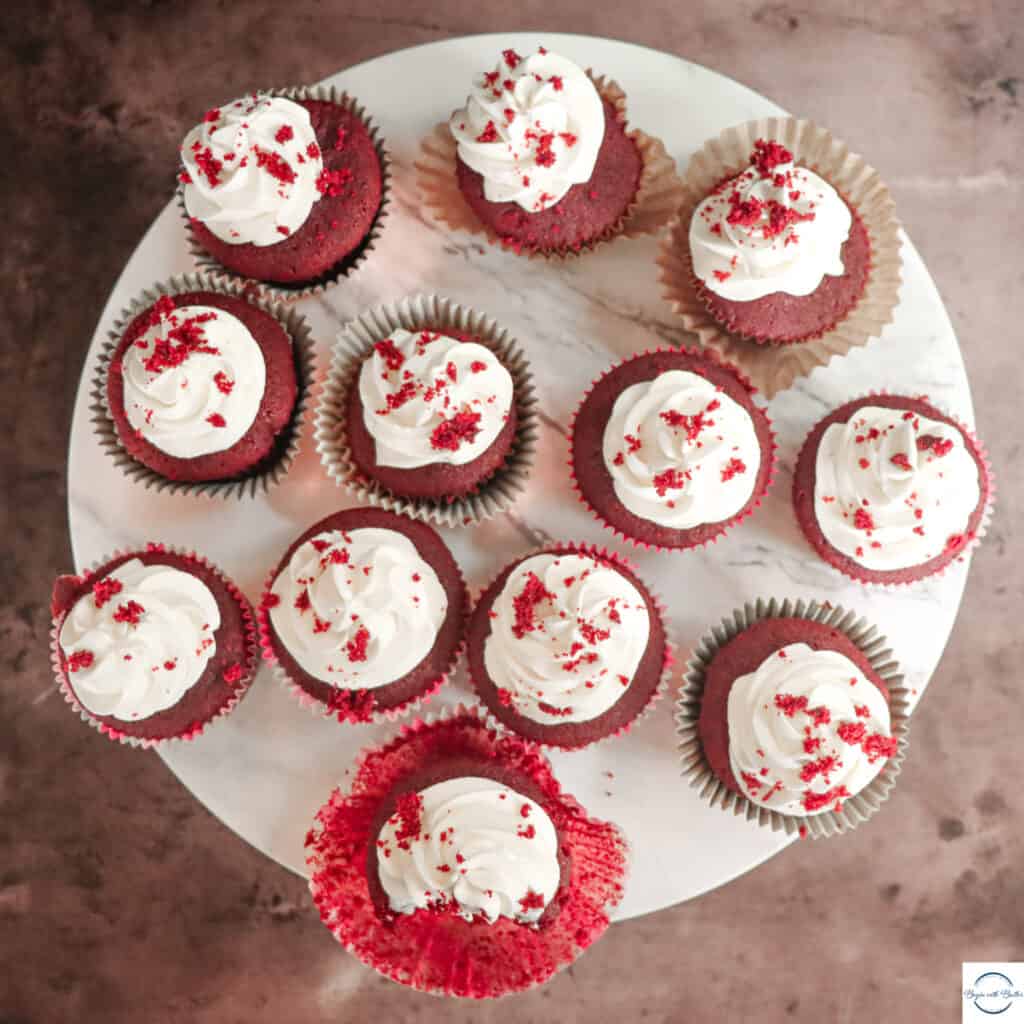
- Pipe the stabilized whipped cream onto your cupcakes.
- If you are willing to part with one of the cupcakes, you can crumble it into tiny pieces and sprinkle the crumbles on the other cupcakes for a beautiful garnish. Otherwise, decorating sugar works well too! Enjoy!
- Prep Time: 30 minutes
- Cook Time: 15-17 minutes
- Category: dessert
- Cuisine: American
I loved this recipe. The cupcakes have a nice fine crumb and are extremely moist! I used a cream cheese recipe for the frosting, so will have to try the stabilized whipped cream frosting next time!
I’m so glad you enjoyed it! ❤️