This post contains affiliate links. While I receive a small commission if you purchase from these links, they are products that I use and trust in my own kitchen.
[This post was updated on May 17, 2022]
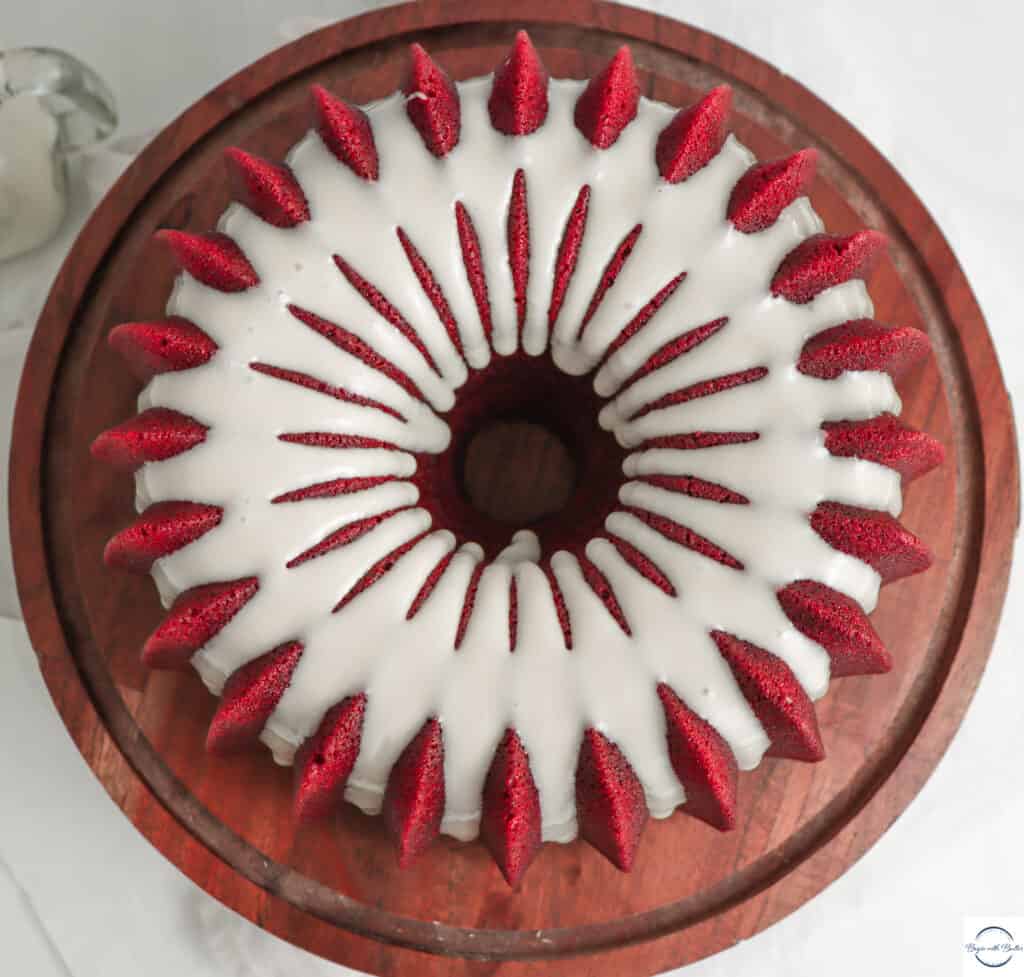
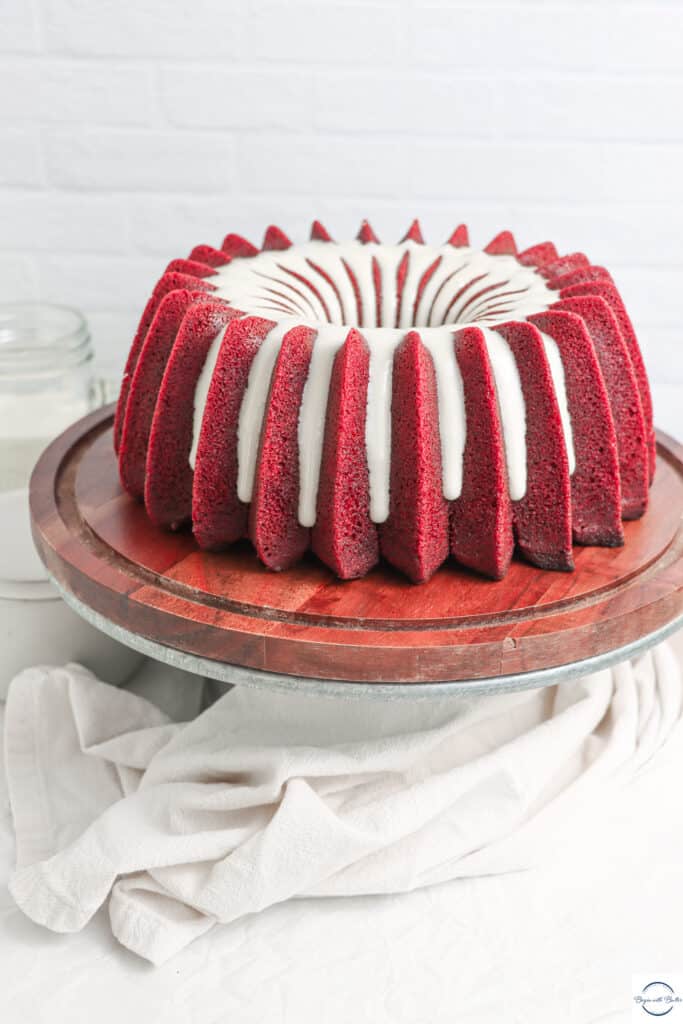
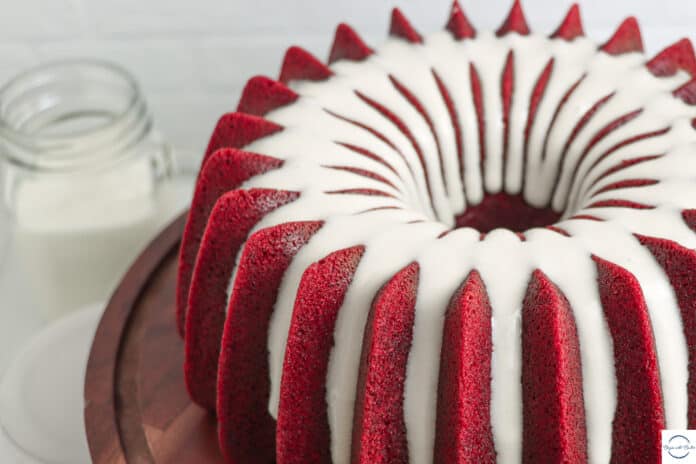
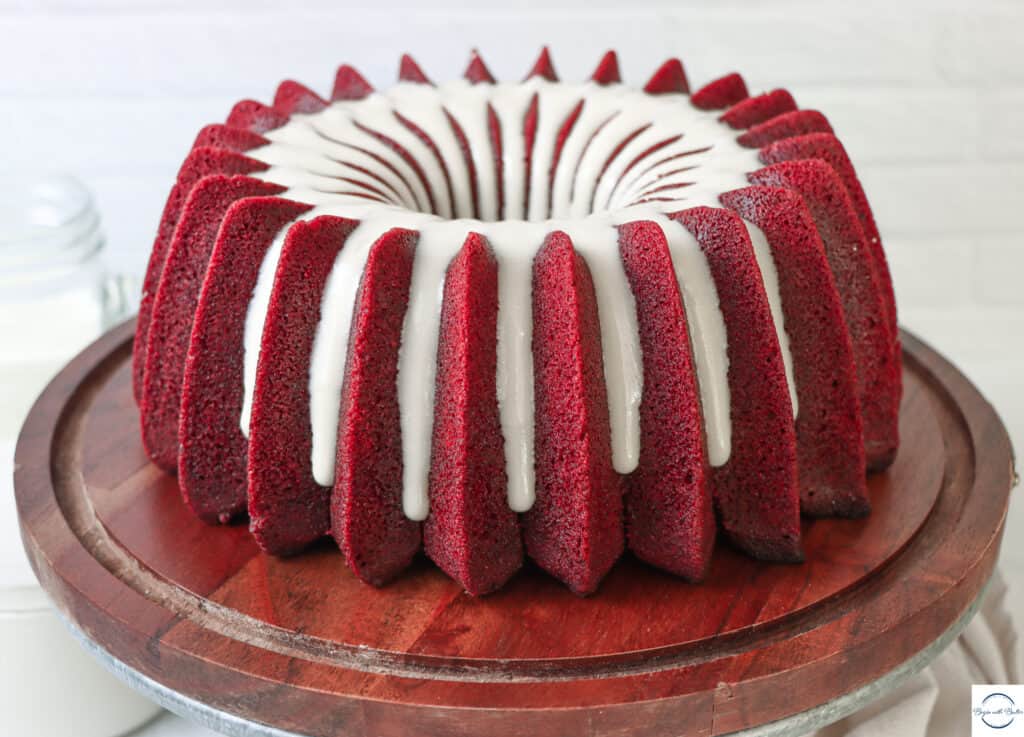
Friends, Ms. Ruby is back. And when I say that she is better than ever?
Ms. Ruby caused a stir on the Begin with Butter page last fall. So much so that I raced to get her dressed and ready for the website. Well, she was ready. And she was gorgeous.
But we recently spent a lot of quality time together…and she’s now something else.
I am so proud of this cake that I could literally burst.
Ms. Ruby’s Beginnings
Family, I live in Maryland, which is arguably the epicenter of all red velvet cake activity. Even as I was learning how to bake, one of the most requested item from friends and family was red velvet. Cupcakes. Layer cake. Cheesecake (who knew this was a thing?!). Red velvet marble cake. Red velvet ice cream cake.
You get the point. People here are very serious about red velvet.

I’m an equal opportunity cake eater, so red velvet is among the cakes that I like-a-whole-lot. But I can definitely appreciate the way that people love their red velvet cake. They go way out of their way to find good red velvet. As a baker, I have nothing but respect for red velvet super fans.
When I was developing a red velvet recipe, I knew it had to be unbelievable in order to satisfy discerning red velvet cake fans. So I toiled over this recipe for a while until I was ready to share it with the world. And then I spent the last six months figuring out how to make it even better.
Red velvet lovers, this one is for you.
Do you love baking cookies? Ever wonder why your cookies are sometimes perfectly, and sometimes a crumbly mess? Click here to download my FREE guide, “Five Easy Tips for Chewy Cookies!”
Beginners Start Here
If you’re new to baking or you’d like some additional information to refresh your baking, feel free to take a look at these resources on the BwB site! While they’re not mandatory reading, they will be really helpful for you to be successful with this cake!
- Better Baking Basics–Learning About Mise en Place
- Baking 101–How to Measure Ingredients
- How to Cream Butter and Sugar (this is crucial to success with this cake)
- Techniques for the Best Pound Cakes
- The Best Tools for Perfect Pound Cakes
With just a little prep, you’ll be ready to tackle this recipe head-on. I can’t wait to see your amazing creations! Don’t forget to tag @beginwithbutter on Instagram so that I can shout out your successes!
A Surprising Note
When I’m developing a recipe, I’m always looking for ways to improve upon what I did before. Always. This…does not help my perfectionist tendencies.
I really wanted to punch up Ms. Ruby’s flavor without sacrificing the flavor or texture. So, during the re-test for Ms. Ruby, I decided to do a few things:
- I added oil to the batter. That tiny bit of oil creates big, delicious moisture in this cake. And that small amount of oil doesn’t interfere with the process of creaming butter and sugar. Like at all. It was entirely worth it, as red velvet cakes can be dry, and I’m willing to go the extra mile to avoid that sad fate.
- I cut the amount of cocoa powder in the recipe. Red velvet cake is, indeed, chocolate cake. However, it’s always a very delicate balance, since the cocoa powder can overwhelm the red food coloring and render it meaningless. So, after multiple re-iterations of this cake, I’m happy to report that I reduced the cocoa powder in this cake, but did not sacrifice the flavor at all. I’ve also been lucky enough to receive the most incredible baking chocolate of my life from Scharffen Berger Chocolate, and I 10/10 highly recommend it for this wonderful dessert.
- This one surprised even me. I used a baking spray to coat my pan, and brushed it on with my trusty pastry brush. I tried both cocoa powder and flour to grease my pan, Family, and I was never satisfied. I risked it all and used baking spray this time, and the outside of this cake caramelized perfectly. I still say that it is totally a matter of personal preference, but I can finally say that my aversion to baking sprays is over. ???? So you’ll see them from time-to-time.
Oh! There’s Video!
Want to see Ms. Ruby’s “IG Official” re-introduction into society? Check this out!
Without further delay, let me re-introduce you to the updated recipe for my Ruby Red Velvet Pound Cake. Enjoy!
Print
Ruby Red Velvet Pound Cake
This show-stopping ruby red cake is the perfect addition to any Sunday dinner or holiday table. Prepare for oohs and aahs when you unbox it, then perfect silence as this beautifully balanced cake is enjoyed by your friends and family.
Ingredients
For the Cake Batter:
- 320 g all purpose flour
- 42 g natural cocoa powder
- 1/4 tsp baking soda
- 1/2 tsp salt
- 230 g butter, room temperature
- 2 tbsp oil (I used avocado oil)
- 500 g sugar
- 6 eggs
- 2 tsp vanilla
- 2 tbsp red food coloring
- 1 tsp white vinegar
- 250 g buttermilk
For the Vanilla Simple Syrup:
- 67 g sugar
- 84 g water
- 1/8 tsp salt
- 1 tsp vanilla
For the Cream Cheese Glaze:
- 77 g cream cheese, room temperature
- 120 g confectioner’s sugar
- 1 tsp pure vanilla extract
- 2 tbsp whole milk
- 1/8 tsp fine sea salt
Instructions
To Make the Batter With a Hand Mixer:
- Set your oven to 325°F and place the oven rack in the center of your oven. It’s highly recommended to use an oven thermometer for this recipe, since proper oven temperature can impact the finished product.
- In a medium bowl, combine the flour, natural cocoa powder, baking soda, and salt (if using kosher salt, omit it from this step).
- Sift the flour/cocoa powder mixture into a large bowl. If using kosher salt, add it at this step.
- Place the room temperature butter and oil in a large bowl. Mix on low speed with a hand mixer until smooth. (1 minute)
- Add half the sugar and mix until sugar is incorporated. (30 seconds)
- Add second half of the sugar and mix on medium speed until the mixture is light and fluffy. (5-8 minutes)
- Add eggs, one at a time, mixing for at least a minute after each addition. Scrape the bowl as needed (I usually scrape the bowl after the third and sixth egg). Don’t skimp on this step! (7 minutes)
- Add vanilla, red food coloring, and vinegar and mix on lowest speed until fully combined. The mixture might look a little curdled at this point and that is okay! (2 minutes)
- Add half of the flour/cocoa powder mixture and mix on low speed until combined. (~1 minute)
- Add all of the buttermilk and mix on lowest speed until combined. (~1 minute)
- Add the second half of the flour/cocoa powder mixture and mix on low speed until almost combined. Stop mixing just before the mixture is fully together. (~1-2 minutes)
- Using a rubber spatula, fully scrape the sides and bottom of the bowl and mix gently until the batter has a silky texture. (1-2 minutes)
- Grease a bundt pan and place the batter in a 10-12 cup bundt pan.
To Make the Batter With a Stand Mixer:
- Set your oven to 325°F. It’s highly recommended to use an oven thermometer for this recipe, since proper oven temperature can impact the finished product.
- In a medium bowl, combine the flour, natural cocoa powder, baking soda, and salt (if using kosher salt, omit it from this step).
- Sift the flour/cocoa powder mixture into a large bowl. If using kosher salt, add it at this step.
- Place the room temperature butter and oil in the bowl of your stand mixer. Mix on lowest speed until smooth and combined. (30 seconds)
- Slowly add the sugar and mix on medium speed until the mixture is light and fluffy. (5-7 minutes)
- Add eggs, one at a time, mixing for at least 45 seconds after each addition. Scrape the bowl as needed (I usually scrape the bowl after the third and sixth egg). Don’t skimp on this step! (7 minutes)
- Add vanilla, red food coloring, and vinegar and mix on lowest speed until fully combined, scraping the bowl as needed to make sure that the color is mixing uniformly. The mixture might look curdled at this point and that is okay! (2 minutes)
- Add half of the flour/cocoa powder mixture and mix on low speed until combined. (30-45 seconds)
- Add all of the buttermilk and mix on low speed until combined. (30-45 seconds)
- Add the second half of the flour/cocoa powder mixture and mix on lowest speed until almost combined. Stop mixing just before the mixture is fully together. (30-45 seconds)
- Using a rubber spatula, fully scrape the sides and bottom of the bowl and mix gently until the batter has a silky texture. (1-2 minutes)
- Thoroughly grease a 10-12 cup bundt pan and place the batter in the pan.
To Bake the Cake:
- Bake the bundt cake at 325°F for 60-70 minutes, or until an instant read thermometer reads 210°F-215°F. My preferred internal temperature is 212°F. Alternately, the cake is done when a toothpick inserted into the center comes out with just a few crumbs.
- Allow the cake to rest for ten minutes while you make the simple syrup.
To Make the Simple Syrup:
- Combine sugar, water, and salt in a small sauce pan.
- Warm the mixture over medium heat, whisking constantly, until the mixture comes to a boil and the sugar is completely dissolved.
- Remove from the heat and add the vanilla extract.
- After allowing it to rest for ten minutes, invert the cake on a cooling rack and carefully remove the bundt pan.
- Using a pastry brush, brush the simple syrup over the entire cake.
- Allow the cake to cool completely (2-3 hours).
To Make the Final Glaze:
- Place room temperature cream cheese in a bowl. Mix on lowest speed with a stand mixer (using the flat beater) or hand mixer until it the cream cheese is completely smooth.
- Add confectioner’s sugar, whole milk, salt, and vanilla to the mixing bowl.
- Mix on low speed until the glaze until completely smooth. Scrape the bowl as necessary.
- Final glaze should have the consistency of thick honey. Overmixing will cause the mixture to have air bubbles, so make sure to mix on the lowest speed if using a hand mixer.
- Using a spouted measuring cup, spoon, or squeeze bottle, drizzle final glaze over the cake. Use a spoon to help the glaze fall over the sides of the cake.
To Store:
This cake can be stored in the refrigerator for up to a week. It needs to be refrigerated because of the cream cheese glaze. If you omit the final glaze, this cake can be stored on the countertop for up to a week.
Notes
- An oven thermometer is strongly recommended to make sure that your oven reaches the correct temperature.
- It is also strongly recommended to use a digital food scale to measure ingredients using metric measurement. It will seriously make your baking so much easier!
- This recipe can be halved for a loaf pan or a 6-cup bundt pan.
- Make sure you take your time to cream the butter and sugar on the front end! Once you add your flour mixture, you have to mix gently in order to avoid over-mixing.
- This is a big bundt cake. I recommend placing a sheet pan underneath this cake while it bakes for extra insurance.
Want to receive the fun weekly update from Begin with Butter? Enter your email, below!

I made this last night and I won’t be making any other recipe for this, but this one. You NAILED IT! It’s amazing to say the least and I haven’t even frosted it yet. Even my husband loved it and he’s not a Red Velvet fan.
Wow Amy! Thank you so much for this incredibly kind compliment! I love this cake so much and I’m so glad that you love it too!
Hi can you convert this recipe to cups and tablespoons instead of weighted measurements please.
Good morning! There’s a slight glitch in my recipe software, and the translator isn’t working right now. It should be fixed in the next couple of days so that you can translate between Metric and US measurements. Thank you for your patience!
Hi there! The converter is fixed now. You should be able to go back and forth between imperial and metric measurements now. Thank you for your patience!
This was such an incredible recipe! I loved how thorough the instructions were, you were literally walking me though each step as if I were there in person. The cake turned out better than the bakery!! I’m stunned!! Thank you so much for this recipe, I will be making this for years to come!!
Beautiful cake!! I would like to know where can I purchase the buddy pan.
Hi there! I get all of my bundt pans from Amazon. They are all made by Nordic Ware.
can you use this recipe as is for a layer cake
Hi there! You could make this into 3 8-inch layers! However, your cake will have a traditional pound cake texture instead of a layer cake texture. Happy baking and let me know if you have any additional questions. 😊
Did you salted or unsalted butter?
Hi there! I’ve used unsalted and salted during my time, and I prefer unsalted, since I can control the salt levels better with it. Hope this helps!