This post contains affiliate links. While I receive a small commission if you purchase from these links, they are products that I use and trust in my own kitchen.
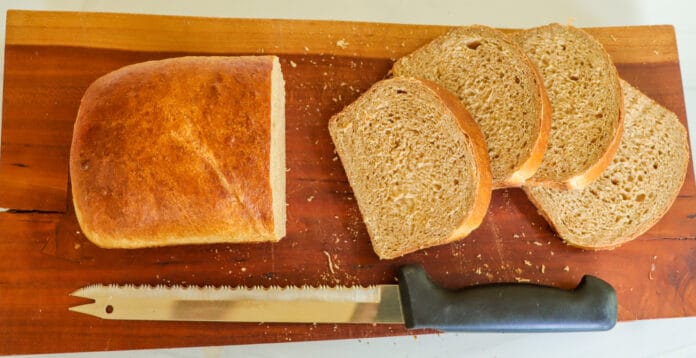
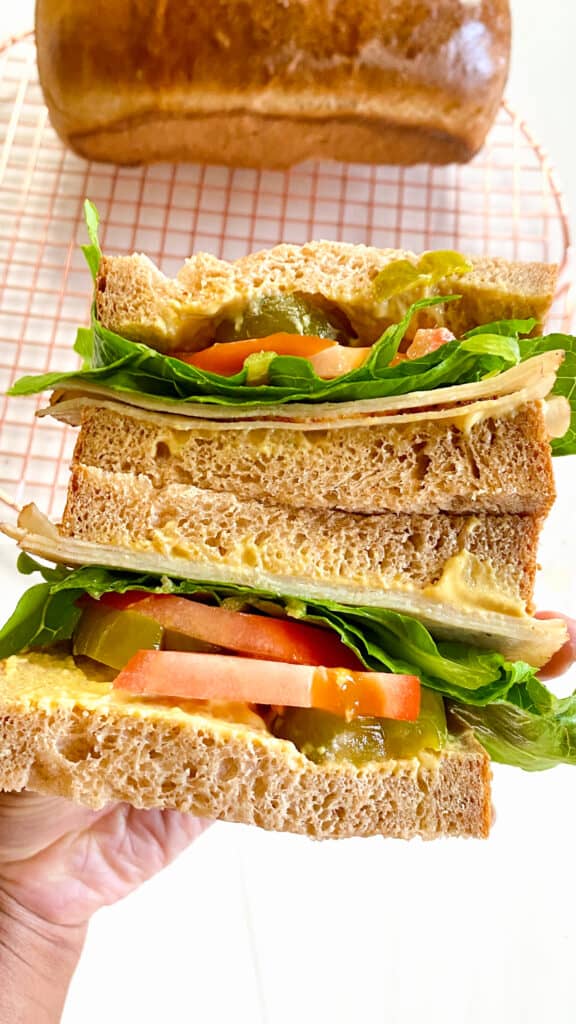
I mentioned last week in my Oatmeal Sandwich Bread post that I like a toothsome bread. Well, friends, this Maple Whole Wheat Sandwich Bread is TOOTHSOME and I love it so much.
My love for toothsome bread hit hyperdrive when I was a freshman at the University of Michigan (GO BLUE!). What should have been the dreaded Freshman 15 turned into the ultra-dreaded Freshmen “more than 15”, largely because I had no self-control when it came to a local eatery called Zingerman’s Deli. If my roommate Monica and I had two nickels to rub together (and weren’t up to some other foolishness after Italian class), we were picking up our fave sandwiches from that place and enjoying every last bite.
Those sandwiches were such a far cry from the turkey and cheese sandwiches of my Midwestern youth. Before Zingerman’s, Deli, I thought those turkey and cheese sandwiches were fancy because my mom always packed the lettuce and tomatoes separately, and she included little separate condiment packets every day! I never ever had to worry about soggy sandwiches for my school lunch, and I am ever grateful for that to this day.
But this story is about Zingerman’s Deli. And how it changed my entire worldview on what bread could be. That amazing place changed my entire palette when it came to bread. No longer did I want the Wonder Bread of my youth. It was Rye or Whole Wheat or Sourdough or NOTHING AT ALL.
And since my 18th year, I’ve been in search of a bread from my own kitchen that just…scratches that Zingerman’s itch. And this is the closest one that I’ve ever made.
I hope you love this one, Friends. Because this one is ready for all of the roast beef and roast turkey breast and all the au jus that you can throw at it this fall.
The Set Up for this Maple Whole Wheat Sandwich Bread
This Maple Whole Wheat Sandwich Bread makes me feel incredibly accomplished! The addition of the maple syrup made it palatable to my children, and if you know my struggles, you know that I have truly struggled to get my kiddos to eat whole wheat anything.
*Please note that this post contains affiliate links to the ingredients and products that I use in my own kitchen.*
Water: Water is the liquid that I use for this bread. On paper, it seems like there’s a lot of water in this bread (about 84% hydration); however, whole wheat bread absorbs much more liquid than bread flour, so the additional water is necessary to get a great sandwich bread crumb (one that’s not too dense).
Instant Yeast: instant yeast helps this dough to come together a little more quickly than active dry yeast. You can substitute active dry yeast, but you’ll have to extend the rise and proofing time by about fifteen minutes. I exclusively use SAF Instant Yeast for all of my sandwich breads.
Turbinado Sugar: yeast is a living organism and it likes to eat sugar. So I give it a little turbinado sugar snack to help the initial proofing process.
Maple Syrup: Aside from adding sweetness to this phenomenal sandwich bread, the maple syrup is the secret ingredient that softened the texture just enough for me to get my children to eat this whole wheat loaf! And that is HUGE!
Whole Wheat Flour: Whole wheat flour is the driver behind this bread’s beautiful toothiness. Whole wheat flour is made from hard red wheat, and it uses every part of the wheat germ. White flour, by contrast, has most of the germ extracted, leaving the flour much smoother in texture and flavor. This bread is an amazing mix of Whole Wheat flour and Bread flour, which means that it maintains its delicious texture and taste, while also getting a great rise. My favorite whole wheat flour is King Arthur Baking’s Whole Wheat Flour.
Bread Flour: I also use bread flour in this recipe. The higher protein content of bread flour lends a beautiful, more airy texture to this whole wheat loaf. For this recipe, I used King Arthur Baking’s Bread Flour.
Kosher Salt: salt is the major flavor driver in any bread. Without salt, most bread has no taste whatsoever. I prefer kosher salt for bread, due to the larger granules. If using table salt, I recommend cutting the amount in half.
Vital Wheat Gluten: vital wheat gluten (also known as vital wheat gluten flour) is a high-gluten dough enhancer. Coming in at 80% protein, it’s an important ingredient for great crumb in sandwich loaves, especially when those sandwich loaves use whole wheat flour. I don’t recommend skipping the vital wheat gluten in this recipe; if you cannot locate it, I would recommend strongly making another type of sandwich bread. I use Bob’s Red Mill for Vital Wheat Gluten.
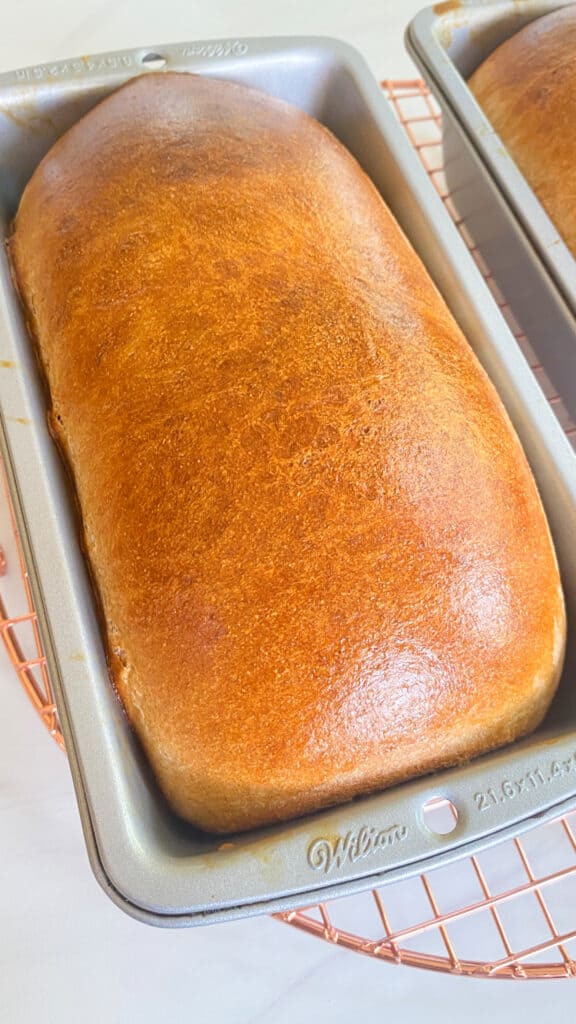
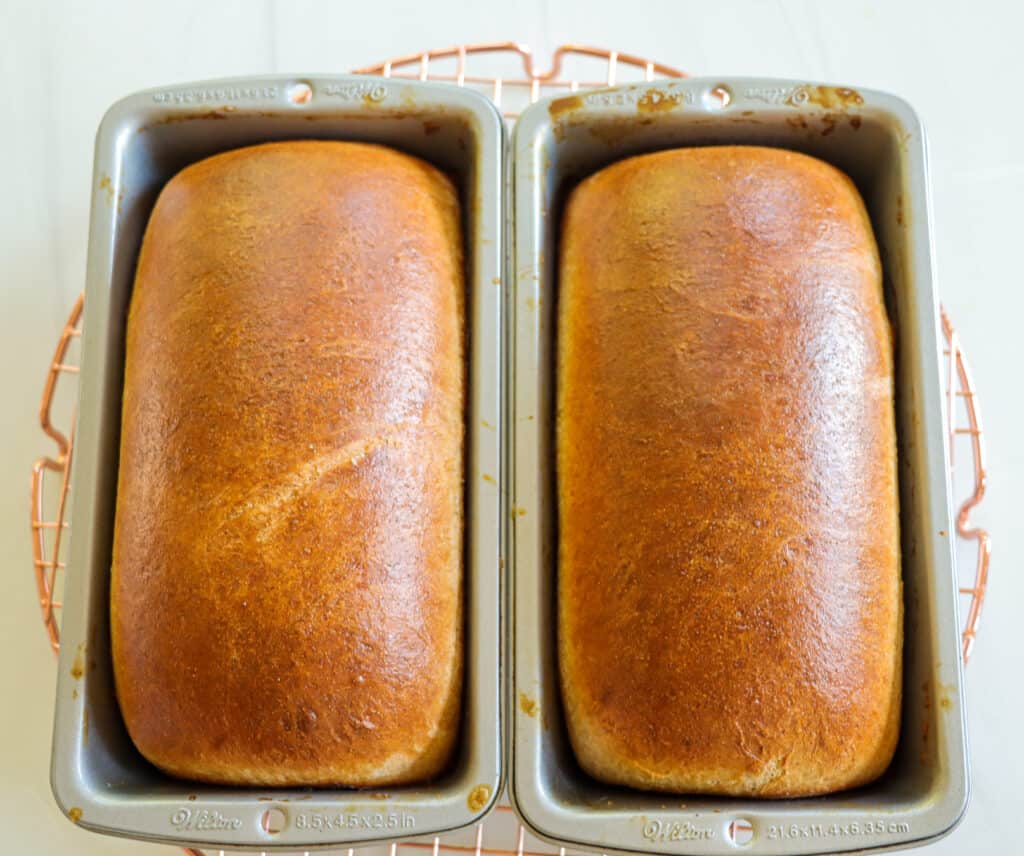
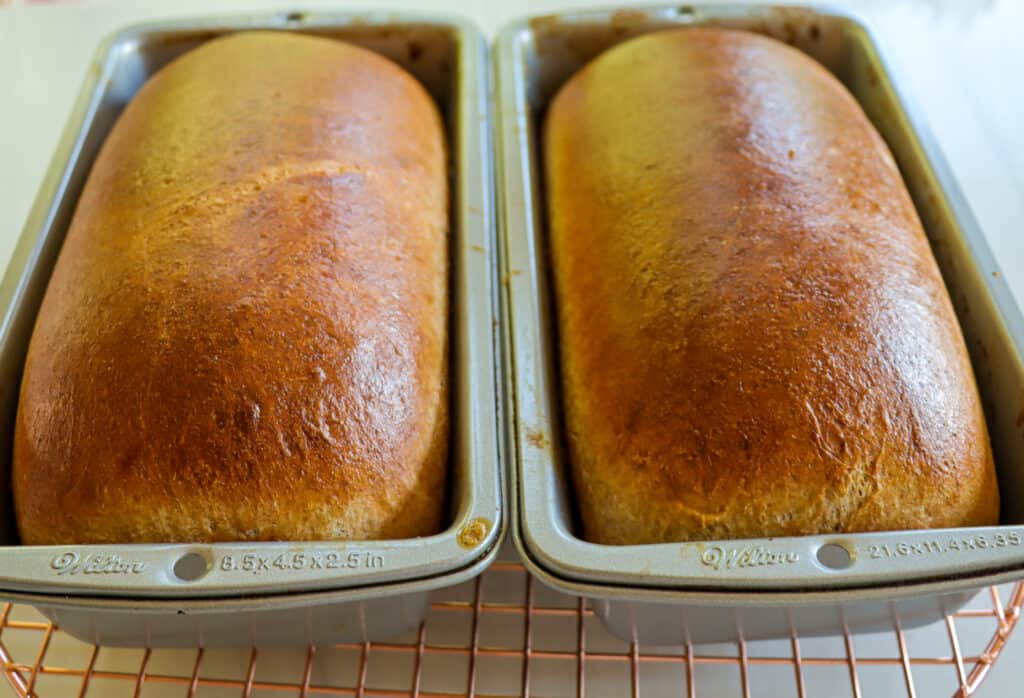
Egg Wash: I use a whole egg for this sandwich bread, and I bake it to a deep golden brown. Egg wash creates an amazingly beautiful shine on this sandwich bread and helps it caramelize to an amazingly delicious point!
Beginners Start Here
If you’re new to baking, or this is your first time making bread, check out some of these BwB resources to help you become more confident with this Maple Whole Wheat Sandwich Bread!
- Meet Your Kitchen BFF-Your Digital Kitchen Scale!
- Baking 101: How to Measure Ingredients
- Yeast Basics for Beginning Bread Bakers
- Knowing When to Stop a Technique
- The Five Flours I Keep Handy in My Kitchen
- How to Test Bread Dough
These resources certainly aren’t mandatory for you to successfully make this bread, but they can help answer some burning bread questions for you!
Want to see how I shaped this dreamy sandwich bread? Check out last week’s Office Hours, where I gave viewers a sneak peek of this sandwich bread and showed them how to shape it!
Frequently Asked Questions About Maple Whole Wheat Sandwich Bread
How long will this bread last?
This bread will last up to 48 hours on the countertop, or a month in the freezer.
What is the best way to store this bread?
Cut from the middle! I cut it from the middle instead of the ends, and I wrap it very tightly with plastic wrap to store. The bread ends help prevent the bread from becoming prematurely stale.
Can I make this bread without vital wheat gluten?
I wouldn’t recommend making this particular bread without vital wheat gluten. The additional gluten really helps create a proper sandwich bread structure. Without it, you could get a very dense loaf.
How did you get your kids to eat this bread?
I added maple syrup! Without it, they wouldn’t touch it. ????
Do I truly need all of this flour?
You might not! That’s why we add flour incrementally in this recipe, so that we don’t run the risk of over-flouring our dough by adding it all at once.
Without further delay, here is my Maple Whole Wheat Sandwich Bread! I hope you love it as much as I do!

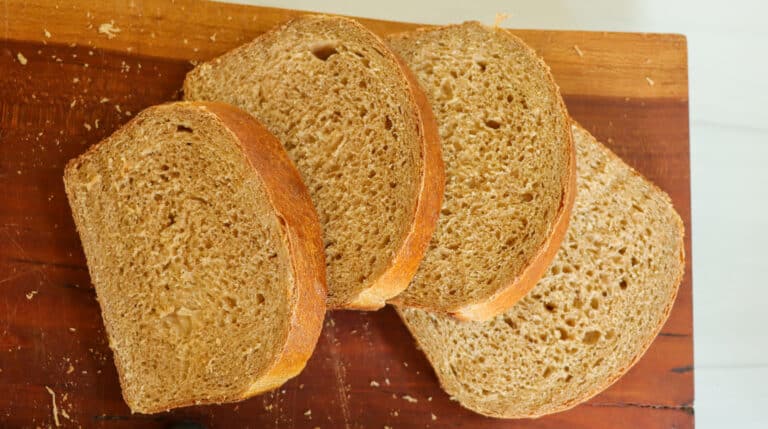
Maple Whole Wheat Sandwich Bread
This Maple Whole Wheat Sandwich Bread makes me reminisce about fall in Ann Arbor, Michigan. It’s the perfect sandwich bread for this time of year!
- Total Time: ~4 hours (with rising and proofing)
Ingredients
- 582.5 g (2.33 cups) water
- 1.5 tbsp instant yeast
- 1/2 tbsp turbinado sugar
- 384 g (3 cups) bread flour (ended up using close to 3 cups!!)
- 452 g (4 cups) whole wheat flour
- 1 tbsp salt
- 2 tbsp vital wheat gluten
- 156 g (1/2 cup) maple syrup
- 1 large egg, for egg wash
- 1 tsp water
Instructions
- Warm water to 110°F-115°F. Add instant yeast and turbinado sugar and stir to combine completely. Allow yeast to proof for 8-10 minutes, or until it becomes foamy on top. If yeast does not become foamy, then try again with new yeast.
- Add whole wheat flour and bread flour to a large bowl and combine with a whisk.
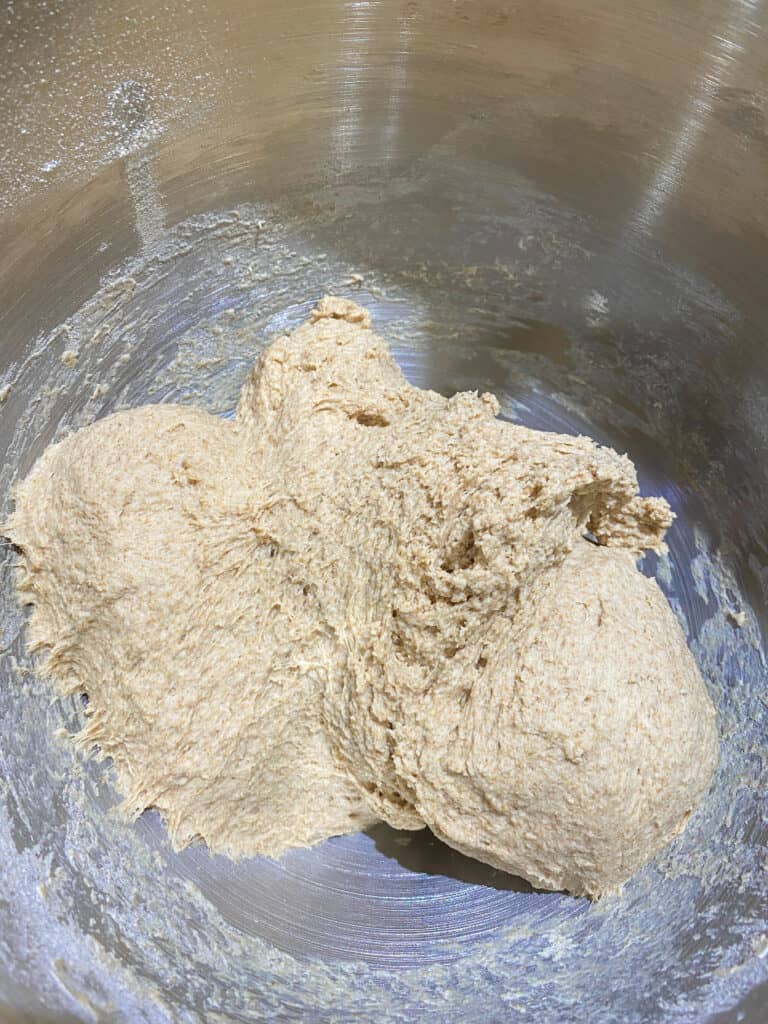
- Add yeast/water mixture, salt, Bob’s Red Mill vital wheat gluten, and about 4 cups of the flour mixture to a large mixing bowl (or the bowl of a stand mixer). Use a wooden spoon or the flat beater of your stand mixer to mix on low speed until flour is completely combined. The dough will be very loose and sticky at this point.
- If using a stand mixer, switch to the dough hook attachment. If making by hand, you can continue using a wooden spoon, or switch to a Danish dough whisk at this point.
- Add flour mixture, 32 grams (1/4 cup) at a time, adding more once the previous addition is fully incorporated into the dough. You might not need all of the flour mixture. The dough is ready when it pulls away from the sides of the bowl and does not leave dough residue on the sides of the bowl.
- Turn the dough out onto a very lightly floured work surface and knead by hand for about two minutes before adding any additional flour. The kneading process itself helps gluten development and sometimes you don’t need additional flour! You can also continue kneading with a stand mixer, but I don’t recommend leaving the mixer at this point.
- If you use all of the flour mixture and the dough still hasn’t come away from the sides of the bowl, add additional bread flour, one tablespoon at a time, then knead by hand for at least a minute after each addition. This dough should not need more than 3-5 tablespoons of additional flour.
- You’ll know the dough is done when it passes the windowpane test. The dough should be tacky, but not sticky when it is done.
- Spray the mixing bowl with a light coat of nonstick spray. Shape the dough into a ball and place into the mixing bowl. Cover loosely and allow to rise in an area free of drafts for about 50-60 minutes, or until the dough has doubled in size. Alternately, you can check your dough by doing the finger poke test, which is my favorite way to test bread dough!
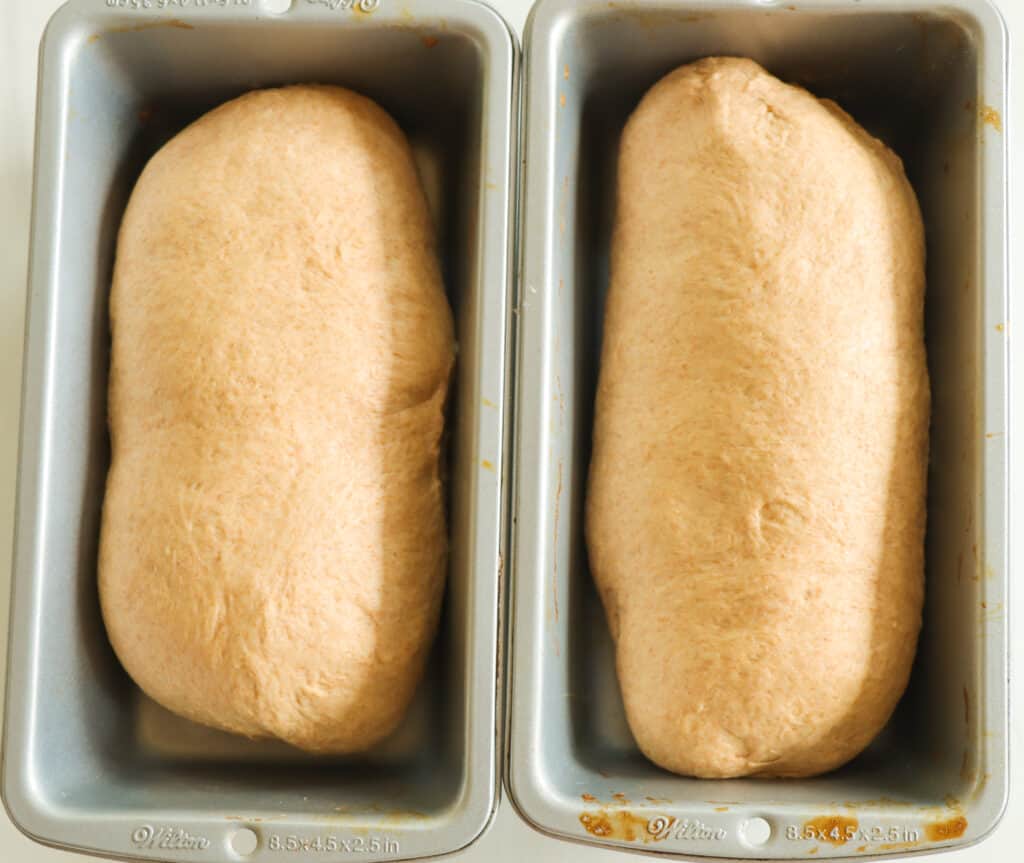
- Use a digital kitchen scale to separate the dough into two equal halves. Use your fingers to shape the first half into a rough rectangle. Fold the short end of the rectangle up 1/3 of the way and use the heel of your hand to seal the dough. Fold the resulting triangular-shaped sides of the dough into the loaf and use the heel of your hand to seal. Repeat this two more times, until you have a loaf shape. Then, pinch the final seam and roll gently over the seam to form the final seal. (Confused about how to shape sandwich bread loaves? Check out my video tutorial on YouTube!)
- Place the loaf into an 8.5″x4.5″ loaf pan, seam side down, and repeat step 10 with the second half of the dough.
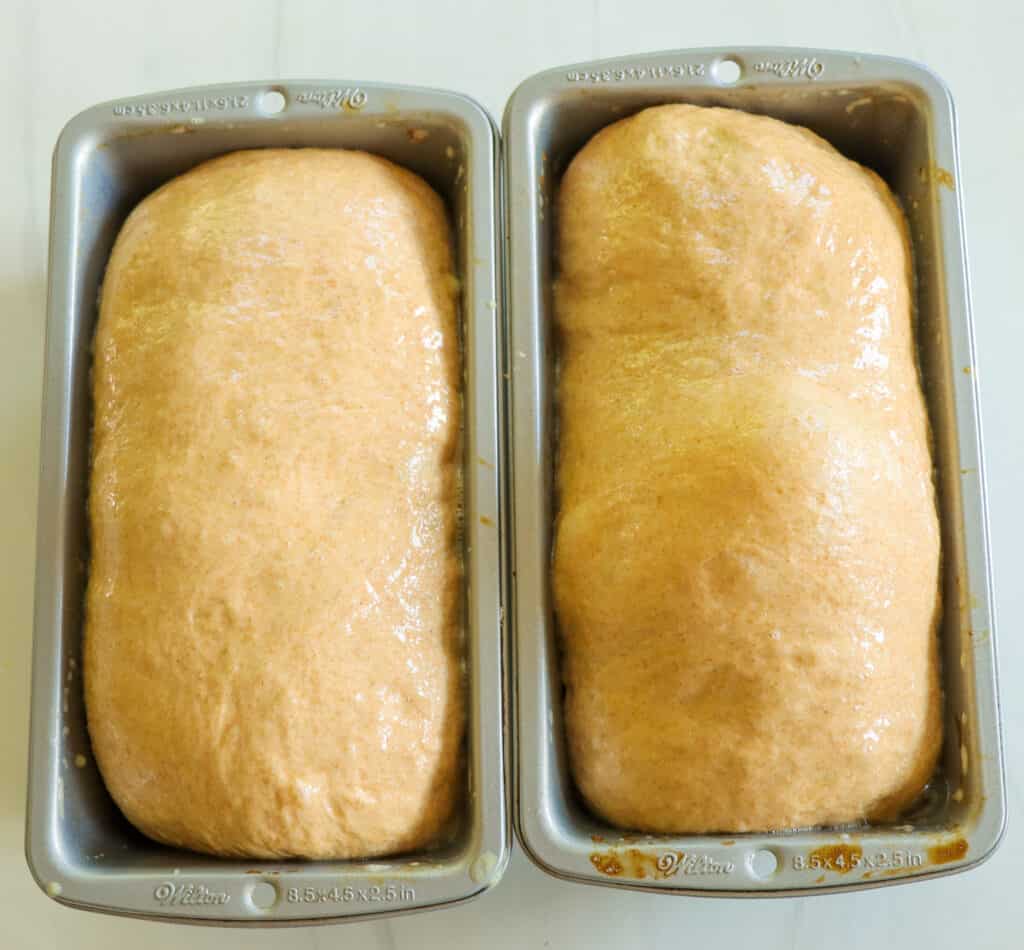
- Allow the loaves to rise for another 35-45 minutes, or until the loaves are roughly 1” over the top of the loaf pans.
- During the final rise (proofing) time, preheat your oven to a true 400°F. A long preheat time is essential to getting a beautiful loaf! Also, during this time, add the egg and one teaspoon of water to a small bowl and scramble thoroughly.
- When the loaves are finished proofing, gently brush egg wash over both loaves. Bake at 400°F for 20-25 minutes. Loaves are done when they reach an internal temperature of 190°F, or when the loaves sound hollow when thumped on the bottom.
- Remove loaves from their pans immediately after baking and place on a cooling rack.
- Allow loaves to cool for at least 45 minutes before slicing.
Notes
- You might not need all of the whole wheat flour/bread flour mixture for this recipe! It will depend on a lot of factors! You’ll know the dough is done kneading when it is tacky, but not sticky to the touch, and when it forms a very elastic dough ball.
- Prep Time: 25
- Cook Time: 20
- Category: Bread

