When I say that I love all of the ooey, gooey calories from a good cinnamon roll? Y’all. It’s seriously not right that these things exist on earth with us.
It’s also not right that I now have the ability to make just about any cinnamon roll that my heart might desire. And that knowledge, Family, has made me quite a menace in the kitchen when it comes to breakfast pastries in general.
It’s all in the name of…ahem…science.
But cinnamon rolls? CINNAMON ROLLS?! They own me. I will never admit the insane number of cinnamon roll recipes I’ve tried over the years, but suffice it to say…there have been quite a few of them.
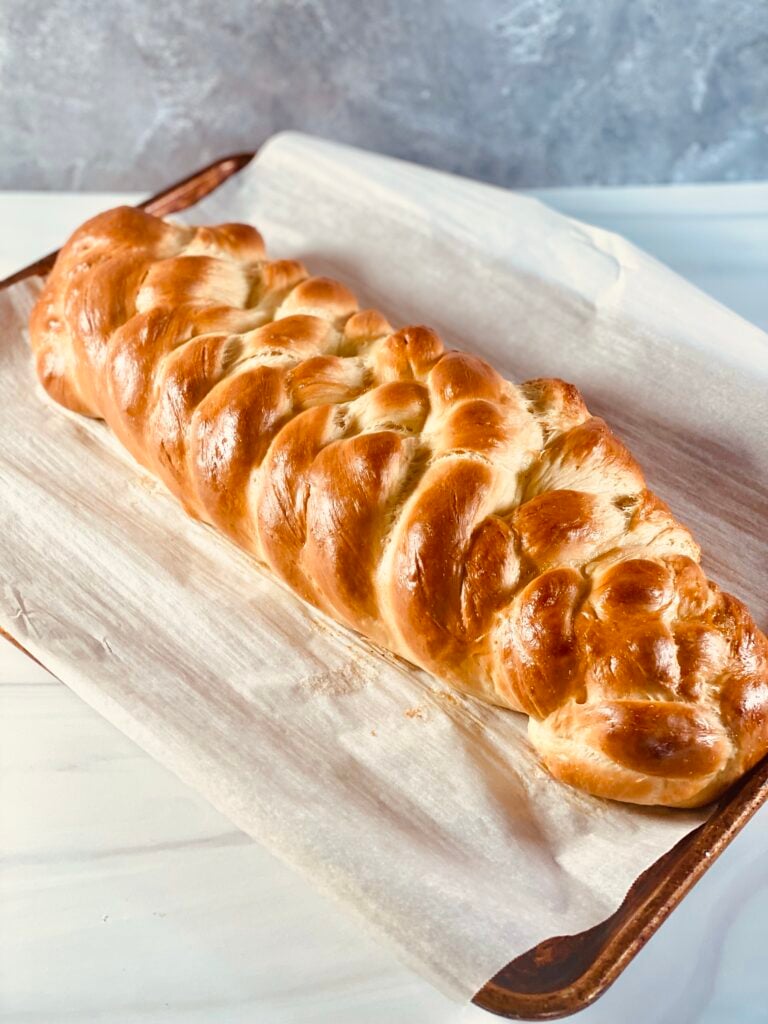
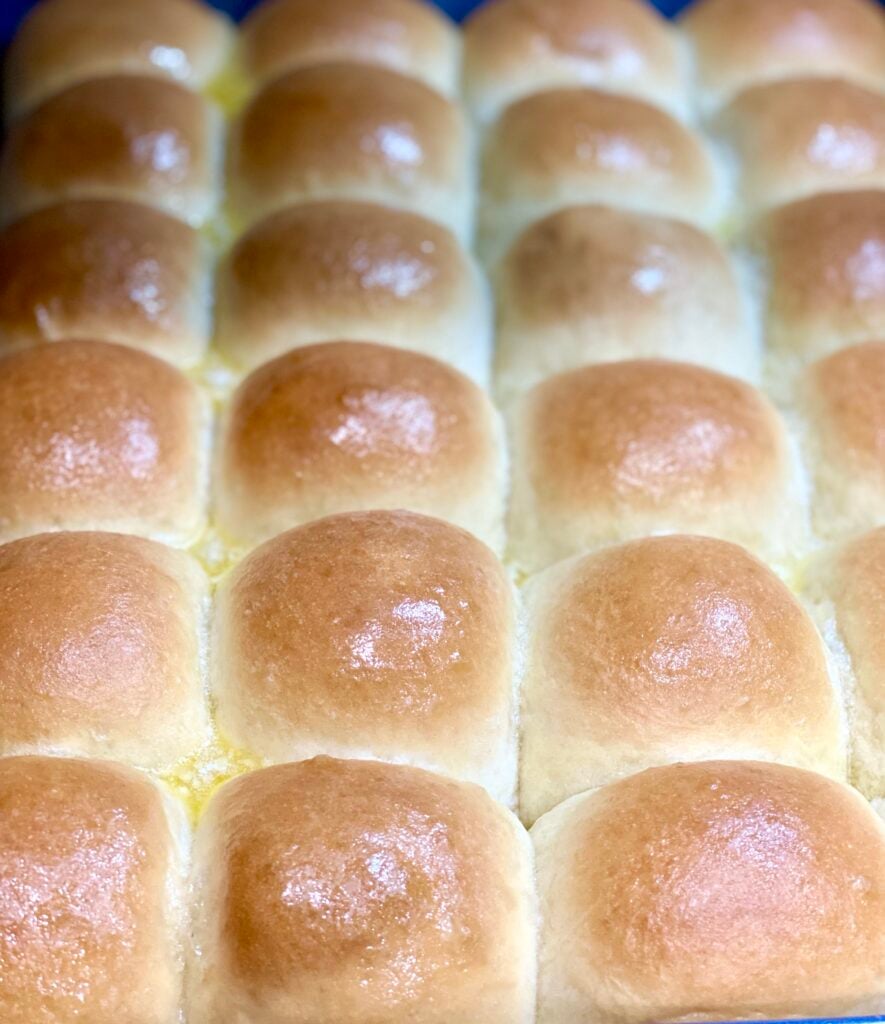
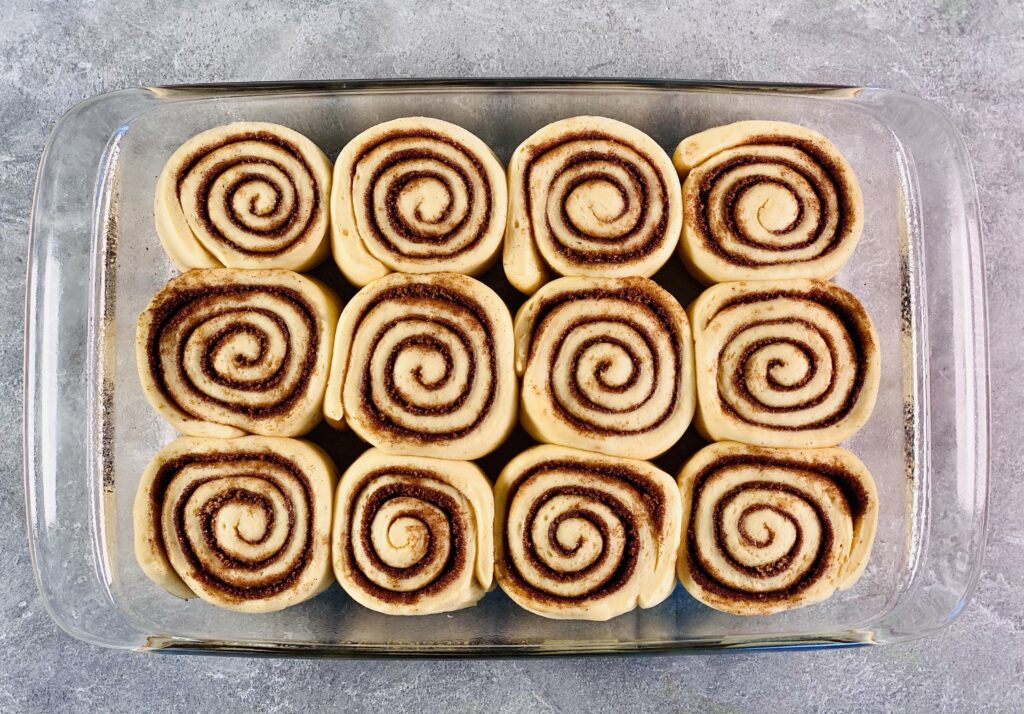
Cinnamon rolls almost always start with brioche dough. It’s the perfectly rich, buttery, eggy base for all of that cinnamon sugar, packed into a gorgeous rolled breakfast pasty.
Kinda like this:
Today, Friends, you’re coming on a cinnamon roll journey with me. Put on your stretchy pants and come with me to learn the techniques that I use to make perfect cinnamon rolls every time. I adapted this recipe from Ambitious Kitchen, but the techniques are universal and will work with your favorite recipe as well!
In this Post:
Looking for a specific tip or technique? Use the hyperlinks to easily navigate this article!
The Prep
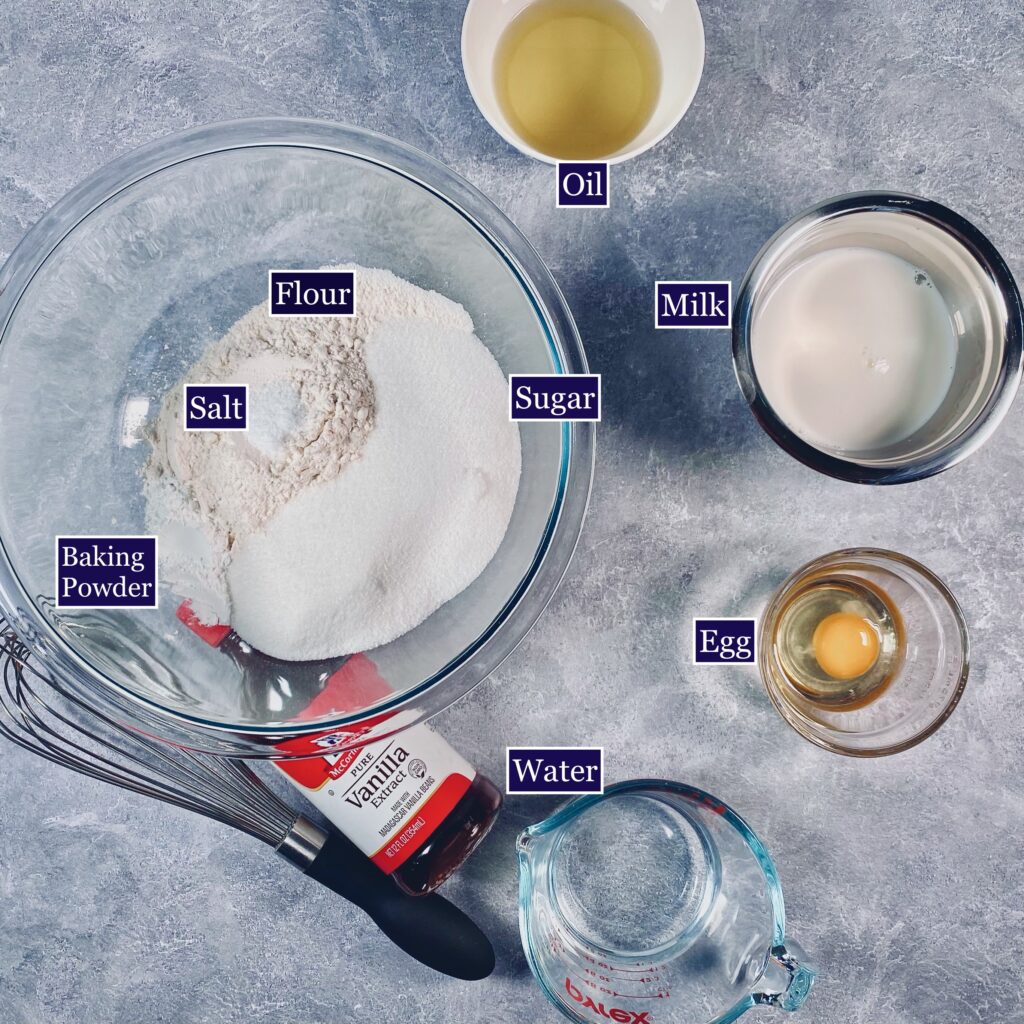
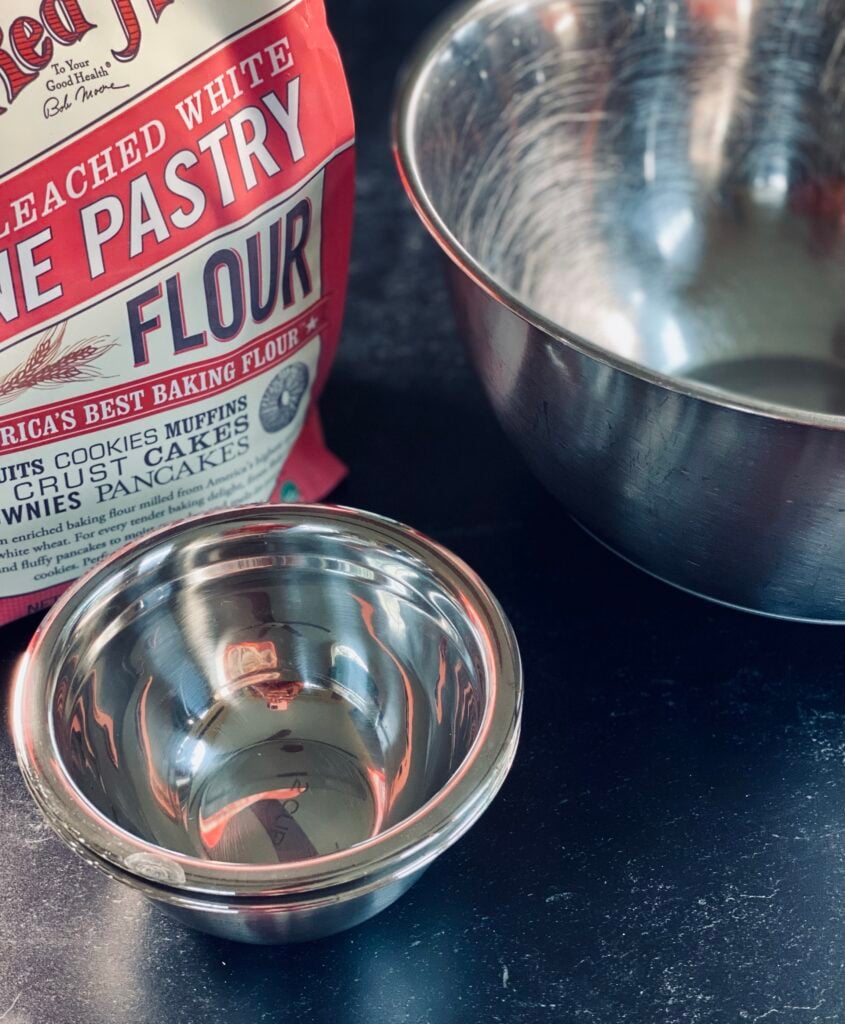
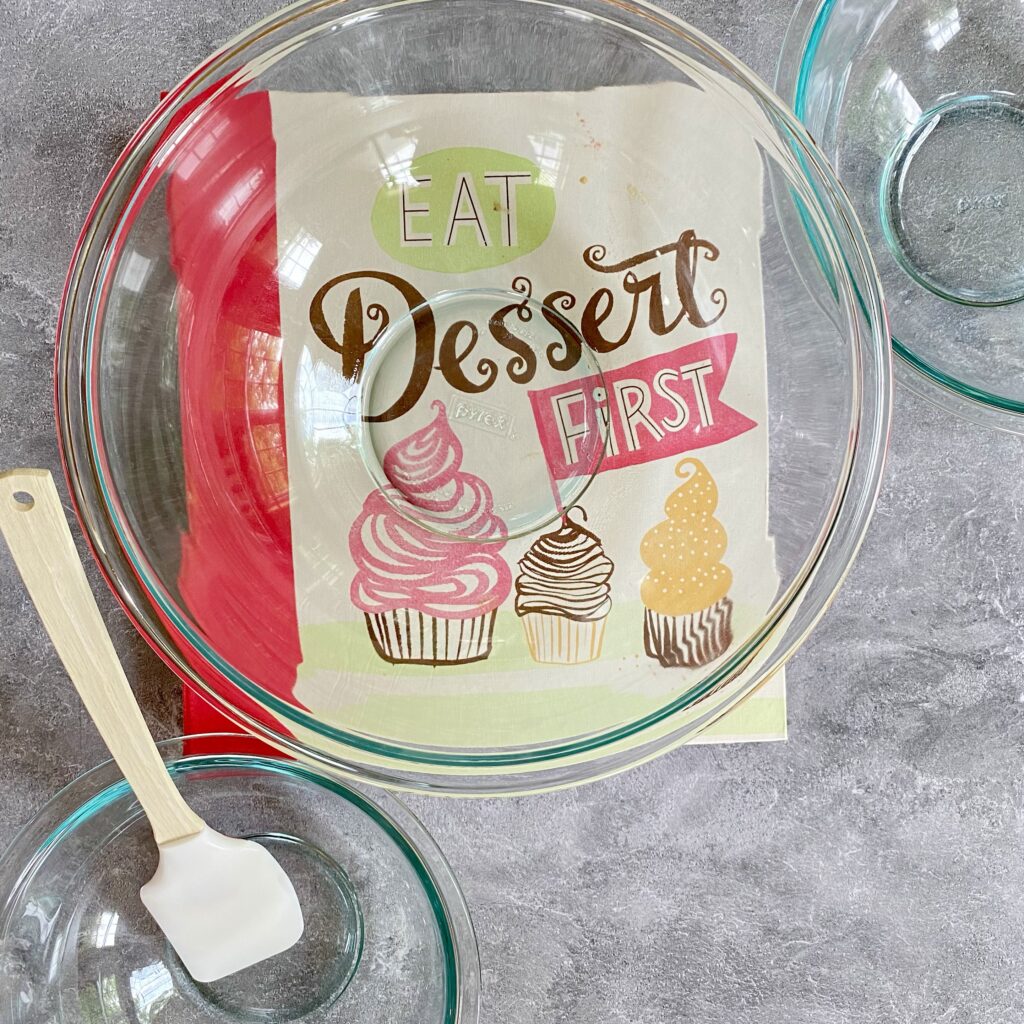
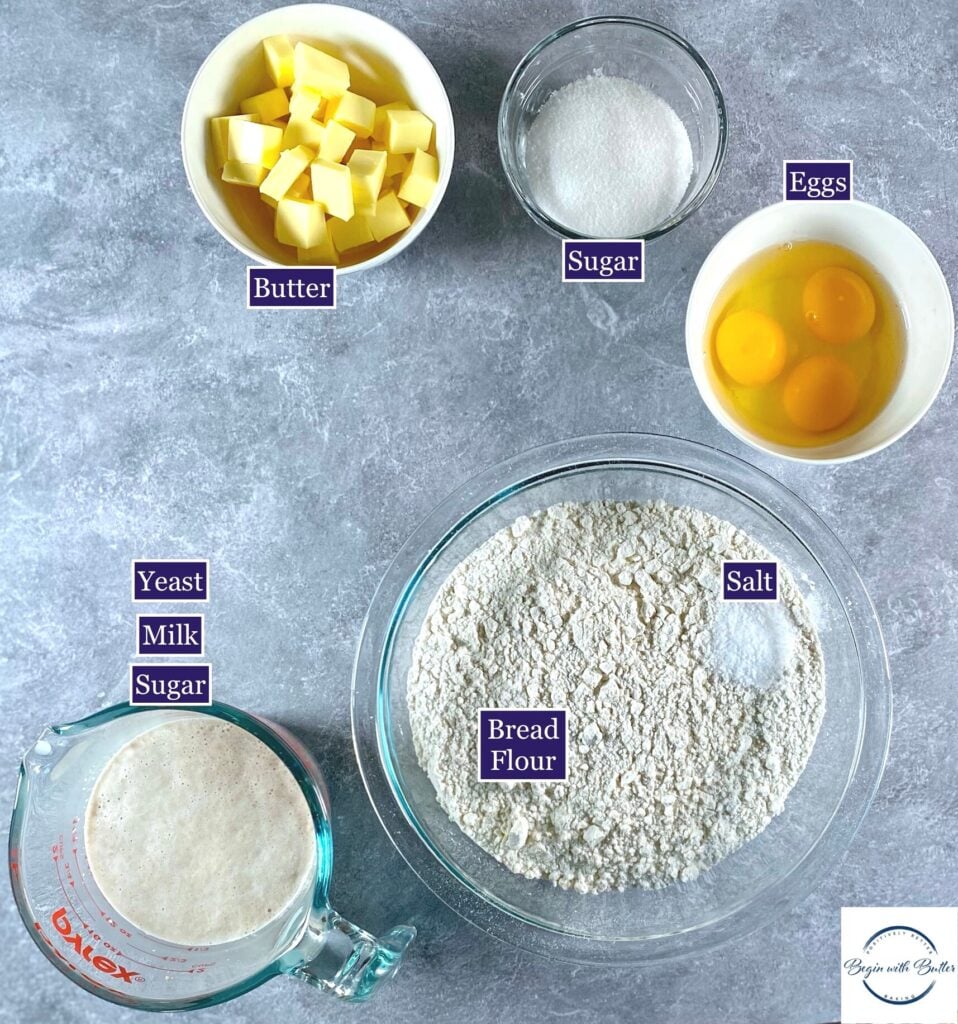
If you’ve spent some time on this site, you know that I always, always, always encourage you to fully prep your ingredients beforehand. This technique, known as mise en place, will keep you from running around like a chicken with its head cut off and will generally make you feel more calm and confident while you bake.
That wisdom is especially true with this dough.
Here’s my mise!
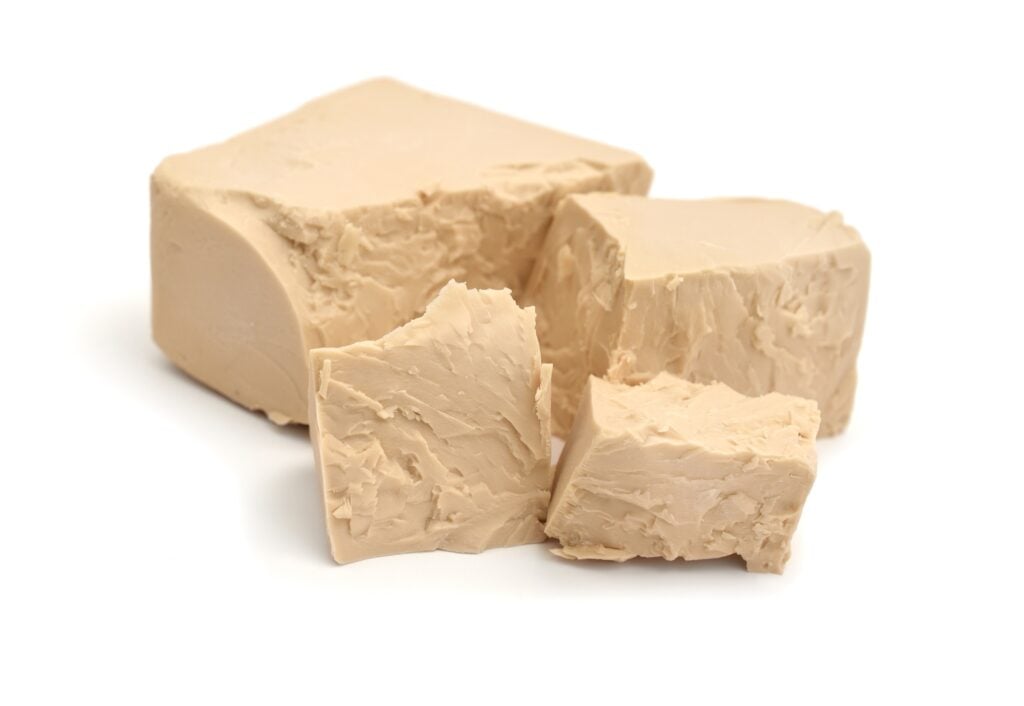
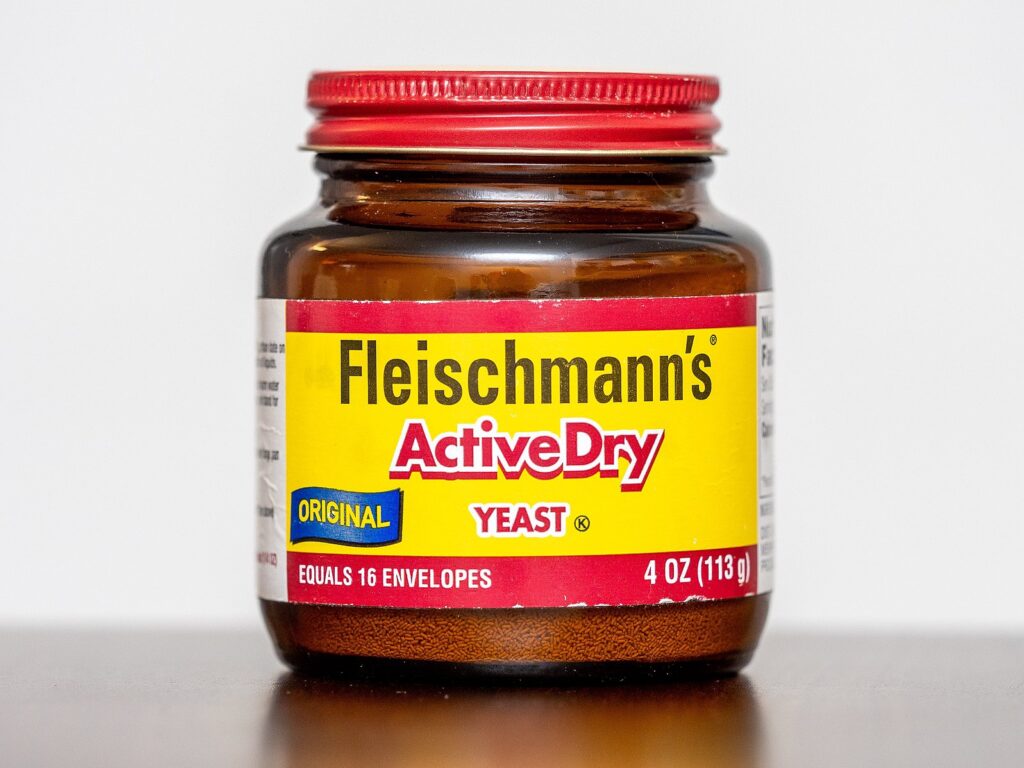
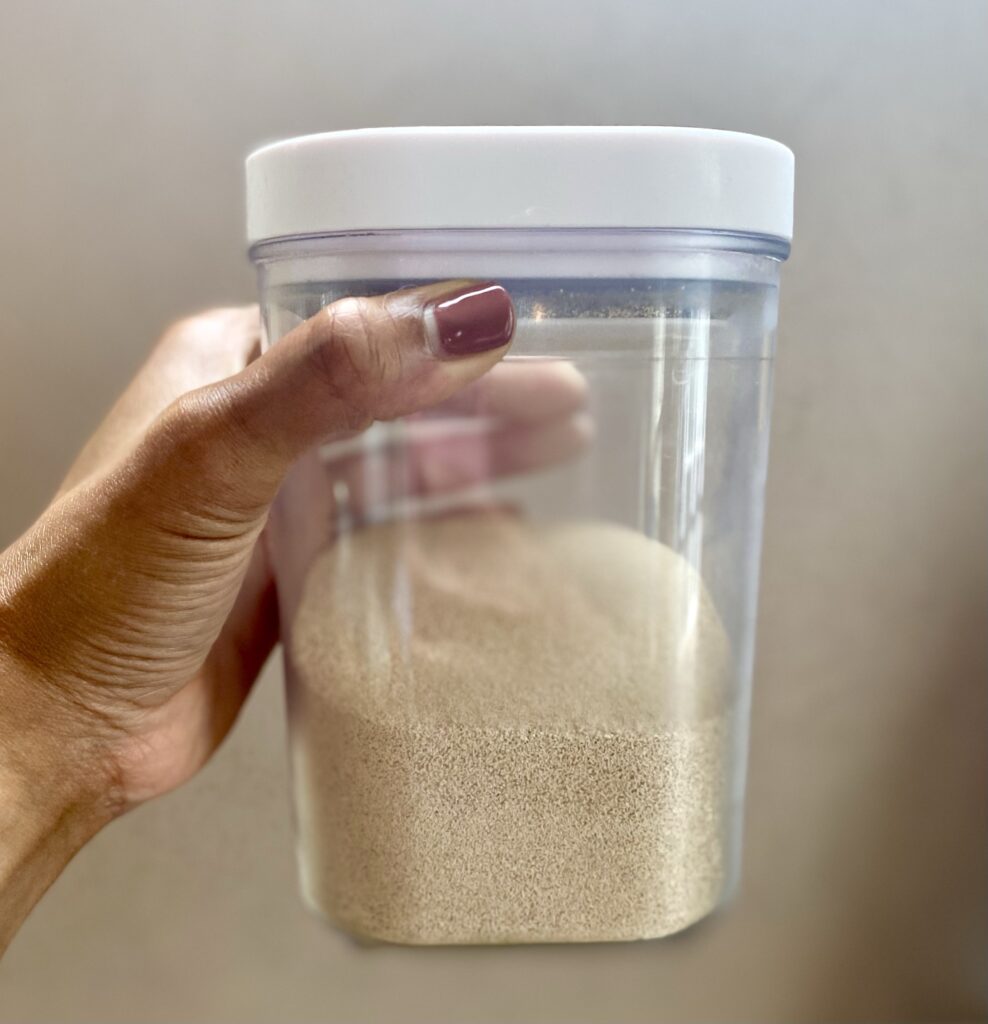
The Yeast
If you read my recent post about the basics of yeast, you know that, no matter the yeast I’m using, I always proof (or prove or bloom) the yeast that I’m using. In this recipe, I proofed the yeast in a warm milk bath (I aim for 110?F-115?F) and a half teaspoon of natural sugar. Because the milk has natural sugar in it (lactose), I cut the amount of sugar that I added for the proofing process. Too much sugar will actually kill yeast.
Guess there is such thing as “too much of a good thing.” ???????????
And it’s not even remotely the point to overfeed yeast!
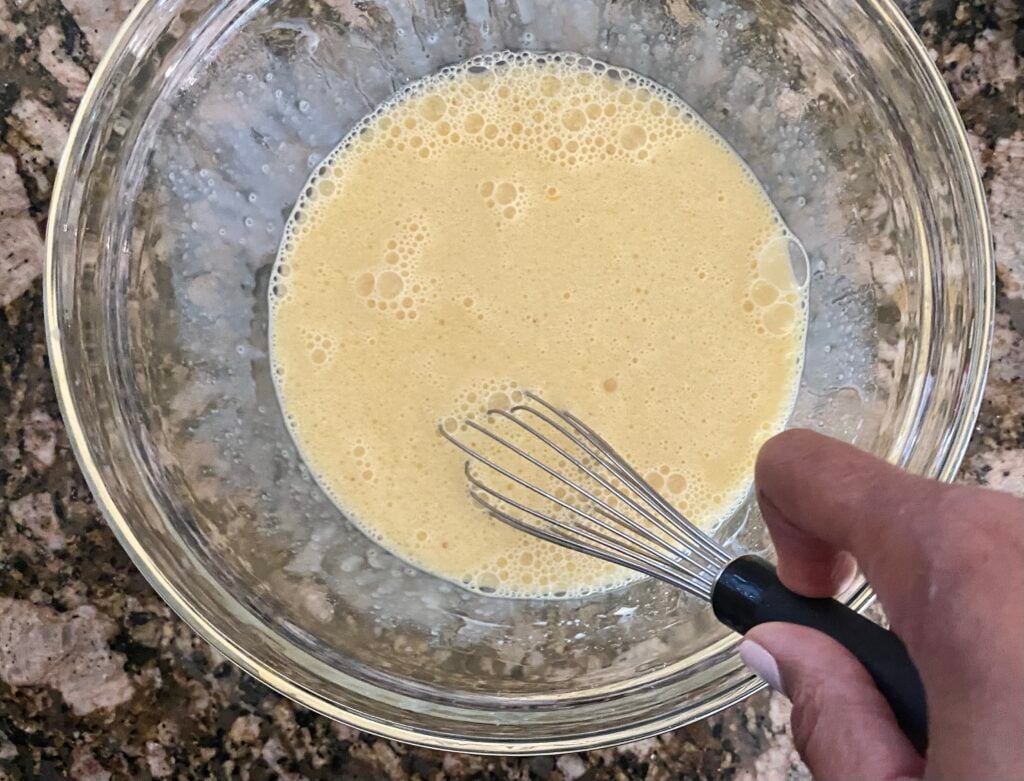
When the yeast mixture was done, I added that mixture to the eggs and sugar in the bowl of my stand mixer. Brioche is a sticky dough, so it’s best for beginners to use a mixer if they have one available to avoid adding too much flour.
Making the Dough
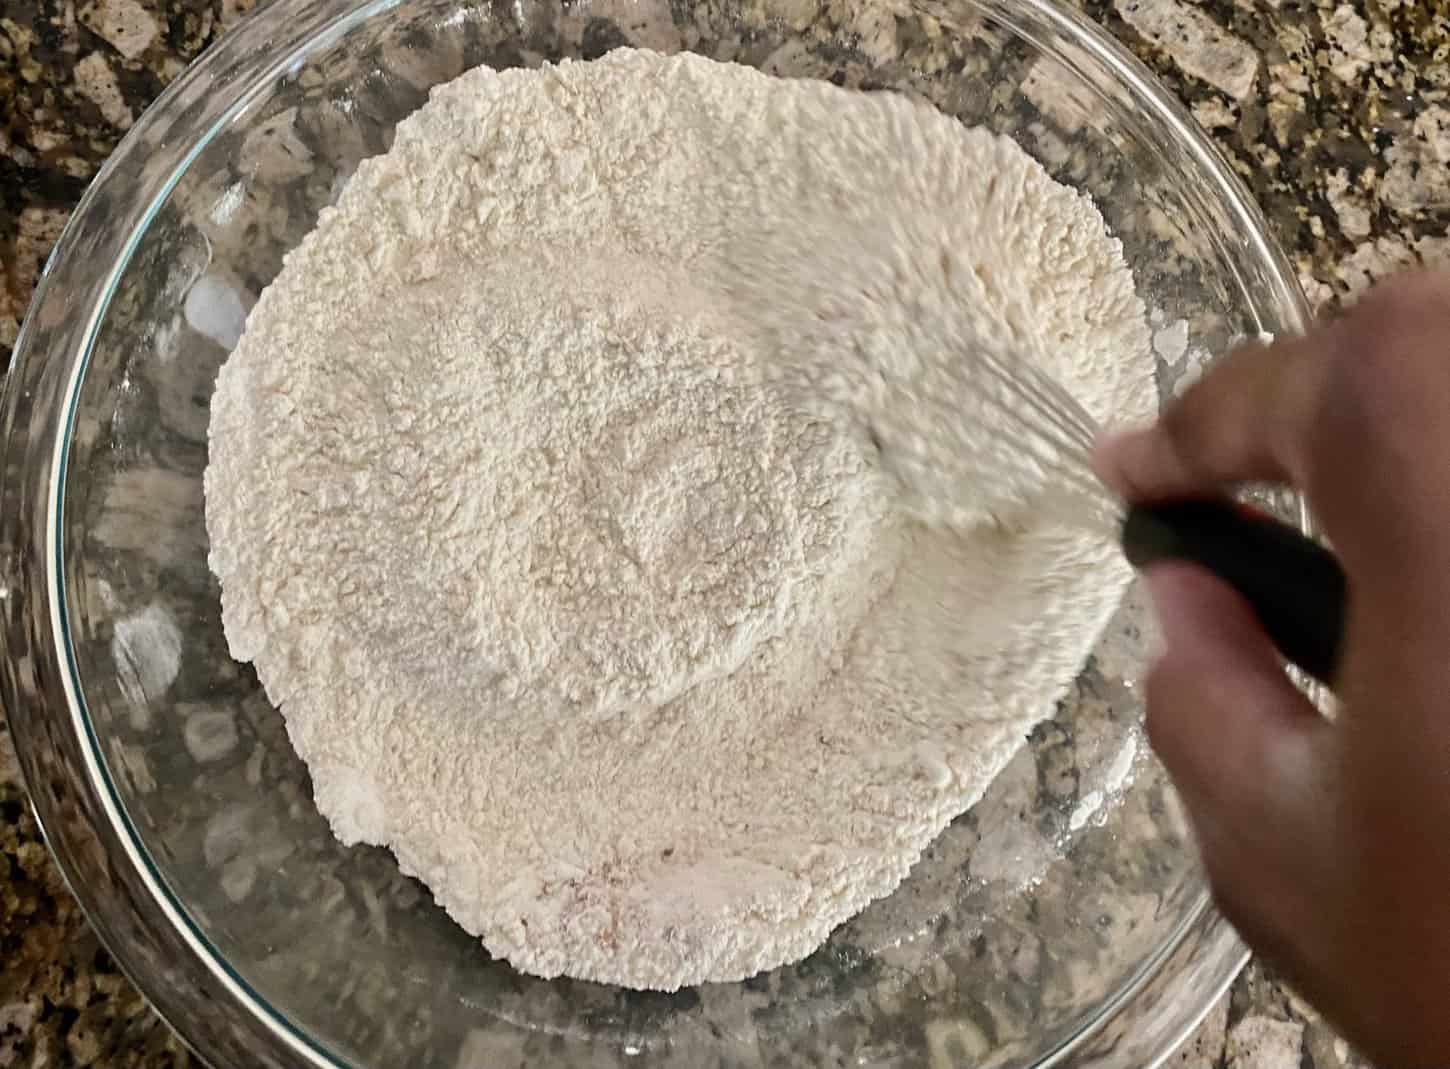
Once all of those ingredients were in the mixer, I reserved (or removed) a half cup of the flour from my bowl with a dry measuring cup and set it aside. The rest of the flour (and all of the salt) got added to the mixing bowl for the initial mix.
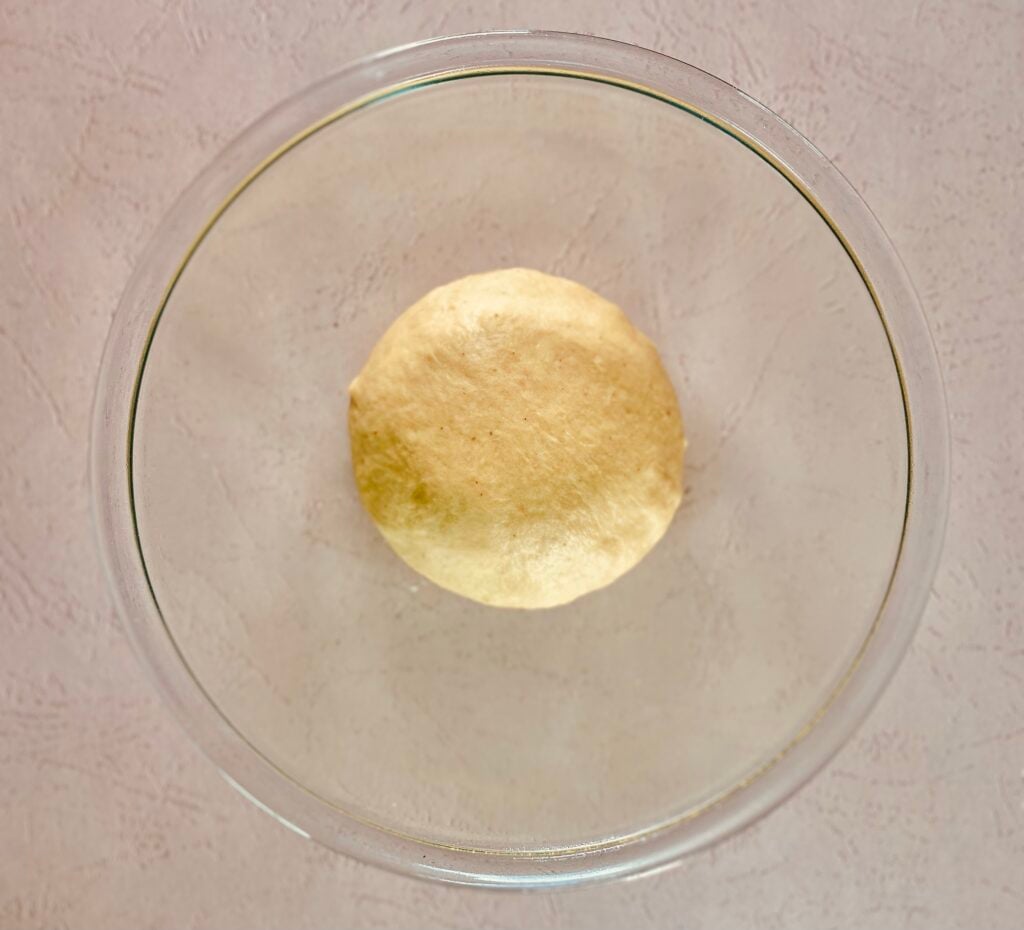
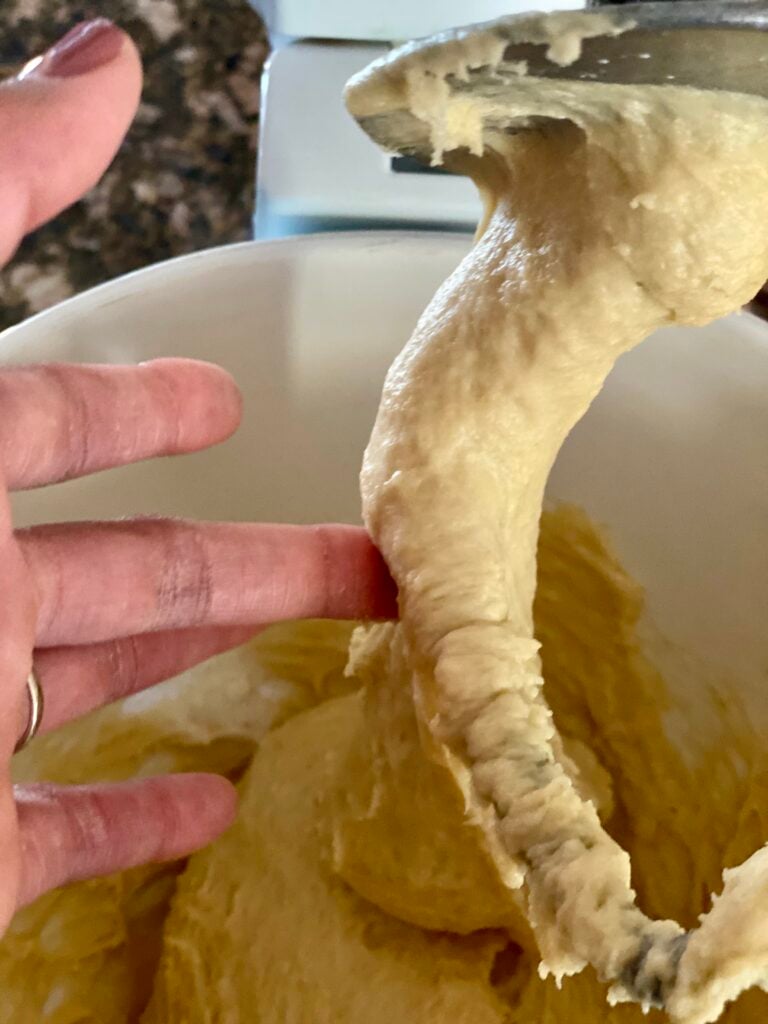
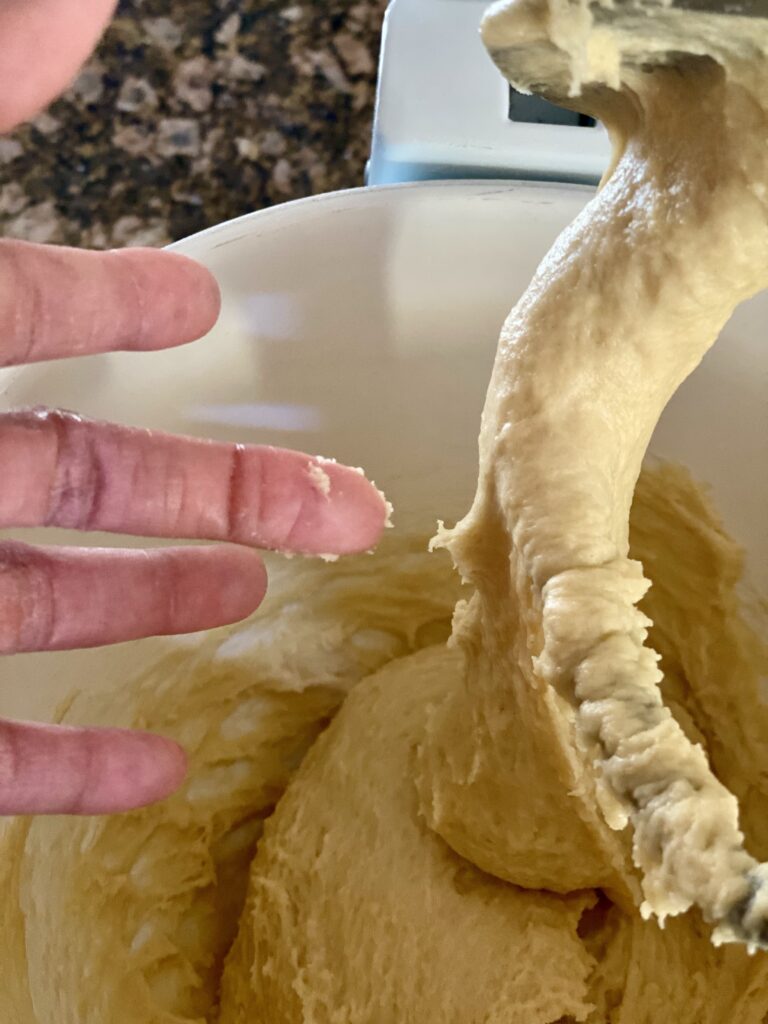
Then I just…let it go. I turned my stand mixer to “stir” to get everything combined, then set it to setting “2” and let it work for about five minutes without adding any additional flour. It started off shaggy and rough, and eventually got to the smooth and sticky phase you see here:
This what brioche dough looks like when the gluten is really starting to form. It’s combined and smooth, but not quite finished kneading. Good thing I set aside some flour!
Why do I do this, you ask? Sometimes, variables like air temperature, humidity, or even the moisture level of your flour can impact the amount of flour that you need for your brioche recipe. I’ve found that if you immediately add the entire amount of flour that a brioche recipe calls for, you’ll usually end up with an over-floured brioche. And that’s not even remotely the point.
After about five minutes of kneading, I ended up adding more flour, one tablespoon at a time. I added each tablespoon, then let it fully incorporate and work for about a minute before adding the next. After the fifth addition, I just…let it go for about another four minutes.
It’s important to let each tablespoon of flour incorporate and work into the dough before adding more flour. You see, the physical motion of kneading is just as important as flour when it comes to gluten development. So you want to give the kneading process a chance to work before adding more flour.
Taking Shape
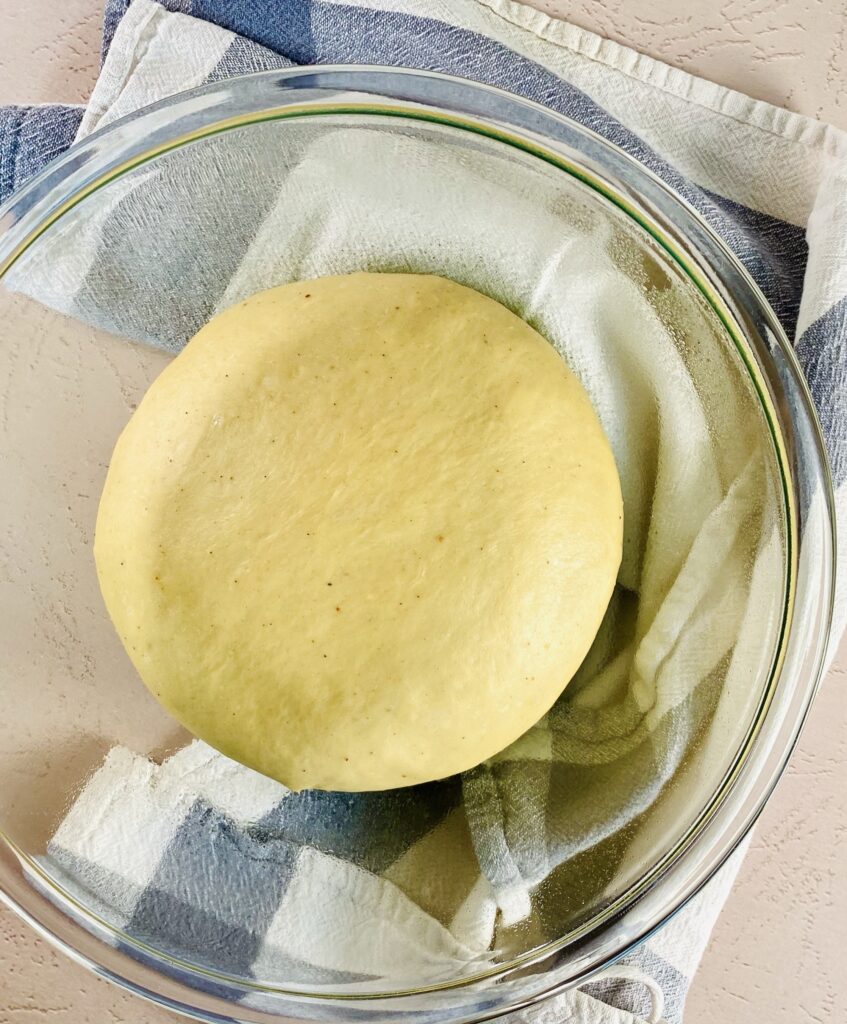
After letting the dough mix for those last four minutes, it was time to test the dough! I was looking for a tacky but smooth dough. Note: when a recipe says that a bread dough should “clear the sides” of the bowl, it doesn’t necessarily mean that the dough should clear the bottom of the bowl as well. Mine looked like this:
Enriched doughs can be super tricky Fam! By the time you add enough flour to have these doughs clear the bottom and sides of the bowl, it’s going to be over-floured and likely ruined. These doughs should be just a touch tacky on the outside when you finish, and they might be downright sticky on the dough hook when they’re done.
That’s perfect.
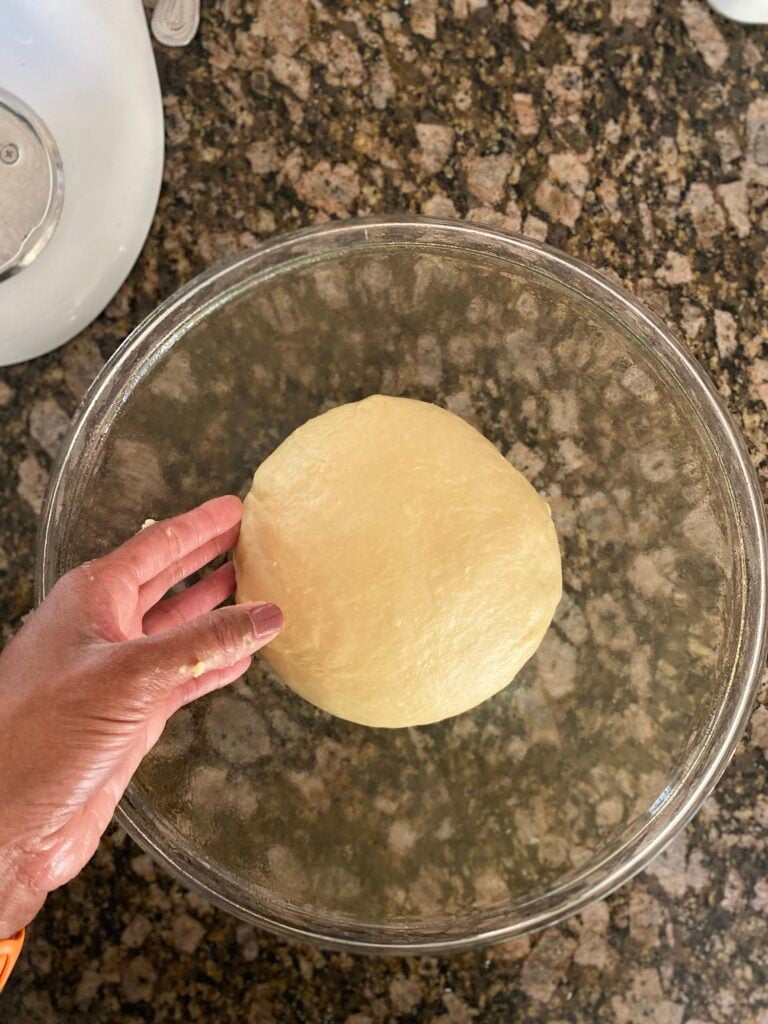
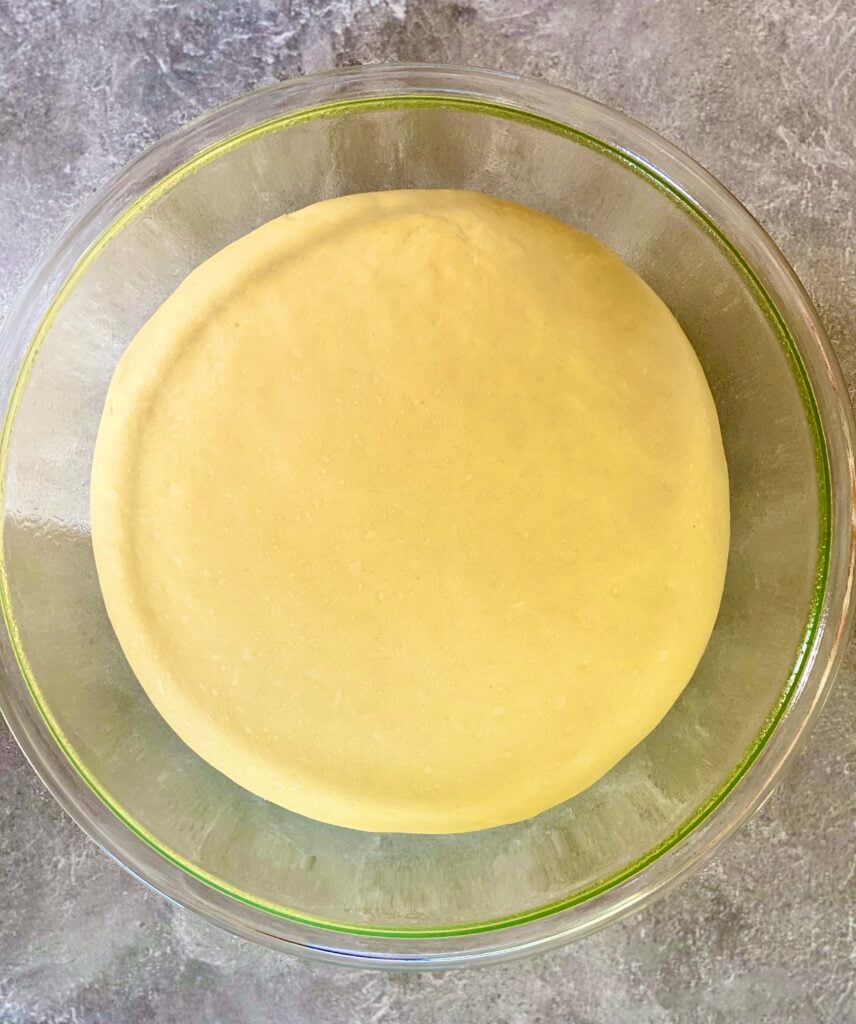
With this one, I sprayed my hands with cooking spray, removed the dough from the bowl and dough hook, and shaped it into a ball so that it could rise for an hour.
The Fun Part!
Onto the filling! While that perfect dough was nestled in its resting bowl, I prepped the filling.
Y’all. Cinnamon roll filling has a very potent smell. It’s…the cinnamon.
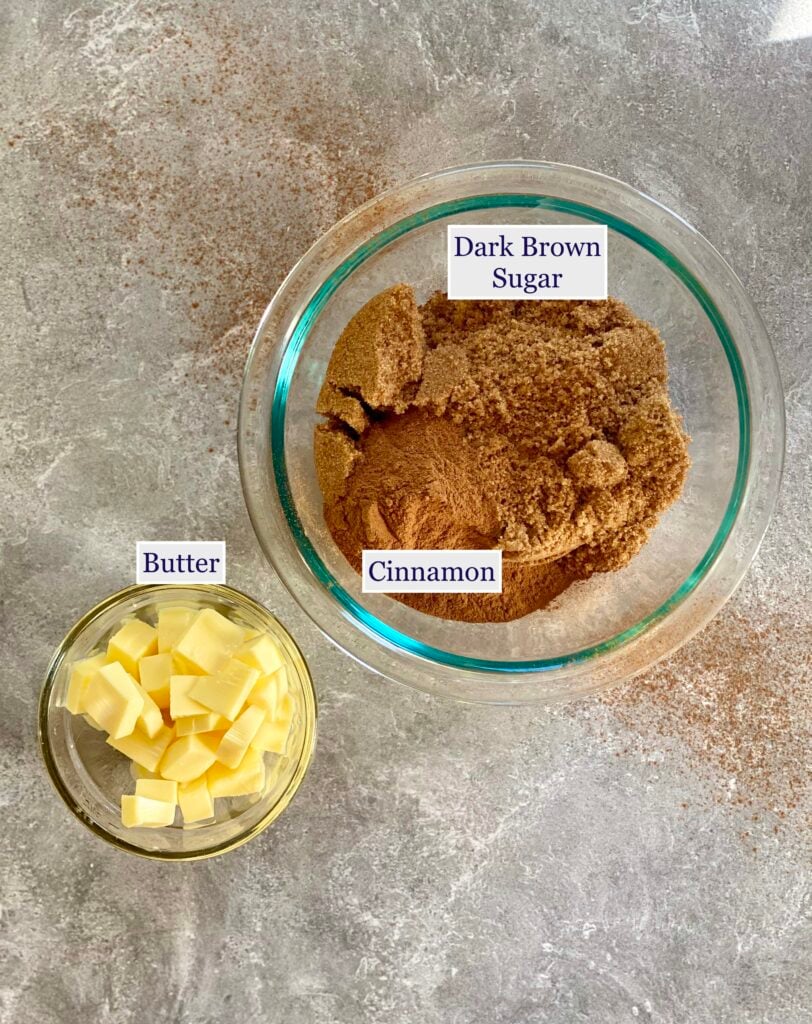
The recipe calls for light or dark brown sugar. As a rule, I prefer the extra scrumptiousness of dark brown sugar. It’s the extra molasses for me.
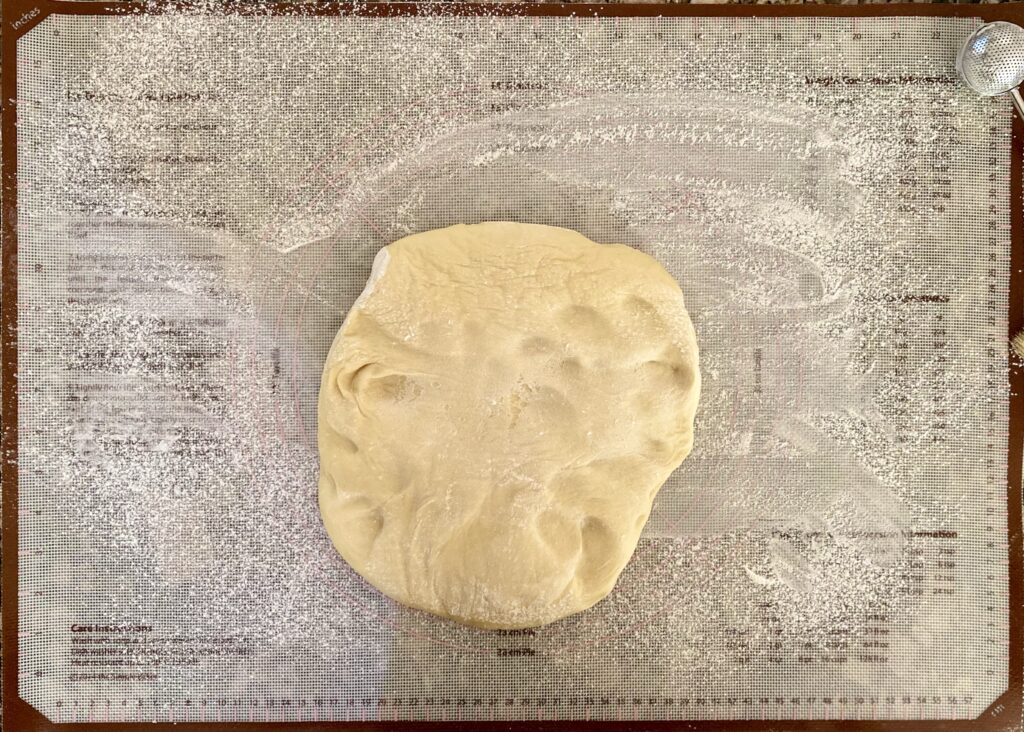
The dough finished right at the one hour mark, and what do you know, the stickiness was completely gone. It worked itself out during the resting time.
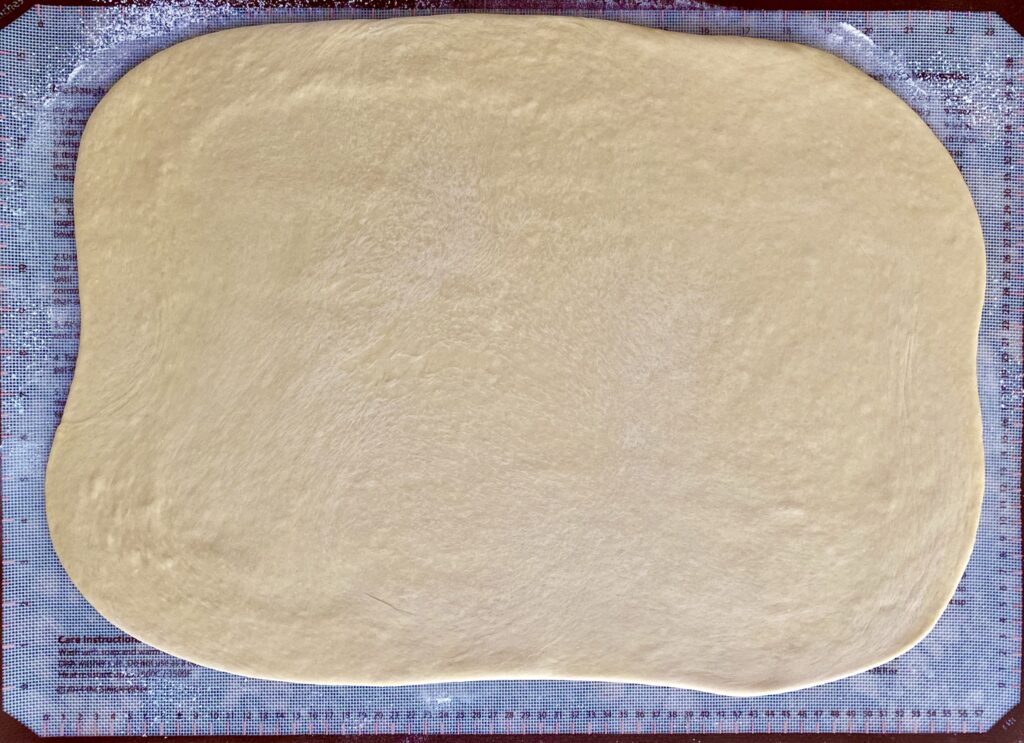
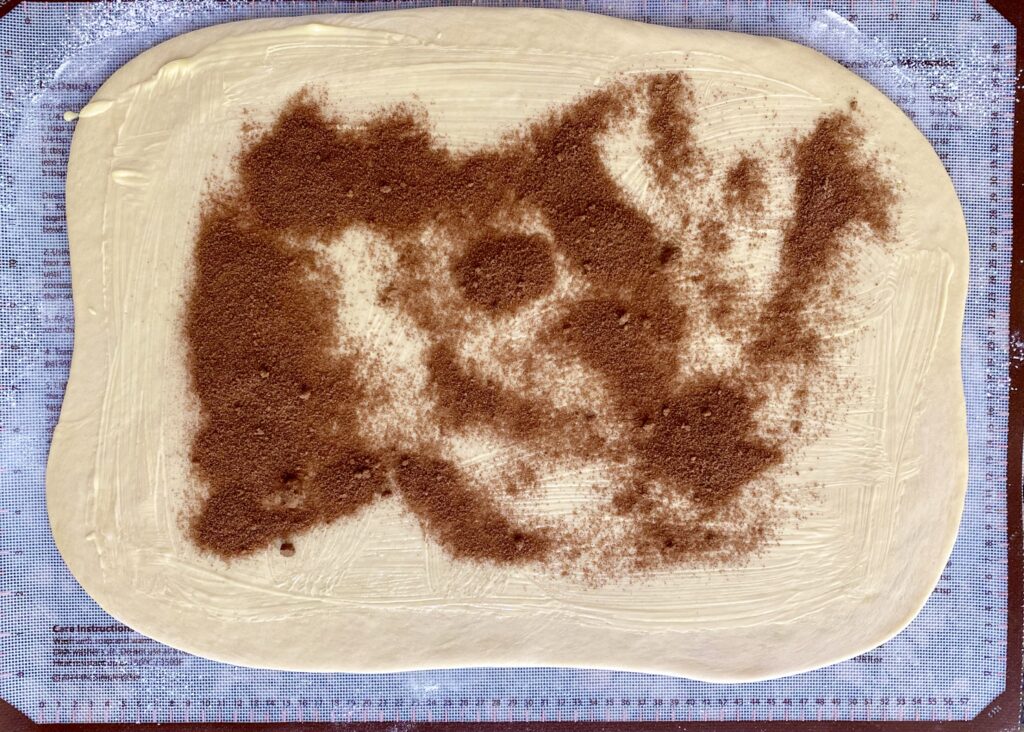
I unrolled my silicone pastry mat (this one, which I love but which I don’t get paid to advertise), prepped my surface with the tiniest bit of flour, and rolled the dough to just shy of 1/2 inch thickness.

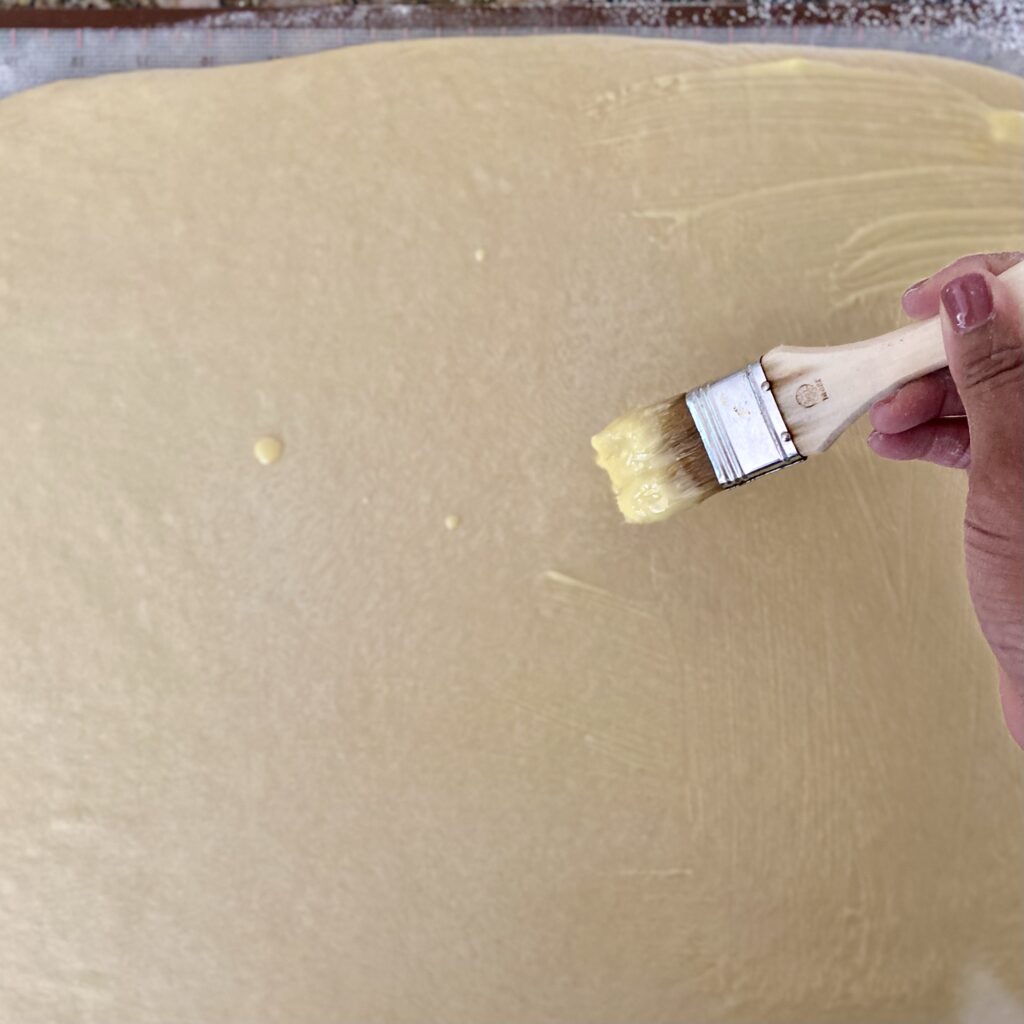
Next, I brushed on a layer of mostly melted butter…and then had a BALL with the cinnamon/brown sugar mixture. Pro tip: make sure to press the cinnamon sugar into the dough!

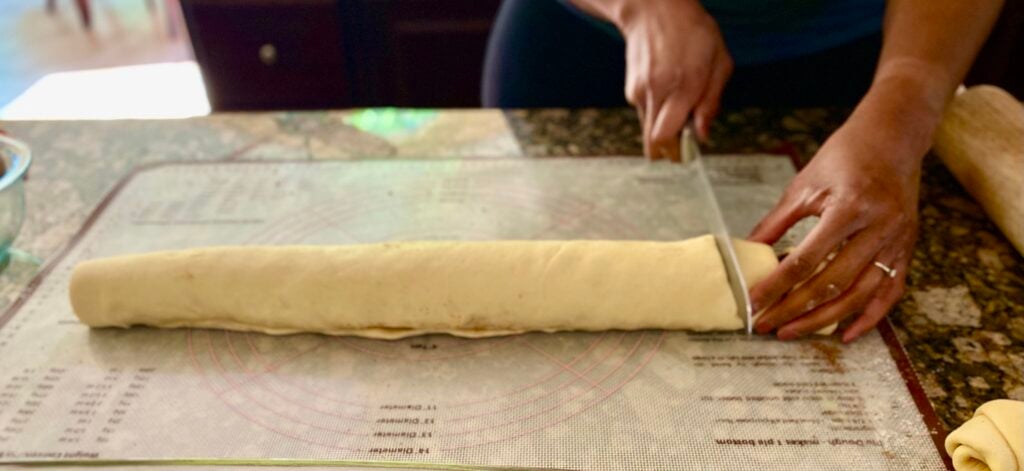
The absolute most satisfying moment of cinnamon roll production is the actual rolling of the cinnamon…roll. I adore that little *pinch* at the end to make sure that it’s sealed properly.
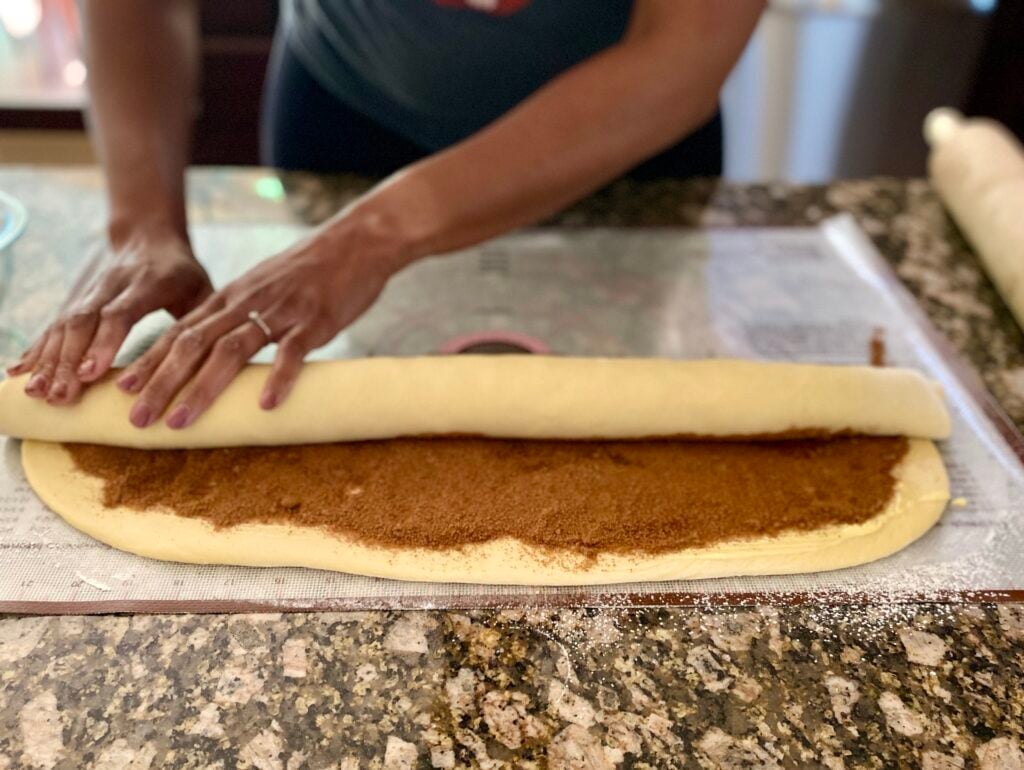
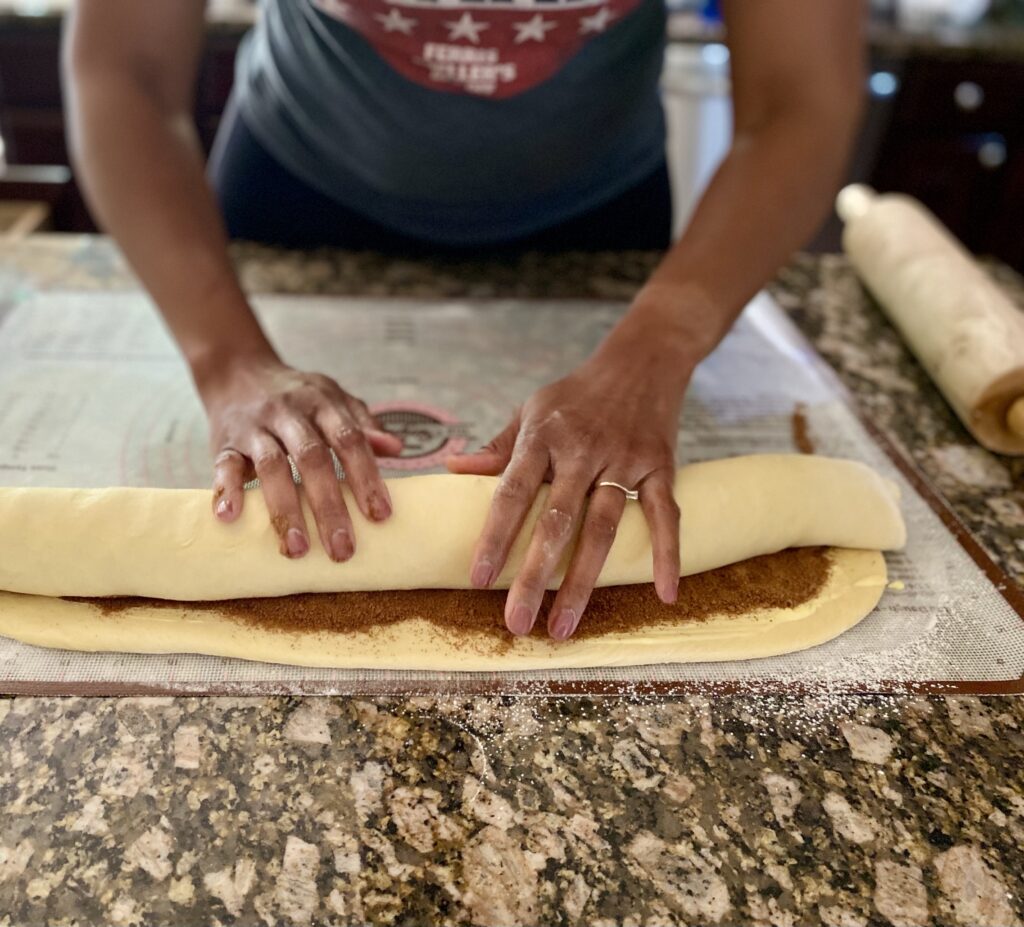
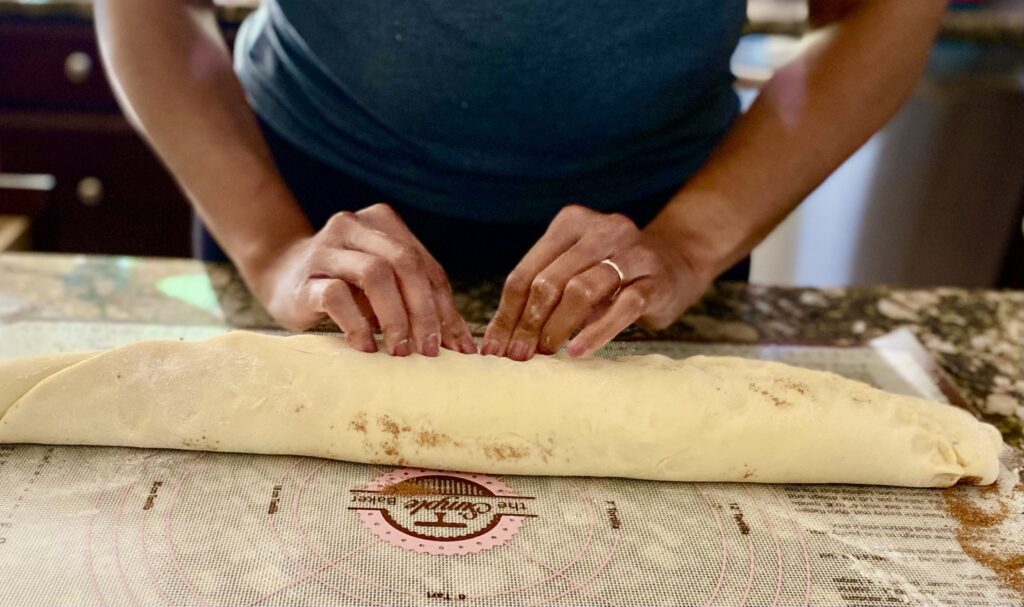
Remember to leave about an inch of space at the edges of the dough so that you can get the dough to stick to itself!
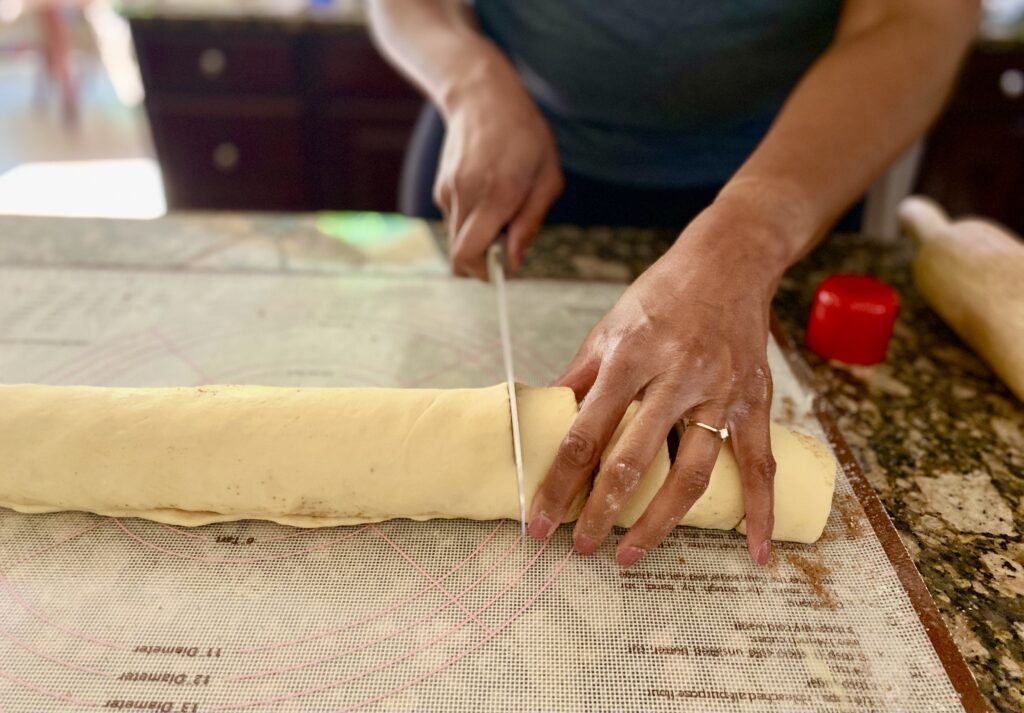
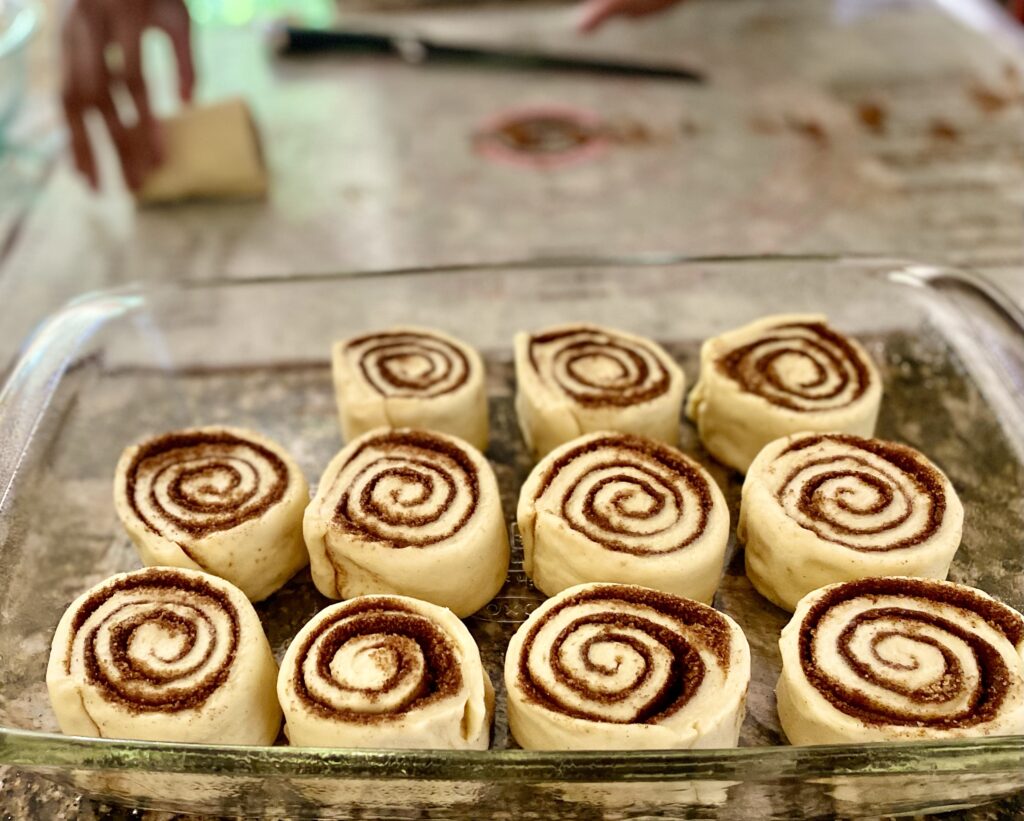
Next, came the cutting. I aimed for 1.5 inches per roll, to ensure that they baked evenly:
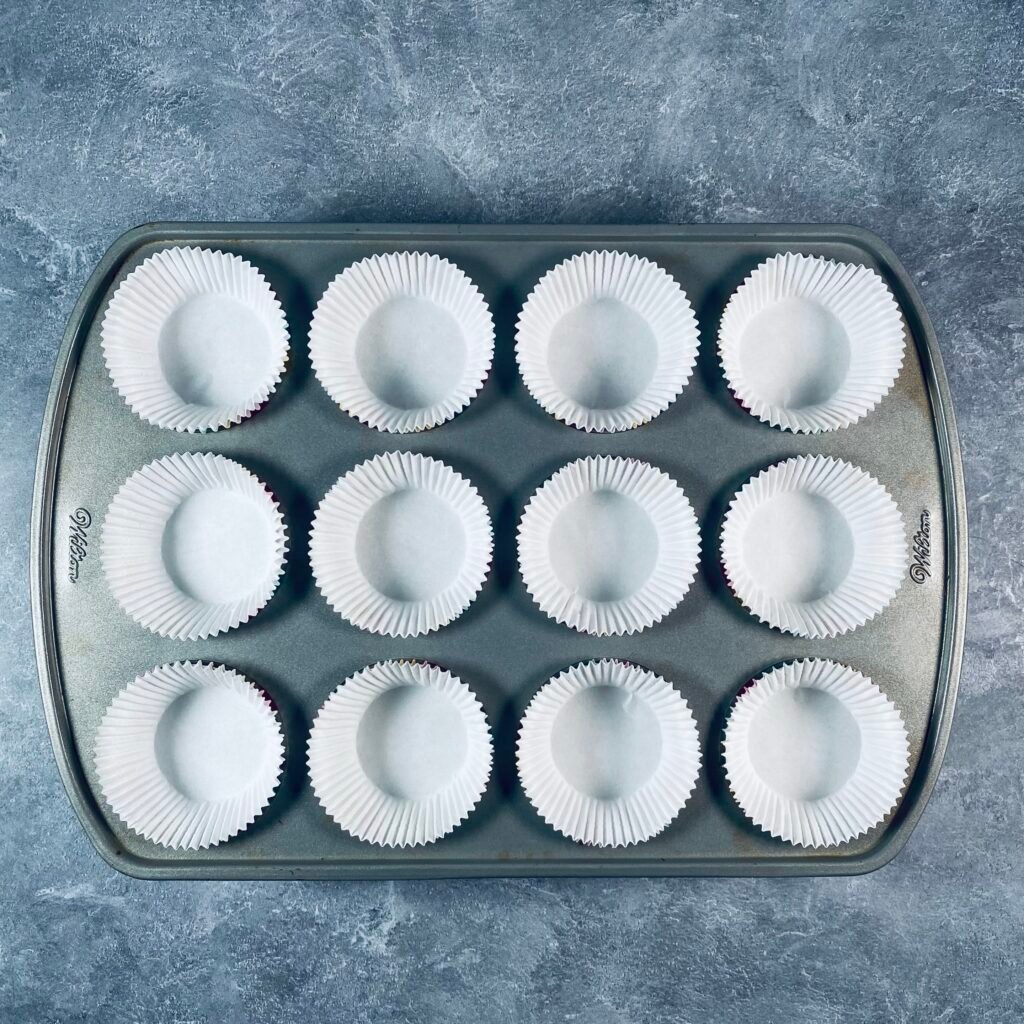
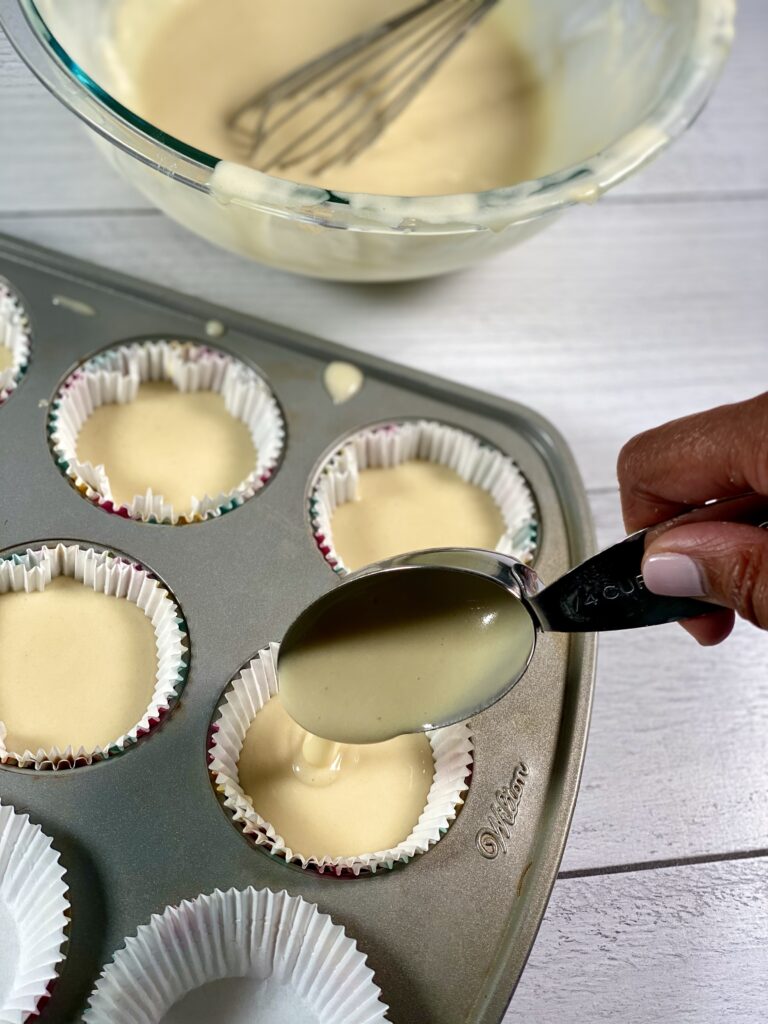
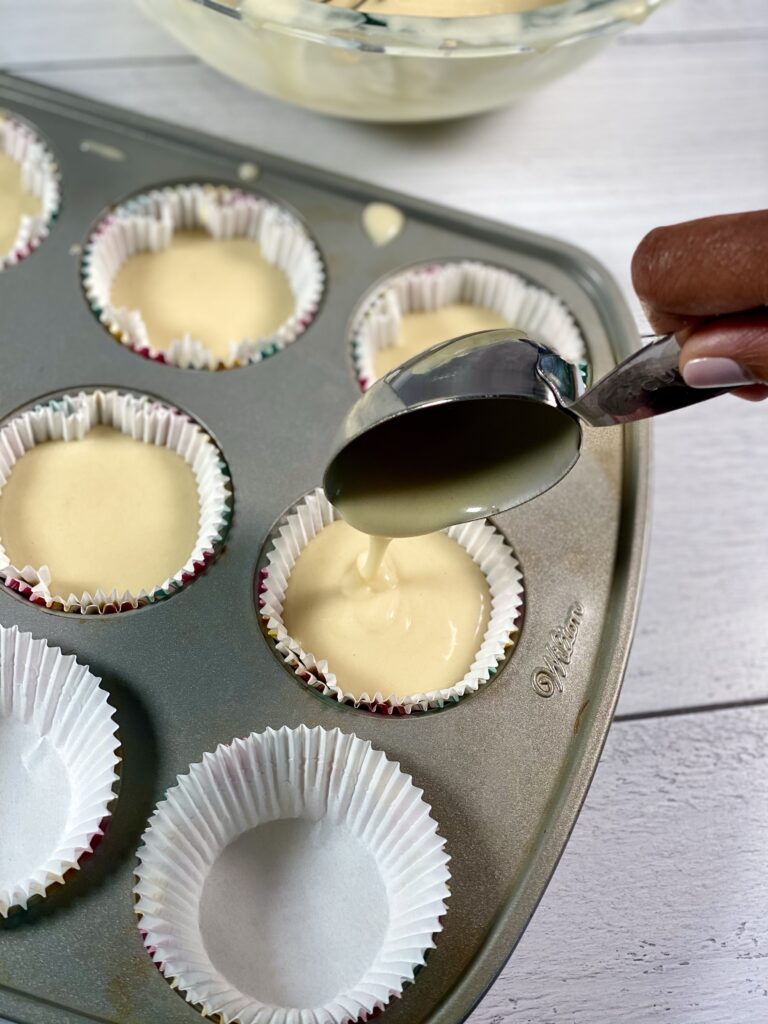
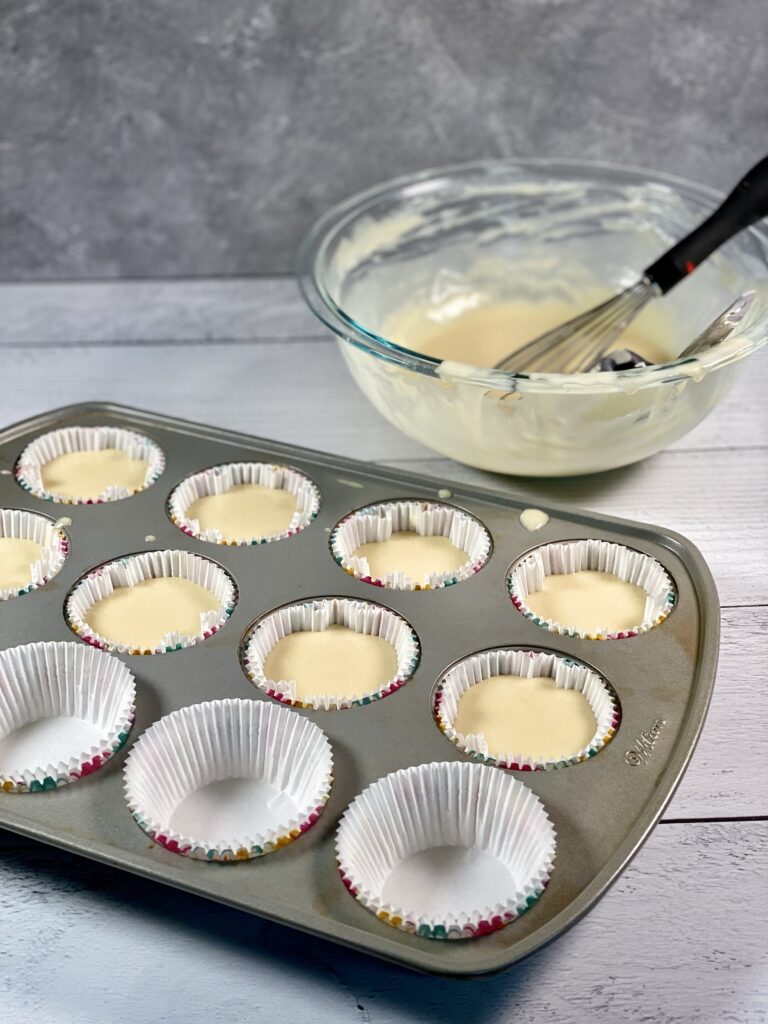
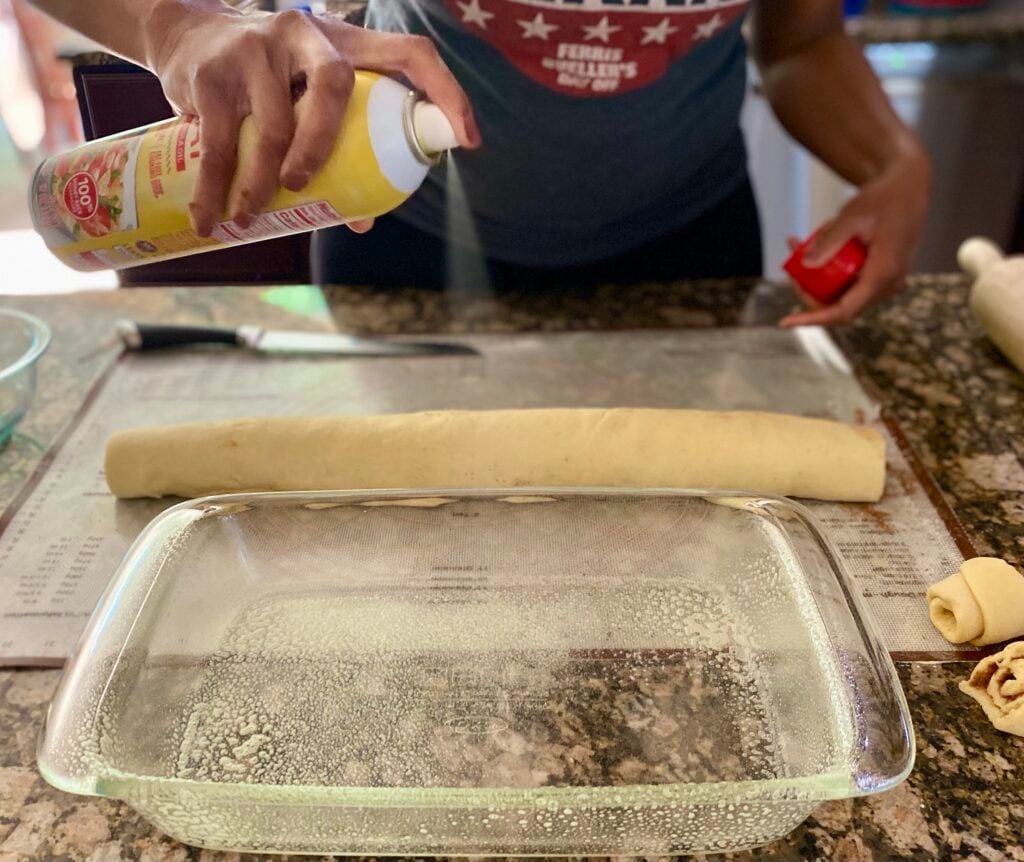
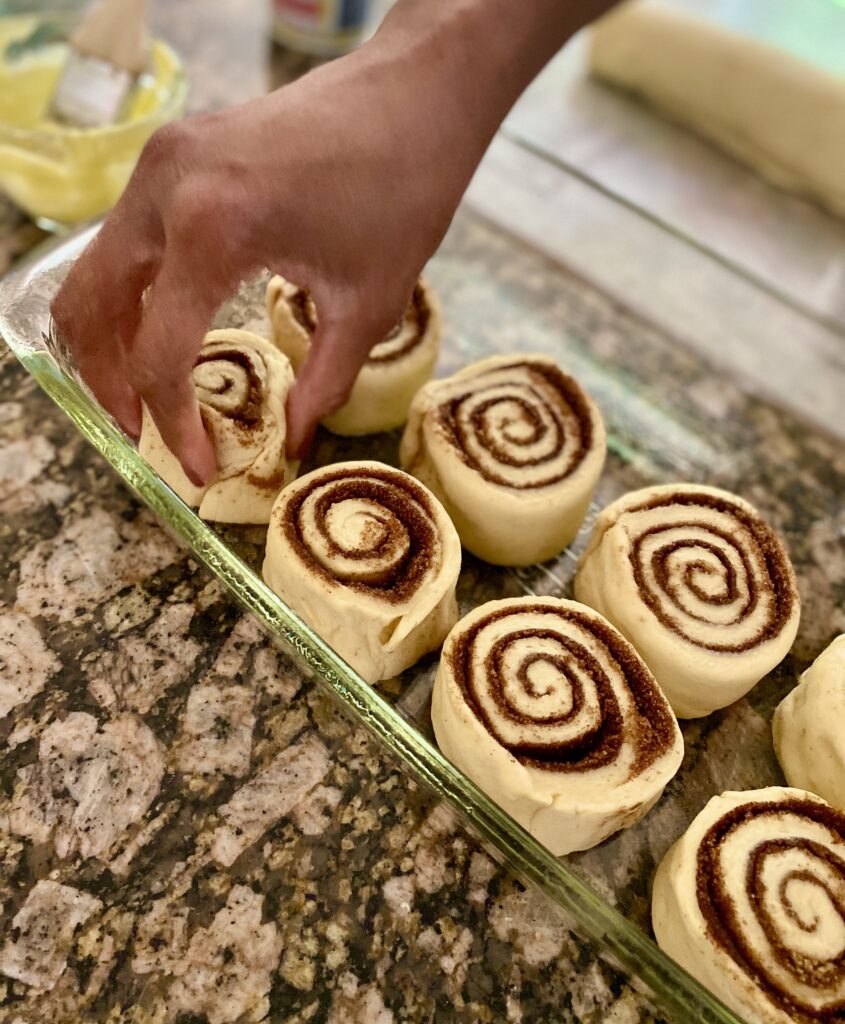
Then I placed them in my prepped pan, with enough room around them for their final rise (about 30 minutes):
While they rested, I turned on my oven to 350?F. A few minutes before the cinnamon rolls were ready to go into the oven, I double-checked my cheapie oven thermometer to make sure that the oven was actually at the right temperature.
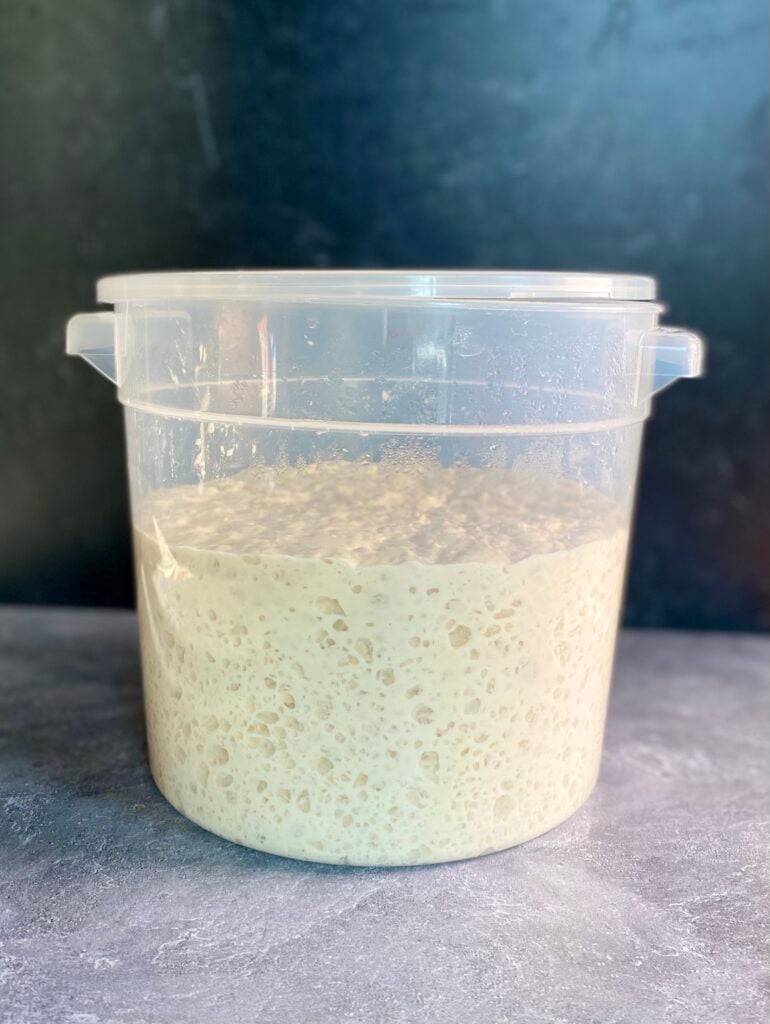
And oh did they rise! As you can see, the dough got nice and puffy during that thirty minute rest period.
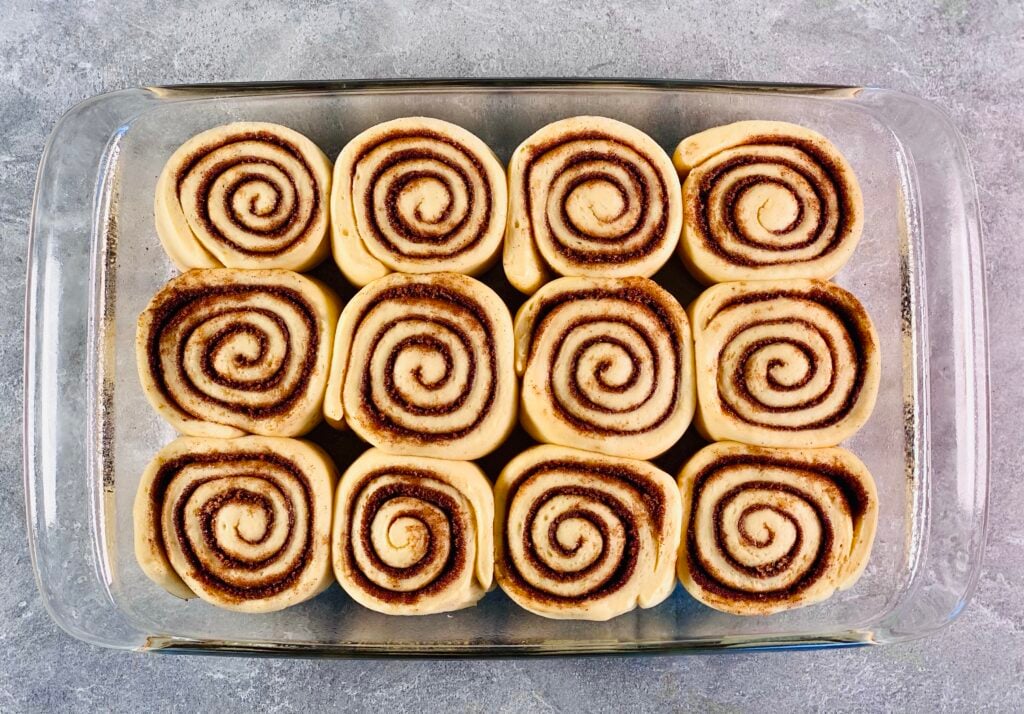
Onto the ovens!
The Bake
I may or may not have actually watched these bake for half of their baking time.

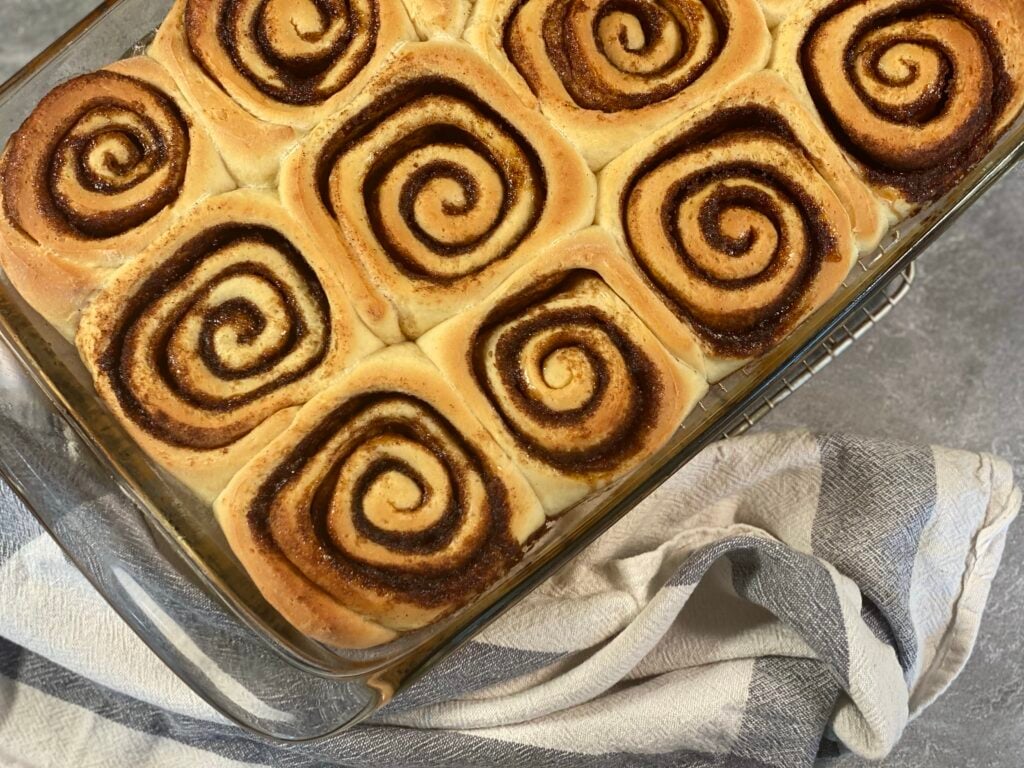
Okay. I totally did watch these cinnamon rolls for several minutes of their 22-minute baking time. But it was so satisfying.
Once they came out, they looked…like…this…
The Big Finish
What is a cinnamon roll without cream cheese frosting?
Incomplete. It’s incomplete. While the cinnamon rolls were baking, I got started on the luscious goodness that is the frosting.
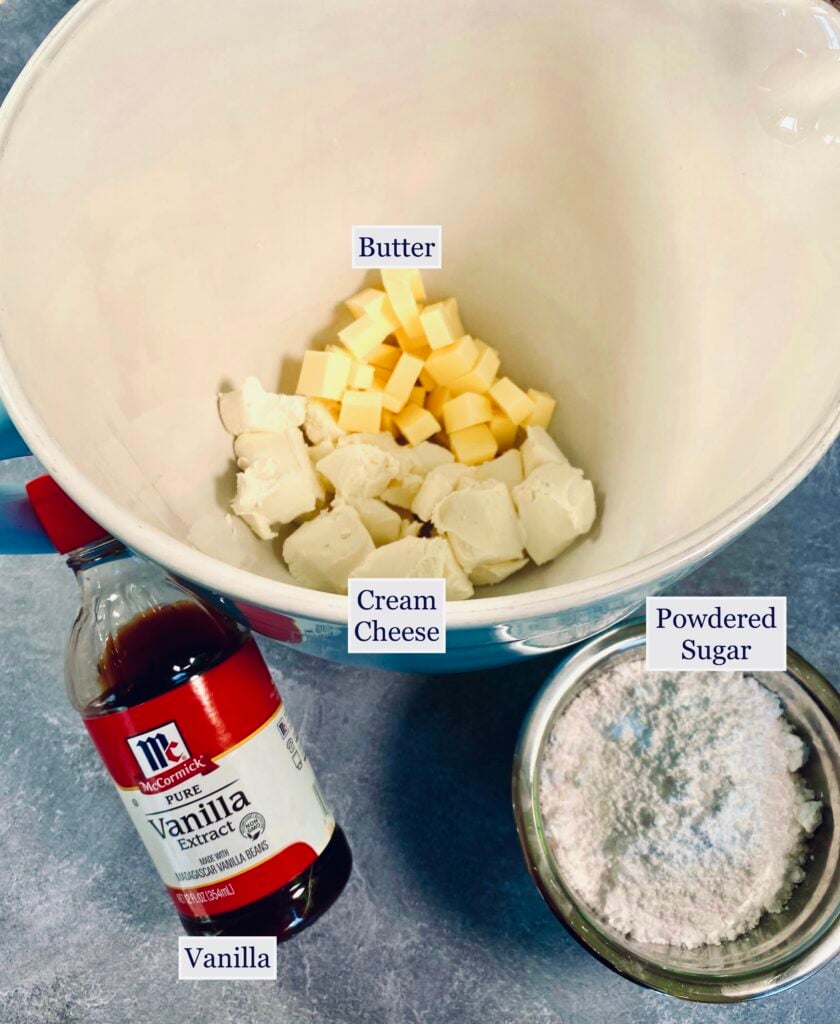
Pro tip: cold cream cheese + powdered sugar = LUMPS. You can completely avoid this by letting the cream cheese come to room temperature before starting your frosting.
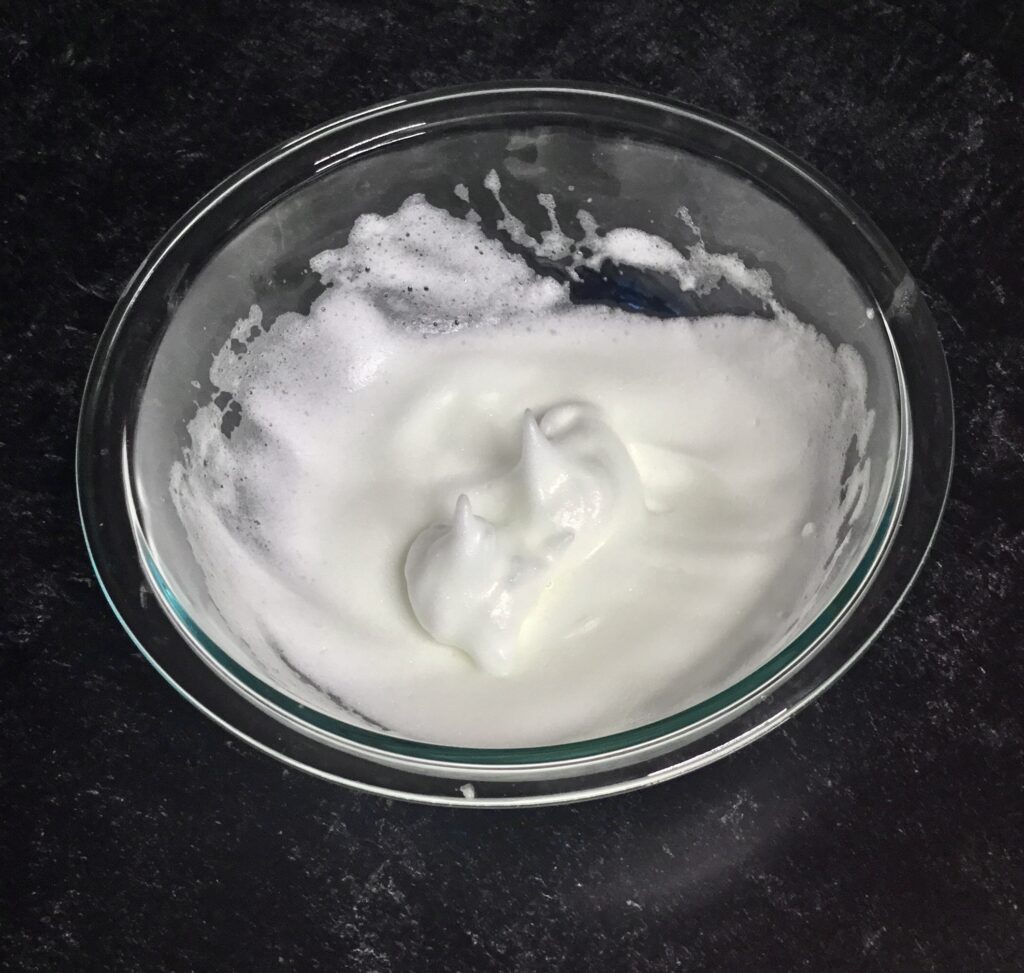
I put the butter and cream cheese in the bowl of my stand mixer and blended them with the whisk attachment until they were completely smooth.
Once the butter and cream cheese were blended and smooth, I added half of the powdered sugar and the vanilla and mixed on low speed until the mixture was incorporated and smooth. Once it was incorporated, I added the second half of the powdered sugar and mixed for another minute or so on low/medium speed.
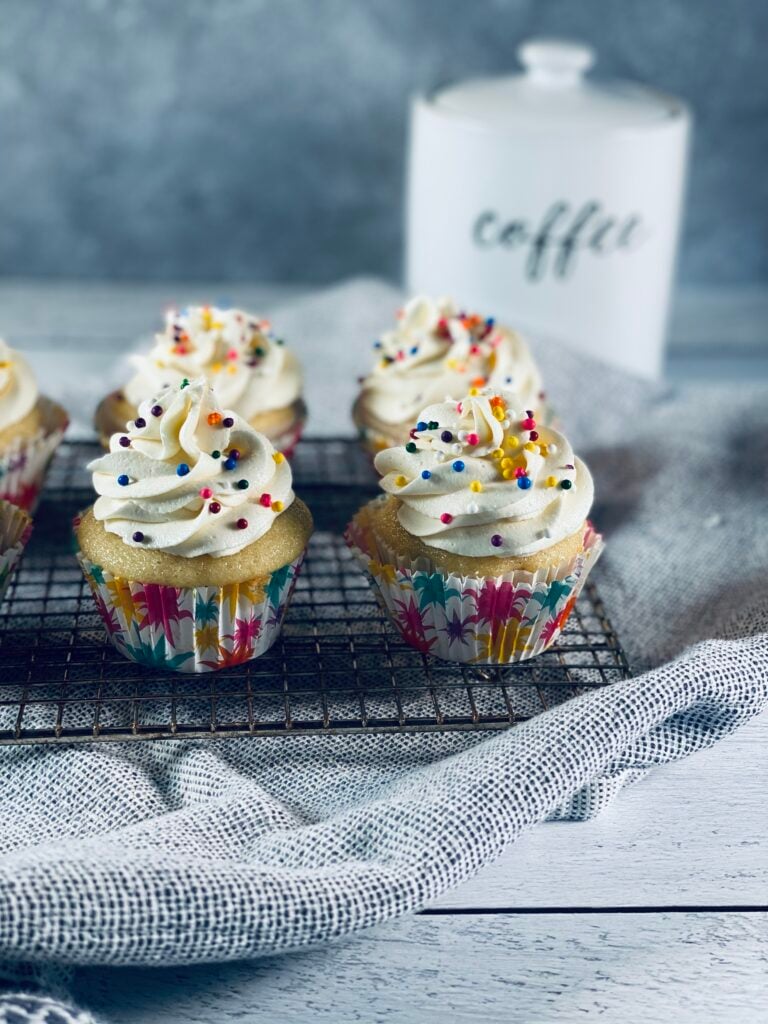
Then, I did this:
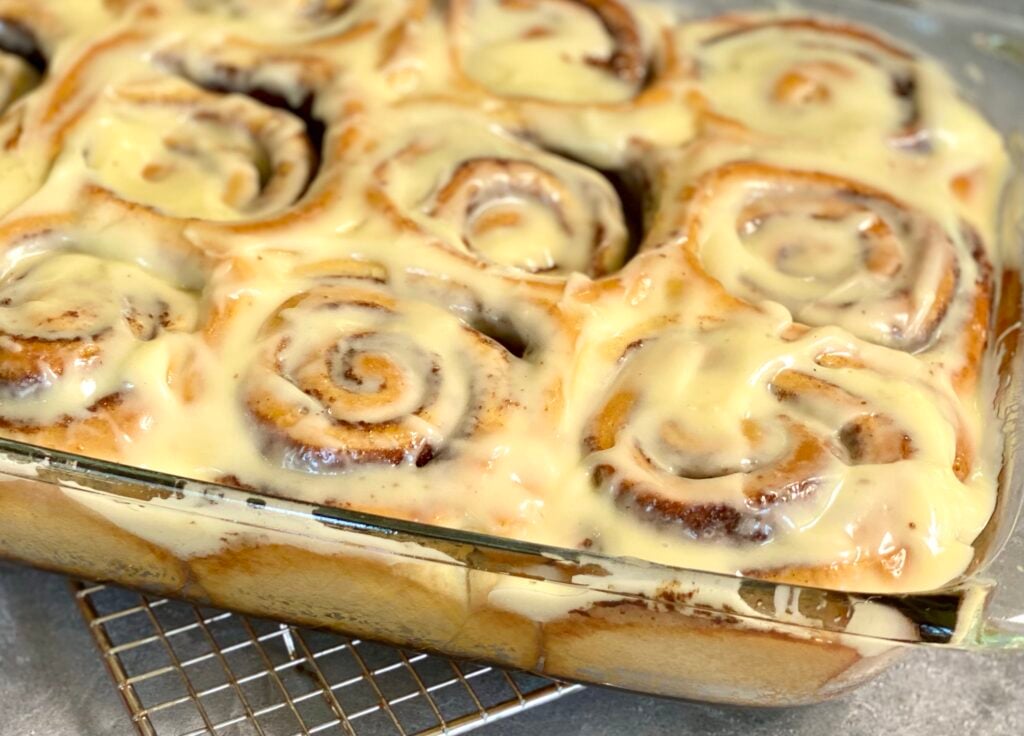
These were SO delicious. The dough was just dreamy, and the cinnamon sugar had the perfect balance. My family devoured most of these in one sitting, and when I left them unguarded on the counter, the rest of them disappeared.
Only the dirty baking dish remained.
This recipe was accessible and fun and it’s definitely one that I’ll keep in my repertoire for the future. Dare I say, this one is in strong contention to be selected for Christmas brunch!
I hope you enjoyed this post! Let me know how these techniques worked for you in the comments below!
Until next time! ??
Don’t forget to subscribe while you’re here so that you don’t miss a beat!