
About This Cake
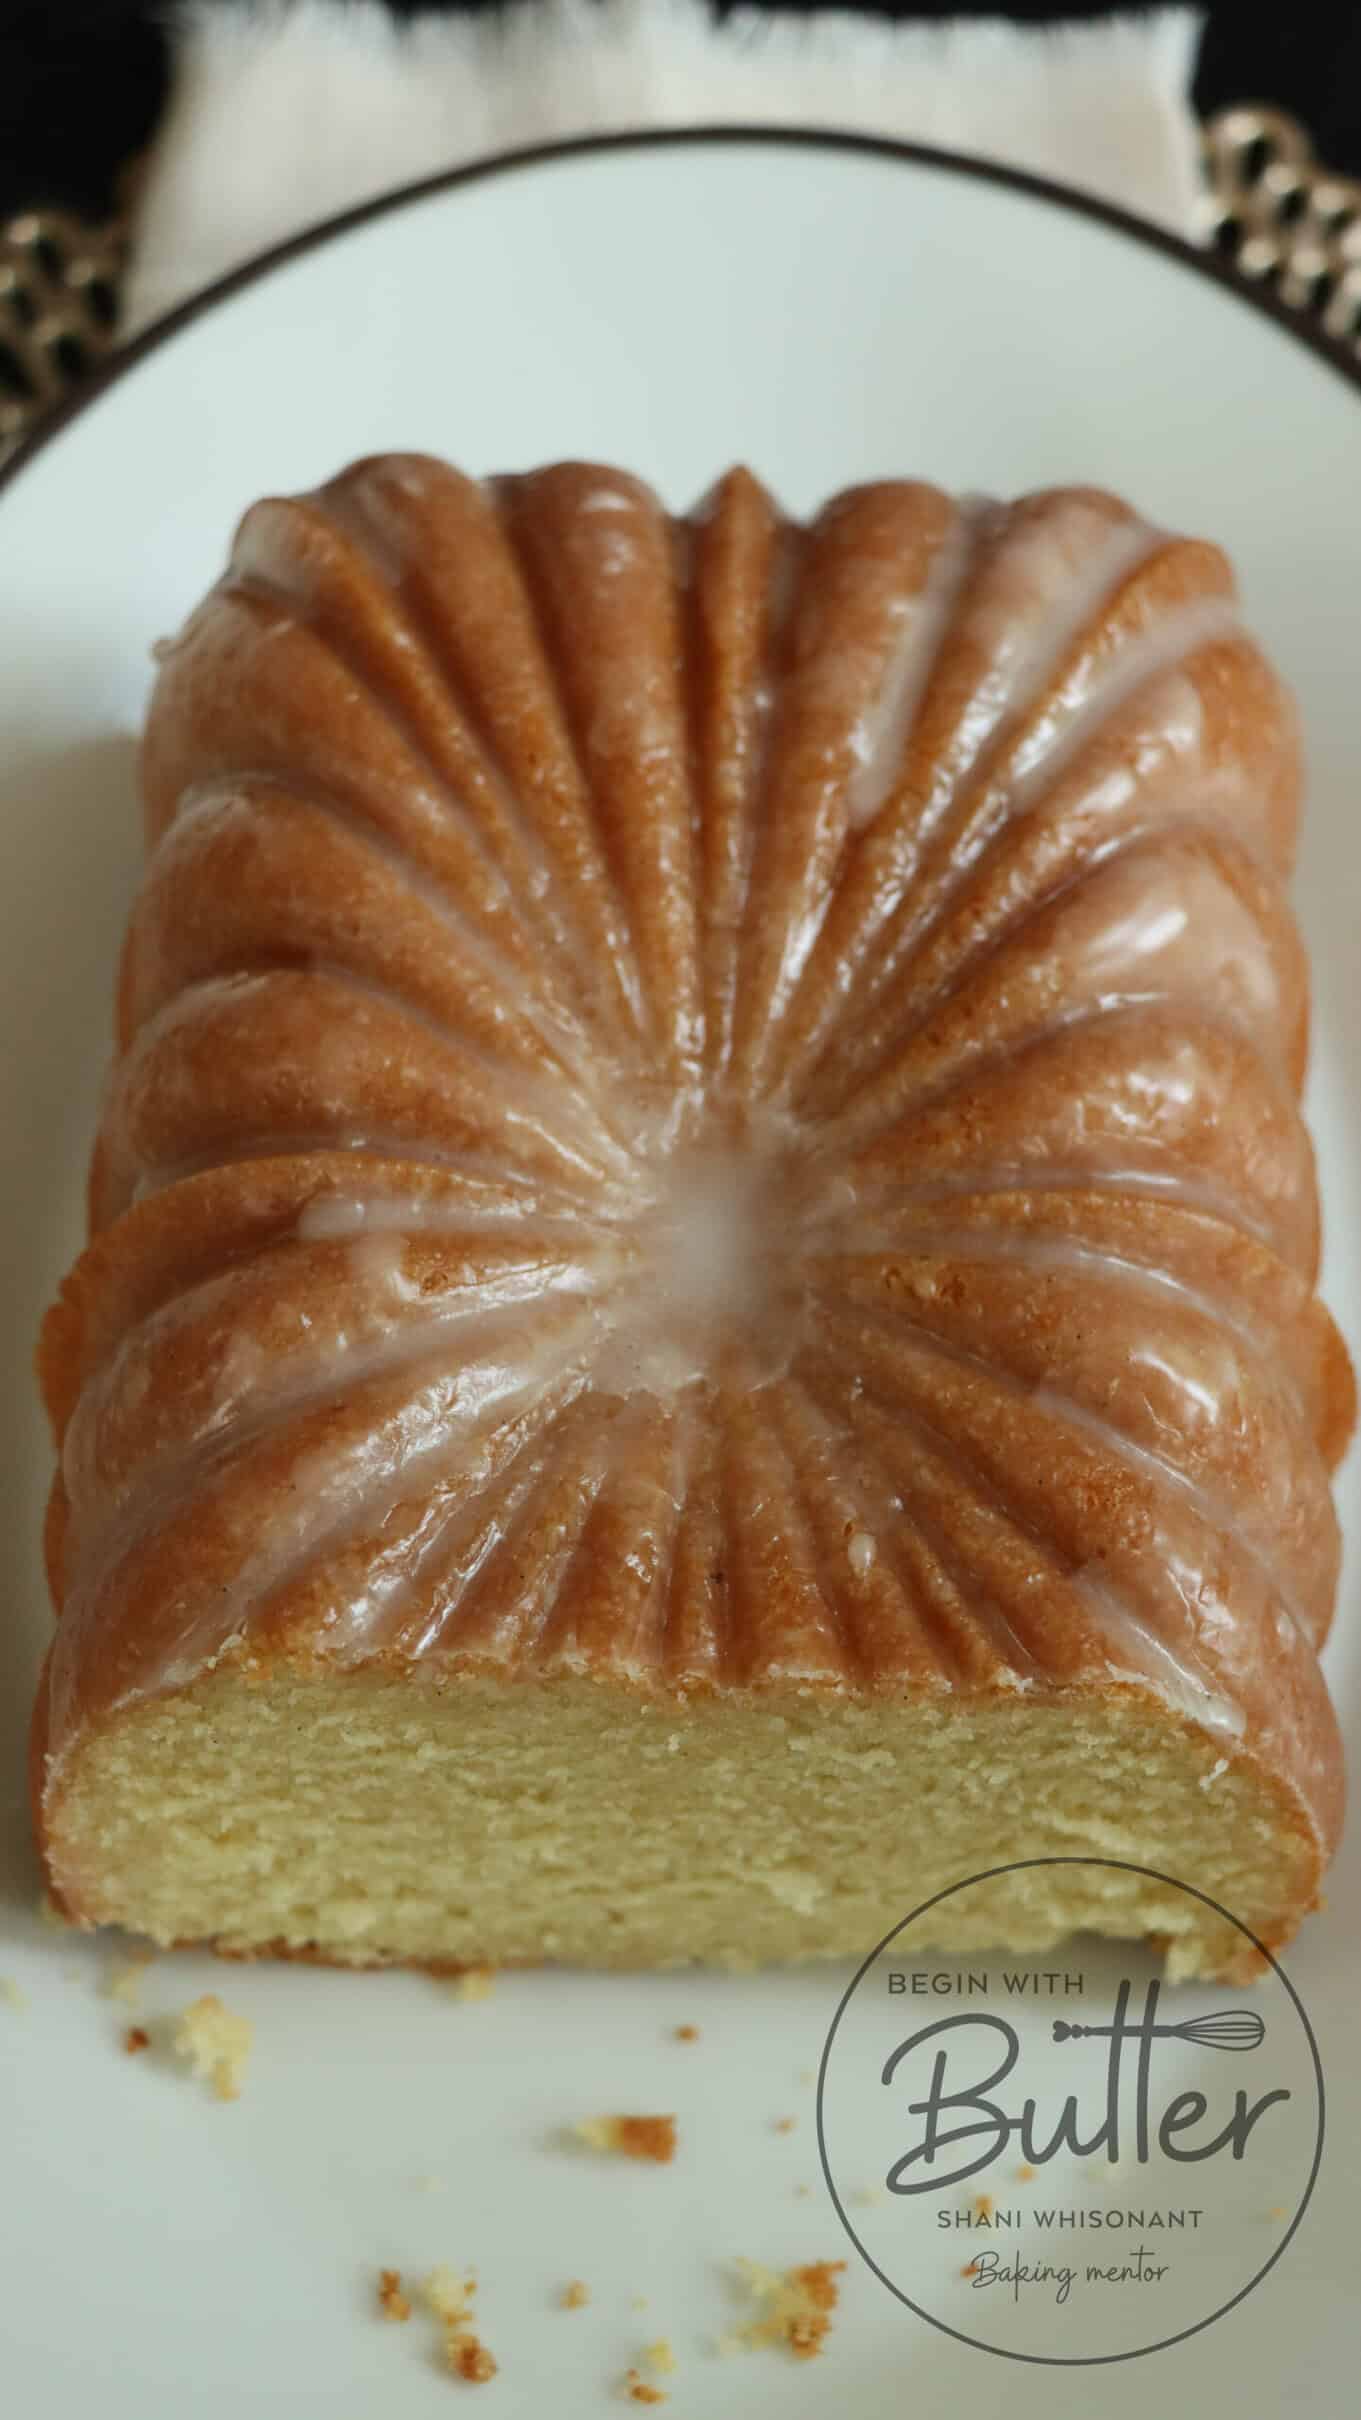
This is the kind of bake that turns heads even before it goes into the oven. The cake’s aroma is unmistakable; real vanilla bean and cultured buttermilk create a fragrance that’s elegant and comforting all at once. Its crumb is plush, fine, and impossibly soft, and the donut glaze adds a gentle crackle that makes each bite a little indulgent.


You can dress it up with macerated fruit, add a scoop of vanilla ice cream, or enjoy it as-is with coffee. Either way, it’s a showstopper in a own way.
Ingredient Spotlight
Buttermilk
Buttermilk appears in both the batter and the glaze, lending moisture and a subtle tang that balances the sweetness. Its acidity also helps create a delicate, tender crumb. Use full-fat cultured buttermilk for best results—low-fat or substitutes will compromise the texture and flavor.
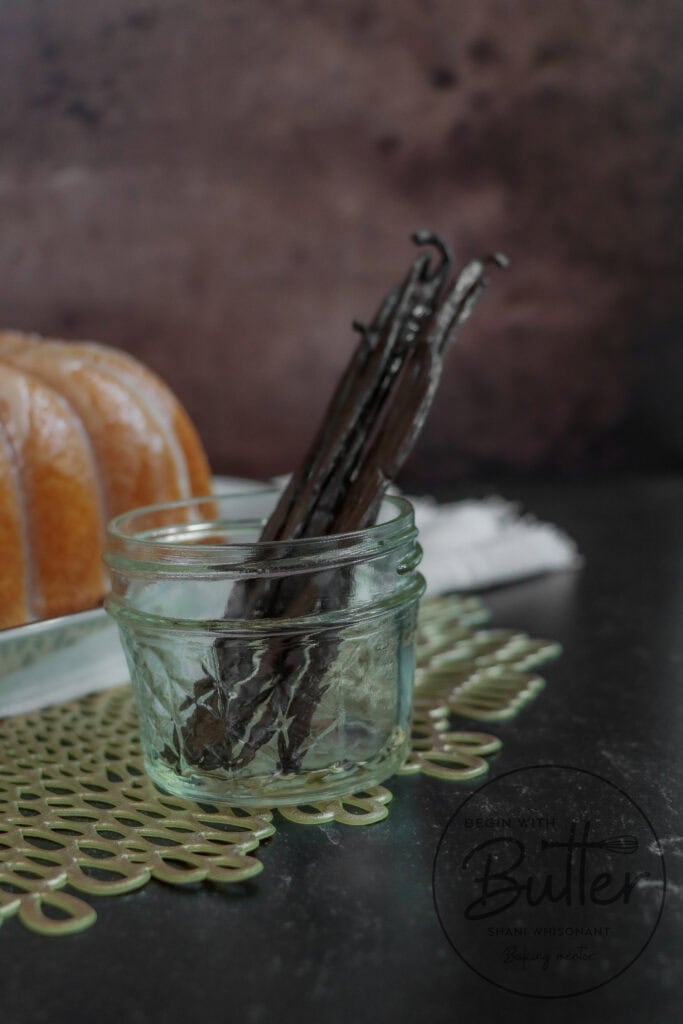
Vanilla Bean
This is not the time to skimp. If you can, use real vanilla bean—just half a pod is enough to fill the cake and glaze with warmth and depth. Gently massaging the seeds into granulated sugar before creaming helps extract the aromatic oils, intensifying the flavor throughout the cake. If you’re using extract, make sure it’s pure vanilla and not imitation.
Because this cake has so few ingredients, the quality of each one is critical. Choose real butter, full-fat buttermilk, and high-quality vanilla. You’ll taste the difference in every bite.
Technique Spotlight: The Donut Glaze
To achieve that bakery-style, glazed-donut finish, timing and confidence matter:
- As soon as the cake is turned out onto the cooling rack (and I do mean IMMEDIATELY after baking), pour the glaze slowly and evenly over the top. This is a completely different technique than I usually do for glaze, but the heat is necessary to give the glaze the donut texture that I wanted for this cake.
- With this cake, it’s critically important that you glaze on top of a cooling rack. There is a GENEROUS amount of glaze in this recipe, and a lot of it will run down the sides. If you glaze on top of a plate or other flat surface, you’ll likely get a pool of glaze that will just soak into the bottom of your cake.
- When glazing, work quickly to cover the entire surface, allowing the glaze to flow naturally over the ridges and edges.
- Avoid letting it pool in the center, or around the edges. Excess glaze can soak in and disrupt the cake’s plush texture. While the cake is still very warm, you can use a spoon to remove excess glaze.
- Once glazed, step back. No nudging or adjusting. Let the glaze settle and set on its own as the cake cools completely. Please know: at this phase, it will look a FRIGHT. Just trust the process.
This method creates a light, translucent glaze that clings beautifully to the cake without overpowering it. The warm cake helps the glaze grip and set into that signature donut-like finish.
Beginners Start Here
- How to Cream Butter and Sugar – This foundational step gives the cake its light structure.
- How to Prep a Decorative Loaf Pan – Ensures a clean release from even the most detailed pan.
- Time and Temperature are Ingredients – Why mastering both can make or break your bake, and how learning to use them to your advantage can immediately improve your baking outcomes in a single bake.
Important Equipment
- Digital Kitchen Scale – Guarantees the right ingredient ratios for texture and rise.
- Stand Mixer or Hand Mixer – Essential for creaming and incorporating eggs evenly.
- Decorative Loaf Pan – Showcases the glaze beautifully. I used the Nordic Ware Classic Fluted Loaf Pan.
- Instant-Read Thermometer – Confirms doneness without overbaking (look for 210°F in the center).

Buttermilk Vanilla Bean Loaf Cake
This plush vanilla bean loaf cake gets its tender crumb from buttermilk and a donut-style glaze that sets beautifully while the cake is still warm.
- Total Time: 5-7 hours total
- Yield: 10–12 slices 1x
Ingredients
For the Cake:
- 192 grams (1 1/2 cups) all-purpose flour
- 1/2 teaspoon kosher salt
- 1/4 teaspoon baking soda
- 1/2 vanilla bean, or 1/2 tablespoon pure vanilla extract
- 250 grams (1 1/4 cup) granulated sugar
- 114 grams (1/2 cup) unsalted butter, room temperature
- 3 eggs, room temperature
- 125 grams (1/2 cup) buttermilk, room temperature
For the Glaze:
- 120 grams (1 cup) confectioner’s sugar
- 1 1/2 tablespoons whole milk
- 1 tablespoon corn syrup
- 1/4 teaspoon vanilla, or 1/4 vanilla bean
- 1/8 teaspoon fine sea salt
Instructions
To Make the Cake:
- Before you begin, preheat your oven to a true 325°F. An oven thermometer will help you determine if your oven is the right temperature when it’s time for baking.
- Sift the flour, kosher salt, and baking soda in a medium bowl. Set aside.
- Use a sharp knife to carefully split the vanilla bean pod. Carefully scrape the vanilla beans from the vanilla bean pod. Add granulated sugar and vanilla beans to a medium bowl or a large deli container. Either use your fingers to massage the vanilla beans into the granulated sugar, or place the top on the deli container and shake vigorously. This massage/shake process helps to release oils from the vanilla beans, and gives huge flavor to this cake.
- Place butter in a large mixing bowl, or the bowl of a stand mixer. Blend on medium speed until combined and smooth. Scrape the sides and bottom of the bowl to ensure even mixing.
- Add the vanilla-infused sugar to the butter and cream until light and fluffy. (Not sure what “cream until light and fluffy”? I’ve got you! I wrote an entire blog post about this necessary step to baking proficiency!) Scrape the sides and bottom of the bowl at intervals to ensure even mixing.
- Add eggs, one at a time, taking care to scrape the sides and bottom of the bowl as needed. Mix thoroughly.
- Add pure vanilla extract (if using) and mix thoroughly. If using vanilla bean, you can skip this step.
- Add half of the flour mixture to the batter. Mix on low speed just until the flour is almost incorporated.
- Add all of the buttermilk to the batter. Mix on low speed until nearly incorporated.
- Sift the second half of the flour mixture into the bowl and mix on low speed until almost combined. Stop mixing just before the mixture is fully together.
- Using a rubber spatula, gently mix the batter until it is smooth and consistent. Make sure to fully scrape the sides and bottom of the bowl.
- Prep a loaf pan as you normally would (the Nordic Ware Classic Fluted Loaf Pan is beautiful for this cake), and place the batter into the pan. Smooth the top of the batter to even it out, and tap the pan gently on the countertop several times to remove any large air bubbles.
- Bake in a 325°F oven for 50-60 minutes, or until an instant-read thermometer reads 210°F in the center.
- Remove the pan from the oven and allow it to cool for ten minutes, the invert the pan onto a cooling rack. If using a standard loaf pan, carefully invert again to return the cake to its original orientation (this second move isn’t necessary if you use a decorative loaf pan!).
To Make the Glaze:
- Add the confectioner’s sugar, fine sea salt, vanilla extract (or vanilla beans, if using) corn syrup, and whole milk to a medium mixing bowl. Stir to combine.
- The final glaze will be the consistency of maple syrup, and not honey.
- Immediately after turning out the cake on a cooling rack, slowly and carefully pour the glaze over the top of the cake. The goal is to create a glazed donut appearance for the cake, which is especially nice if you’re using the Nordic Ware Classic Fluted Loaf Pan that I used for this recipe.
Notes
- For clean slices, allow the cake to cool completely before moving it from the cooling rack and cutting. Be careful when moving it, as you don’t want to crack that beautiful donut glaze!
- Use a fine mesh strainer or sifter to sift dry ingredients for a uniform crumb.
- The cake is versatile—serve it plain, with whipped cream, or alongside macerated peaches.
- Prep Time: 20 minutes
- Cook Time: 50-60 minutes
- Category: Dessert
Frequently Asked Questions
Can I use vanilla extract instead of vanilla bean?
Yes, use ½ tablespoon of pure vanilla extract in the cake and ¼ teaspoon in the glaze. If using pure vanilla extract, you can skip the vanilla bean prep steps.
Can I make this cake ahead of time?
Absolutely. The cake keeps beautifully for 2–3 days at room temperature in an airtight container. If you want the donut glaze finish, you’ll still need to glaze right after turning it out of the pan.
What does the corn syrup do to the glaze? Is it necessary?
The corn syrup in this glaze helps to create the glossy, donut-like finish. You leave it out entirely, but the glaze may lose its translucent finish.
Final Crumbs
If this Buttermilk Vanilla Bean Loaf Cake makes its way to your kitchen, I’d love to hear about it. Leave a comment and a star rating to let me know how it went—your feedback isn’t just helpful, it keeps this community growing and glowing.