
This post contains affiliate links. While I receive a small commission if you purchase from these links, they are products that I use and trust in my own kitchen.
Friends, I’ve recently spent a lot of time figuring out the best tips and techniques to make Swiss Meringue Buttercream.
And I do mean a lot of time. So much time, in fact, that I’ve hit a lot of common snags in the process, and have tested different methods for fixing those snags!
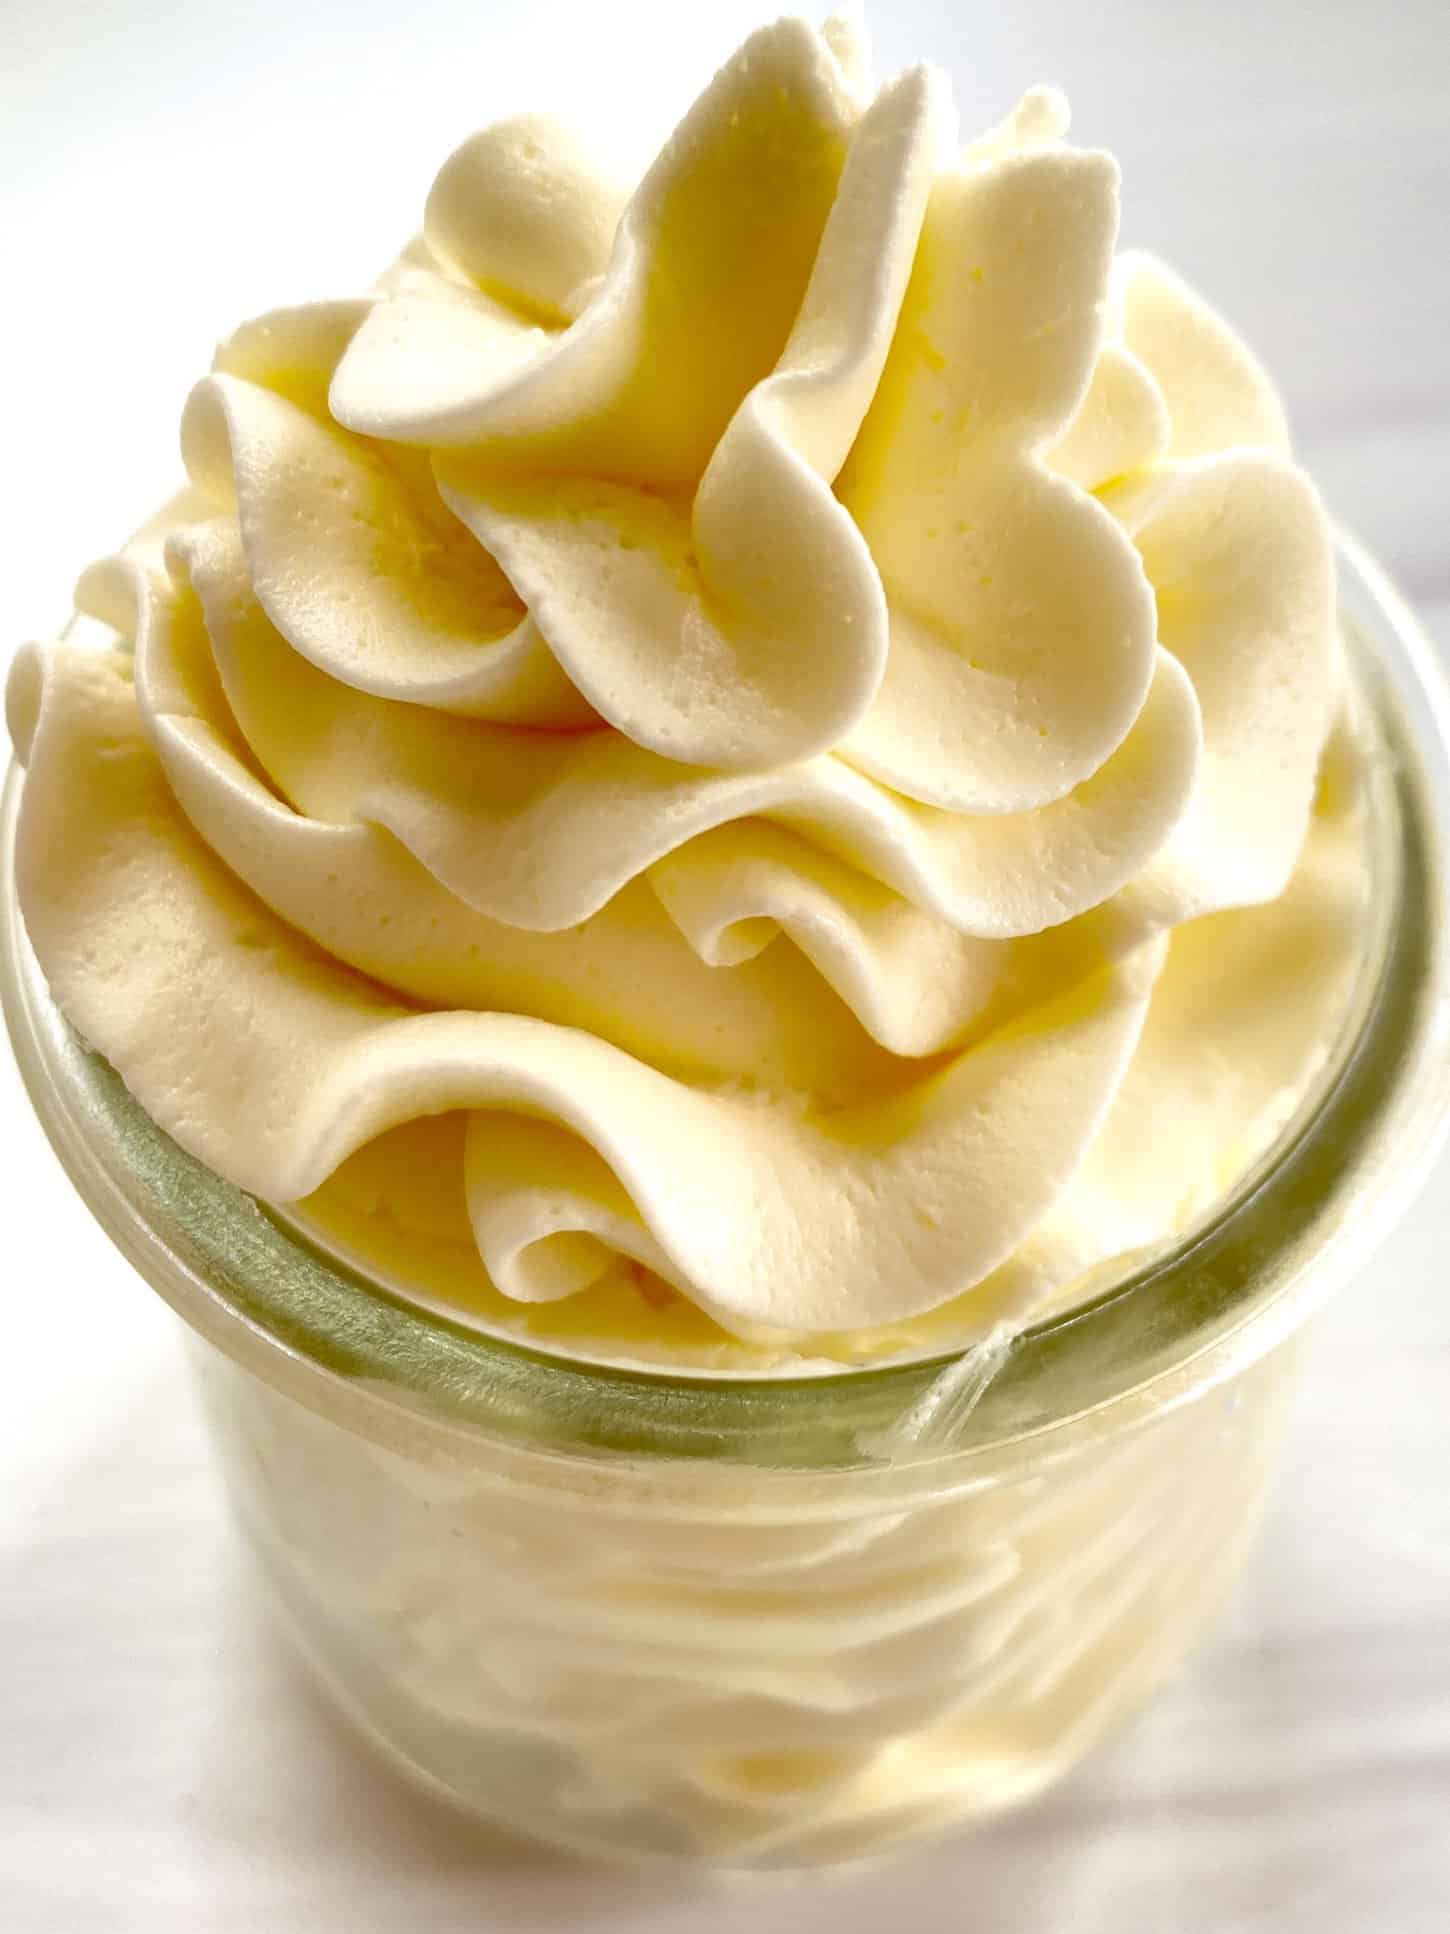
Swiss Meringue Buttercream (or SMBC for short) is luscious and airy and decadent. The version that I settled on for my Limoncello Layer Cake is perfectly balanced between sweet and buttery, and the texture…
FAMILY…THE TEXTURE…

But while Swiss Meringue Buttercream is incredibly rewarding, it has a bit of a reputation for being difficult to make. Which is a shame, really. Because it belongs on everything.
So I’m here today to walk you through the whole process from start to finish! Let’s gooooooo!
Before You Begin
The main ingredients in Swiss Meringue Buttercream are egg whites, granulated sugar, and, ahem, butter. ???? So it’s best to have the best ingredients that you can source to get the most out of this amazing cake topper.

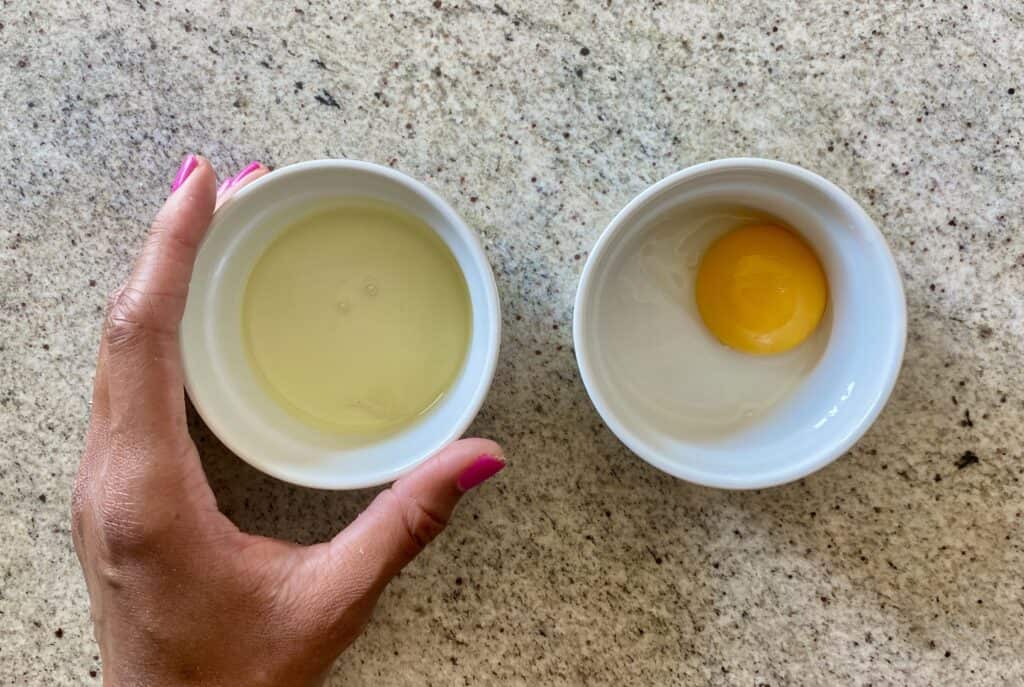
Speaking of egg whites, I always separate fresh eggs to make meringue. I’ve heard legendary tales of people who are able to whip carton egg whites to stiff peaks, but I have never seen carton egg whites whip up to the beautiful, stable stiff peaks that I’ve gotten consistently with freshly separated egg whites.
More on egg whites (because I’m clearly invested): the egg whites have to be completely separated in order for the meringue to work. Because any trace of egg yolk in your egg whites (or residual fat in your mixing bowl) could prevent the meringue from forming properly, which wouldn’t be a good sign for your buttercream.
Weather will play an important role in making SMBC. If it’s hot and humid outside, it can take longer for the buttercream to finally come together. It’s definitely doable though!
The temperature of the butter plays a huge part in the success of this buttercream. If the butter itself is too warm, then it could actually prevent the buttercream from fully forming and encourage a soupy, separated mess. If it’s too cold, you could get chunks of butter that don’t nicely incorporate into your buttercream.
Plan to take your time. This buttercream is extremely decadent but it is not a “quick and easy” recipe (quick: no; easy: YES!). I’ve never had a good SMBC come together in less than 45-60 minutes, and sometimes it takes longer than that if your buttercream has to take a time out!
Intimidated? Don’t be! For visual learners, I even did an entire Office Hours on SMBC the other day, which you can view right here!
First Steps
To make Swiss Meringue Buttercream, first begin by separating egg yolks from egg whites. I separate using my hands, but a separating tool or the shell-to-shell method work just as well. Note that your egg whites will look yellow-ish at this stage. If the yolk is intact when it’s separated, it’s all good.
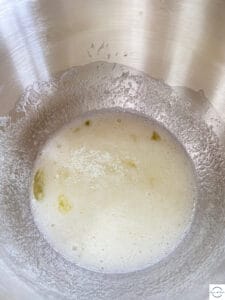
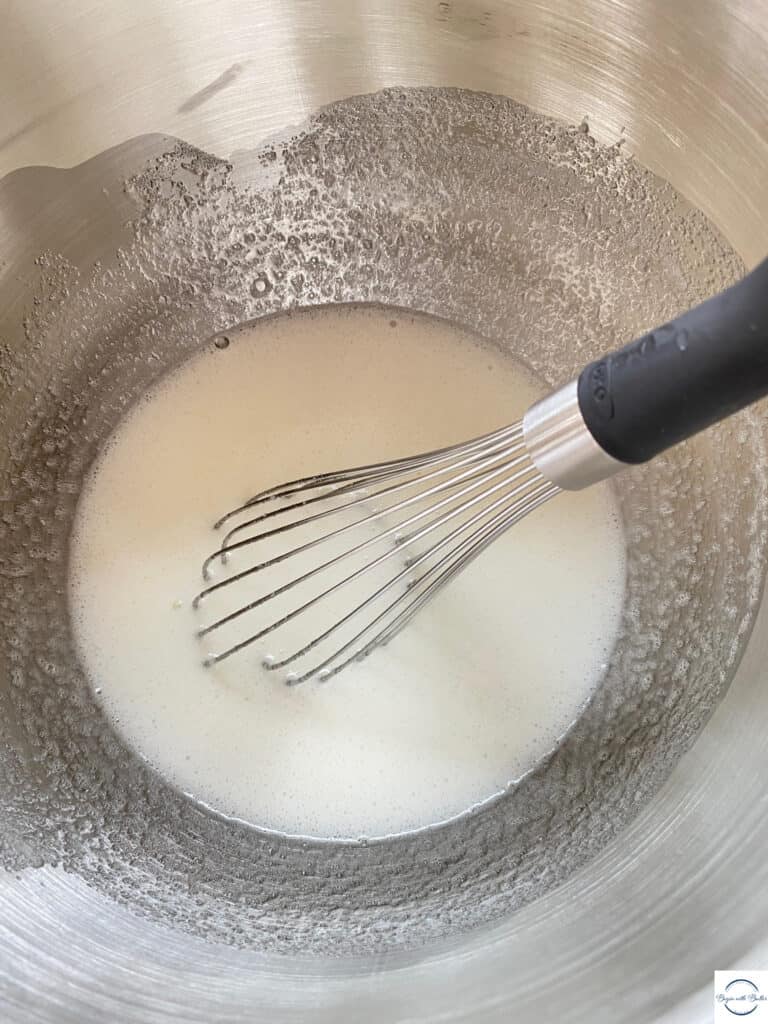
Next, add the separated egg whites and granulated sugar to a stainless steel stand mixer bowl and whisk with a balloon whisk until most of the snotty texture from the egg whites is broken up and incorporated.
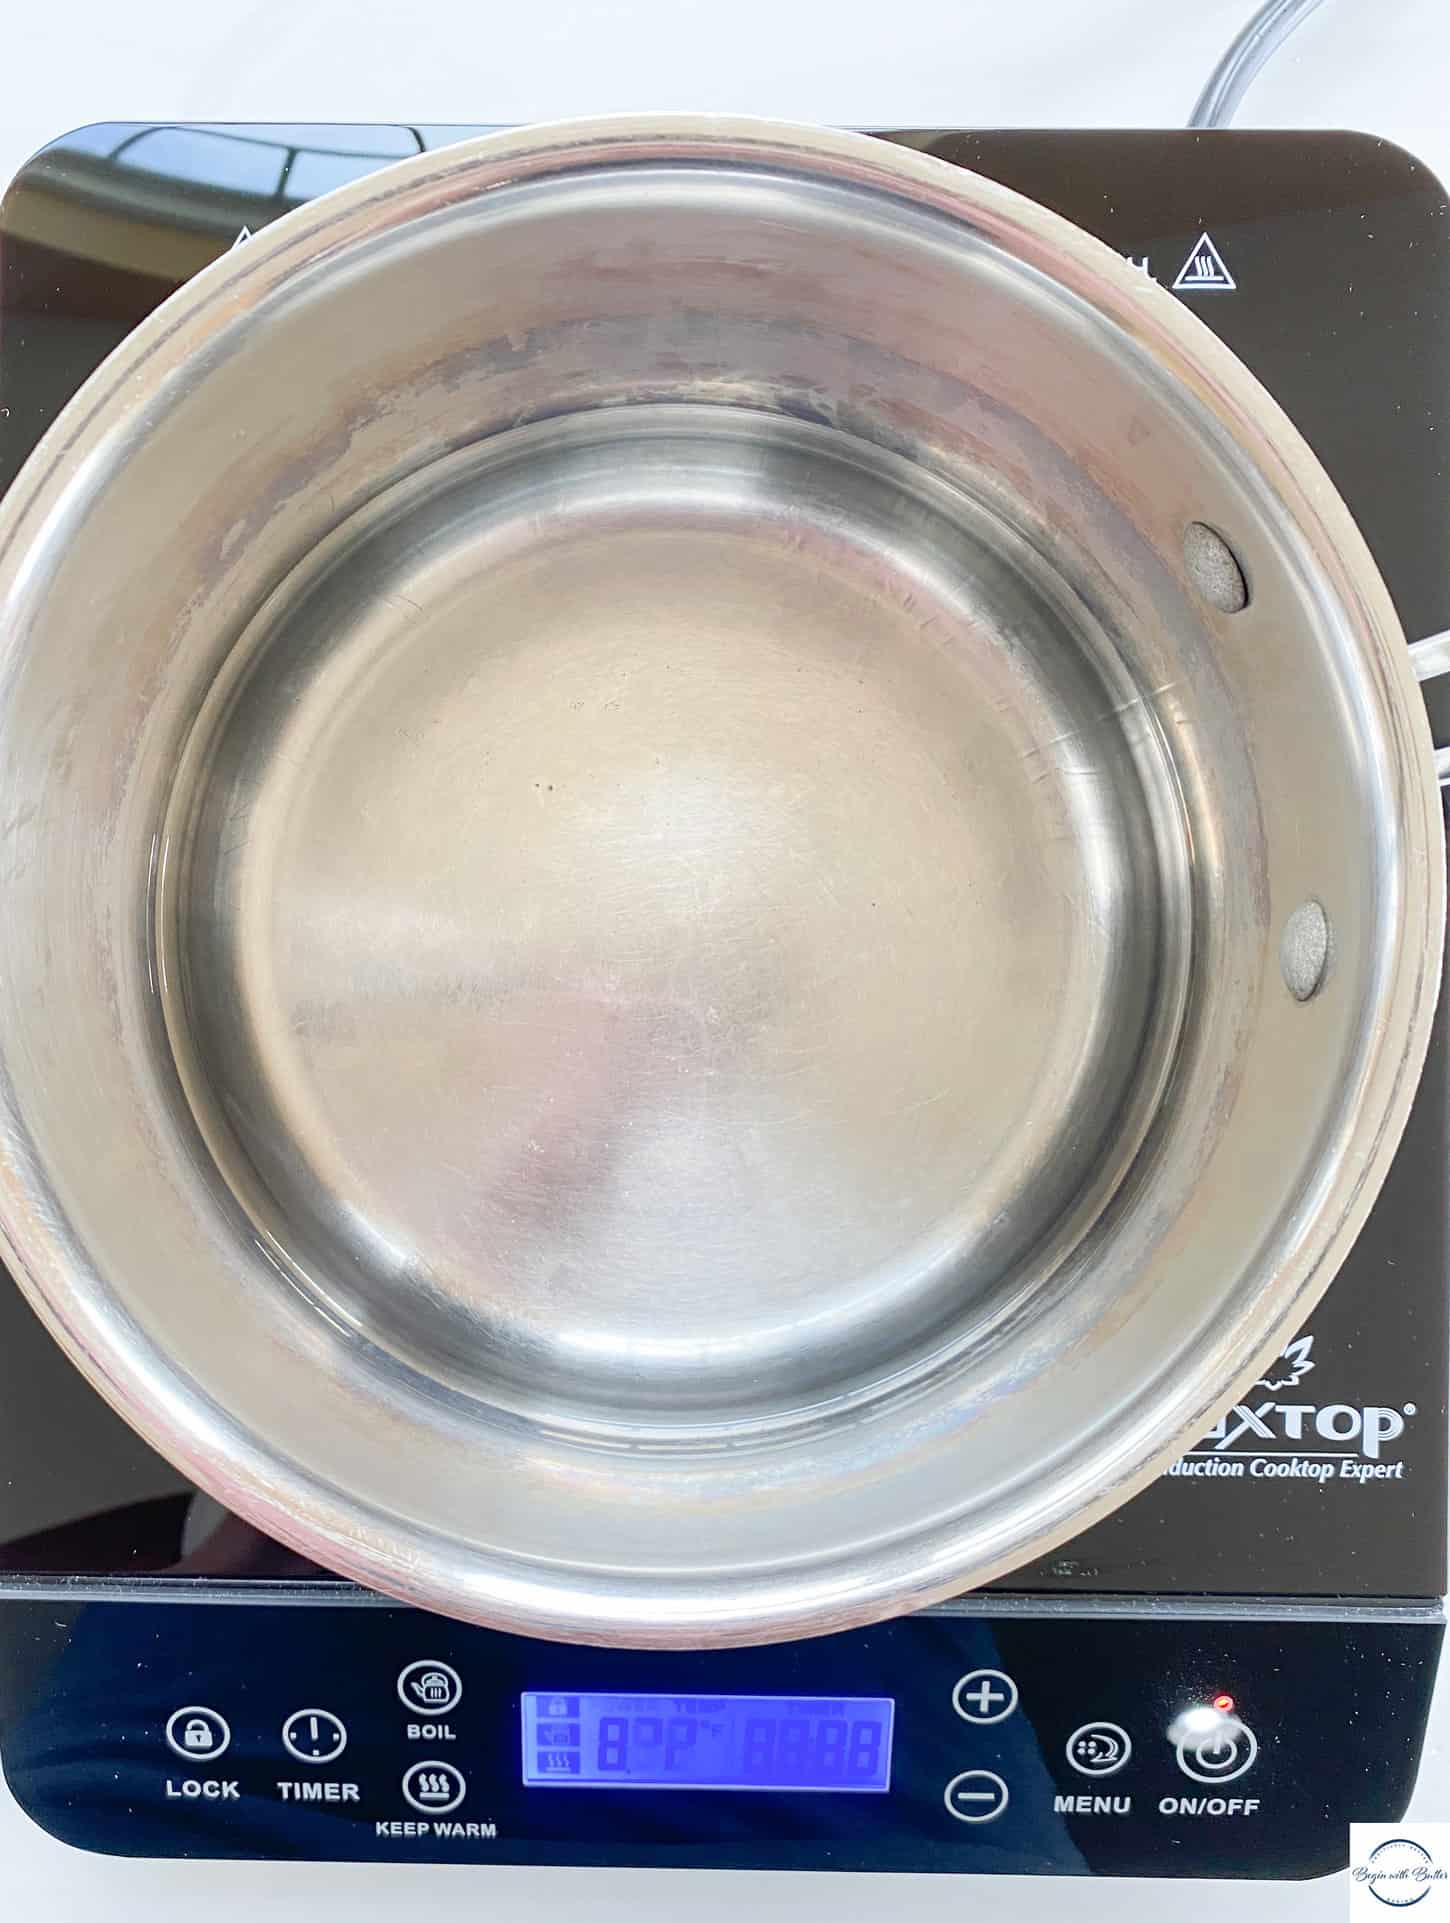
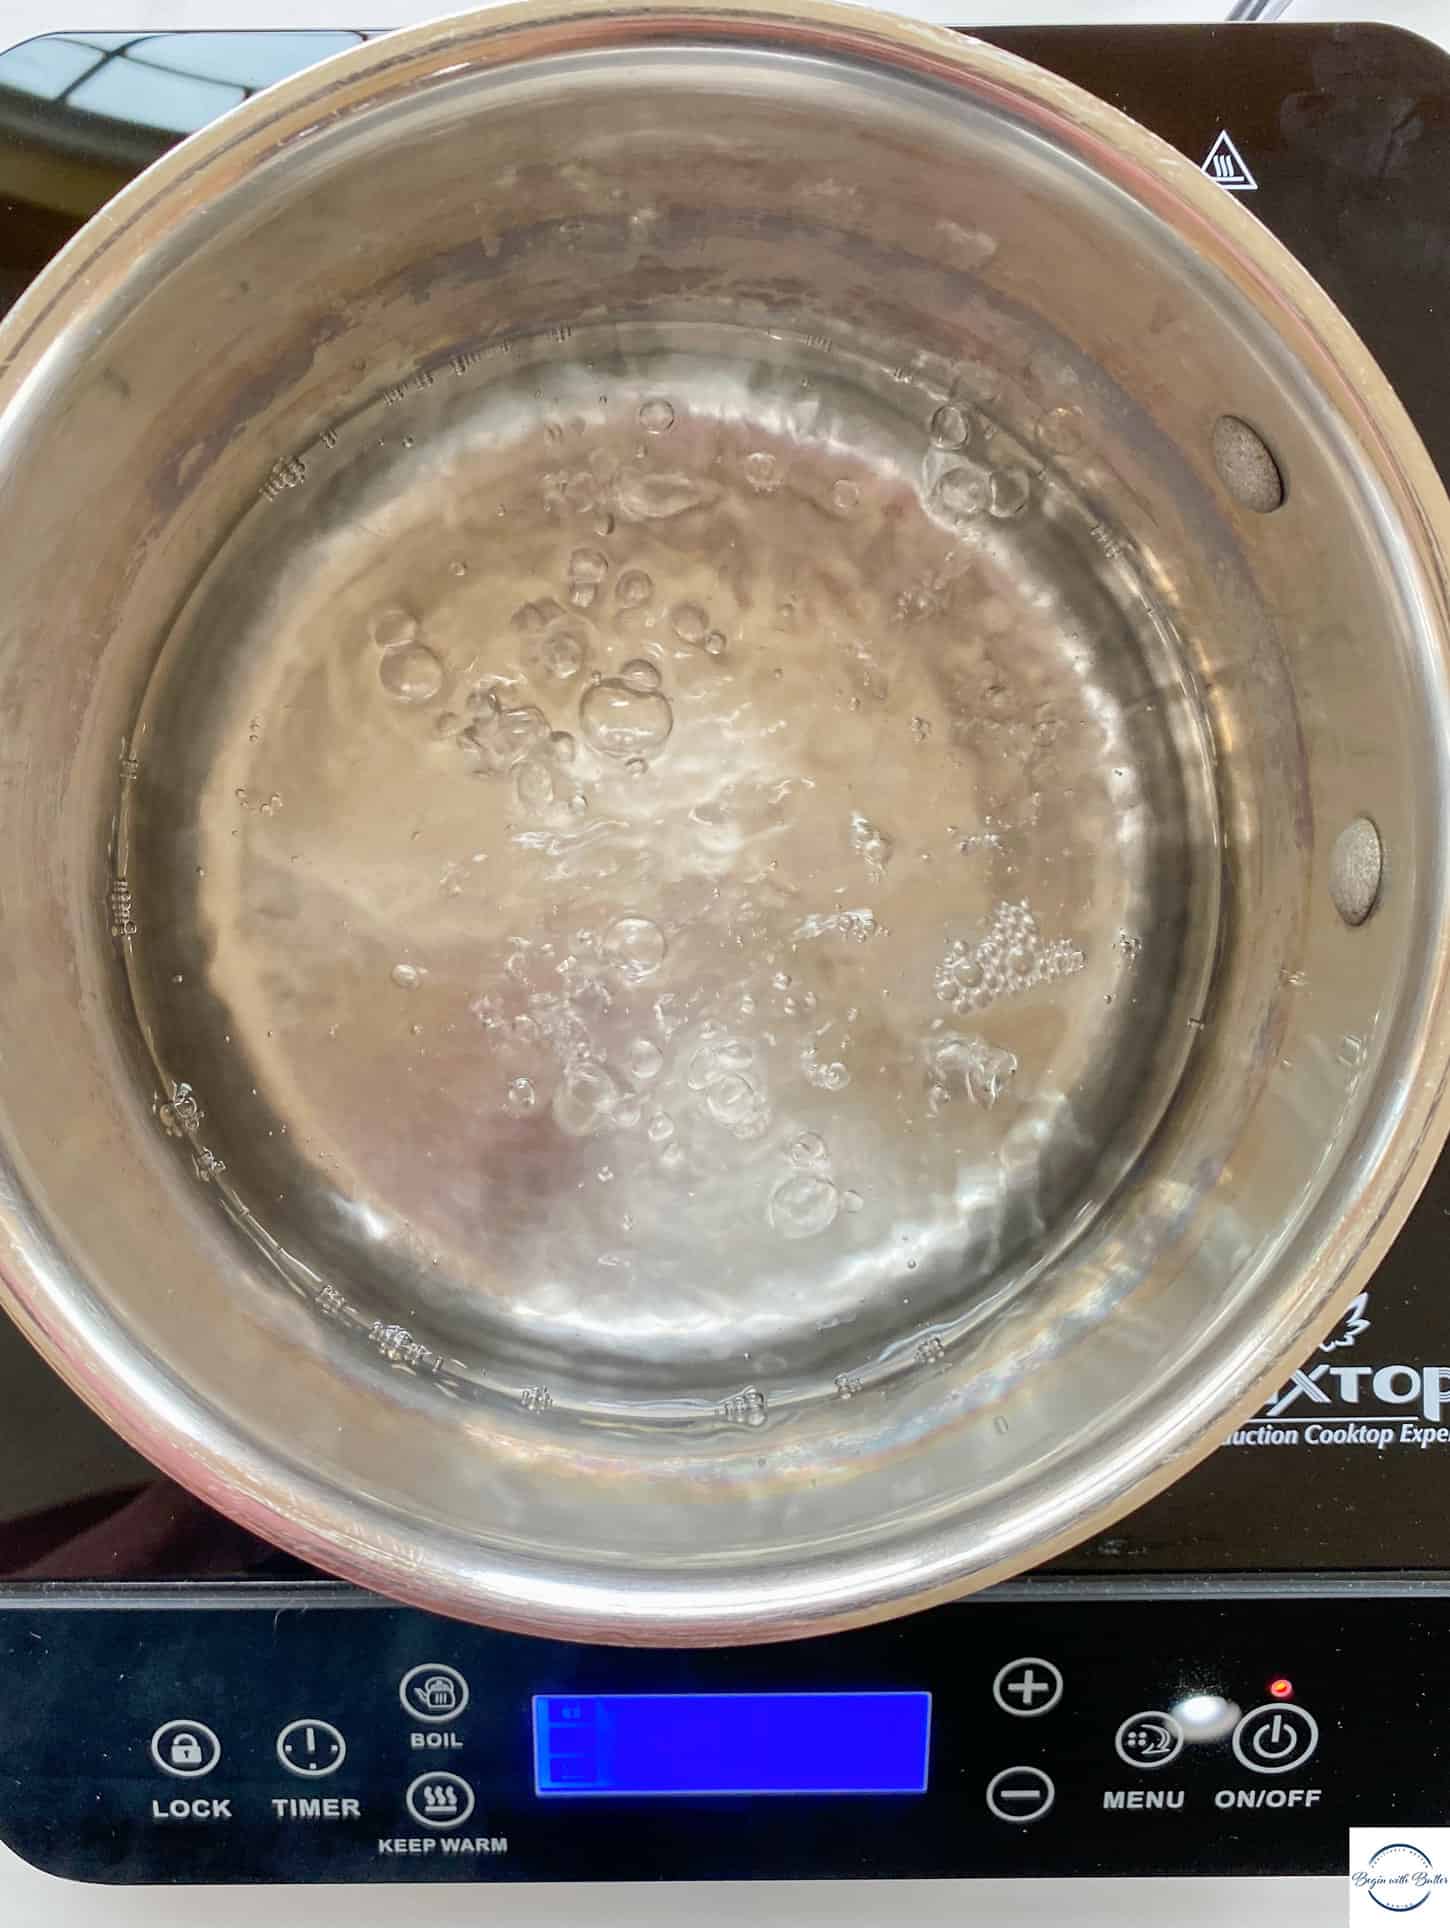
Place two or three inches of water into a large saucepan (large enough to accommodate the whole bottom of your stainless steel mixing bowl, but not enough to touch the bottom of the mixing bowl) and bring to a boil. Reduce the water to a steady simmer.
Place the mixing bowl over the saucepan while the water is simmering, making sure not to touch the water beneath. Stir constantly with the balloon whisk until the sugar is completely dissolved. This takes anywhere from 2-4 minutes. It’s important that the sugar is completely dissolved before moving on from this stage. You can check by rubbing a very small amount of the mixture between your fingers. If you feel absolutely no sugar granules and the mixture looks completely uniform (no snotty streaks!), then you’re ready to move on!
From Meringue to Swiss Meringue Buttercream
From the double boiler, place the mixing bowl directly on your stand mixer. Both the bowl and mixture will be pretty warm, so be careful! Using the whisk attachment, start mixing on low speed (on a KitchenAid Artisan, this would be speed 2-3). Keep going for 1-2 minutes, or until the mixture stops sloshing around in your bowl.
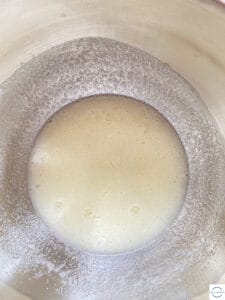
Turn up the speed to medium (on a KitchenAid Artisan, this would be about speed 4-5) and allow the mixture to continue working for anywhere from 4-10 minutes (you read that correctly; temperature and humidity can impact this step greatly). The meringue will go from a yellow-ish color to a stark white color during this second phase of mixing, but it will still be very loose. *Note: this is also the time when I usually cut my butter into chunks of about 1-1.5 tablespoons.*
Turn your mixer up to max power and let ‘er rip. This is one of the few times that I open my mixer wide up like this, and honestly, I think my mixer appreciates the opportunity to show off. Keep an eye on your mixer; the meringue will start to climb the bowl once it’s formed.
For a great video on meringue technique, check out this short video!
For SMBC, we want a stiff meringue. This buttercream is different from the meringue on my Easter Coconut Cake, my Coconut Meringue Pound Cake, and my Lemon Meringue Pound Cake in this regard; those all use a more floppy meringue topping. Here, we want a nearly stiff peak. So, in addition to climbing the bowl, we’re looking for meringue that doesn’t slide back down the sides of the bowl after climbing it. You’ll be able to see when it reaches this stage.
Test the meringue by pulling the whisk attachment out of the bowl. If the meringue peaks don’t flop over and are nearly stiff, you’re ready to move on.
Becoming Swiss Meringue Buttercream
The temperature and timing of the butter are especially important to Swiss Meringue Buttercream.
Family. Practice is key!
With your mixer on low/medium speed, add 1-1.5 tablespoon-sized pats of butter at a time.
Some people like to switch from the whisk attachment to the flat beater attachment on their stand mixer, to get a smoother buttercream. This is purely a matter of personal preference; staying with the whisk attachment will lead to a lighter, more whipped Swiss Meringue Buttercream, and the flat beater attachment will lead you to a smoother, more uniform buttercream.
Both have their place, but I love the look, texture and mouthfeel of a slightly whipped Swiss Meringue Buttercream in the spring and summer months.
Don’t add another pat of butter until the previous pat is completely mixed into the meringue.
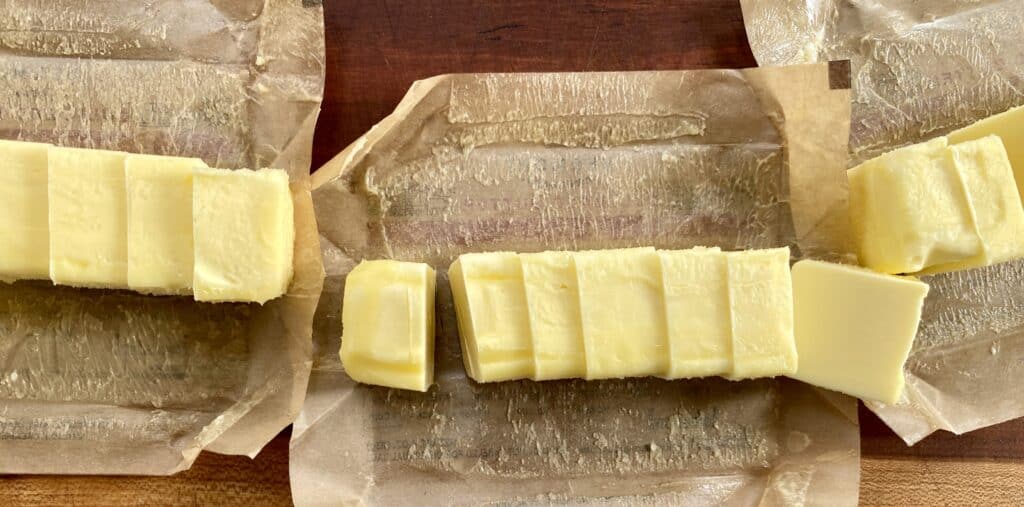
Make sure that you only add 1-1.5 tablespoons of butter at a time. My butter cuts are never perfect, but if a piece gets larger than 1.5 tablespoons, I know that it needs to be cut down. Adding too much butter at once can encourage the buttercream to separate instead of forming.
A Word…
Yes, this note deserved its own heading, because it’s the place where people think they’ve gone horribly wrong.
Remember that gorgeous, fluffy, stiff meringue that we made to start this endeavor?
Of course you remember. It took half an hour to make! ????
It WILL deflate a bit once you start adding butter. RIP to the first few batches of SMBC that I threw away at this point, thinking that I’d ruined them.
As the fat in the butter disperses into the meringue, the meringue will deflate quite a bit. As the video just showed, it might actually even become kind of runny.
KEEP. GOING. DON’T. PANIC.
Keep adding butter, on pat at a time, with your mixer on a consistent low/medium speed. You will be almost at the end of the butter phase (usually 3-5 pats of butter left) before you’ll notice a buttercream texture. If your buttercream starts to thicken too long before those last 3-5 pats of butter, turn the speed down and keep going.
Yes, really! You don’t want it to come together too quickly or you risk over-mixing it.
After all of the butter is fully incorporated into the buttercream, and no traces of butterfat remain, add the vanilla and salt. Continue mixing on low/medium speed, just until you see the buttercream reach a smooth, fluffy consistency.
Pro Tip: For an even more fluffy consistency, stop mixing at this point and refrigerate the buttercream for about thirty minutes. Finish with a flat beater for the most amazing buttercream of your life!
The Big Finish
If it’s worked consistently (and not over-whipped), Swiss Meringue Buttercream comes together in about 45-60 minutes. A lot of this has to do with air temperature as well, since a warmer kitchen will make the butter melt faster. Faster butter melt contributes to soupy buttercream, so in really warm weather, I’ll leave the butter in the refrigerator for a longer period of time.
At the time you start adding butter, your butter should still be cool, but not straight from the refrigerator. If the butter is room temperature (like it would be if you were making a cake or cookies), it’s generally too warm for Swiss Meringue Buttercream and you should start again with cooler butter.
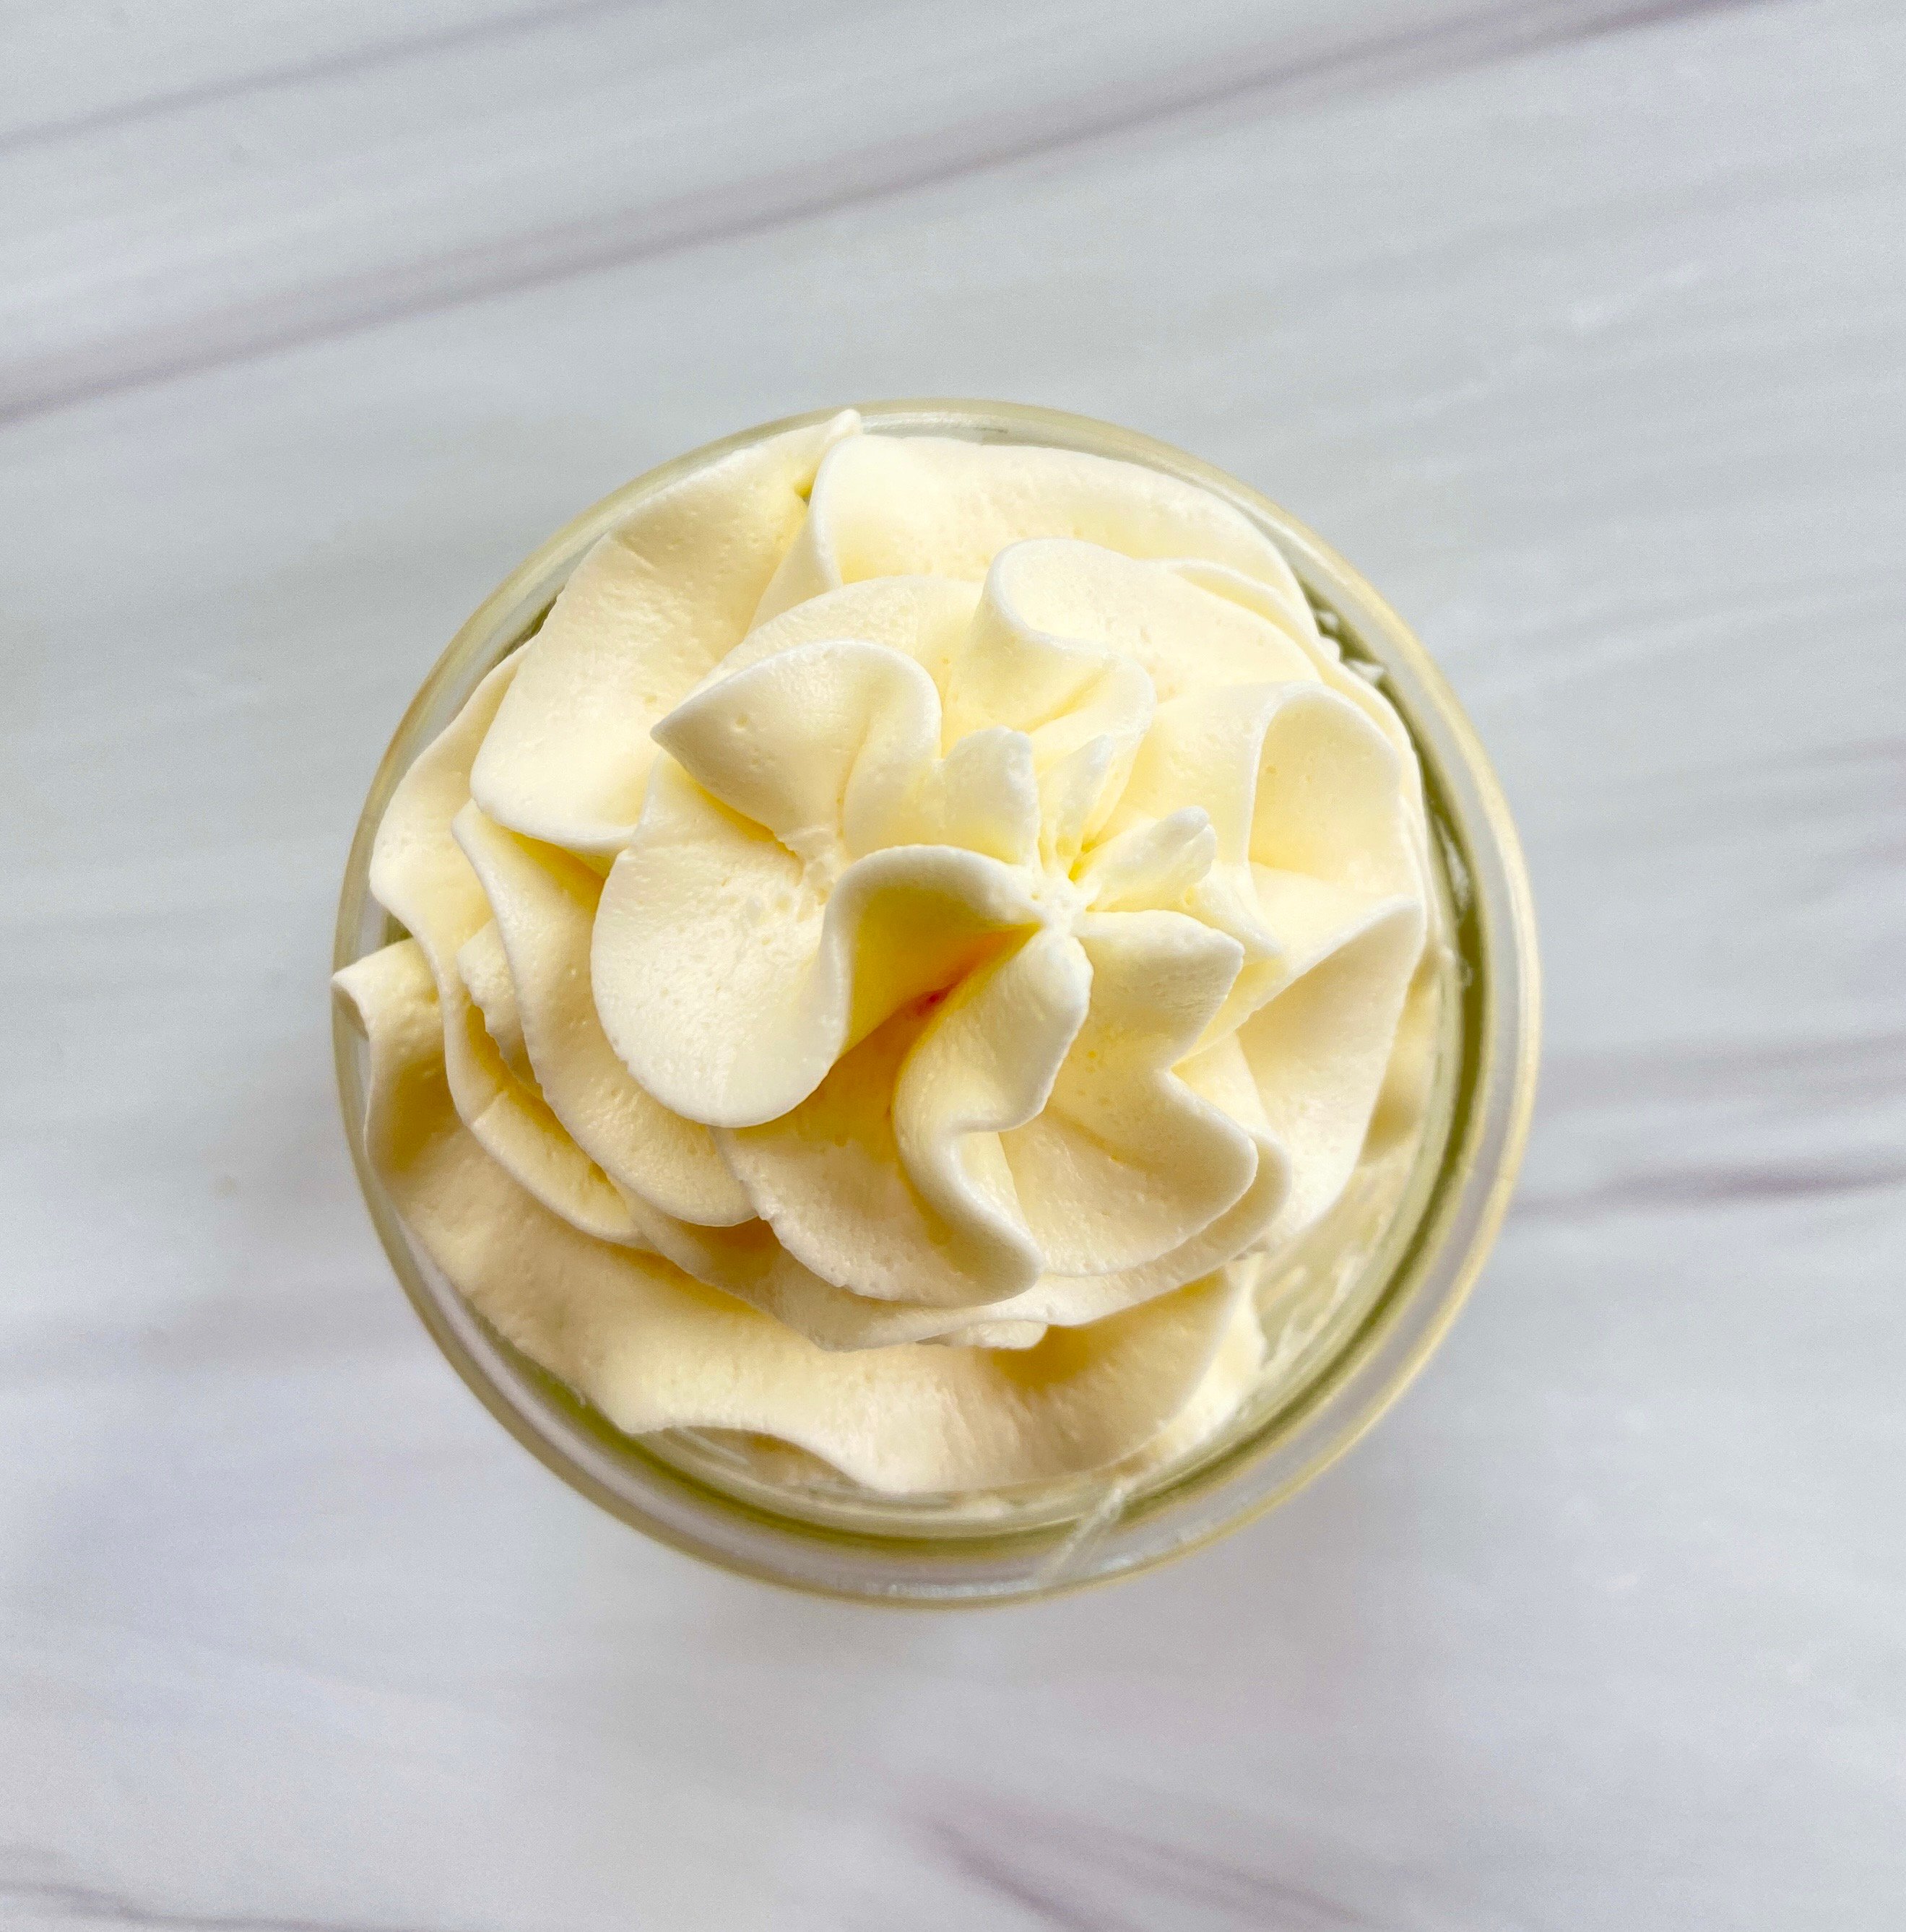
When it’s done, it’s a dream. It can be spread on cakes, piped on cupcakes, or just eaten with a spoon (don’t judge me).
It’s definitely a time commitment, but it’s totally worth it. It can also be made several days ahead! In order to revive it, allow it to sit on the countertop for 10-15 minutes, then put it back into a stainless steel mixing bowl over a double boiler. Stay with it and keep it over the double boiler just until you see the sides start to melt.
The very instant that you see the sides of the buttercream begin to melt, put it back on the stand mixer with the paddle attachment and mix until it’s smooth and dreamy. It will be as fresh and ready to use as if you’d piped it directly after making it.

Troubleshooting FAQs for Swiss Meringue Buttercream
Swiss Meringue Buttercream is a process, to be sure, but it can also be a little intimidating to execute. I’ve gotten a lot of amazing questions about this buttercream since I posted my Limoncello Layer Cake, so I’ll answer some of them here! If you have additional questions, ask away! I’m happy to update this section.
In general, there are two pieces of advice for Swiss Meringue Buttercream; either put it in the fridge (a “time out” as it were) or keep mixing. I’ll explain further in each FAQ:
At the end of the mixing time, my buttercream looks really watery and loose. Can it be saved?
It’s possible! The most important thing to do at that point is to stop mixing, as loose buttercream at the end of mixing means it is over mixed. Take the buttercream off of the mixer and place it in the refrigerator for an hour. Yes, an hour. The butterfat needs an opportunity to firm back up so that it can help create the buttercream texture. I call this a buttercream time out!
My egg whites won’t go to stiff peaks. What do I do?
The meringue part of Swiss Meringue Buttercream is actually the most time consuming part of the whole process. In a KitchenAid mixer, it usually takes about 20-25 minutes to make a good, stiff meringue from start to finish. If you’re at the 20-minute mark and the meringue still isn’t at stiff peaks, check your temperature. Is it hot and humid in your kitchen? Then a 15-20 minute meringue timeout in the fridge will help!
My buttercream is chunky. What do I do?
Make sure your butter is the right consistency before adding it to your buttercream. If it’s too cool, then it won’t transition seamlessly into your buttercream; it will break into pieces. If you’re adding butter too quickly then you’ll start to get a chunky buttercream. Once you notice this, stop adding butter until the butter that is already in the buttercream gets completely smooth.
My buttercream looked perfect and then got really lumpy and gross! Should I throw it out?
Don’t throw it out! It’s just been over-whipped and needs a good time out in the fridge. Start with 30-45 minutes (depending on how hot your kitchen is), then gently try to re-mix it on medium speed using your flat beater. If it doesn’t show signs of coming together within 10-15 seconds (yes, that quickly!), then it needs more of a time out in the fridge.
This SMBC has been my literal obsession for longer than would be sane to admit. But I’m so happy that I spent the time with it that it needed. I hope you have an amazing time, making incredible cakes, with this as the final topping. It’s the LBD that every cakes needs, in my humble opinion.
Print
Swiss Meringue Buttercream
This Swiss Meringue Buttercream is perfectly sweet and perfectly buttery. It belongs on everything.
- Total Time: 1 hour
Ingredients
- 8 egg whites
- 450 g (2.25 c) granulated sugar
- 350 g butter, cut into 1-tbsp sized pieces
- 2 tsp vanilla extract
- 1/8 tsp salt
Instructions
- Bring 3” of water to a low boil in a large (3 qt.) sauce pan. Reduce to a simmer.
- Cut cold butter into 1-tbsp pieces and set aside.
- Carefully separate 8 eggs, placing the whites in a very clean, nonreactive metal bowl (either a stand mixer or large stainless steel bowl). Add sugar and stir to combine.
- Place metal bowl over the top of the sauce pan while the water is simmering. Whisk the egg white mixture over the sauce pan until all of the sugar is completely dissolved. (~3 minutes)
- Remove the metal bowl from the stove. Using the whisk attachment on either your hand mixer or your stand mixer, whisk the mixture on lowest speed until it is nearly opaque. (~1-2 minutes)
- Increase the mixer to medium speed until the mixture begins to look light and fluffy. (~4 minutes for stand mixer; ~5-6 minutes for hand mixer)
- Increase the mixer to highest speed until the meringue has reached nearly stiff peaks. The meringue should be lukewarm before moving onto the next step. This step could take anywhere from 10-15 minutes. If the meringue doesn’t form nearly stiff peaks after this time, place in the refrigerator for 15 minutes and whip again.
- With the mixer on medium speed, add the butter, one tablespoon at a time. Make sure that each tablespoon of butter is fully incorporated before adding the next tablespoon. (8-10 minutes)
- It is important to note that the Swiss Meringue Buttercream will begin to look more liquid while you add the butter. Keep going! It will firm back up as you get toward the end of the butter additions!
- After adding the last tablespoon of butter, you can switch to the paddle attachment on your mixer if you’d prefer a smoother buttercream. Mix the buttercream on medium speed until it reaches a firm texture. This generally takes between 2-6 minutes, but the temperature and humidity of your kitchen will be the big determining factor. Watch your mixer carefully to make sure that the buttercream doesn’t curdle.
- If the buttercream won’t firm up, place the bowl into a refrigerator for about an hour. Mix again on medium speed until it reaches a firm texture.
- Add salt and vanilla and mix until it again reaches a firm texture.
- Use as desired. This buttercream should be stiff enough to pipe onto cupcakes or cake (if desired).
Notes
- This recipe makes more than enough for a “naked” cake. If you’d like to have more frosting, you can scale this recipe by 1.5 times and have plenty for a three layer, 8-inch cake.
- Prep Time: 1 hour
Hi Shani,
Thank you so much for this helpful and delicious recipe. I’ve made many different SMBC recipes from various people, and just couldn’t find the “right one”. THIS is it! Your helpful tips showed me a few smaller details that I was missing from previous recipes. Your video is WONDERFUL. After following your recipe and video to a tee, I made the PERFECT buttercream. So light, so fluffy, so creamy, and the texture was EXACTLY what I needed to frost my multi-layer lemon cake. This recipe is a keeper!!! THANK YOU so very, very much!!!
Awwww you’re so very welcome! I’m so glad that this recipe helped you work out the kinks! Remember, you had it in you all along…so the victory is yours! ❤️