
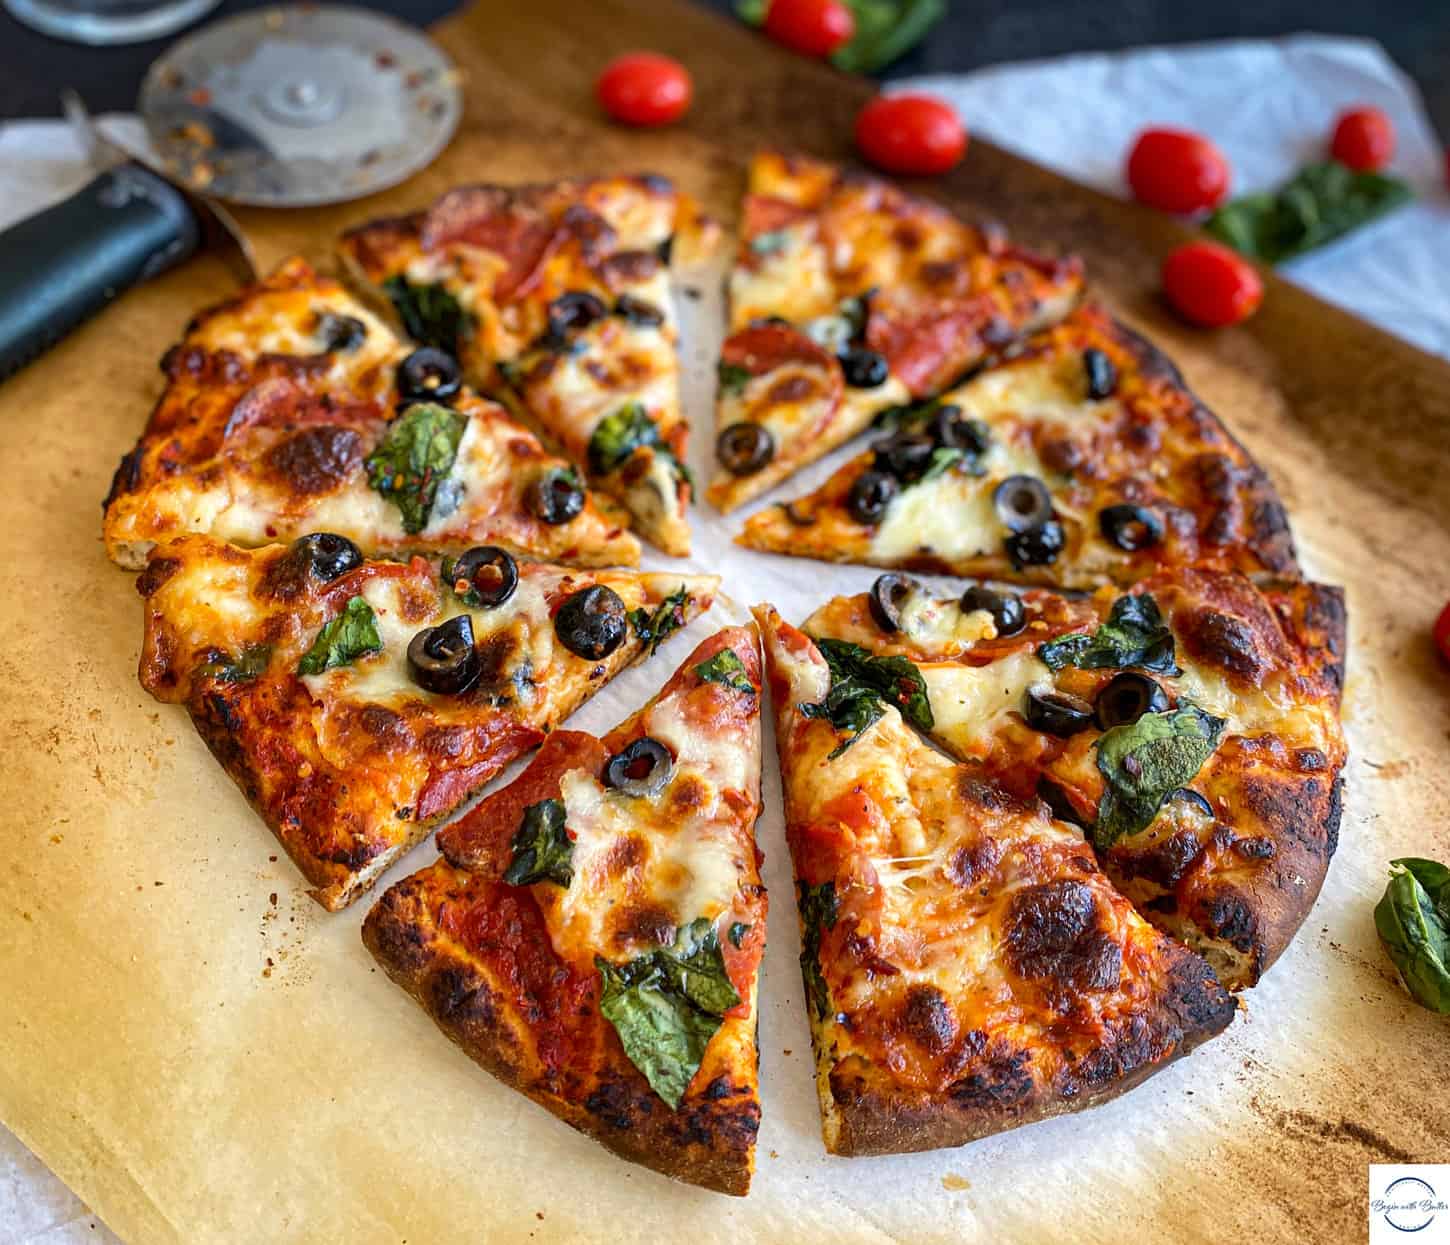
Friday Family Pizza Night is a weekly occurrence in my family. After years of development and practice, Friday Family Pizza Night became the chance to showcase this Anytime Pizza Dough. And boy is it wonderful.

When I first started Friday Family Pizza Night several years ago, I used a slow-rising pizza dough with an overnight rise. But eventually I got tired of making essentially two meals on Thursday nights, so I started developing a faster (and even more delicious) pizza dough. This Anytime Pizza Dough is so amazing that you can actually make it the night before and let it rise until you’re ready to use it!
It was years in the making, but I’m finally ready to share my Anytime Pizza Dough! It is an ambitious pizza dough for a weeknight, but it’s so worth the effort. And with planning, this can be an ambitious weeknight dinner, or it can be a special weekend treat.
This Anytime Pizza Dough is herb-y and chewy and versatile and everything that is perfect about pizza. And I hope you love it.
Beginners Start Here
If you’re new to working with yeast specifically, or new to baking in general, these three articles will help you tremendously when working with this recipe! Even if you’re not new to baking, these three articles will have lots of good information to help you with all of your pizza and bread baking endeavors!
- Yeast Basics for Beginning Bread Bakers
- Baking 101: How to Measure Ingredients
- How to Test Bread Dough
- Knowing When to Stop a Technique
Equipment Needed for the Anytime Pizza Dough
Pizza is unbelievably simple, but you will need a few pieces of equipment to help execute it:
*Note: these are Amazon Affiliate links. I get paid a small commission if you purchase from any of these links.**
- A large bowl and spoon, or a stand mixer;
- A pizza stone;
- A digital kitchen scale;
- An oven thermometer;
- A pizza peel or rimless cookie sheet;
- Parchment Paper;
- Liquid measuring cups and measuring spoons;
- A non-stick silicone pastry mat (optional, but helpful for beginners.)
How to Make the Anytime Pizza Dough (In Photos)
Making the Dough
To start this recipe, prep your mise en place. It is highly recommended that you use a digital kitchen scale and metric measurement for this recipe. Without a digital kitchen scale, it is much more likely that you will over-flour your dough and end up with a dry pizza dough.
And…nobody wants a dry pizza dough.
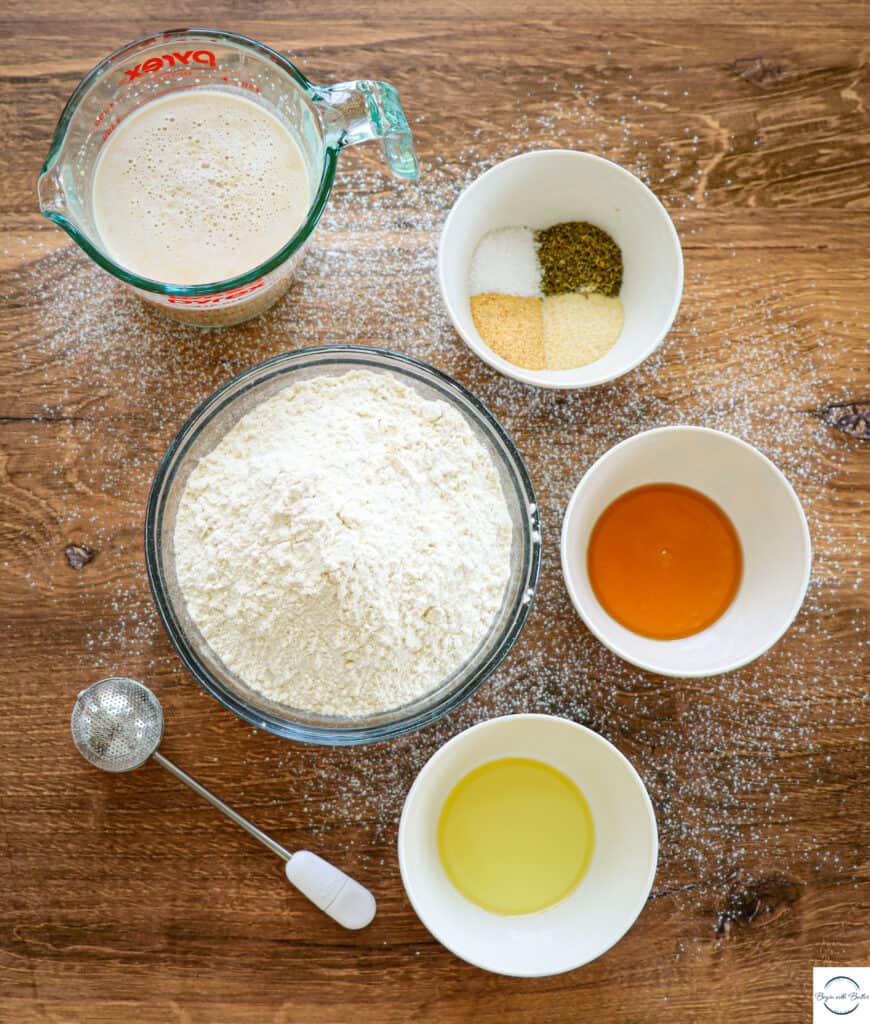
Having everything prepared beforehand will make it much easier to execute this wonderful dough.
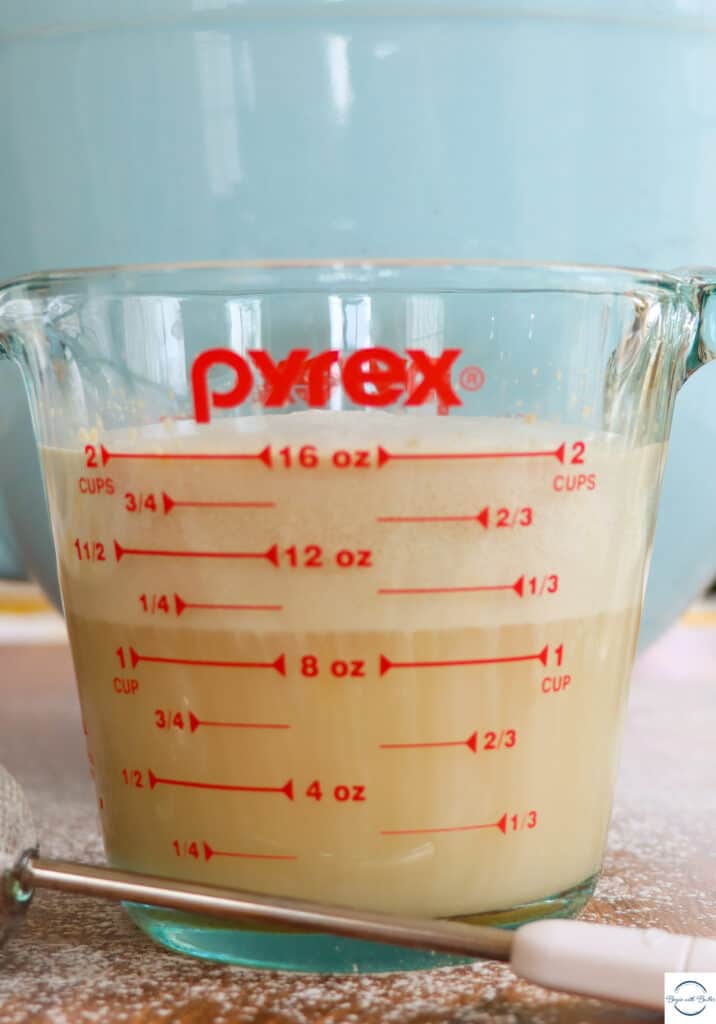
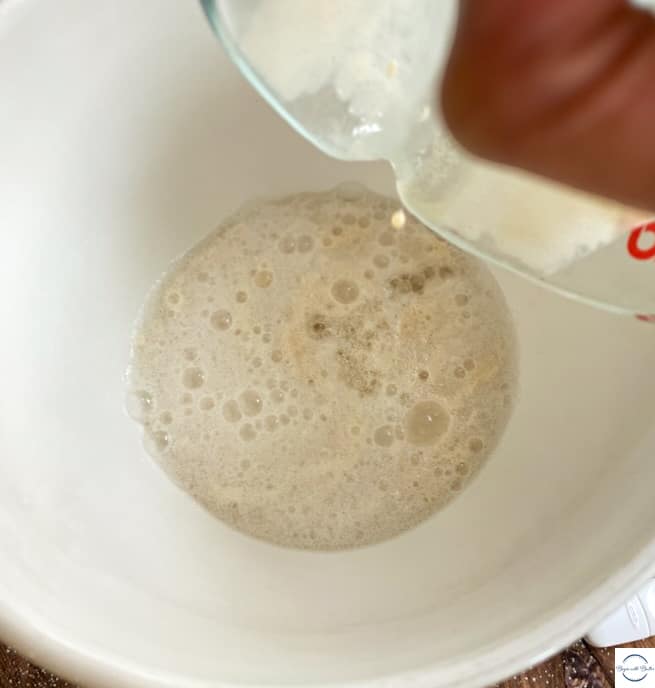
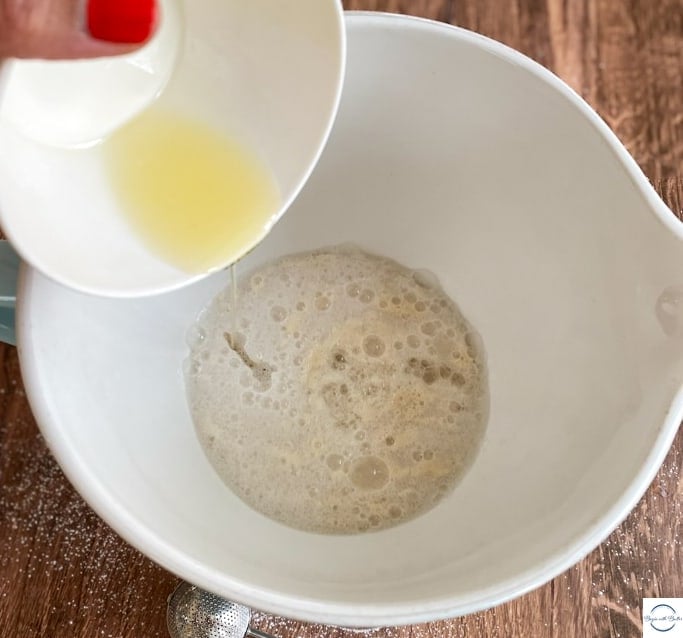
The last part of your mise en place should be adding your yeast and your natural sugar to water that is between 110°F and 115°F. After 8-10 minutes, it should look like this:
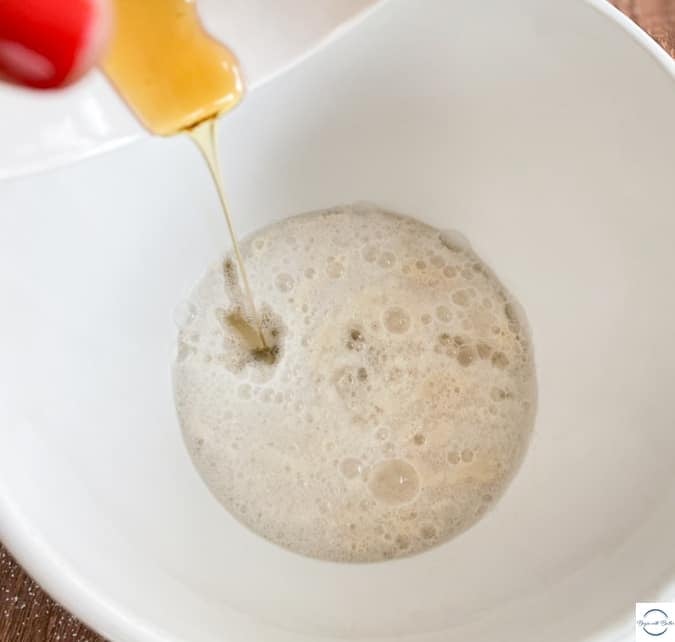
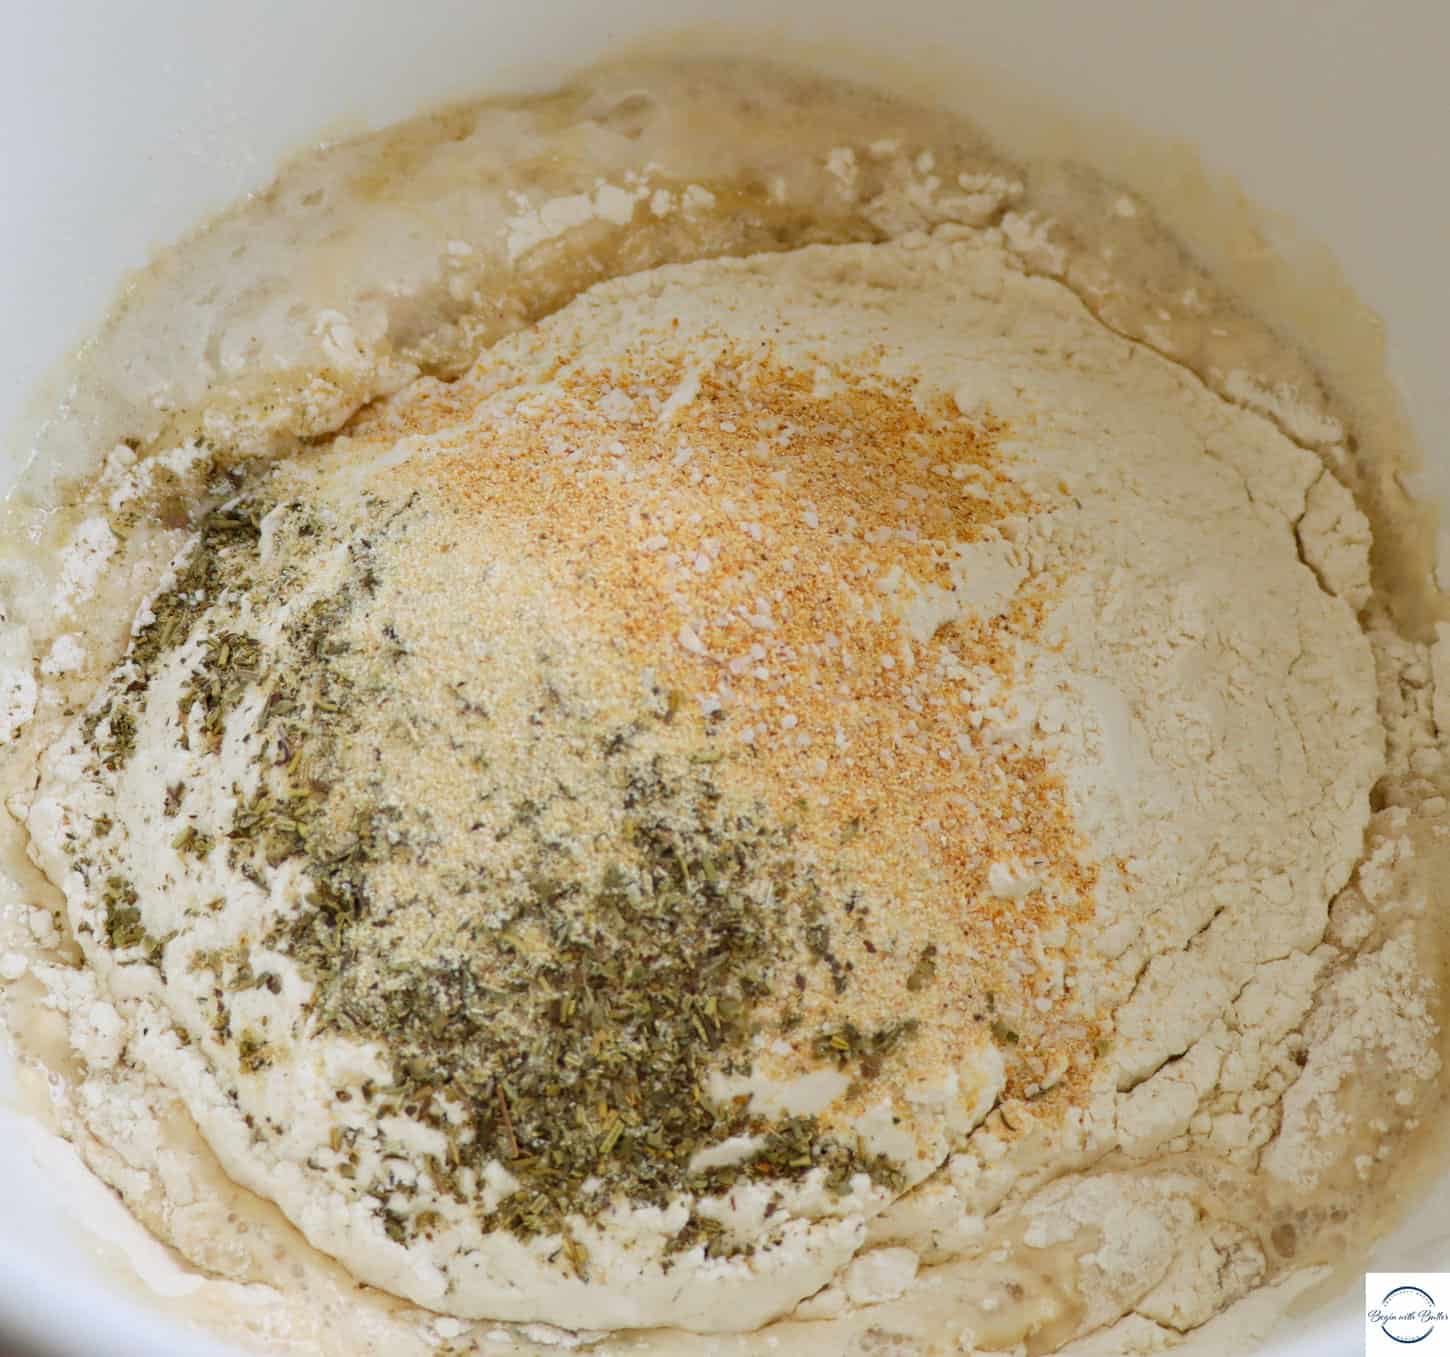
Next, add the yeast/water mixture, oil, honey, flour (all of it!), salt, Italian seasoning, garlic powder, and onion powder to the bowl of a stand mixer or a large mixing bowl.
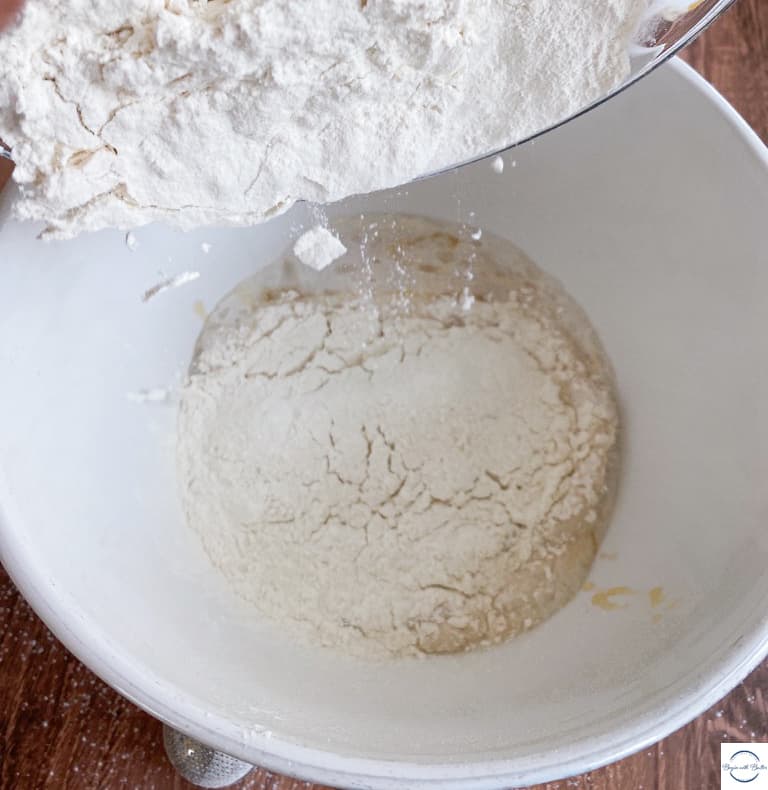

Using the dough hook attachment of your stand mixer, combine all of the ingredients until they form a tacky (but not sticky) dough ball. If the dough is still extremely sticky around the four minute mark, add 1-2 more tablespoons of flour. Don’t add more than two tablespoons; the best fix for stickiness is kneading. This process takes about 5-7 minutes in a stand mixer.
Your dough will go from shaggy:
To perfect:
Fellow hand kneaders, fear not! I made a video just for you to show you the technique that I use for kneading bread dough by hand. This video is for my Perfect Sunday Dinner Rolls, but the kneading technique is the same!
Once the dough feels tacky (but not sticky!) to the touch, it’s time for the Windowpane Test. The Windowpane Test is a quick check that breadmakers use to determine whether their dough is strong enough and elastic enough for its first rise.
To do this test, pull a quarter-sized piece of dough from the dough ball. Working in a circle, gently pull the dough until it is very thin. If the dough stretches to the point of translucence without breaking, then it’s done! For many bread doughs, this will happen between 5-10 minutes with a stand mixer, or 12-20 minutes if kneading by hand.
Learn about the Windowpane Test here!
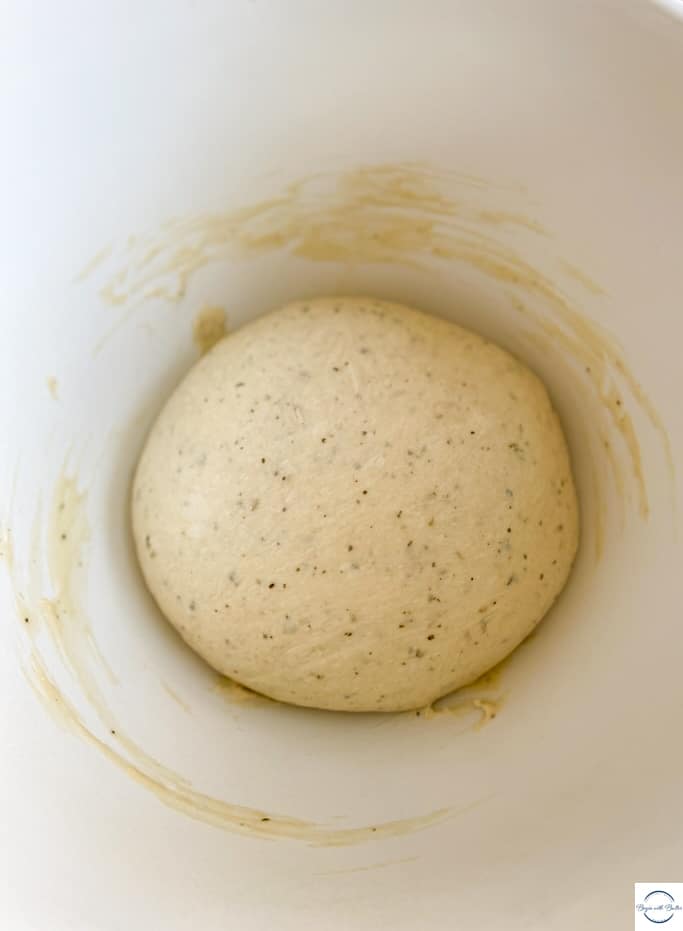
Once your dough passes the Windowpane Test, you’re ready to move on. Spray your hands lightly with cooking spray and remove your dough. Spray the empty bowl lightly with cooking spray, form the dough into a ball, and let it rest, covered lightly with plastic wrap or a clean kitchen towel, for 45-60 minutes.
(The first rise is an amazing time to prepare toppings btw.)
Shaping the Dough
After the first rise, use your digital kitchen scale to separate the dough into three equal dough balls. Sprinkle a piece of parchment paper lightly with flour and place each dough ball on top of the parchment. Lightly dust the tops of the three dough balls with flour and cover again with plastic wrap or a clean kitchen towel for thirty minutes.
Once the second rise is done, the pizzas are ready to shape into your favorite pizza shape. Do you like hand tossed? Me too. This pizza is perfect for that. Do you prefer an artisan-style pizza with a huge, chewy crust? This pizza is great for that too. Are you a native Chicagoan who eschews anything but deep dish? This crust has your back. Is New York style pizza your thing? This pizza dough will go as thin as you need it to go.
For shaping instructions, check out this quick video! You can use this basic technique to make your crust as thick or thin as you like!
That’s it Friends! Once your dough is shaped, you’re ready to top it with as many toppings as your heart desires.
**To avoid desperate sadness, remember to build your pizza directly on parchment paper or on a pizza peel that is covered with corn meal**
Well, maybe within reason. If you put too many toppings on your pizza, that beautiful crust won’t cook and you’ll be eating undercooked, sad dough with perfectly caramelized toppings on it. Best to use a light hand with the sauce and toppings until you’ve practiced your technique. The good thing about pizza is that even mediocre pizza is great food.
A Couple of Notes About Baking
I use a pizza stone for the best results with this Anytime Pizza Dough. Mine lives on the floor of my oven full-time and is well-seasoned. It gives me a perfect crust every time.
I used to use the convection function in my oven and bake pizzas at very high heat (500°F). Over time, I realized that this was leading to perfectly cooked cheese and an underbaked bottom crust. So, I changed the rules; I lowered the temperature, put the baking stone in the middle of the oven, and I raised the baking stone from the floor of the oven to the middle. And it worked perfectly.
Enjoy the recipe!
Print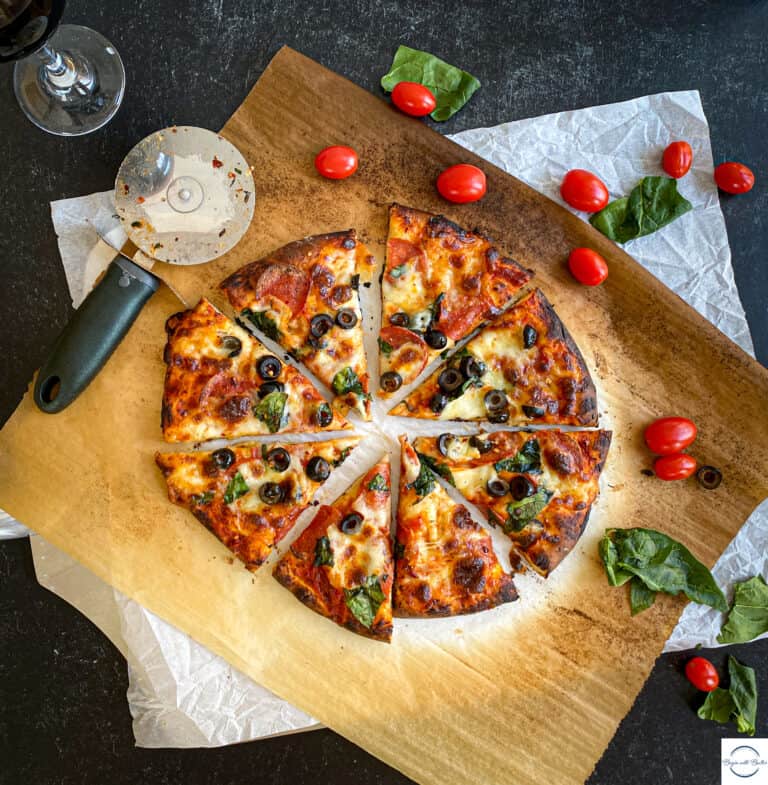
The Anytime Pizza Dough
This amazing pizza dough is perfect for an ambitious (but worth it!) weeknight dinner.
- Total Time: 0 hours
- Yield: 3 12″ pizzas 1x
Ingredients
- 375 grams (1 1/2 cups) water (110°F to 115°F)
- 1 1/2 tablespoons instant yeast
- 1 1/2 teaspoons turbinado sugar (or 1 teaspoon of granulated sugar)
- 1 1/2 teaspoons Italian seasoning
- 1 1/2 teaspoons garlic powder
- 1 1/2 teaspoons onion powder
- 1 1/2 teaspoons kosher salt
- 1 1/2 tablespoons oil (I use extra virgin olive oil)
- 1 1/2 tablespoons honey or natural sugar
- 512 grams (4 cups) all-purpose flour or bread flour (see note)
Instructions
- This pizza is best baked on a pizza stone. If using a pizza stone, place it on the middle rack of your oven and move all of the oven racks to the bottom. Heat oven to 425°F (not convection).
- Combine Italian seasoning, garlic powder, onion powder, and salt in a bowl. Set aside. Measure 4 cups (512 grams) of flour in a large bowl and set aside. Put oil and honey in a small bowl and set aside.
- Add warm water to 2-cup measuring cup. Add yeast and tubinado sugar to warm water. Mix with a small whisk until all yeast is moistened. Allow yeast mixture to sit for 8-10 minutes.
- After yeast has bloomed, add yeast mixture, honey/oil mixture, flour, and spice mix to the bowl of a stand mixer or a large mixing bowl.
- If using a stand mixer, mix on low speed (in my KitchenAid, I never go higher than speed 2 for any bread dough) for about five minutes before adding additional flour. Add an additional 1-2 tablespoons of flour maximum if the dough is extremely sticky. Allow dough to mix for about a minute between each addition of flour.
- If using a large bowl, stir in the bowl with a wooden spoon until the dough becomes difficult to mix. With your hands, knead the dough in the bowl until it comes together in a cohesive dough ball. Sprinkle 1-2 tablespoons of flour on a clean work surface and continue kneading for 10-15 minutes.
- Perform the Windowpane Test after about 8-10 minutes of kneading. The dough should be tacky but not sticky, and it should stretch easily and become translucent without breaking.
- Spray your hands with a light coating of non-stick cooking spray. Remove the dough from the mixing bowl and spray a light coating of non-stick spray in the mixing bowl. Form the dough into a ball and place the dough back into the mixing bowl. Cover loosely with plastic wrap or a clean kitchen towel and allow to rise for 45-60 minutes.
- Use a kitchen scale to separate the dough into three separate dough balls. Sprinkle flour on a piece of parchment paper and place the three dough balls on the parchment. Sprinkle the tops of the dough balls with flour and cover again with plastic wrap or a clean kitchen towel. Allow the dough to rise for 30 more minutes.
- Sprinkle a piece of parchment paper with flour and shape your pizza as desired. Remember to build your pizza directly on your parchment paper so that you can move it! If you build it directly on a countertop it will get stuck like glue.
- This dough can be shaped any number of ways; the thickness of the crust impacts the bake time. Bake time varies by crust thickness and number of toppings; for fewer toppings and/or a medium color crust, bake at 425°F for 9-10 minutes. For more toppings or a more well-done crust, bake 12-15 minutes. If making a deep dish pizza, lower the temperature to 400°F and bake for 45-50 minutes.
Notes
- A digital kitchen scale is highly recommended for weighing the flour in this recipe. Without proper measurement, the likelihood of an over-floured pizza dough is high.
- An oven thermometer will help ensure that your oven is at the proper baking temperature for pizza. If the oven is not hot enough, the crust will likely be underbaked.
- An alternate way to build this pizza is directly on a pizza peel that is covered with corn meal. If you’re new to pizza baking, I would recommend practicing your technique on parchment paper so that you can increase your confidence and speed before doing this advanced technique.
- Bread flour is wonderful in this recipe, and will increase the chewiness of the pizza dough.
- Prep Time: 30 minutes (active)
- Rise Time: 1 hour 15 minutes (total)
- Cook Time: 6-9 minutes per pizza
- Category: Bread
Easy to follow directions and it really took no time to prepare. Even with a two year old helping!
I modified the recipe slightly by decreasing the amount of garlic and onion powder, but it would have been just as good with the required amount. We may be having pizza night every week too!