Beloveds, the answer to that question is NO.
In this Post:
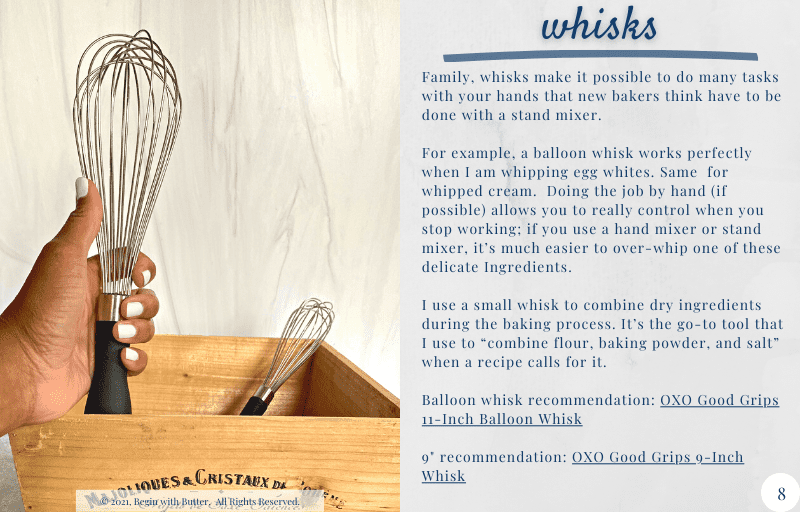
About Stand Mixers
Friends, a stand mixer is a powerful machine that bakers use to thoroughly and evenly mix ingredients for pastries and bread. It’s a pretty heavy countertop appliance that can be the centerpiece of a kitchen. However, it can also come with a hefty price tag that makes it out of reach for many new bakers. This is especially true for those new bakers who aren’t sure if they want to continue baking!


The most commonly-known brand in the U.S. is KitchenAid; they make several different stand mixers at several price points, they come in every color under the rainbow (and even some limited release versions that they make for other vendors), and they come in sizes from a 3.5-quart mini to a 7-quart professional.
All KitchenAid models have something called planetary motion. That is simply a fancy way of saying that, once the mixer is locked in place, the mixing mechanism automatically spins smoothly and evenly through batters and doughs. It’s typically faster than mixing by hand and requires minimal hands-on effort.
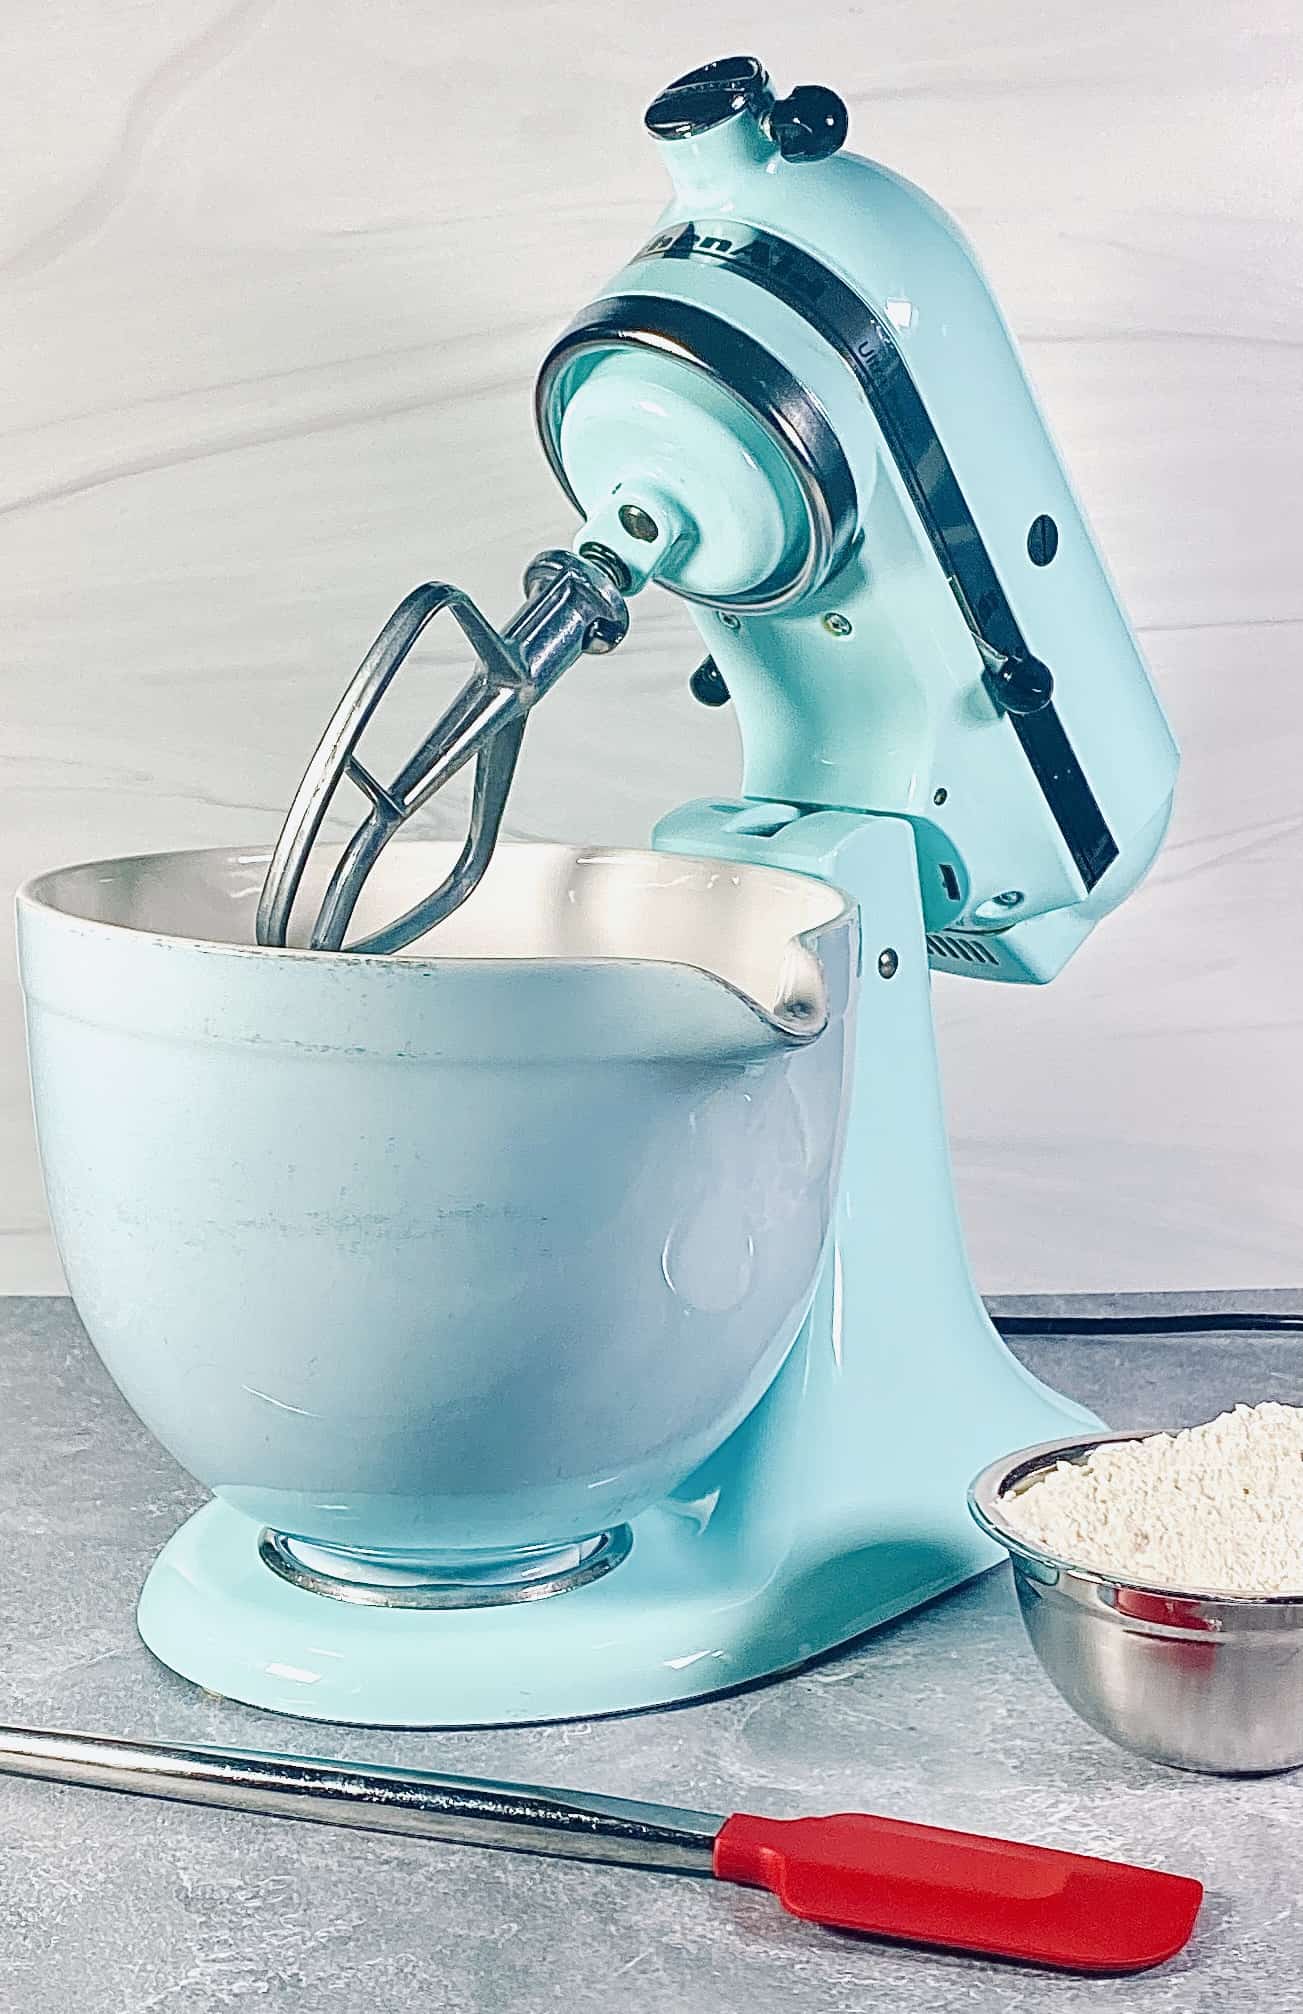
This is my KitchenAid Artisan. She was a gift to me from my mother-in-law, who saw potential in me years ago and invested in me. She is a beauty and she works HARD:
While there are some legitimate competitors for out there that are arguably comparable in quality, KitchenAid is the heavyweight champ for home kitchens, even if it’s just because of better marketing.
Put another way, when someone says they “got a new KitchenAid,” I have never once assumed that that person was talking about a washer/dryer. #NoShadeKitchenAid
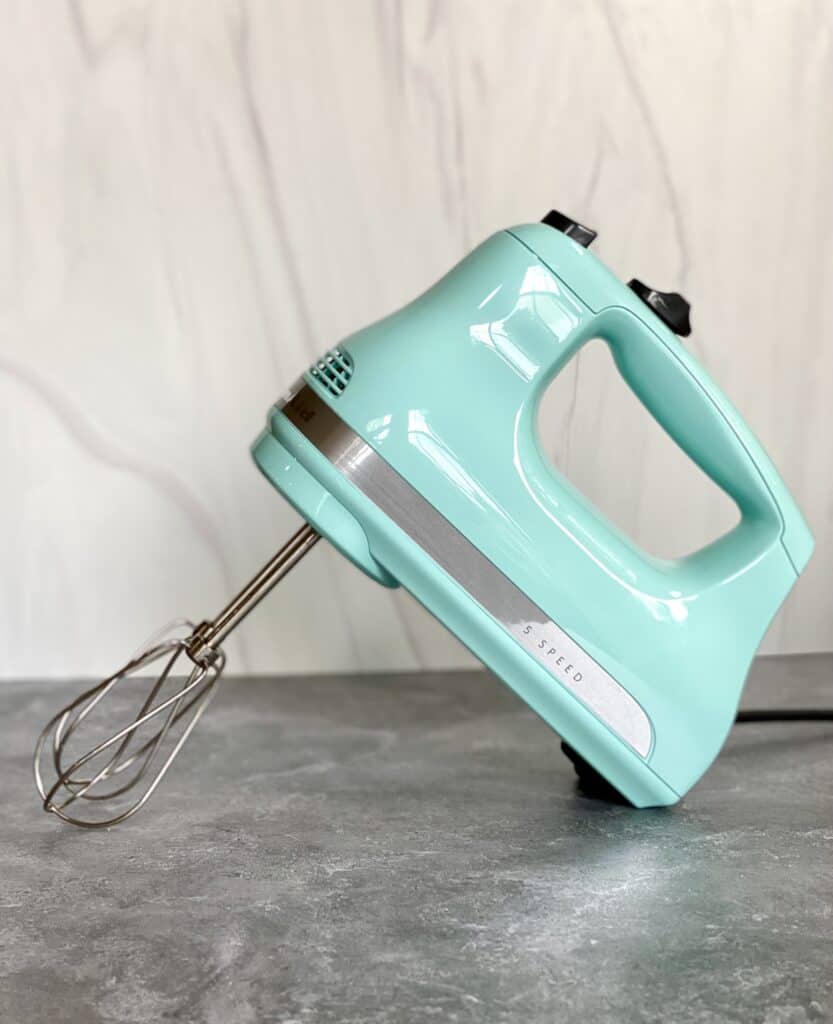
About Hand Mixers
A hand mixer is another powerful kitchen tool that helps you mix batters and doughs evenly. However, the planetary motion from a hand mixer is created by your wrist, not the mixer itself. This means that you have to use sight and feel to make sure that everything mixes evenly; you can’t rely nearly as much on the machine. This is how you learn baker’s touch.
These small but mighty machines do a fantastic job of creaming butter and sugar and incorporating ingredients. With proper technique, it is impossible to tell whether a baker used a stand mixer or a hand mixer.
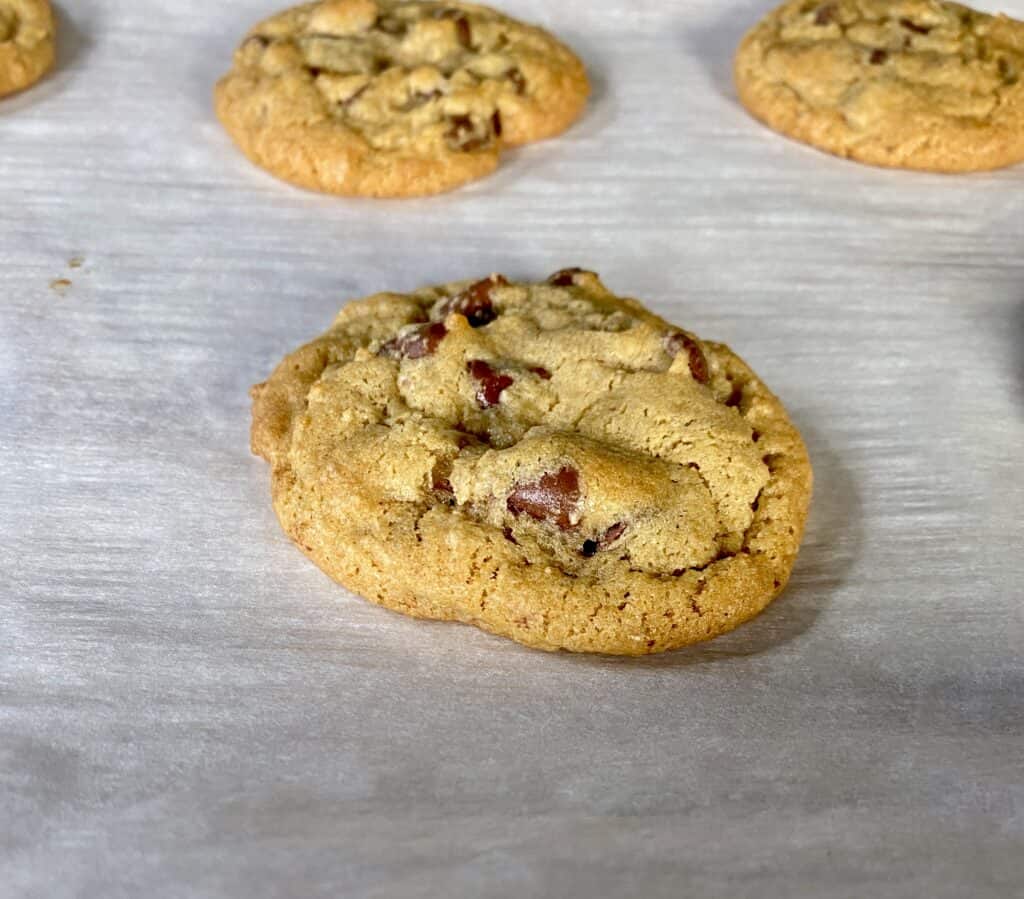
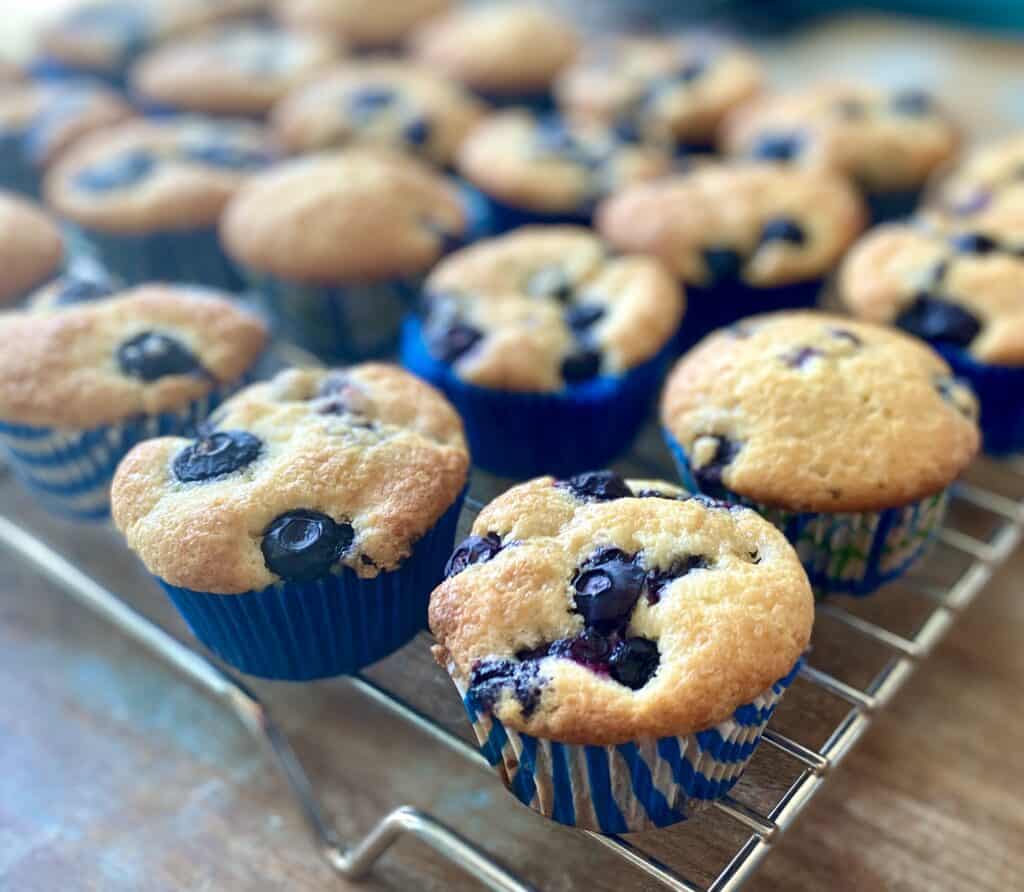
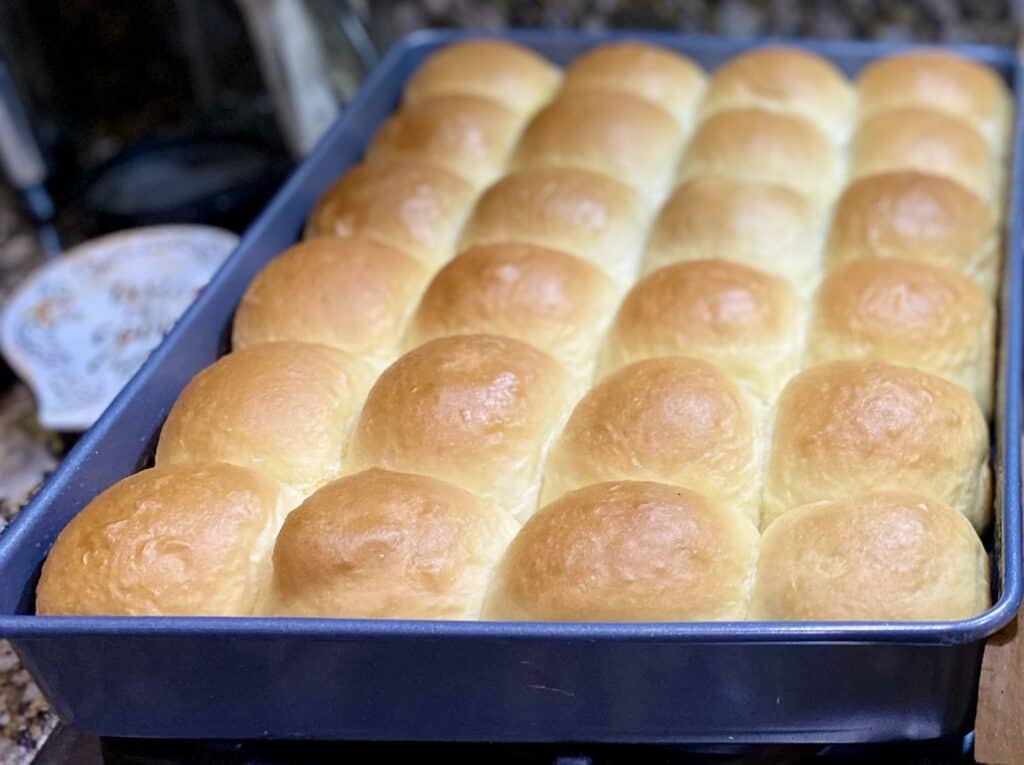
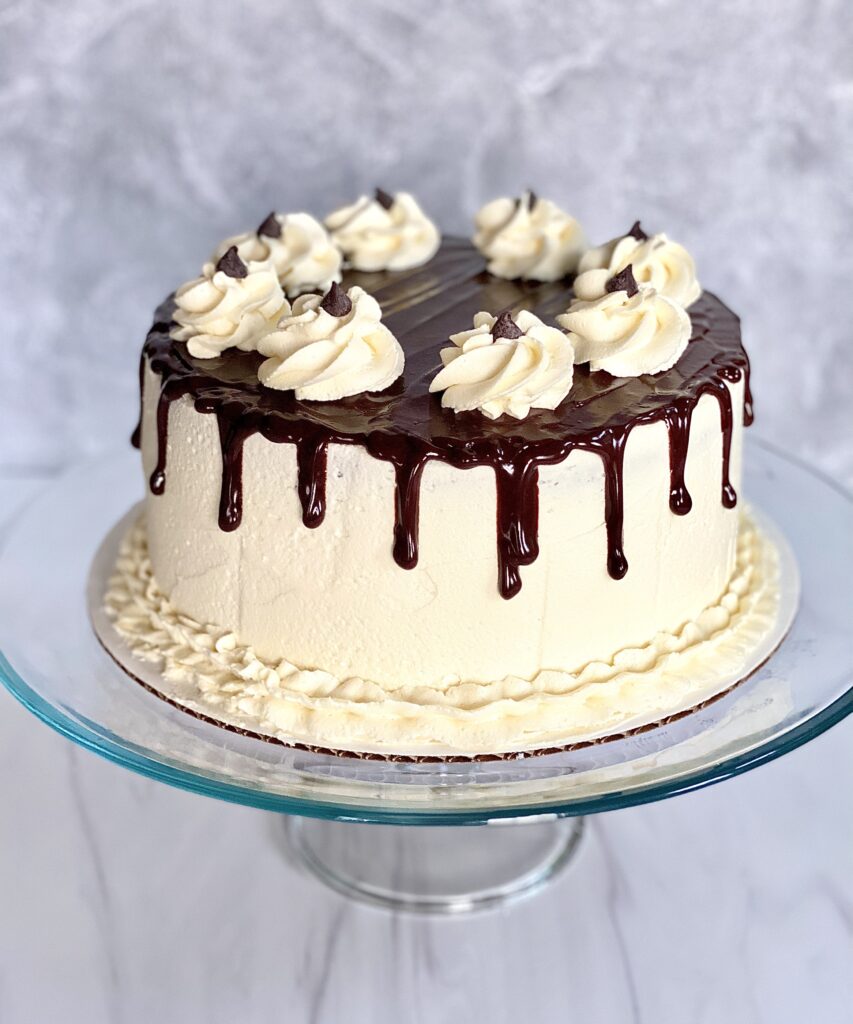
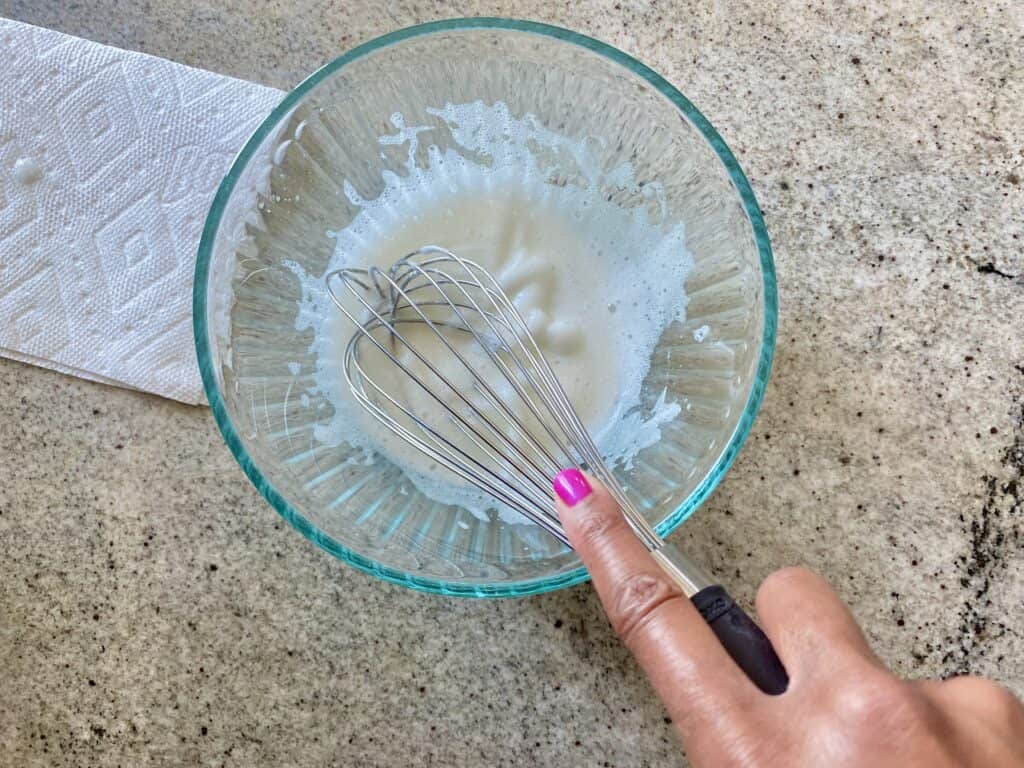
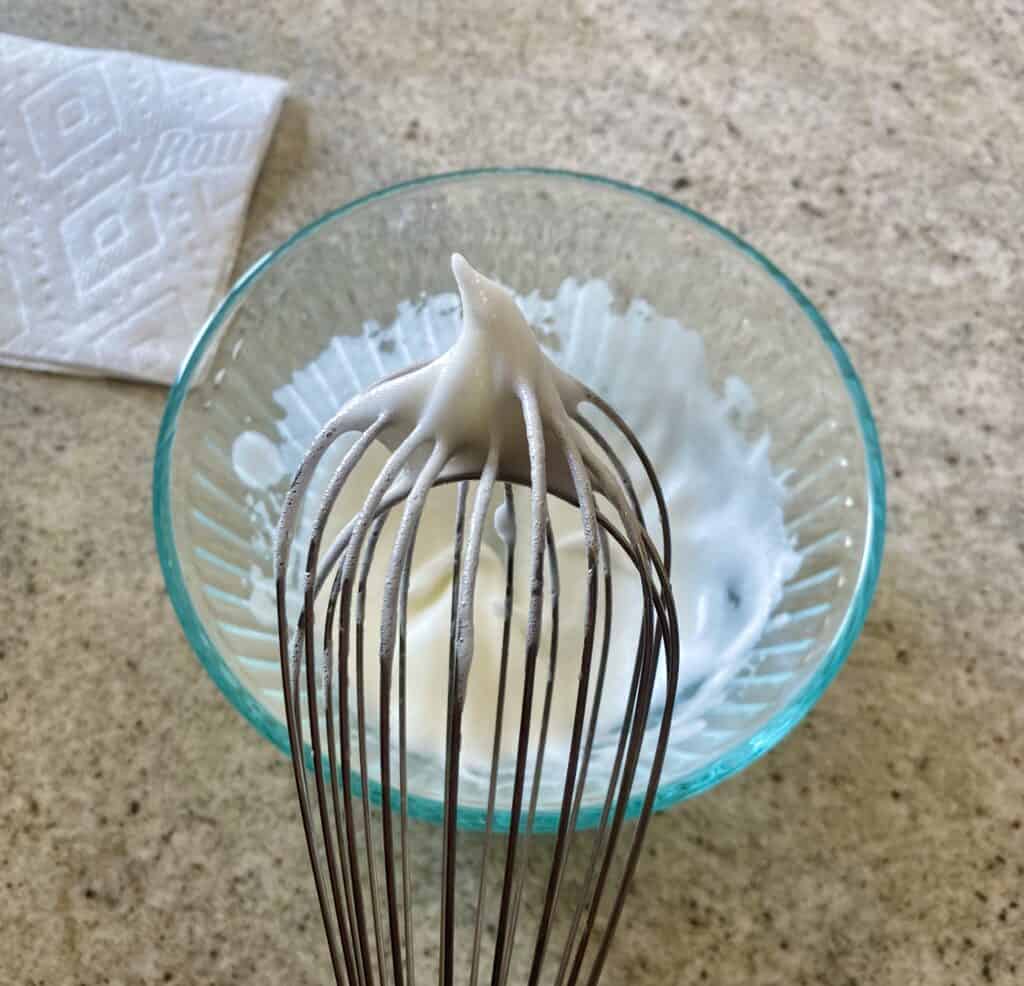
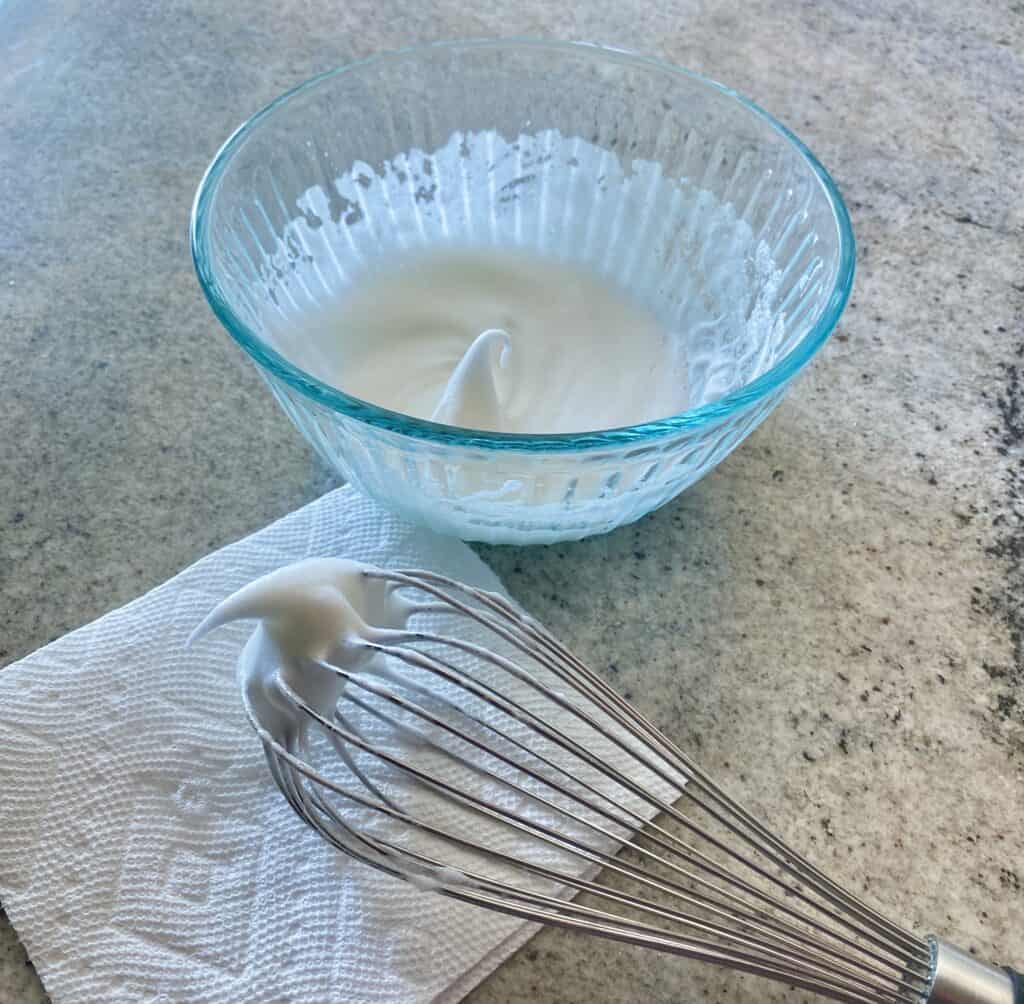
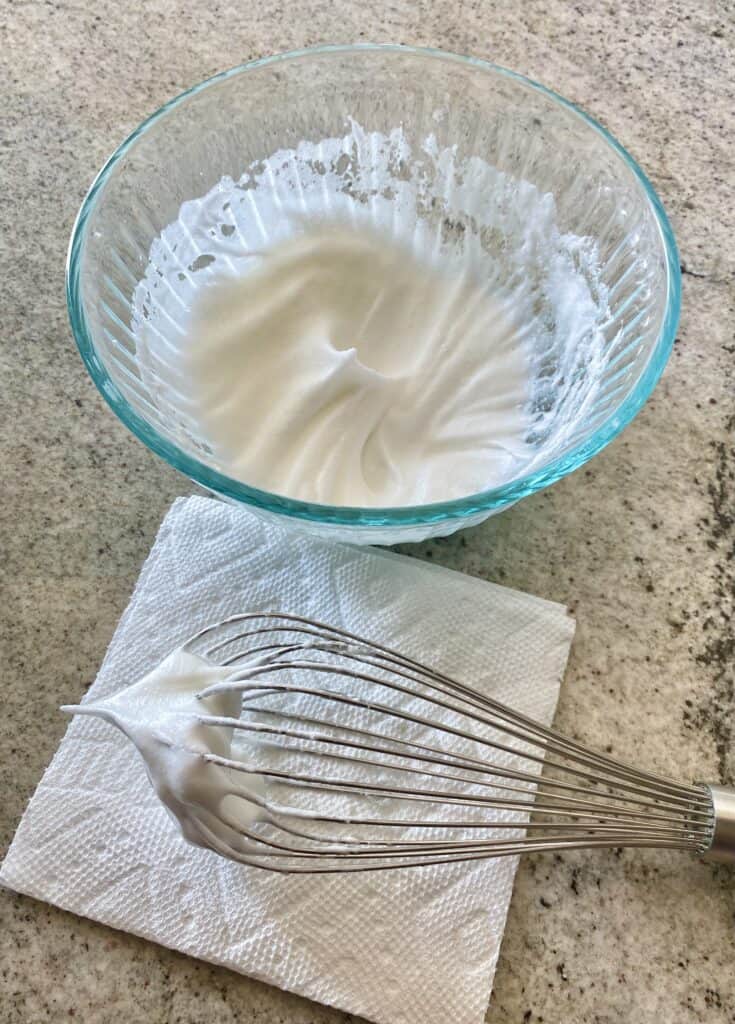
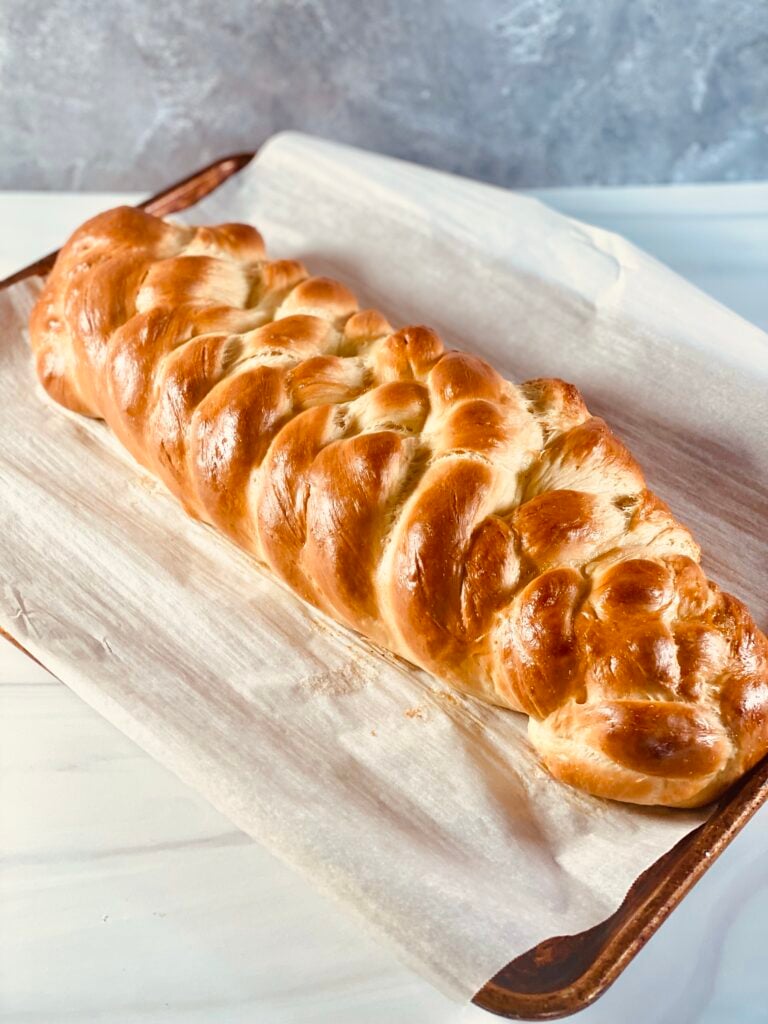
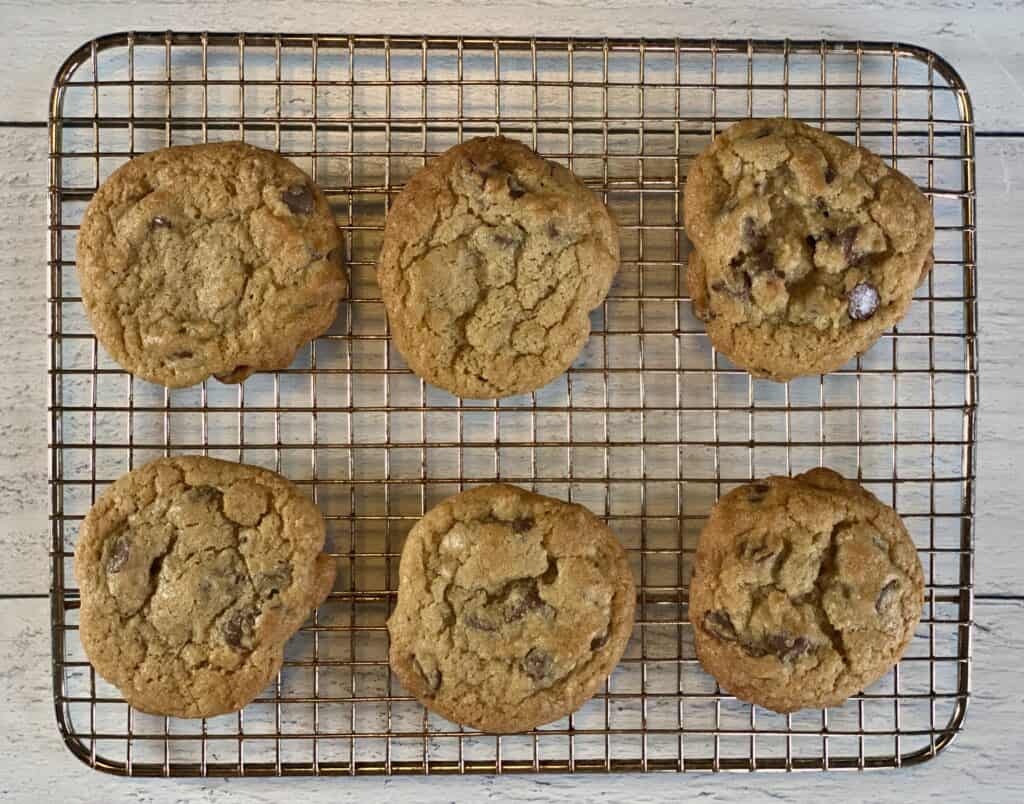
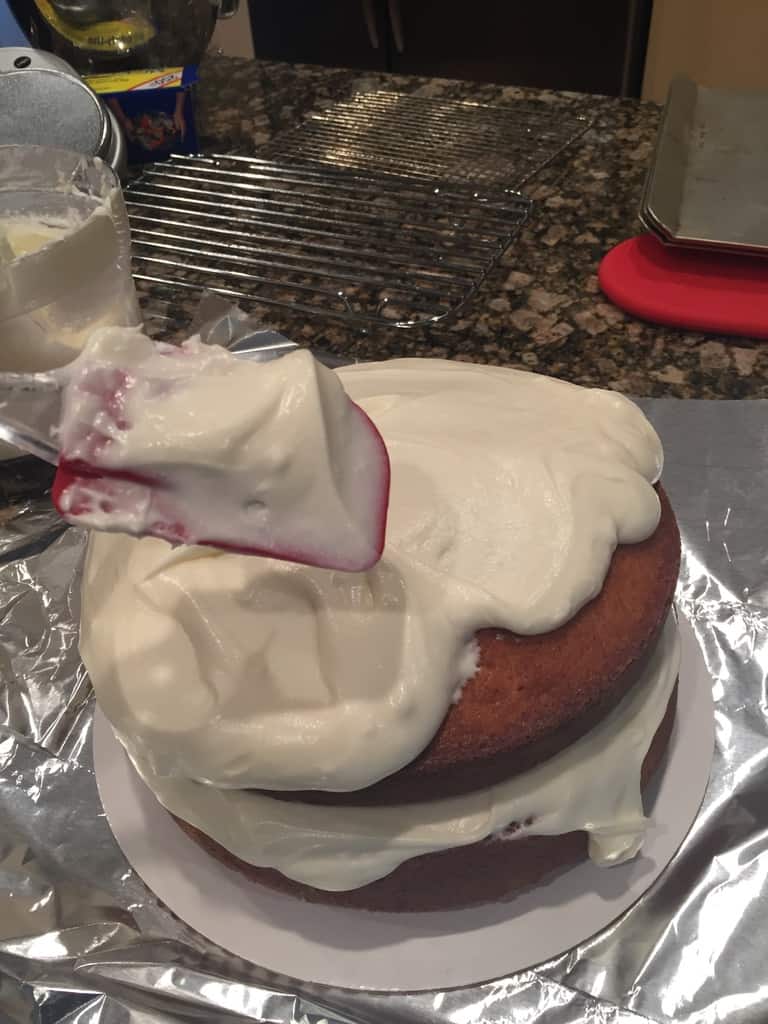
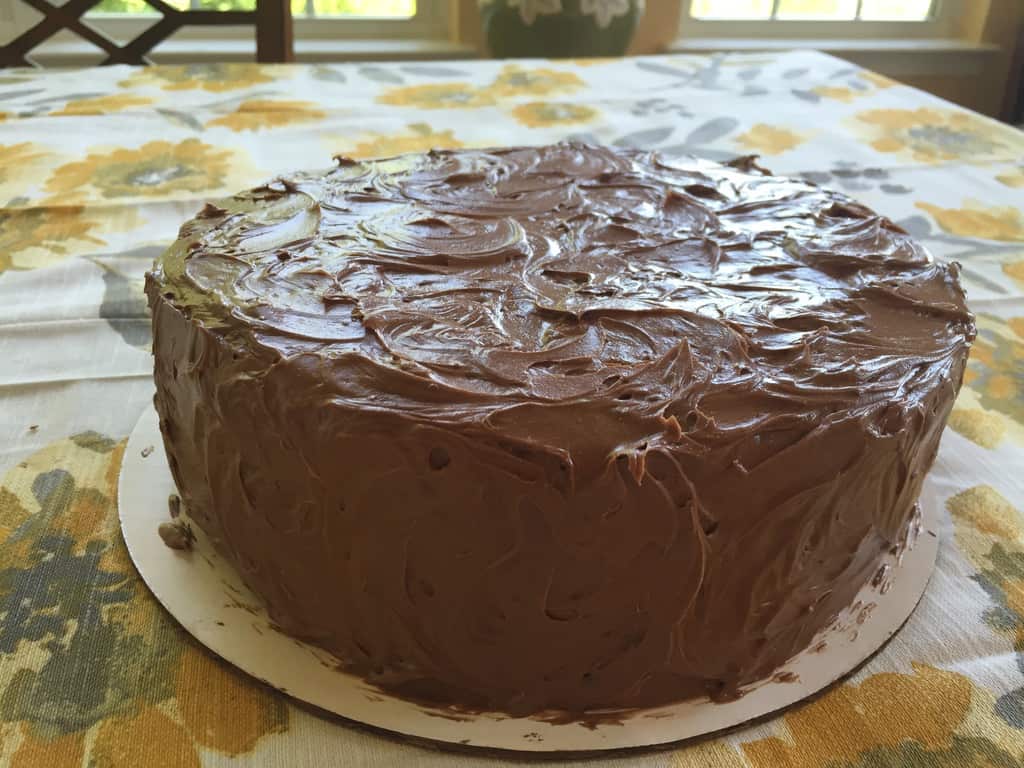
To further my point, last week, I made this:
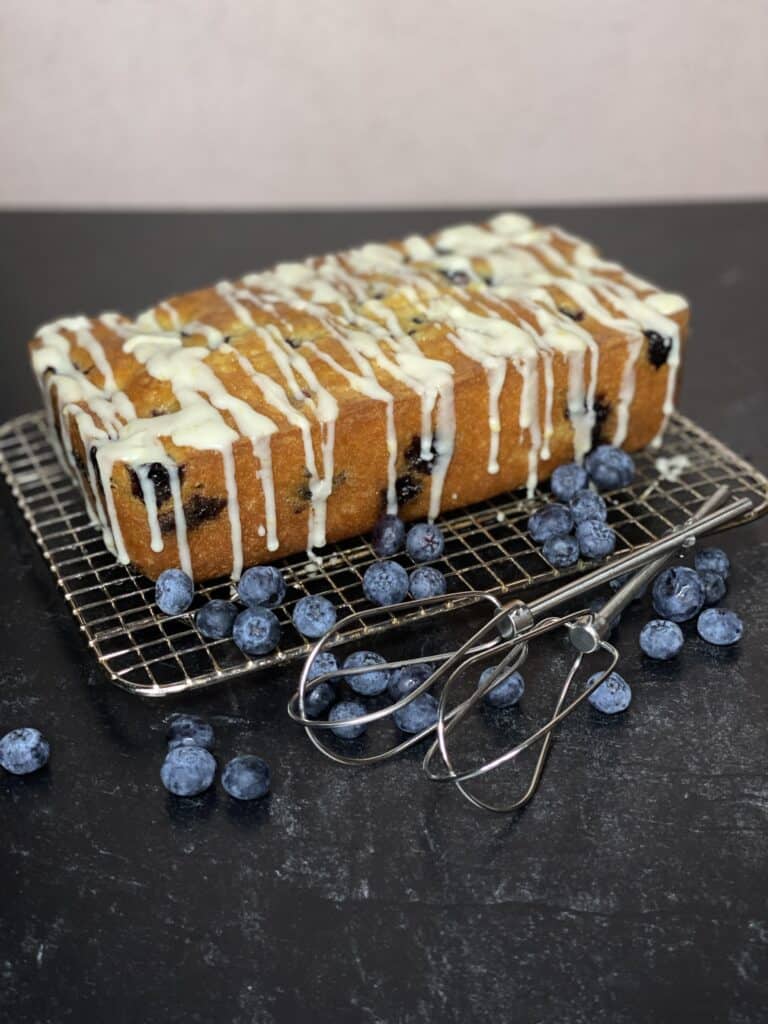
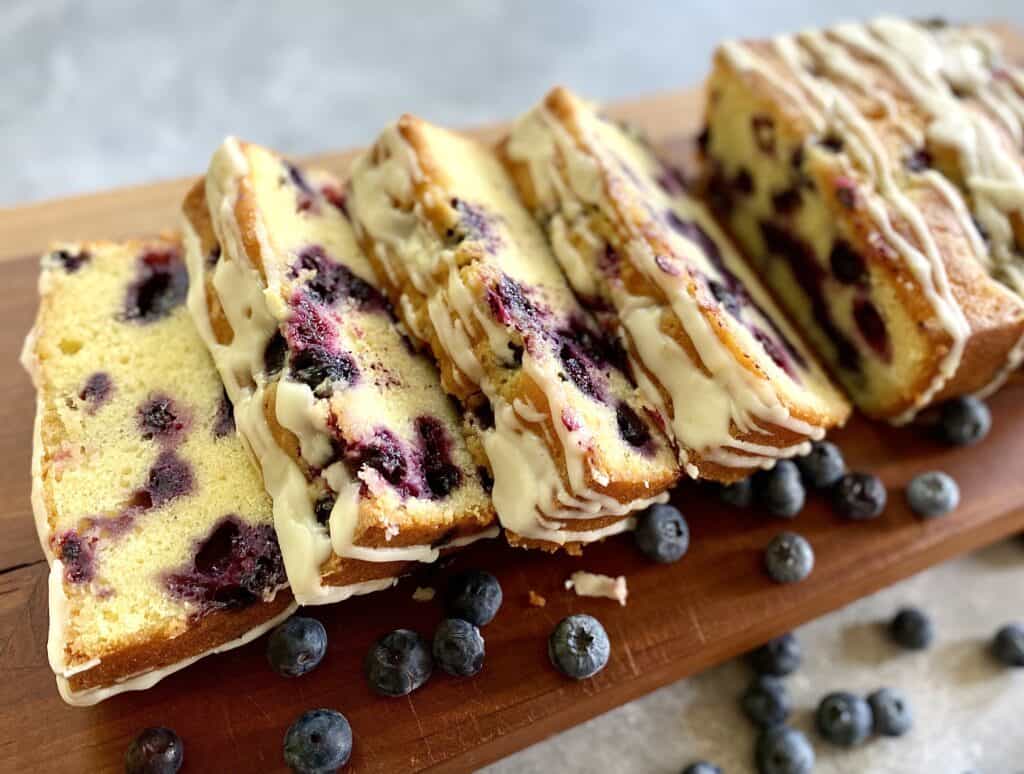
With this:
While KitchenAid makes an amazing hand mixer (I’m on my second one), there are several companies that make hand mixers that are wonderful. I honestly believe that every mother in my neighborhood growing up had the 80s versions of this Cuisinart or this Hamilton Beach hand mixer:


There are those among us who own these mixers today and they still work perfectly. And, as the story, below, will show, working with a hand mixer has done more to help me develop a better feel for batter and dough than working with a stand mixer ever has.
Don’t get me wrong! I use my stand mixer all the time. But, again, you don’t need one to start baking.
Time for a story of abject failure and devastation to prove my point.
Story Time
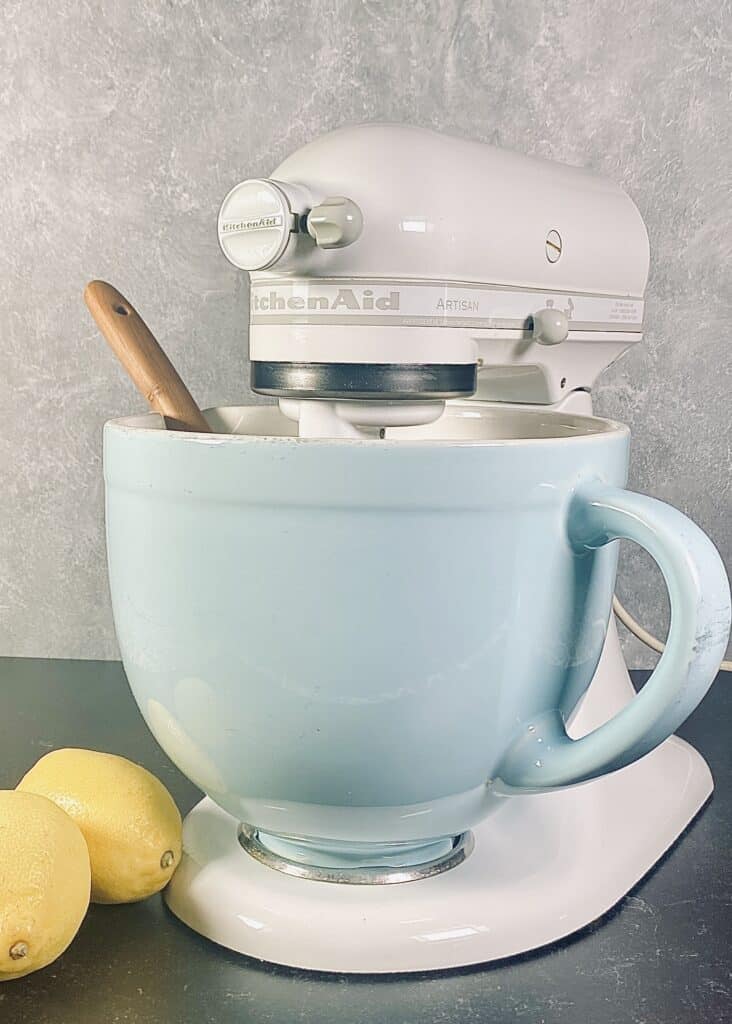
Before I had that beautiful KitchenAid Artisan stand mixer, my mother-in-law actually gifted me another KitchenAid Ultra Power mixer.
I am extremely fortunate and grateful that she did that for me.
I was a non-baker at the time, and I truly appreciated that KitchenAid as a beautiful countertop appliance. However, I did not initially appreciate the significance that this gift would play in my life.
She…was gorgeous. Still is:
When this KitchenAid first appeared in my kitchen, I was awed by the gift (I’ve always loved kitchen gadgets, even before I started baking), but didn’t have a full appreciation for it until The Mediocre Sugar Cookie Bake of 2014. Before that experience, I was the cook whose KitchenAid hand mixer was in the kitchen, while the beaters for said mixer were in another room entirely. Or in a random “multi-purpose” box on the other side of the house somewhere. After that sugar cookie experience I caught the baking bug, and wanted to bake everything.
I also wanted to use my glistening new KitchenAid stand mixer for everything. At the start, I under-creamed butter and sugar for a solid year in this forgiving machine. Over-mixed cake batters and cookie doughs in this machine. Turned out the toughest muffins and driest cakes of my baking life in this machine. And got no more skilled as a baker just because I owned it.

I had all of the baking books and resources at my fingertips during those early days, but I wasn’t developing a baker’s touch with my Ultra Power stand mixer. And I worked it to the bone. Worked it until the top was super hot and it was dancing around the counter, trying to mix quadruple batches of bread dough.
It started one day as a modest thunk….thunk…thunk. Did I think anything of it? Nope. I powered through that bread dough (I kinda went through a phase were I was making large batches of bread all the time), and another bread dough, and another…
A couple of weeks later, the motor…quit. When I plugged in the machine and turned on the motor, it would glide lazily at low speed and low speed only. My machine went from superstar to paperweight in one bake. And that was one of many times that I cried in my kitchen. It has not been the same since, despite being “fixed” more than once.
After grieving (boy, did I grieve!) the loss of my stand mixer, I was determined to figure out what went wrong. I realized that I’d become too dependent on the stand mixer to do the work for me, and that I hadn’t fully committed to learning the techniques that would make me into a good baker.
I wasn’t developing the eye and the touch for when to stop mixing cake batter when I turned it on and left the stand mixer running while I did everything else. I wasn’t developing that eye and touch when I refused to watch the creaming process so that I could understand when to stop. I wasn’t developing that eye and touch for different bread dough textures when I just let the mixer knead huge batches for 15 minutes at a time.
The Moral of the Story
After ruining that mixer, I realized that I needed to see and feel what I was doing, so that I could develop a baker’s touch. That special touch developed very quickly when I started using my hand mixer. Now, I can use either mixer interchangeably, because I understand what the finished product is supposed to look like. I know what it’s supposed to feel like.
For those who started reading this post with the belief that they can’t bake without a stand mixer: I believed that and ran a beautiful machine into the ground. It’s absolutely not true. A strong commitment to learning the science and techniques with hand tools will make you a proficient baker more quickly than a stand mixer ever could.
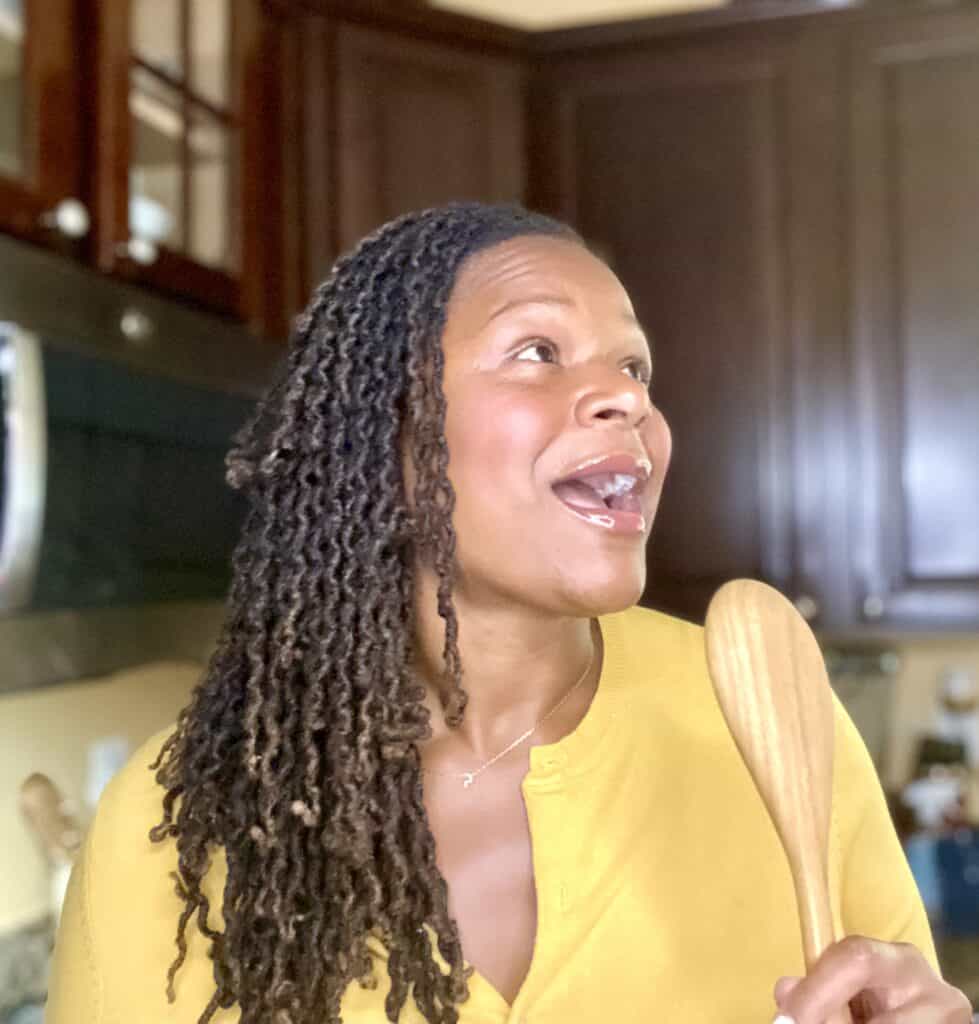
Today, I have both mixers available to me. And guess what? Sometimes I don’t use either of them! If I have the time to use a wooden spoon or dough whisk to make something, and if the recipe is one that supports it, you’d better believe I’m reaching for those those implements first. Even if I’m doing something for my custom bakery! It’s all about touch.
Because, Dear Family, you do not need an expensive stand mixer to begin your journey as a home baker.
I hope you found this post helpful! If you have any questions, you can always send me an email!
Until next time!
-S
Don’t forget to subscribe so that you can get more fun baking motivation!