


Friends. We made it.
It’s Day 12 of the Begin with Butter Twelve Days of Pound Cake Holiday Event, and when I say I am flabbergasted at the response from you all so far?
I’m over the moon, confounded and grateful. So grateful for the wholeheartedly sweet responses, and so impressed by the cakes that I’ve seen online! You all are doing it! Your holiday tables are going to be so blessed!
Today, for the grande finale, I present to you:
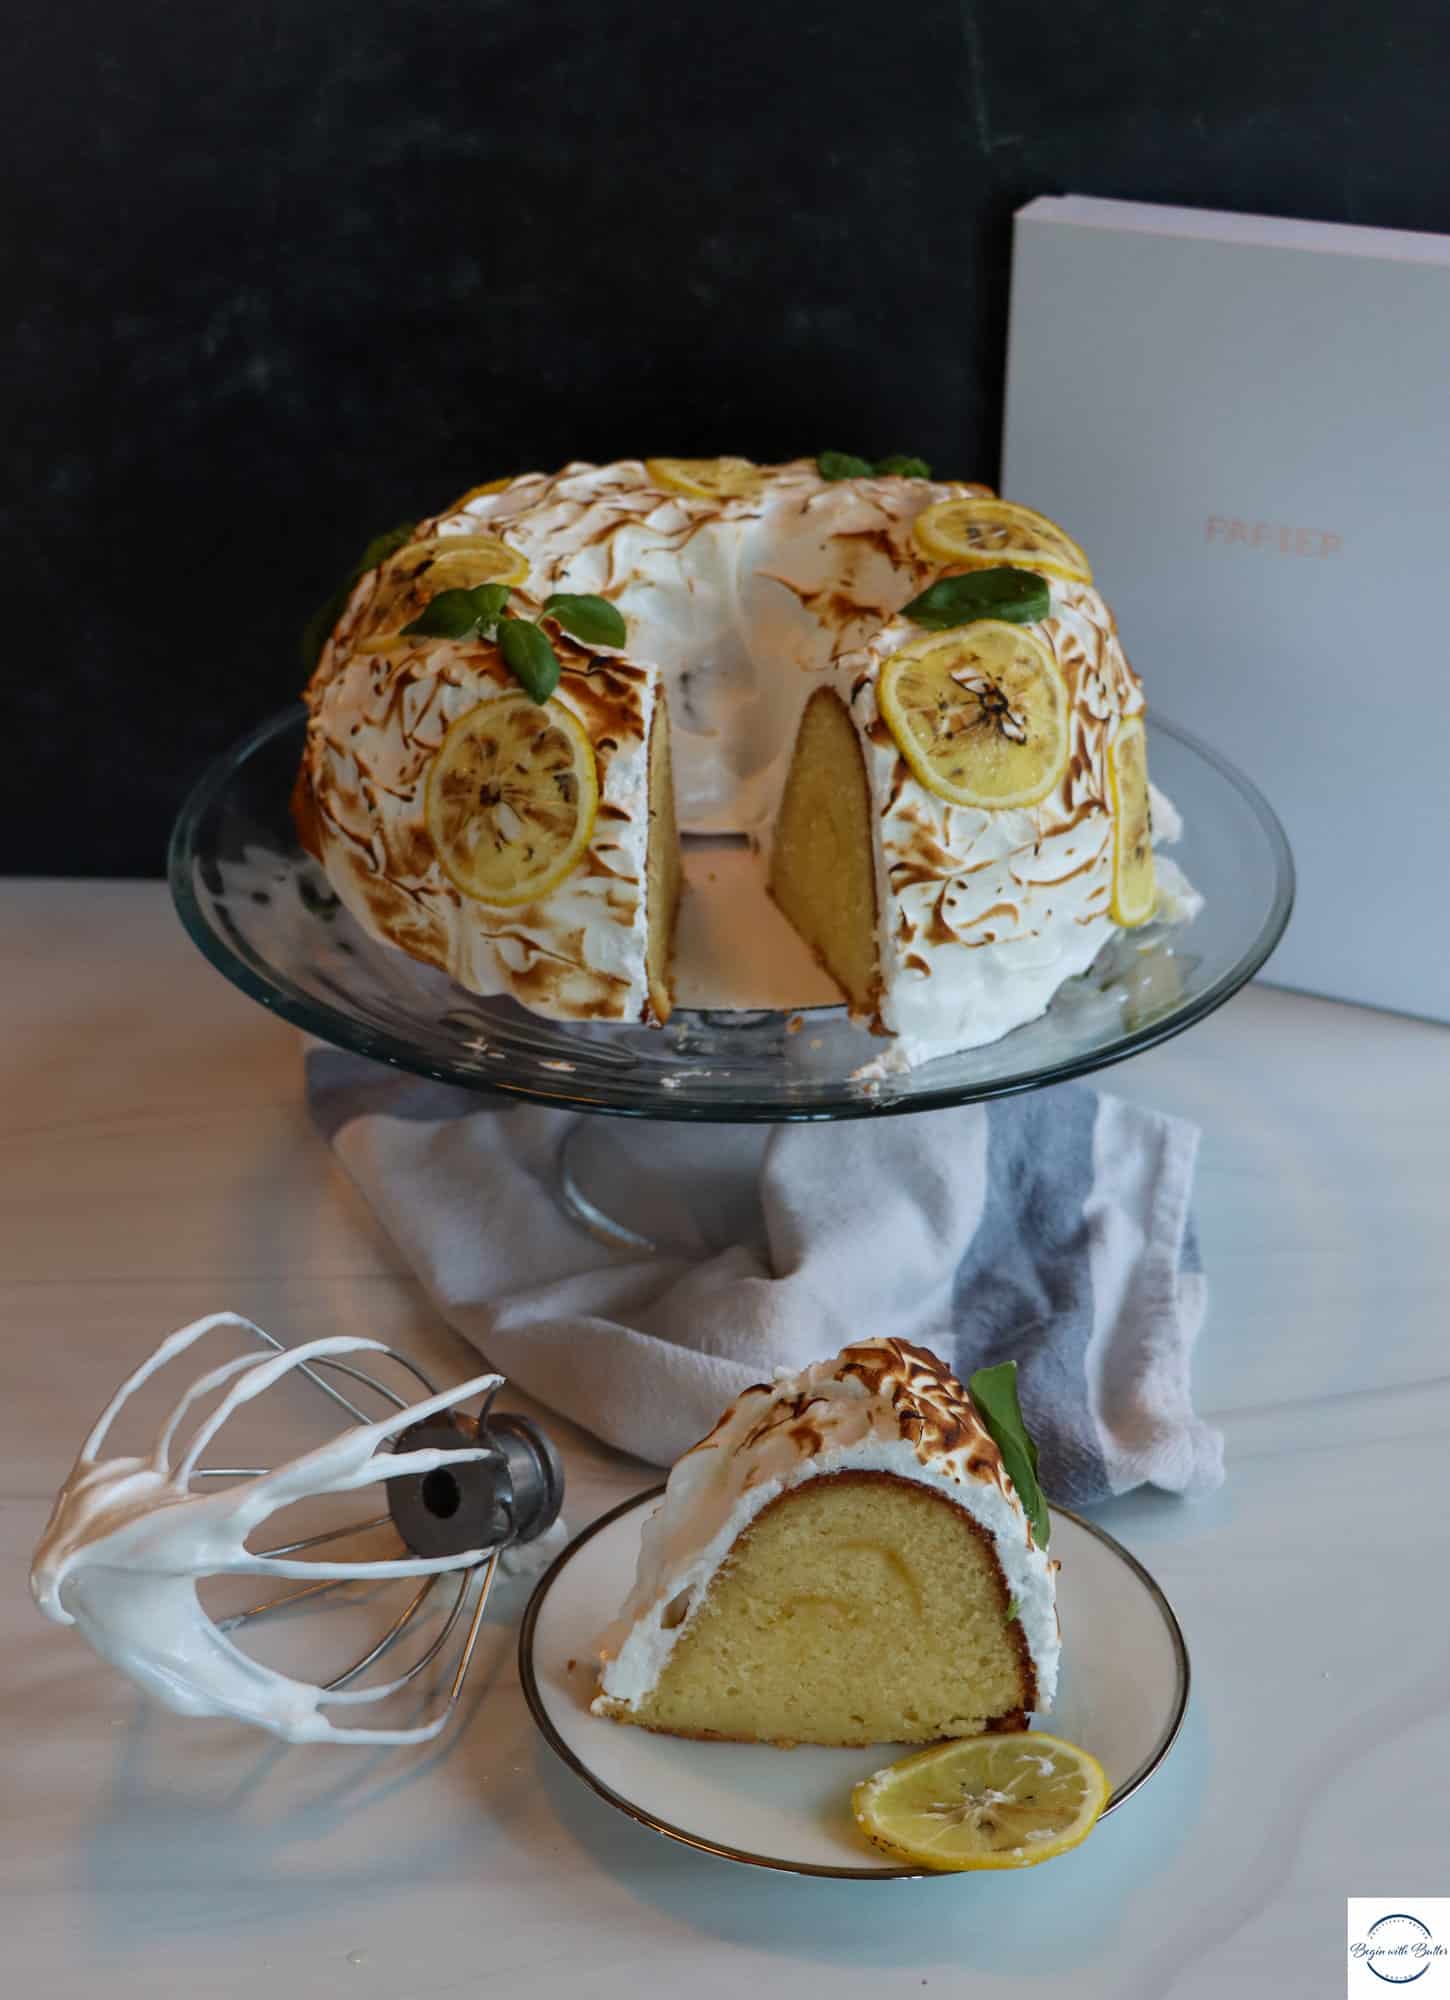
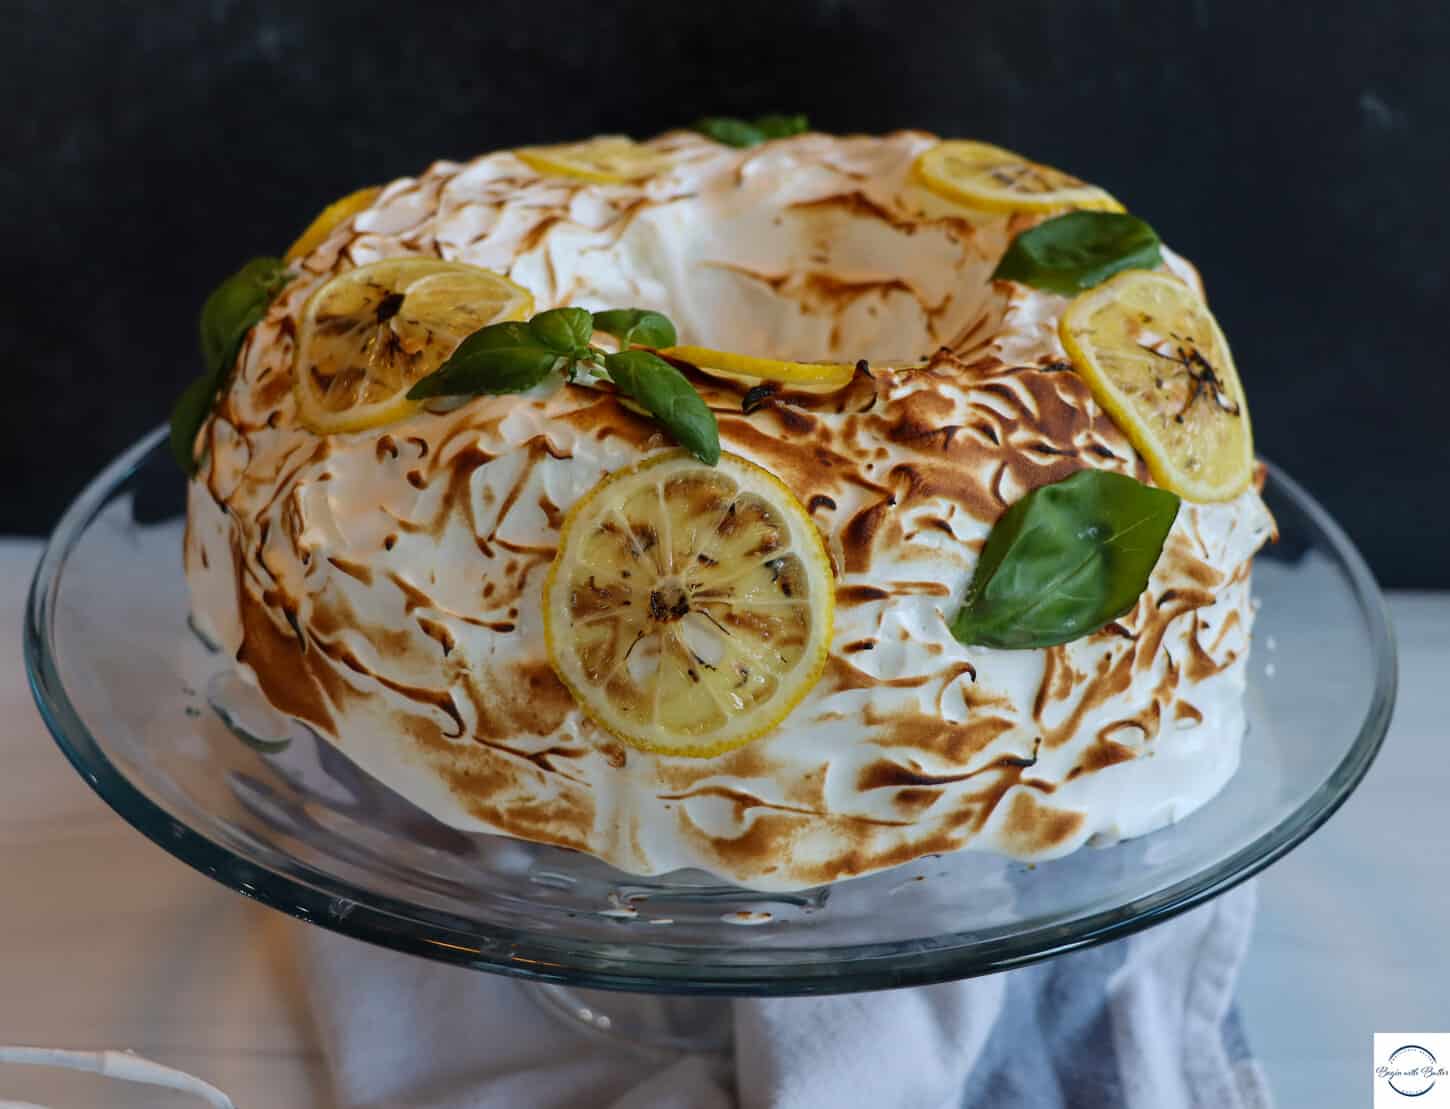
The Lemon Meringue Pound Cake.
This one is dedicated to my amazing hubby. Through the tart and the sweet of marriage, he’s been quietly steadfast, loyal and loving. When I create tumult (which I am known to do), he’s the steadying presence. When I am dramatic and over-the-top, he’s the bedrock.
Whether he’s rehoming a snake from our driveway late at night for me with an empty Ronzoni pasta box (I’m petrified of snakes but can’t stand to see them hurt or killed), boogie boarding with me on red/yellow flag days (ouch), building me a beautiful garden for much-needed R&R, or laughing with our babies and dogs on Saturday mornings, he’s my heart.
I’m sure I dance on all of his nerves at times. Just tip-tap-tapping away with my antics. But he barely reacts. It’s miraculous, really.
We’re a good match. And of all of the cakes in this event, he loved this one most.
About this Cake
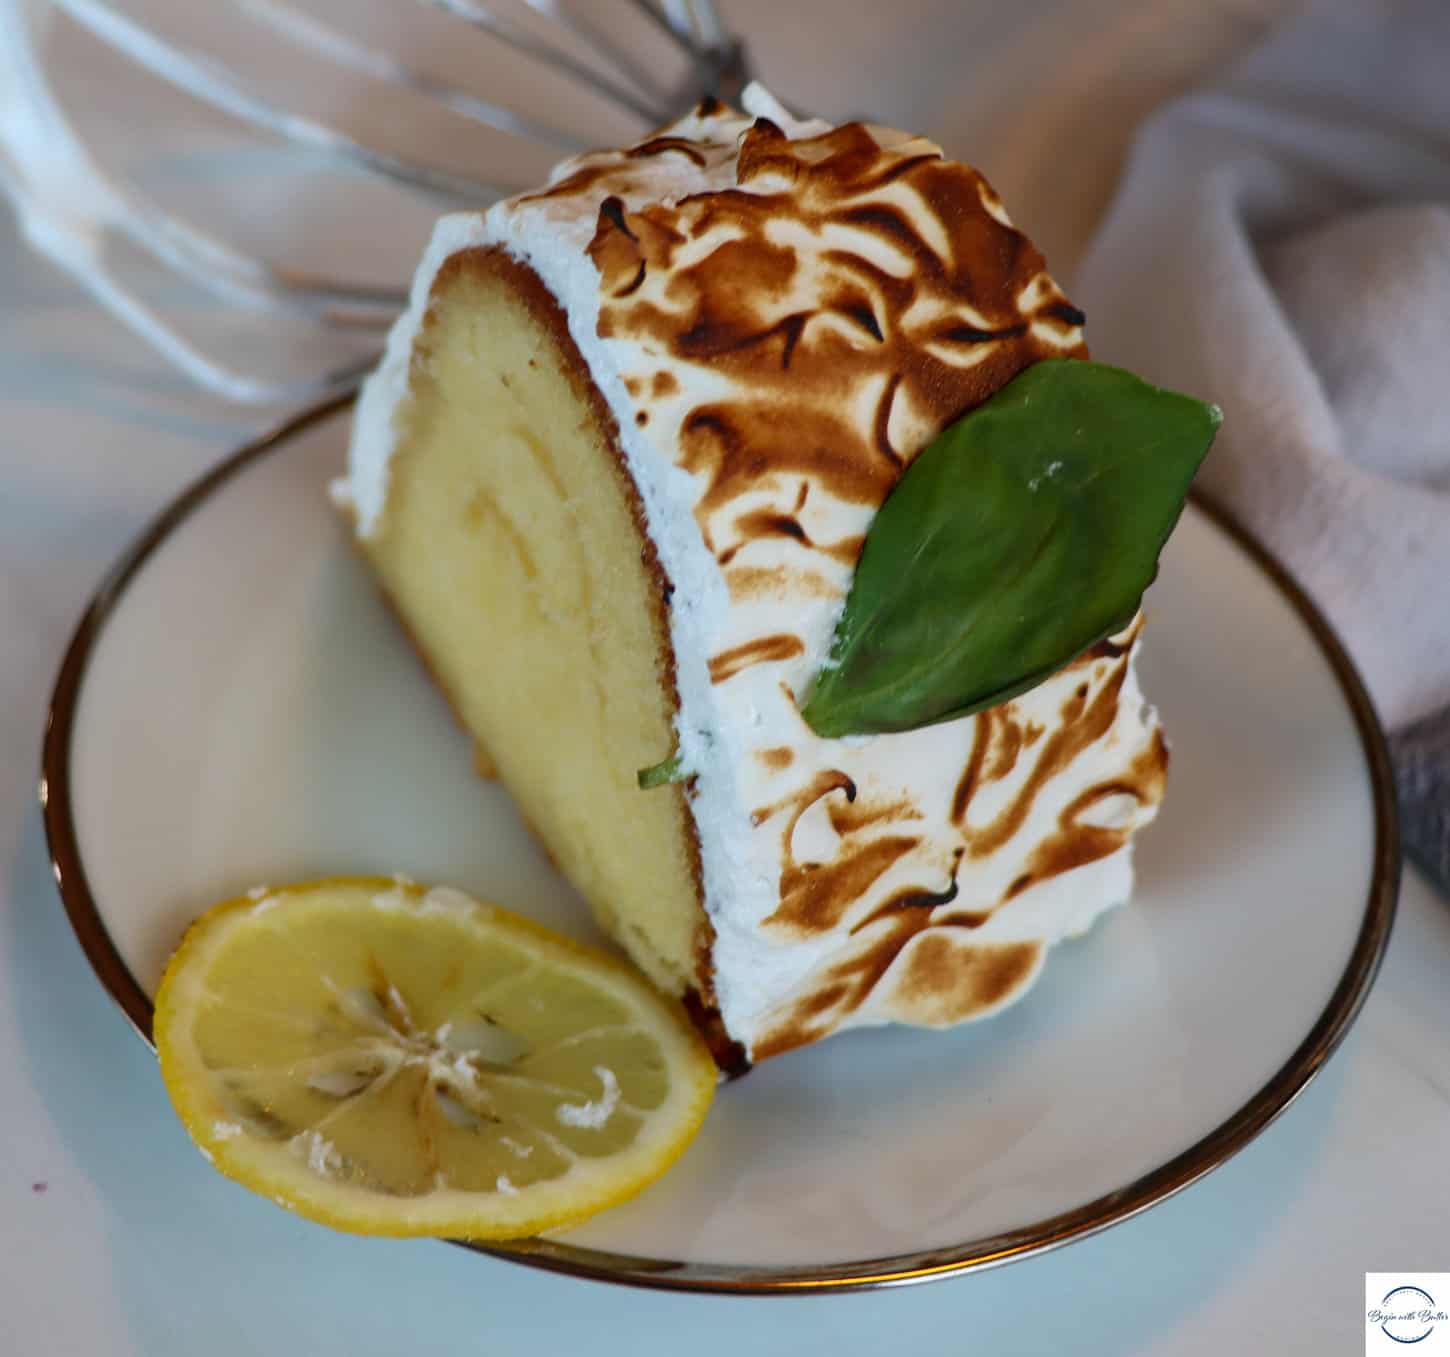
Let’s get into this cake Family. There are layers and layers of lemon in this cake. From the lemon zest in the batter to the lemon curd swirl, to the lemon simple syrup, this Lemon Meringue Pound Cake is THAT CAKE. Because the goal is always balance, I wanted the lemon to be powerful but nuanced. And this cake achieves that on many levels when it’s done right.
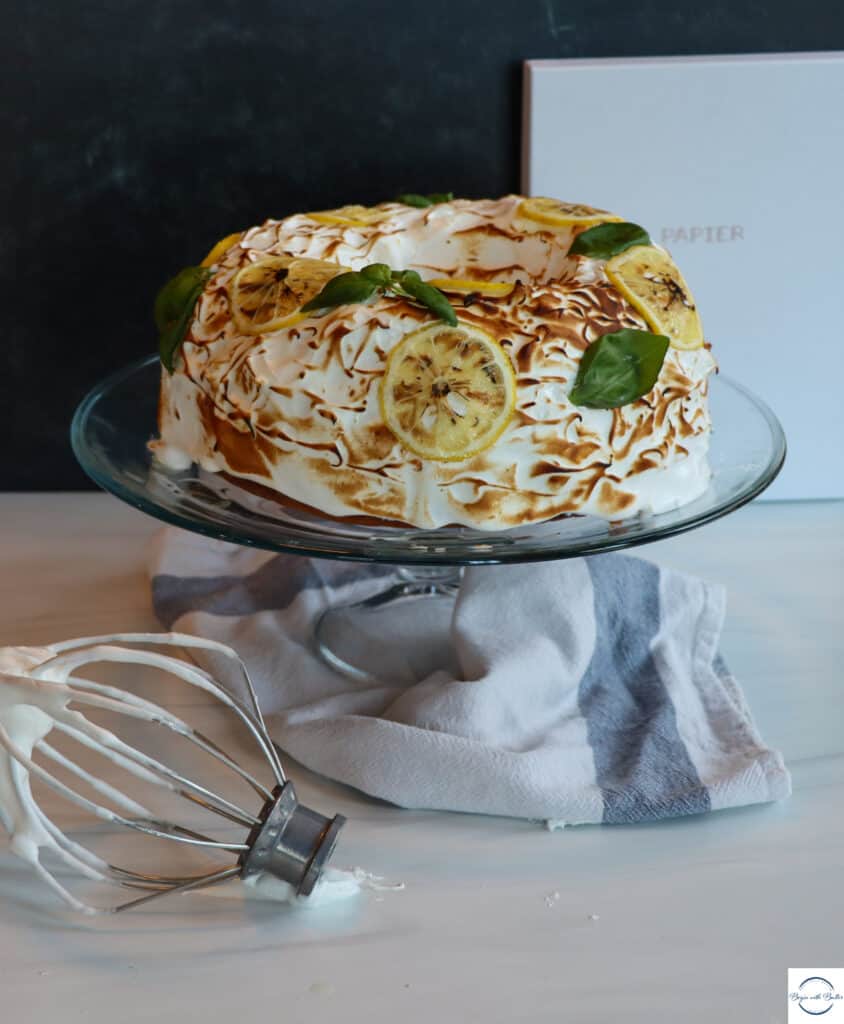
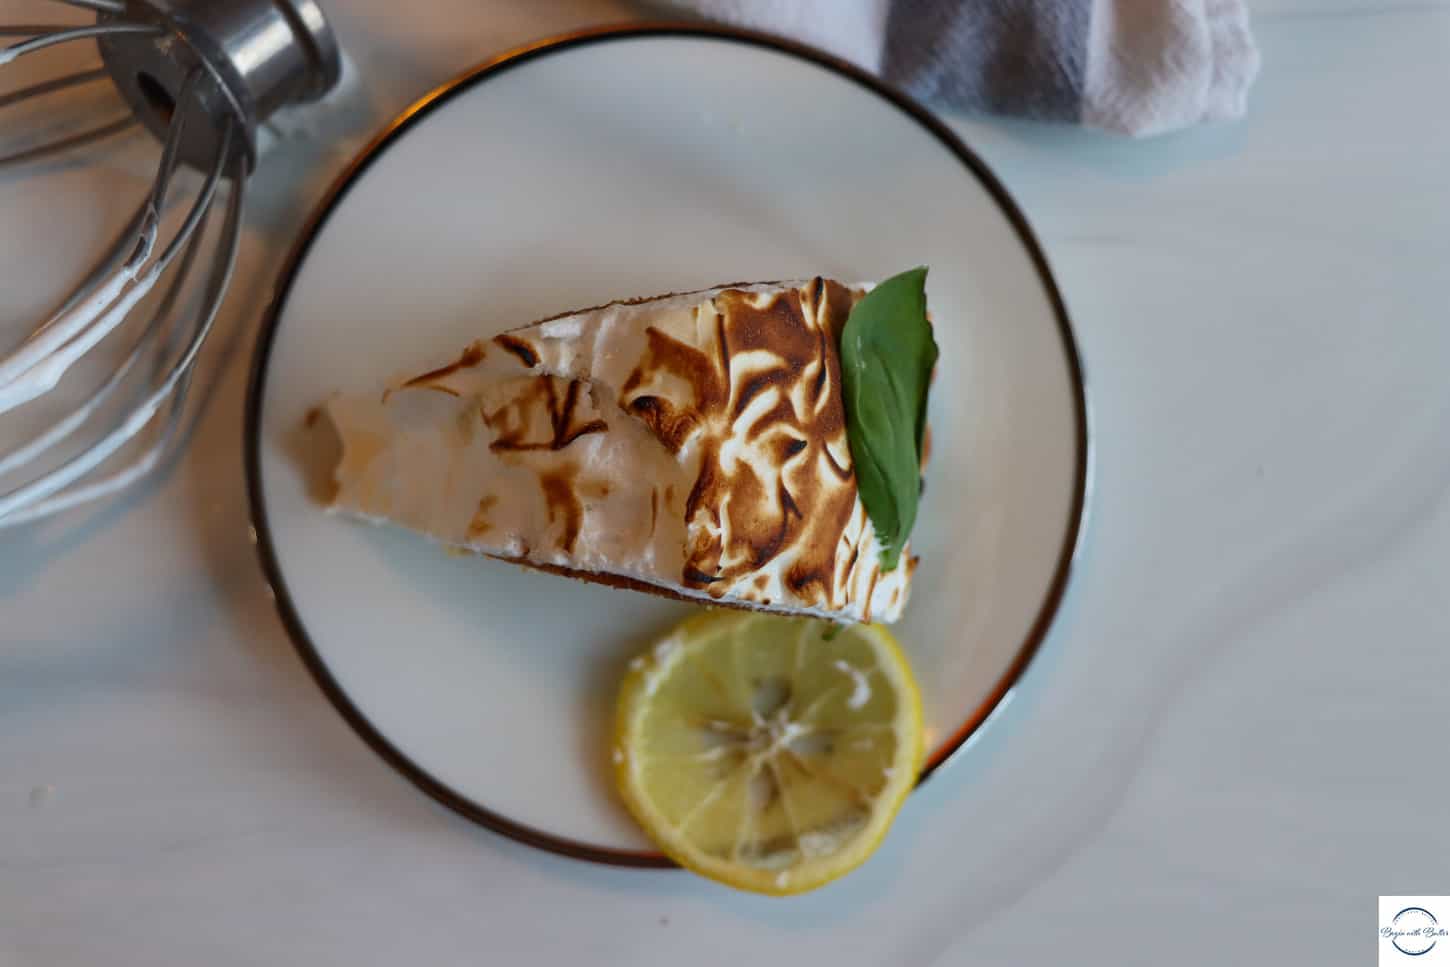
The contrasting textures (from the perfect sponge of the cake to the smoothness of the curd to the airiness of the caramelized meringue) must be experienced to be believed.
For the lemon curd, I used this recipe from one of my favorite bloggers, Cheryl at Bakes by Brown Sugar. Her recipe is pitch perfect for flavor, texture and aroma, and the recipe itself wonderfully-written in a way that can make even first-time curd makers brilliantly successful. I use her lemon curd recipe exclusively and have never had anything but consistent success. It’s a grand slam in this cake.
The lemon curd recipe, as written, makes more than double what you’ll need for this cake. But I still made the full recipe anyway, since lemon curd is so versatile and I always find uses for it in my kitchen.
May you love this cake as much as my husband does.
Beginners Start Here
If you’re new to baking, or if your stand mixer is covered in dust, here are a couple of articles from the BwB site that will help you get off to a great start with this recipe!

- Meet Your Kitchen BFF–Your Digital Kitchen Scale!
- Technique Tips for the Best Pound Cakes (& Big News!)
- How to Cream Butter and Sugar (With New Video!)
- Baking 101: How to Measure Ingredients
- The Best Tools for Perfect Pound Cakes
- Knowing When to Stop a Technique
These resources are never mandatory reading, but they are super useful to help you understand the techniques that you’ll need to successfully execute this amazing cake. Happy Reading!
Important Tools Used in this Recipe
Below, you’ll find some tools that I used for this pound cake, as well as all of the pound cakes in this event. They’re what I use in my kitchen for just about everything that I bake. **I get paid a small commission if you purchase directly from some of these links, but they are truly amazing products that you’ll find in my kitchen.**
If you have them already, great! Think of this as a checklist to help you build the confidence that you’ll need to execute this recipe!
- Oven Thermometer
- Digital Food Scale
- KitchenAid Hand Mixer
- KitchenAid Stand Mixer (not an affiliate link)
- Stainless Steel Mixing Bowl Set
- OXO Spatula Set
- Sifter
Friends, I present to you, the recipe for The Lemon Meringue Pound Cake!
Print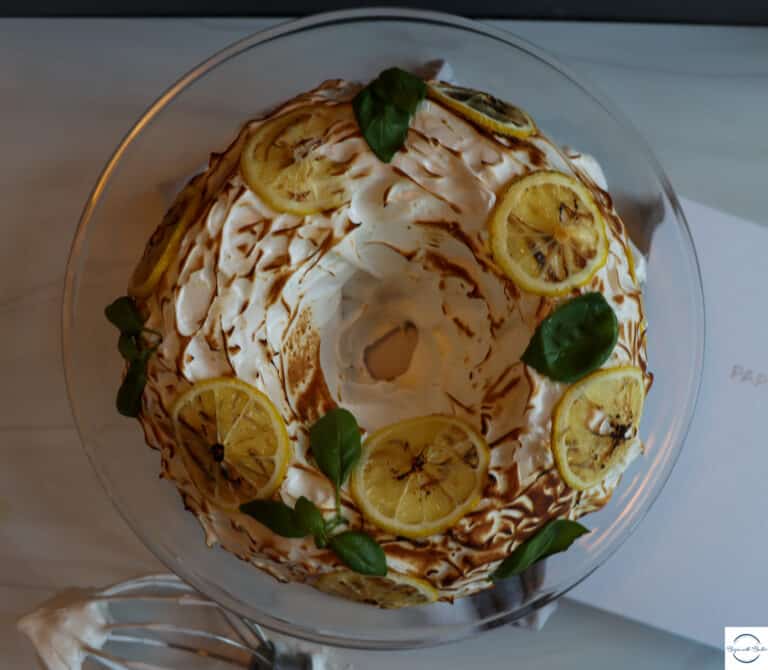
The Lemon Meringue Pound Cake
This lemon meringue pound cake has layers of perfectly-balanced lemon that will satisfy the most discerning lemon pound cake lover. Whether it’s for a holiday table or a “just because” brunch, this cake is sure to wow a crowd with its looks and flavor.
Ingredients
For the Batter:
- 384 g flour, plus 2 tbsp for greasing the pan
- 1/4 tsp baking soda
- 1 tsp salt
- 1 tbsp lemon zest (about 1 lemon)
- 230 g butter, plus 2 tbsp for greasing the pan
- 500 g sugar
- 6 eggs
- 1 tsp vanilla extract
- 63 g whole milk
- 188 g whole milk ricotta cheese
- ~175 g (~1/2 c) lemon curd (recipe from Bakes by Brown Sugar)
For the Simple Syrup:
- 85 g water
- 67 g sugar
- 1 tbsp freshly squeezed lemon juice
For the Meringue Topping:
- 5 large egg whites
- 300 g granulated sugar
Instructions
Before the Batter:
- Prepare the lemon curd (recipe at Bakes by Brown Sugar) at least four hours in advance. It needs time to set up (coagulate) in your refrigerator so that it won’t be runny in your cake batter.
To Make the Batter with a Stand Mixer:
- Preheat oven to 325°F. It’s highly recommended to use an oven thermometer for this recipe, since proper oven temperature will impact the outcome of your cake.
- Combine the flour and baking soda in a medium bowl.
- Sift the flour mixture into another medium bowl. Add kosher salt to the flour mix and whisk to combine.
- Place the room temperature butter in the bowl of your stand mixer. Mix on low speed until smooth. (30 seconds)
- Slowly add the granulated sugar and mix on medium speed until the mixture is light and fluffy. (5-10 minutes)
- Add eggs, one at a time, mixing for at least 45 seconds after each addition. Scrape the sides and bottom of the bowl as needed (I usually scrape the bowl after the third and sixth egg). Don’t skimp on this step because proper creaming helps your cake rise! (7 minutes)
- Add vanilla extract and lemon zest and mix until thoroughly combined. (1 minute)
- Add half of the flour mixture and mix on low speed until combined. (30-45 seconds)
- With the mixer on the lowest speed, add all of the whole milk and whole milk ricotta and mix until just combined. (~1 minute).
- Add the second half of the flour mixture and mix on low speed until combined. (~1 minute)
- Using a rubber spatula, fully scrape the sides and bottom of the mixing bowl. Then, stir the batter until it is smooth and consistent. Make sure to fully scrape the bottom of the bowl during this step!
- Grease a 10-12 cup bundt pan with the remaining butter and flour.
- Using a large ice cream scoop, cover the bottom of the bundt pan with full scoops of batter. Once the bottom is completely covered, tap the bundt pan on your countertop to level out the batter.
- Make a well, about 1/2” deep, in the leveled batter. Using a small spoon, fill the well with lemon curd.
- Using a toothpick, swirl the lemon curd in the batter, making sure that the lemon curd doesn’t touch the sides of the bundt pan in too many spots. Wherever the lemon curd touches the bundt pan, it will substantially caramelize (and it might burn).
- Repeat the steps (ice cream scoop, tap to level, create well for lemon curd, swirl) with the remaining batter. I usually end up with three layers in my bundt pan.
To Make the Batter with a Hand Mixer:
- Preheat oven to 325°F. It’s highly recommended to use an oven thermometer for this recipe, since proper oven temperature will impact the outcome of your cake.
- Combine the flour and baking soda in a medium bowl.
- Sift the flour mixture into another medium bowl. Add kosher salt to the flour mix and whisk to combine.
- Place the room temperature butter in a large mixing bowl. Mix on low speed until smooth. (~1 minute)
- Add half of the sugar and mix until the sugar is just incorporated. (~30 seconds)
- Add the second half of the sugar and mix on medium speed until the mixture is light and fluffy. (7-12 minutes)
- Add eggs, one at a time, mixing for at least 1 minute after each addition. Scrape the sides and bottom of the bowl as needed (I usually scrape the bowl after the third and sixth egg). Don’t skimp on this step because proper creaming helps your cake rise! (7 minutes)
- Add vanilla extract and lemon zest and mix until thoroughly combined. (1 minute)
- Add half of the flour mixture and mix on low speed until combined. (30-45 seconds)
- Add all of the whole milk and whole milk ricotta and mix on lowest speed until just combined. (~1 minute).
- Add the second half of the flour mixture and mix on low speed until combined. (1-2 minutes)
- Using a rubber spatula, fully scrape the sides and bottom of the mixing bowl. Then, mix the batter until it is smooth and consistent. Make sure to fully scrape the bottom of the bowl!
- Grease a 10-12 cup bundt pan with the remaining butter and flour.
- Using a large ice cream scoop, cover the bottom of the bundt pan with full scoops of batter. Once the bottom is completely covered, tap the bundt pan on your countertop to level out the batter.
- Make a well, about 1/2” deep, in the leveled batter. Using a small spoon, fill the well with lemon curd.
- Using a toothpick, swirl the lemon curd in the batter, making sure that the lemon curd doesn’t touch the sides of the bundt pan in too many spots. Wherever the lemon curd touches the bundt pan, it will substantially caramelize (and it might burn).
- Repeat the steps (ice cream scoop, tap to level, create well for lemon curd, swirl) with the remaining batter. I usually end up with three layers in my bundt pan.
To Bake the Cake:
- Bake the cake at a true 325°F for 60-70 minutes, or until an instant read thermometer reads 210°F-215°F. My preferred internal temperature for this cake is 212°F. Alternately, the cake is done with a toothpick inserted into the center comes out clean and a fingerprint indentation bounces back.
- Allow the cake to rest for ten minutes while you make the simple syrup.
To Make the Lemon Simple Syrup:
- Combine sugar and water in a small saucepan and bring to a boil. Stir occasionally until the sugar is completely dissolved.
- Remove the simple syrup from the heat and add lemon juice. Stir until incorporated.
- After allowing the cake to rest for ten minutes, invert it onto a cooling rack and carefully remove the bundt pan.
- Using a pastry brush, gently brush the lemon simple syrup over the entire cake.
- Allow the cake to cool completely. (3-5 hours)
To Make the Meringue:
- Bring 2” of water to a low boil in a large (3 qt.) sauce pan. Reduce to a simmer.
- Carefully separate five eggs, placing the whites in a clean, nonreactive metal bowl (either a stand mixer or large stainless steel bowl). Add sugar and stir to combine.
- Place metal bowl over the top of the sauce pan while the water is simmering. Whisk the egg white mixture over the sauce pan until all of the sugar is completely dissolved. (~3 minutes)
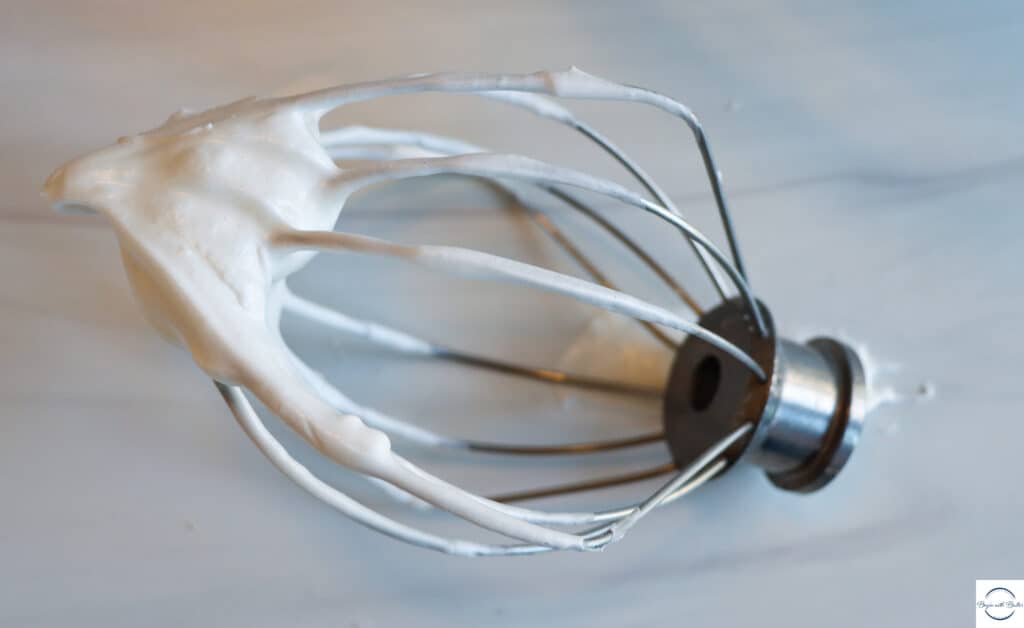
- Remove the metal bowl from the stove. Using the whisk attachment on either your hand mixer or your stand mixer, whisk the mixture on lowest speed until it is nearly opaque. (~1-3 minutes)
- Increase the mixer to medium speed until the mixture begins to look light and fluffy. (~4 minutes for stand mixer; ~5-7 minutes for hand mixer)
- Increase the mixer to highest speed until the meringue is done. To check the meringue, remove the whisk attachment from the mixture and invert it. If the meringue slowly folds down over the whisk attachment, it’s complete. (~2 minutes for stand mixer; ~3 minutes for hand mixer)
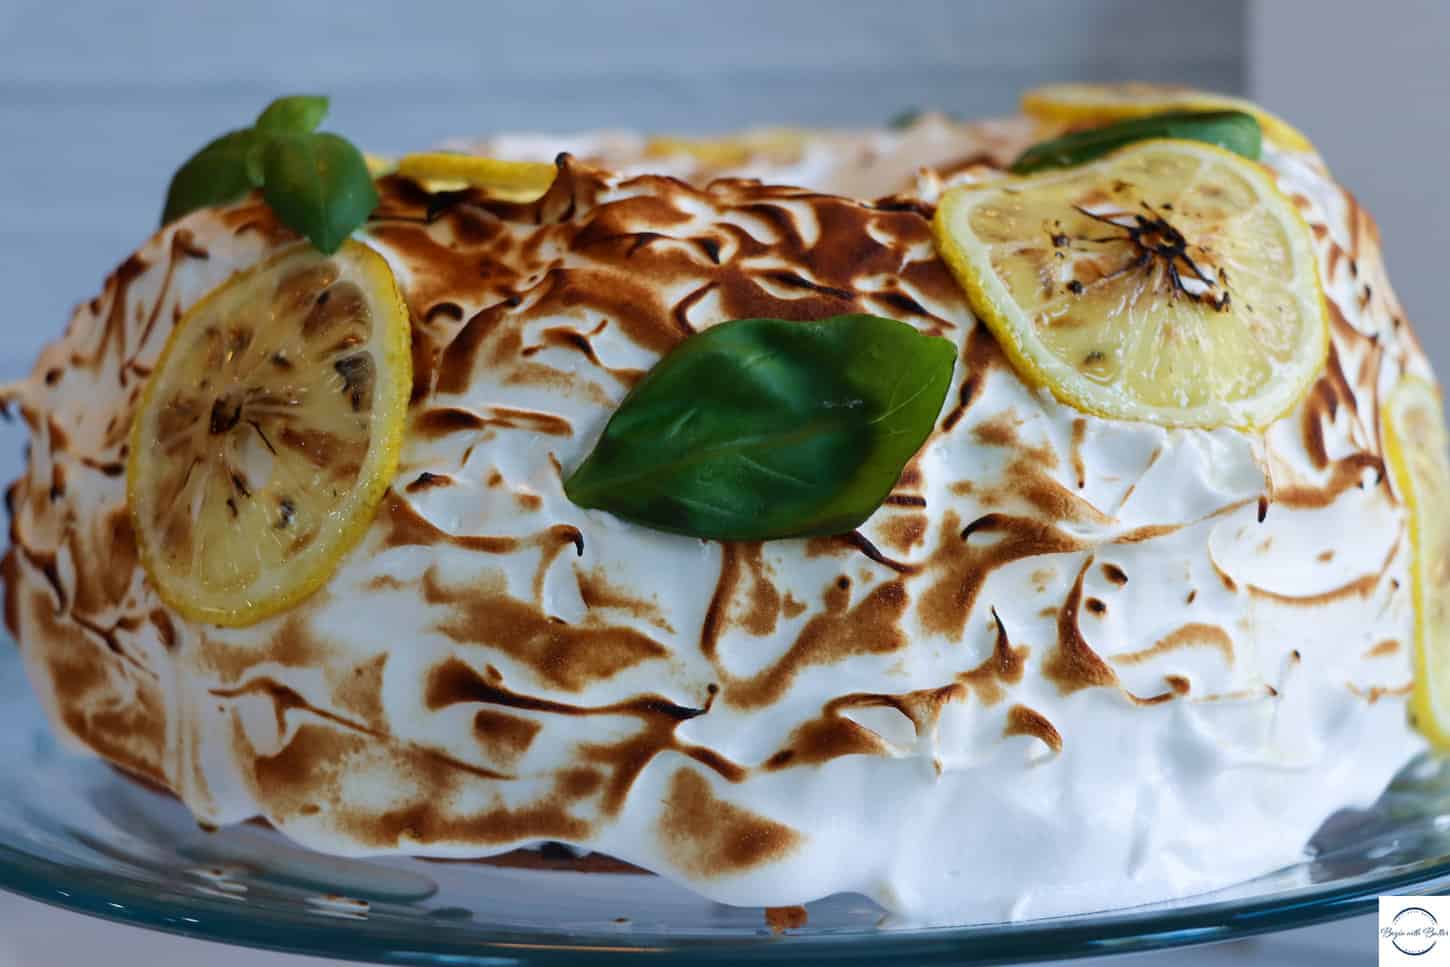
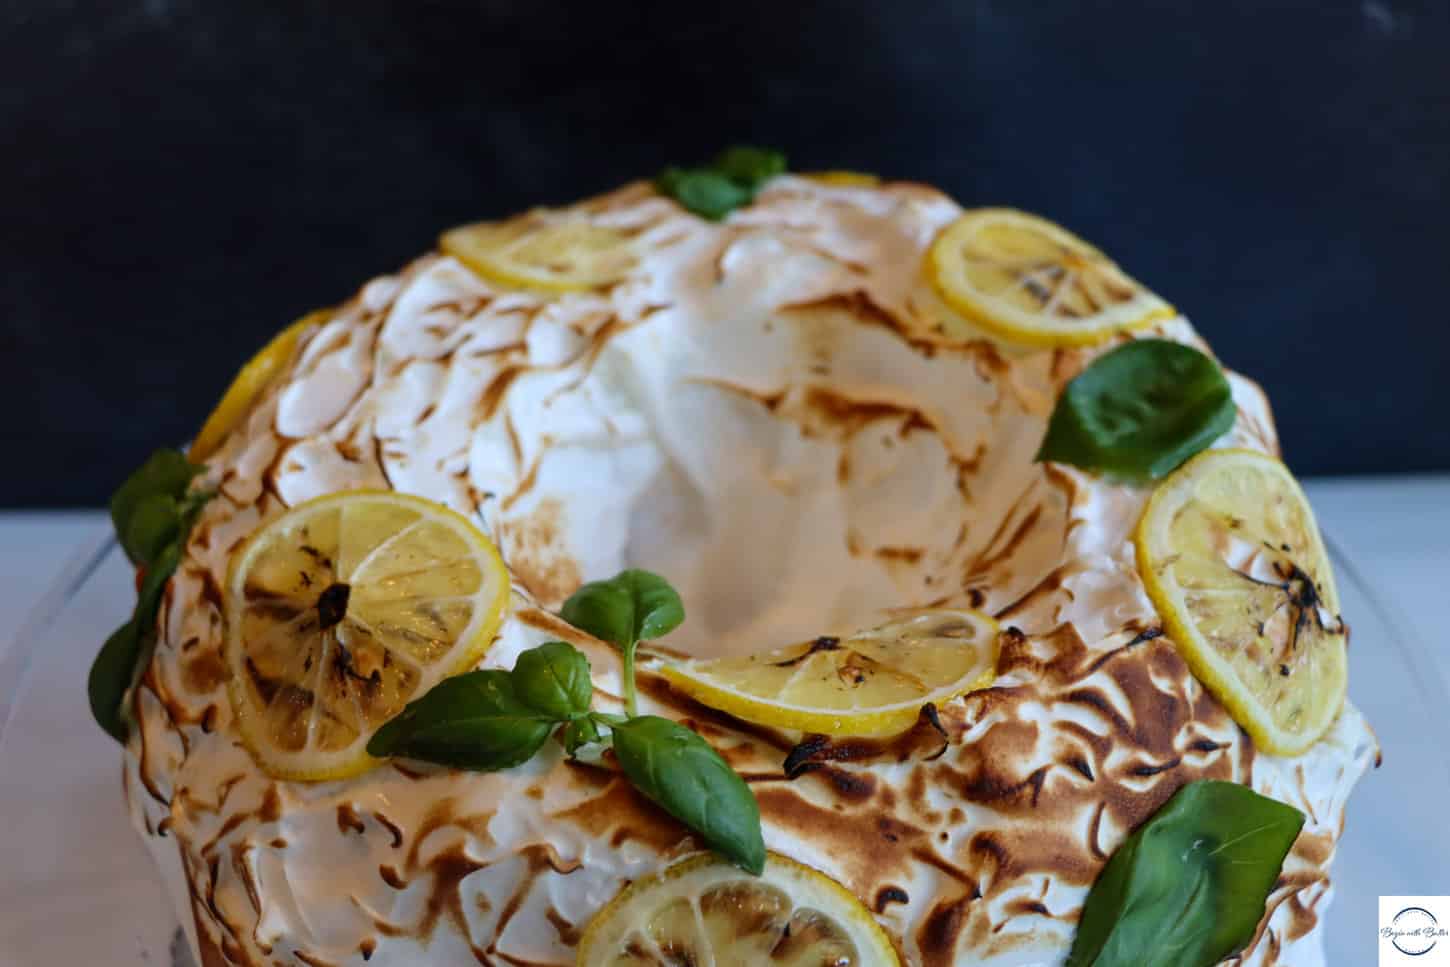
- Using an offset spatula, quickly spread the meringue over the cooled cake. If desired, use a butane torch to toast the meringue.
To Store:
This cake can remain on a countertop overnight, or then it can be stored in a refrigerator for up to a week.
Notes
- As with all of the pound cakes in this event, this is a big cake. It is best to place a sheet pan underneath the cake while it bakes, for extra insurance against spills.
- Take care in adding the lemon curd to the batter. If lemon curd spills out of the well that you create and touches the sides, it will caramelize and possibly burn. A small amount of this is okay, but you want to avoid it as much as possible.
- An oven thermometer is strongly recommended to make sure that your oven reaches the correct temperature.
- It is also strongly recommended to use a digital food scale to measure ingredients using metric measurement. It will seriously make your baking so much easier!
- Make sure you take your time to cream the butter and sugar on the front end! Once you add your flour mixture, you have to mix gently in order to avoid over-mixing.
Friends, I have felt all of the emotions during these last twelve days. But none more than utter gratitude for your support. I am so proud of every pound cake in this lineup, and I can’t wait to see your interpretations this holiday season and beyond!
Happy baking! À bientôt!
-S
Check out the Other Pound Cakes from the BwB Twelve Days of Pound Cake Holiday Event!
Did you love the Twelve Days of Pound Cake Holiday Event? Subscribe for more fun events, recipes, and posts about baking science and techniques!