Ingredients
Units
Scale
- 500 g heavy whipping cream, chilled
- 397 g sweetened condensed milk (one 14-oz can)
- 1/2 tsp fine salt
- 2 tsp pure vanilla extract
- 215 g (2/3 c) Classic Salted Caramel Sauce
- Up to 1/2 c chopped fresh fruit, optional
Instructions
- Make the Classic Salted Caramel Sauce. Allow to cool in a heat-proof container on your countertop for at least two hours before adding it to your ice cream.
- Add the sweetened condensed milk, pure vanilla extract, and fine salt to a medium bowl. Combine completely.
- Add the heavy whipping cream to a large bowl. Using either a balloon whisk or a hand mixer, whip the heavy whipping cream until it reaches stiff peaks.
- Place half of the whipped cream into the bowl with the sweetened condensed milk mixture. Fold gently until a few lumps and bumps remain.
- Add all of the sweetened condensed/whipped cream mixture to the bowl with the second half of the whipped cream. Fold gently until the mixture is completely smooth.
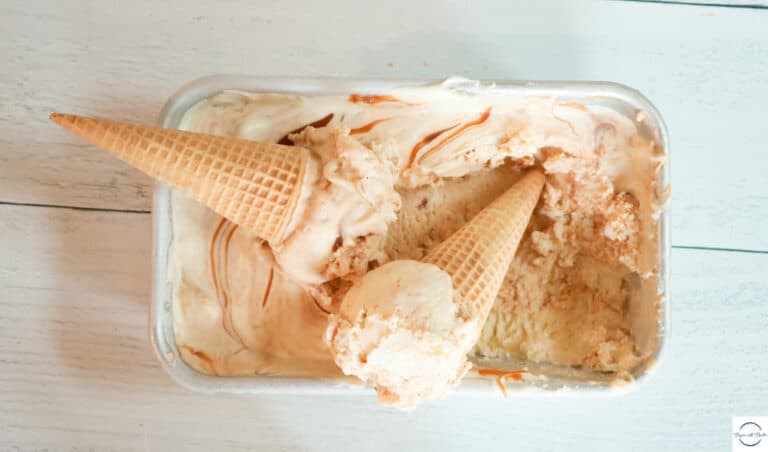
- Add half of the vanilla ice cream mixture to a chilled loaf pan or ice cream storage container (like this one from Tovolo). Top with half of the Salted Caramel Sauce. Repeat with the ice cream layer and Salted Caramel Sauce.
- Using a toothpick, skewer, or the handle of a spoon, gently swirl the mixture together. The goal is not to combine the salted caramel sauce with the ice cream. The goal is to have ribbons of salted caramel throughout your ice cream. So be gentle and stop long before you think you’re done. Because you’re done!
- If desired, add another spoonful to the top of the ice cream and gently turn 2-3 times with your utensil.
- Allow to cool for at least six hours before devouring. This is the most difficult part.
- Enjoy!
Notes
- Fresh fruit is optimal (if using), since frozen fruit will create hard frozen lumps in your ice cream.
- This ice cream can remain in your freezer for up to a week.
- Prep Time: 5 minutes
- Cook Time: 10 minutes
- Category: dessert
