

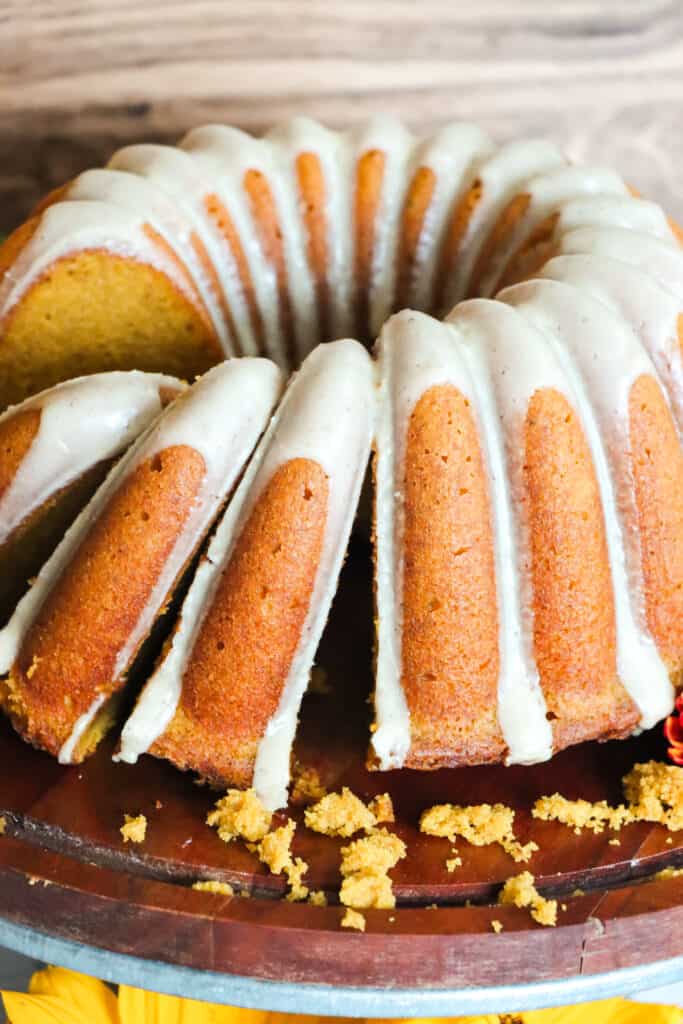
Hi there! It’s Fall, which means that Pumpkin Season is officially upon us! That also means that the time for this Pumpkin Spice Pound Cake HAS ARRIVED!
Pull up with your pumpkin spice tea and your coziest cardigan, Beloved. This one’s quite a read. It also includes a picture tutorial so that we can make it together!
In this Post:
About Pound Cakes
The quintessential American pound cake got its name from its ingredients. A pound of flour, a pound of sugar, a pound of eggs, and a pound of butter. In theory, you should be able to take (roughly) a pound of each of those ingredients, with some milk, maybe a splash of leavening, salt and other accouterments added, and come up with a delightfully dense, rich cake with a tight crumb.
For many Black Americans in the United States, the words “pound cake” evoke powerful memories. To this day, pound cakes appear at weekly Sunday dinners and also at special holiday dinners. Pound cake travels neatly with the beloved family who’s leaving to go home after a wonderful visit. Pound cake can be a vehicle for ice cream, but also does just fine by itself. Pound cake still represents home to those who have moved far away from family.
My first memory of pound cake included me watching my mother use her Cuisinart hand mixer to mix her famous 7-Up cake, while telling me stories about what it was like to grow up in Demopolis, Alabama. She told me stories about her first crush, about growing up as the youngest of seven(!) children, and about how my grandmother was love personified while she mixed that batter. We also had some challenging conversations when she told me–over pound cake–what it was like for her as a young Black girl to come of age in the Deep South during the 1950s and 1960s. And every single one of those stories meant everything to me. They mean even more to me now that she’s not here and I’m raising my own children.
When she was done telling stories, that 7-Up cake would be in the oven and and a beater would be in my hand. I understood my assignment. That was the magic of pound cake for me; it was a connection between me and the family that was very far away. Pound cake, to me, meant connection. That connection endures to this day.
There are innumerable stories about Black people boarding buses and trains from Alabama, Mississippi, Florida, and the entire Southeastern United States, heading north and west to Los Angeles, Chicago, Milwaukee, Detroit, and New York during The Great Migration. Those migrants carried with them with bags of homemade rolls, fried chicken, and pound cake. It is a cake that endures even today, connecting generations of families in a special way that many foods cannot.
It is why, when I re-opened my custom bakery (The Gloria Bakery) in fall 2021, pound cakes were prominently and proudly featured on that menu.
About This Pumpkin Spice Pound Cake
This pound cake in particular was really fun to develop. First of all, it involves pumpkin spice, which I’m told is pretty popular in the fall (????). Also, because pumpkin is full of water (it is about 94% water), it presented an interesting challenge for me to get the texture just right.
I love the tight crumb of a well-executed pound cake. It’s just so…satisfying. Plus, I can walk around the house with a slab of pound cake and not have it crumble all over my clothes. #NoJudgmentZone
To maintain that tight crumb with this pound cake, I ended up using pumpkin puree (not canned pumpkin pie filling) for the bulk of the liquid in this amazing cake. While you can replace canned pumpkin puree with the fresh stuff, it’s difficult to know the water content of a particular pumpkin, and whether that means you’d have to add more butter, or reduce the buttermilk.
The Technique for this Pumpkin Spice Pound Cake
Mise en Place
The cake in this recipe has a lot of dry ingredients, which can make it seem like a much more complicated bake than it really is. But once those dry ingredients are tucked into their bowl and stirred together, the rest is easy peasy!
As usual, Beloveds, the secret is in the mise en place. Any recipe can look complicated before your ingredients are neatly prepared and ready to go.
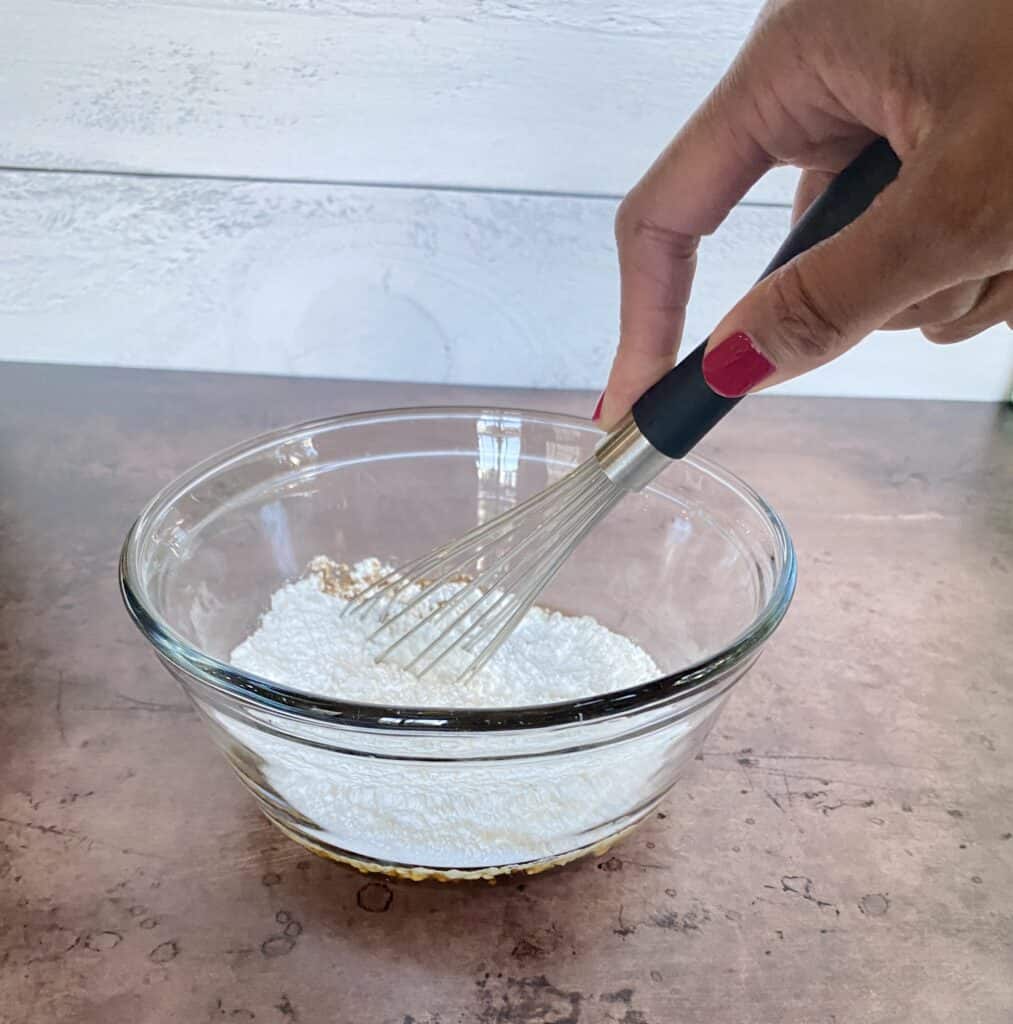
For this recipe, my mise en place (before sifting my dry ingredients) looks something like this:
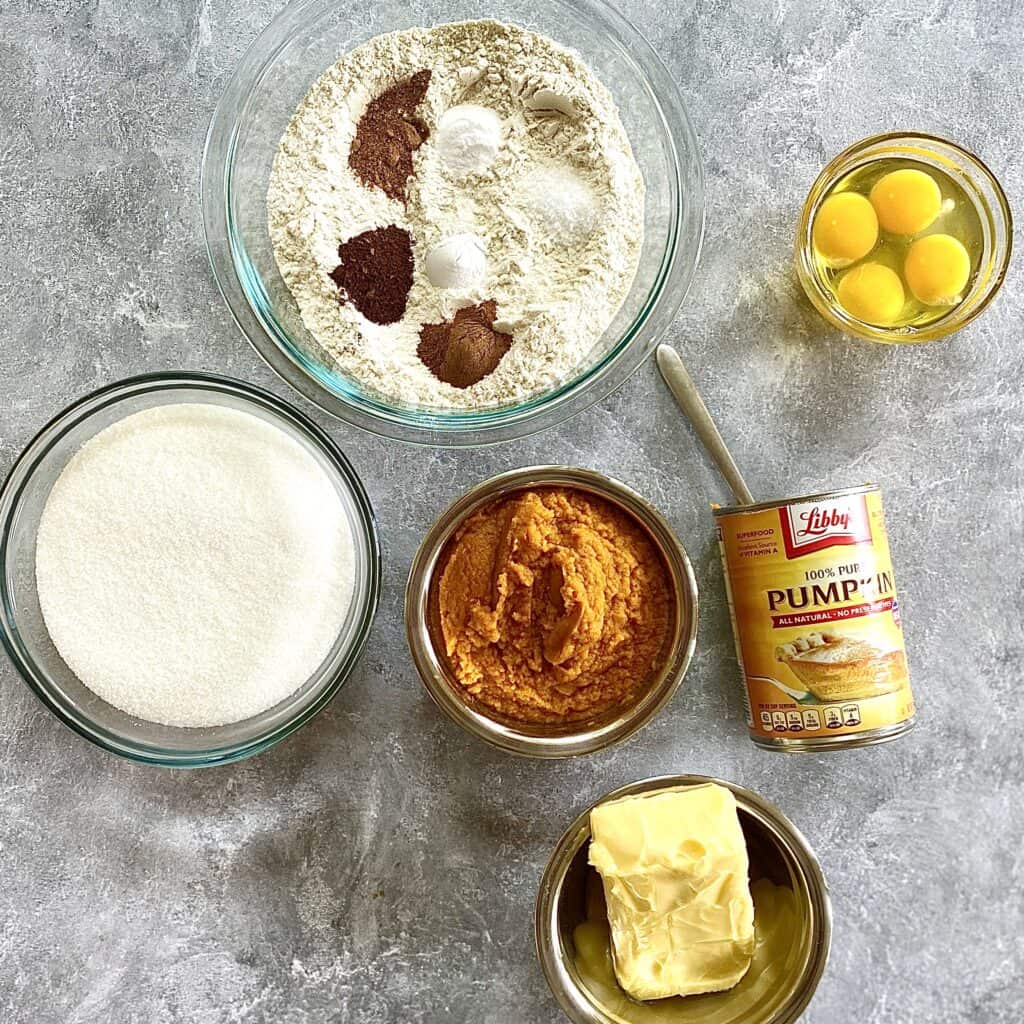
As you can see, my dry ingredients are together in their bowl, and all of my other ingredients are separated and measured as well. At this stage, I’m ready to mix!
In the Mix
Like many standard American pound cake recipes, this one uses the creaming method. The creaming method simply means that you mix room-temperature (70°F) butter and sugar together until the mixture has increased in volume, the the color is lighter, and the texture is much less grainy. You can click here to read more about it.
There’s video too! Click here to learn the stand mixer technique, or here to see how it’s done with a hand mixer.
Proper creaming is absolutely essential for this recipe to succeed. If you’re looking for help to figure out proper creaming technique, I hope that blog post and those videos help you achieve the pumpkin spice pound cake of your dreams!
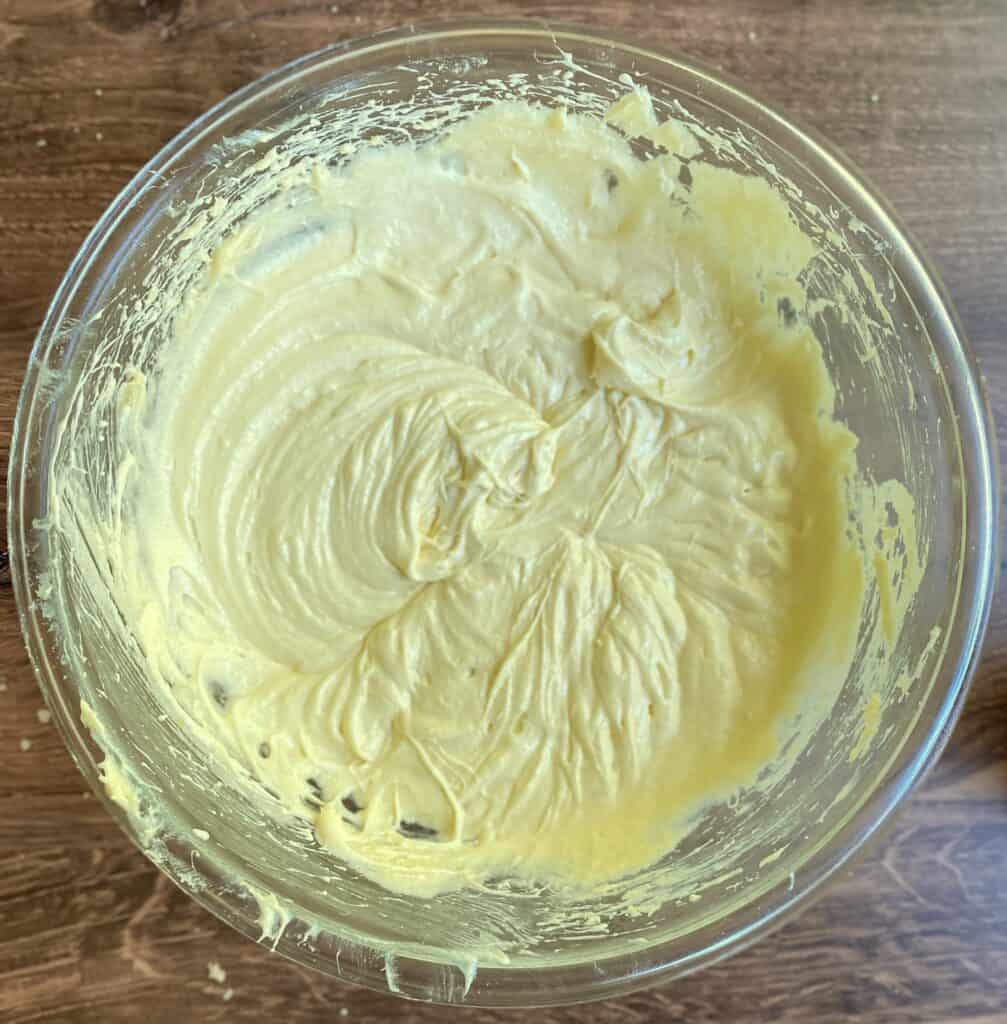
Here’s what the creamed butter and sugar should look like:
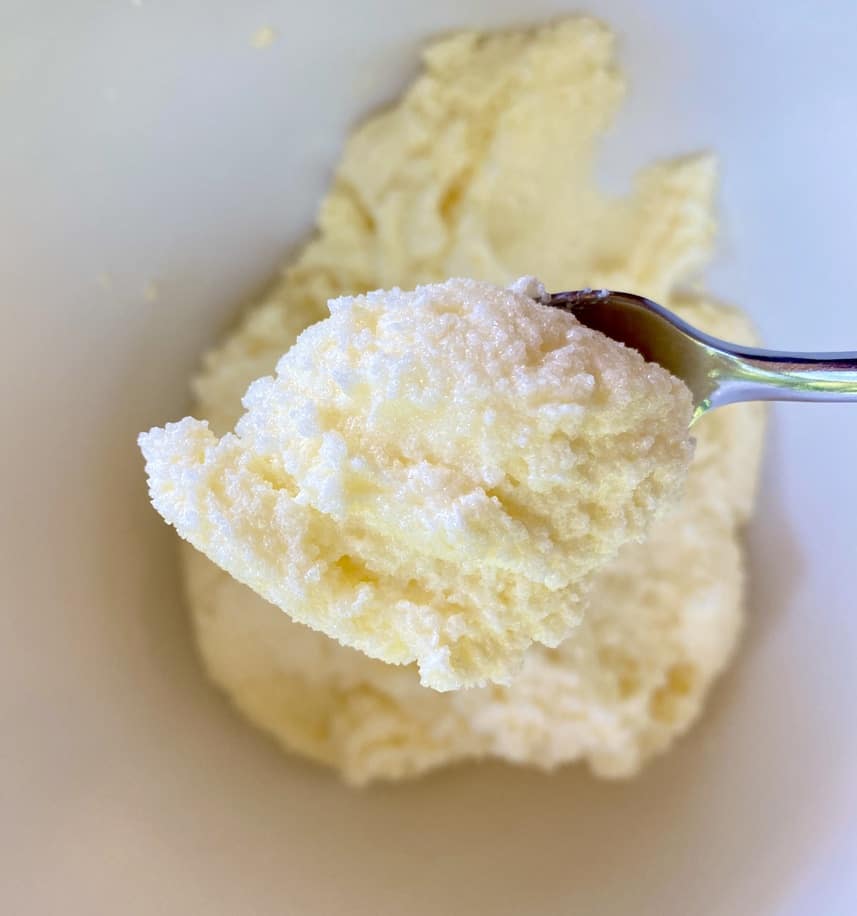
Once the butter has reached this stage (~3-7 minutes on low/medium speed in a stand mixer, or ~5-12 minutes on medium speed with a hand mixer, as long as you’re using room temperature butter), you’re ready to add your eggs. For eggs, add them one at a time and mix each one on medium speed until thoroughly combined. For a recipe with six eggs, I usually scrape the bowl after the third and sixth eggs.

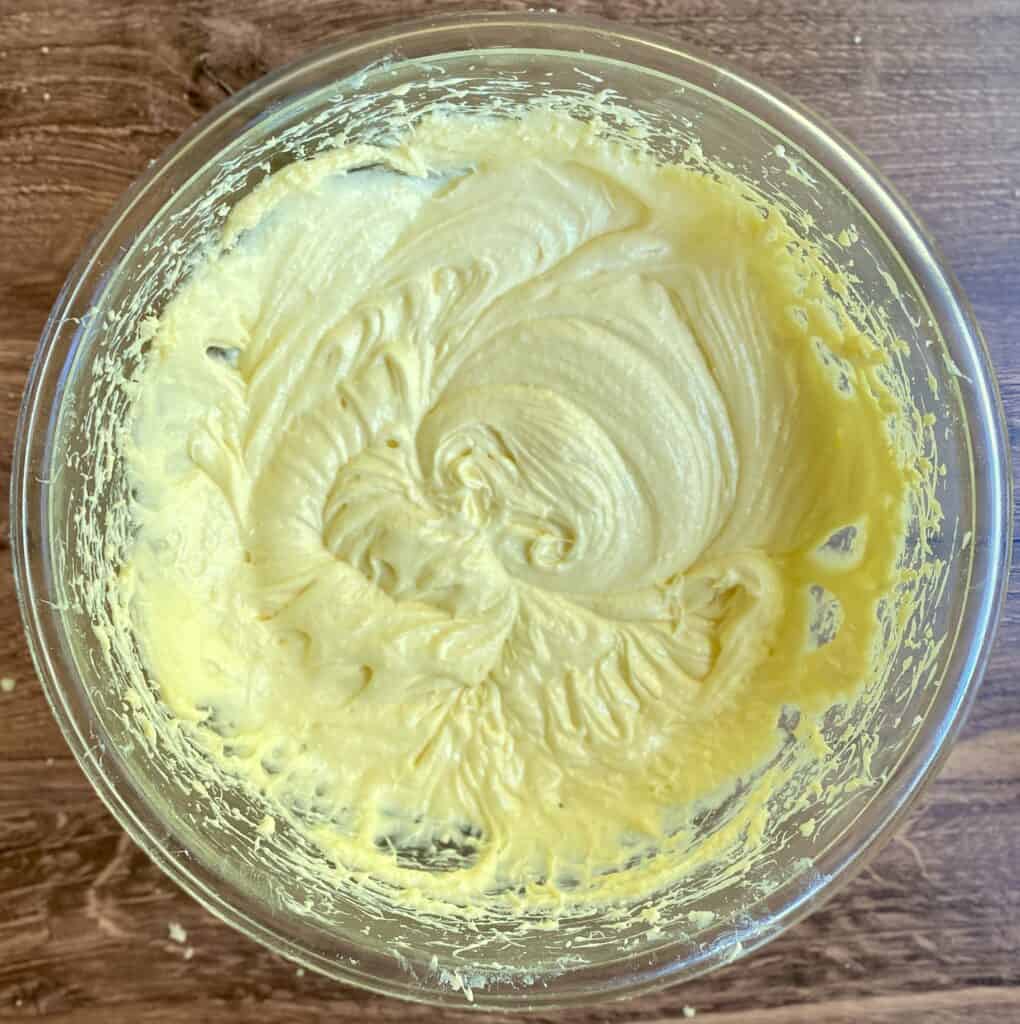
Once all of the eggs are incorporated, your batter should look dreamy and luscious.
Time for your two teaspoons of vanilla and another good mix until incorporated:
After the vanilla, give your bowl a good scraping with that silicone spatula. This is the last time during this mixing session that you’ll be able to mix mix mix to your heart’s content with a machine.
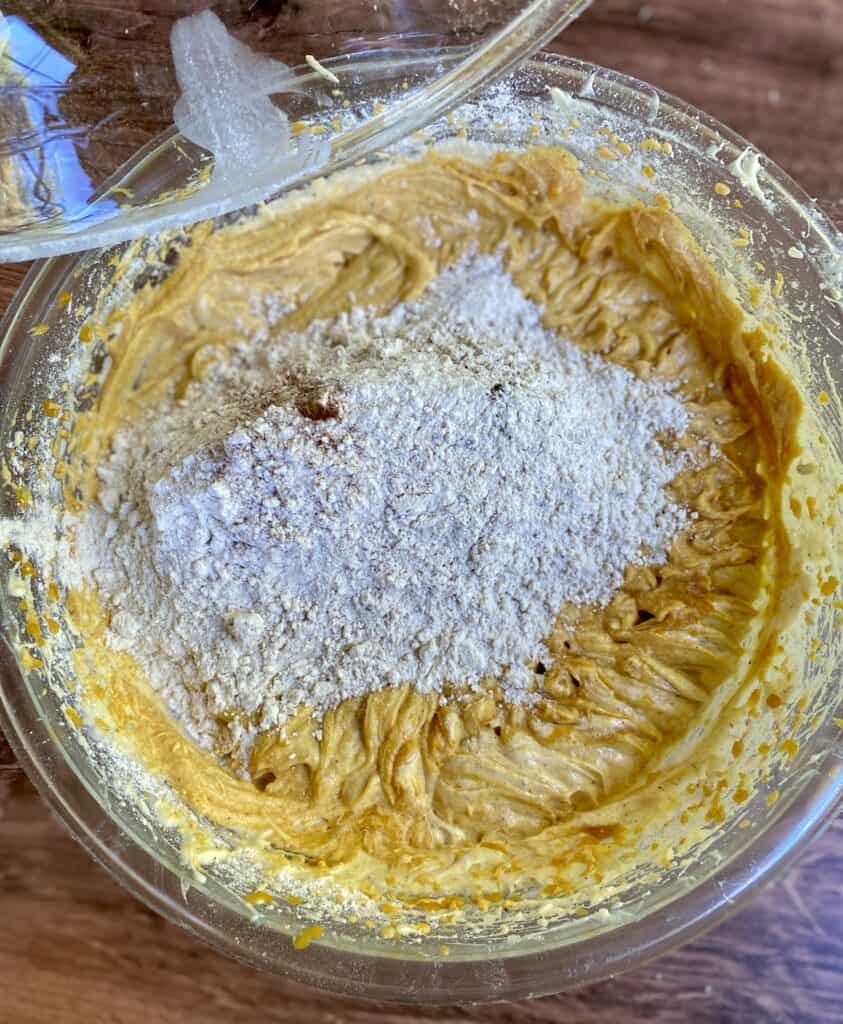
Because now it’s time for that flour mixture. First, add the first half of your flour and mix on lowest speed until just combined. You can even leave a few streaks of flour at this point:
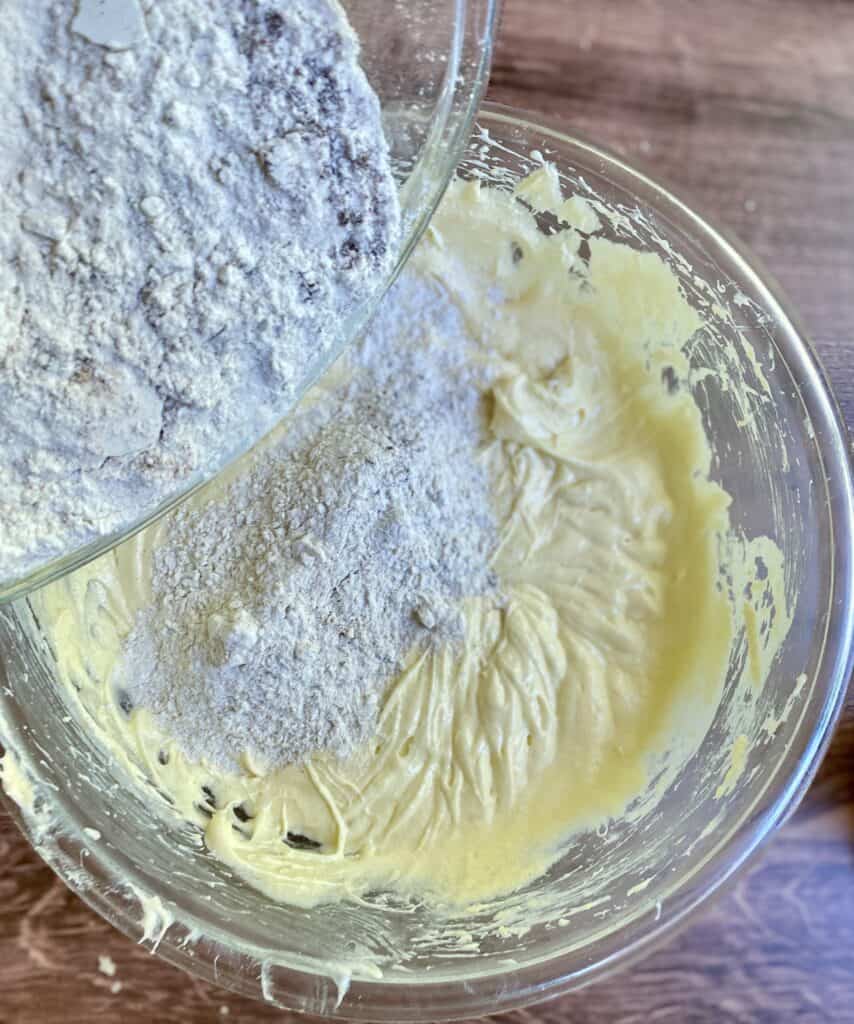
Remember, Friend, that the introduction of flour means the start of gluten development. And too much gluten development will mean a tough cake!
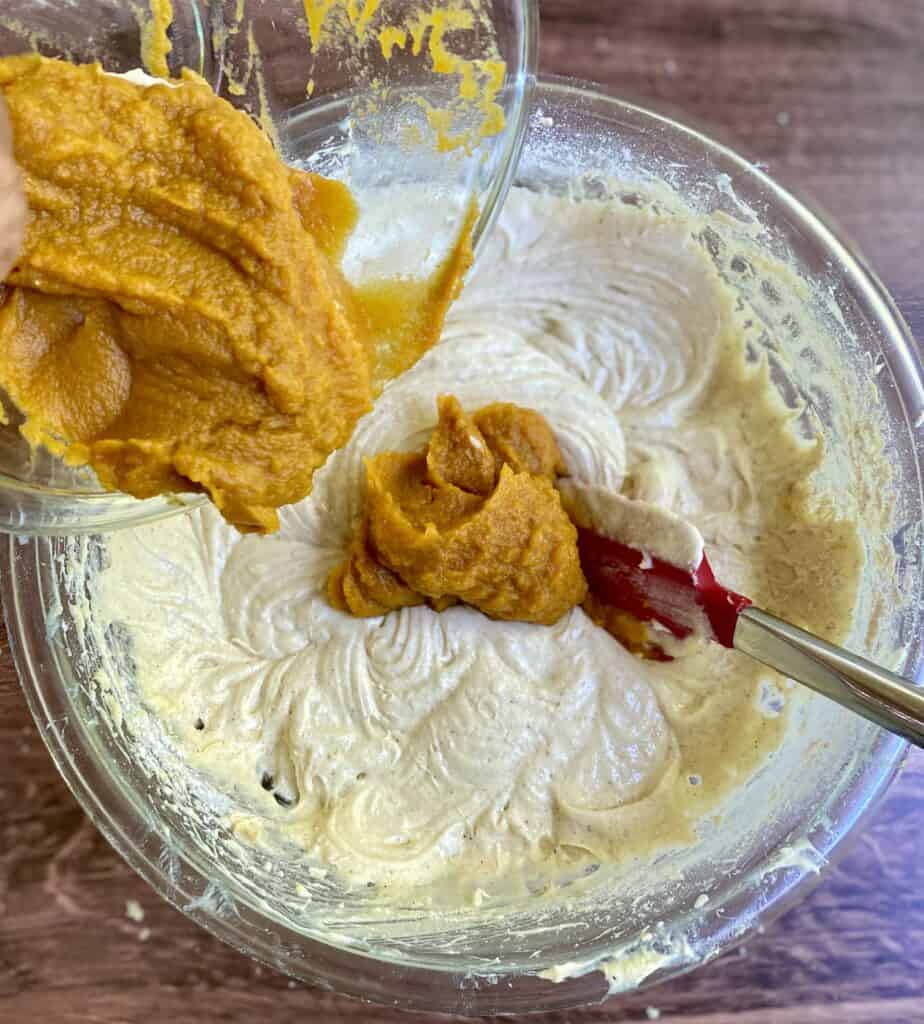
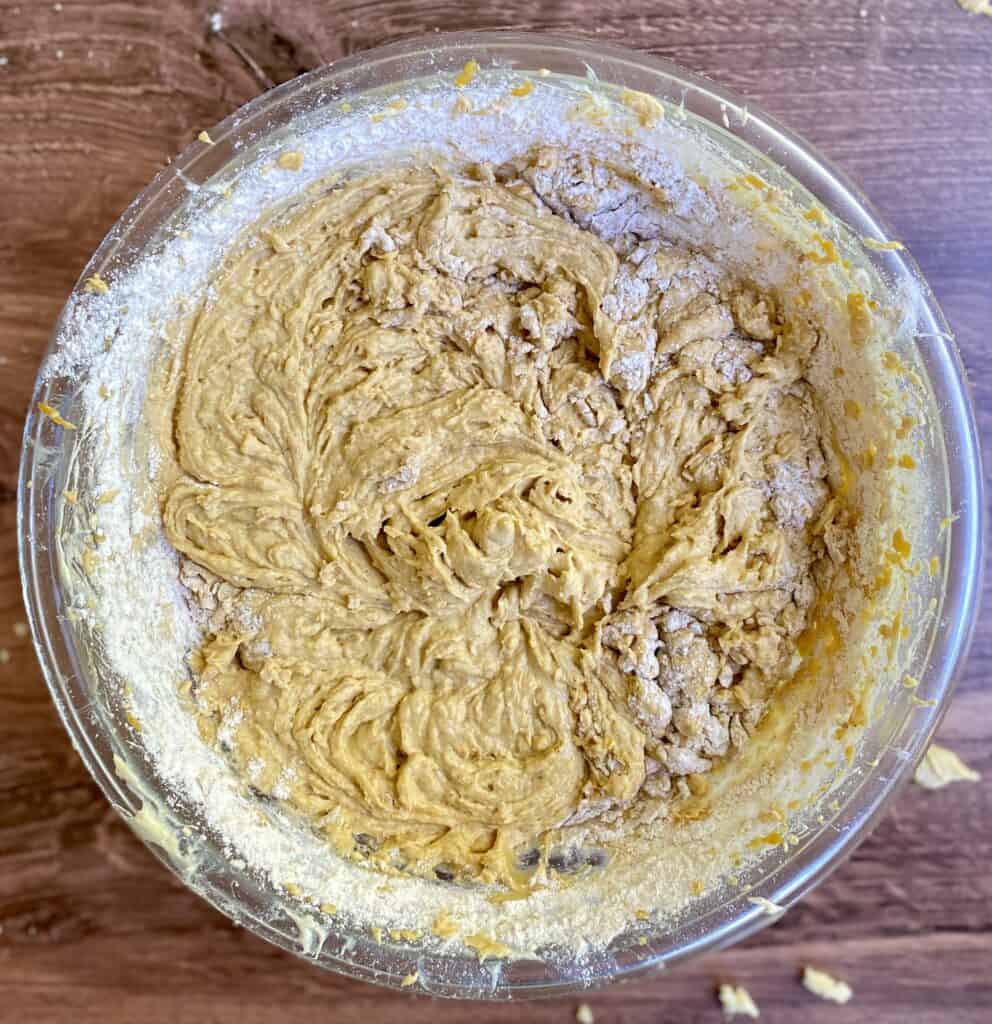
Once you’ve gently mixed your first batch of flour, add all of your pumpkin at one time. Again, mix until just combined. With half of your flour already onboard, you’ll want to reduce the mixing time at this point.
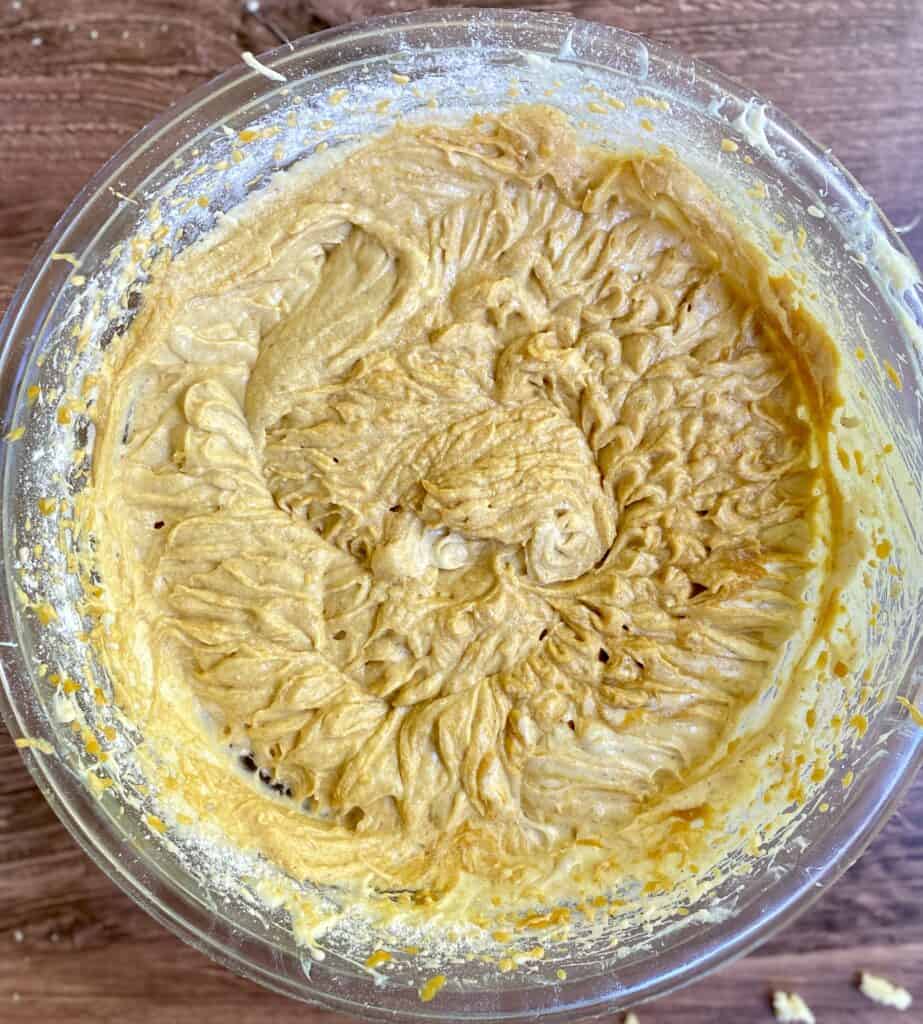
From the “after” picture, above, you can see that the the pumpkin is mostly incorporated, but it’s not completely mixed into the batter. That’s okay! You can stop mixing at this point. Time for your second flour addition:
The mix on the right is where you should stop ???? mixing with a machine. It’s at this point that my handy-dandy silicone spatula comes into play.
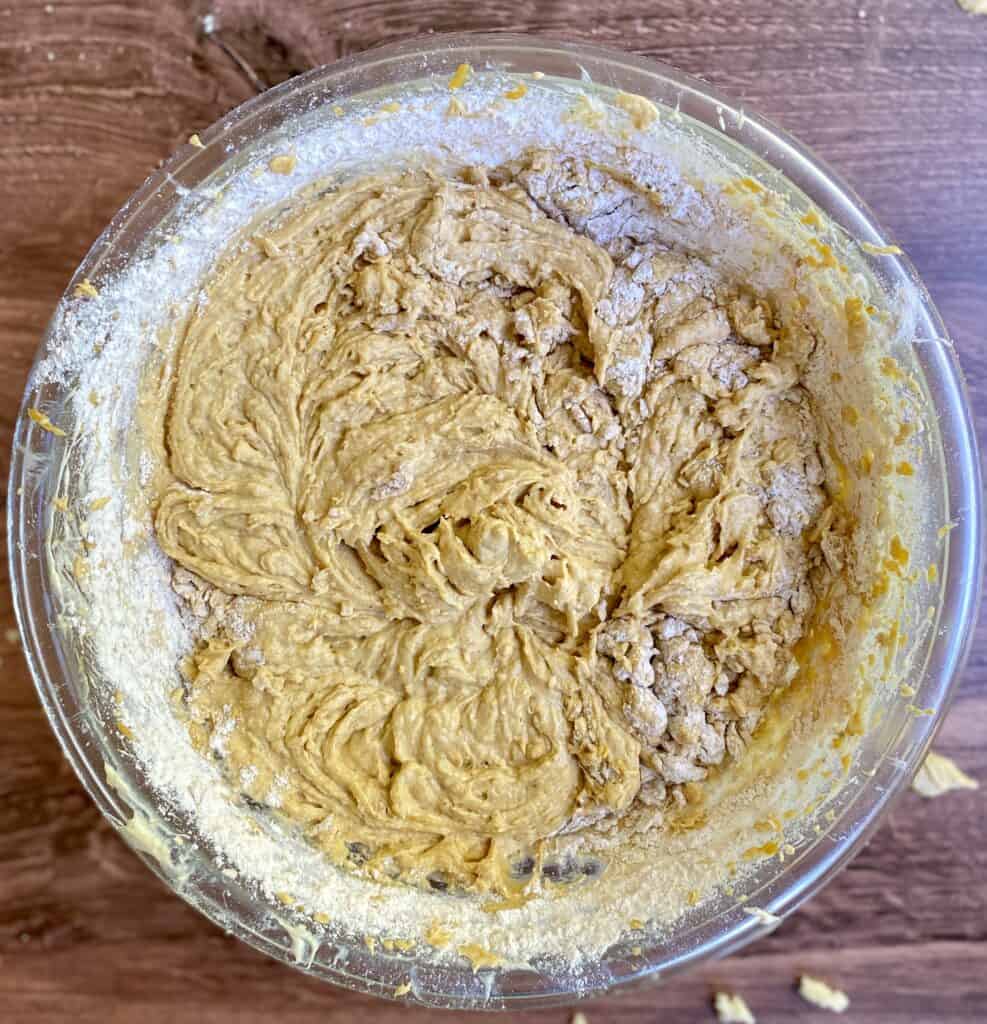
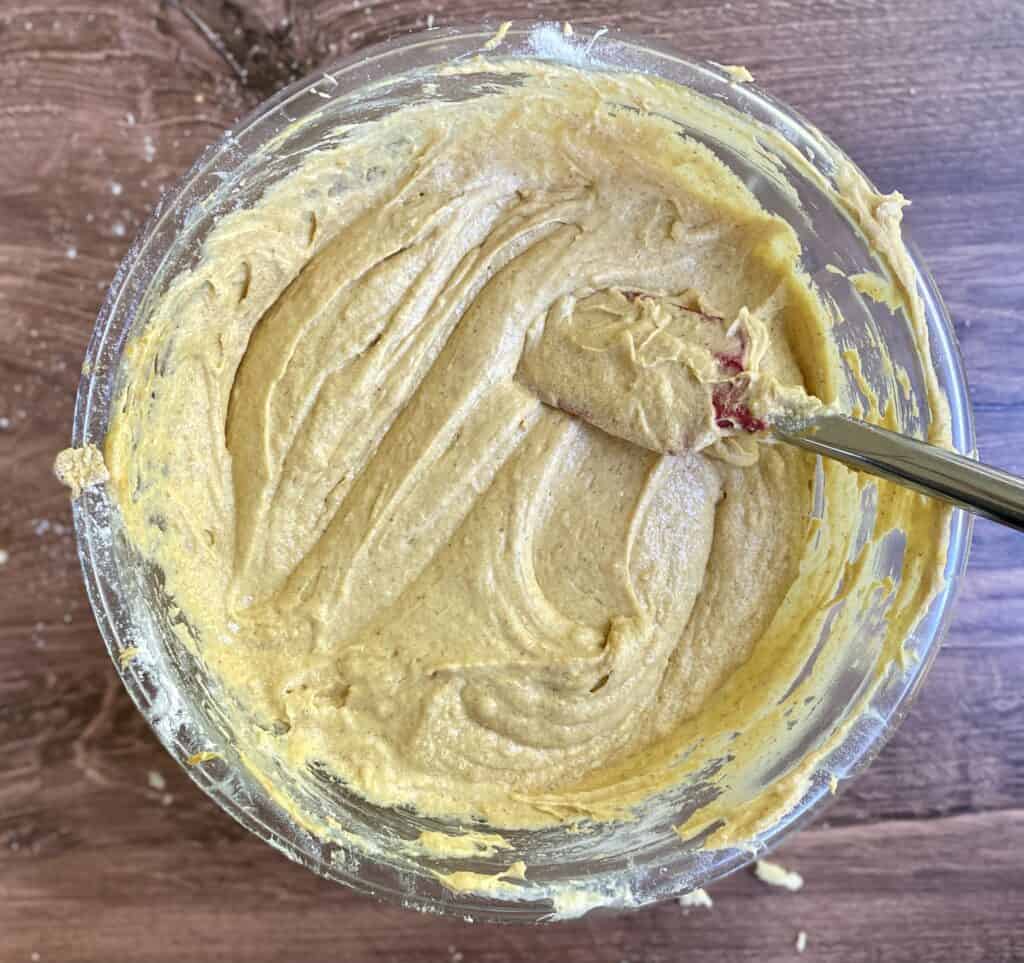
I use the silicone spatula to get a get a good final scraping in my mixing bowl. Going around the sides and bottom of the bowl, I collect all of the loose flour and then do 10-15 good turns around the bowl. The result is always a smooth batter that’s not over-mixed and is ready for the oven. This is a thicker batter, and that’s okay!
Into the Oven!
This next part is not a popular opinion.
But I’m going to tell you anyway.
I don’t prepare my cake pans before I start mixing my cake batter. I know this is not a normal recommendation, so feel free to disregard it.
If you’re still reading, hear me out!
In my experience, butter and flour left in a cake pan for too long can cause an unappetizing crust on the outside of my finished pound cake. And, since the outside of the cake is so prominently featured on a pound cake, who wants that?!
One day, purely by happenstance, I forgot to prep a pan before mixing my cake batter, so I just took four minutes after the batter was done and prepped the pan at that time. I’ve done it that way ever since, using the good old butter/flour combo to make sure that things don’t stick. Before I prep my pan, I also check my cheap-o oven thermometer to make sure that my oven is truly at 325°F. (For my top oven, this means setting it to 350°F.)
You have to work pretty quickly if you choose to prep your pan after your batter! That’s why it’s helpful to take out some extra butter for your pan at the same time that you take out the butter for your recipe.
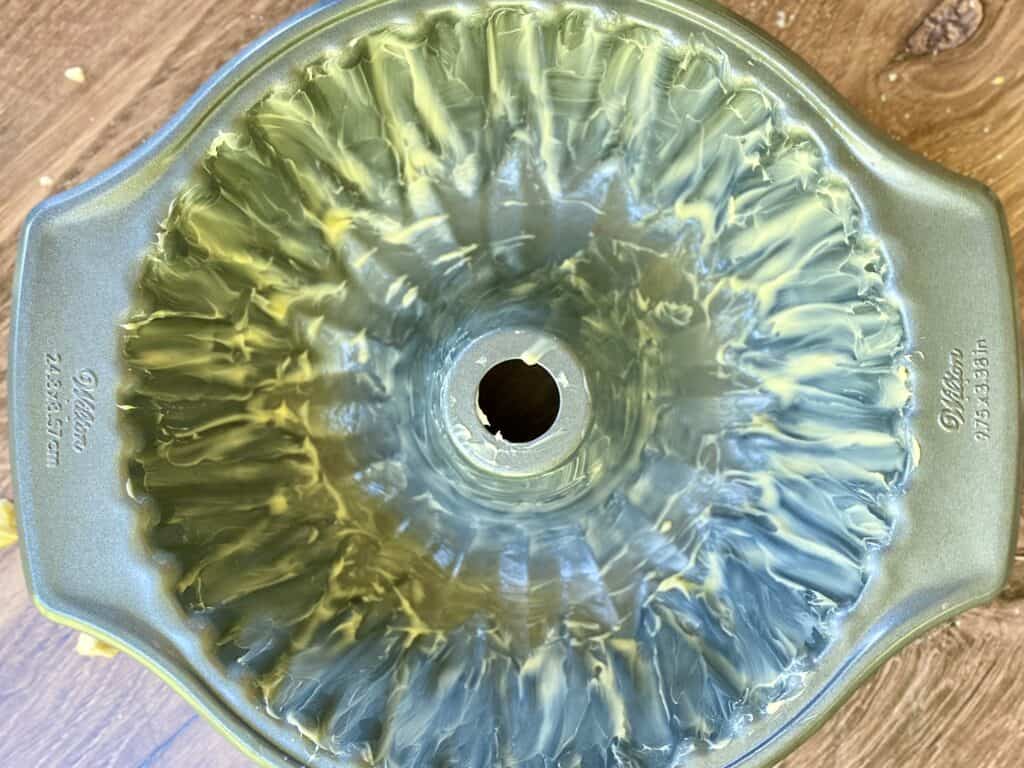
With all bundt pans, you have to butter them to within an inch of their lives before moving on to the next step. Please, Family, do not fall for the “non-stick” cake pan claims. THEY ARE NOT TRUE. I’m also not a huge fan of cooking sprays, since I find they don’t help produce the caramelization that I like to see on the top of my bundt cakes.
This is what I mean by “butter them to within an inch of their lives”:
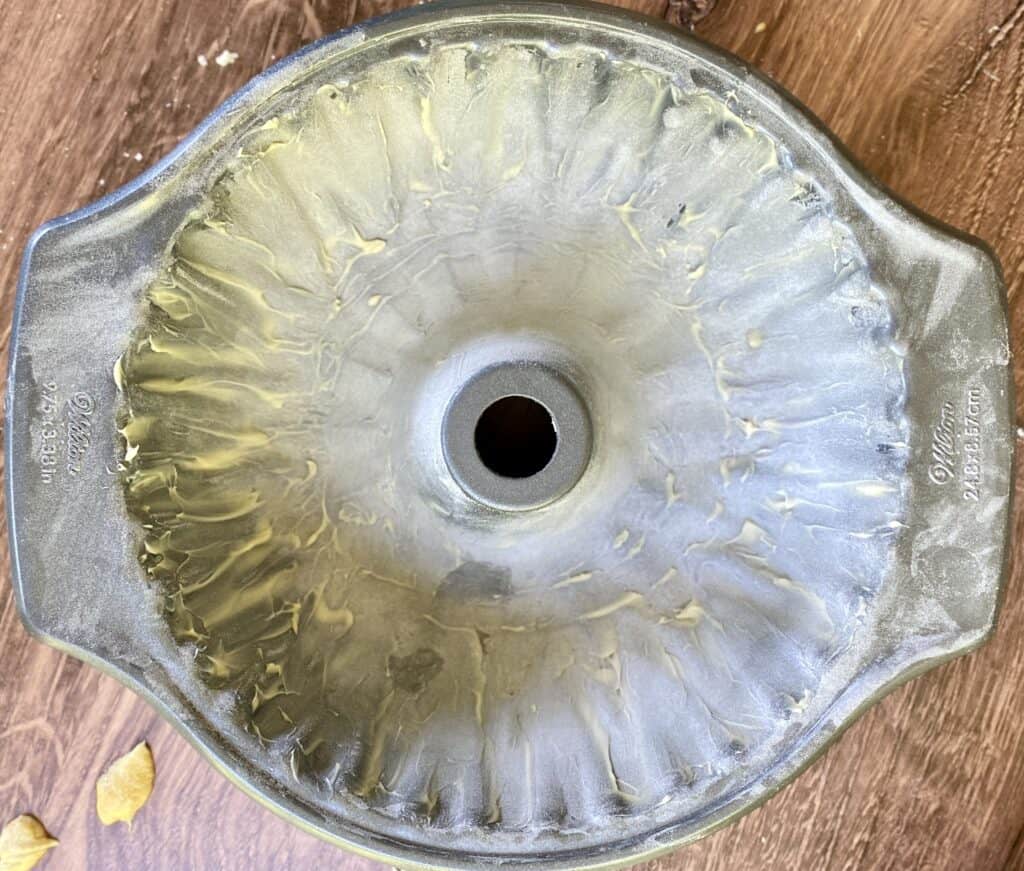
After you’ve reached this stage, add flour and maneuver the pan around until you’ve covered all of the buttered surfaces. It’s important to remove any remaining flour when you’re done with this step (I remove extra flour by banging the pan over a countertop or clean sink):
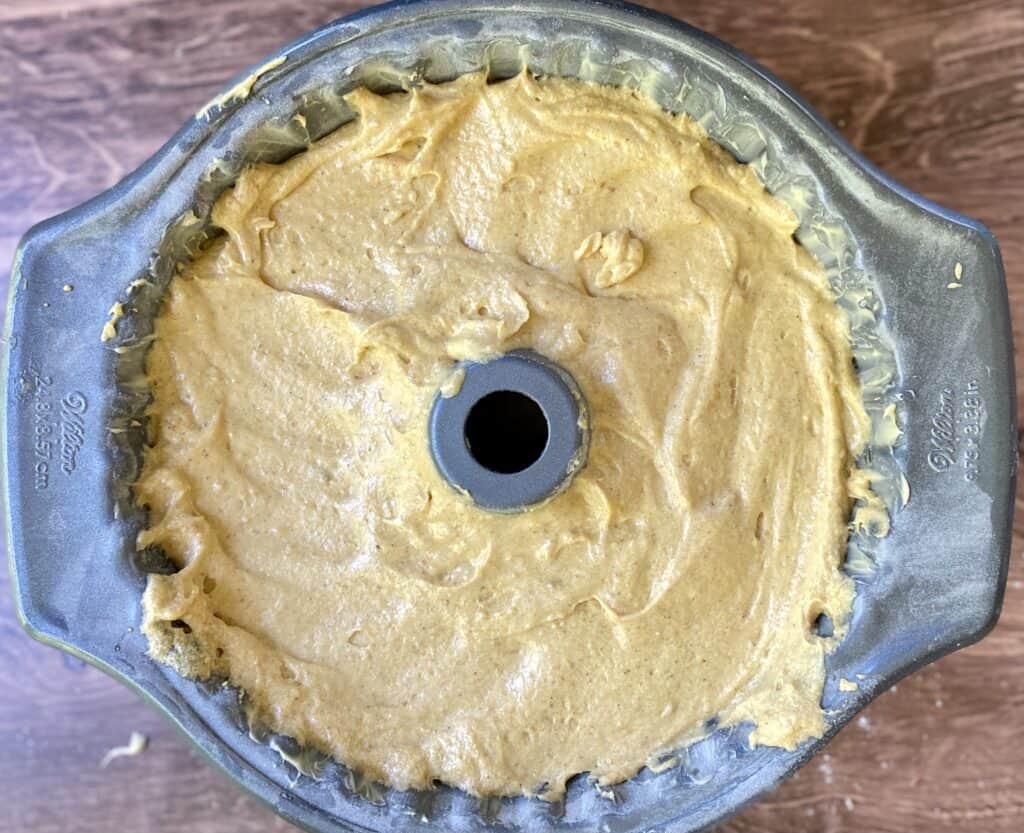
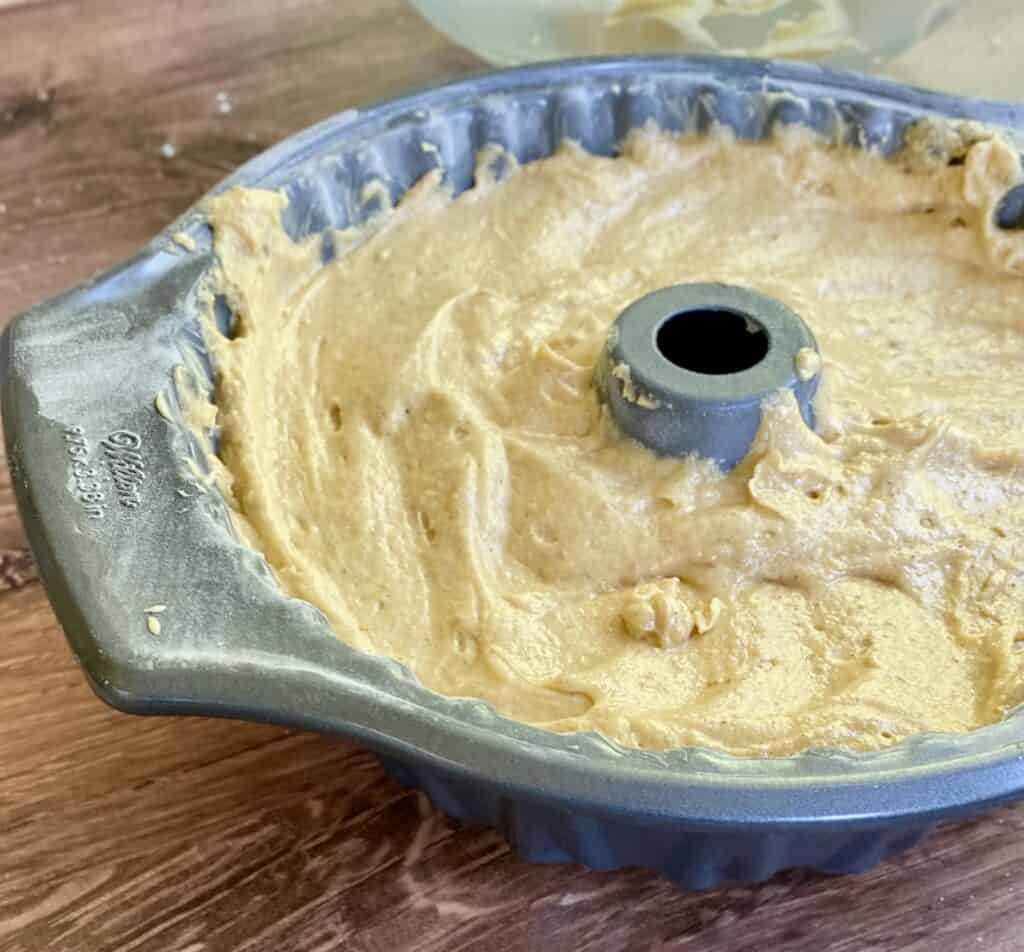
After this step, I gently pour my batter into my prepped pan and gently even out the top with my silicone spatula:
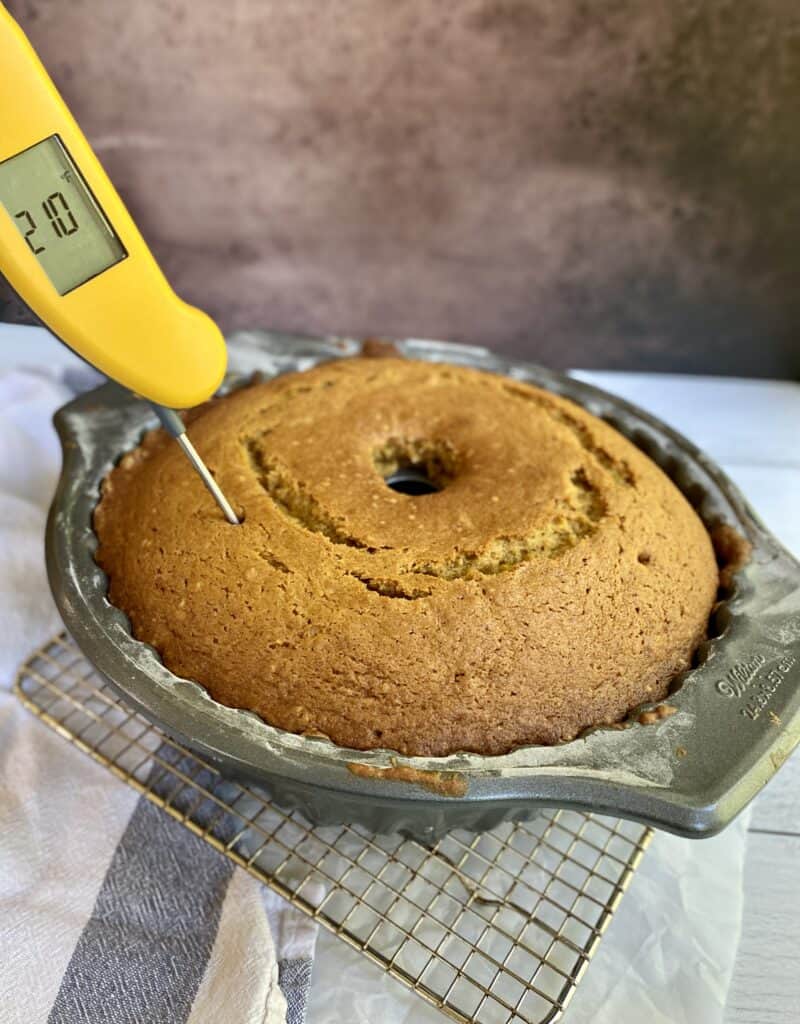
Then it’s onto a baking sheet and into my 325°F oven for 70-80 minutes. The cake is done when a cake tester comes out clean and the top springs back under your finger, OR when an instant-read thermometer reads somewhere between 210°F and 215°F.
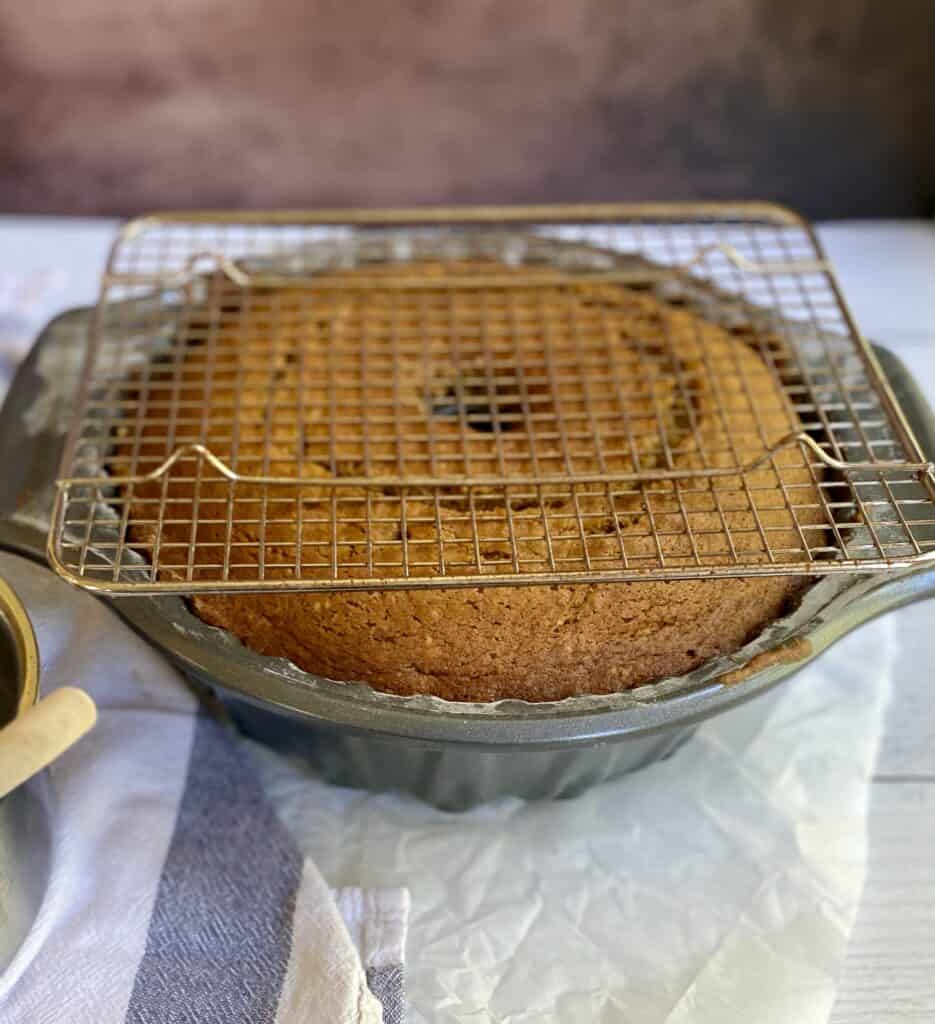
At this point, you can place the cake on a cooling rack and place the cake and cooling rack on top of some parchment paper. Allow it to cool for about ten minutes.
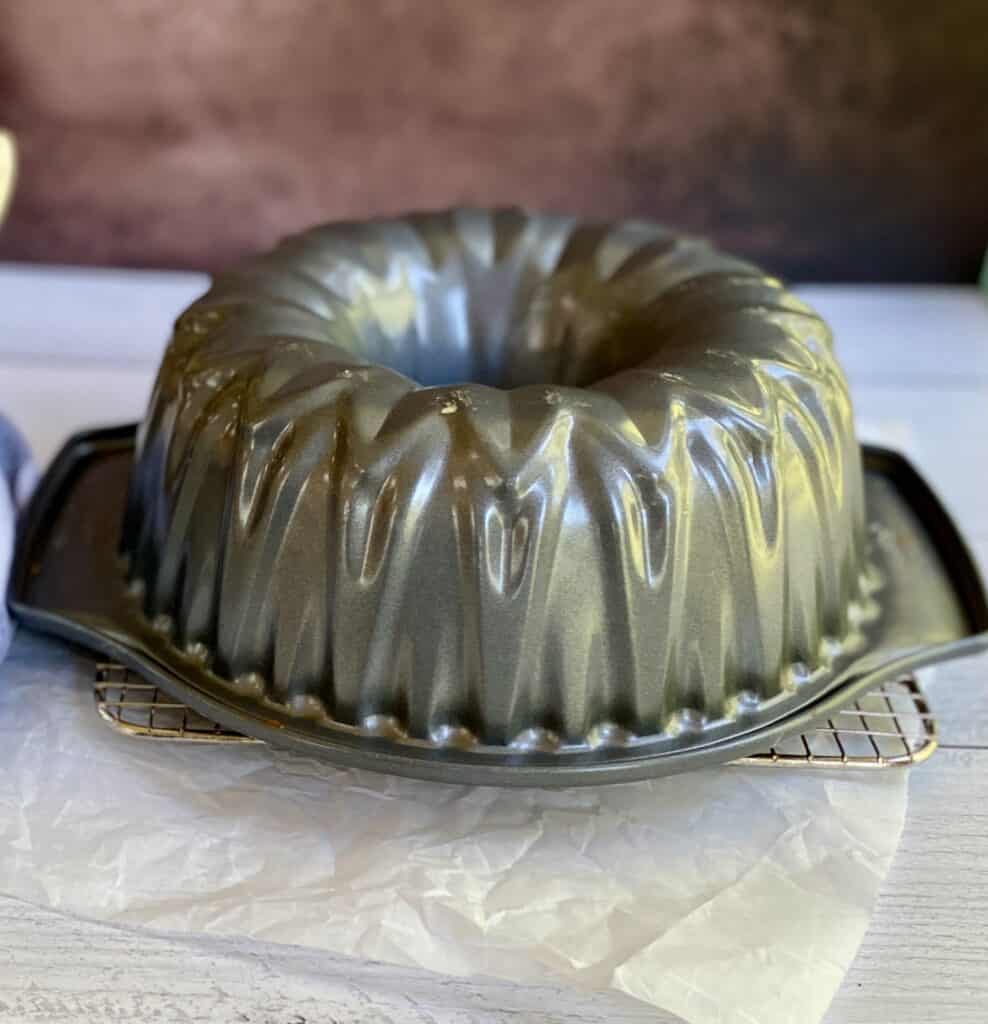
After the ten-minute timer goes off, invert the cake on top of the cooling rack, gently put it down atop the parchment paper, and say a very quick prayer (if you pray).
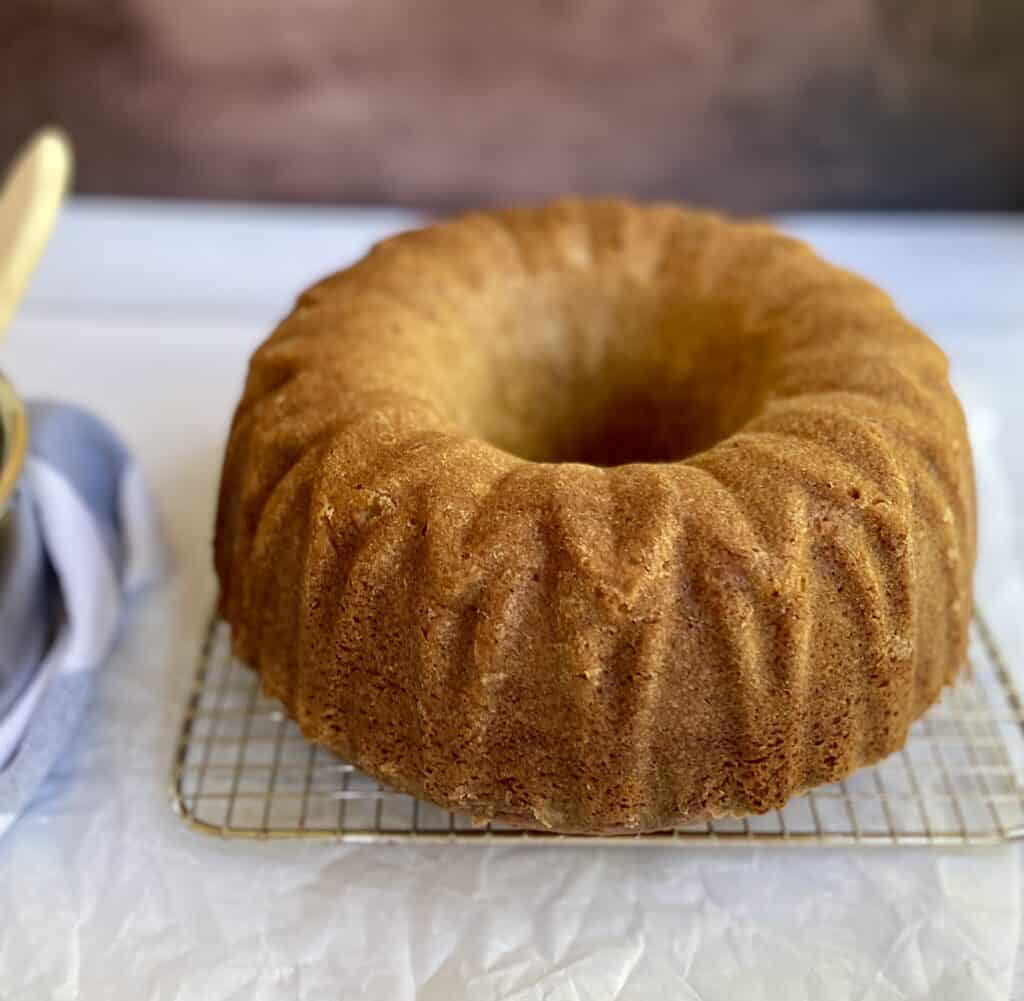
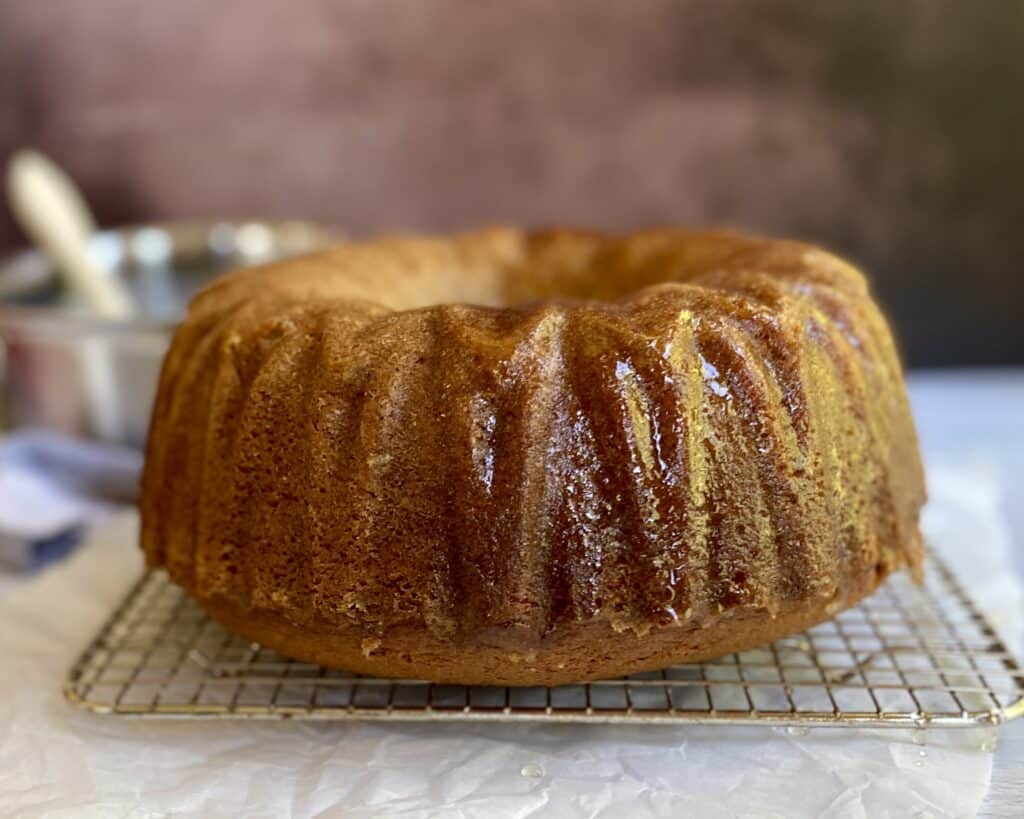
Then, gently lift the pan and wait for release. While there will inevitably be a few tiny crumbs that are left on the pan, as you can see, the beautiful detail from the cake pan is clearly present in the finished cake.
The Game-Changer: Simple Syrup
::Friends, come close::
This next tip is the real difference between home bakers and pros.
Two words: simple syrup.
Simple syrup is equal parts water and sugar boiled together until they achieve a watery-syrup texture. There are innumerable variations on a “simple” simple syrup, but the most common one is the plain one. For bundt cakes, I find that 100 g (.4 c) of sugar and 100 g of water (.4 c) is the perfect amount.
I make the simple syrup by just adding those two ingredients together, bringing them to a boil, then reducing to a simmer just until all of the sugar is dissolved. I do not want simple syrup that has the consistency of corn syrup or maple syrup. I prefer that it be closer to a watery texture, so that it doesn’t grab crumbs from the warm cake when I’m brushing it onto my cake with a pastry brush.
For a great video tutorial on how I use simple syrup on my cakes, check out my YouTube video, entitled “Three Tips for Making Great Cakes”! Specifically, you can jump to 3:15 in the video for the simple syrup technique.
I brushed simple syrup on half of the cake and snapped a quick picture so that you can see the difference:
The Final Glaze
This, Friends, is the hardest part of the proceedings. This is the part where you wait.
Once that warm cake is brushed with warm simple syrup, it’s time to leave.
No, really. Go do something else. Because it’s going to be 3-5 hours before you can touch this cake again for the final glaze. It needs to be completely cooled before you do this last step.
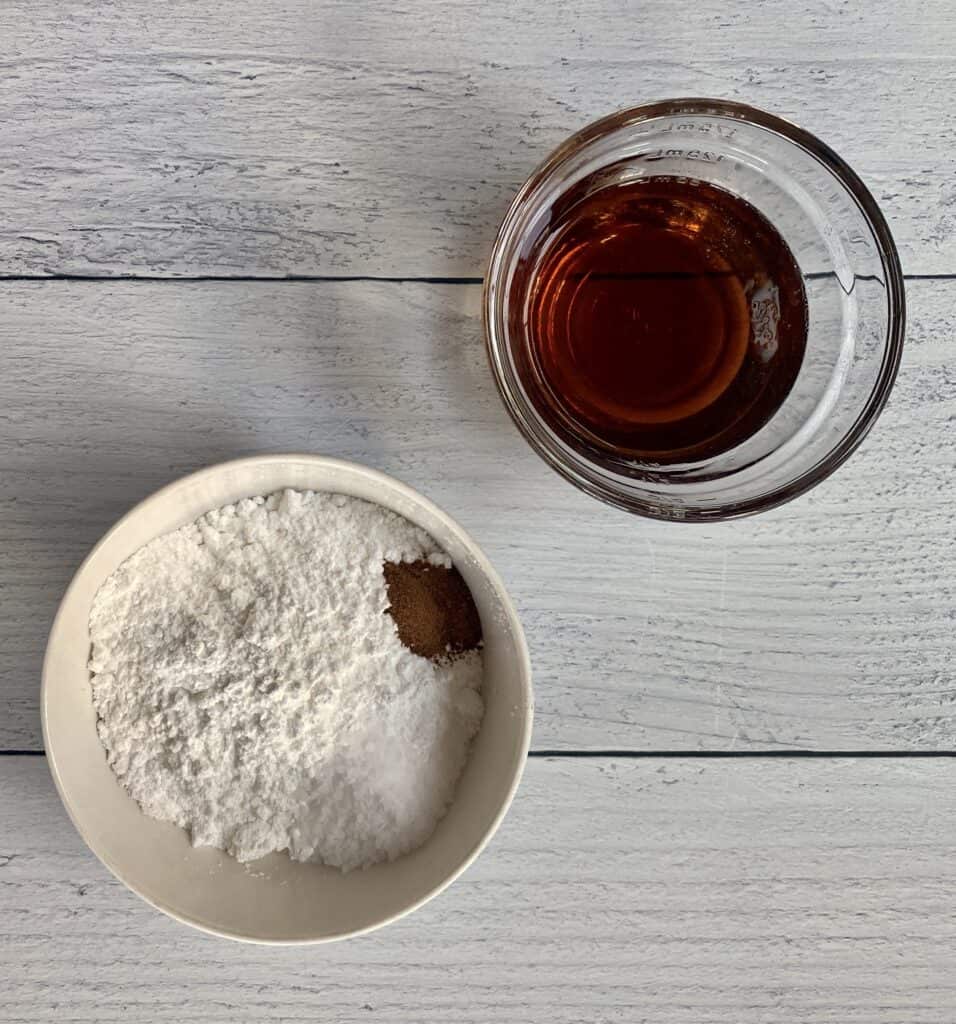
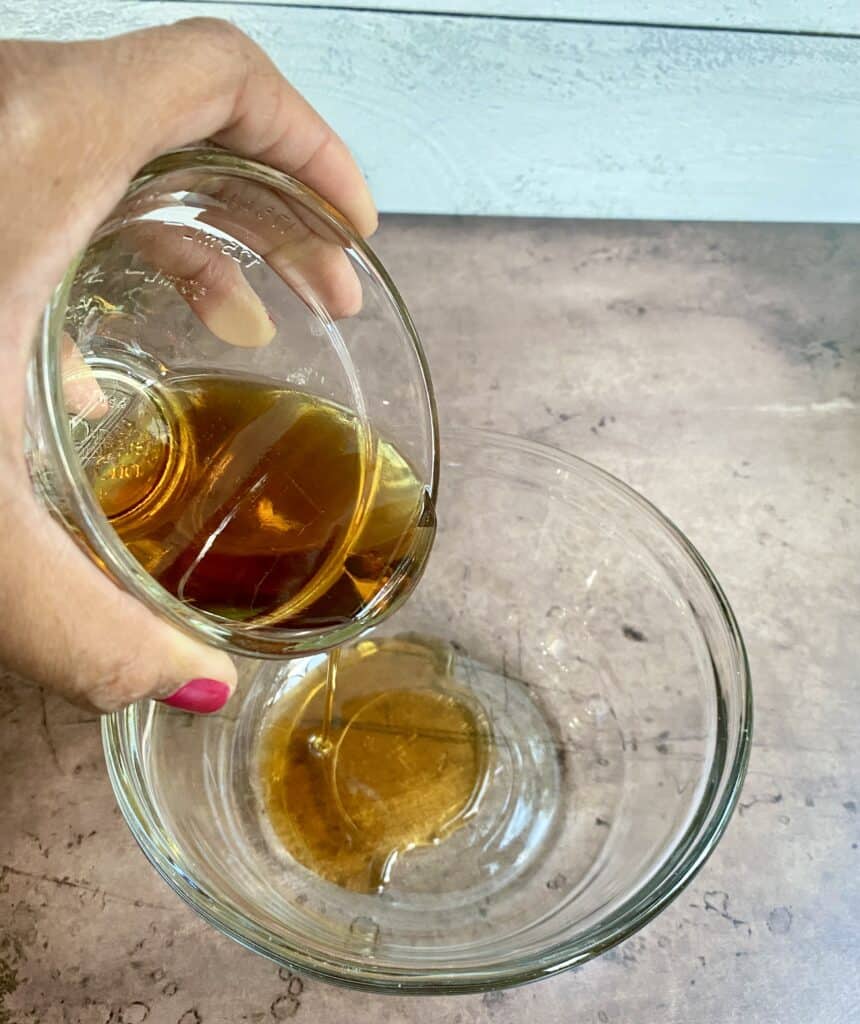
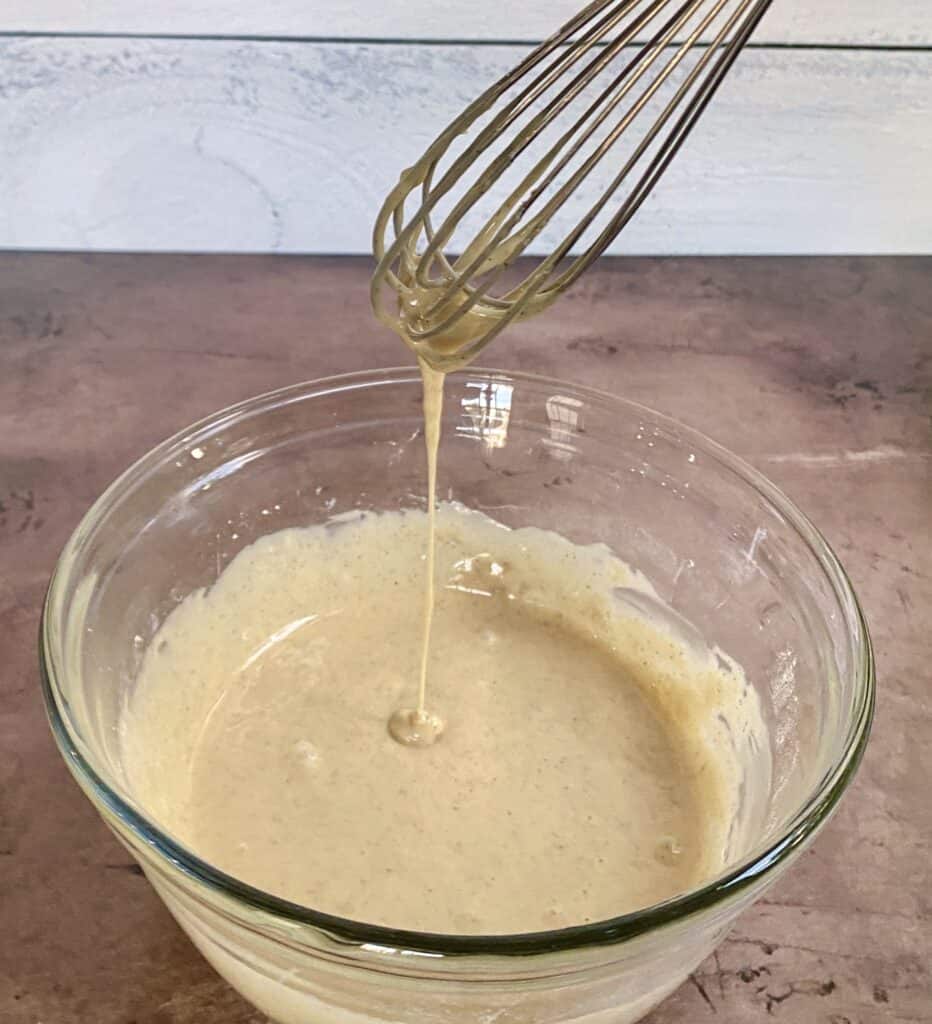
To make the glaze, mix the maple syrup, maple extract (not mandatory, but extremely delicious), confectioner’s sugar, salt, and cinnamon in a small bowl.
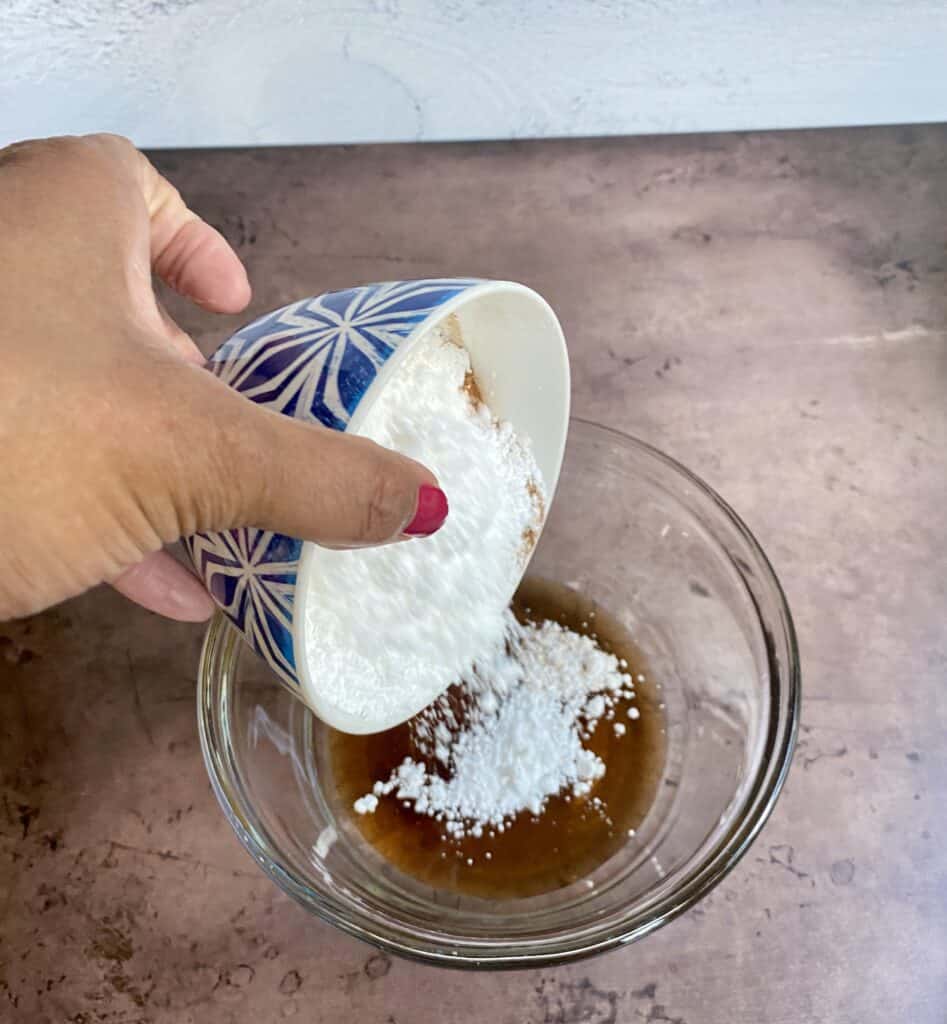
Whisk the mixture gently until combined. Don’t worry about lumps! Just keep stirring gently.
You’re done when the mixture has the texture of thick honey.
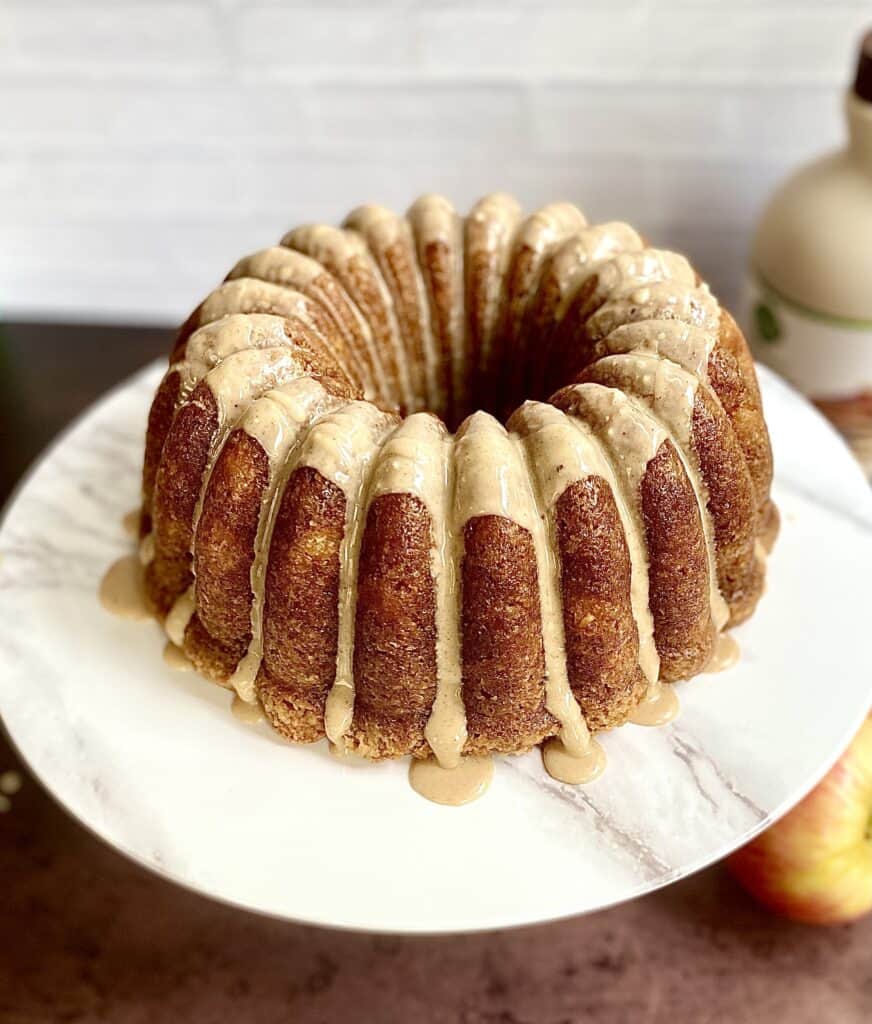
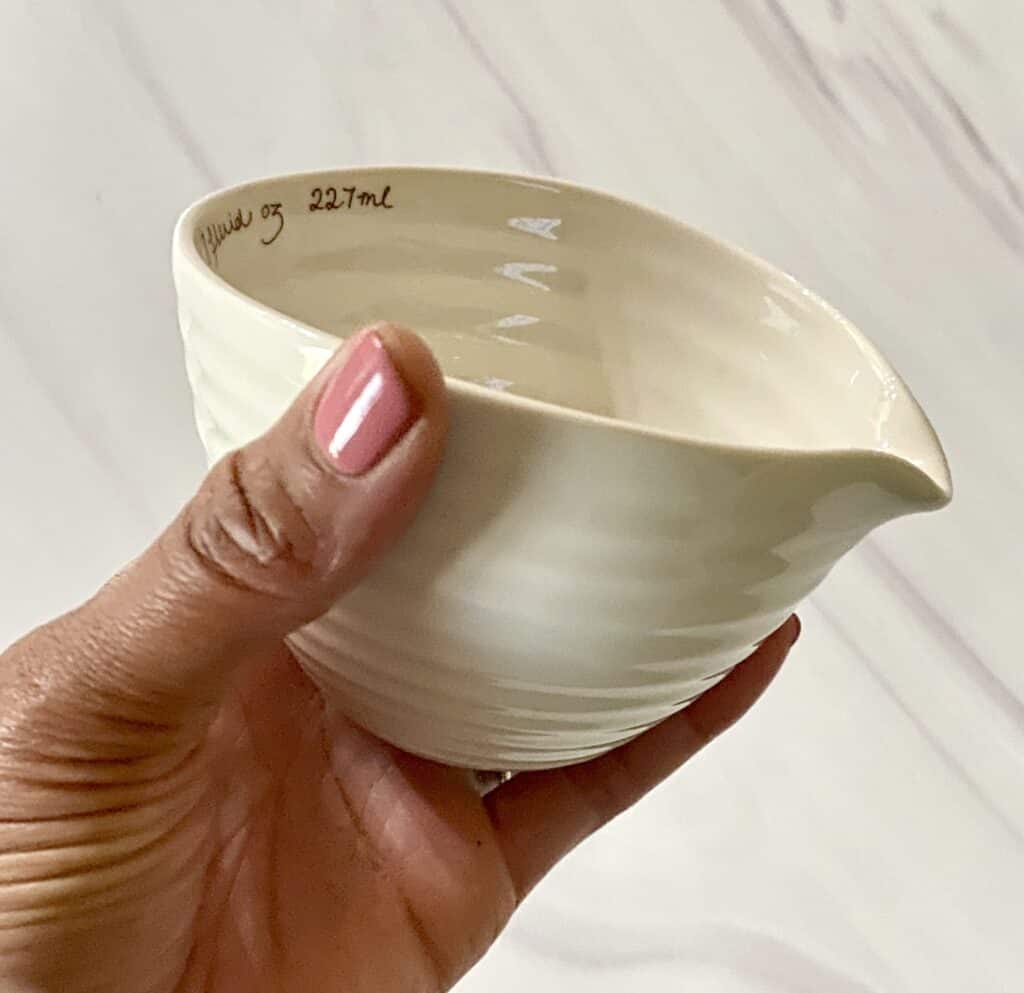
At this point, you can either use a spouted measuring cup or a plastic squeeze bottle to pour the glaze on your finished, cooled cake.
That’s it! You’re done! Time to enjoy this wonderful taste of fall that was inspired by the humble, amazing pound cake.
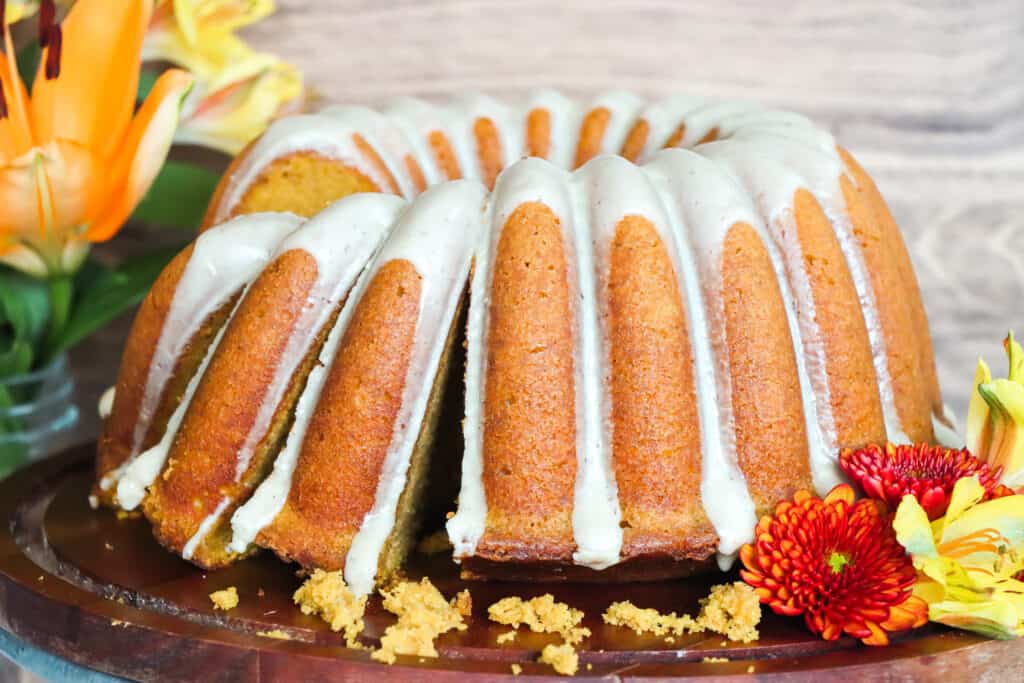
You’re ready! I hope you love this pumpkin spice pound cake as much as my family does. If you tried it and love it, tag me on Instagram @beginwithbutter so that I can see your masterpiece!
The Recipe
Print
Pumpkin Spice Pound Cake
A delightful fall treat that incorporates classic Southern bundt cake techniques with a delicious pumpkin spice blend!
- Total Time: ~5-7 hours
- Yield: 14 servings 1x
Ingredients
For the cake:
- 384 g (3 c) all-purpose flour, plus two tablespoons for dusting bundt pan
- 1 tsp nutmeg
- 1 tsp cinnamon
- 1/2 tsp ground cloves
- 1 tsp kosher salt
- 1/4 tsp baking soda
- 227 g (1 c) butter, room temperature, plus more for greasing bundt pan
- 500 g (2.5 c) sugar
- 6 eggs
- 2 tsp vanilla
- 425 g pumpkin puree, fresh or canned (not pumpkin pie filling)
- 63 g (1/4 c) buttermilk
For the Simple Syrup:
- 100 g (.5 c) granulated sugar
- 100 g (.4 c) water
For the Maple Cinnamon Glaze:
- 90 g (1/4 c) maple syrup
- 1/4 tsp maple extract (optional)
- 1/8 tsp cinnamon
- 90 g (3/4 c) confectioner’s sugar
- 1/4 tsp fine sea salt
Instructions
For the Cake Batter:
- Set your oven to 325°F. It’s highly recommended to use an oven thermometer for baking, since ovens themselves are often inaccurate when it comes to temperature.
- Soft together the flour, nutmeg, cinnamon, cloves, salt, and baking soda in a medium bowl and set aside.
- Combine the buttermilk and pumpkin puree in a medium bowl. Set aside.
- Place room temperature butter into a large bowl (or the bowl of your stand mixer) and mix by itself on medium speed until smooth.
- Reduce mixer speed to low and gradually add sugar to the smooth butter.
- Mix on medium speed for 3-10 minutes, scraping the sides and bottom of the bowl every 1-2 minutes, until the butter/sugar mixture is light and fluffy. For more on how to properly cream butter and sugar (one of the most important steps!), click here.
- Add eggs, one at a time, scraping the sides and bottom of the bowl after the third egg and the last egg.
- Add vanilla and mix until thoroughly combined.
- With the mixer on low speed, gently add half of the flour mixture. Mix until almost combined, with a few streaks of flour remaining.
- With the mixer off, add all of the pumpkin puree/buttermilk mixture at one time. Mix until just combined.
- Add the rest of the flour, again mixing until combined (or until you see no more streaks of butter in the mixture). There may be just a few streaks of flour remaining. (See photo above.)
- Remove the mixer from the bowl and finish mixing the recipe by hand by scraping the sides and bottom with a silicone spatula and doing a final mix (about 10-15 turns).
- Prep your 10-cup bundt pan using the reserved, softened butter and flour.
- Put batter into the prepare pan and bake at 325°F for 70-80 minutes, or until a toothpick comes out completely clean. Alternatively, you can check with an instant-read thermometer. The cake will be done when the internal temperature reaches 210°F to 215°F.
- After removing the cake from the oven, place on top of a cooling rack for ten minutes while you make the simple syrup.
For the Simple Syrup:
- Combine granulated sugar and water in a small saucepan.
- Heat on medium-high heat until mixture is boiling. Reduce to medium-low heat and simmer until the sugar is completely dissolved.
- Remove from heat immediately once the sugar is completely dissolved. Use a pastry brush to brush simple syrup on the whole cake. Allow to cool completely (3-5 hours).
For the Final Glaze:
- Combine maple syrup, maple extract, confectioner’s sugar, salt, and cinnamon in a medium bowl.
- Stir gently with a small whisk until smooth.
- Using a squeeze bottle or spouted measuring cup, pour the glaze over the inside and outside of the cake. Some of the glaze will spill over the sides.
- Allow the glaze to set up for 15-20 minutes and enjoy!
Notes
- This is a big, flavorful cake. You’ll need at least a 10-cup bundt pan to make sure that it doesn’t overspill. The combination of leavening and the air pockets from your creamed butter and sugar will make it overspill a smaller bundt pan.
- This can be halved and made into a pumpkin loaf as well! A 9″x5″ loaf pan is best for this one.
- It’s especially important to measure the confectioner’s sugar for the final glaze on this cake. Too much (>100 g) will cause the glaze will develop small holes after setting. It will still taste delicious, but it’s a disappointing way to end all of your hard work.
- To store: This cake needs to be refrigerated once it’s complete. It can last for up to seven days in the refrigerator.
- Prep Time: 40 minutes (active)
- Inactive Time: 3-5 hours
- Cook Time: 70-80 minutes
- Category: Dessert
- Cuisine: American
Nutrition
- Serving Size: 1 slice
- Calories: 477
- Sugar: 55.1 g
- Sodium: 175.9 mg
- Fat: 16.1 g
- Carbohydrates: 78.5 g
- Protein: 6.2 g
- Cholesterol: 116 mg
I hope you enjoy this little taste of fall from Begin with Butter! If you make it, don’t forget to tag @beginwithbutter on Instagram so I can cheer your success!
-S ??
Did you love this post? Don’t forget to subscribe so that you can see more from Begin with Butter!
Made the pumpkin spice pound cake, and it was FABULOUS! Not too sweet, perfect texture and the icing was delicious. This will definitely be in the fall rotation.
Thanks so much Jamie! I’m so glad that you enjoyed!
AHHHH-MAY-ZINGGG!!! ????+????+????=????????????????????????
your tips and tricks are sooo helpful. (and totally! same on the flour and butter ahead of time! ?????????)
your instructions are so thorough and completely make sense!
love, love everything you put out.
Thank you so much for these sweet compliments Thelma! I absolutely love what I do for a living and to see that it resonated with you…makes my heart so happy! Enjoy the recipe! ??
This was incredible!
I used my “Haunted Mansion” Bundt pan to make it fit a teen Halloween get together and they LOVED it. So moist, rich, delicious! So worth it. Thanks!!! ??
Oops that would be FOR a teen get together ????
Thank you SO MUCH Molly! I’m so glad that it went over well for the party! And I’m so honored that you chose my recipe!