

Hello BwB Family! Today we’re getting into a more intermediate baking technique. If you’ve read the food scale post and the post about how to measure ingredients, you’re more than ready!
In this post, we’re talking about scaling recipes. Scaling a recipe simply means that you are adjusting the recipe to make more or less than the recipe originally intended. Here, we will mainly discuss scaling recipes up to increase the yield, but there are some great tips for scaling recipes down as well!

Need six dozen cookies for a school bake sale and your chocolate chip cookie recipe only makes two dozen? You’ll scale your recipe up.
Want to make six cupcakes for you and your partner but your recipe yields eighteen? You’ll scale the recipe down.
With the right tools and a little patience, you’ll be scaling recipes like a pro in no time!
Let’s go!
Come learn with me! BwB’s monthly Masterclasses are fun, informative, and only $20! Sign up here!
In this Post:
- Why Scale a Recipe?
- Tools Needed to Scale a Recipe
- First Step: Math Class
- Check Your Volume!
- General Rules for Scaling
Excited? Me too!
Why Scale a Recipe?
There are LOTS of real-world uses for this baking knowledge. Let’s talk about why I scale recipes in my kitchen.
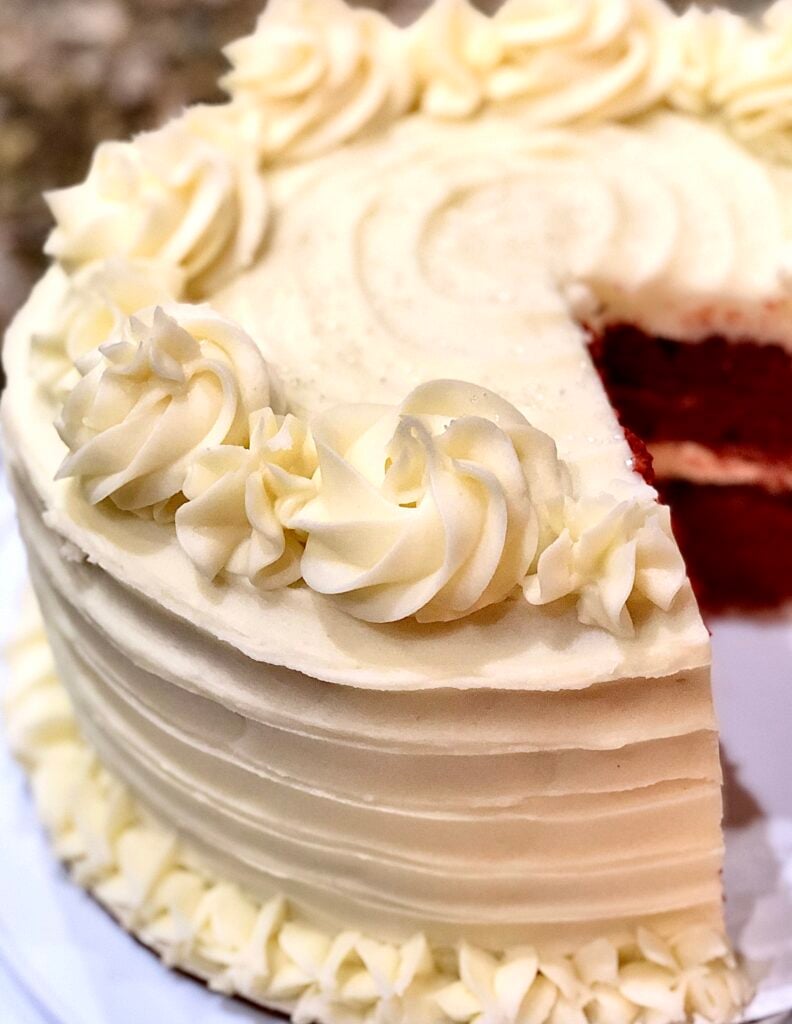
First, for my custom bakery, I often have to scale recipes to make more than the original yield. For example, I have one red velvet cake recipe and I can make a one-tier cake or a four tier cake with that recipe. For those of you with aspirations of starting your own bakery in the future, the ability to scale recipes will be extremely useful for you.
Next, when I have large family gatherings (pre-COVID Y’all ????), I have to scale cookie recipes to keep up with the demand and I STILL fail every time. They disappear right from the cooling rack. I still bake massive cookie quantities to keep my skills sharp for the holidays.
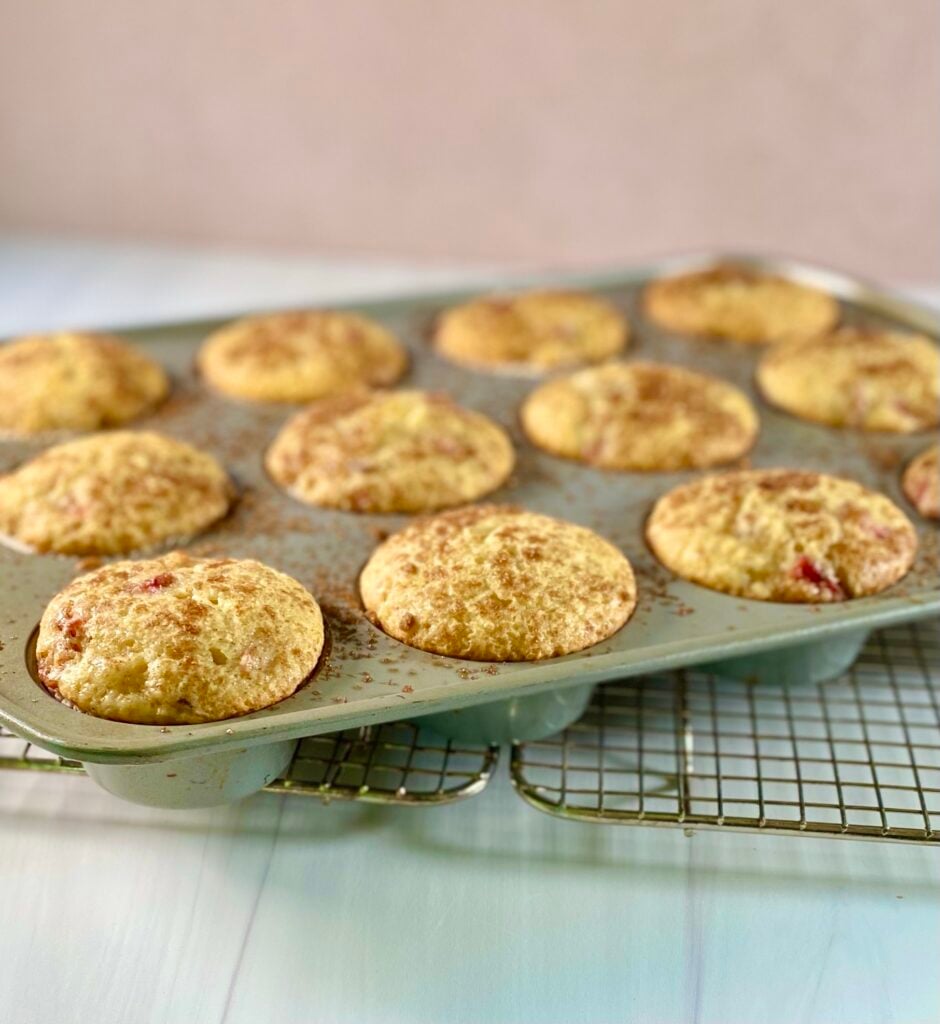
And who among us hasn’t received the request for Teacher Appreciation Day muffins the night before (or the morning of)? This skill is extremely useful in that situation.
It’s also useful for small batch baking! If you only need a dozen, there’s no need to waste ingredients making two dozen. For people working with mini stand mixers, it’s sometimes necessary to scale down recipes in order to ensure proper mixing. I’ll explain more in the section entitled “Check your Volume”, below.
Tools Needed to Scale a Recipe
There are really only four things that you need in order to scale a recipe:
1. A Good Recipe (preferably written in Metric units).
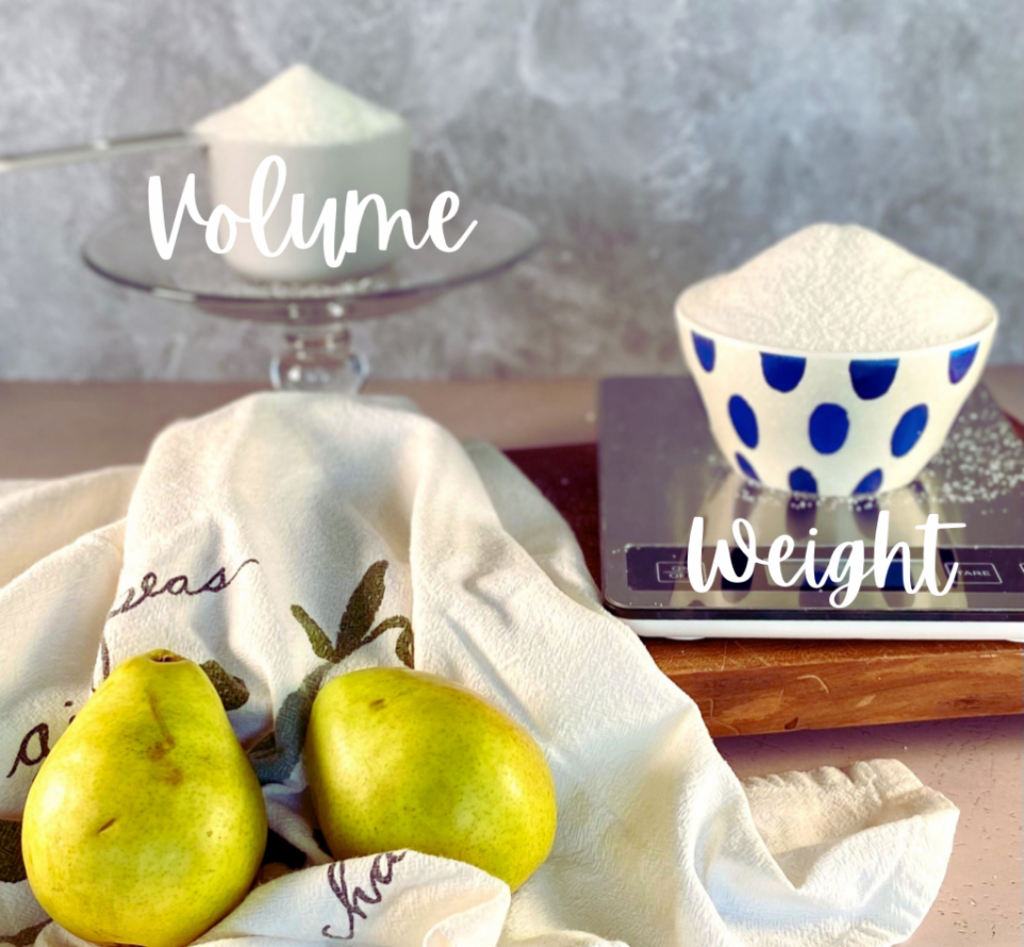
If a recipe as written is a winner, then it should be a winner when it’s scaled! Metric units are smaller than Imperial units, which means that recipe proportions are much more exact in Metric measurements. Since ingredient proportions are crucial (not an overstatement) in baking, it’s best to work with the most exact measurement units available when you’re changing ingredient amounts. That’s Metric!
2. A Digital Kitchen Scale.
Family, I beg of you. If you’ve said “I need to get a digital kitchen scale” since you’ve started reading this blog, and you haven’t done it yet, please do it now.
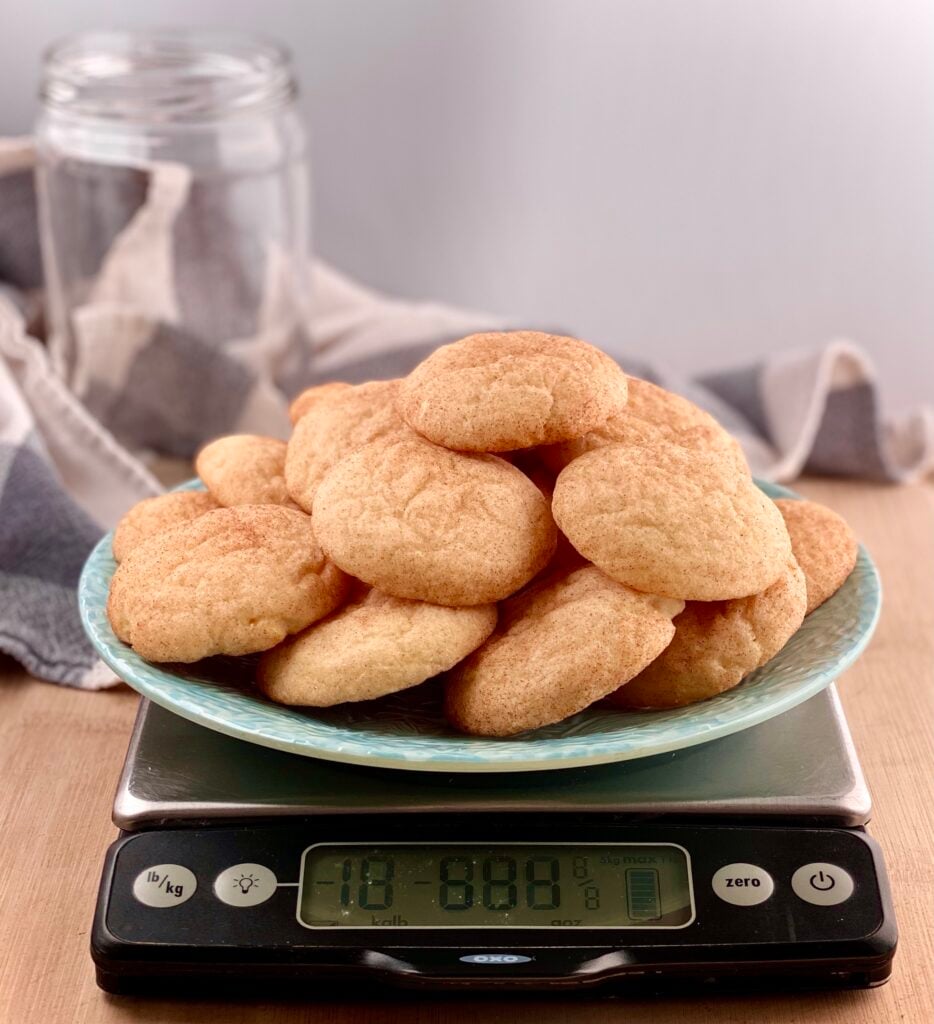
A digital kitchen scale will instantly make you more confident and consistent in your baking. And frankly, a digital kitchen scale is the only way to be able to accurately and confidently scale recipes, since using volume measurements will almost always lead to inconsistent and unintended results. This is true for the original yield of any recipe, but it is even more true for a scaled recipe.
3. Correctly Sized Bowls, Cake Pans, Etc.
Take a good, hard look at that pretty stand mixer on the corner of your countertop. The mixing bowl on that thing has a limit to how much it can hold. One of the many ways that scaling can go wrong is if your mixing bowls cannot accommodate the amount of batter or dough that you are trying to to make. This is particularly important when you’re scaling recipes up (to make more than the original recipe amount). I’ve made this mistake plenty of times, and it’s extremely frustrating.
The point is that there is a limit to how much you can scale recipes up or down, and some of it depends on how large your equipment is. While that sounds slightly inappropriate, it is very true.
4. A Pencil and a Calculator.
Friends, this is a package deal. You see, in order to properly scale a recipe, you need to sit down before you take out ingredients and do the math. I mean, write down on paper exactly how much of each ingredient you need in your scaled recipe, and whether you need to make any adjustments to the procedures of the recipe because of the increased or decreased ingredient amounts.


This few minutes will get your mind right for the bake.
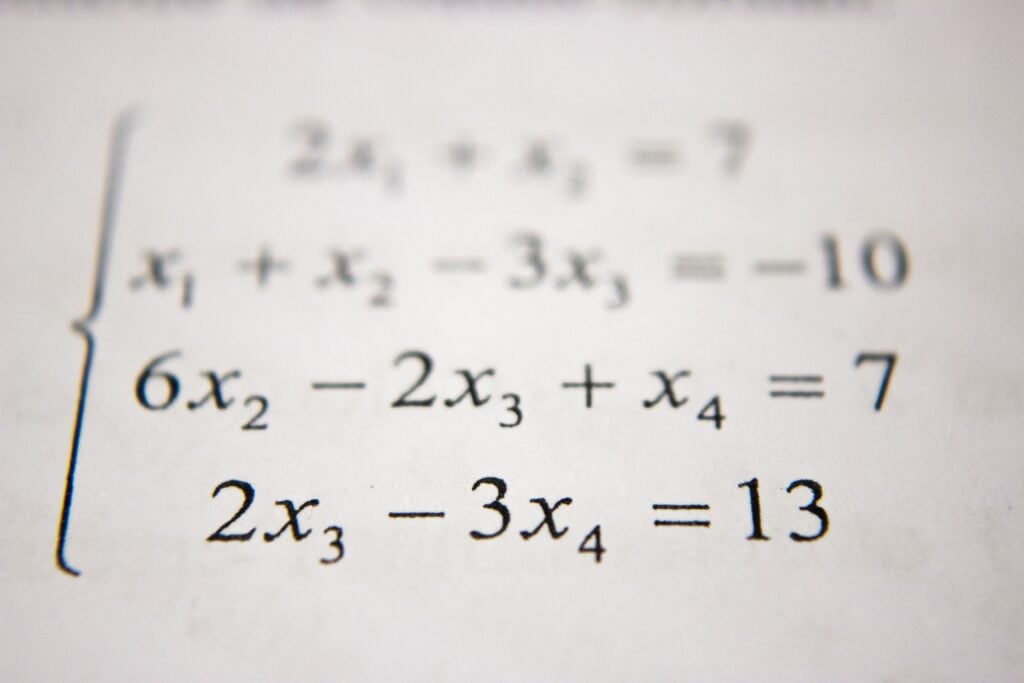
First Step: Math Class
We’re onto the nitty gritty of scaling recipes. Let’s talk about the steps. I’ll use a snickerdoodle cookie recipe that yields two dozen as my reference point here, since those are my favorites and I could frankly talk about those all day.
First, look at the original yield amount of the recipe (in our example, two dozen). Figure out whether the recipe, as written, will suit your needs. In other words, before you even go down this road, it’s best to figure out if you truly need to go down this road. Is there another snickerdoodle recipe that you like that will get you the number of cookies that you need? Or is this recipe your one true snickerdoodle love? If so, and if the recipe as written doesn’t meet your needs, then read on!
Second, figure out exactly how much more (or less) you need proportionally. If the original two dozen in this recipe is not sufficient, and if you know that you need six dozen, then you know that you need to increase the recipe by three times. If the original two dozen in this recipe is too many, and you only want to make eighteen cookies, then you know that you need to decrease the recipe by 25 percent. In the first example, that means that every ingredient in the recipe needs to be multiplied by three. In the second example, that means that every ingredient in the recipe needs to be multiplied by .75.
*Note: Don’t forget to check out the “General Rules for Scaling” section, below. At a certain point, scaling recipes is not advisable. I’ll tell you more about that in that section!*
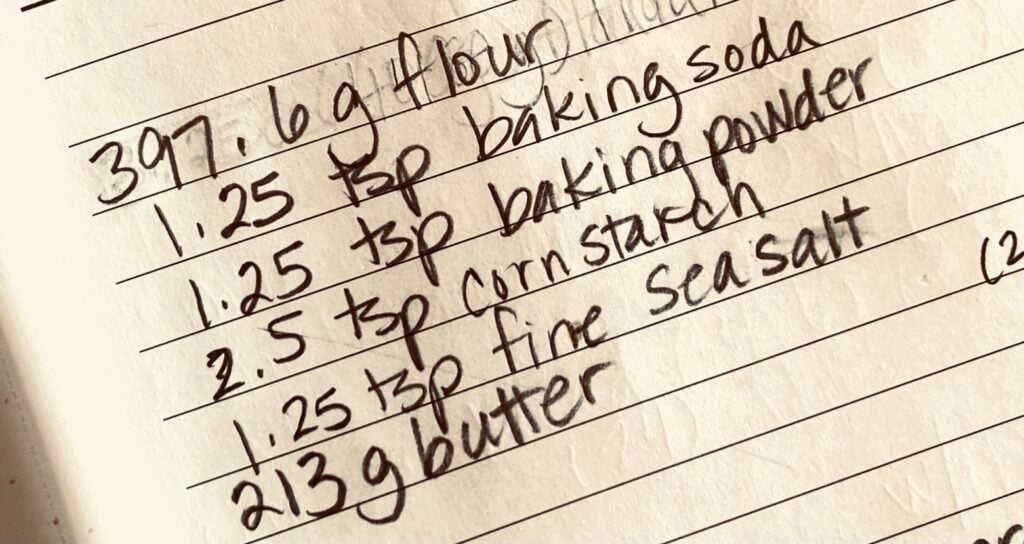
The last step is to do the math! Literally! I mostly write my scaled recipe amounts right on the original recipe, but a clean sheet of paper works just as well for this task.
My Dad used to always get on my case about double checking my math homework. Same energy here. I catch many math mistakes this way when I’m scaling. I’d rather catch them beforehand than after my cake falls in the center.
Next: onto the mixing!
Check Your Volume!
This has absolutely nothing to do with the volume of your music. Turn UP and have a blast! I firmly believe that you have to be in the right, fun mindset in order for anything to turn out properly anyway.
When I say check your volume, I mean to check the volume of your mixing bowls and bakeware. I covered volume in detail in my post about how to measure ingredients, but to refresh: volume is the amount of space that something takes in a container.
So, in this context, volume means the amount of space that a batter or dough take up in a mixing bowl, or the amount of finished batter in your cake pans and muffin pans. This is particularly important for those of you who are scaling recipes up. That extra batter or dough has to go somewhere and you don’t want that somewhere to be all over your countertop or the bottom of your oven.
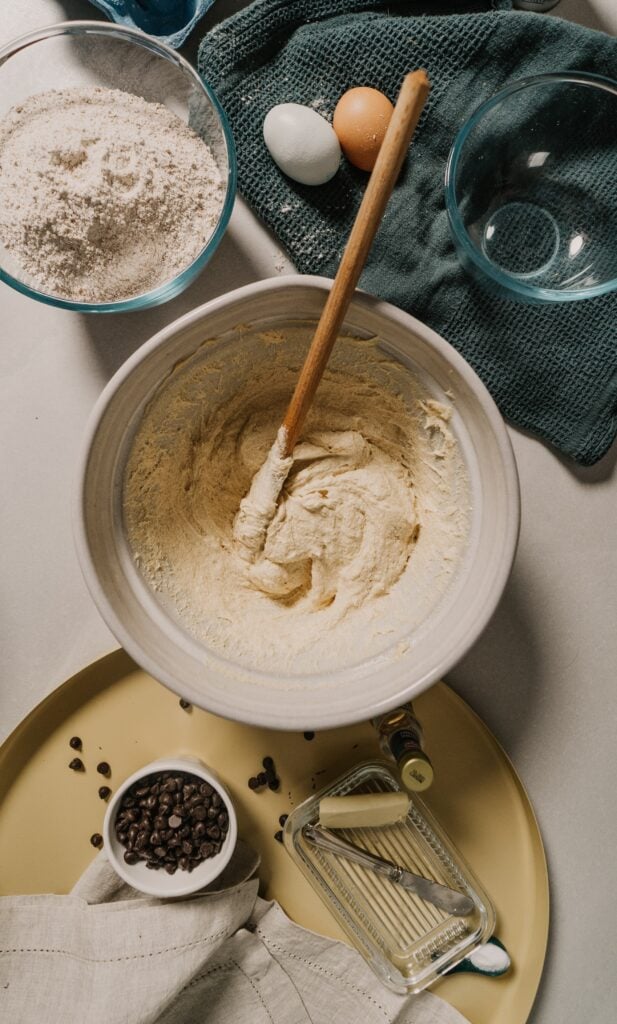
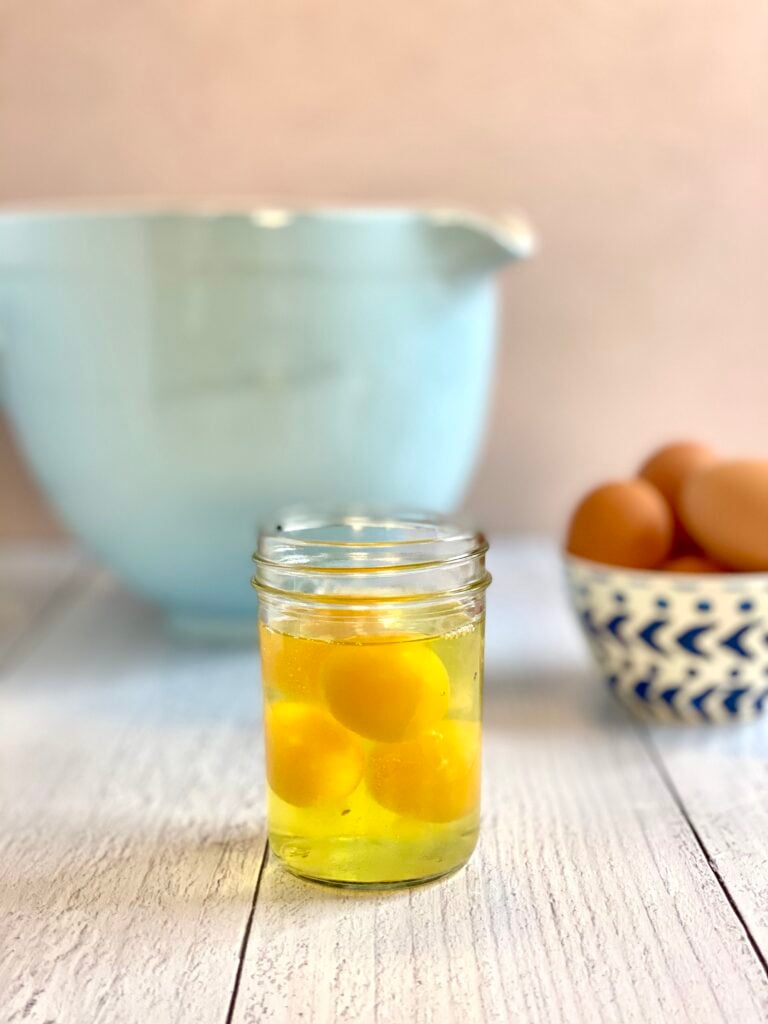
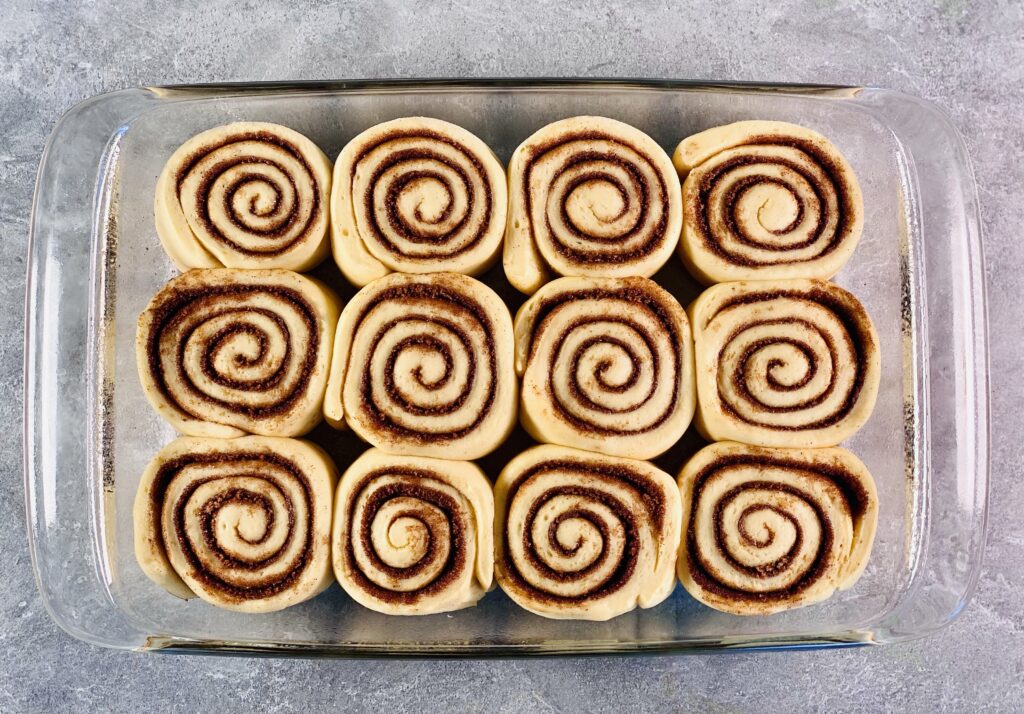
This photo, while beautiful, is an excellent example of “right-sizing” a mixing bowl. At first glance, you’d think that the bowl was too larage for the job. But using this larger bowl gives the artist (yes, bakers are artists) an opportunity to properly mix the dough without risking overspill. This bowl will also give this dough the opporutnity to rise!
My Rules for Mixing Bowls
Mixing bowls come in tons of sizes. In my own kitchen, I have mostly 5-quart bowls for my stand mixer, but I have bowls from 2-cups to 8-quarts. If I’m using my stand mixer, my rule of thumb about scaling a recipe up is that I will scale up to the point where my bowl is 75% full with cake/cupcake/muffin batter, and no more than 50-60% full with cookie or bread dough. If I’m using a hand mixer, a wooden spoon, or a Danish dough hook, my very-unscientific-method is to use the bowl that I think is too ridiculously big for the task.

The reasons for this are three-fold:
- As a recipe comes together (particularly one that uses the creaming method), it increases in volume. Making sure that there’s extra empty space at the top of my bowl helps to contain ingredients and avoid splatter;
- With too much batter or dough in a mixing bowl, you cannot properly mix the ingredients. So you’ll inevitably end up with unmixed butter and sugar in your cake batter or raw, unmixed flour in your bread or cookie dough. This is because every bowl and mixer has a limit for how much batter or dough it can handle. If you exceed that amount, then it becomes impossible to properly mix whatever you’re making; and
- Too much batter or dough in your mixing bowl will tax your mixer motor. Whether that mixer is a stand mixer, a hand mixer, or your arm, there’s a limit to how much you can expect of the motor. I learned this lesson the very hard way with a KitchenAid stand mixer and cried for DAYS.
There are a few different ways to figure out how much volume your mixing bowl can handle. The first (and easiest) is to check the manual! For stand mixers, you’ll often find the actual volume maximums for a specific mixer model right there!

For example, for KitchenAid in particular, you’ll see how many dozens of cookies a stand mixer can handle, as well as the maximum number of cups/grams of flour each model can handle. This is a great resource because it comes directly from the manufacturer’s testing, and you can rely on those volume measurements when you’re trying to see if your scaled cookie dough will work in your mixer.
Another way to control the volume amount of a batter or dough is to set an absolute cutoff for how much flour you’re willing to put into a specifically-sized mixing bowl. For example, in my 5-quart stand mixer bowl, I’ve established that any recipe involving more than seven cups of all-purpose flour (896 grams) is a no-go. And, honestly, after multiple experiences of wearing flour, I tend not to go above that amount anyway for a single batch.
The way to figure out your personal volume limits is to practice! The best bakers are those who can have fun with themselves.
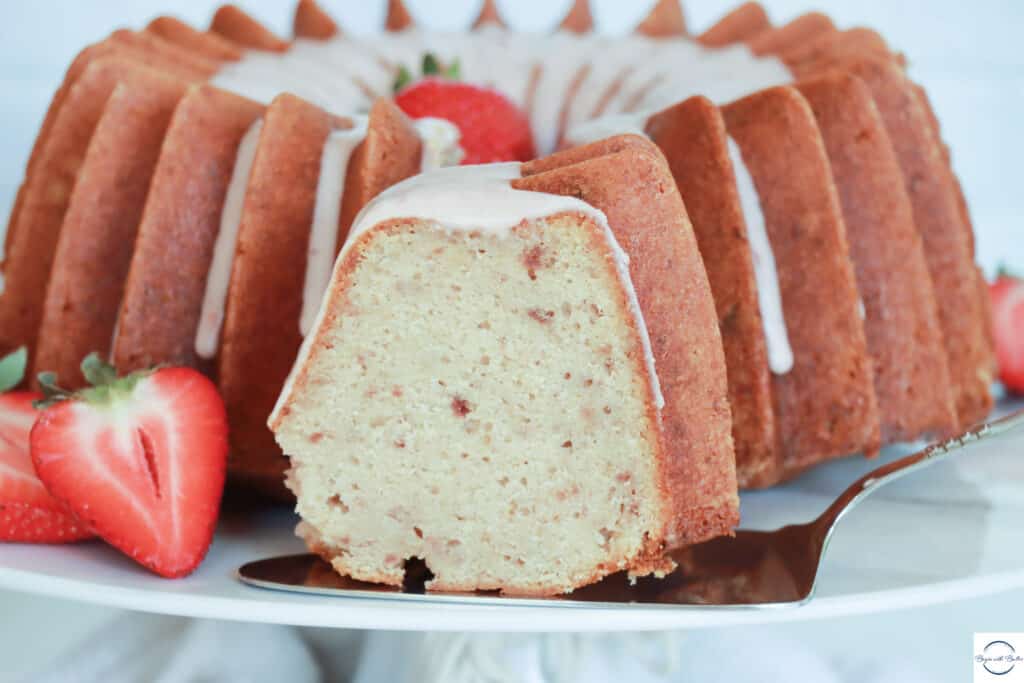
Sometimes, messes will be made. For example, I learned after many tries that I cannot double my lemon pound cake recipe in my stand mixer, even though on paper I should easily be able to do so. Despite the fact that the doubled recipe only calls for six cups (768 grams) of flour, all of the other volume-boosting ingredients (creamed butter and sugar, eggs, baking soda) puff that batter up like the Stay Puft Marshmallow Man and I ALWAYS end up removing it from the stand mixer and finishing it by hand. I learned this by practicing!
My Rules for Bakeware
I’m having a vivid memory of oven overspill from overfilled cake pans. ::shudders:: THE HORROR, Y’ALL…
If you scale a recipe up, it’s very important that you have enough bakeware on hand to handle the additional load. This is particularly important for cake, cupcake and muffin batters. Because the leavening will cause the cake to rise in the oven, it’s still important that the pan only be filled about halfway. So, you need more pans!
Wilton has a super helpful guide for figuring out how many cups of batter can fit into a specific-sized pan. You can find it here! For the ambitious among us, then, the question becomes: do you have enough oven space for all this cake?
General Rules for Scaling
The temptation to scale recipes can be overwhelming. I get it. Why make a two tier cake when you can make four? Why make two dozen cookies when you can make nine? But in addition to the volume issues that could arise (as well as the burned-out mixer motors), here are some other rules of thumb that I’ve developed over the years:
- It is almost always okay to double a baking recipe. I’ve done this with a number of recipes, with nearly 100% success. You can even sometimes triple a recipe (I usually only do this with cupcake and cookie recipes, but there is one pizza dough recipe that this works for as well–all other bread recipes are a NO). But I draw the line there. Though on paper it should work, quadrupling a recipe is usually fraught with leavening issues that will impact the taste and texture of your finished product. If you need a recipe that produces huge batches, and if your recipe doesn’t yield what you need, it’s best to find another recipe. If you find yourself making huge batches all the time, my all-time-favorite resource is The Professional Pastry Chef: Fundamentals of Baking and Pastry by Bo Friberg. The recipes in that book are scaled for bakery production. You will not encounter leavening issues there and you’ll find professional techniques that will only enhance your baking!
- The same logic goes for reducing a baking recipe. It’s almost always safe to halve a recipe; you can even usually cut it by 2/3rds. However, once you get the the point where you’re trying to quarter a recipe, it’s pretty much guaranteed that the leavening won’t be enough. Time to find another small batch recipe!
- I recommend scaling a recipe that you’re already familiar with. If you’ve made it successfully before you scale it, you’ll know exactly what you’re expecting in the finished recipe; if something goes wrong, you’ll be more likely to pinpoint the error. I know that this is not always possible though!
- You don’t always need to scale a recipe! It is safer (though more time consuming) to bake in batches. So, instead of doubling a recipe, you can always make the recipe once, then clean your workspace and make it again!
- Scaling a recipe might impact bake time of your baked goods. Check this Wilton chart to see general guidance on recommended bake times, especially if you change the size of your baking pans when you’re scaling.
Go forth and scale! Most importantly, have fun and don’t take yourself too seriously. Baking is a path to discovery, and there will be bumps along the way.
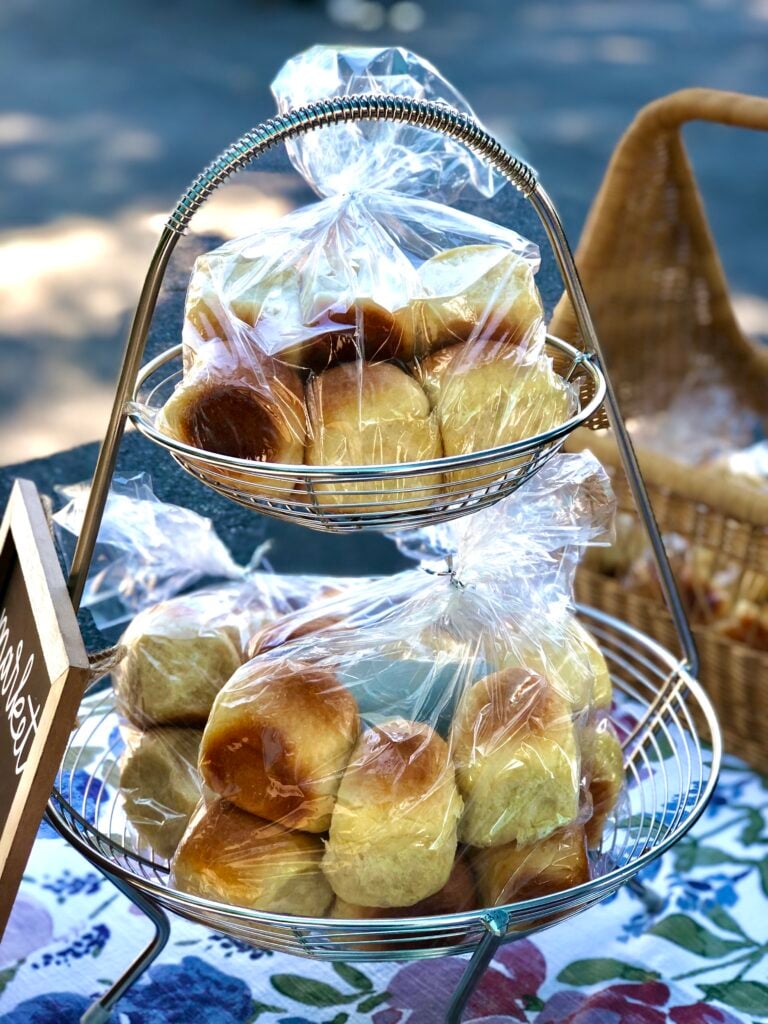
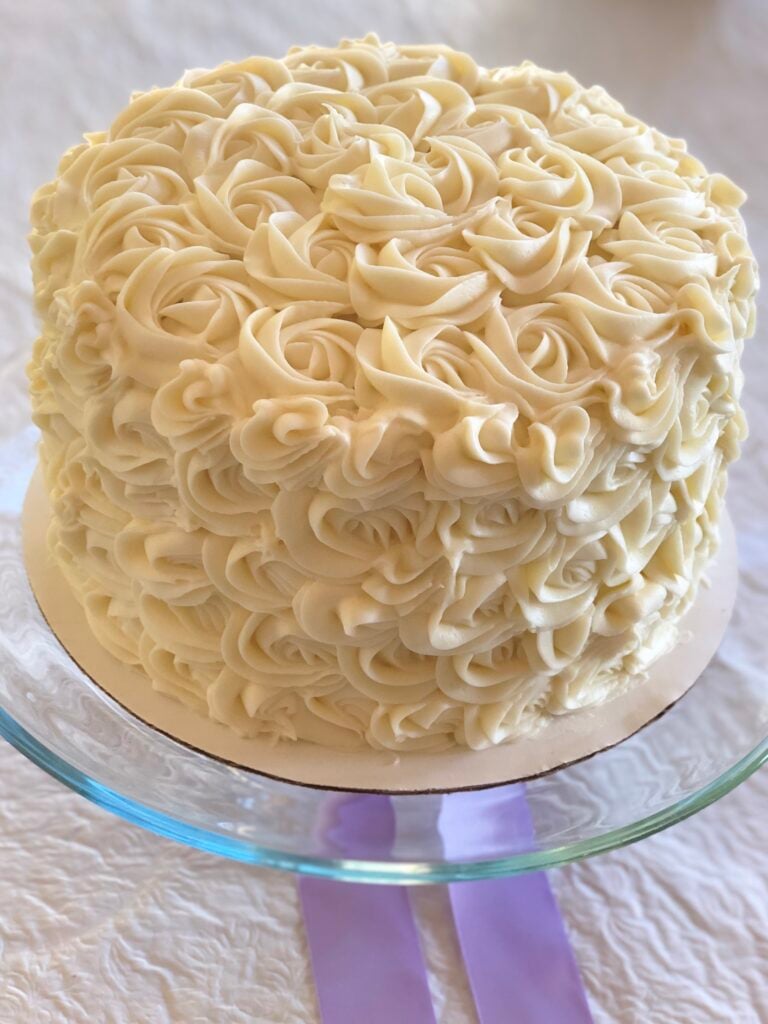
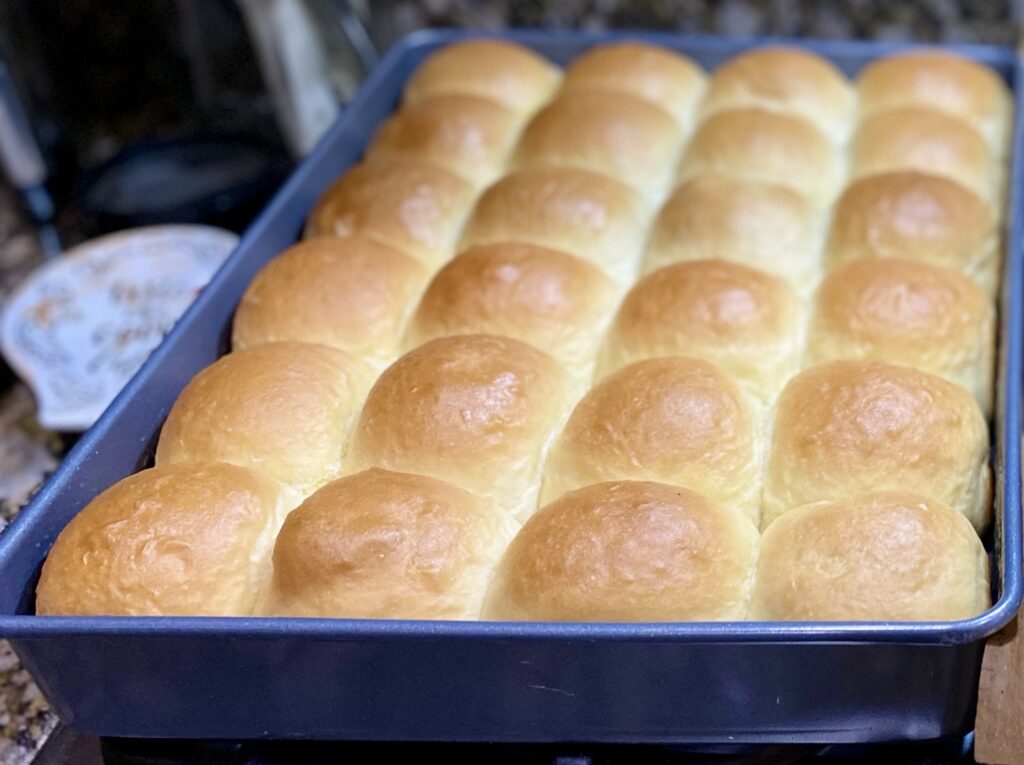
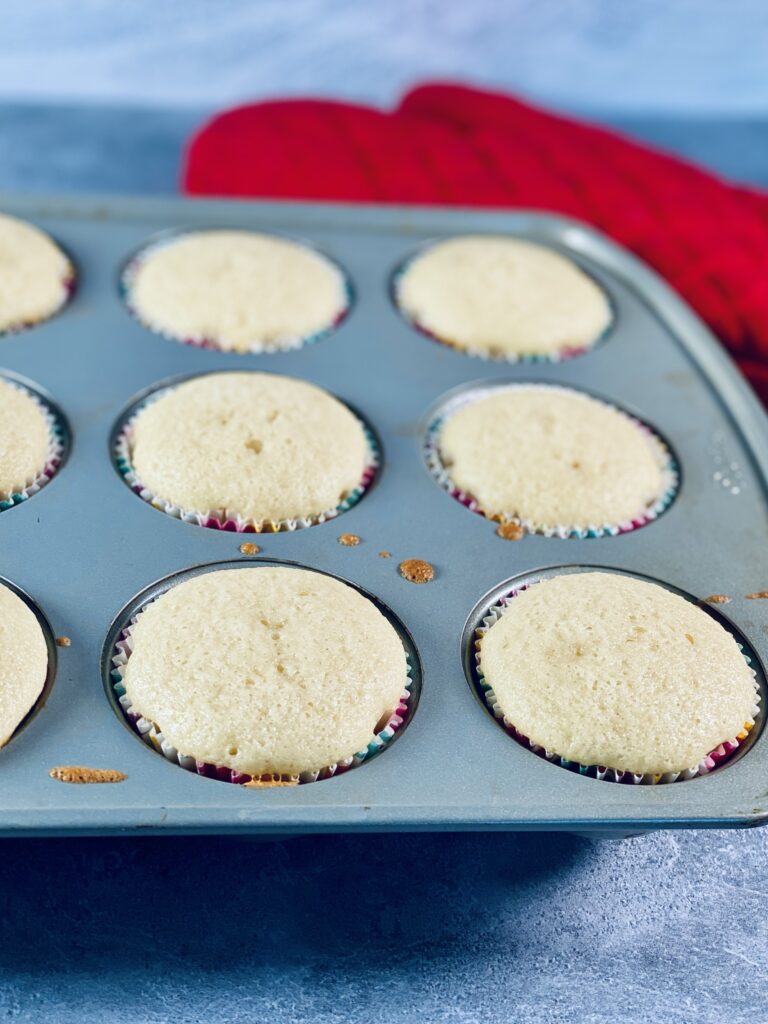
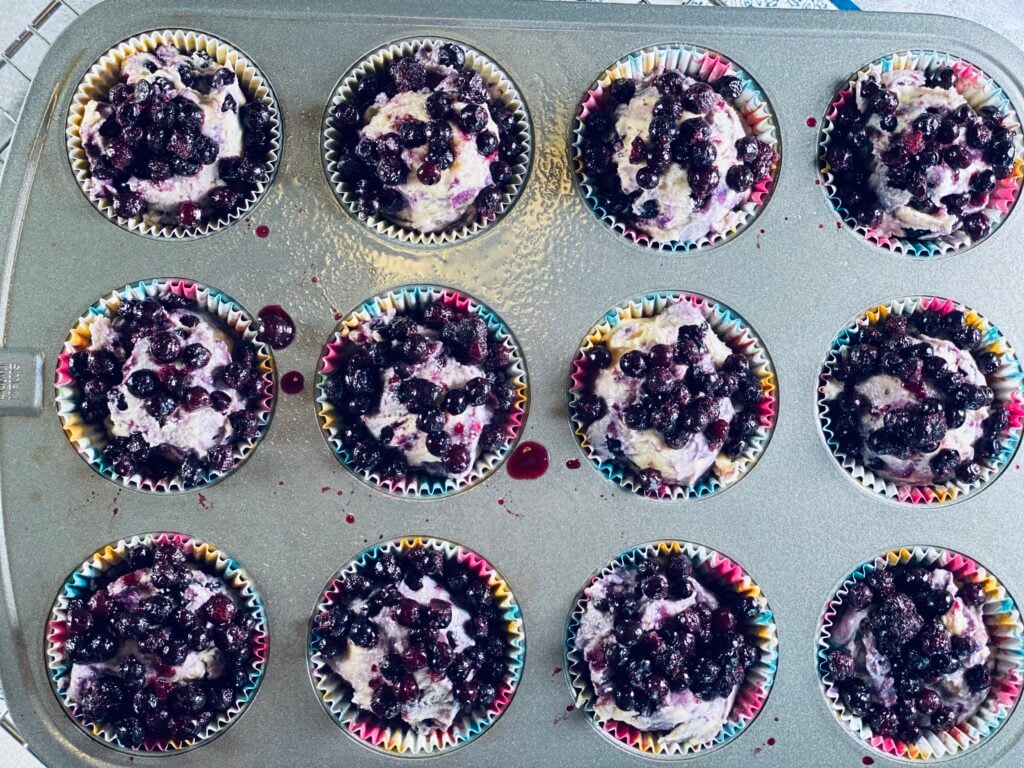
As a visual, I’m including a gallery of recipes I’ve scaled recently! Please enjoy and I’ll see you next time!


While you’re here, consider joining my email list so that you get fresh baking tips while they’re hot!
Love this post. I am jumping onboard.
All my fav recipes have a parallel excel sheet.
Love your style.
I always thought if you want to teach math.
Teach cooking and recipe scaling.
Hatching two eggs with one chicken.
I look forward to learning more from you!
What an incredibly sweet comment! Thank you for your support of BwB! ❤️
This is a great blog. I was looking for someone to actually tell me how larger commercial mixers handle such huge batter loads.. where to find a recipe that fills a 20 and 30 quart mixer! I even see people weighing their ingredients and came here to learn about that. Aside from doubling, I was looking for a formula to create chocolate and vanilla batter in my new 30 quart mixer. Thanks for the tip on the resource by Bo Frieberg. I will have to cop a copy.
The Professional Pastry Chef by Bo Friberg is my main resource to this day! And it’s made to teach pastry professionals how to make restaurant portions! So I’m sure it will give that 30-quart mixer a good workout. 😊
I am so grateful that you are finding this blog useful! Thank you so much for your absolutely kind words. ❤️
Great information,
I’m running into some roadblocks scaling my cinnamon roll recipe. I’m now working in a commercial kitchen trying to scale to 4 batches and the product doesn’t taste the same or texture. I’m lost and can’t figure it out. Did you mention that in your experience with bread that scaling a recipe 3 times changed the dough texture and taste?
Hi Myra! Scaling bread is a tricky business, unfortunately. I never scale a bread recipe more than 3x. After that, the flour, yeast and liquid amounts get very unpredictable. The best thing to do is to find a cinnamon roll recipe that was developed to make a lot of rolls, and gently tweak from there. I hope this helps!