

Want to get a FREE preview video lesson from the Begin with Butter Home Baking Academy? Enter your email below!
Scene: {Daybreak} Your kitchen. You’re preparing to bake.
You’ve cleaned off that old KitchenAid stand mixer that you got as a gift, or you’ve unboxed that brand new KitchenAid hand mixer that the Amazon delivery person left just this morning. Because you’re You, you even turned on your equipment on to make sure that it works before you get started.
You’ve checked the recipe *generally* to make sure that you have everything that you need.
You’ve gathered your ingredients and prepared your mise en place. Your oven is set, your pans are prepped, and you’re ready to be a TOTAL KITCHEN BOSS.
You’re feeling good. You’re ready to start.
“Cream butter and sugar until light and fluffy.”
**Record scratch. Freeze frame.**

Beloved, if you have no idea what that means, you’re in the right place today. In this post, we are getting to the nitty gritty of what it truly means to cream butter and sugar using both a stand mixer and a hand mixer. This term appears constantly in baking recipes, and it’s confusing for so many people.
Creaming butter and sugar is also critical to the success of a recipe, so it’s super important that you get on the good foot with this technique. Otherwise, you can set yourself up to fail before you even start.
Let’s go!
In this Post:
- TL;DR: I’m Just Here for the Videos
- What Does it Mean to Cream Butter and Sugar and Why is it Necessary?
- Ingredient Rules
- Tools Needed
- Technique for Creaming Butter
- The Finished Product!
- Conclusion
TL;DR: I’m Just Here for the Videos
For those of you who are visual learners (or if you’re just in the mood to dance), I cover this subject very briefly in these video shorts; one is dedicated to the stand mixer, and the other–you guessed it–is dedicated to the hand mixer. Feel free to take a look and then come back here to fill in your learning!
Here’s the video for how to cream butter with a stand mixer:
And here’s a video for how to cream butter and sugar with a hand mixer:
They’re both really good, short videos to show you how to properly cream butter and sugar in each machine. For even more specifics, Family, keep reading!
What Does it Mean to Cream Butter and Sugar and Why is it Necessary?
Creaming is simply the act of combining granulated sugar and fat (usually butter, but sometimes cream cheese, shortening, or a mixture of fats) until the mixture is lighter in color, increases in volume, and the granulated sugar crystals are not as grainy. A finished creamed butter should look cloud-like and should feel silky, luscious, and ever so slightly grainy.
As I just mentioned, there are several different types of fat that you can use for creaming. In this post, I’ll discuss butter, but this creaming method can be used interchangeably for each type of fat.
This process is hugely important for baking recipes. You see, when you cream butter and sugar together, you’re manually whipping air into your baked goods. This air works with your leavening to create rise!
If your cakes have a tendency not to rise, dear reader, read on! Proper creaming changes everything and it’s the first recommendation that I make when someone comes to me with this specific problem.
Ingredient Rules
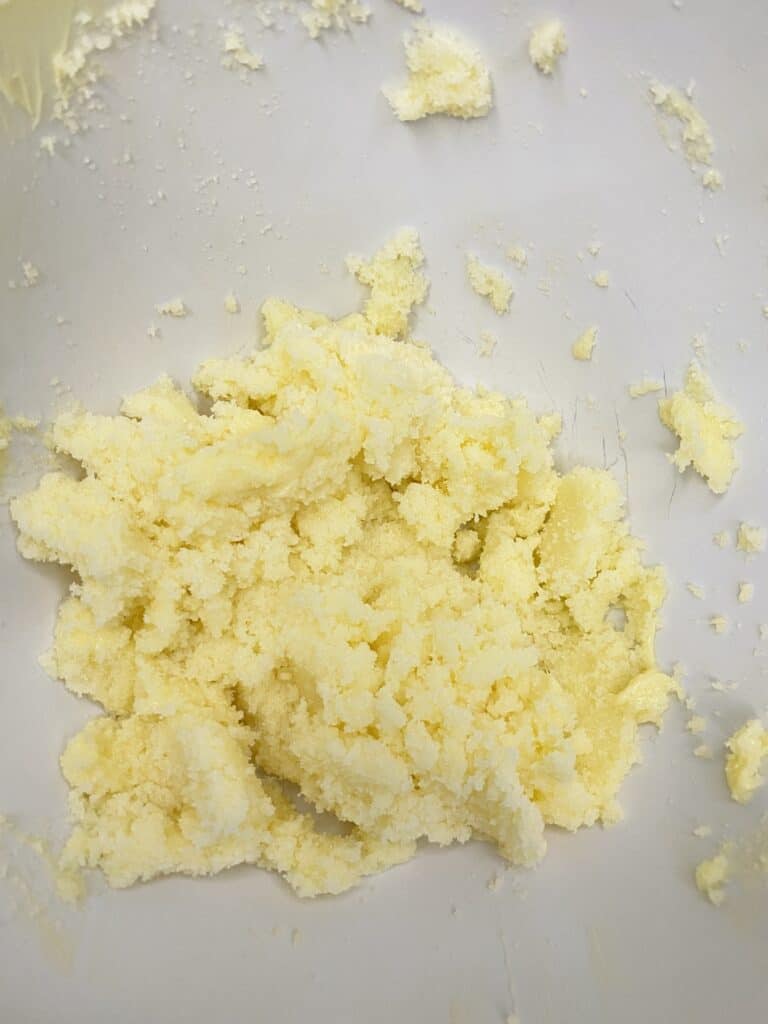
First, and this can’t be overstated: PLEASE DON’T USE COLD FAT. In order for maximum creaming effectiveness, the butter needs to be truly soft. Cold butter won’t combine well with granulated sugar, the sugar won’t blend at all, you will tax your mixer, and you will never arrive at the Texture Town destination that you seek.
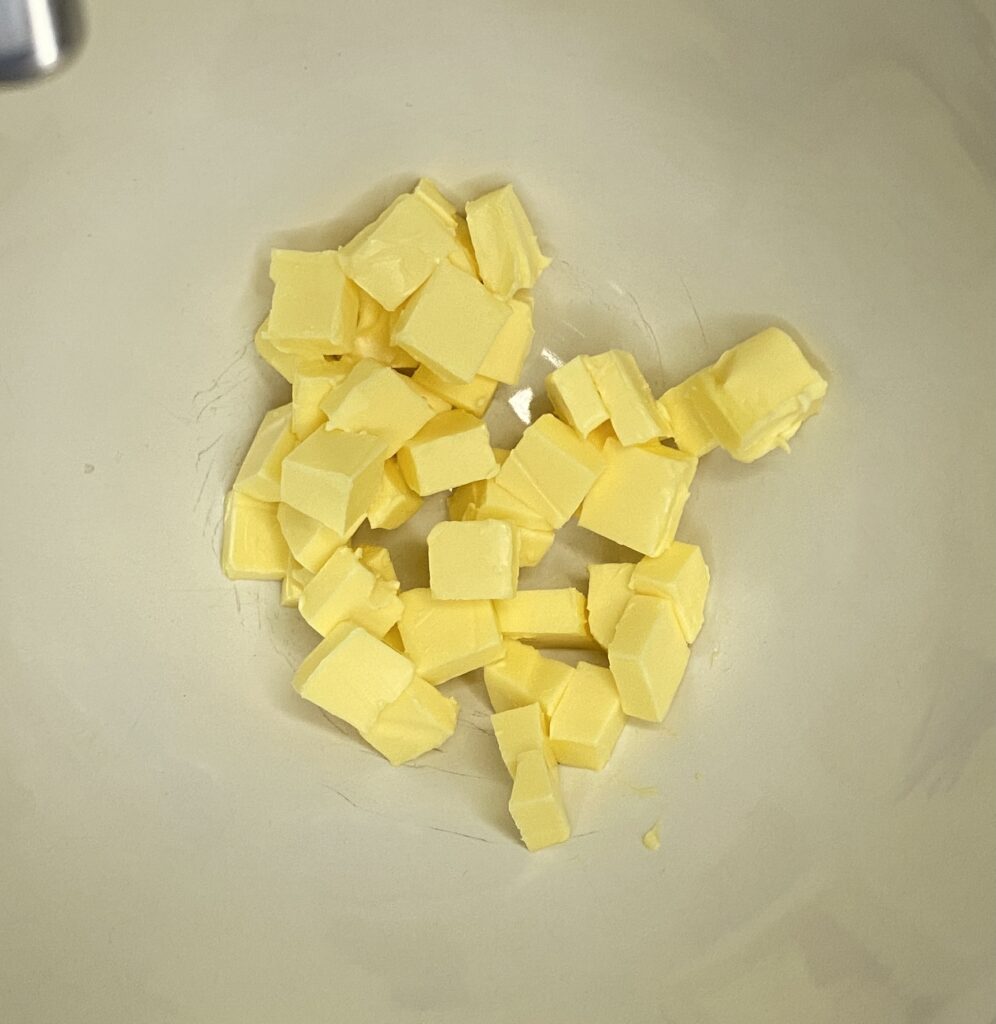
To soften butter, the best method is to put it on your countertop…and leave it there. How long you leave it there depends on a couple of factors: 1) the room temperature (my kitchen is usually between 72°F and 75°F), 2) the butterfat content of your butter (I exclusively use Vermont Creamery butter now); and 3) the size of the butter that you’re working with (I sometimes cube my butter before letting it sit on the countertop to help it soften even faster).
Room temp matters for obvious reasons; the higher the temperature of your kitchen, the faster the melt and the quicker you can get to the fun part. The butterfat content matters because higher butterfat butters will melt faster than lower-butterfat butters. For more on this, check out my post on butter! The size of the butter plays into this as well; the smaller the chunks, the faster it starts to melt.
Under the conditions that I described above, I’m usually ready to get baking in about 30-45 minutes (the cubing really moves things along). For low butterfat butters, unless your kitchen is very warm, I would not recommend moving onto the next phase for at least 60-75 minutes or more.
In order to get baking, you should be able to press a butter knife or the tip of your finger into the butter and make a good indention.
While it might be tempting to speed up this process in a microwave, it’s highly ill-advised because the butter will likely soften unevenly, with some spots that are properly softened and other spots completely melted.
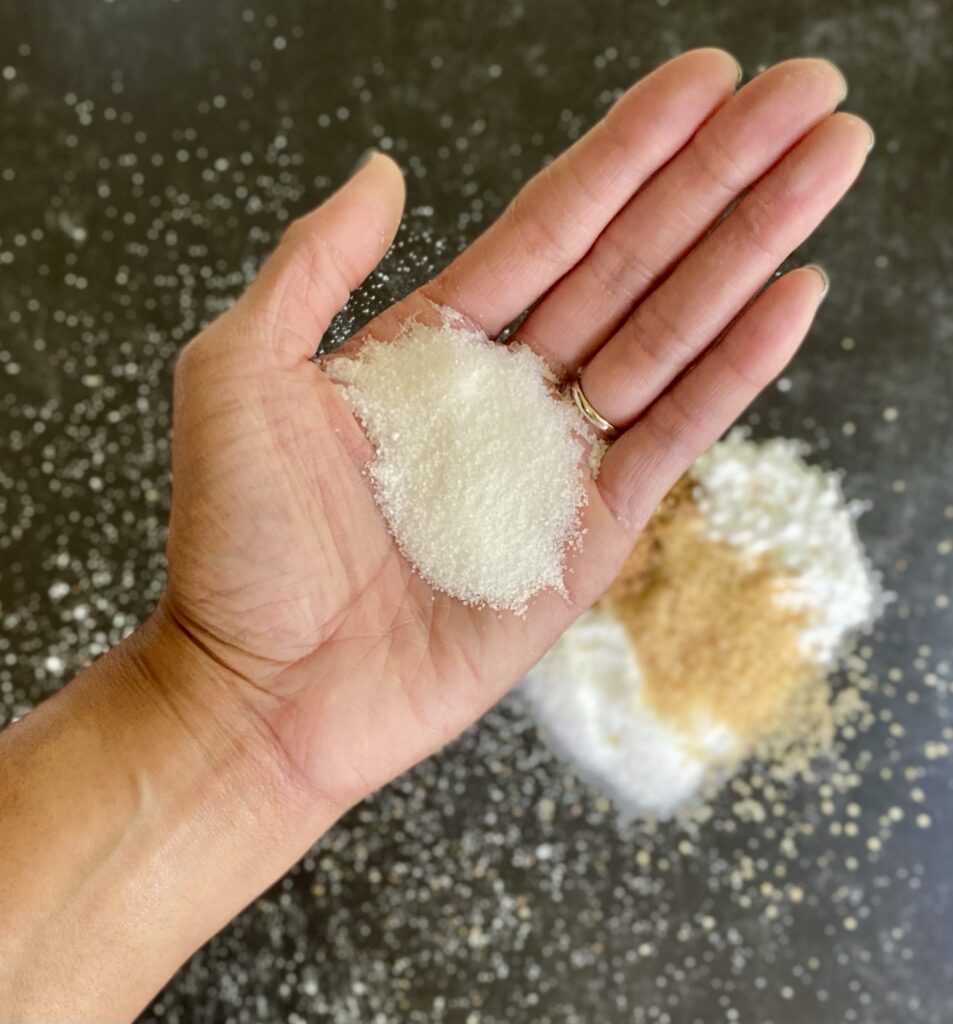
The next thing to consider about your ingredients is that you cannot use confectioner’s sugar for this task. You need the solid sugar granules to create air pockets in the butter and to increase the volume of your butter. Confectioner’s sugar, with the consistency of powder, cannot do this. It’s a good start for buttercream though!
Finally, while some recipes will tell you to “mix on high speed”, that’s truly unnecessary. In a KitchenAid stand mixer with properly prepped ingredients, you’ll have a great creamed butter in 5-7 minutes on medium speed (somewhere between speeds 4 and 5). While a hand mixer will take a few minutes longer, you still don’t need to use the highest speed setting. Don’t tax your mixers for butter and sugar! Save that for the double pizza dough recipes!
Or don’t. You really shouldn’t tax your mixers, or you could end up in a sad place, like I did here.
Tools Needed
There are three different methods for creaming butter, and they each require different tools:
- The Stand Mixer Method: You’ll need a stand mixer, the mixing bowl for that mixer (they lock into place so it’s important to have the bowl that’s meant for that specific mixer), your ingredients, and a rubber spatula.
- The Hand Mixer Method: You’ll need a hand mixer, a mixing bowl, your ingredients, and a rubber spatula.
- Mixing by Hand: You’ll need a wooden spoon, a fork, a mixing bowl, your ingredients, and, you guessed it, a rubber spatula.
In this specific post, we’ll cover creaming techniques that are done with stand and hand mixers. The method of creaming butter and sugar by hand is super nostalgic and and fun and I’ll cover it another time!
Technique for Creaming Butter
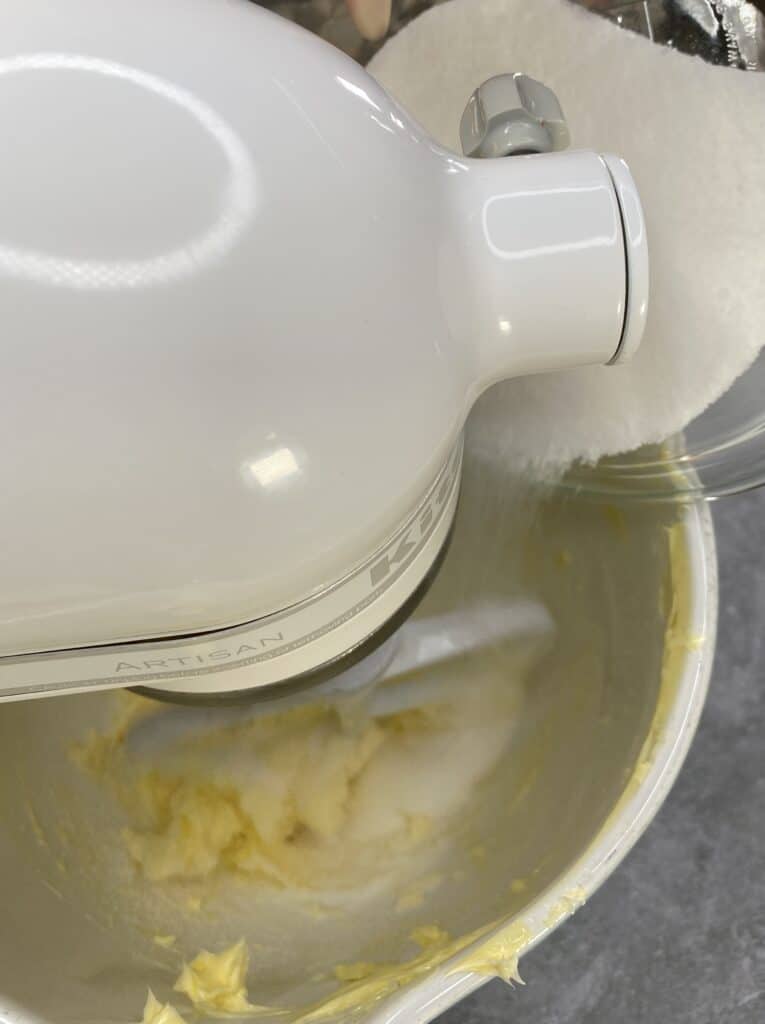
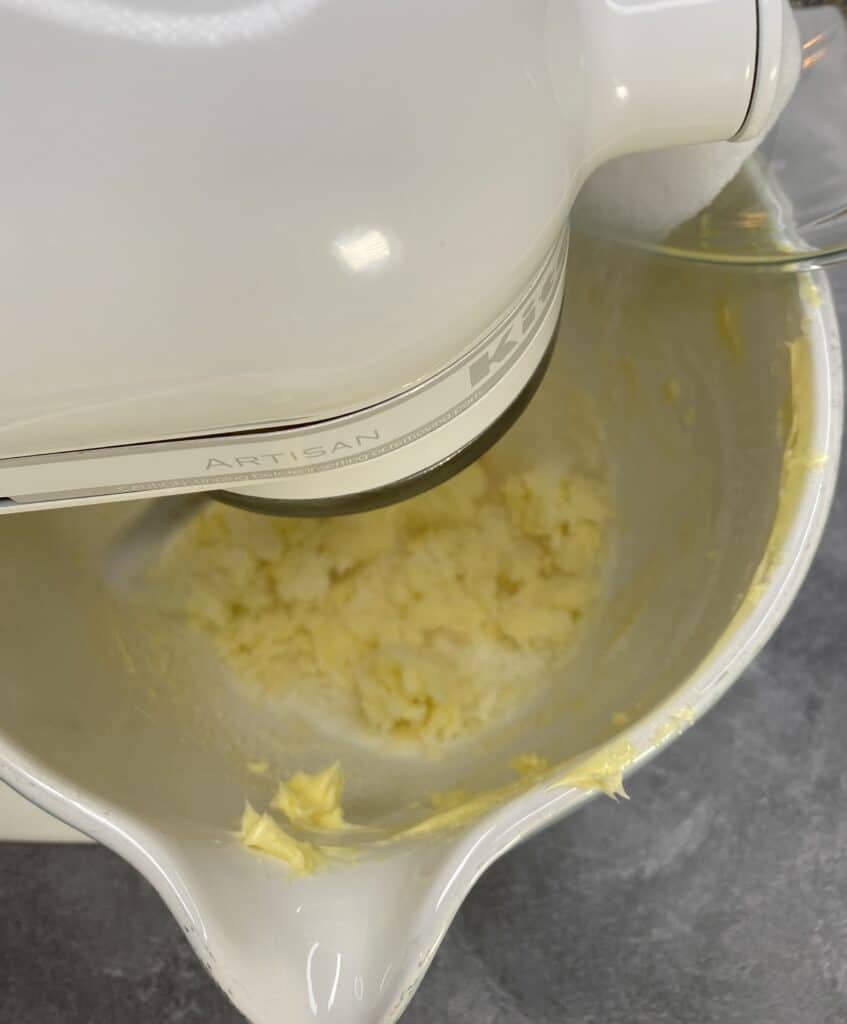
Once your butter is nice and soft, you’re ready to go. Start by adding just the butter to your mixing bowl and mix on low/medium speed (stand mixer: between speeds 2-3; hand mixer: between speeds 1-2) for about two minutes. I find that this helps the butter get to a consistent temperature and texture throughout, and makes for a better finished product.

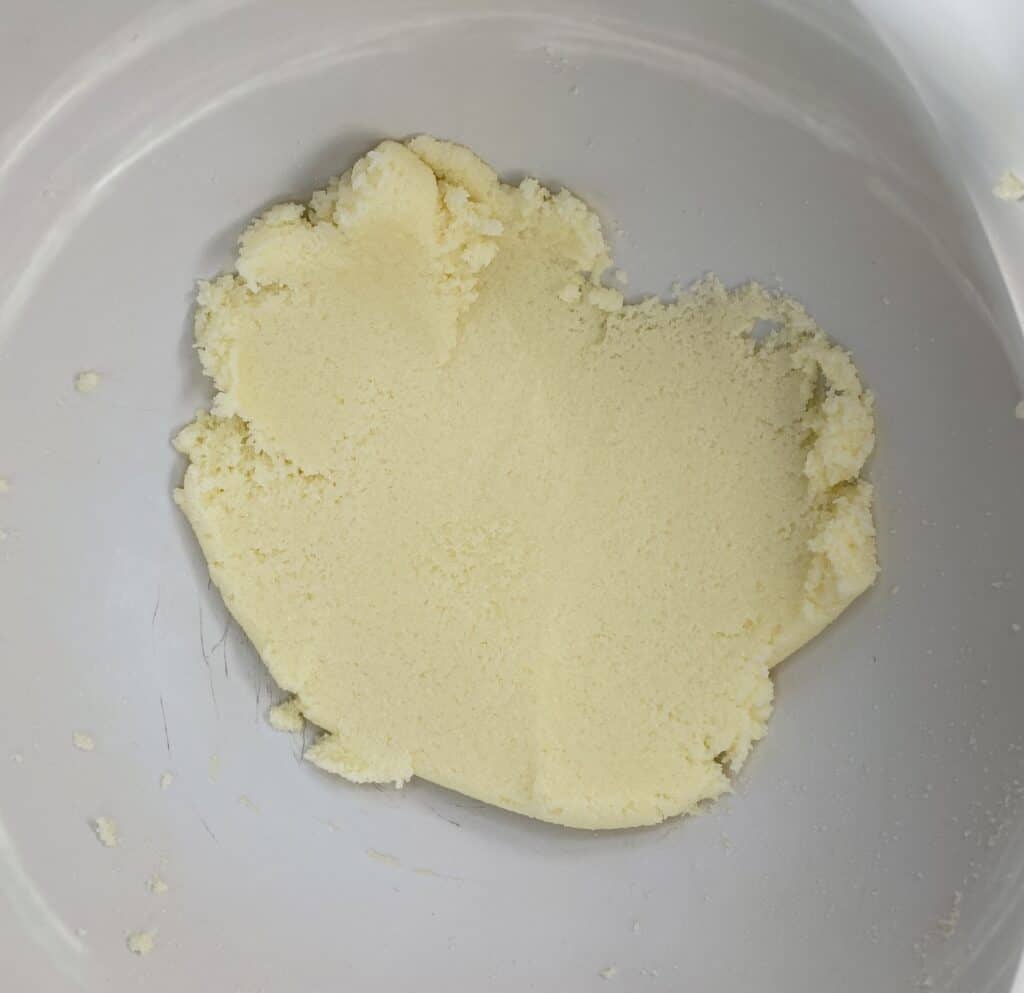
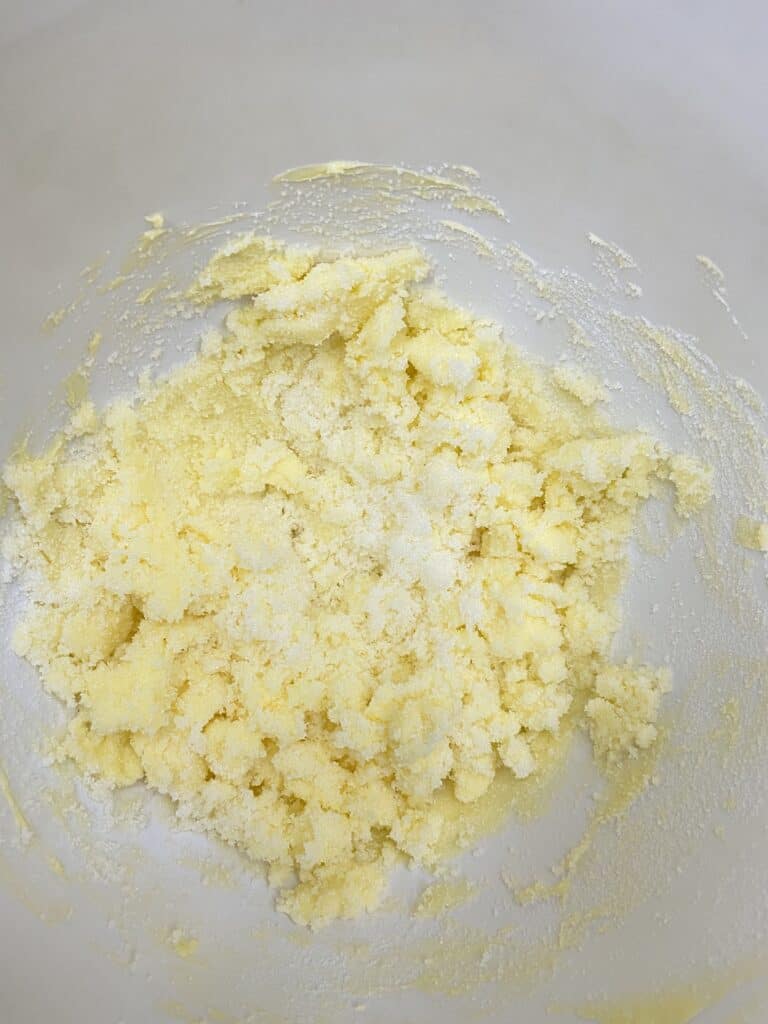
Next, with your mixer still on low speed, slowly add the sugar. At this stage, the mixture will have the look and feel of wet sand. The hand mixer video will show you what this looks like with that tool!
Great. Now I want to go to the beach.
Once the sugar is completely added, you can gradually increase your speed until you reach a medium speed (stand mixer: between speeds 4-5; hand mixer: between speeds 3-4). At about the 2 minute mark, use your silicone spatula to get all in that bowl and scrape the whole thing. I mean it! Everything! Scrape the mixture off the rim, sides and bottom of the bowl and send it all back to the action. This is a messy business and ingredients are expensive! ????
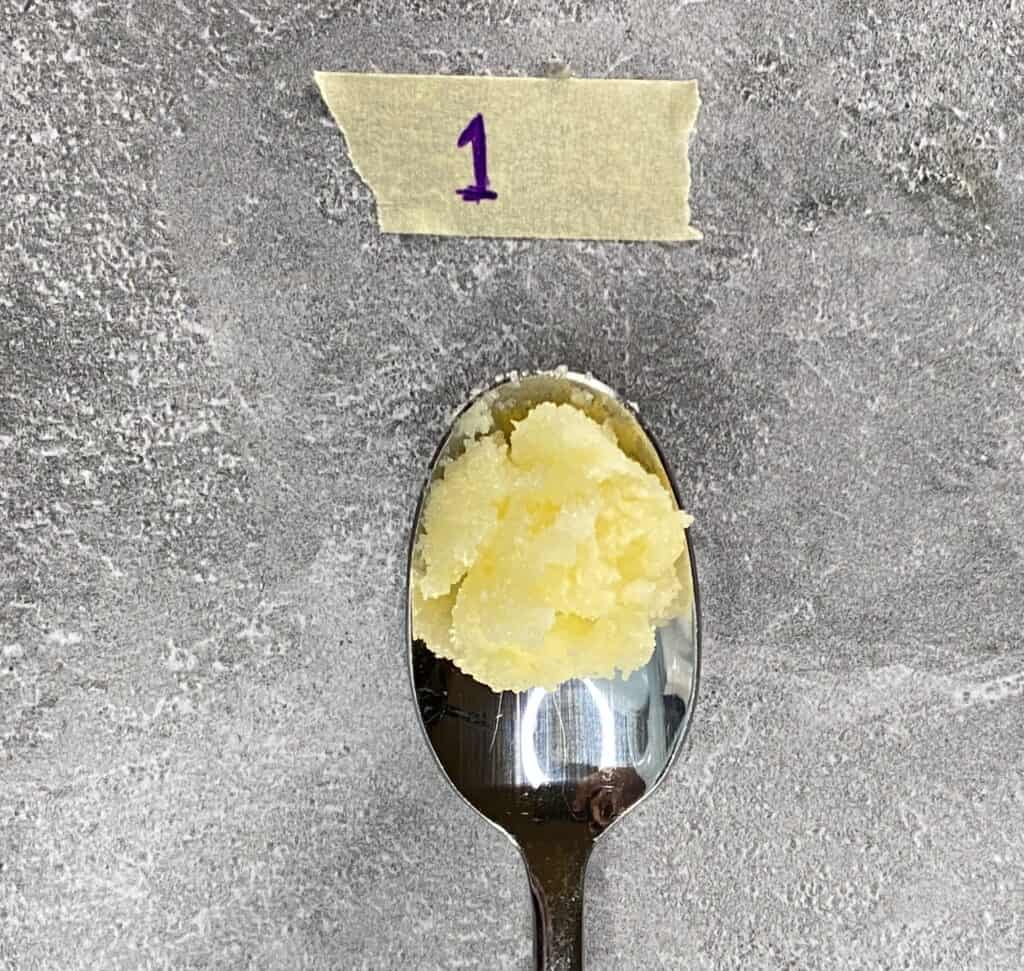
At this point, the mixture will be a tiny bit smoother and a tiny bit lighter in color. You’re not done yet.
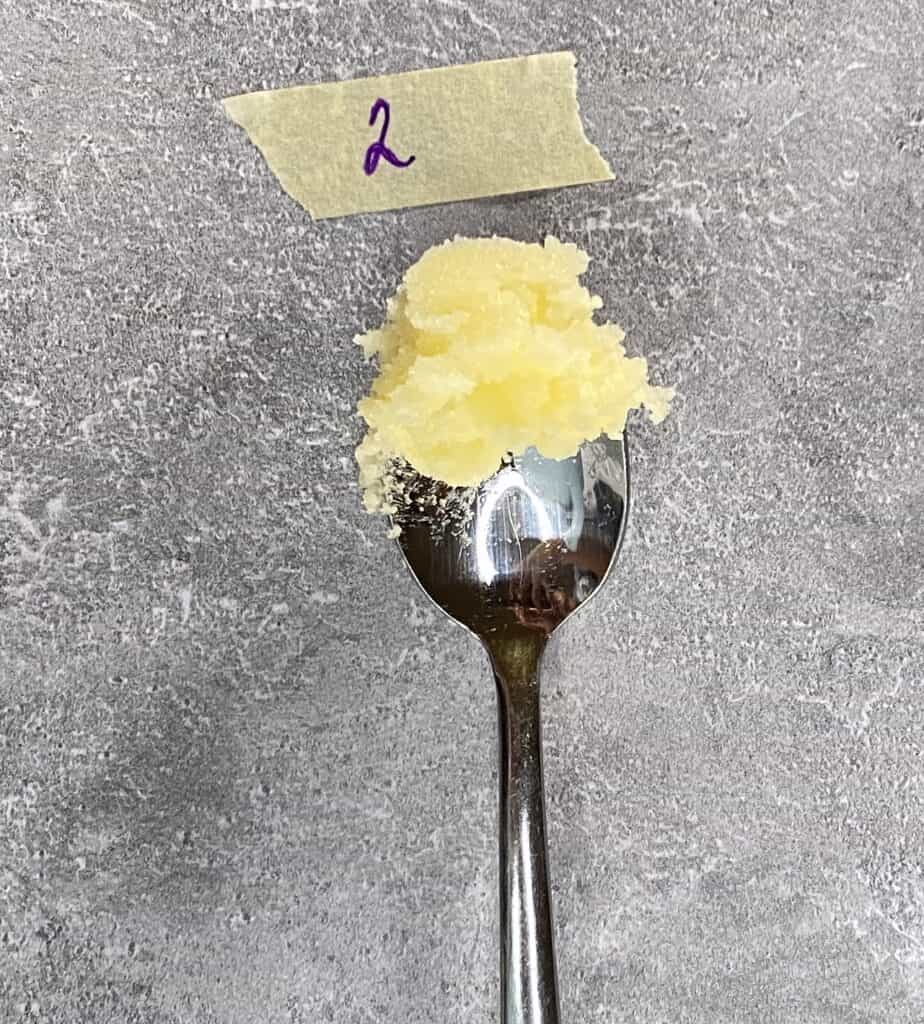
Turn the mixer back on medium speed and let it go for another 1-2 minutes. If you watch the butter and sugar at this stage, you can actually see it start to loosen, grow in volume, and get noticeably lighter in color.
Yes. I have done this.
You’ll notice that it looks like there’s much more of it in the bowl; this isn’t true! You’re still working with the same amount, but this is aeration happening before your very eyes. And it’s amazingly cool.
Stop the mixer and scrape down the sides of the bowl. Time to check your work with your rubber spatula. With a stand mixer, I’m usually done with creaming by the end of the second mix. Typically, with my hand mixer, it needs one more good mix before it’s ready to move onto the next step.
The Finished Product!
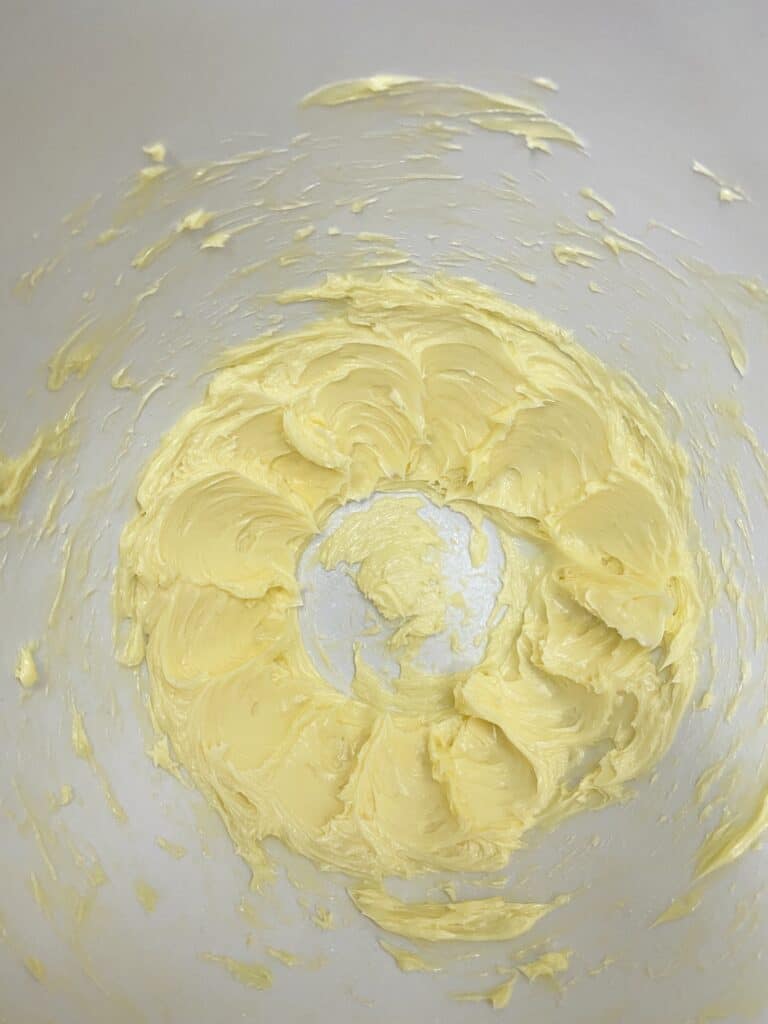
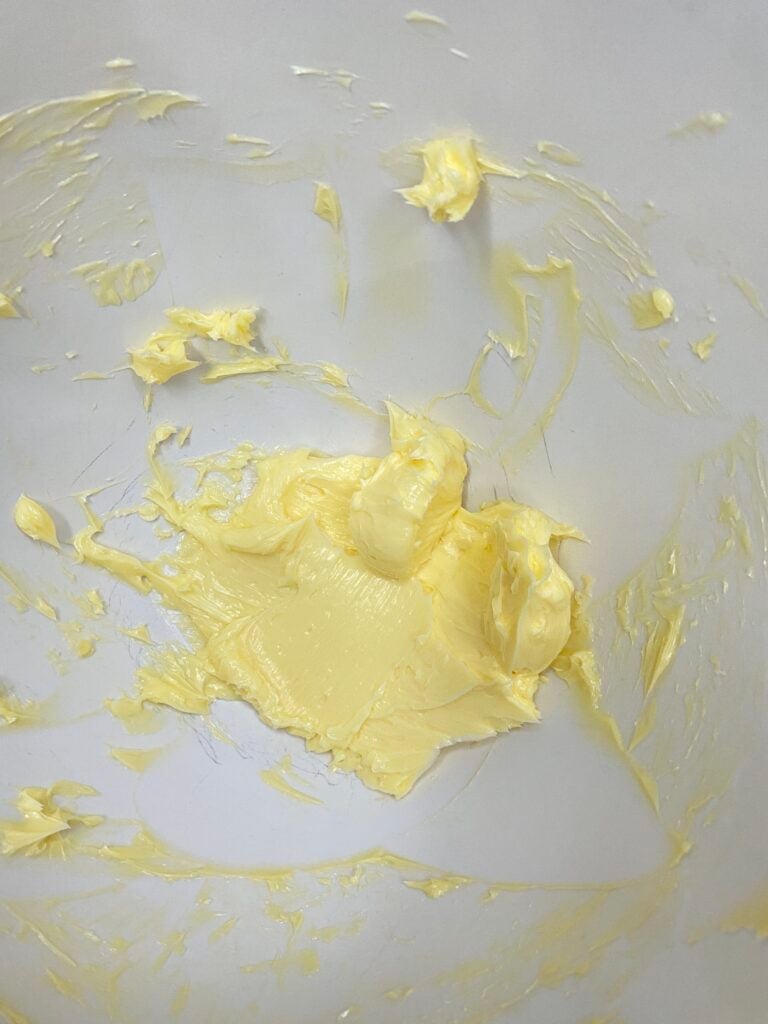
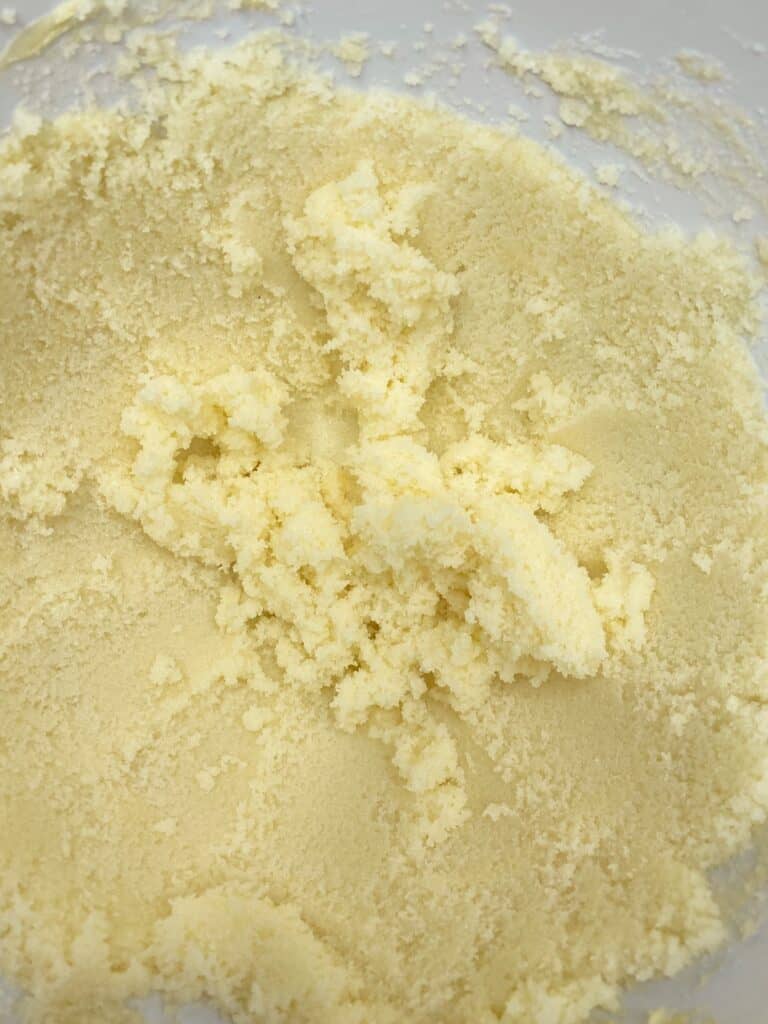
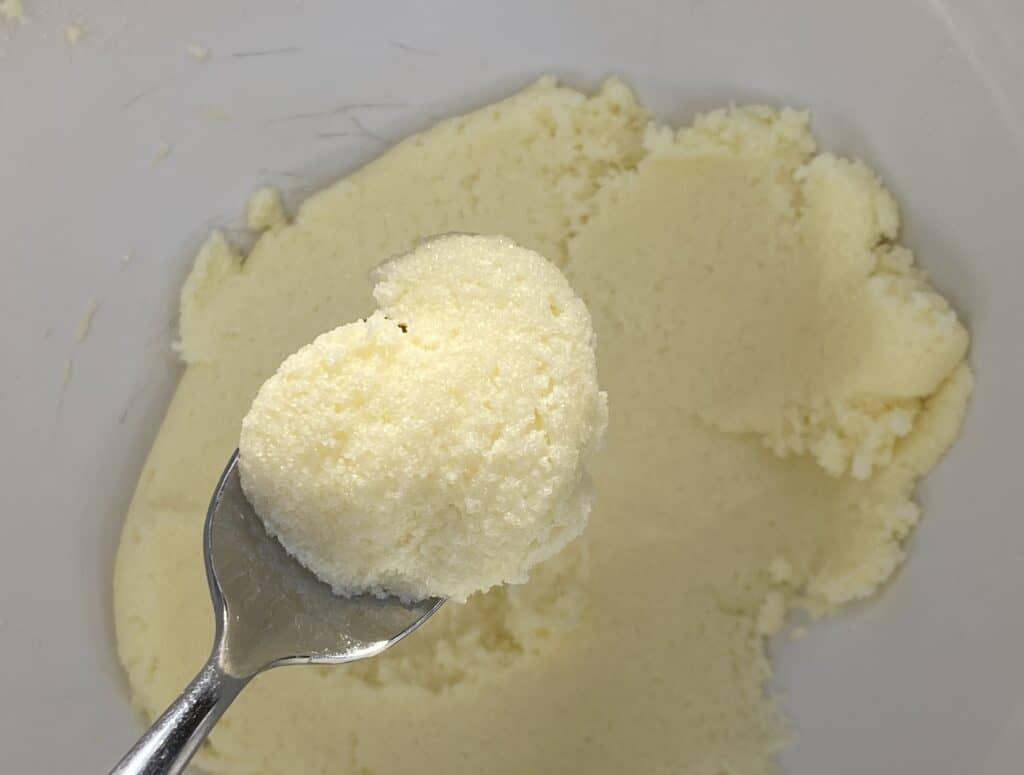
Your finished, creamed butter should be roughly two shades lighter than the butter that you started with, and it should be at least 2-3 times the volume of what you started with. Also, texture-wise, you’ll notice that the grains of sugar aren’t as hard and pronounced as they once were. That’s because they’ve started to dissolve during this process!
The completed, creamed butter should look kind of like this:
If you’re here, great! Time to give your mixing bowl one last good scrape and move on the “incorporating your eggs” part of the festivities. If not, don’t worry. Mix on low/medium speed for one-minute intervals until you’re there. You don’t want to go too long because you could actually end up over-creaming your butter and NOBODY WANTS THAT.
Just FYI: over-creamed butter is white, grainy, and greasy. This makes a good spread for toast or bagels, but it won’t do its job in your baked goods.
Conclusion
I hope you enjoy this tutorial and that it’s helpful for you on your baking journey. Remember, you’ll get better with practice so keep on baking! You’ll develop a feel for all of it, including creaming butter and sugar.
Got any lingering questions? Leave them in the comments section below!
Until next time. — Shani ??
If this was helpful, consider subscribing! We’d love to have you here!
What’s the max time on creaming butter and sugar?
If you over cream the butter and sugar, would it cause your cakes to be dry?
Hi Tamara! The process of creaming butter and sugar is more about feel than time. You’re looking for butter and sugar that’s lighter in color, fluffy like clouds, and for sugar granules that aren’t as pronounced as they were at the start. The softness of the butter at the beginning plays a huge part in how long the creaming process takes.
Dry cakes are usually the result of too much flour or too much time in the oven. I hope this helps!